Historically known as “Web Apps,” App Service is the underlying platform that runs your web, API, or mobile application on a dedicated App Service plan. It meets enterprise standards such as ISO, SOC, and PCI, and allows integration with Microsoft Entra ID or popular social login providers for authentication.
Configuring App Service
In our previous lesson, we covered the creation of an App Service plan, a prerequisite for deploying various types of applications on Azure. With App Service, you can not only host web applications but also leverage built-in capabilities like continuous integration and continuous deployment (CI/CD) directly from popular source control systems or Visual Studio.CI/CD and Visual Studio Integration
Azure App Service simplifies automation with support for CI/CD pipelines, enabling smooth code deployment using tools like Visual Studio and templates available from the Azure Marketplace. Additional features include Core Support, Offline Data Sync, and Push Notifications that make App Service an excellent option for hosting mobile apps. Furthermore, you can run Azure Functions on an existing App Service plan without additional infrastructure.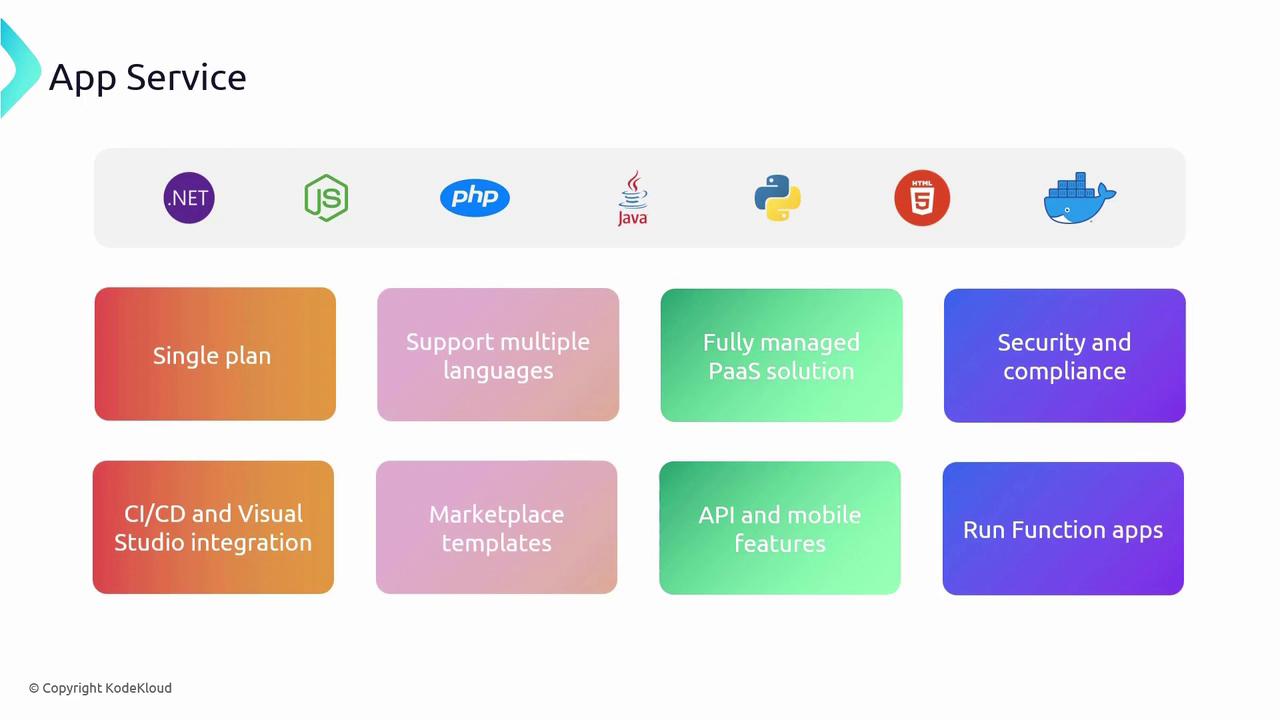
Creating an App Service Using the Azure Portal
Follow these steps to create an App Service via the Azure portal:- Access the Azure Portal
After logging in, search for “App Service” to view the relevant options.
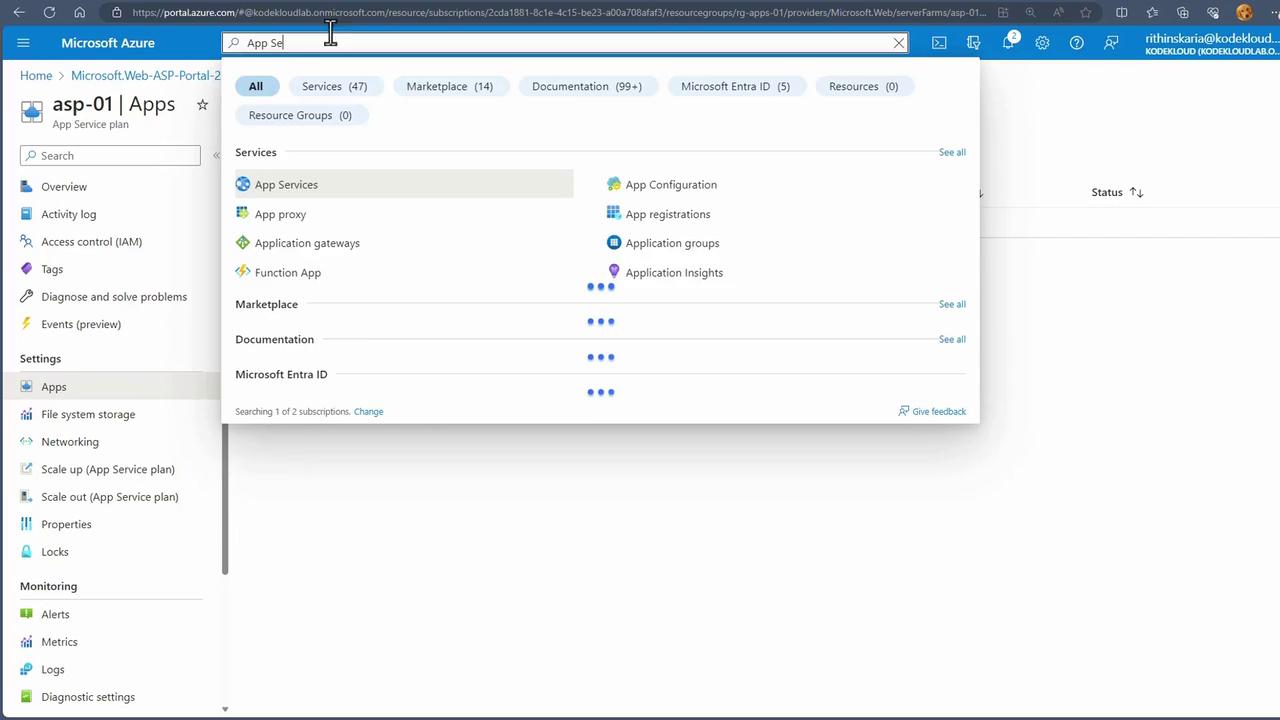
-
Create a Web App
Click on “Create Web App.” Unlike creating an App Service plan, you can set up the App Service on the fly, much like creating a Resource Group. Choose your desired resource group. -
Configure Basic Details
Provide a unique name for your App Service that will be registered under azurewebsites.net (e.g., “KodeKloudDemo”). Confirm name availability and select your publish option—whether it’s Code, a Docker container, or a Static Web App.
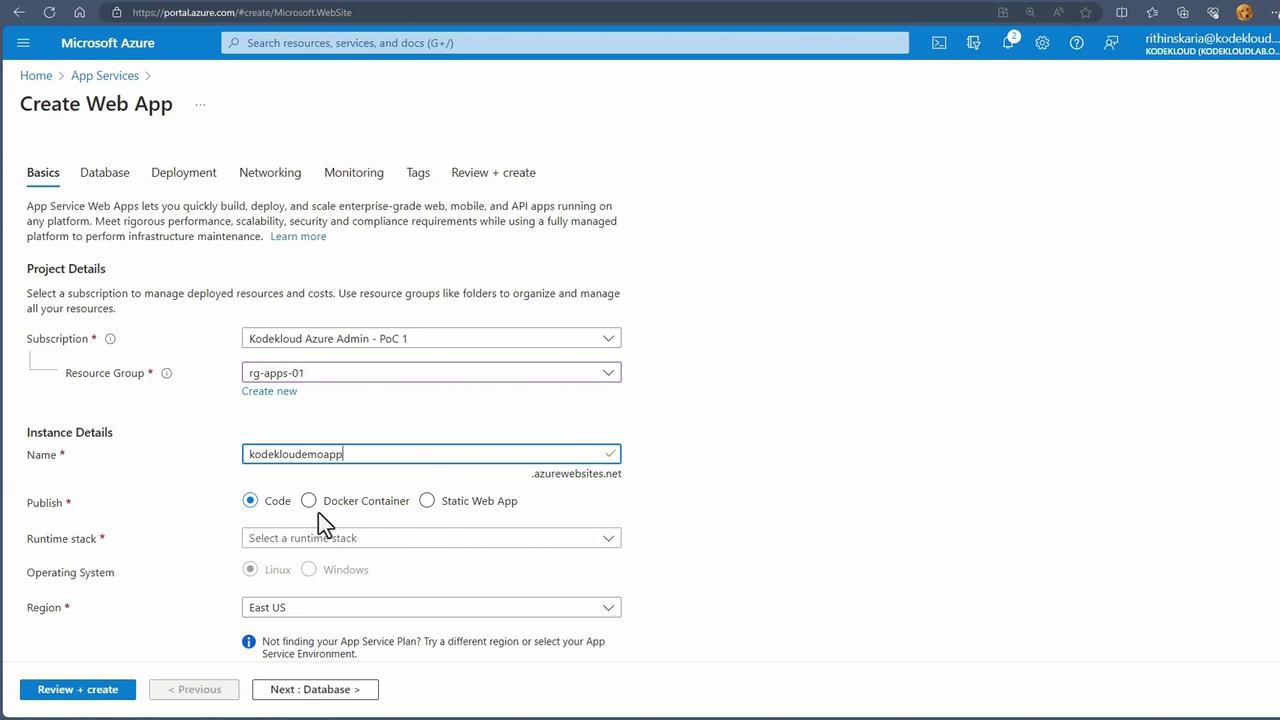
-
Select a Runtime
If you choose “Code” as your publishing option, select the appropriate runtime such as .NET, Java, Node.js, PHP, or Python. (For Docker deployments, select an image for the container.) If an existing App Service plan is available, it will auto-populate; otherwise, create a new one. -
Skip Database Configuration if Unnecessary
Only configure database settings if required by your application. -
Configure CI/CD (Optional)
In the “Deployment” section, set up your CI/CD pipeline. Detailed CI/CD configuration will be discussed in a future lesson. -
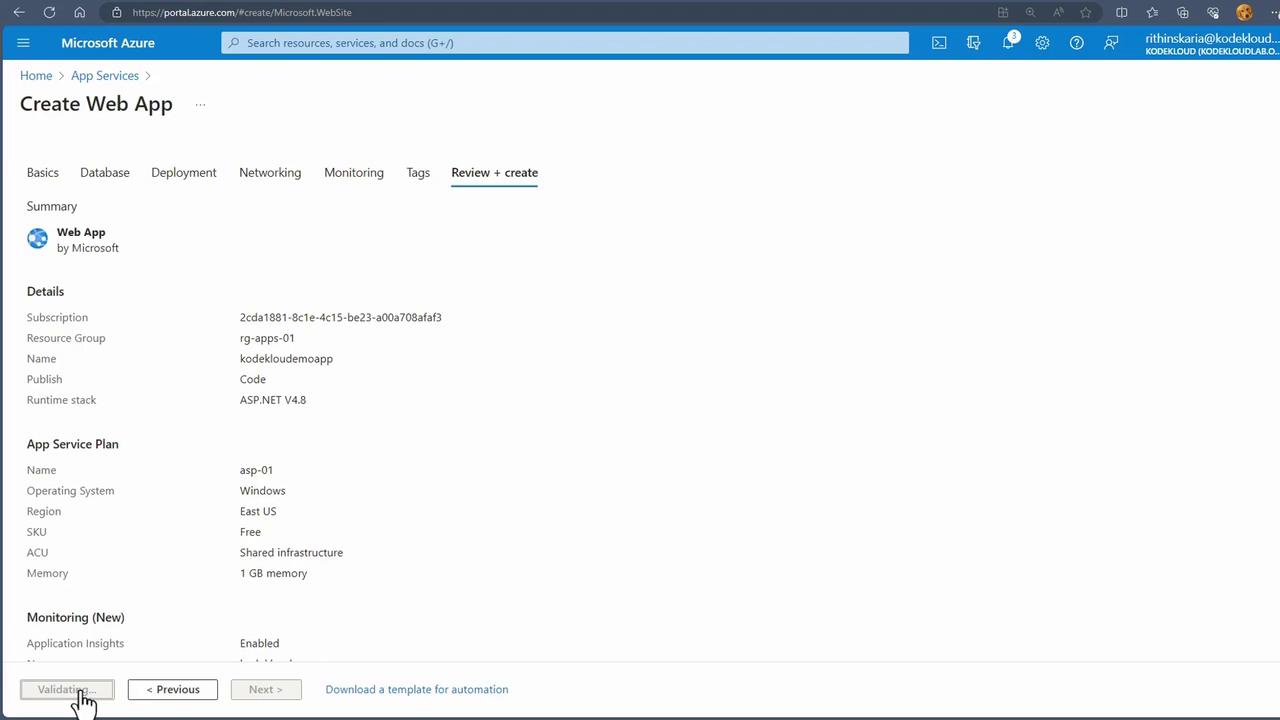
Finalize Networking and Monitoring Settings
Configure the “Networking” and “Monitoring” sections as desired, then click “Create” to deploy your web app.
Scaling the App Service Plan
To accommodate growing demand, you might need to scale your App Service plan. For example, you can upgrade from a free or shared tier to a Standard plan.- Select a Pricing Tier
Choose the desired pricing tier (e.g., Standard S1) and click “Select.”
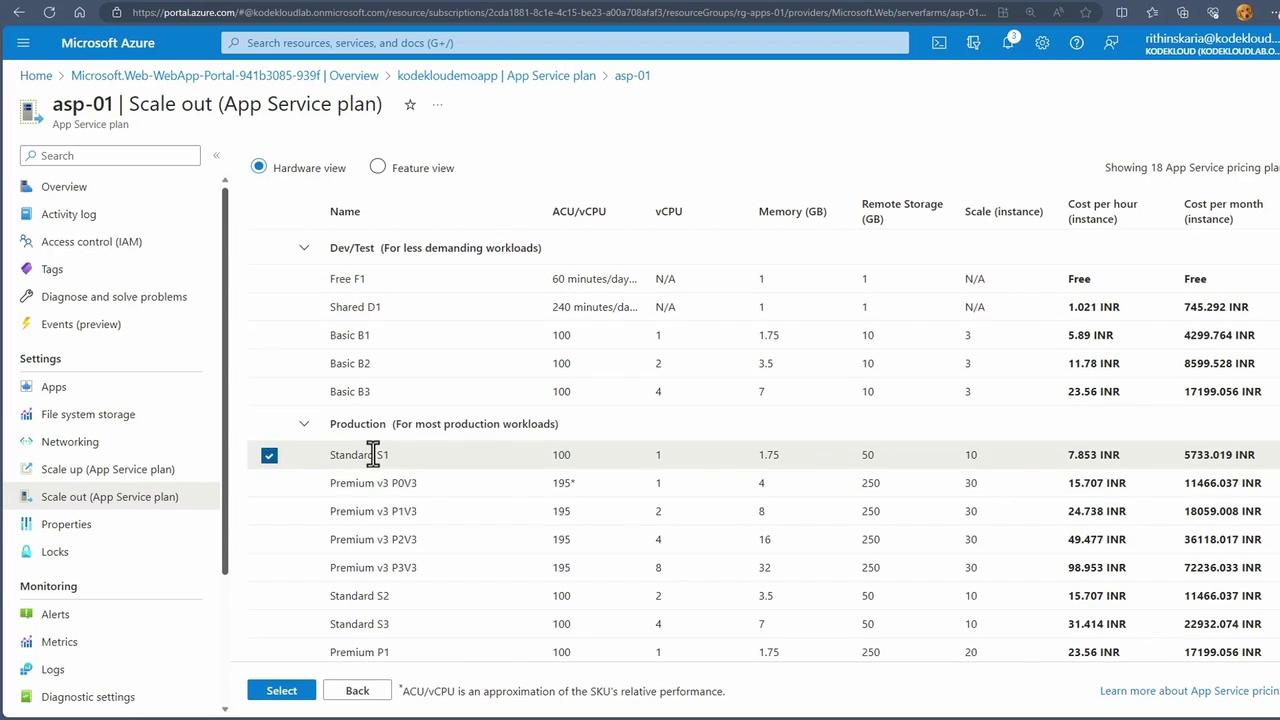
Resizing the plan will restart your App Service, which may lead to temporary downtime.
- Adjust Instance Count
Once upgraded to the Standard plan, you can manually set the instance count (up to a maximum of 10 by default).

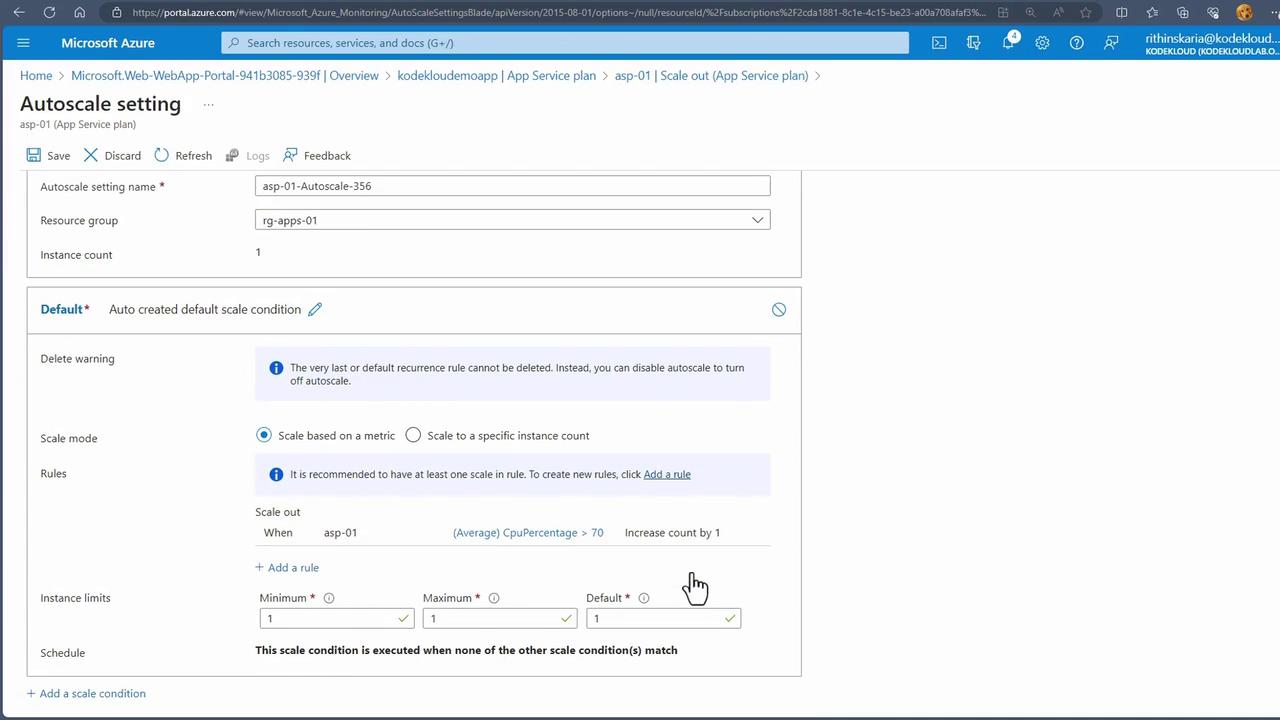
- Configure Autoscale Rules
Alternatively, set up rule-based autoscale settings. For example:- Increase the instance count by one when CPU usage exceeds 70%.
- Decrease the instance count by one when CPU usage falls below 25%.