AWS Certified SysOps Administrator - Associate
Domain 1 Monitoring Logging and Remediation
Demo Installing and Configuring CloudWatch Agent
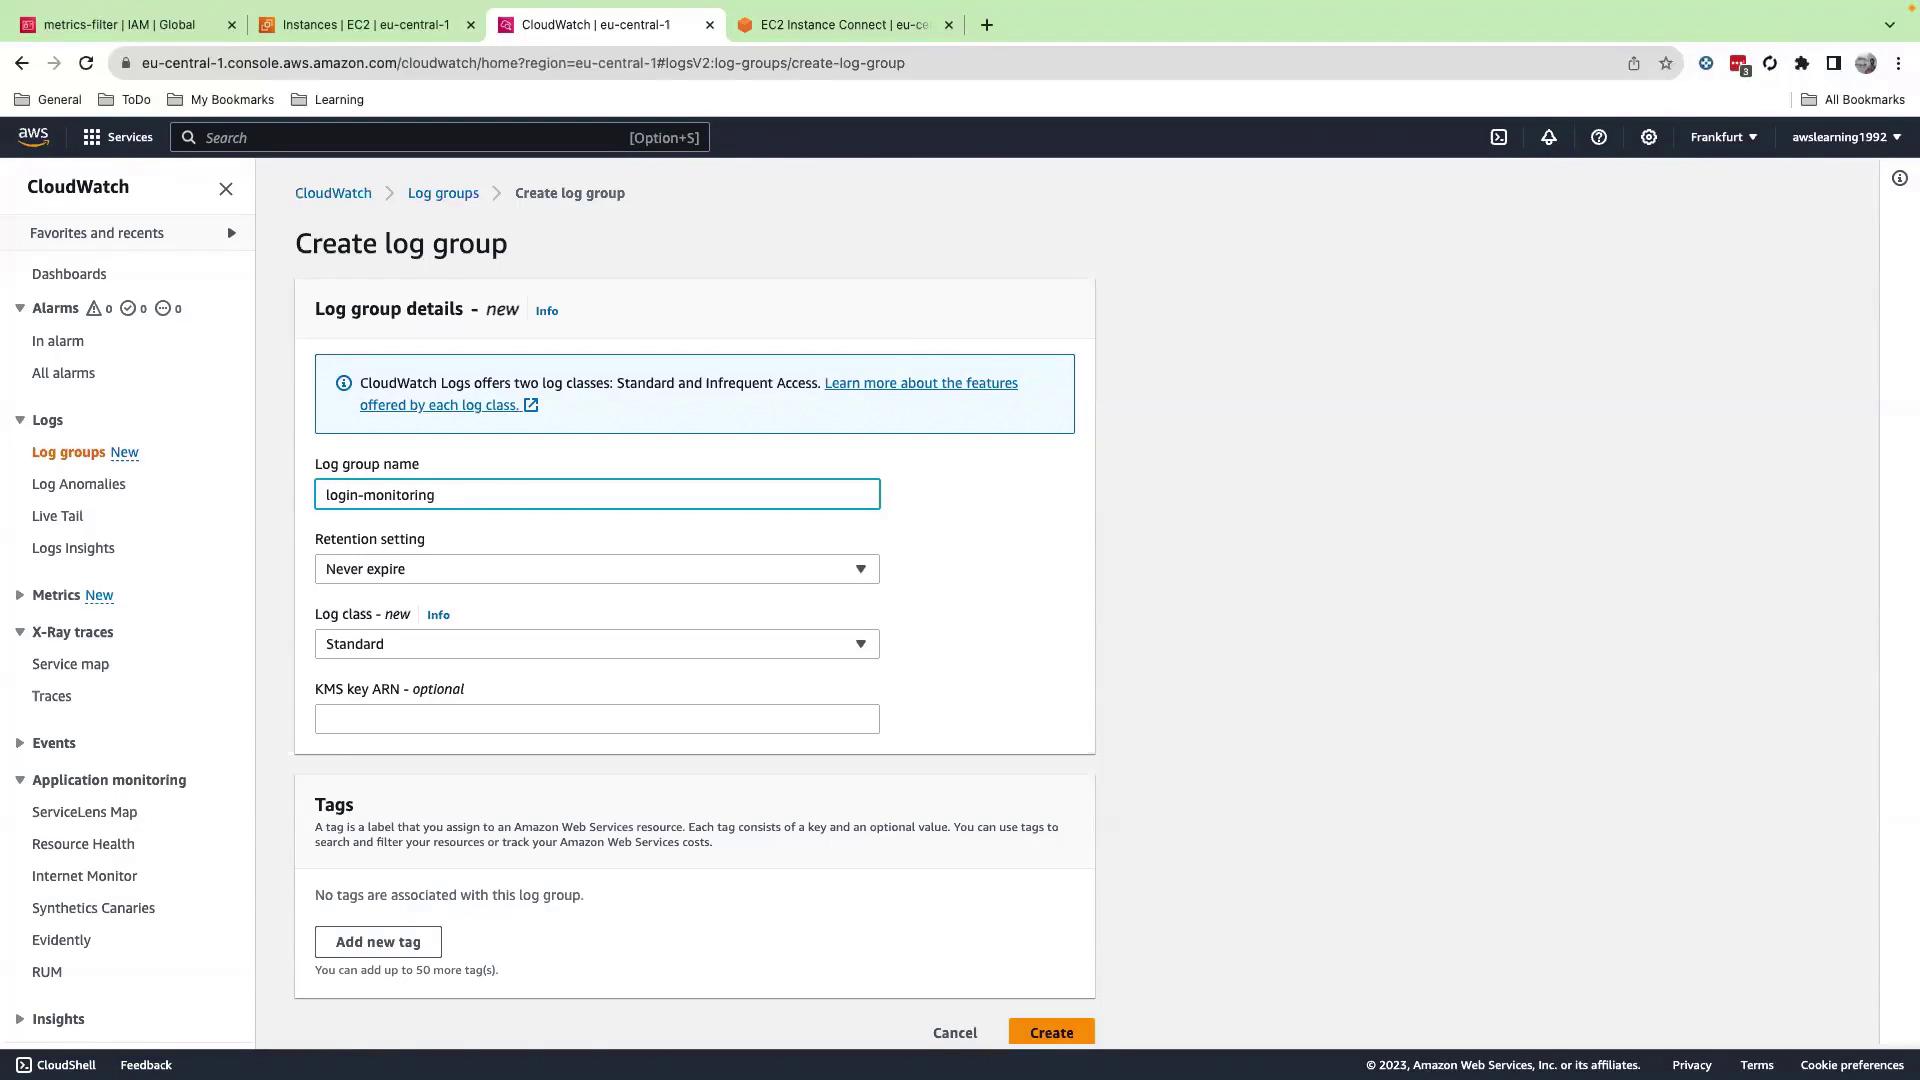
Welcome to this comprehensive guide on setting up the CloudWatch agent on an EC2 instance. In this tutorial, you will learn how to configure the agent to stream logs from your instance to a CloudWatch Log Group. With logs centralized in CloudWatch, you can easily create metric filters, alarms, and dashboards to monitor your system's performance and security.
Step 1: Update the IAM Role
Before launching your EC2 instance, you must update its IAM role to include the necessary policies.
- Navigate to the IAM Roles section in your AWS IAM console.
- Locate the role used for metric filtering.
- Click Add permission and select Attach policies. Then, attach the CloudWatch agent server policy.
Step 2: Launch an EC2 Instance
Proceed to the EC2 console and launch a new instance using these guidelines:
- Select the desired AMI (e.g., Amazon Linux).
- Assign an instance name. If necessary, proceed without a key pair.
- Choose an existing security group or create a new one based on your requirements.
- In Advanced Details, select the updated IAM role.
- Launch the instance.
Step 3: Explore the Log Files on the EC2 Instance
Once your instance is running, log into it and switch to the root user:
[ec2-user@ip-172-31-27-251 ~]$ sudo su
[root@ip-172-31-27-251 ec2-user]# cd
[root@ip-172-31-27-251 ~]#
System logs—including user logins and critical activities—are stored in the /var/log
directory. For example, list the contents of /var/log
with:
[root@ip-172-31-27-251 ~]# cd /var/log/
[root@ip-172-31-27-251 log]# ls -lrt
total 1400
-rw-r--r--. 1 root root 3684 Nov 30 02:35 cloud-init-output.log
-rw-r--r--. 1 root root 14966 Nov 30 02:35 cloud-init.log
-rw-r--r--. 1 root root 2359 Nov 30 02:35 hawkey.log
-rw-r--r--. 1 root root 72 Nov 30 02:35 chrony
-rw-r--r--. 1 root root 82507 Nov 30 02:36 dnf.rpm.log
-rw-r--r--. 1 root root 264882 Nov 30 02:36 dnf.librepo.log
-rw-r--r--. 1 root utmp 2688 Nov 30 02:36 wtmp
-rw-rw-r--. 1 root utmp 292292 Nov 30 02:36 lastlog
Pay close attention to the audit folder, which holds the audit logs. To review the last 100 lines from the audit log file, run:
[root@ip-172-31-27-251 audit]# tail -100f audit.log
type=SERVICE_START msg=audit(1701131497.700:127): pid=1 uid=0 ... UID="root" AUDIT="unset"
type=SERVICE_START msg=audit(1701131497.703:128): pid=1 uid=0 ... UID="root" AUDIT="unset"
...
Note
By streaming these logs to CloudWatch, you can monitor system activity and quickly detect security-related events.
Step 4: Download and Install the CloudWatch Agent
Download the Agent
On your EC2 instance, use the wget command to download the CloudWatch agent package:
[root@ip-172-31-27-251 ~]# wget https://s3.amazonaws.com/amazoncloudwatch-agent/linux/amd64/latest/AmazonCloudWatchAgent.zip
--2023-11-30 01:37:40-- https://s3.amazonaws.com/amazoncloudwatch-agent/linux/amd64/latest/AmazonCloudWatchAgent.zip
Resolving s3.amazonaws.com (s3.amazonaws.com)... [IP Addresses...]
Connecting to s3.amazonaws.com... connected.
Unzip and Install the Agent
Next, unzip the downloaded package and inspect the contents:
[root@ip-172-31-27-251 ~]# unzip AmazonCloudWatchAgent.zip
Archive: AmazonCloudWatchAgent.zip
inflating: amazon-cloudwatch-agent.rpm
inflating: amazon-cloudwatch-agent.deb
inflating: manifest.json
inflating: install.sh
inflating: uninstall.sh
inflating: detect-system.sh
Run the installation script to install the agent and to create the necessary user and group (cwagent
):
[root@ip-172-31-27-251 ~]# sudo ./install.sh
create group cwagent, result: 0
create user cwagent, result: 0
Step 5: Configure the CloudWatch Agent
Create a configuration file (e.g., cloudwatch-agent-config.json
) to specify which logs should be collected and where they should be sent. Below is an example configuration to collect audit logs:
logs:
logs_collected: {}
files:
collect_list:
- file_path: "/var/log/audit/audit.log"
log_group_name: "login-monitoring"
log_stream_name: "{instance_id}"
Important
Ensure the log file /var/log/audit/audit.log
exists before starting the agent.
Verify the file's presence with:
[root@ip-172-31-27-251 ~]# ls /var/log/audit/audit.log
/var/log/audit/audit.log
Step 6: Create the CloudWatch Log Group
Log in to the CloudWatch console and create a log group:
- Navigate to the CloudWatch Logs section.
- Click Create log group.
- Enter login-monitoring as the log group name and confirm.
When the CloudWatch agent starts sending logs, it will automatically generate a log stream named after your EC2 instance ID.
Step 7: Start the CloudWatch Agent
With your configuration file prepared, use the commands below to fetch the configuration and launch the CloudWatch agent:
Fetch the configuration:
[root@ip-172-31-27-251 ~]# sudo /opt/aws/amazon-cloudwatch-agent/bin/amazon-cloudwatch-agent-ctl -a fetch-config -m ec2 -cf file:cloudwatch-agent-config.json -s
2023-11-30 00:37:13 Reading region from ec2... Successfully fetched the config and saved in /opt/aws/amazon-cloudwatch-agent/etc/amazon-cloudwatch-agent-config.json.tmp
2023-11-30 00:37:13 Validation completed successfully
Start the agent:
[root@ip-172-31-27-251 ~]# sudo /opt/aws/amazon-cloudwatch-agent/bin/amazon-cloudwatch-agent-ctl -a start
2023-11-30 00:37:13 Agent has already been registered as a service. /etc/systemd/system/amazon-cloudwatch-agent.service.
To verify that the agent is running, check its status:
[root@ip-172-31-27-251 ~]# sudo /opt/aws/amazon-cloudwatch-agent/bin/amazon-cloudwatch-agent-ctl -m ec2 -a status
{
"status": "running",
"starttime": "2023-11-30T02:41:10+00:00",
"configstatus": "configured",
"version": "1.30001.0b313"
}
Step 8: Review the CloudWatch Agent Logs
The CloudWatch agent logs are accessible via a symbolic link in /var/log
that points to the actual logs directory. Follow these steps to review the logs:
Change to the
/var/log
directory and confirm the symlink:[root@ip-172-31-27-251 amazon]# cd /var/log [root@ip-172-31-27-251 log]# ls -lrt lrwxrwxrwx. 1 root root 37 Nov 11 18:46 amazon-cloudwatch-agent -> /opt/aws/amazon-cloudwatch-agent/logs
Navigate to the CloudWatch Agent log directory and list its contents:
[root@ip-172-31-27-251 log]# cd amazon-cloudwatch-agent [root@ip-172-31-27-251 amazon/cloudwatch-agent]# ls -lrt total 0 drwxr-xr-x. 3 root root 36 Nov 10 23:05 ssm -rw-r--r--. 1 root root 5 /opt/aws/amazon-cloudwatch-agent/logs/amazon-cloudwatch-agent.log configuration-validation.log state
To monitor the log output in real-time, use the following command:
[root@ip-172-31-27-251 amazon/cloudwatch-agent]# tail -f amazon-cloudwatch-agent.log
An excerpt from the agent log may appear as follows:
metric_batch_size = 1000
metric_buffer_limit = 10000
omit_hostname = false
precision = false
quiet = false
round_interval = false
[inputs.logfile]
destination = "cloudwatchlogs"
file_state_folder = "/opt/aws/amazon-cloudwatch-agent/logs/state"
[[inputs.logfile.file_config]]
file_path = "/var/log/audit/audit.log"
from_beginning = true
log_group_name = "login-monitoring"
log_stream_name = "{instance_id}"
pipe = false
retention_in_days = -1
[outputs.cloudwatchlogs]
force_flush_interval = "5s"
log_stream_name = "{instance_id}"
mode = "EC2"
region = "eu-central-1"
region_type = "EC2"
After starting the agent, review the CloudWatch Logs console to see a log stream (named after your EC2 instance ID) populated with the audit log entries.
Final Notes
In this guide, we configured the CloudWatch agent on an EC2 instance to forward audit logs to CloudWatch Logs. With the logs available in CloudWatch, you can set up metric filters, alarms, and dashboards to monitor critical patterns and system activities effectively.
Thank you for following this tutorial. Happy monitoring!
Watch Video
Watch video content
Practice Lab
Practice lab