Demo Implementing Fault Tolerant Storage using EFS
This article guides the implementation of fault-tolerant storage using Amazon Elastic File System on AWS, covering configuration, policy settings, and mounting procedures.
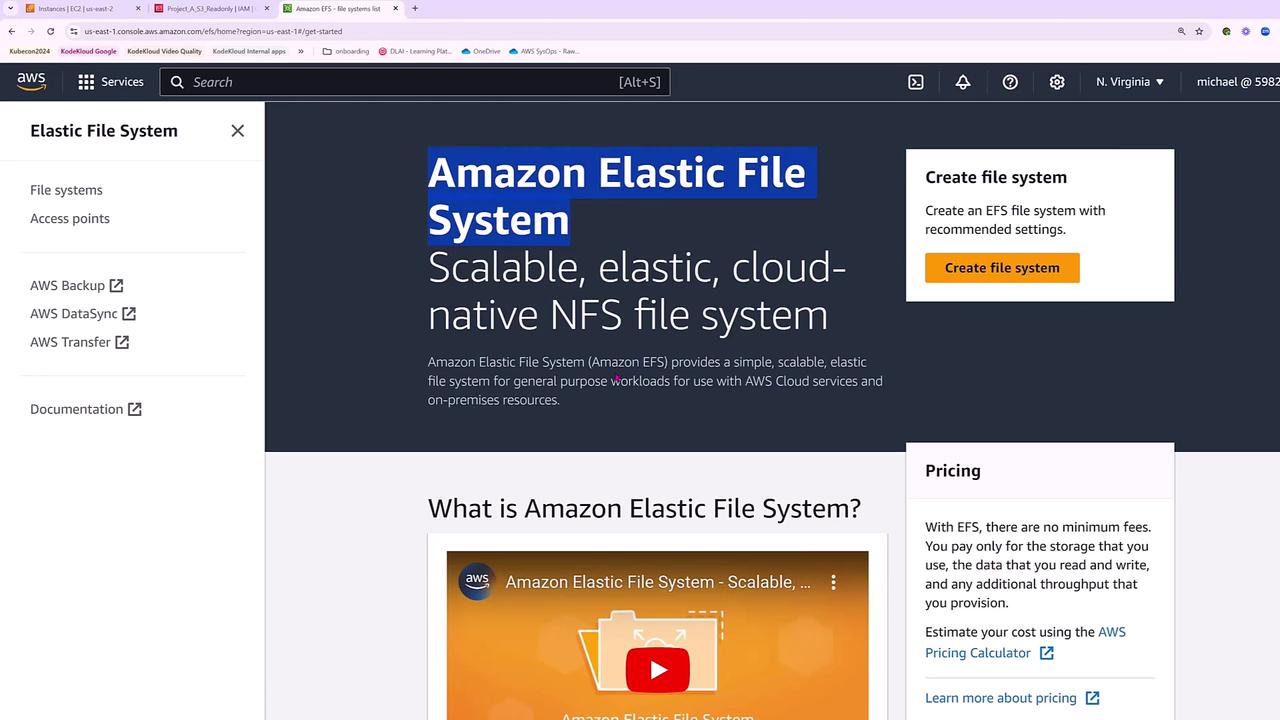
Hello, students! I’m Michael Forrester, and in this article, we’ll walk through the implementation of fault-tolerant storage using Amazon Elastic File System (EFS) on AWS. This guide covers the EFS configuration, policy settings, and mounting procedures, ensuring you achieve a robust AWS storage setup.Amazon EFS is a cloud-native, NFS-based network file system that has long served Unix and Linux environments as a reliable file-sharing solution.
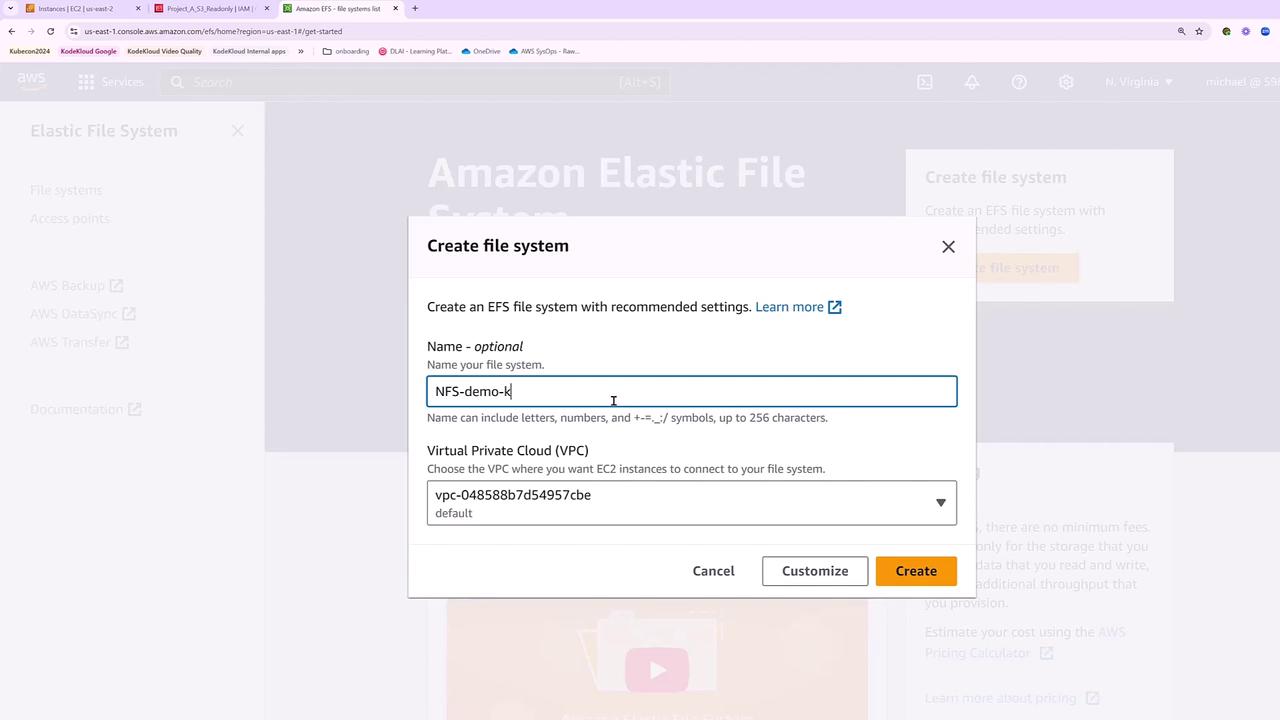
In this demo, we will create an NFS file system within your default VPC, configure it with customized settings, and then mount it for use.
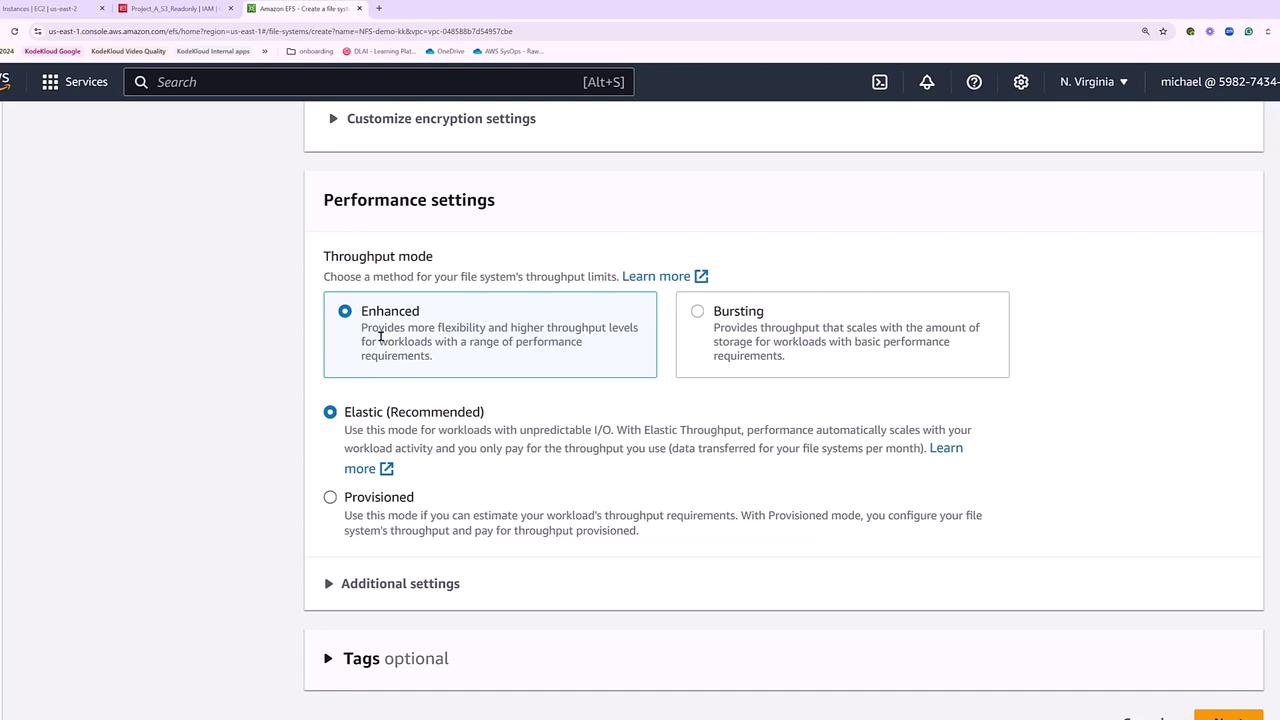
Amazon EFS is designed for multi-AZ deployments, meaning it mounts directly within Linux systems and performs like a traditional file system rather than an object storage. Its intuitive setup supports features such as automated backups and lifecycle management. These options allow you to transition to Infrequent Access or archival modes, offering cost savings without compromising performance. Moreover, EFS provides encryption at rest with configurable options to suit your security needs.There are two primary performance modes to consider:
Bursting: Begins with a lower baseline performance but is capable of bursting to higher throughput levels as file system capacity increases.
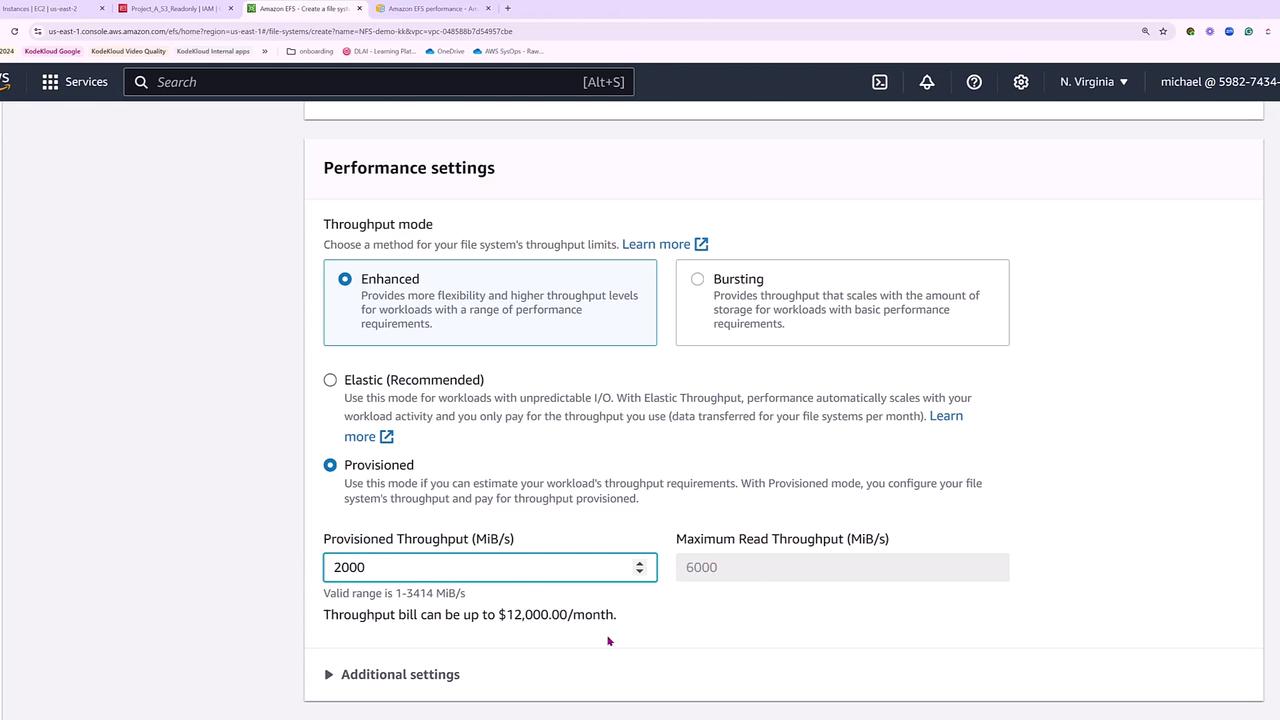
Enhanced/Elastic/Provisioned: Delivers a broader array of performance configurations tailored for workloads that demand steady throughput or low latency. For production environments that require predictability, enhanced modes are typically preferred over bursting.
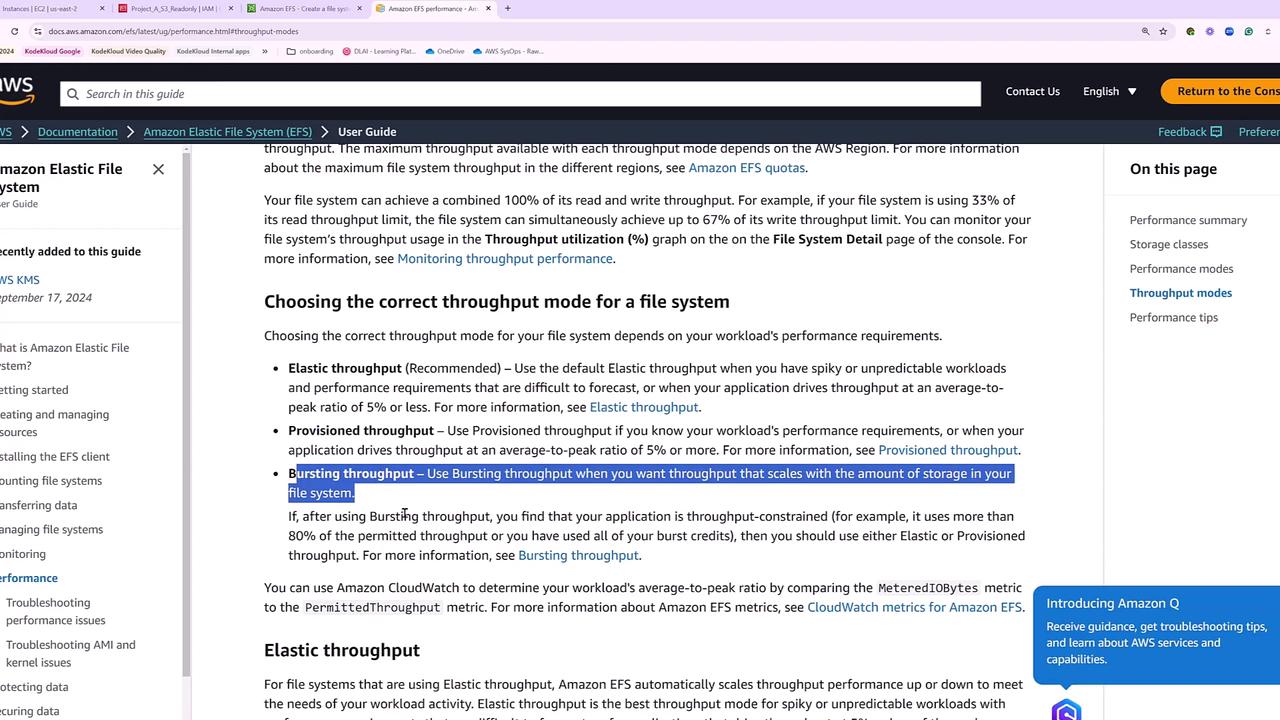
Clicking “Learn More” in the console provides detailed diagrams that illustrate the differences between these throughput modes. For example, bursting throughput scales with storage size; when limits are reached, switching to Elastic or Provisioned modes may be necessary for enhanced performance.
In production systems with a need for predictable performance, configuring an enhanced throughput mode is common. You can set parameters such as a maximum burst limit (e.g., 1000 or 2000) that controls temporary throughput spikes.
For highly parallel workloads requiring strict latency control, consider using the “max I/O” option instead of the general-purpose mode. However, for most cases, the general-purpose mode suffices.
During the configuration process, you are prompted to specify where the NFS mount will be available. For instance, in the Virginia (us-east-1) region, you have the flexibility to customize the Availability Zones to be used.The AWS console automatically applies security groups to each mount target. At this stage, you can choose to enforce a file system policy that restricts actions such as read-only access, encryption, or root-level access. Below is an example of a policy that enforces secure transport and restricts client root access:
This policy ensures that secure transport is required and prevents unauthorized root access.If you prefer to allow root-level access or adjust the permissions further, you might modify the policy. For example, here’s an alternative policy that removes the explicit prevention of root access:
After finalizing your file system policies, review all configurations—including mount targets, security groups, and policies—before clicking the Create button.
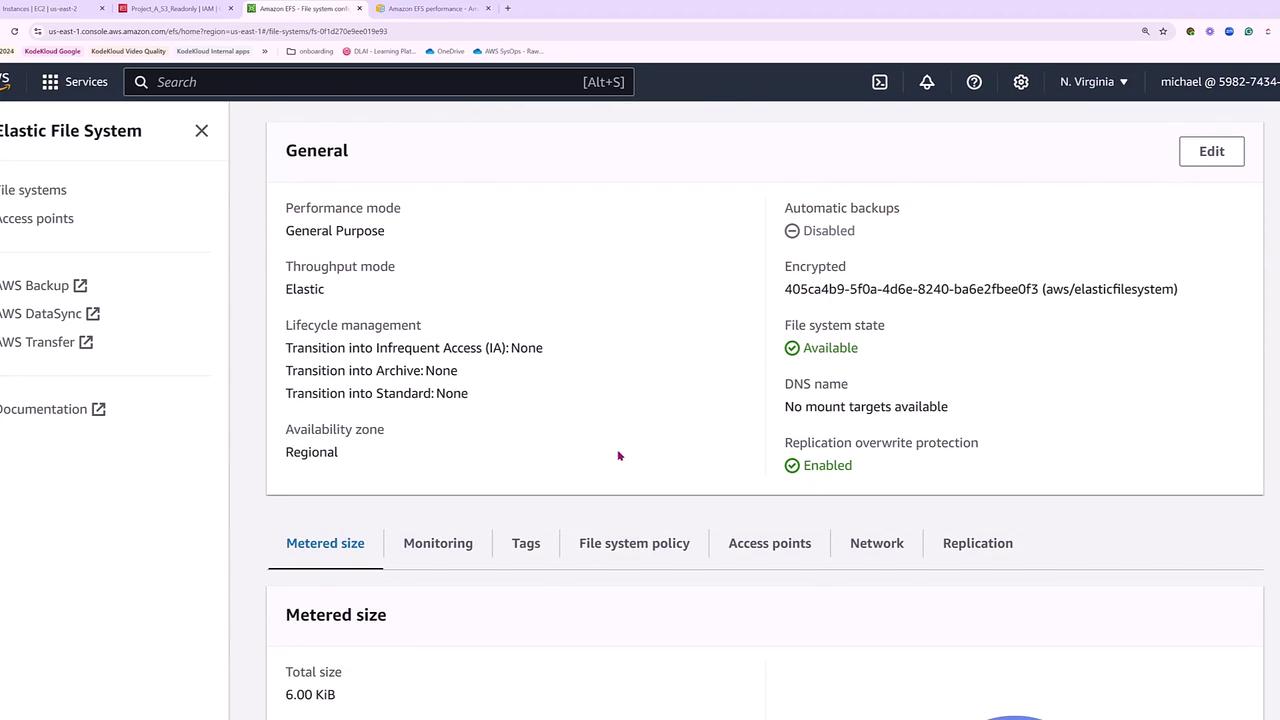
Once created, the file system ID along with additional details will be visible. By clicking into the file system, you can view these settings and access the specific commands to mount the EFS on your Linux systems.
AWS offers command examples for mounting your EFS either through the EFS mount helper or directly with an NFS client. Here are two common approaches:
Using the EFS Mount Helper:
Copy
sudo mount -t efs -o tls fs-0f1d270e9ee019e93:/ efs
Using NFS Directly:
Copy
sudo mount -t nfs4 -o nfsvers=4.1,rsize=1048576,wsize=1048576,hard,timeo=600,retrans=2,noresvport fs-0f1d270e9ee019e93.efs.us-east-1.amazonaws.com:/ efs
The fully qualified domain name (FQDN) provided is internal to AWS, ensuring that the file system mounts correctly.Once mounted, there may be a brief delay as the mount targets (represented as network interfaces or ENIs) across each Availability Zone (e.g., US East 1A, B, C) stabilize.
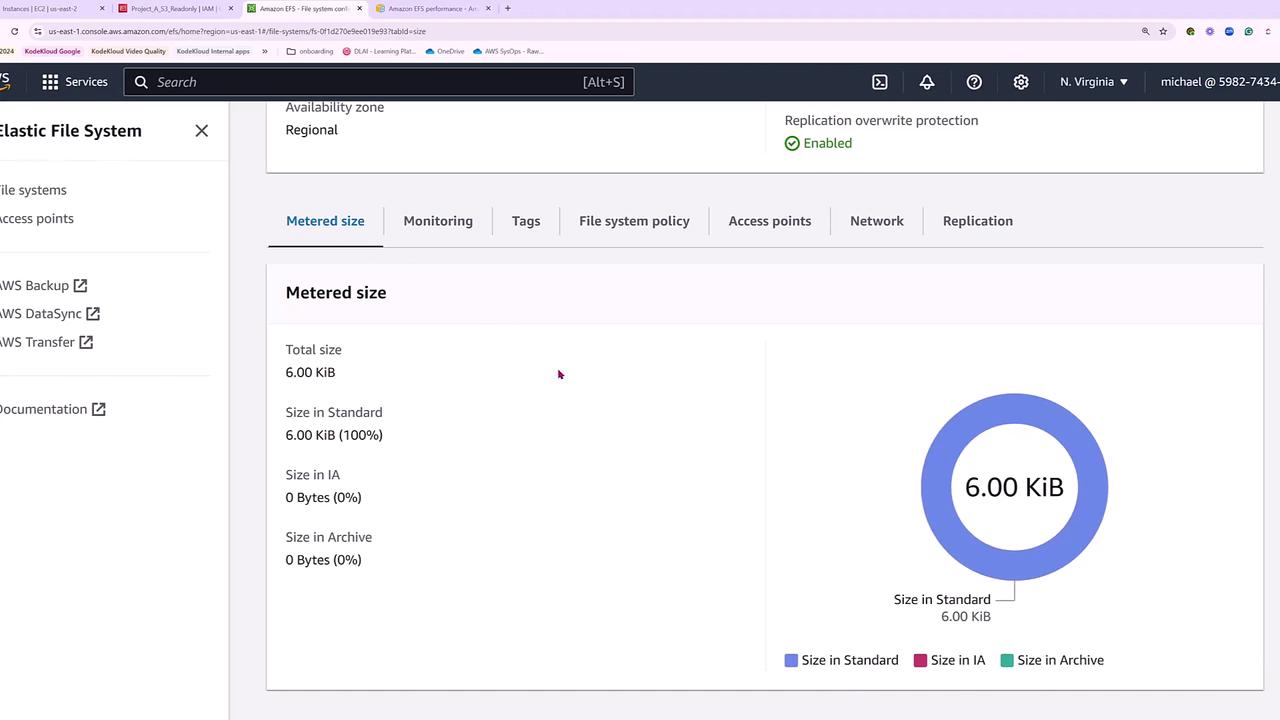
Even if automatic backups are disabled during setup, the dashboard monitoring graphs will eventually display key metrics such as file system utilization, throughput, storage class breakdown, and more.
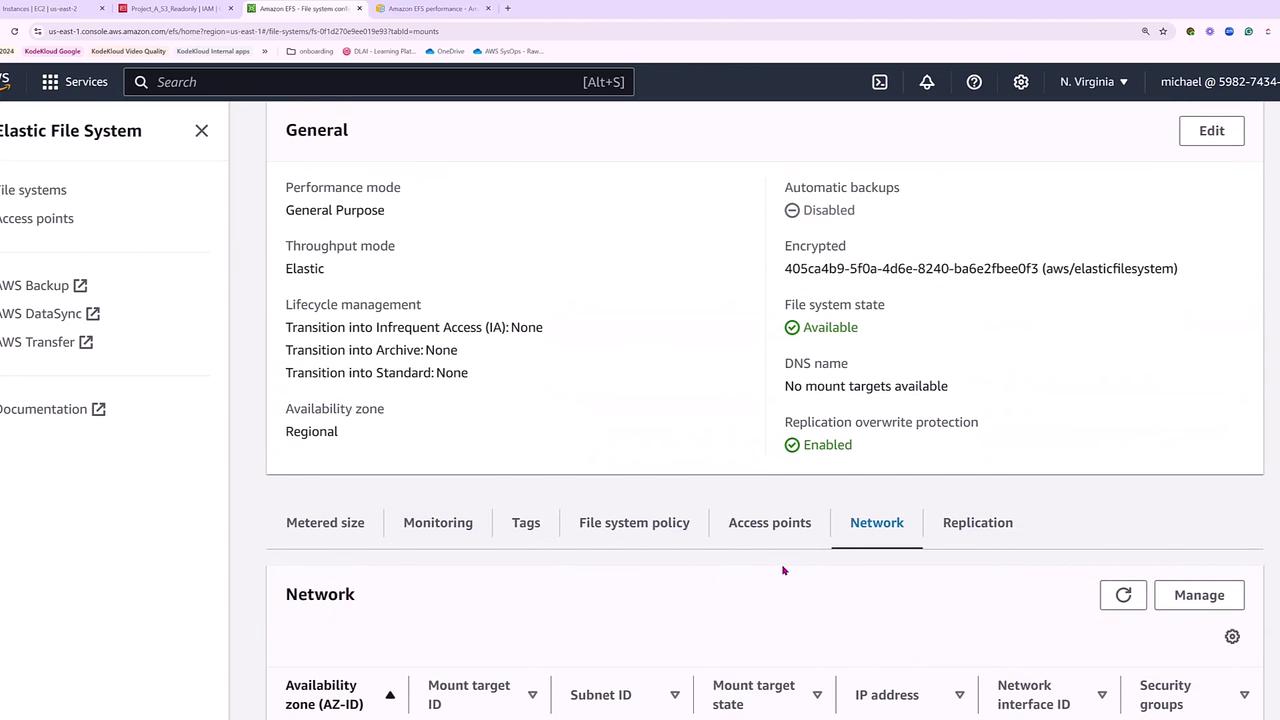
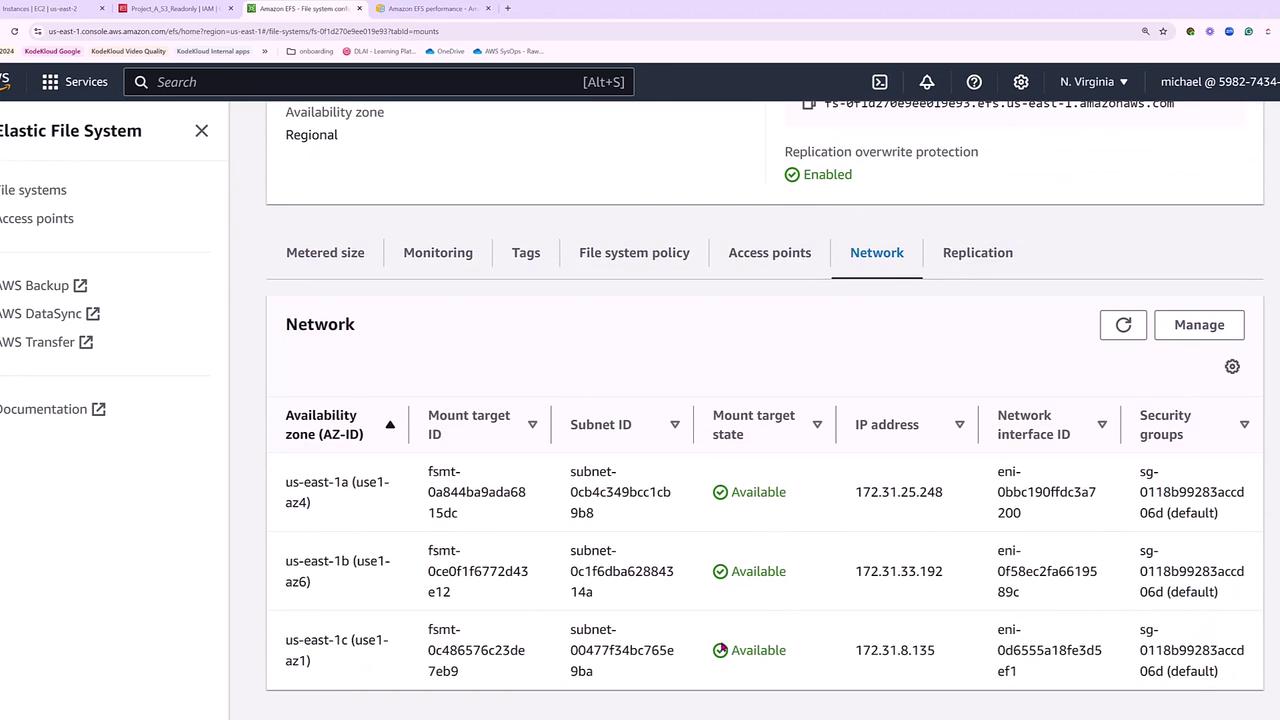
Checking your network settings should reveal that the mount targets are active in the selected Availability Zones. This confirms that your EFS is ready to be mounted and used by your Linux servers for hosting web content, storing database logs, backups, etc.To get detailed network settings—including availability zones, mount target IDs, subnet IDs, IP addresses, and associated security groups—review the following console dashboard:
This concludes our guide on setting up a fault-tolerant Amazon EFS. You now have a comprehensive understanding of how to configure EFS, implement file system policies, and mount the storage on your Linux instances for various production workloads.See you in the next article!