AWS Certified SysOps Administrator - Associate

Domain 6 Cost and Performance Optimization

Configuring Billing Alarms to Send Notifications for Cost Monitoring

Welcome to this lesson on setting up billing alarms in AWS CloudWatch for effective cost monitoring. In this guide, you will learn how to enable billing alerts, create a CloudWatch alarm, and verify your alarm configuration.

Pre-requisites

Before you begin, ensure that your billing alerts are enabled in your AWS account. This demonstration uses a demo account that may incur some costs.

Enabling CloudWatch Billing Alerts

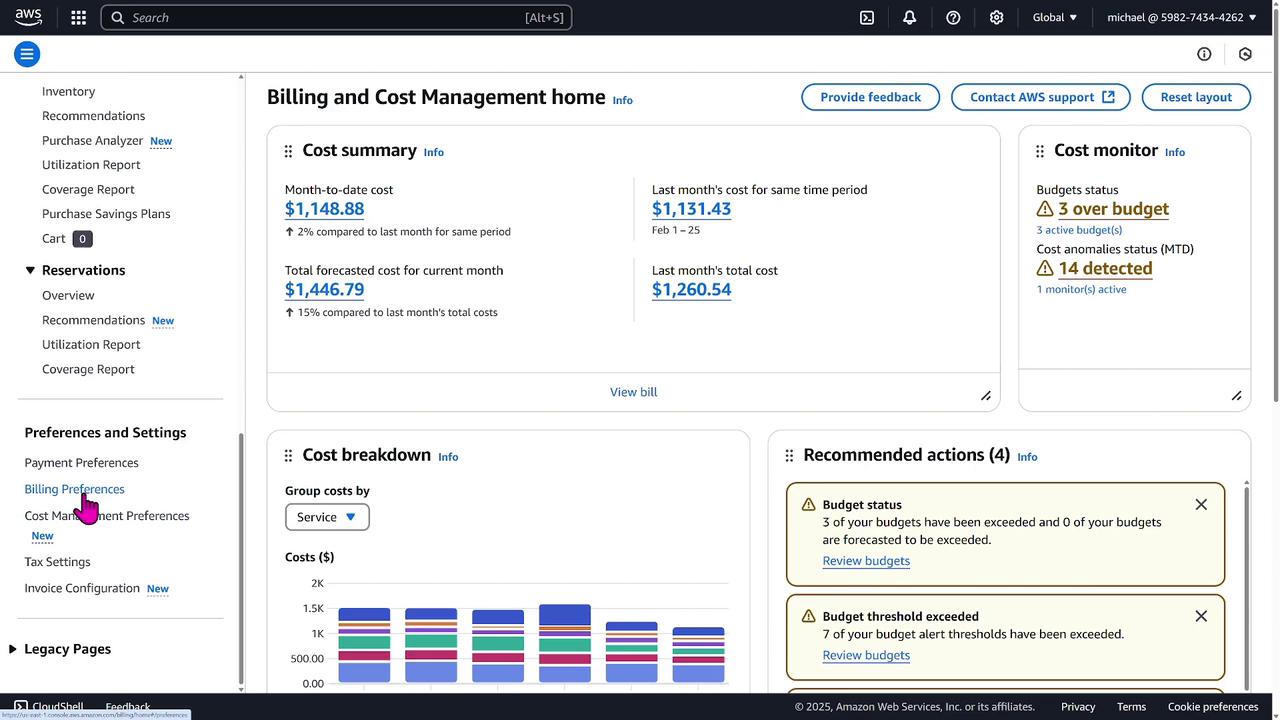
  1. Log in to the AWS Console and navigate to the Billing and Cost Management dashboard.
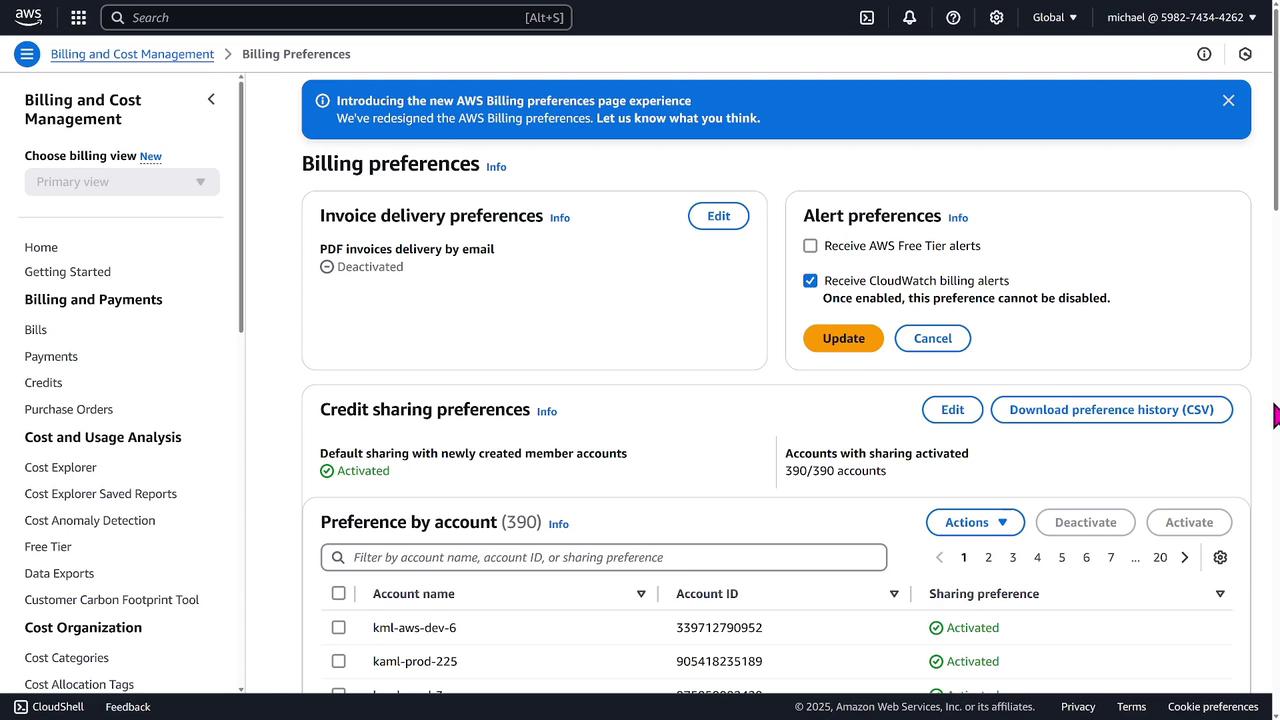
  2. Scroll down to Billing Preferences and click on it.

The image shows an AWS Billing and Cost Management dashboard, displaying cost summaries, cost breakdowns, and budget status alerts.

  1. In the Invoice Delivery and Alert Preferences pop-up, locate the Alert Preferences section and click Edit.
  2. Enable the option to receive CloudWatch billing alerts. Note that this setting cannot be disabled once enabled.
  3. Click Update. Note that it may take around 15 minutes for this preference to take effect.

The image shows the AWS Billing Preferences page, displaying options for invoice delivery, alert preferences, and credit sharing preferences, along with a list of accounts and their sharing status.

Setting Up the CloudWatch Alarm

Once the billing alert configuration has been enabled, follow these steps to create a billing alarm in CloudWatch:

  1. Navigate to CloudWatch in the AWS Console. Ensure you are in the Northern Virginia region, as billing metrics are currently available only in this region.
  2. On the left panel, click on Alarms and select All Alarms. You might see an existing alarm (like an old node server alarm), but there should be no billing alarm at this point.
  3. Click the Create Alarm button.
  4. In the metric selection, click Billing and then select Total Estimated Charge from the list.

The image shows an AWS CloudWatch interface for creating an alarm, specifically in the "Specify metric and conditions" step. It includes settings for monitoring estimated charges in USD with a graph and conditions for triggering the alarm.

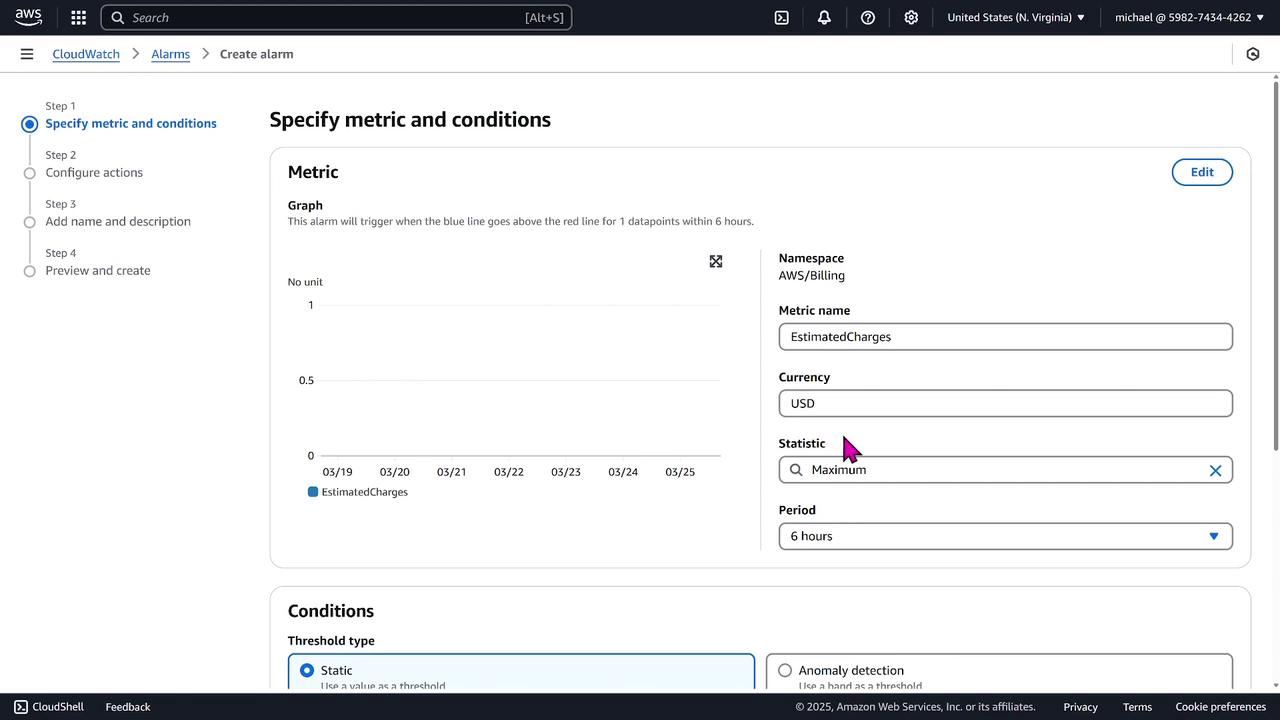
  1. Check the checkbox next to Total Estimated Charges and click Select Metric.

Configuring Alarm Conditions

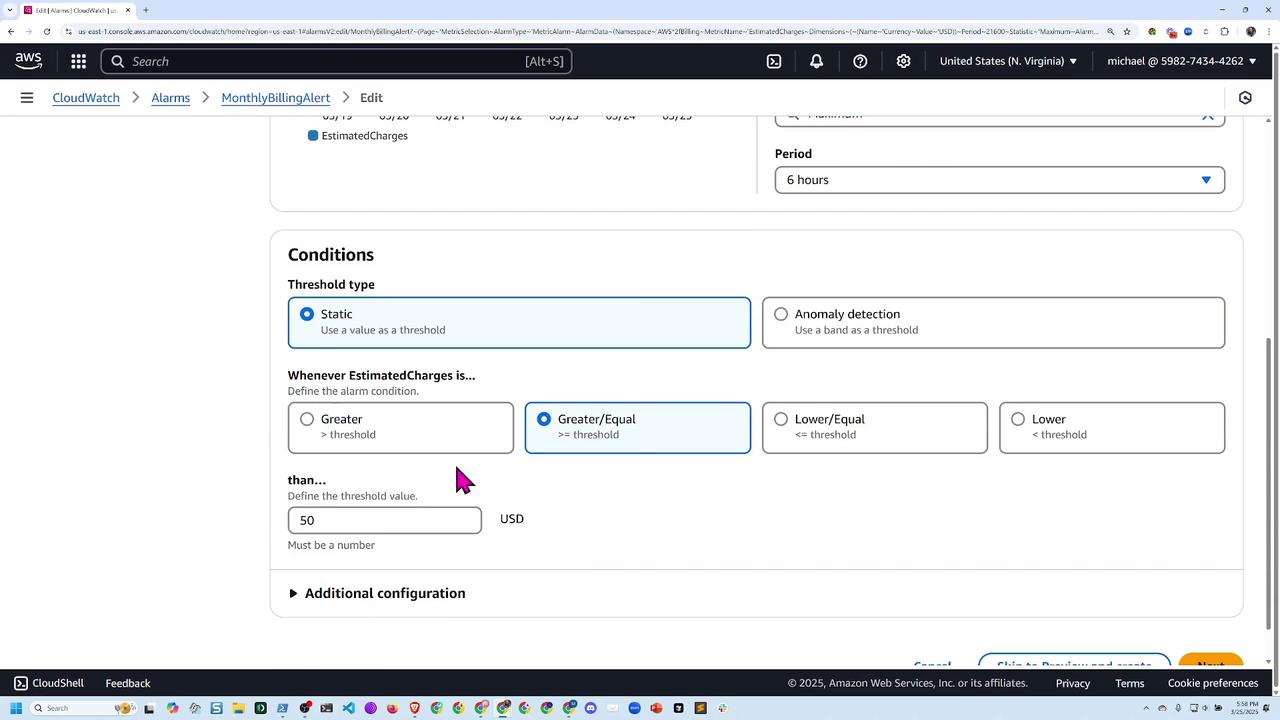
  1. Set the threshold type to Static (do not use Anomaly Detection).
  2. Specify the condition so that the alarm triggers when the estimated charge is greater than or equal to your desired threshold. For demonstration purposes, we will use a threshold of $50 USD.
  3. Leave the data point option at "1 out of 1" for additional configuration.
  4. For missing treatment data, select Treat missing data as missing.

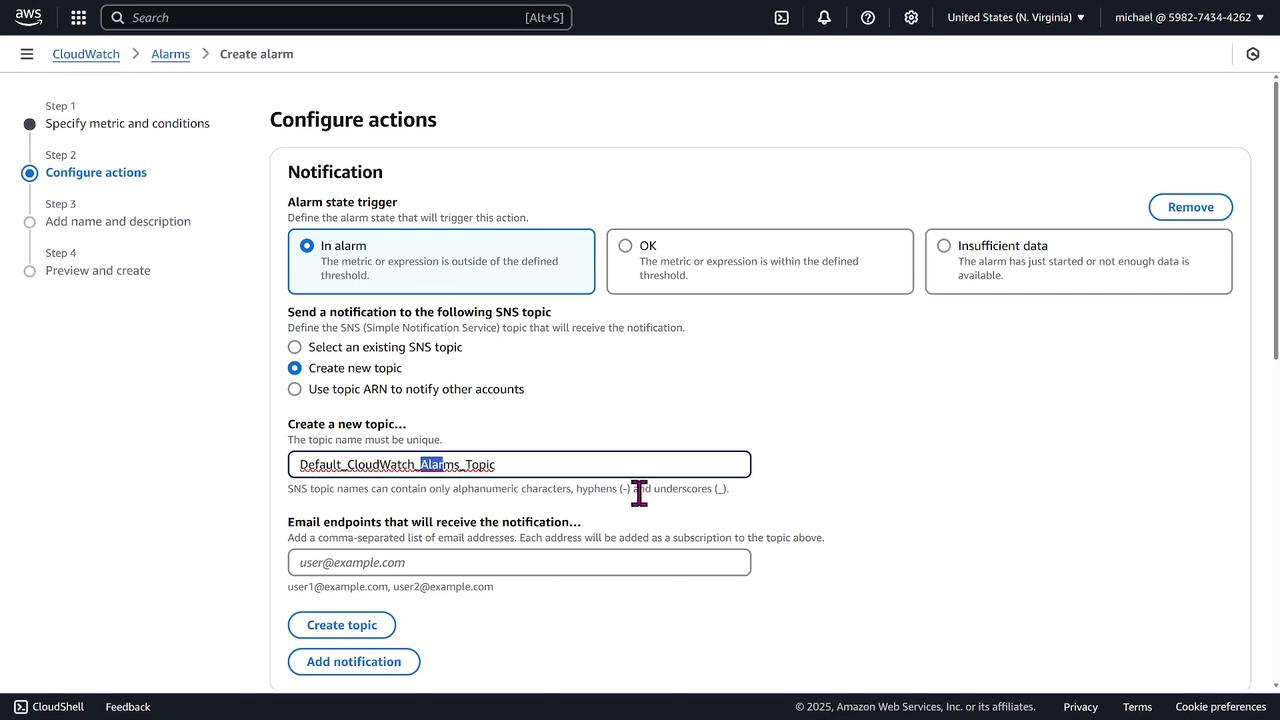
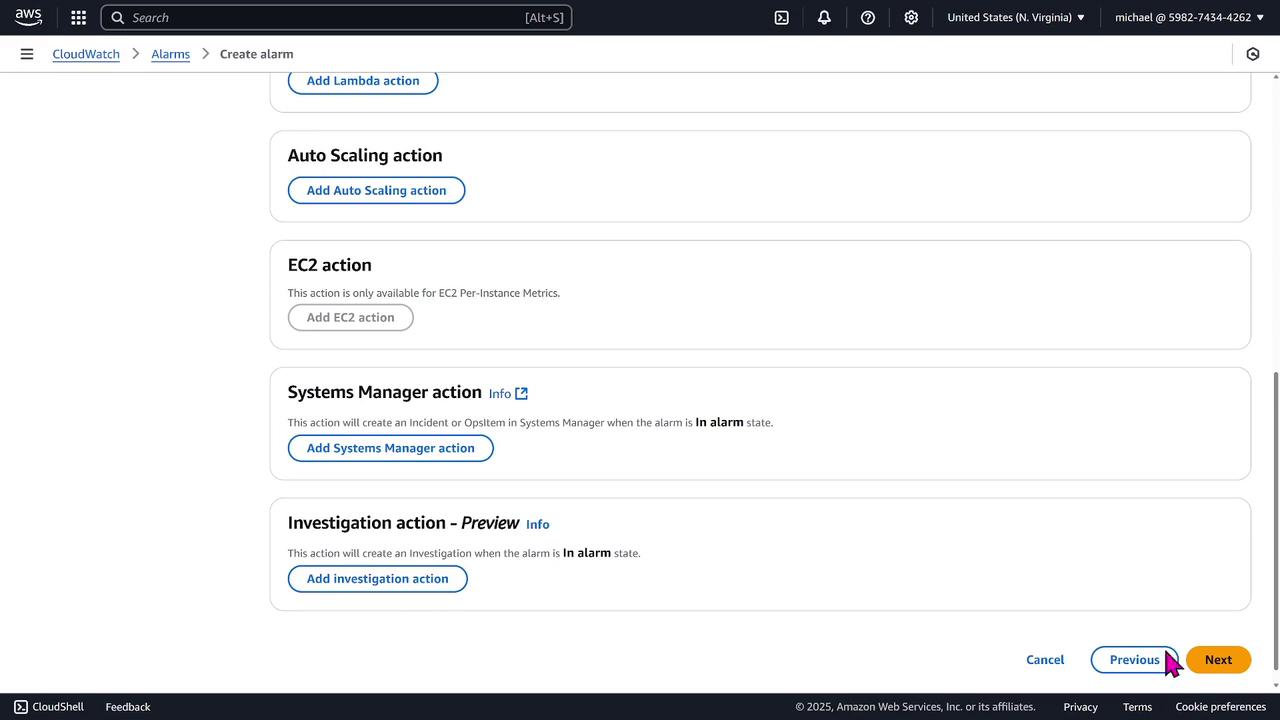
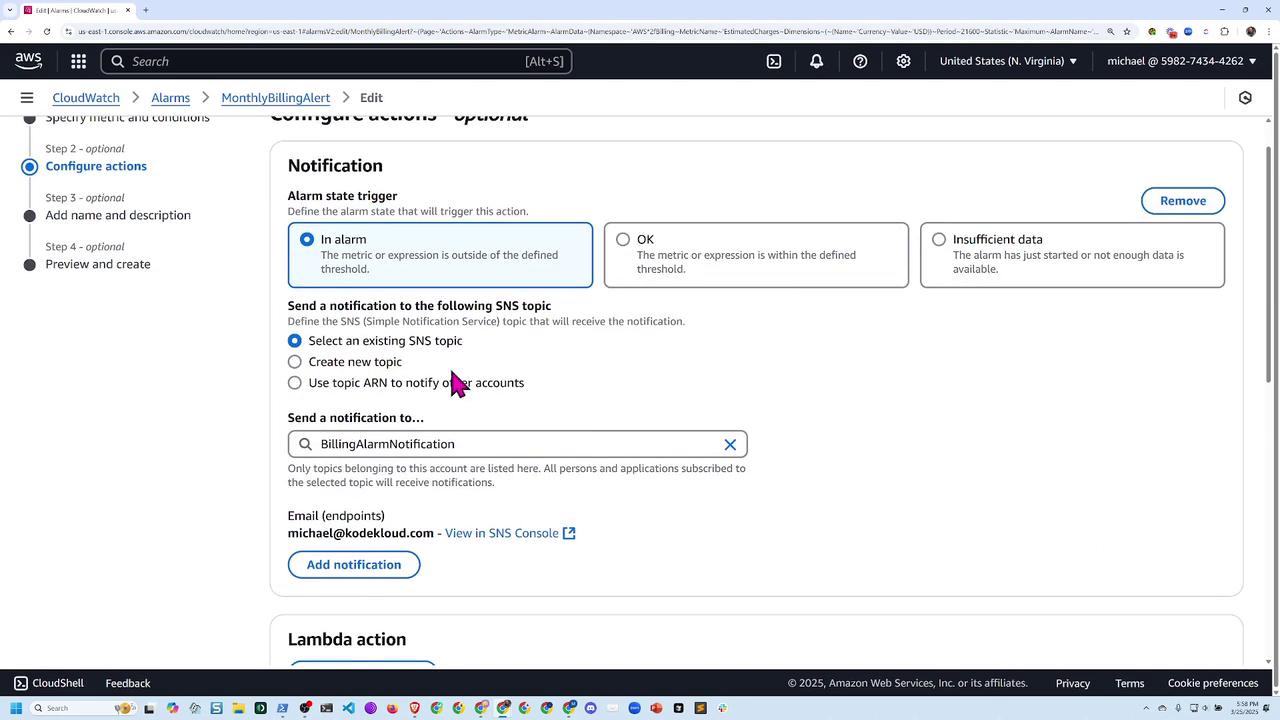
Configuring Alarm Actions

  1. Under the Alarm Actions section, choose to send a notification when the alarm is triggered.
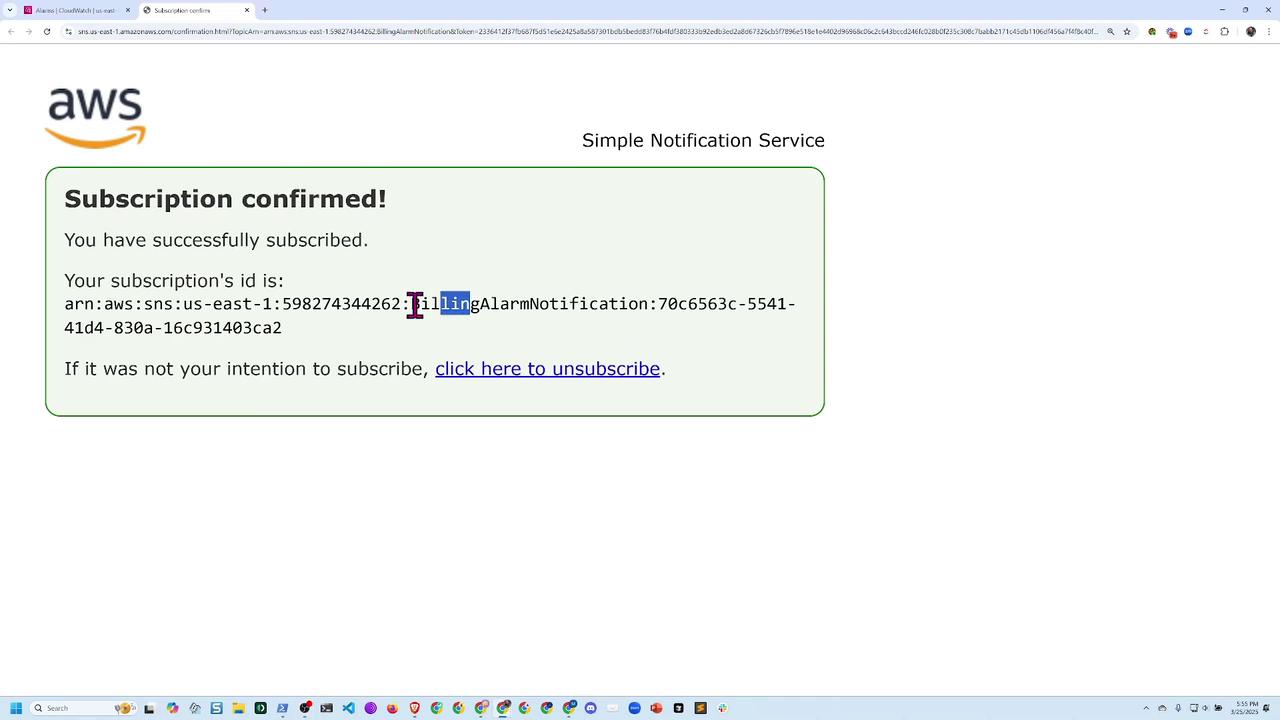
  2. Either use the default CloudWatch alarms SNS topic or create a descriptive one (e.g., "billing alarm notification").
  3. Enter an email address (for example, [email protected]) for direct email notifications.
  4. Click Next to proceed.

The image shows a configuration screen for setting up an alarm in AWS CloudWatch, where a new SNS topic is being created for notifications. The interface includes options for defining alarm state triggers and specifying email endpoints for notifications.

  1. Skip any additional actions such as invoking Lambda functions or auto scaling by clicking Next.
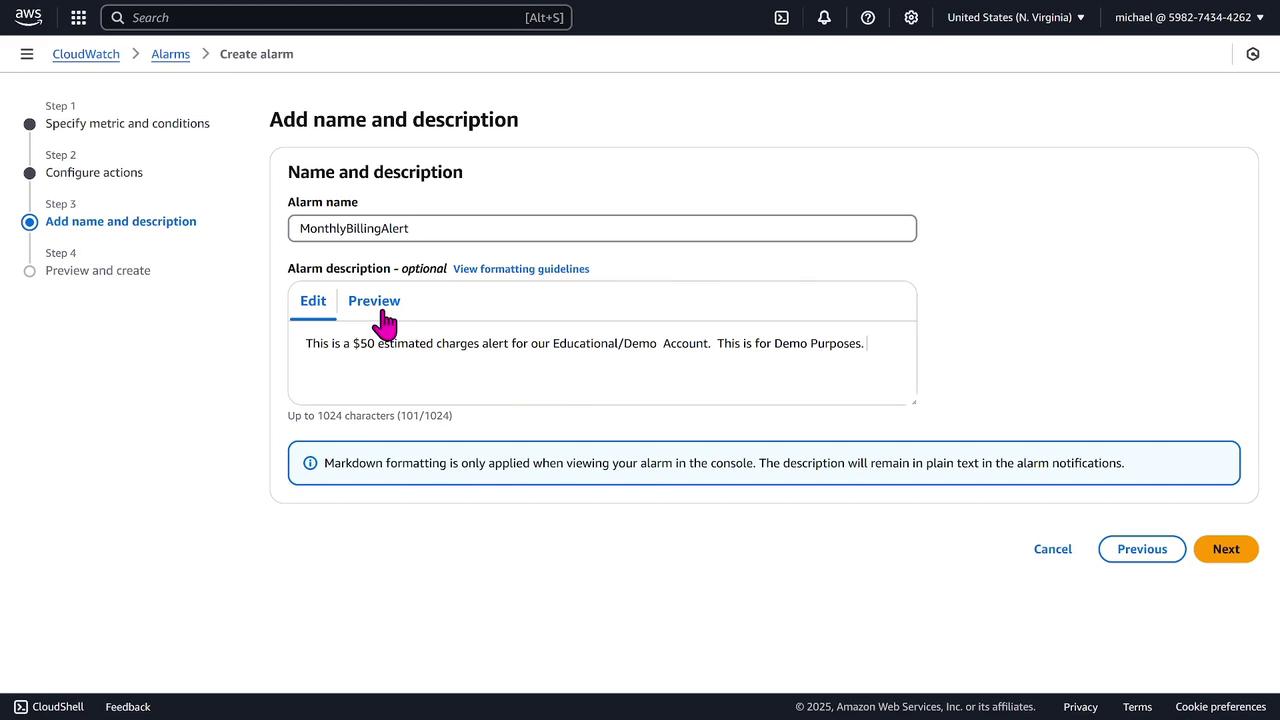
The image shows an AWS CloudWatch interface for creating an alarm with options to add various actions like Lambda, Auto Scaling, EC2, Systems Manager, and Investigation actions. There are "Previous" and "Next" buttons at the bottom.

  1. Name the alarm (for example, "MonthlyBillingAlert") and add a description such as "This is a $50 estimated charges alert for our educational demo account."

The image shows an AWS CloudWatch interface where a user is creating an alarm named "MonthlyBillingAlert" with a description for estimated charges. The interface is on the "Add name and description" step of the alarm creation process.

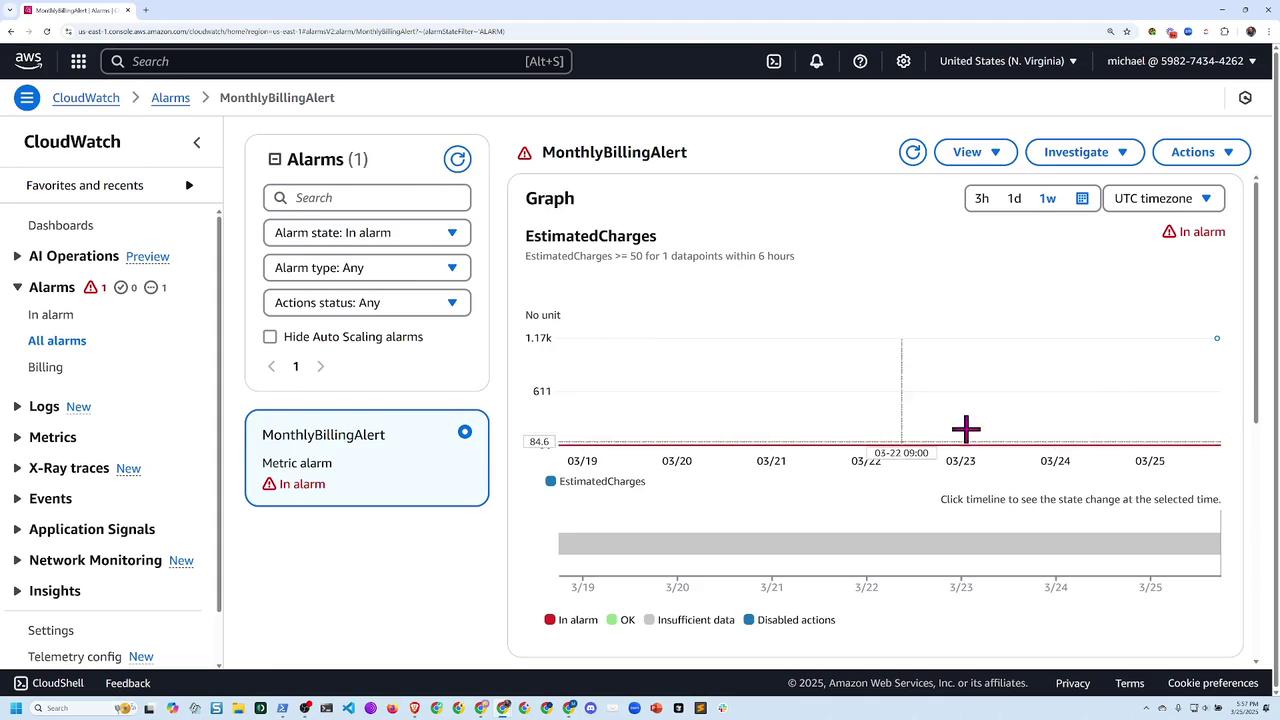
  1. Preview the alarm configuration. Even if no data is plotted yet, the settings indicate that a notification will be sent when estimated charges exceed $50.

The image shows an AWS CloudWatch interface for creating an alarm based on estimated charges. It includes a graph and conditions for triggering the alarm when charges exceed a specified threshold.

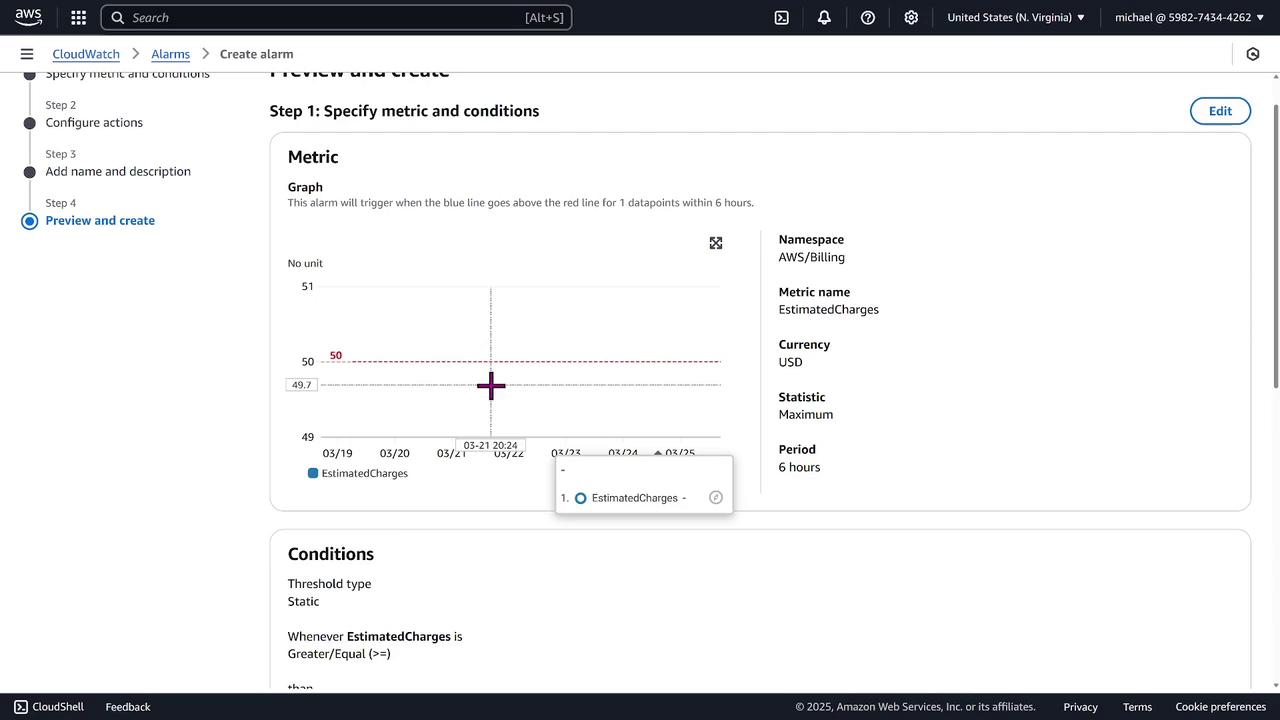
  1. Click Create Alarm. Initially, the alarm state might show as "Insufficient data" because the billing metrics have not fully populated.

Once the alarm is created, verify your SNS subscription. Check your email for a subscription confirmation and confirm it to fully activate your billing alarm.

The image shows an AWS CloudWatch Alarms dashboard with two alarms listed, both in a state of "Insufficient data." Notifications indicate a successfully created alarm and pending SNS subscription confirmations.

The image shows a confirmation page from AWS Simple Notification Service indicating a successful subscription, with an option to unsubscribe.

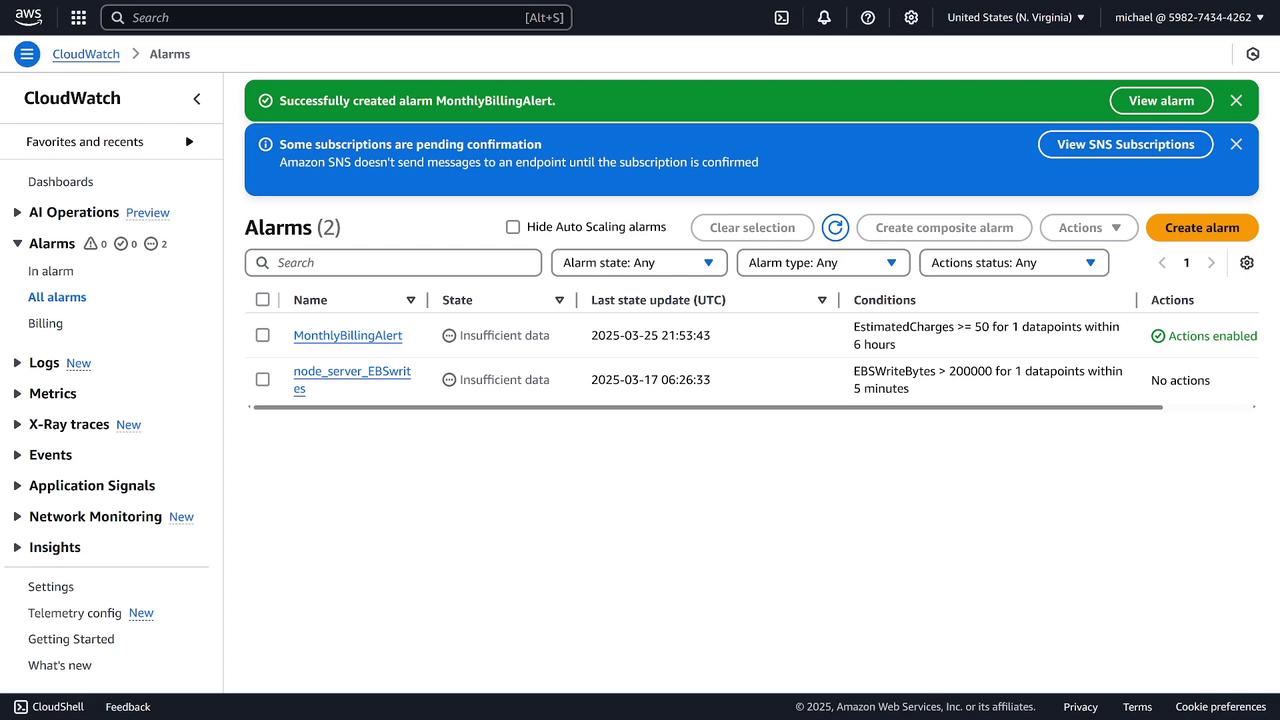
Verifying and Adjusting the Alarm

After waiting a few minutes (up to 15 minutes), billing data should begin to populate. If your usage exceeds $50, the alarm will automatically transition to an "ALARM" state. For instance, if the estimated charges are significantly higher (e.g., $700 or $1,100), the alarm will trigger immediately. You can click on the alarm to view a detailed graph of the estimated charges.

The image shows an AWS CloudWatch dashboard with alarms for billing and EC2 services. It highlights a "MonthlyBillingAlert" and a "node_server_EBSwrites" alert.

The image shows an AWS CloudWatch dashboard with a "MonthlyBillingAlert" in alarm state, indicating estimated charges have exceeded a set threshold. A graph displays the estimated charges over time, highlighting the point where the alarm was triggered.

If you find that the threshold is too low—for example, if actual usage is much higher than $50—you can adjust the alarm:

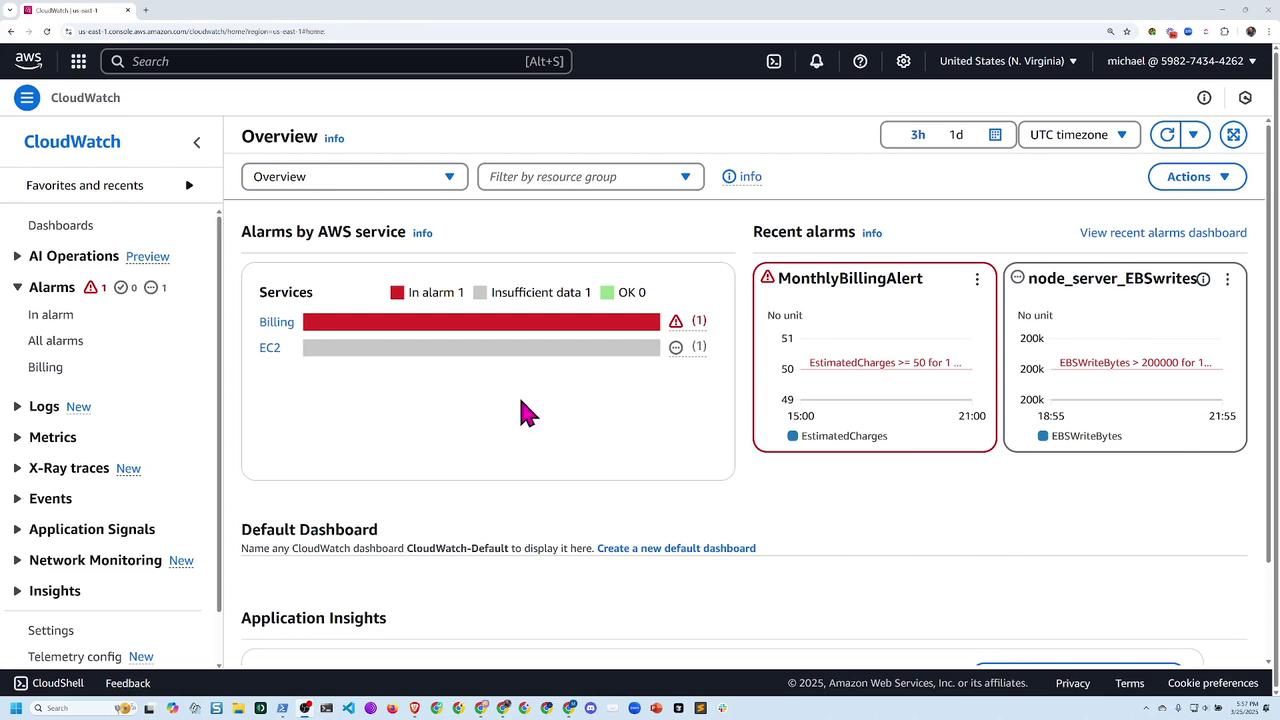
  1. Open the alarm and select Edit.
  2. Change the static threshold from $50 to a higher value (e.g., $1,500).
  3. Verify that all other settings remain unchanged (data point configuration, SNS topic, etc.) and then save the updated configuration.

The image shows an AWS CloudWatch configuration screen for setting a billing alarm. It includes options for setting a static threshold for estimated charges, with conditions for triggering the alarm when charges are greater than or equal to a specified amount.

The image shows an AWS CloudWatch configuration screen for setting up a billing alarm notification. It includes options for selecting an SNS topic and defining the alarm state trigger.

Give the system a few moments after updating the alarm. With the next data collection, the alarm state should reflect the new threshold if it has not been exceeded.

Additional Options

While this lesson focuses on the Total Estimated Charges metric, you can configure alarms for other billing parameters. For example, if you manage linked accounts or need to monitor specific services (such as Gateway, ECR, or EKS), select those metrics individually to set more granular alarms.
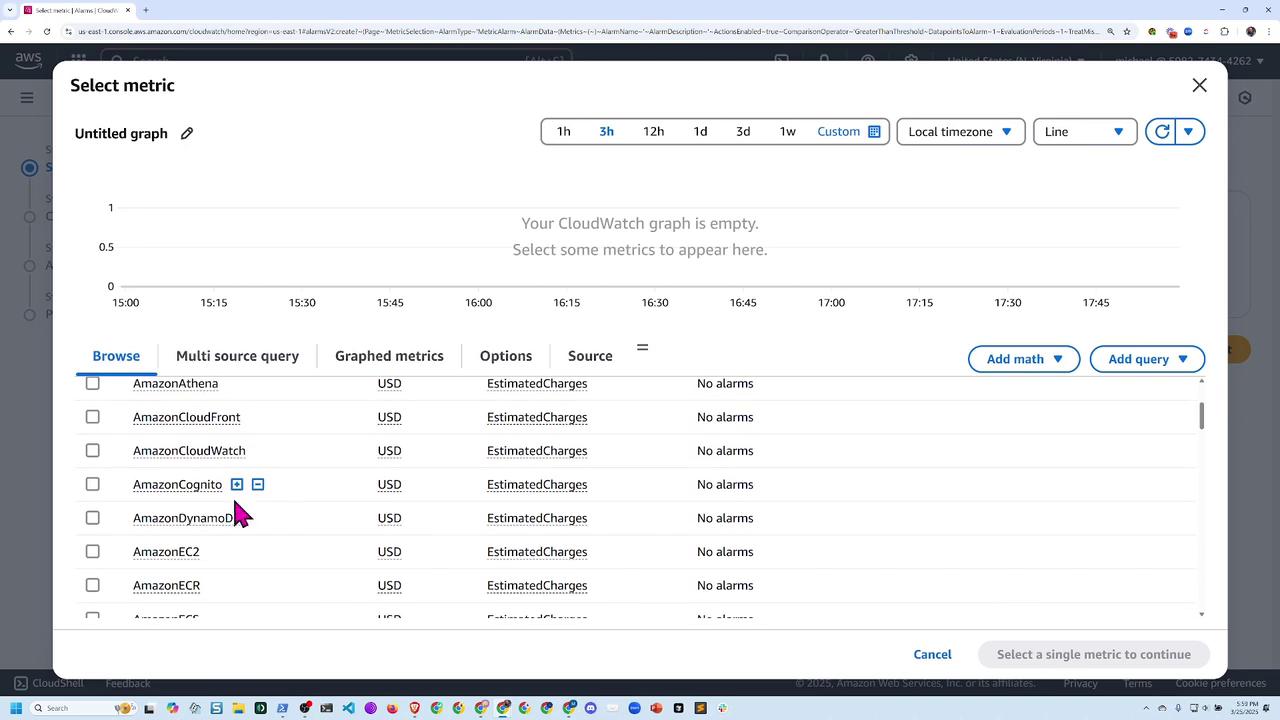
The image shows an AWS CloudWatch interface for selecting metrics, with a list of services like Amazon Athena and Amazon CloudFront, displaying estimated charges in USD and indicating no alarms. The graph area is currently empty, awaiting metric selection.

Conclusion

In this lesson, you learned how to set up billing alarms in AWS CloudWatch to monitor costs effectively. If you have any questions or require further assistance, please join our Discord or visit the forums. We look forward to seeing you in the next lesson.

Tip

Remember to regularly review your billing metrics and adjust alarm thresholds as needed to ensure they match your spending habits.

Watch Video

Watch video content

Previous
Setting Up AWS Budgets to Monitor and Control Costs