AZ-400: Designing and Implementing Microsoft DevOps Solutions
Branching Strategies for Source Code
Collaborate with pull requests
Pull requests (PRs) are essential for modern software teams. They enable code review, discussion, and controlled merges—ensuring high quality and transparency in every change. In this guide, we’ll walk through the pull request lifecycle, share best practices, and demonstrate workflows that foster effective collaboration.
Table of Contents
- Branching Strategy
- Opening a Pull Request
- Collaborating & Reviewing
- Merging & Cleanup
- References & Resources
Branching Strategy
Isolating work on a dedicated branch prevents conflicts and supports parallel development.
| Branch Type | Naming Convention | Purpose |
|---|---|---|
| feature | feature/your-feature | New functionality |
| fix | fix/description | Bug fixes |
| hotfix | hotfix/issue-id | Urgent production fixes |
| release | release/x.y.z | Prep for next version rollout |
# Example: create a feature branch from main
git checkout main
git pull origin main
git checkout -b feature/user-authentication
Note
Always branch off the latest main (or develop) to incorporate recent updates and avoid merge conflicts.
Opening a Pull Request
When your branch is ready, open a PR to initiate feedback and track changes.
- Push your branch to the remote:
git push -u origin feature/user-authentication - In your repository UI (GitHub/GitLab/Azure Repos), click New Pull Request.
- Fill in:
- Title: concise, descriptive (e.g., “Add JWT-based authentication”)
- Description: summary, related issues, screenshots, test steps
- Assign reviewers, add labels, and select appropriate milestone.
Note
Use templates for consistent PR descriptions: link to the issue, outline changes, list test instructions.
Collaborating & Reviewing
A healthy review process reduces defects and spreads knowledge across the team.
- Line-by-line comments
Suggest improvements or ask questions on specific code sections. - Threaded discussions
Resolve design debates without cluttering commit history. - Automated checks
Integrate CI/CD pipelines to run tests, linting, and security scans.
| Review Stage | Action | Tooling Example |
|---|---|---|
| Automated Builds | Validate code compiles and tests pass | GitHub Actions, Jenkins, Azure Pipelines |
| Peer Review | Manual code inspection & feedback | GitHub Reviews, GitLab Approvals |
| Policy Enforcement | Enforce branch protection & sign-offs | Required reviewers, status checks |
Warning
Do not merge before all required checks and approvals are completed. Merging early can introduce regressions or untested code into main.
Merging & Cleanup
Once approved and green, it’s time to merge and tidy up.
# Switch to main and pull latest changes
git checkout main
git pull origin main

# Merge with squash or merge commit
git merge --no-ff feature/user-authentication

# Push merged code
git push origin main

# Delete feature branch locally and remotely
git branch -d feature/user-authentication
git push origin --delete feature/user-authentication
Selecting Squash and Merge creates a single commit per PR for a cleaner history, while Rebase and Merge preserves each commit’s detail.

References & Resources
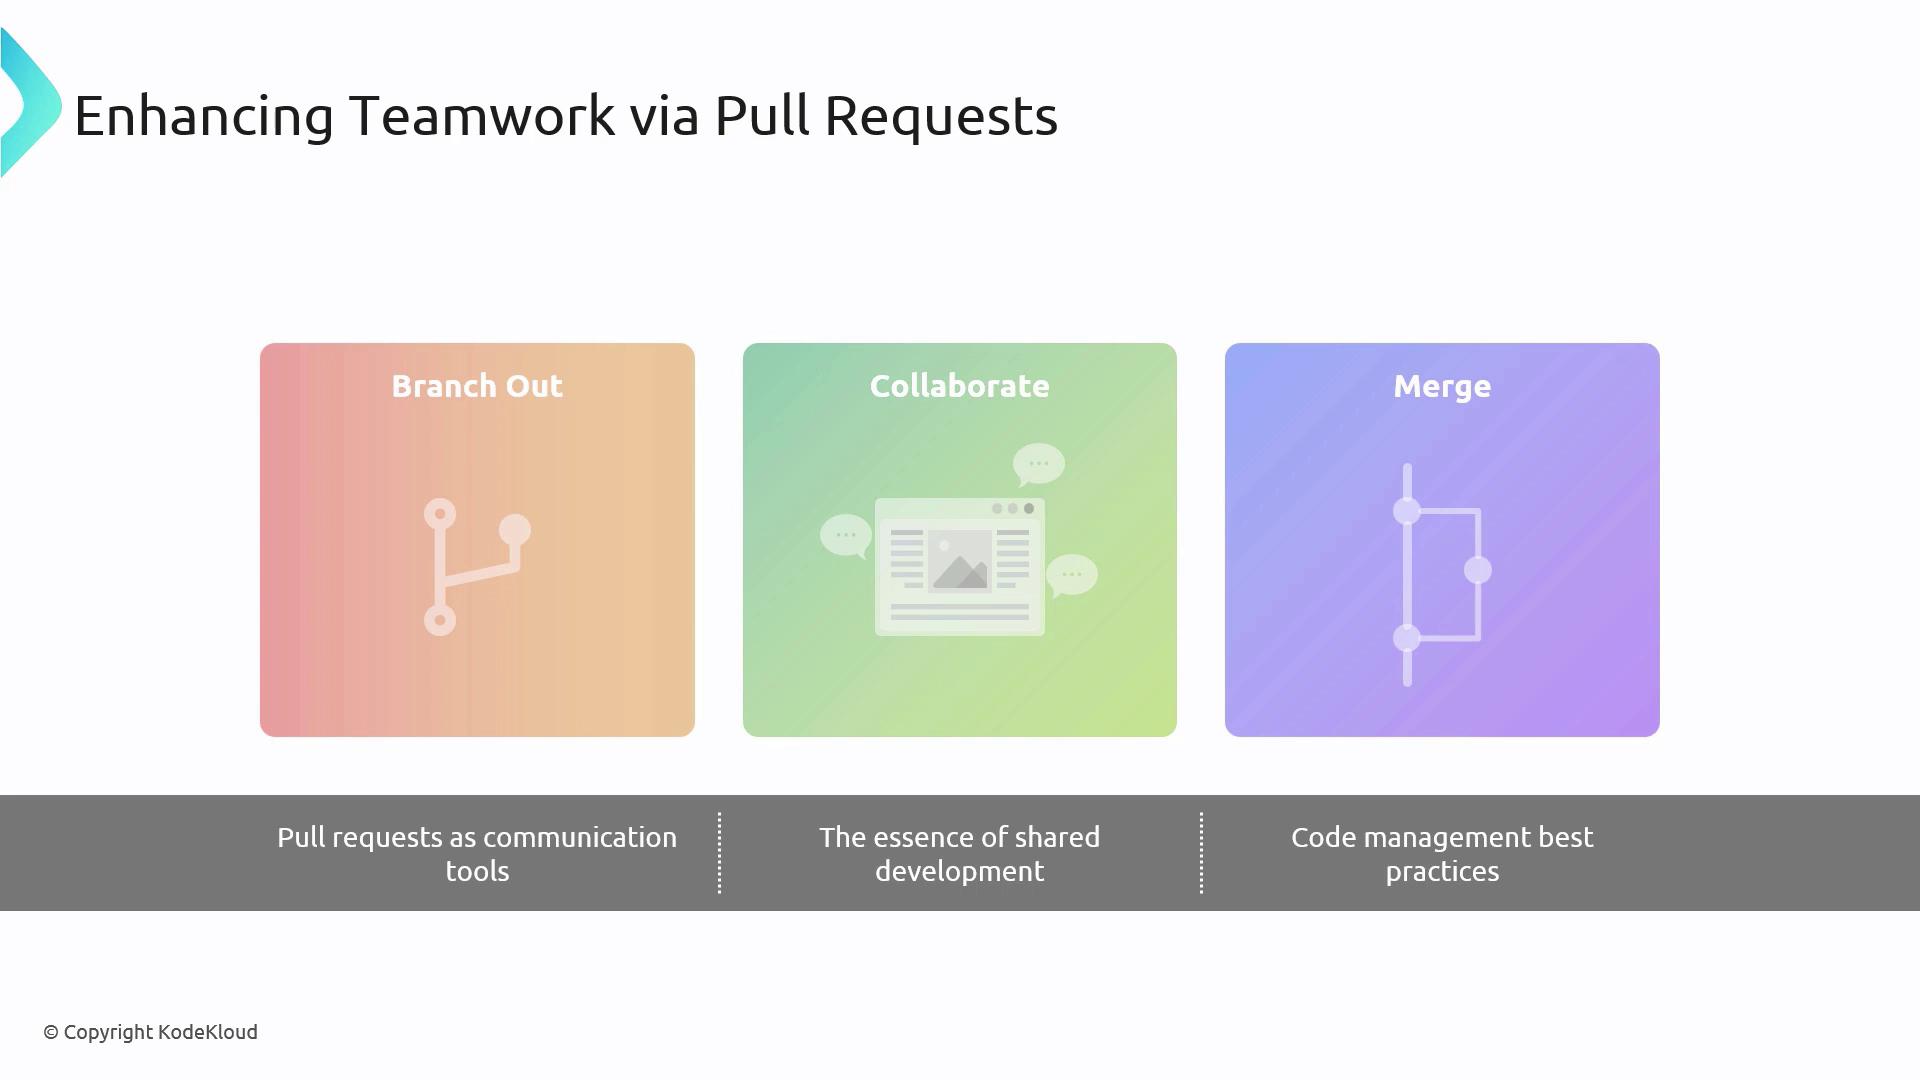
By following this structured workflow—Branch, Open PR, Collaborate, and Merge—teams maintain code quality, foster knowledge sharing, and streamline releases.
Watch Video
Watch video content