This guide explains how to automate Markdown release notes generation and publishing to an Azure DevOps Wiki for a .NET Web API application.
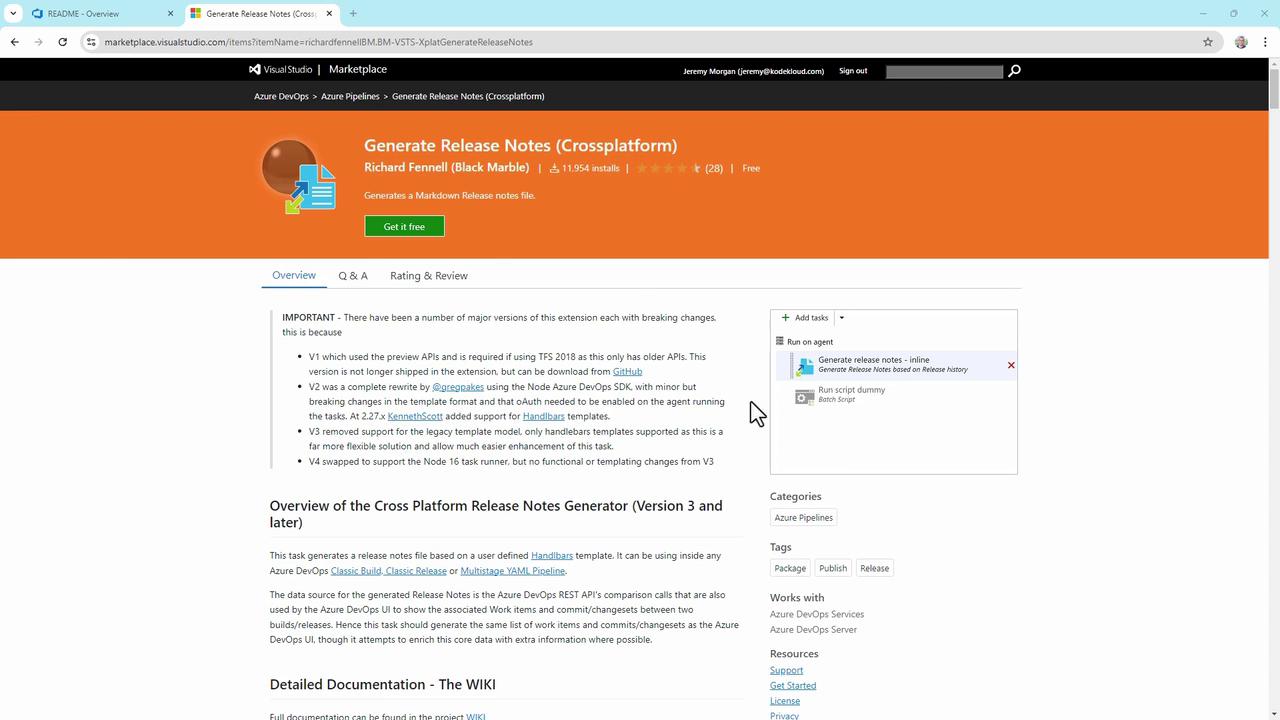
In this guide, you’ll learn how to automatically generate Markdown-based release notes for your .NET Web API application and publish them to an Azure DevOps Wiki. By integrating the Generate Release Notes (Crossplatform) extension into your CI pipeline, you can maintain an up-to-date, code-based wiki—no manual steps required.We’ll use a sample project called TestWeb and demonstrate:
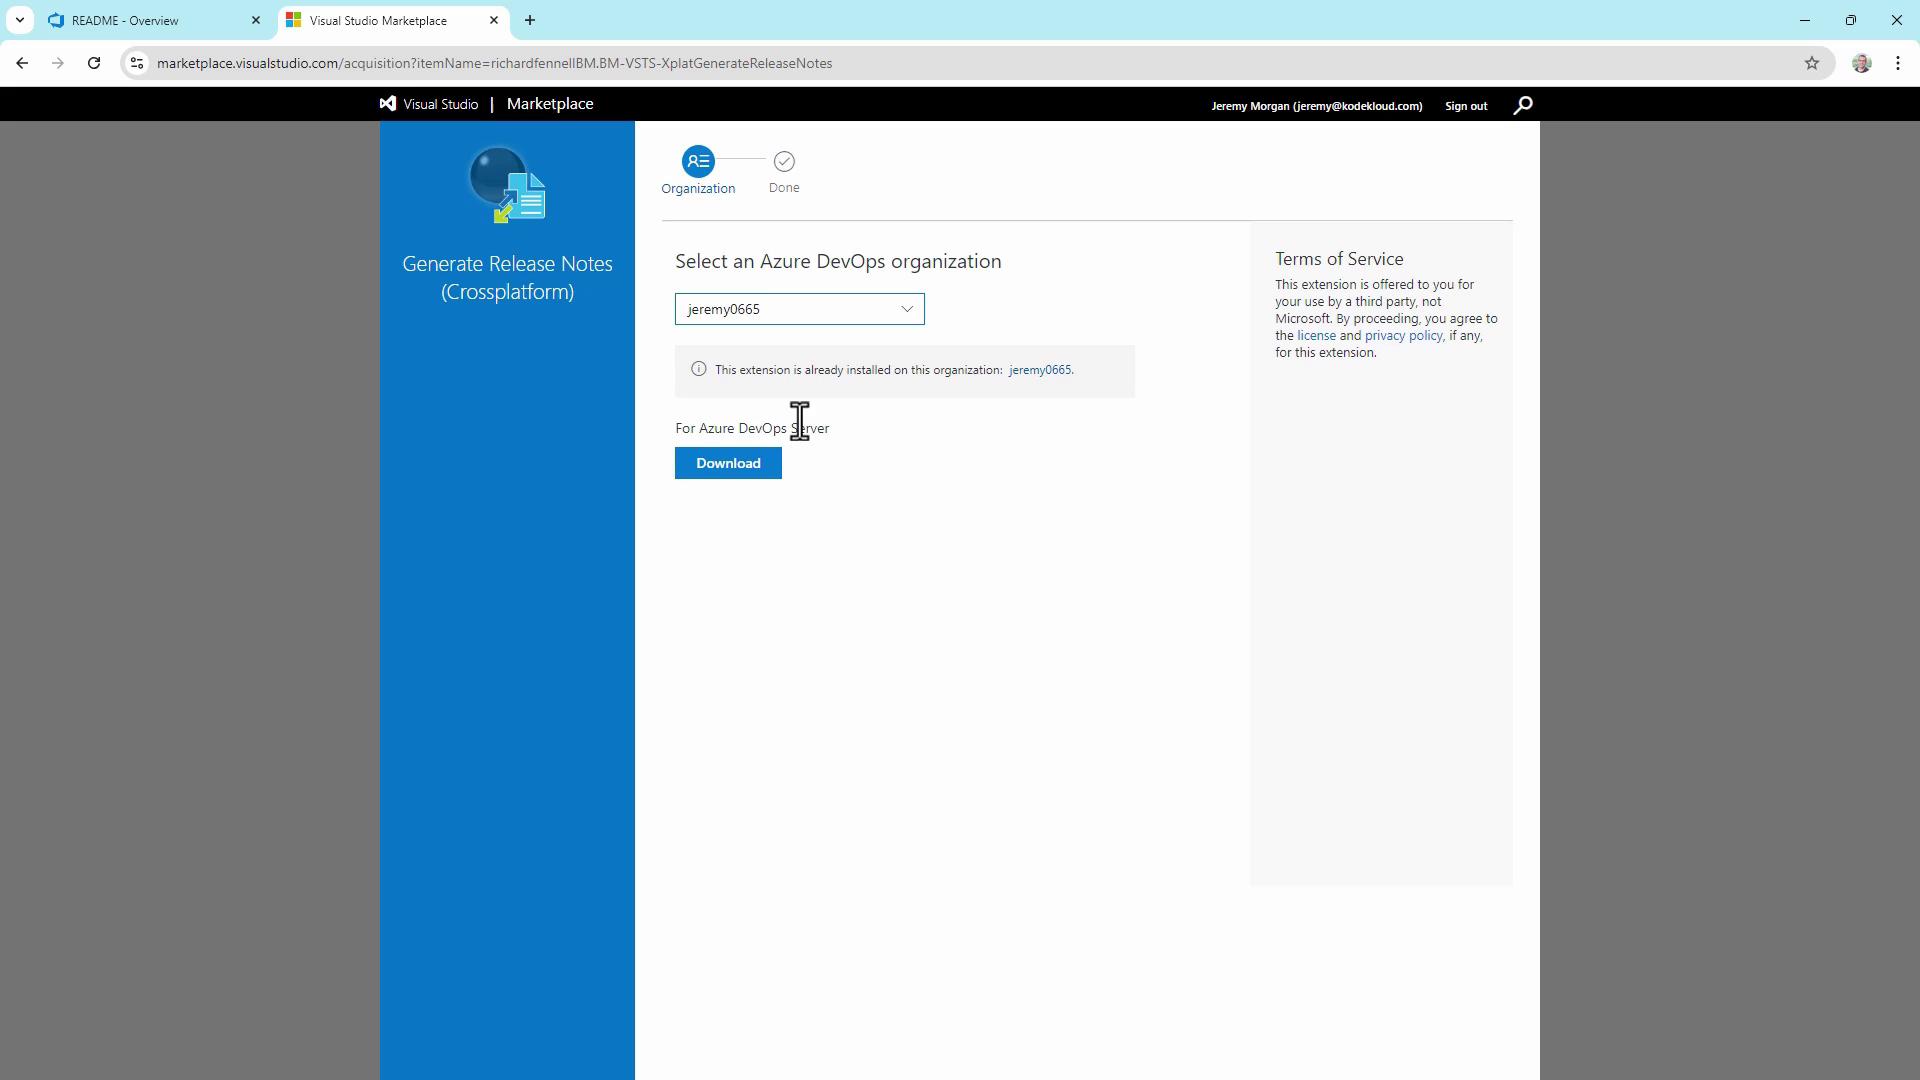
Installing the release-notes extension
Creating and configuring an Azure Pipelines YAML
Generating, copying, and committing the release notes
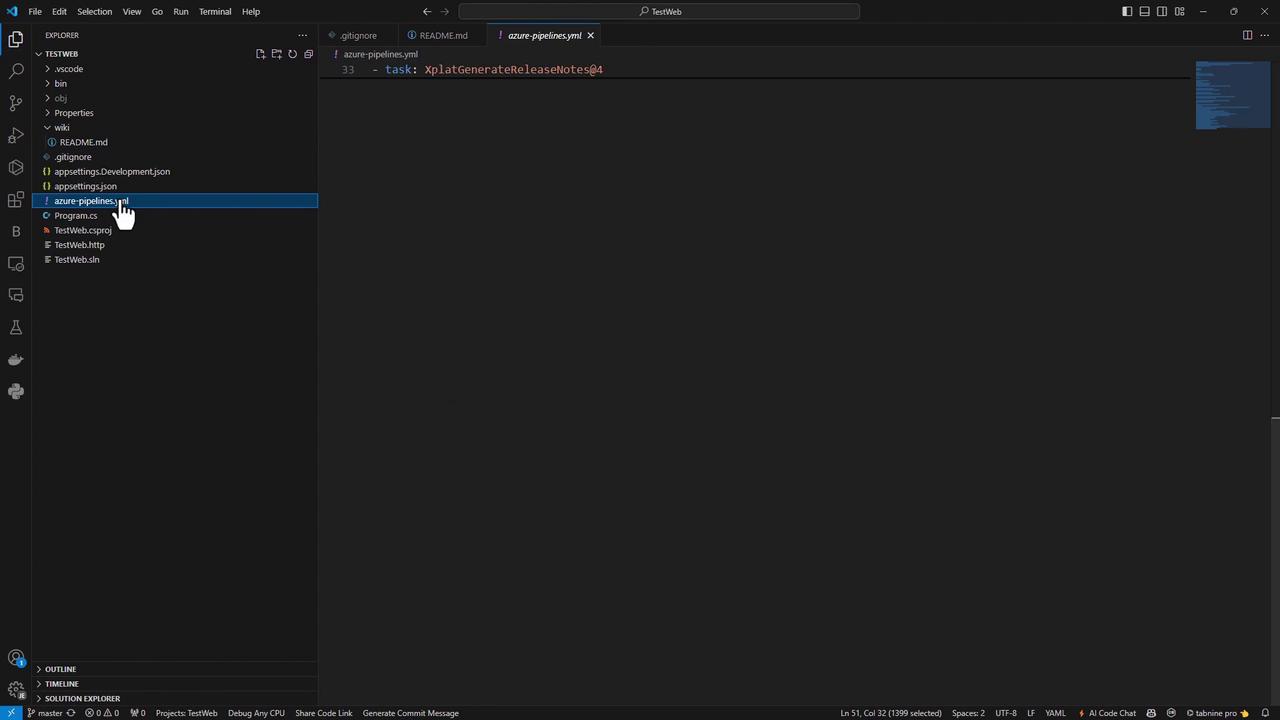
For easier editing, clone the repo locally and open azure-pipelines.yml in VS Code. You’ll find all tasks, including the release-notes steps, in one file.
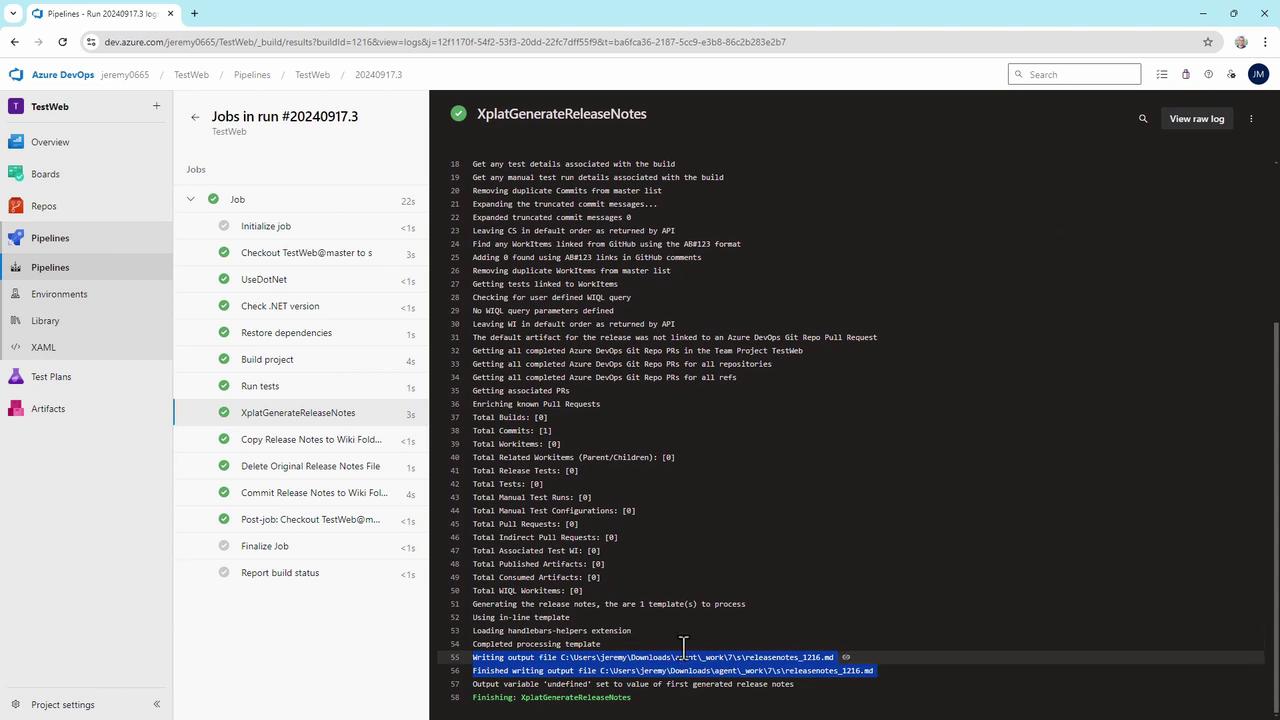
Cleaning target folder: C:\agent_work\7\s\wiki
Copying C:\agent_work\7\releasenotes_1216.md to C:\agent_work\7\s\wiki\releasenotes_1216.mdFinally, navigate to your Azure DevOps Wiki—each build now publishes a new releasenotes_<BuildId>.md page:
This template shows build number, branch, author, and commit. Extend the Handlebars template to include work items, pull requests, changelogs, or custom fields from Azure Boards.
With this setup, every commit to master triggers a pipeline that generates and publishes release notes to your Azure DevOps Wiki—fully automated, CI-safe, and effortless to maintain.