- Author readable .bicep files with declarative resource definitions.
- Bicep compiles (either implicitly during deployment or explicitly with the Bicep CLI) to ARM template JSON that Azure understands.
- This approach gives you concise syntax and full ARM compatibility for deployment scenarios and tooling.
- Simpler, more readable syntax compared to raw ARM JSON.
- Native support for modularity and reuse through modules.
- Less boilerplate and easier maintenance for growing templates.
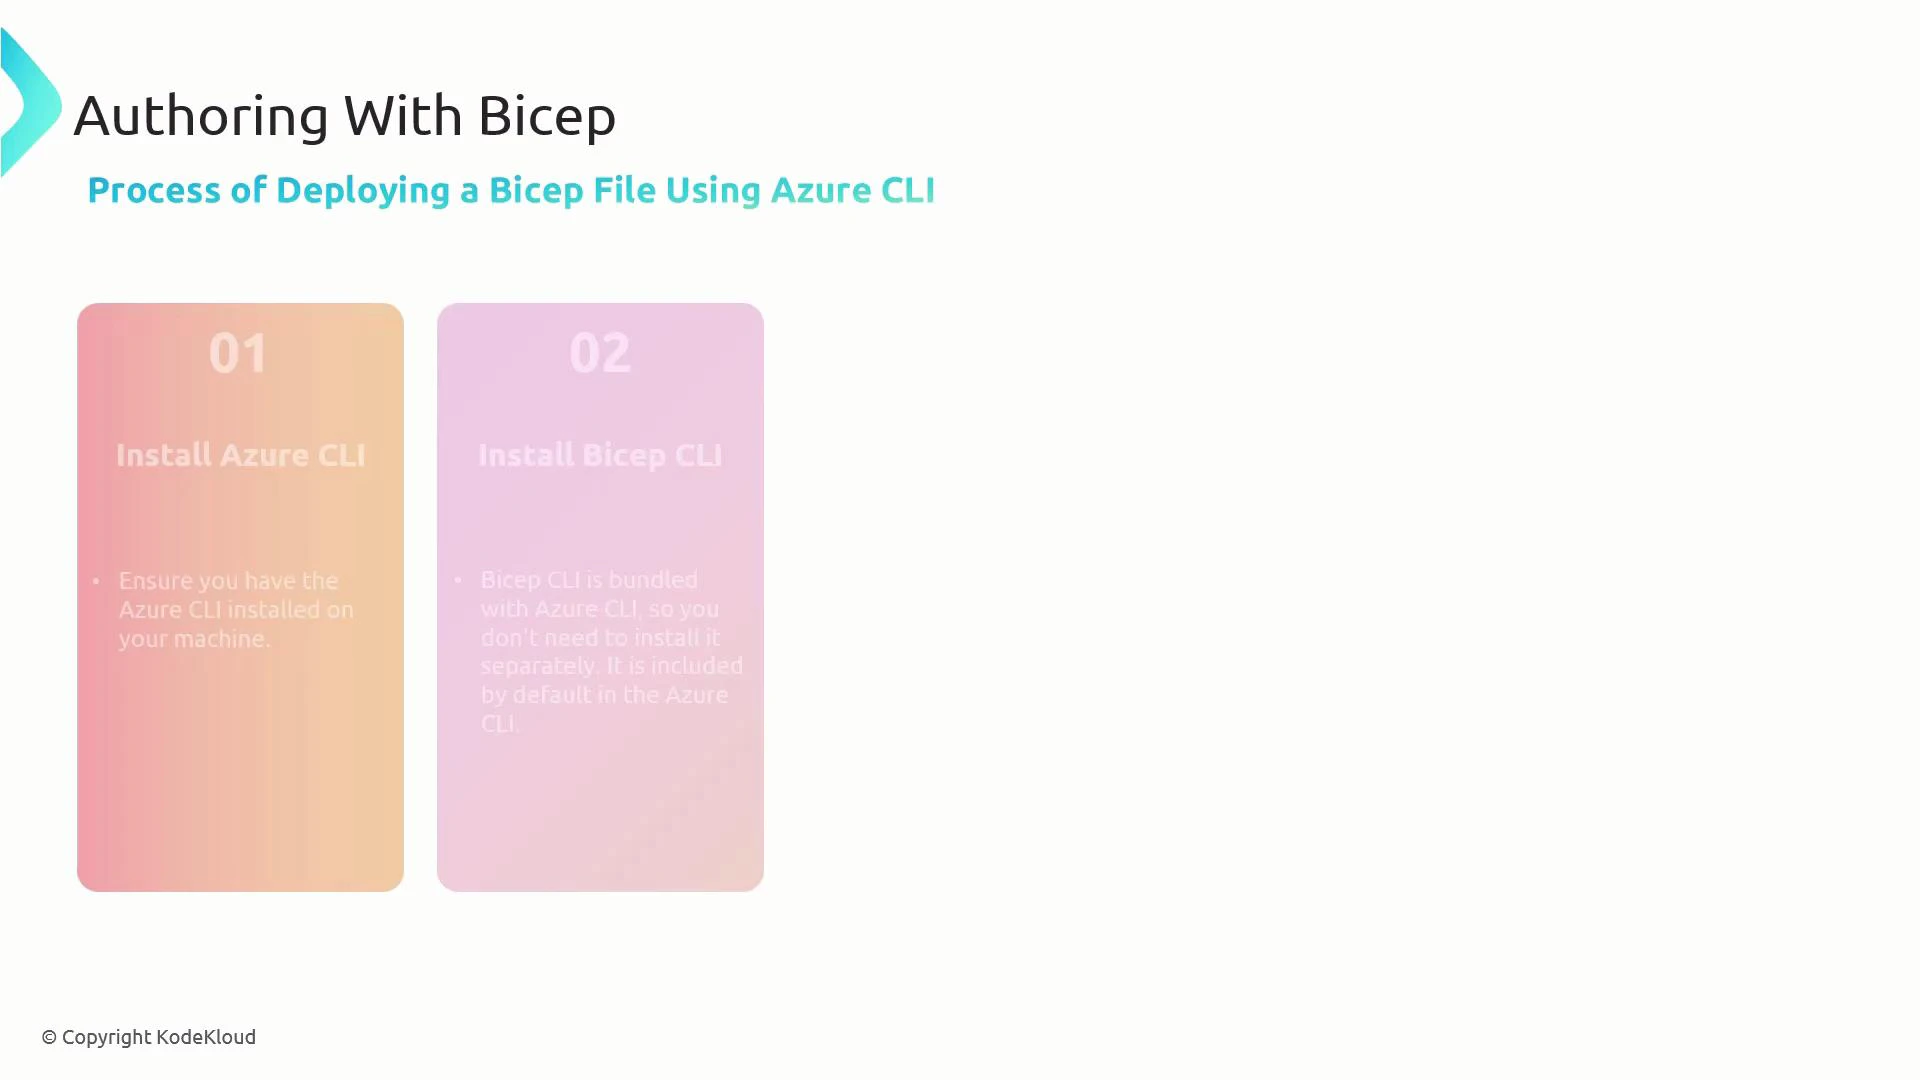
- The Azure CLI bundles Bicep support, so many users do not need a separate binary.
- You can also install or update Bicep directly on each OS via the standalone binary or package managers. See the official installation guide: https://learn.microsoft.com/azure/azure-resource-manager/bicep/install?tabs=azure-cli
If you have a recent Azure CLI installation, the az bicep commands are available without a separate binary. Run az bicep version to confirm availability.
| Building Block | Purpose | When to use |
|---|---|---|
| Parameter | Input supplied at deployment time | Make templates flexible and reusable across environments |
| Variable | Reusable expressions or computed values | Avoid repeating logic and improve readability |
| Resource | Declaration of Azure resources with type and API version | All infrastructure is declared as resources |
| Module | Encapsulated Bicep file used as a child template | Reuse and compose complex deployments |
| Output | Values returned after deployment | Expose IDs, endpoints, connection strings for scripts or other templates |
- Use parameters and variables to keep templates configurable across environments (dev/prod).
- Group related resources and extract repeatable patterns into modules.
- Use resource loops and conditions to minimize duplicated code.
- Leverage built-in functions for string manipulation, resource IDs, and array handling.
- Secure secrets using Azure Key Vault rather than embedding them in templates.
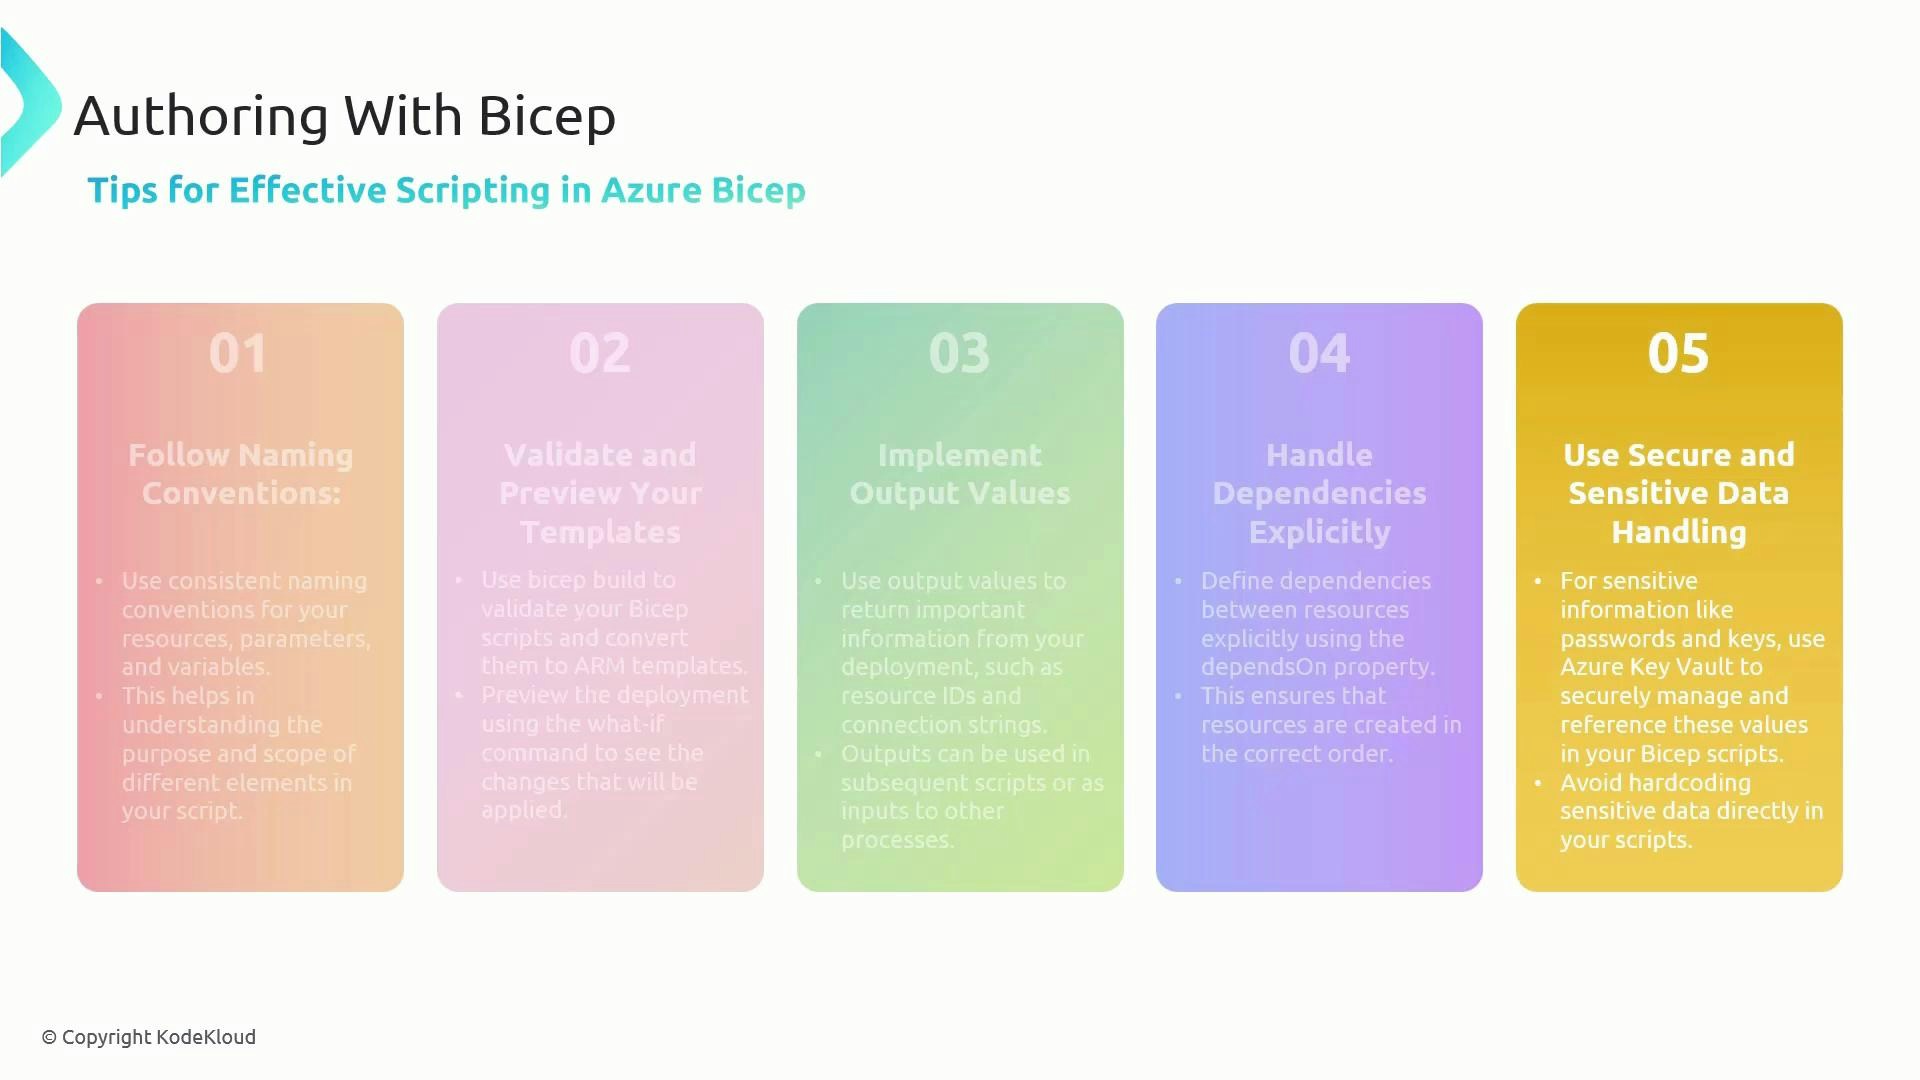
- Adopt consistent naming conventions for resources, parameters, and modules.
- Validate and preview templates before deployment using the deployment what-if and validate operations.
- Emit outputs for important resource IDs, connection strings, and endpoints for downstream automation.
- Model resource dependencies explicitly (dependsOn or implicit references) to ensure correct provisioning order.
- Avoid storing secrets in code—use Key Vault references or secure parameter inputs.
Never commit secrets or credentials to source control. Use Key Vault references, Azure AD-backed service principals, or secure parameter files for sensitive values.
- Install and sign in with the Azure CLI.
- Optionally compile a .bicep file to ARM JSON using az bicep build for debugging or CI scenarios.
- Create or choose an existing resource group.
- Deploy the Bicep file with az deployment group create (or use subscription/management group scope as needed).
| Command | Purpose |
|---|---|
| az login | Authenticate to Azure |
| az bicep build —file <file> | Compile .bicep to ARM JSON (optional) |
| az group create —name <rg> —location <loc> | Create a resource group |
| az deployment group create —resource-group <rg> —template-file <file> | Deploy a Bicep file to a resource group |
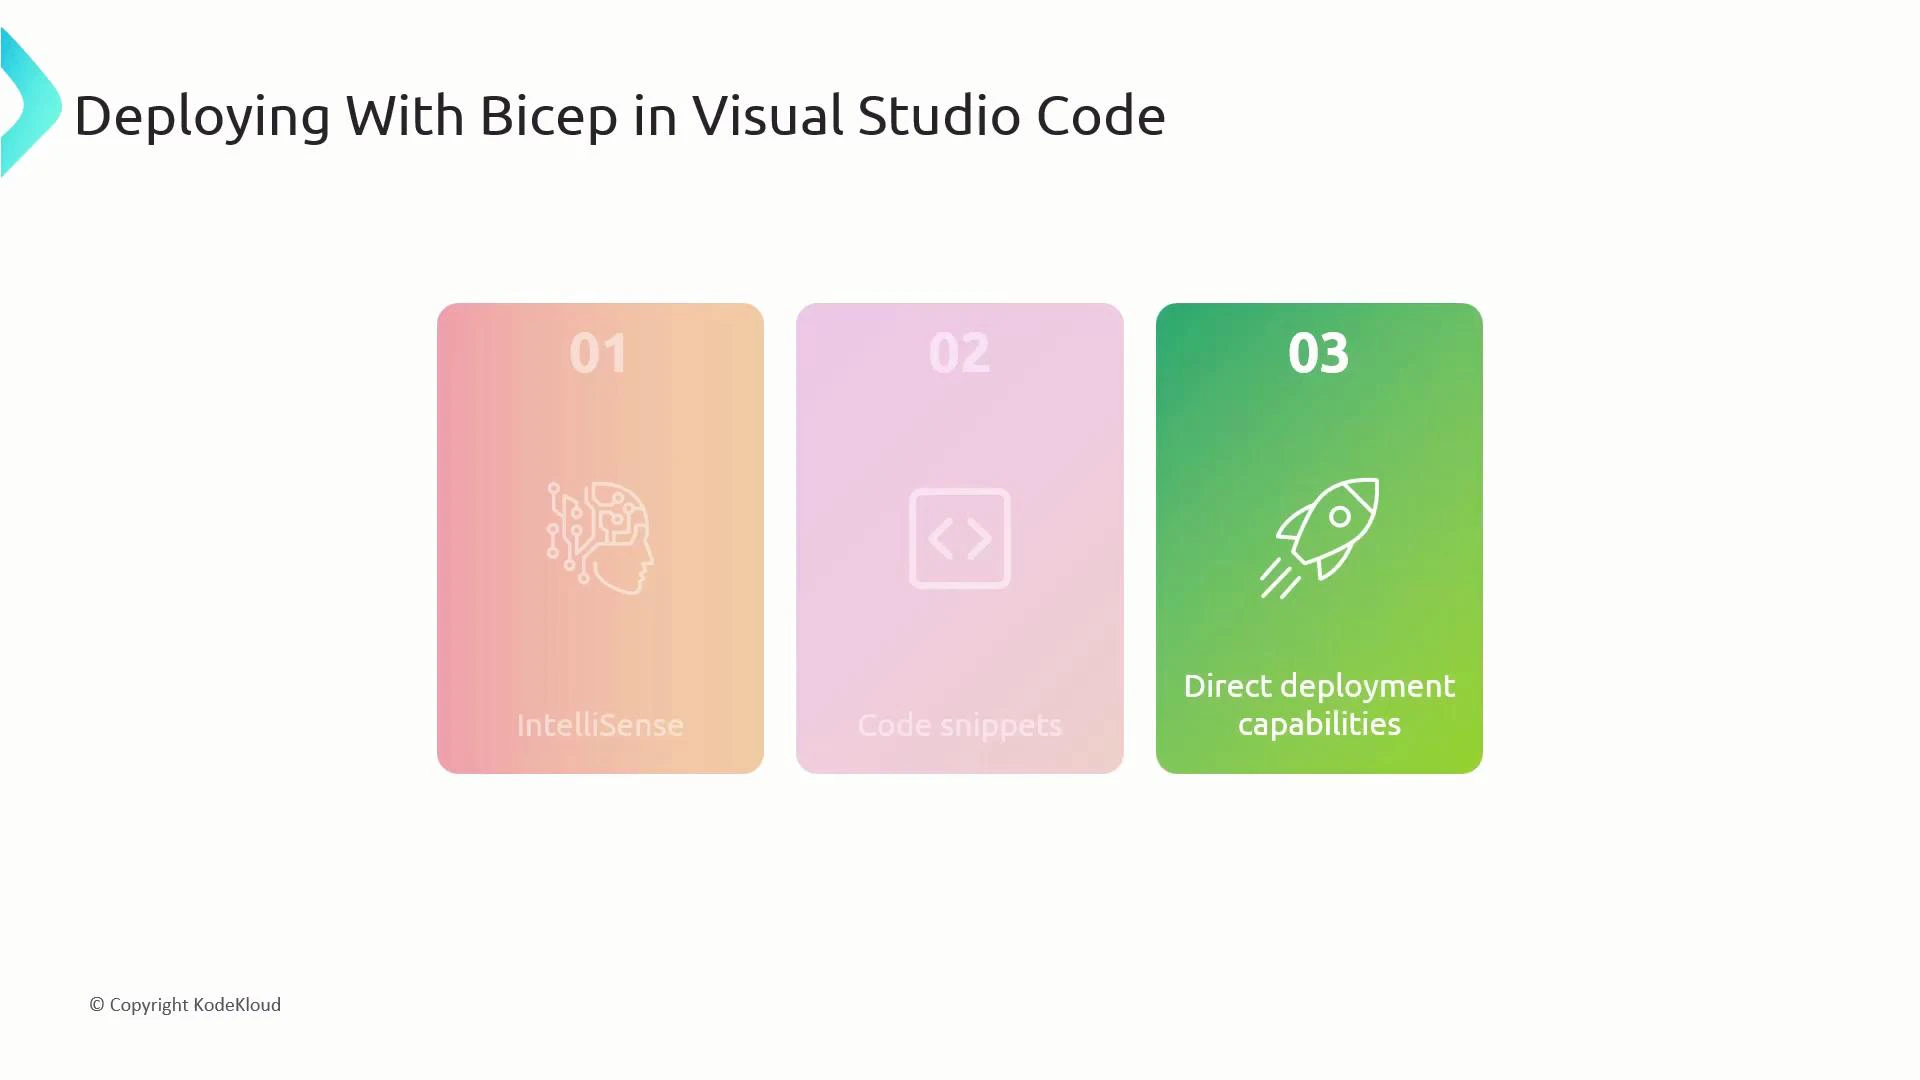
- Use VS Code with the Bicep extension for IntelliSense, syntax highlighting, and snippets.
- The extension enables validation, quick fixes, and direct deployment capabilities when signed into your Azure account.
- For a streamlined authoring experience, enable the Bicep extension and configure the Azure Account extension to authenticate from the editor.
- Upload your .bicep file to the Cloud Shell using drag-and-drop or the Cloud Shell upload options.
- Use the same az group create and az deployment group create commands in Cloud Shell for zero-local-setup deployments.
- Bicep improves authoring productivity and maintainability compared to raw ARM JSON while remaining fully compatible with Azure’s resource model.
- Start small: convert simple ARM templates into Bicep, validate locally, and adopt modules for repeated patterns as your IaC footprint grows.
- Use CI/CD pipelines to compile and validate Bicep artifacts, and follow security best practices to protect credentials and secrets.
- Bicep Overview (Microsoft Learn)
- Bicep Install Guide
- ARM templates overview
- Azure CLI documentation
- Azure Key Vault documentation
- Azure Cloud Shell overview
- Azure Automanage documentation