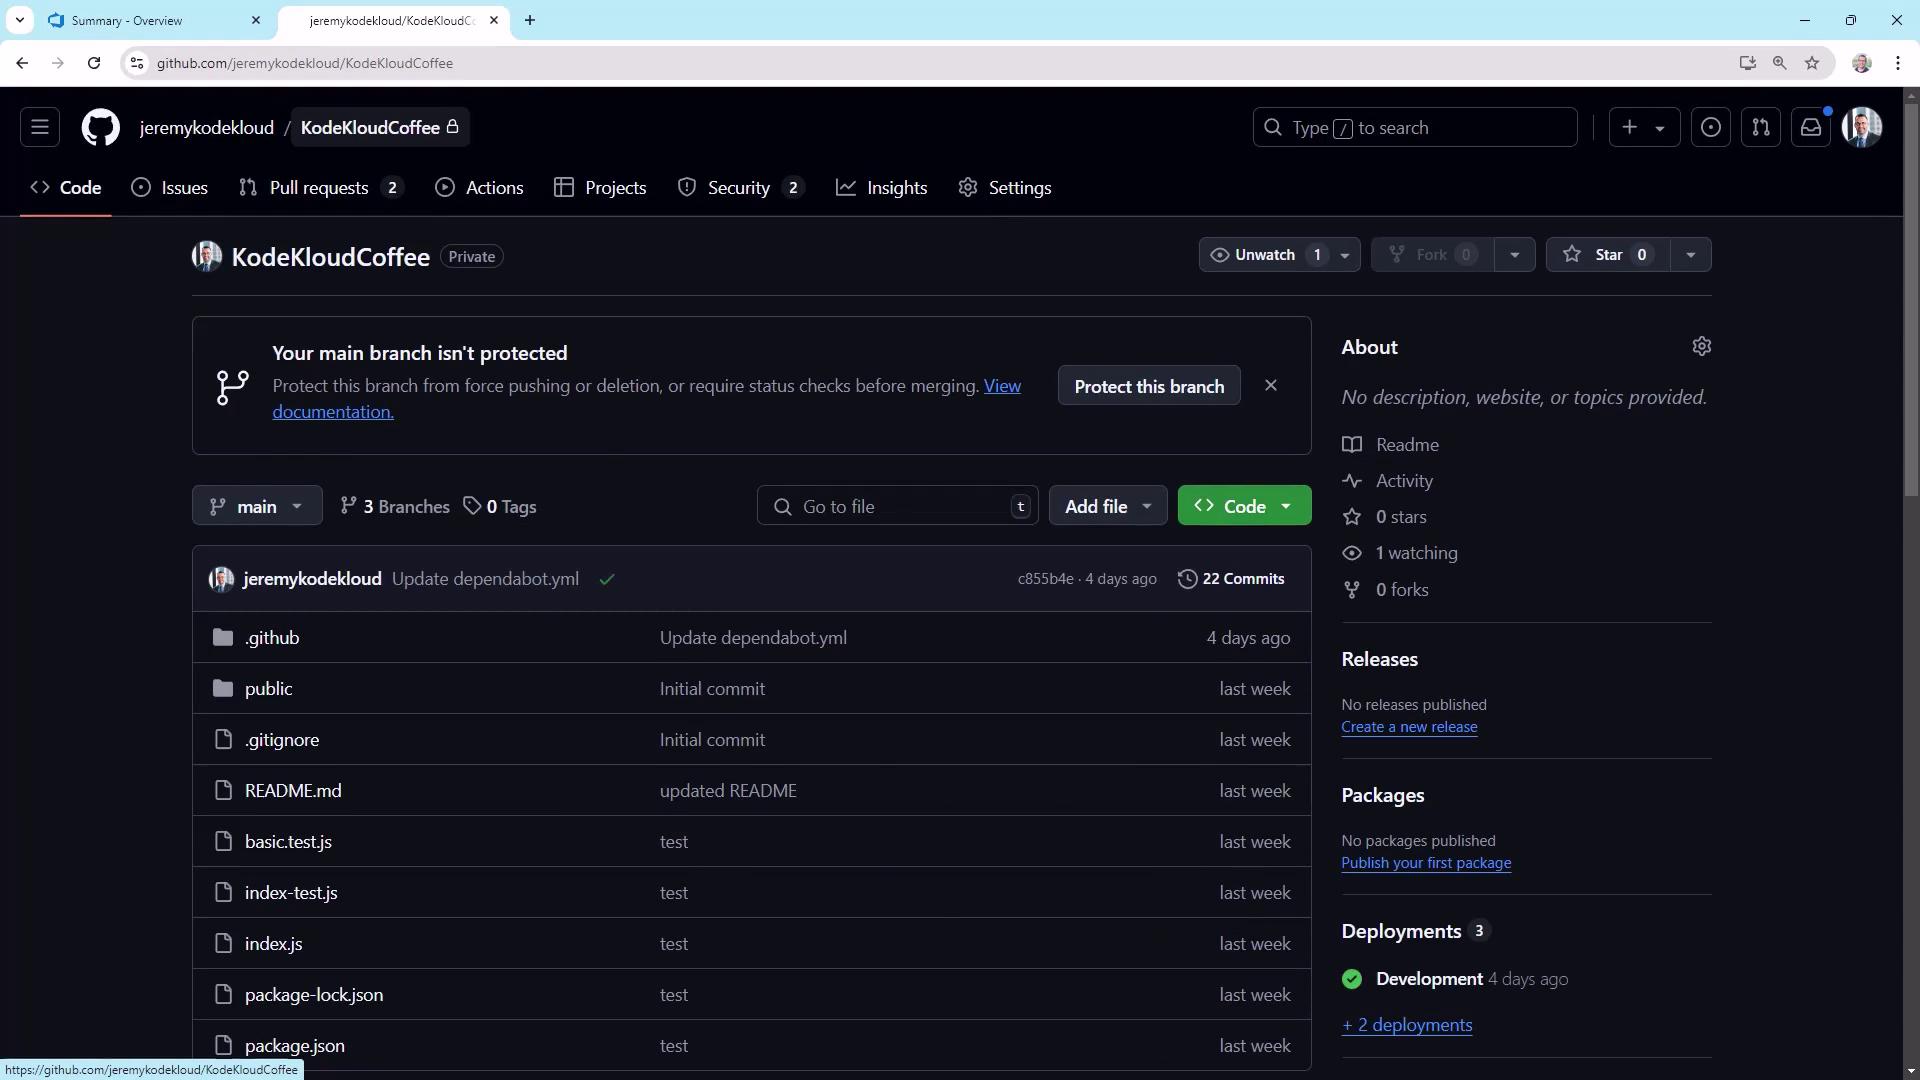
1. Repository Overview
Our private GitHub repo KodeKloudCoffee contains a Node.js app that builds automatically on commits tomain.

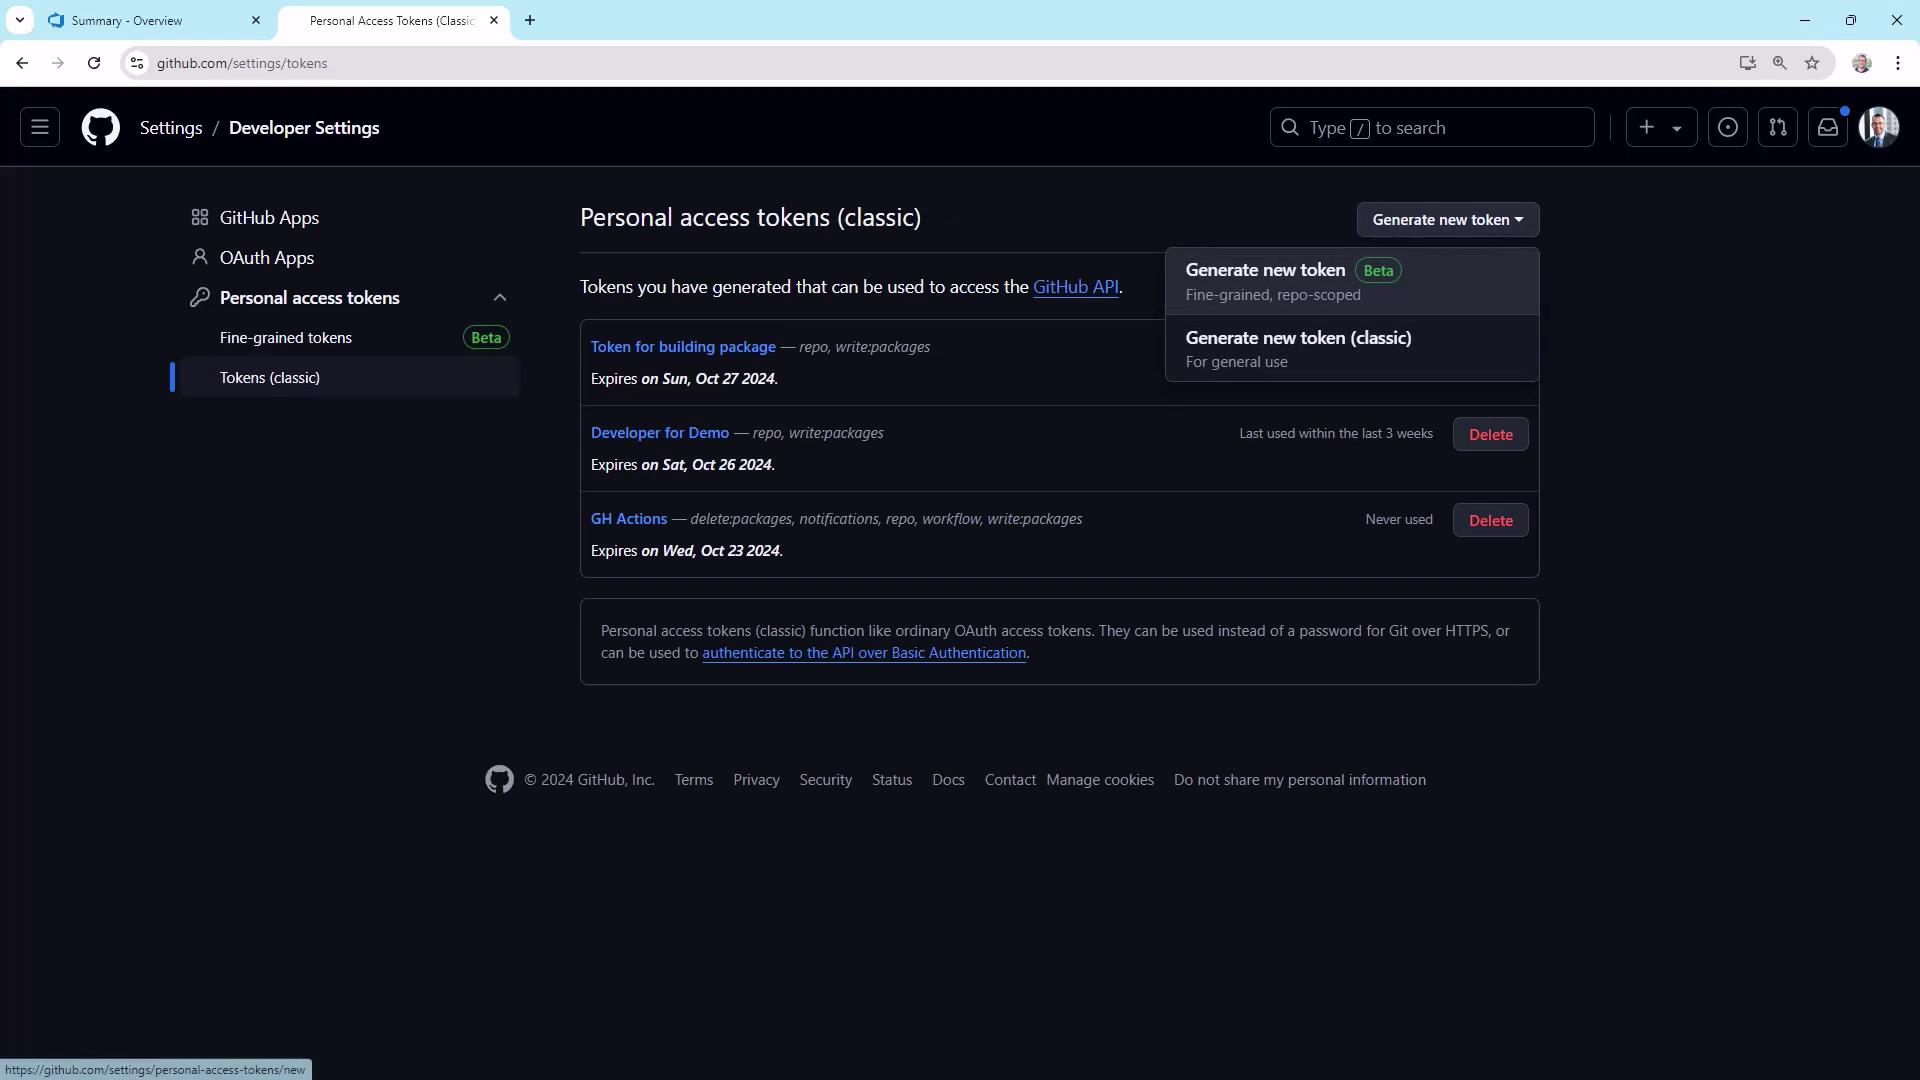
2. Create a GitHub Personal Access Token
Azure Pipelines needs a PAT withrepo and workflow scopes to dispatch workflows.
- Go to User Settings → Developer settings → Personal access tokens.
- Click Generate new token (Classic), name it (e.g.,
push-to-azure), and set an expiration. - Under Scopes, select:
repo(full control of private repos)workflow(manage GitHub Actions workflows)

Store your PAT securely. After you copy it, you won’t be able to view it again.
Do not commit it to your repo or share it in plain text.
Do not commit it to your repo or share it in plain text.
3. Modify the GitHub Actions Workflow
Open.github/workflows/main.yml. The existing trigger section is:
repository_dispatch::
main branch.
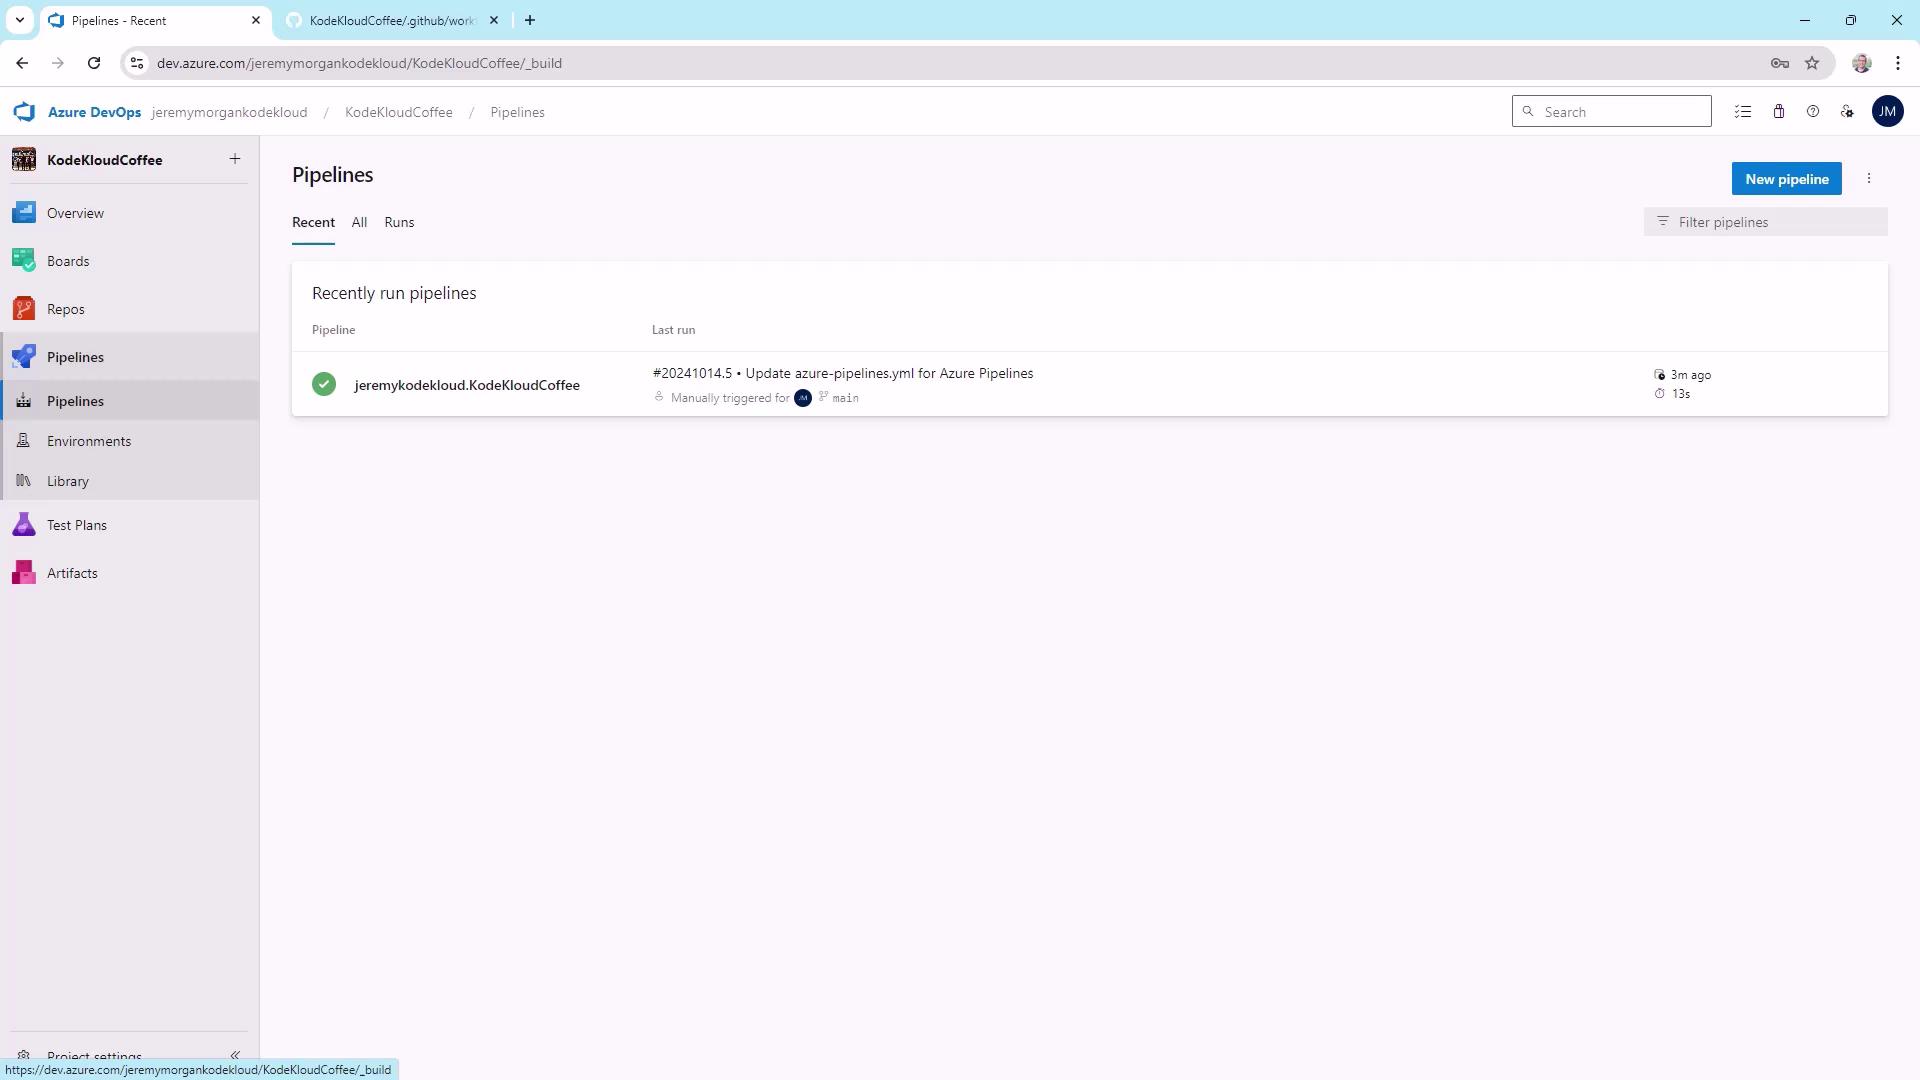
4. Configure Azure Pipelines
In Azure DevOps, create a new pipeline connected to KodeKloudCoffee. Use the Starter pipeline template and set:trigger: none prevents automatic runs—this pipeline will only run manually or via API.
4.1 Add the PAT as a Secret Variable
- In your pipeline’s Variables tab, add
github_token. - Paste the PAT and mark it as secret.
- Save and close.
5. Dispatch GitHub Actions from Azure Pipelines
Replace the starter step with a PowerShell task that sends arepository_dispatch event:
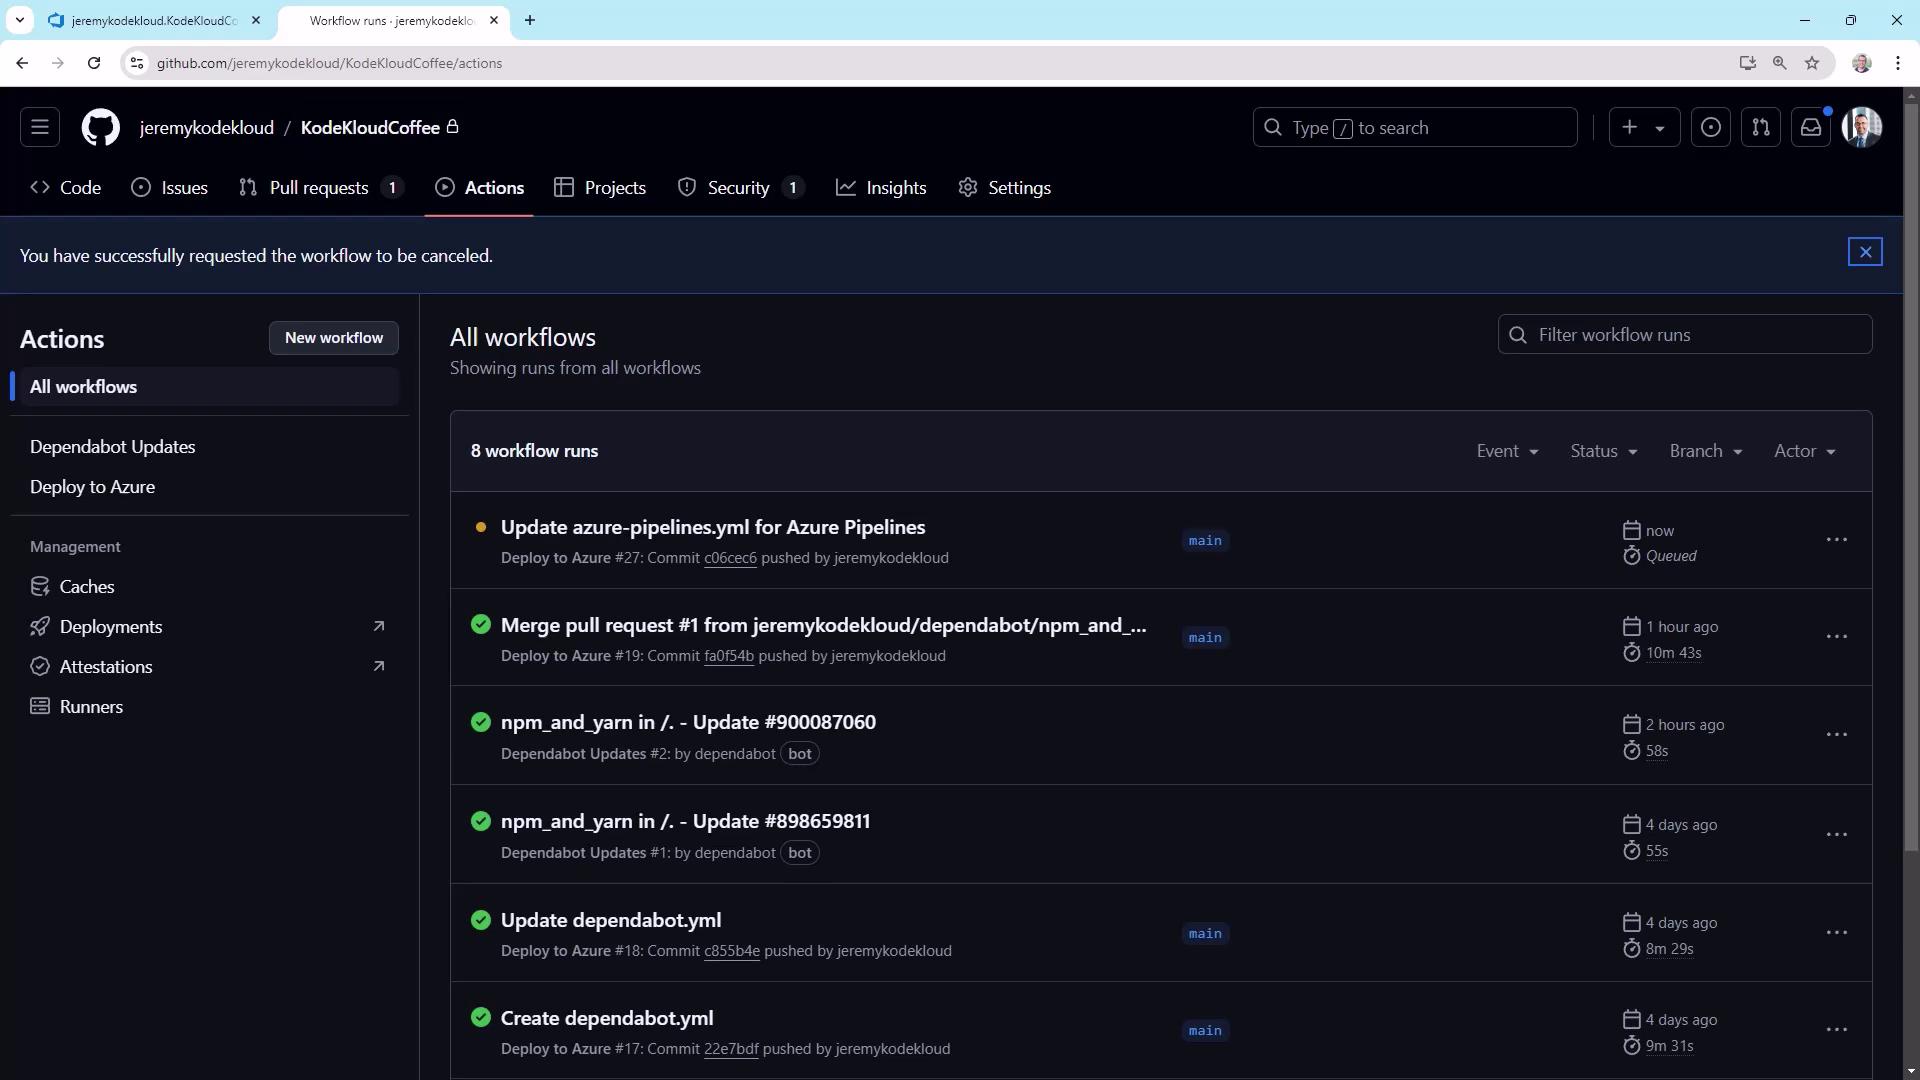
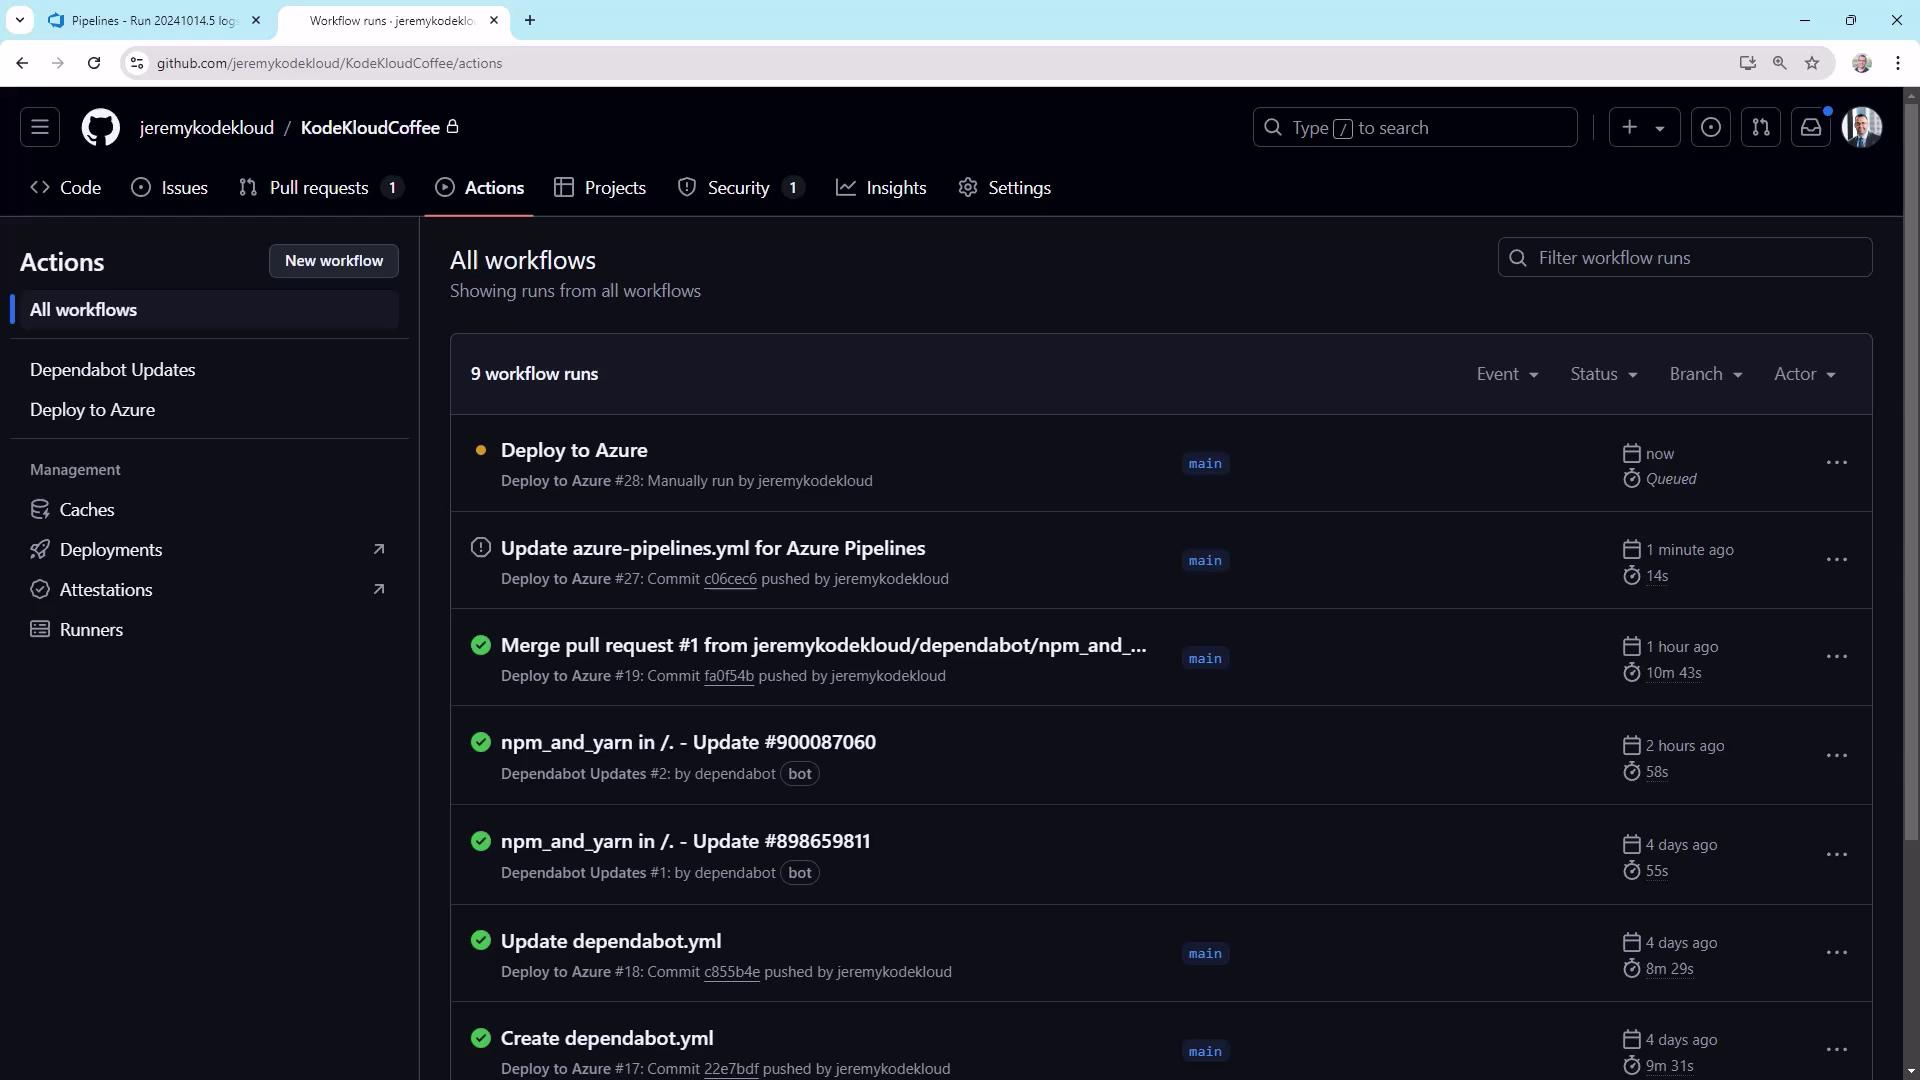
6. Managing Deployment Gates
Now you can control deployments from Azure Pipelines—perfect for environments requiring approvals.| Trigger Type | Invocation Source | Use Case |
|---|---|---|
| push | GitHub on main commits | Automatic CI builds |
| workflow_dispatch | GitHub UI manual run | Ad-hoc runs |
| repository_dispatch | API (Azure Pipelines or scripts) | Controlled, gated deployments |
To enforce strict gating, remove
push and workflow_dispatch triggers and rely solely on repository_dispatch.