Why Choose Azure Artifacts?
Azure Artifacts augments your DevOps workflow with:| Benefit | Description |
|---|---|
| Tight Azure DevOps Integration | Automate package restore and publishing in Pipelines and Boards. |
| Multi-format Support | Host and manage NuGet, npm, Maven, Python, and more. |
| Fine-grained Access Control | Assign permissions at feed and individual package levels. |
Azure Artifacts scales from small teams to large enterprises, offering performance and security.
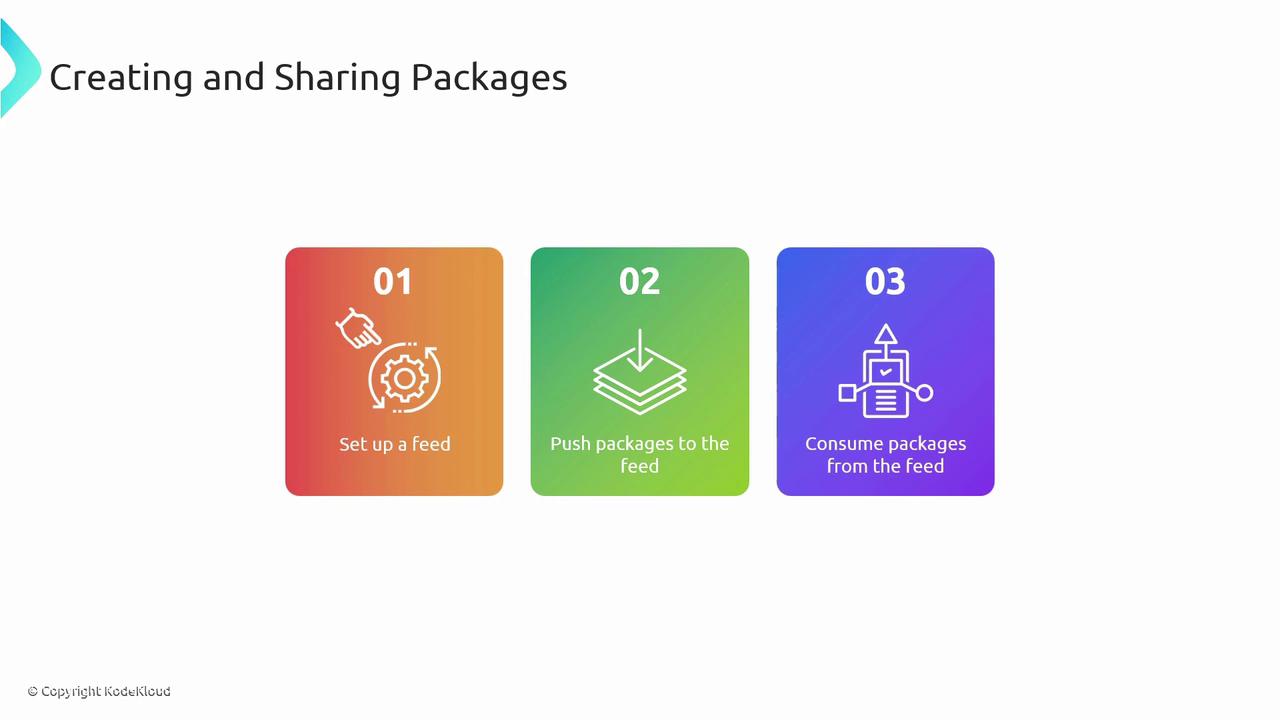
Package Management Workflow
Follow these three core steps to onboard packages:- Set up a feed
- Push your packages
- Consume packages
1. Creating a Feed
In Azure DevOps:- Navigate to Artifacts.
- Click Create Feed.

| Setting | Options | Description |
|---|---|---|
| Visibility | Private, Organization, Public | Controls who can view and install your packages. |
| Upstream Sources | NuGet.org, npmjs.com, Maven Central, other feeds | Automatically proxy or cache packages from external registries. |
| Scope | Entire organization or specific projects | Limits feed access to select projects or makes it organization-wide. |
Public feeds expose your packages to the internet. Ensure no sensitive artifacts are published inadvertently.
2. Consuming a Feed
After feed creation, select Connect to Feed for authentication snippets, or Search Stream Sources to browse upstream packages: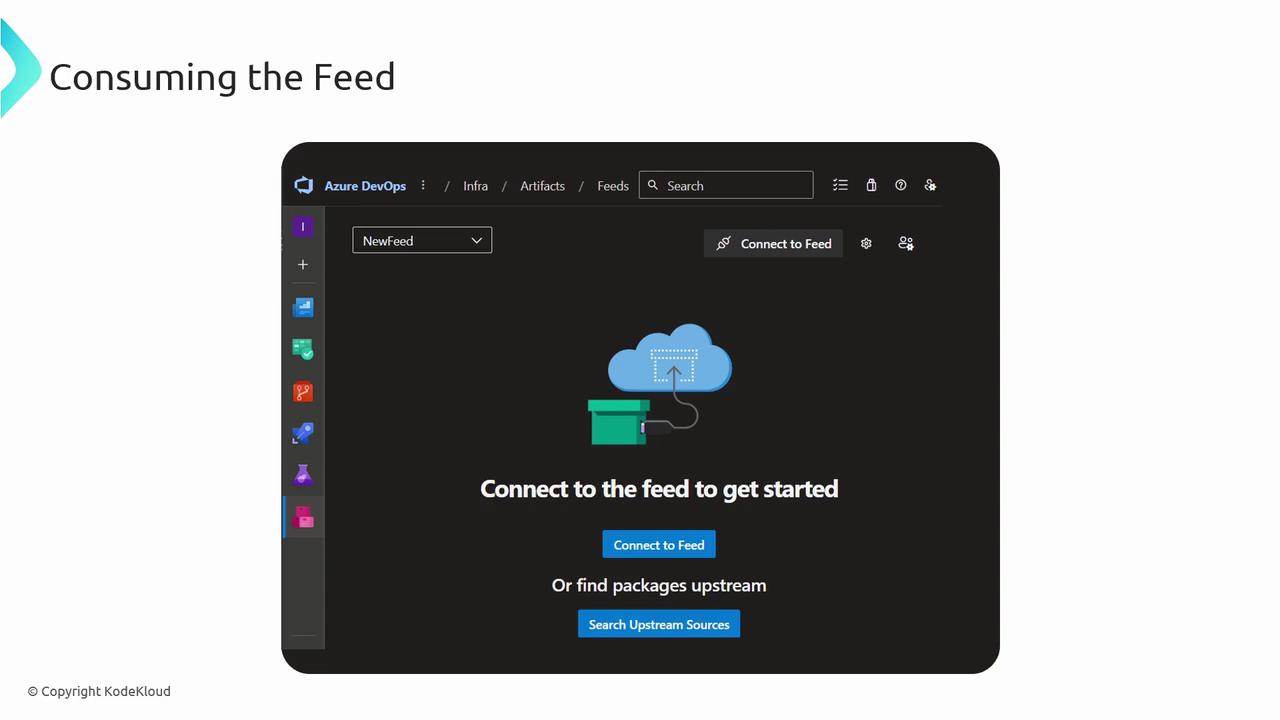
- Connect to Feed: Copy configuration for
NuGet.config,.npmrc,settings.xml, orpip.conf. - Search Stream Sources: Filter by package name, version, license, or dependencies.
3. CI/CD Integration
Use Azure Pipelines to restore, version, and publish packages automatically: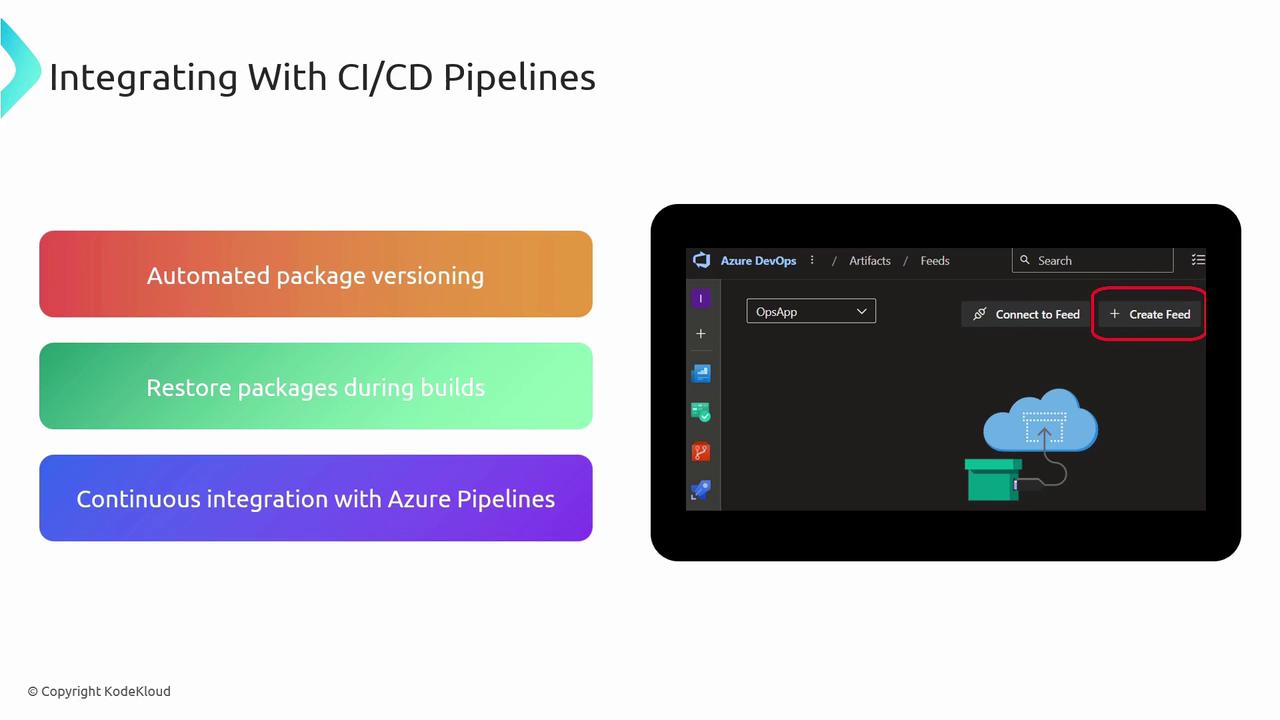
Pipeline Steps
Best Practices
- Adopt semantic versioning to signal breaking changes, features, and fixes.
- Leverage scopes and views to partition packages by team, environment, or lifecycle.
- Implement automated retention policies to purge stale artifacts and optimize storage costs.