In this guide, you will:Documentation Index
Fetch the complete documentation index at: https://notes.kodekloud.com/llms.txt
Use this file to discover all available pages before exploring further.
- Create an Azure DevOps project
- Initialize and push a GitHub repo
- Connect GitHub to Azure Boards
- Configure an Azure Pipeline
1. Create an Azure DevOps Project
First, sign in to Azure DevOps and create a new project named CoolWebsite. We’ll use GitHub as the primary source control.If you prefer to host code in Azure Repos, add it as a remote:
2. Initialize and Push to GitHub
a. Create the repository on GitHub
- In GitHub, click New repository.
- Name:
CoolWebsite - Visibility: Private
- Default branch:
main
Ensure you have Git installed and authenticated with your GitHub account before proceeding.
b. Clone, add application code, and push
Clone the new repo locally:CoolWebsite folder, then run:
| Action | Command |
|---|---|
| Stage changes | git add . |
| Commit changes | git commit -m "Initial commit" |
| Push to remote | git push -u origin main |
3. Connect GitHub to Azure Boards
- In Azure DevOps, navigate to Project Settings → GitHub Connections → Connect to your GitHub account.
- Choose your organization (e.g.,
KodeKloud) and click Save.
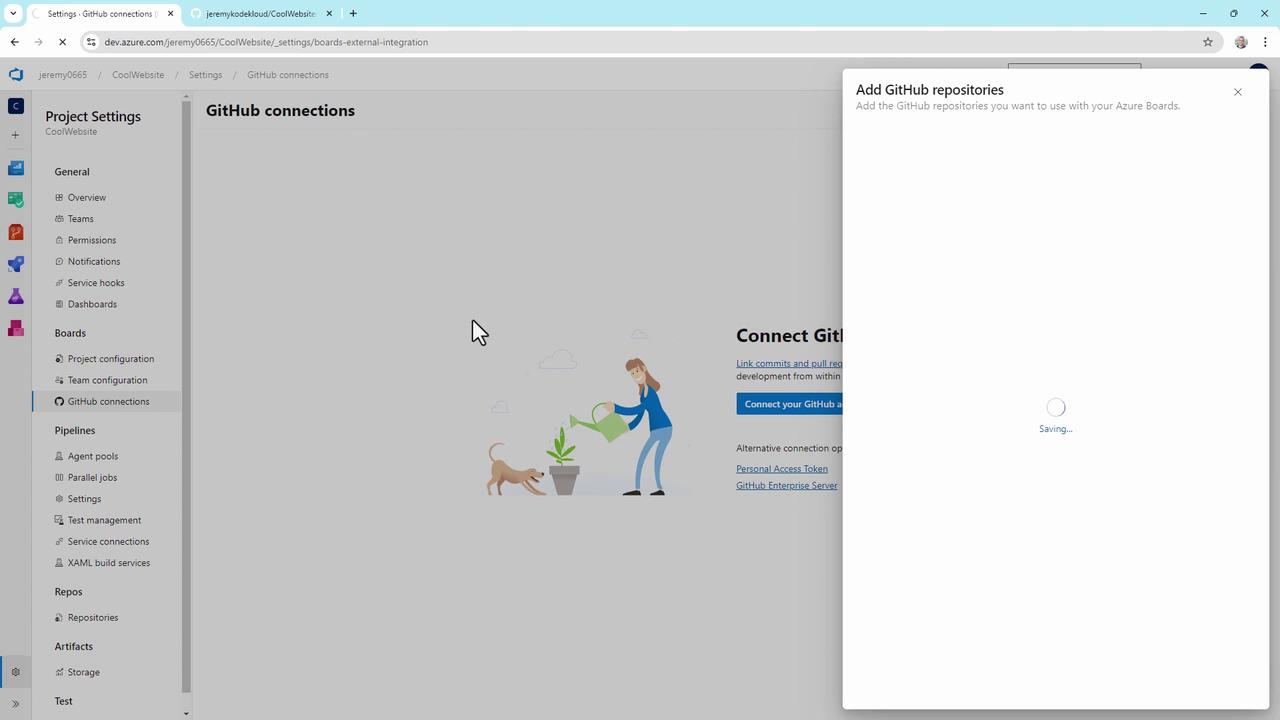
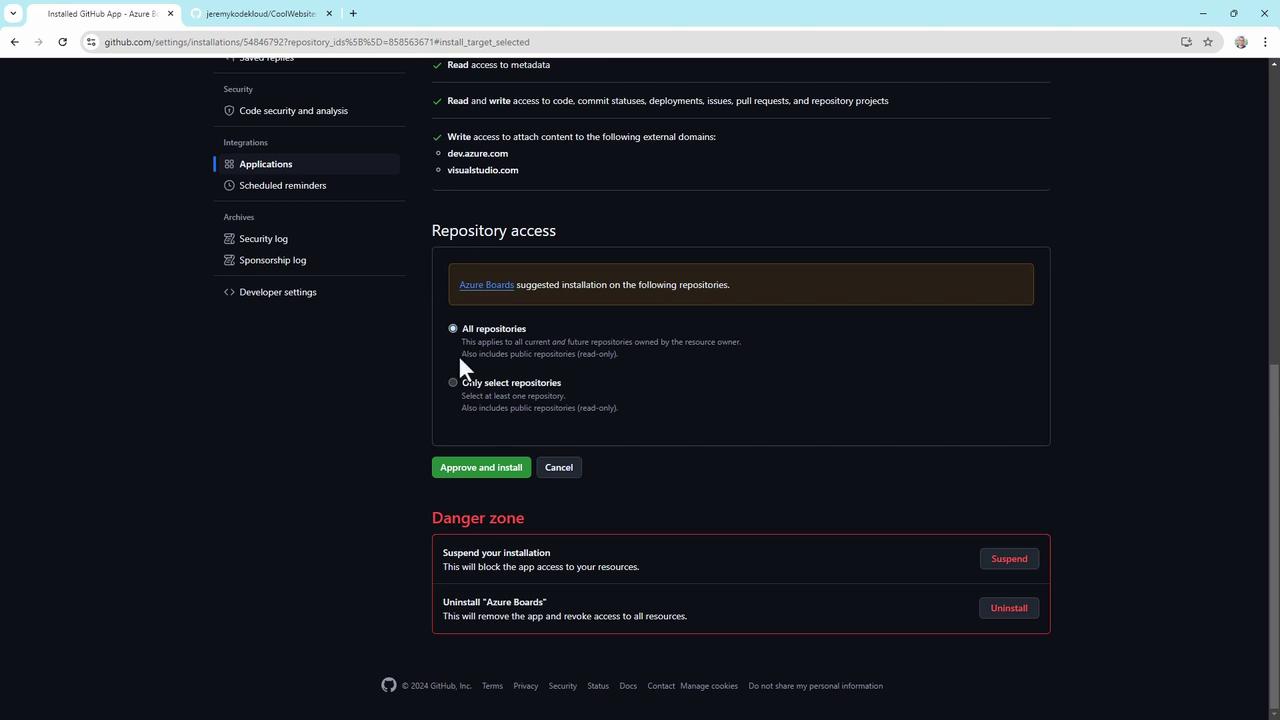
- You’ll be redirected to GitHub to install the Azure Boards app. Grant access only to the repositories you need:
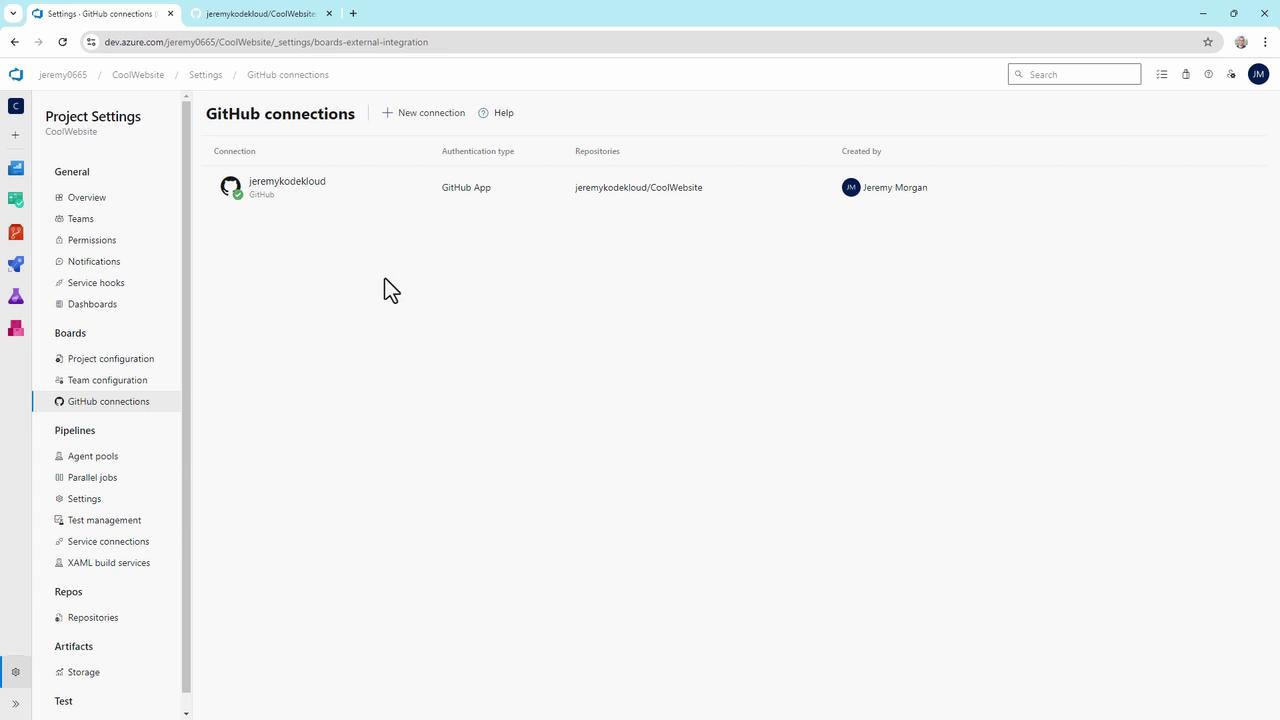
- Back in Azure DevOps, confirm the connection under GitHub Connections:
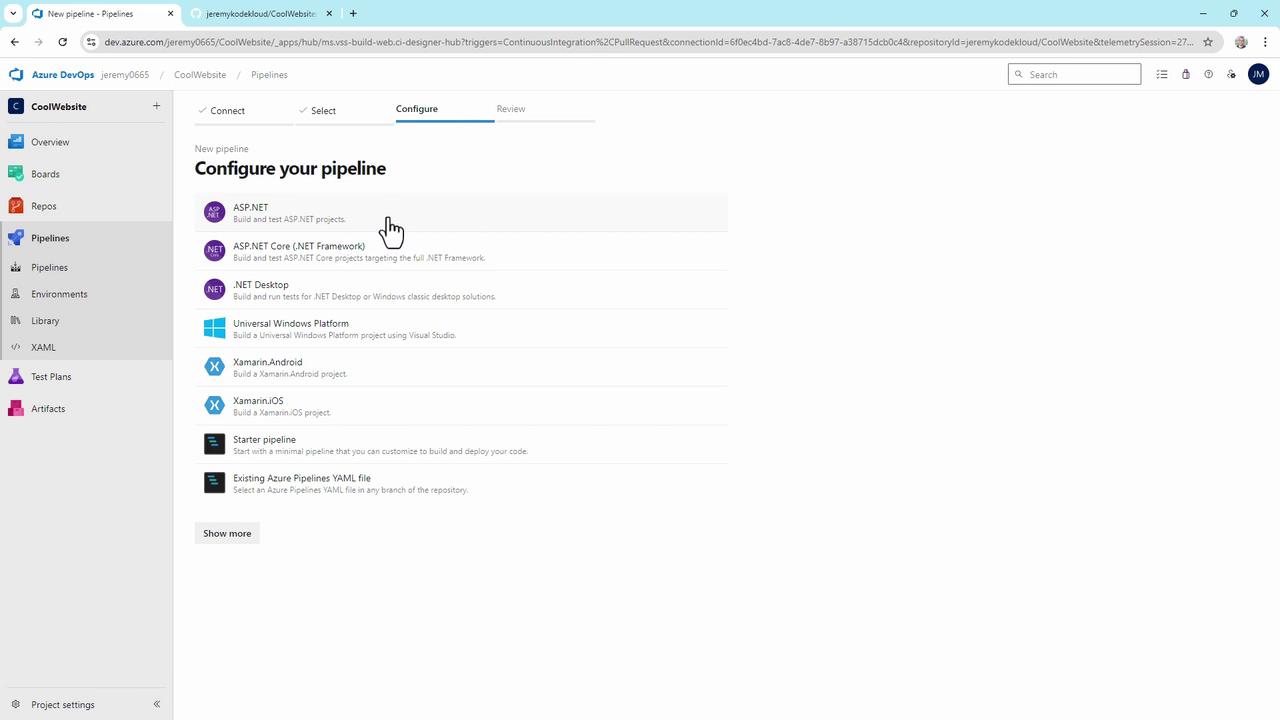
4. Set Up an Azure Pipeline
- Go to Pipelines and click Create Pipeline.
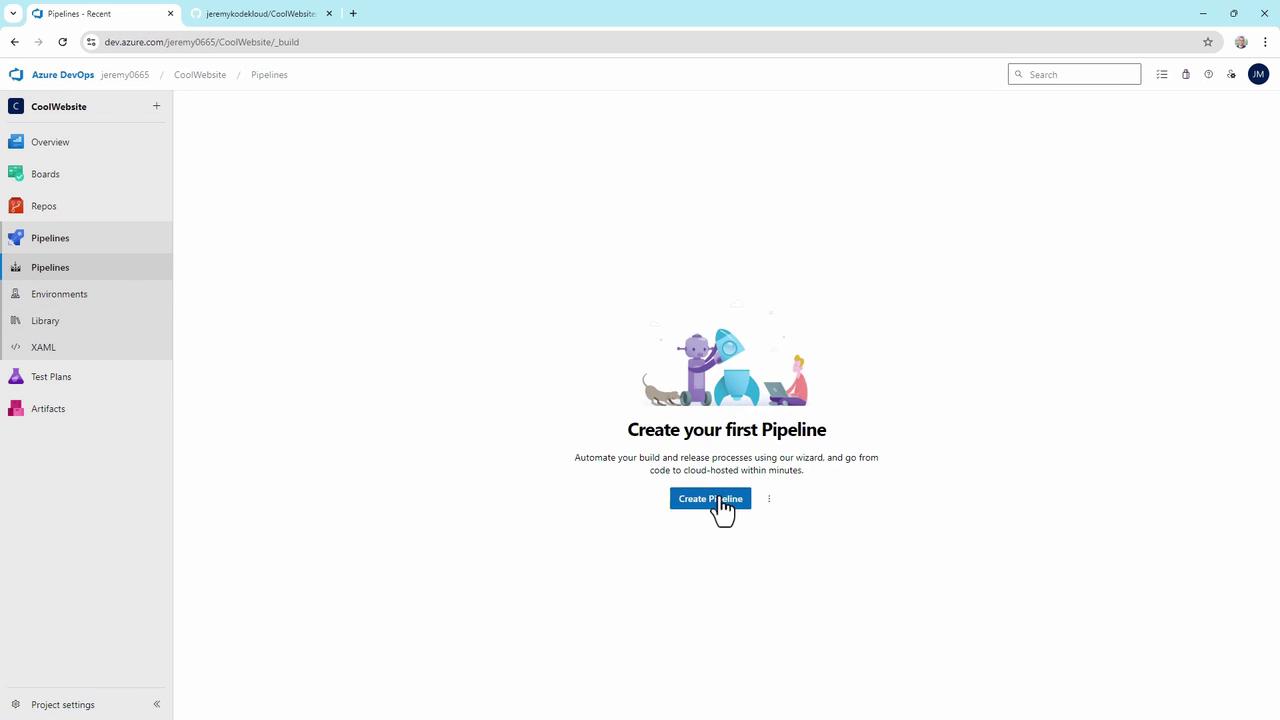
- Select GitHub, pick the
CoolWebsiterepo, and authorize the Azure Pipelines app. - Choose the appropriate template (e.g., ASP.NET).
- Replace the auto-generated YAML with this
azure-pipelines.ymlin your repo root:
- Commit and push. Each push to
maintriggers a new build. Verify your YAML and commit history:
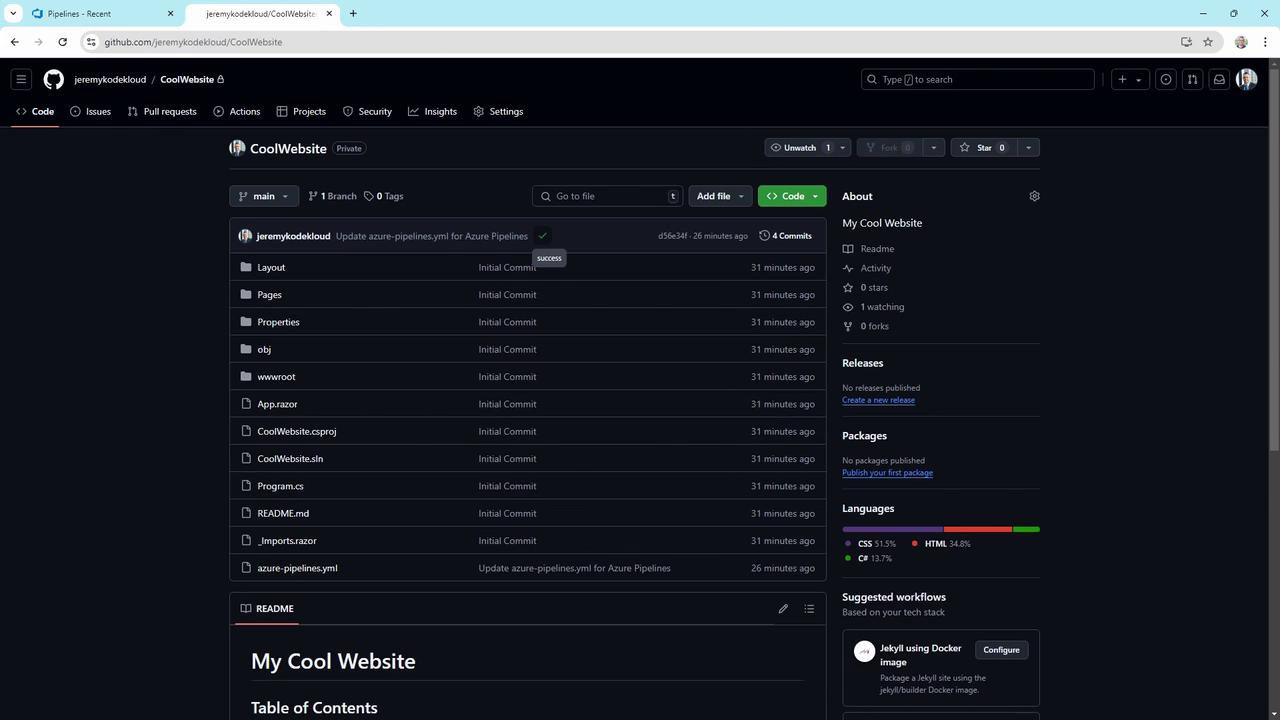
You’ve successfully set up your CoolWebsite repository with Azure Boards and Pipelines. Explore Azure Boards and Azure Pipelines for more integrations.