Key Features of Azure Virtual Machines
Azure offers an extensive range of VM sizes designed to support varied workloads—including general purpose, compute-optimized, memory-optimized, and storage-optimized configurations. This customization flexibility enables you to select the exact operating system, memory, and storage configurations required for your project. Azure VMs integrate seamlessly with other Azure services such as Microsoft Entra ID, storage solutions, and SQL databases, forming a cohesive ecosystem experience.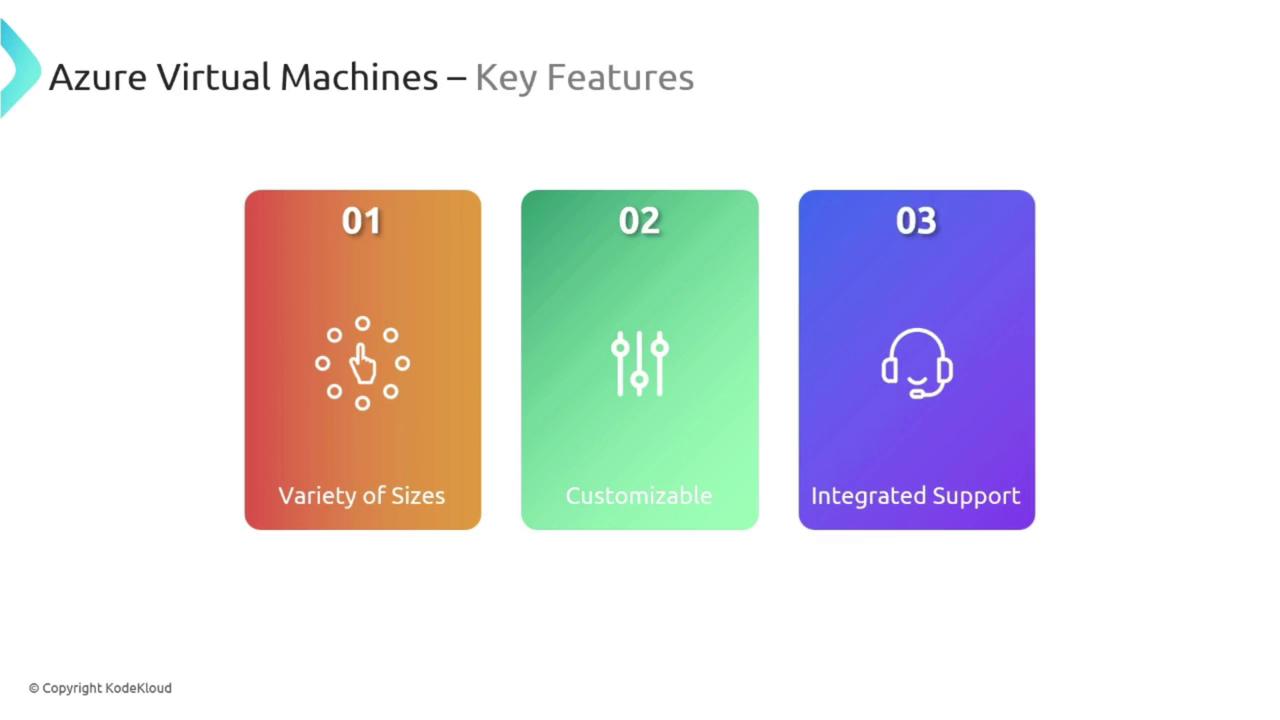
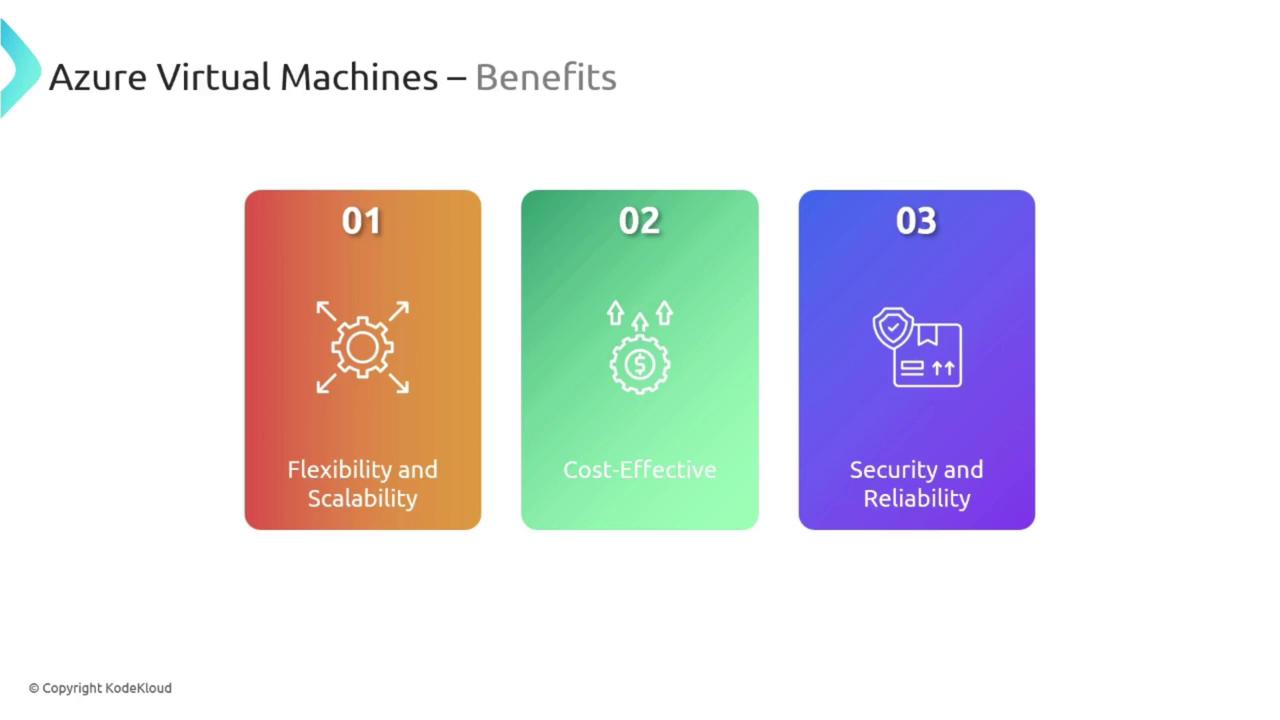
Benefits and Connectivity Options
Azure VMs are renowned for their flexibility, scalability, and cost-effectiveness thanks to a pay-as-you-go pricing model that charges only for the resources you use. Additionally, Azure’s robust security framework ensures that your applications remain highly secure and reliable.Connectivity Options
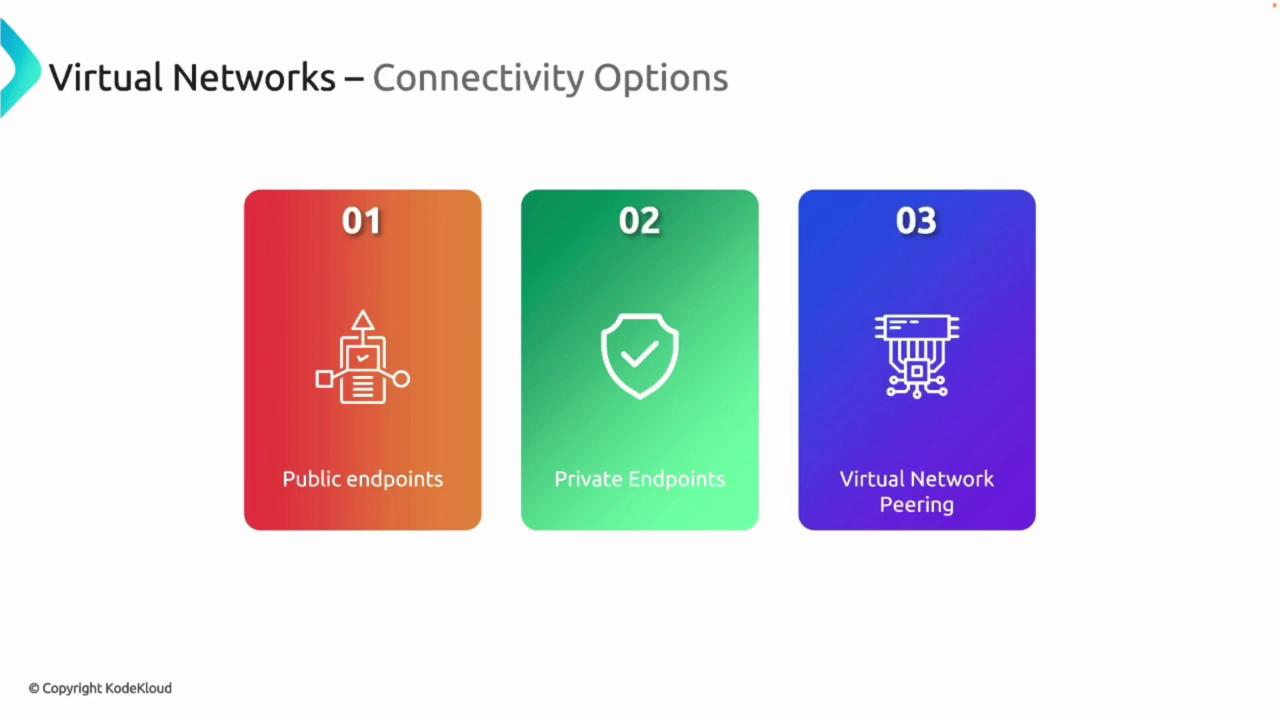
Azure Virtual Machines support several connectivity configurations:-
Public Endpoints
Connections are enabled over the internet via public IP addresses. For instance, when you initially set up a VM, you might connect using a public IP. Any service that exposes an IP address to the internet qualifies as having a public endpoint. -
Private Endpoints
This option assigns a VM a private IP address from within the virtual network, effectively restricting external access. Think of it as assigning devices a local IP like those within a home network. -
Virtual Network Peering
Virtual network peering connects two distinct virtual networks, allowing devices to communicate using private IP addresses. This process is similar to joining two separate networks via a private connection so that they function as one unified network.
Common Use Cases
Azure VMs are versatile and are ideal for testing, development, or running production applications. They also help extend the capacity of your on-premises data center. For example, if your in-house data center is nearing capacity, you can deploy additional Azure VMs and integrate them with your existing infrastructure using Azure networking services.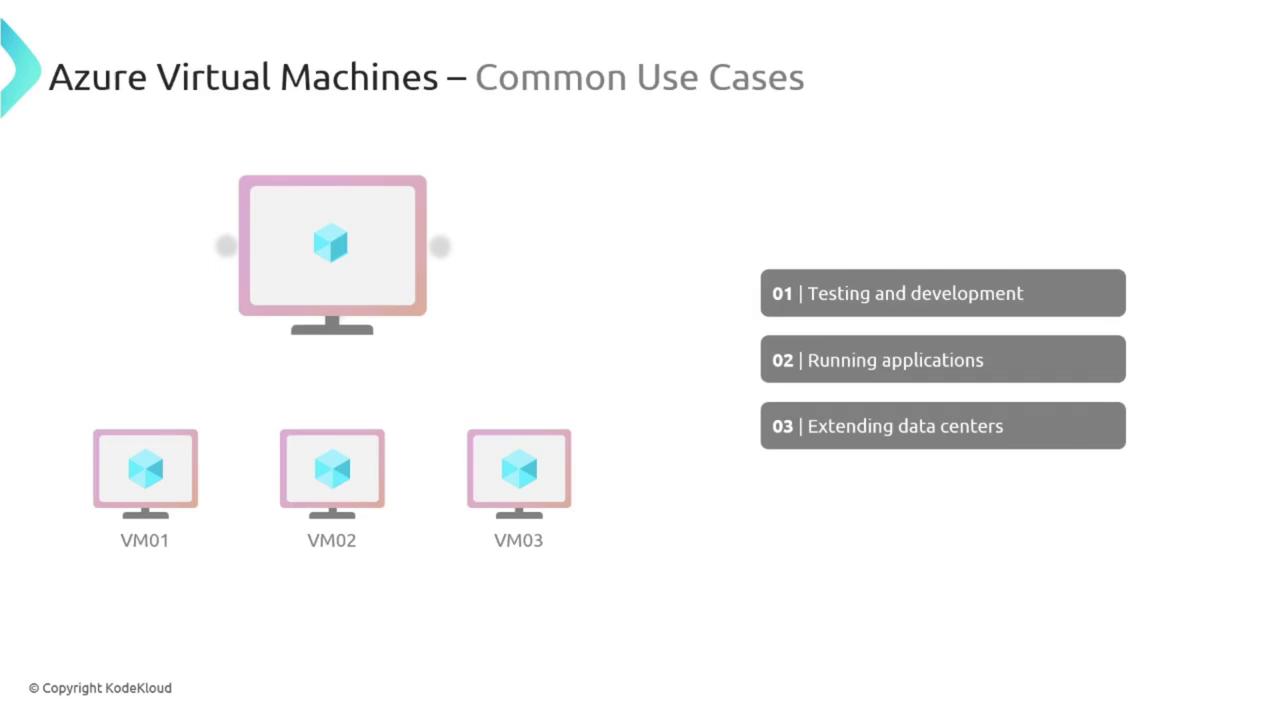
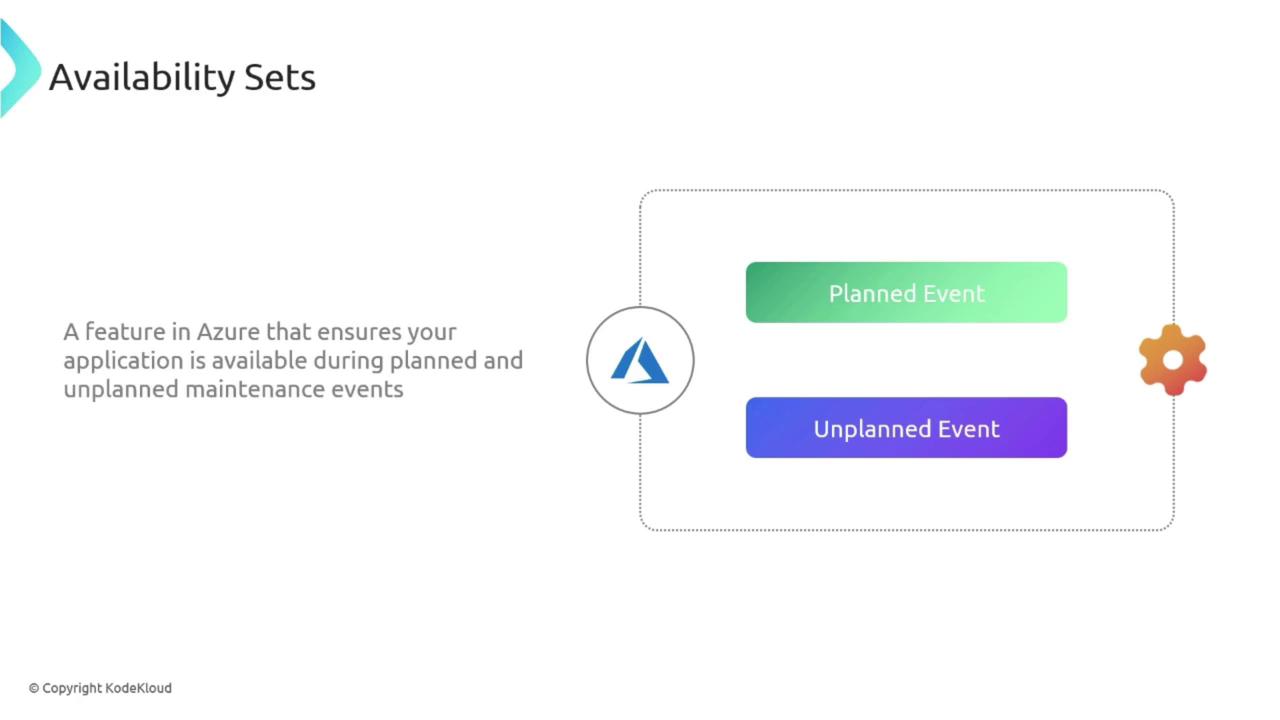
Availability Sets
When deploying applications on Azure Virtual Machines, planned maintenance (such as updates) and unplanned disruptions (like power outages) may affect availability. Azure addresses these concerns using Availability Sets, which are designed to keep your applications online during such events.How Availability Sets Work
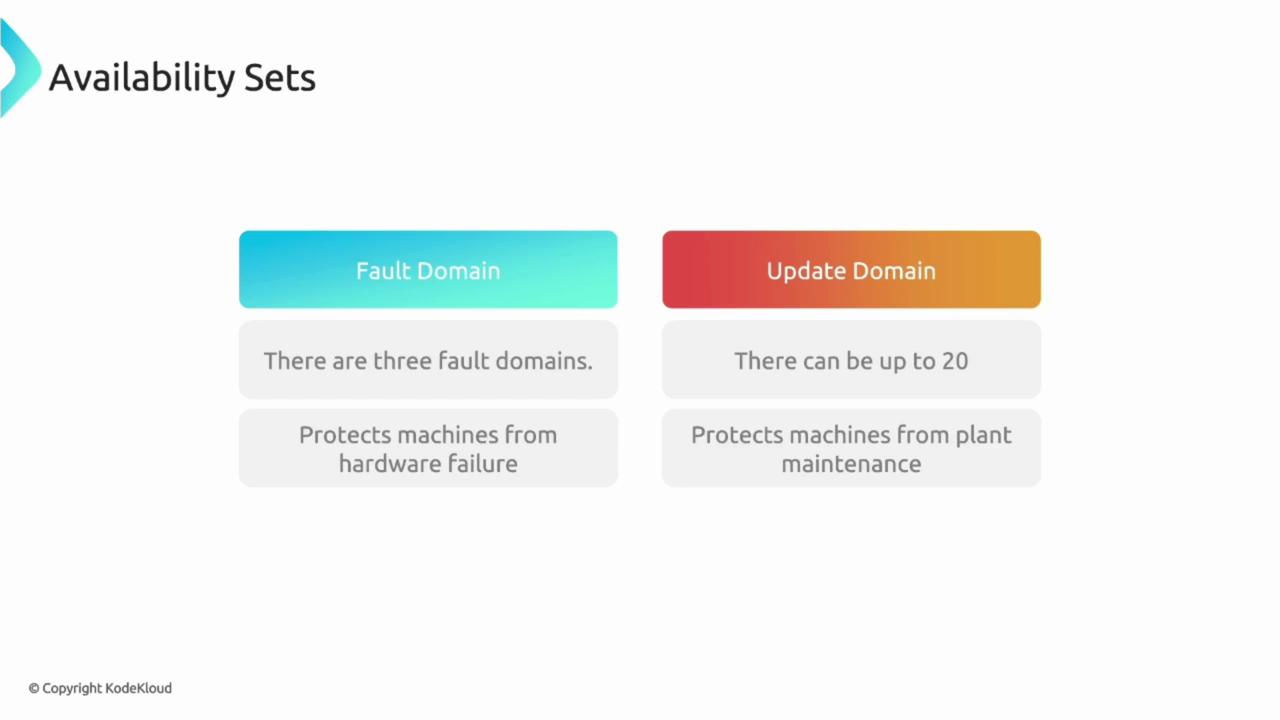
Availability Sets group VMs by two primary concepts:-
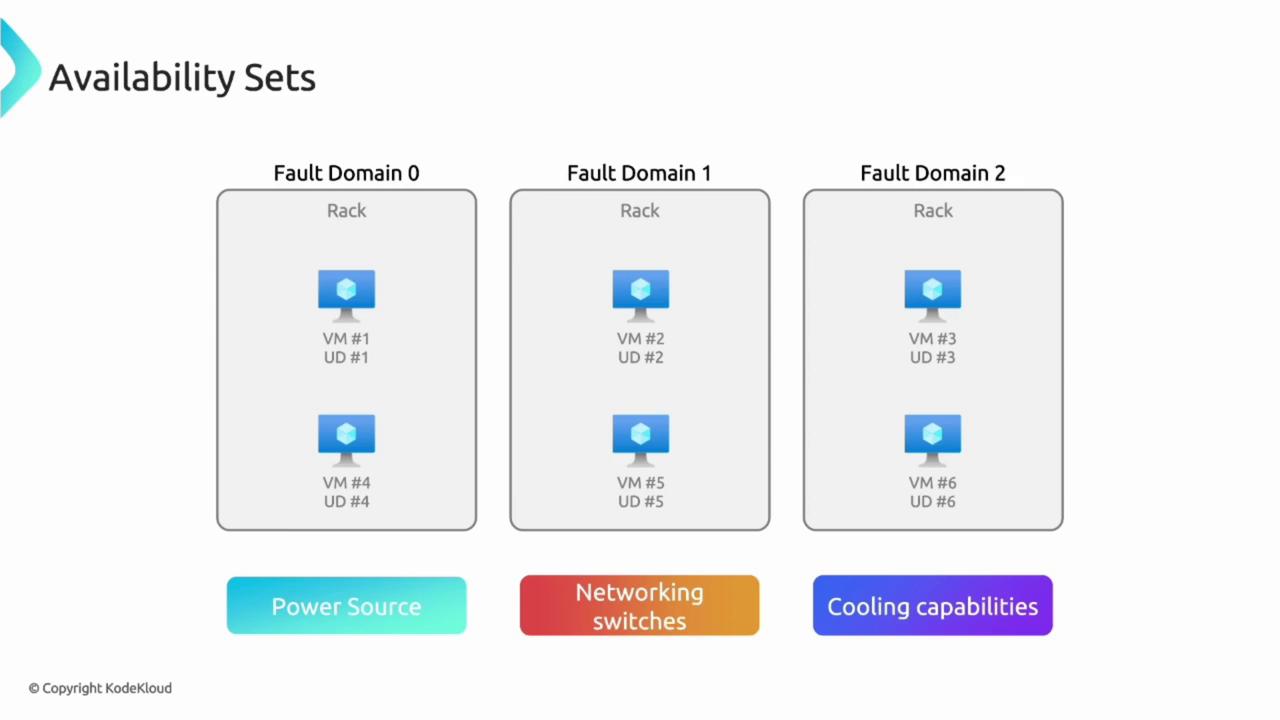
Fault Domains
Fault domains represent groups of physical servers sharing the same power source, network switches, and cooling systems. By distributing VMs across multiple fault domains (typically three per data center), the impact of hardware failures is minimized. -
Update Domains
Update domains are logical segments that allow Azure to sequentially reboot VMs during planned maintenance. This ensures that not all VMs are updated simultaneously, thereby preserving service continuity.

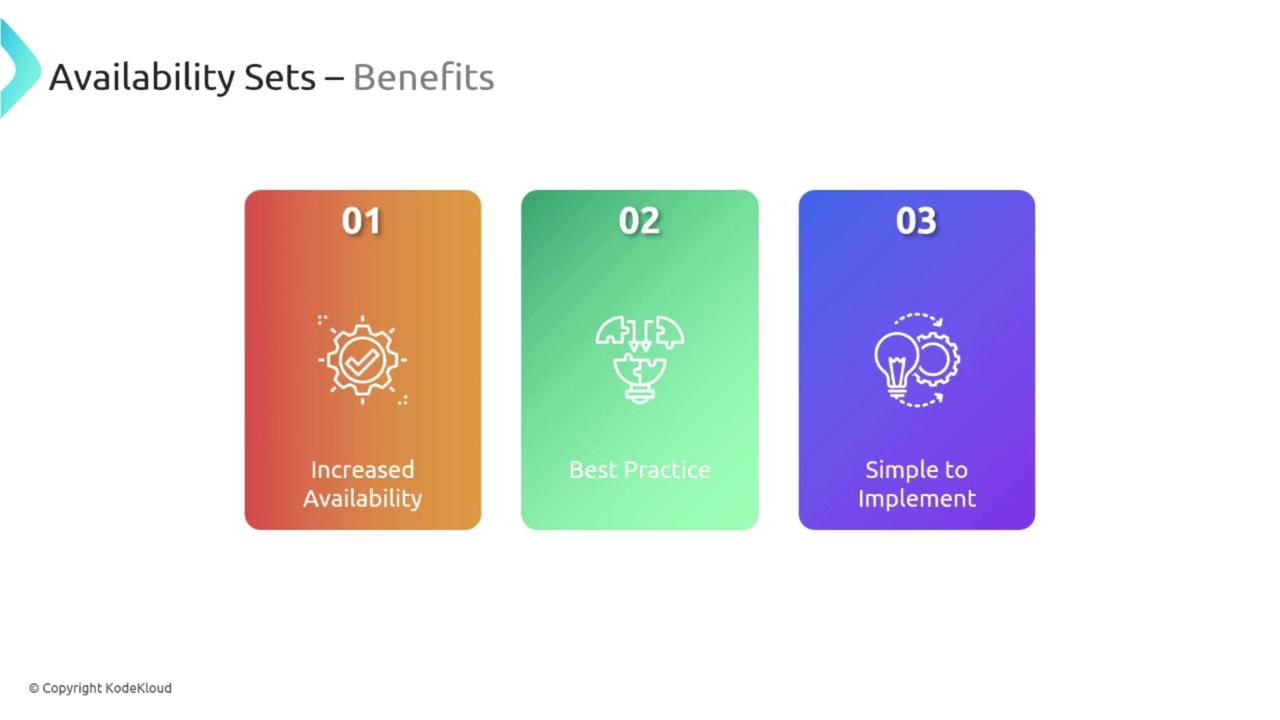
Benefits of Availability Sets
- Enhanced application availability by reducing downtime.
- Critical for deploying production workloads.
- Seamless integration during VM creation by selecting an availability set.
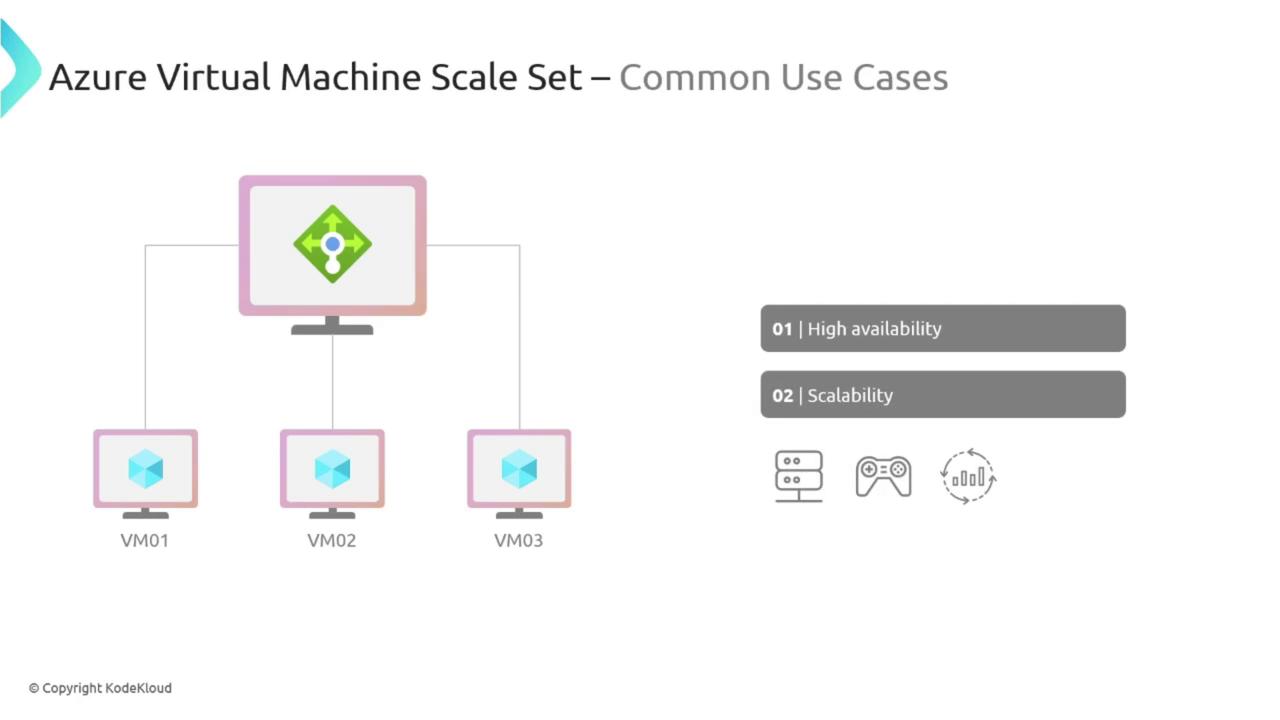
Azure Virtual Machine Scale Sets (VMSS)
While a single VM emulates a physical server, many applications demand a fleet of VMs that scale automatically based on demand. Azure Virtual Machine Scale Sets (VMSS) allow you to deploy and manage a collection of identical, auto-scaling VMs.Key Features of VMSS
-
Automatic Scaling:
VMSS dynamically adjusts the number of VM instances based on current demand or predefined schedules, ensuring that your application always has the required computing resources. -
Load Balancing:
Integrated with Azure Load Balancing services, VMSS distributes incoming traffic evenly across instances, optimizing performance and responsiveness. -
High Availability:
VMSS continuously monitors the health of the VMs and automatically replaces any that become unhealthy, ensuring sustained uptime.

Deploying a Virtual Machine in Azure
In this section, you’ll learn how to create a Virtual Machine using the Azure Portal. Although this demo is not required for exam preparation, it provides a practical understanding of the VM creation process.- Open a web browser and navigate to portal.azure.com. Sign in with your credentials. (A free trial is available, but a credit card may be required.)
- Use the search bar at the top to search for “Virtual Machines” and select it from the search results.
- Click on “Create” and select “Azure Virtual Machine” to start the setup process.

- Configure the Basic Settings:
- Subscription and Resource Group: Choose an existing subscription and select or create a resource group (for example, “AZ900 VM Resource Group”).
- Virtual Machine Name and Region: Provide a name (e.g., “AZ900 VM”) and select a region such as East US.
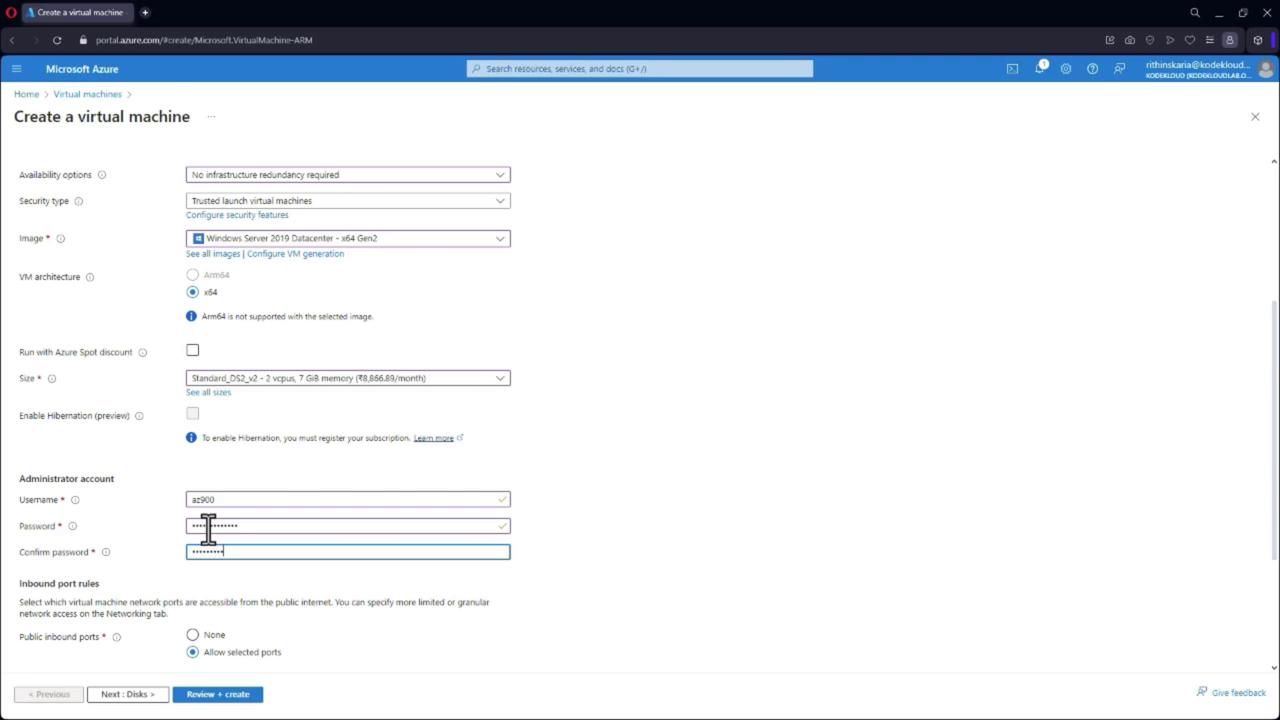
- Availability Options: Select an availability set, scale set, or availability zone. For a basic setup, you may choose “no infrastructure redundancy.”
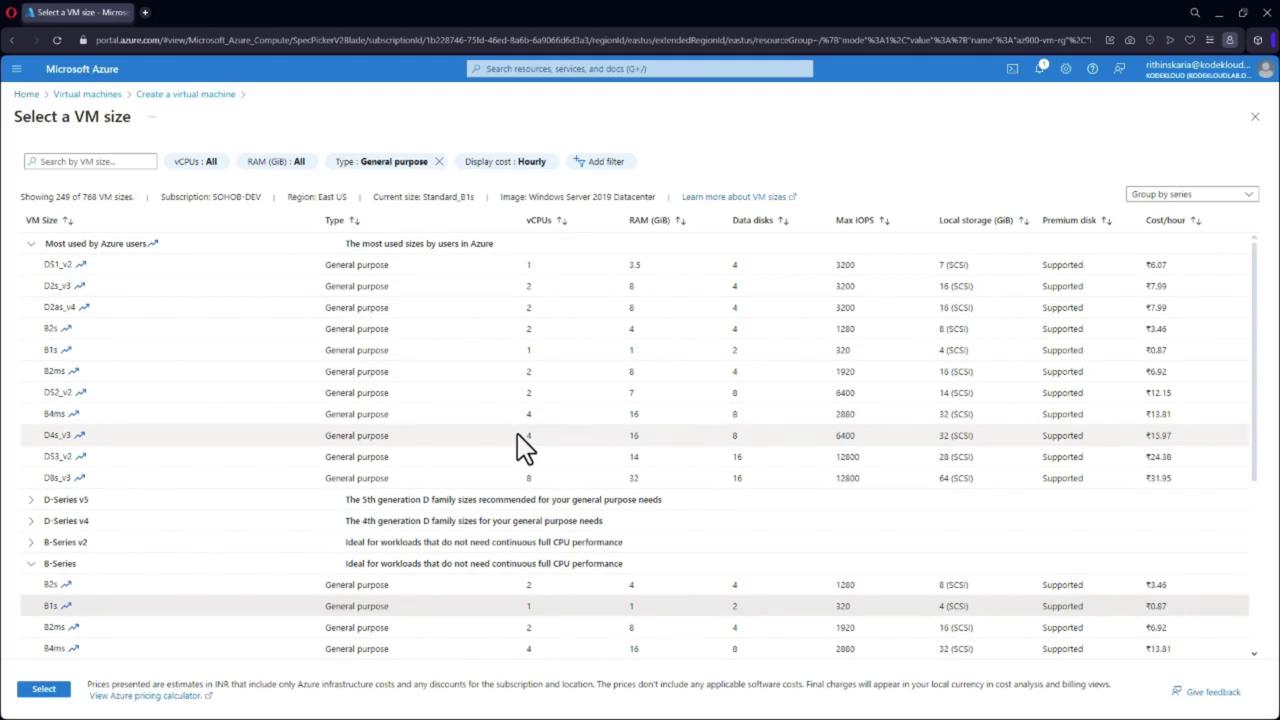
- Image and Size: Pick the desired VM image (for example, Windows Server 2019 Datacenter) and select an appropriate size. The portal will present various VM sizes with details such as vCPUs, RAM, and estimated costs.
- Provide administrator credentials by specifying a username and password.
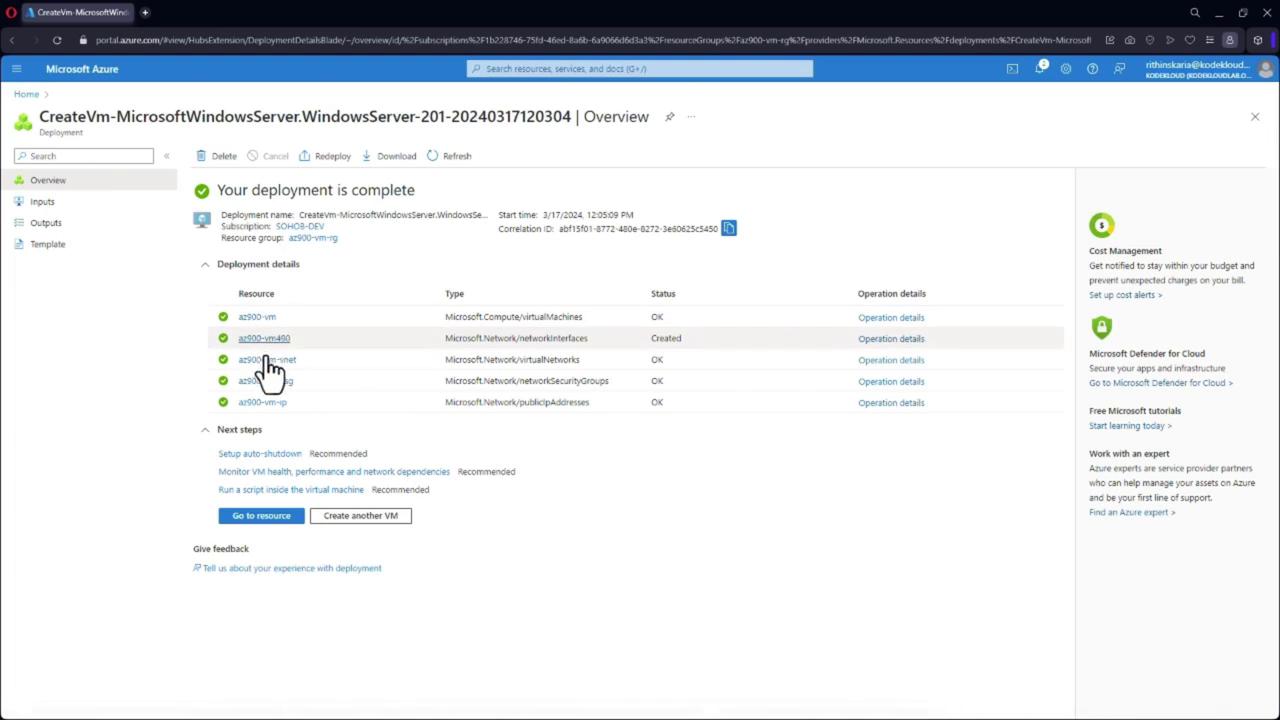
- Click “Review + create” to validate your settings, and then select “Create” to deploy the VM. The deployment process, which creates compute resources, networking, and storage components, typically takes one to two minutes.
Ensure that your VM credentials are kept secure. Changing passwords periodically and following best security practices helps safeguard your server access.
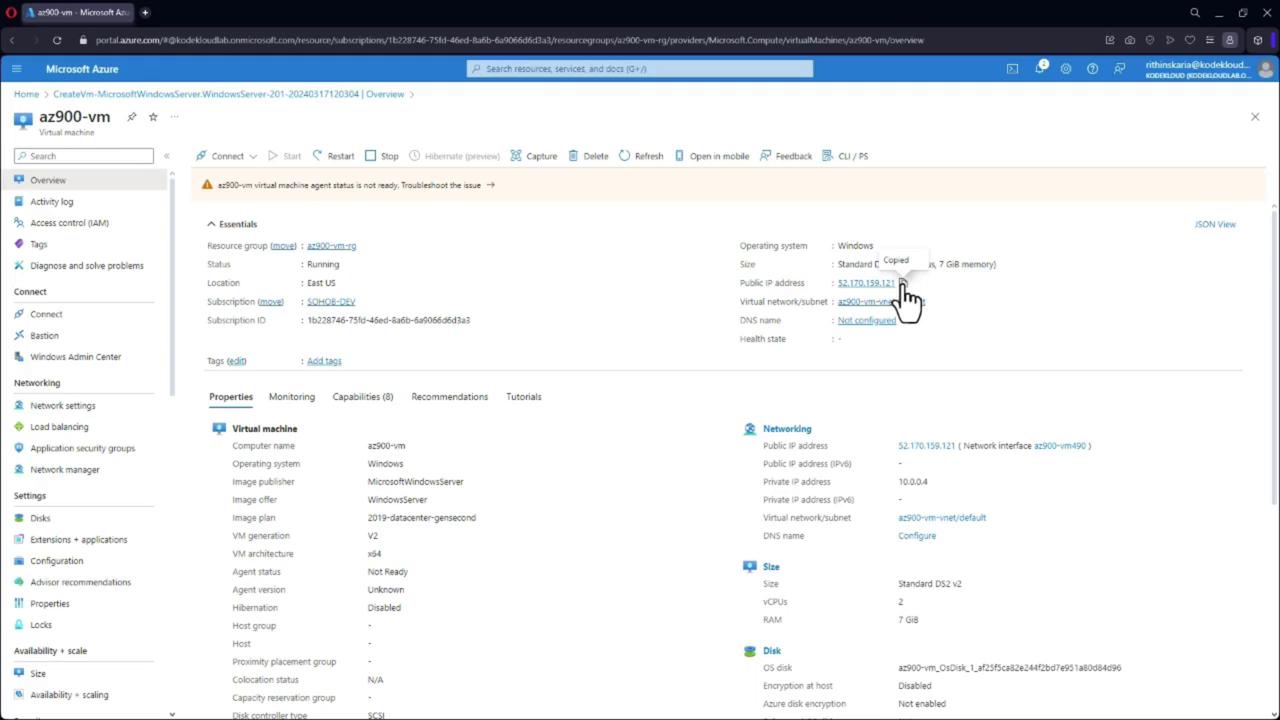
Connecting to Your Virtual Machine
To establish a connection with your newly created VM, follow these steps:- Copy the public IP address from the VM details page.
- Open Remote Desktop Connection (for Windows) or use your preferred remote access tool.
- Paste the public IP address and initiate the connection.
- When prompted, enter the administrator username and password that were set during the VM creation process.
- Accept any security warnings to complete the connection.