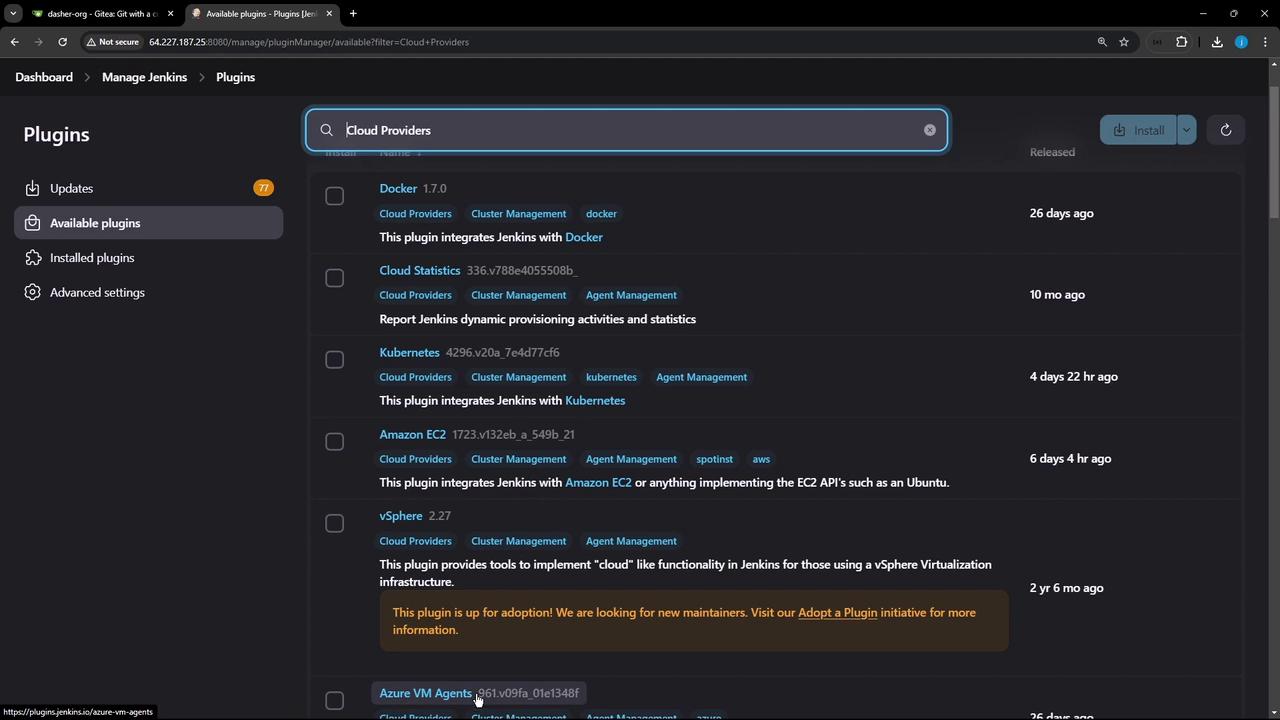
1. Install the Kubernetes Plugin
Jenkins requires the Kubernetes plugin to spin up agents in your cluster.| Installation Method | Command / Steps |
|---|---|
| Jenkins UI | Manage Jenkins → Manage Plugins → Available → Filter “Cloud” → Select Kubernetes 4.2.9.5 → Install |
| CLI | jenkins-plugin-cli --plugins kubernetes:4.2.9.5 |
| Advanced (HPI upload) | Upload from URL: https://updates.jenkins.io/download/plugins/kubernetes/4.2.9.5/kubernetes.hpi |
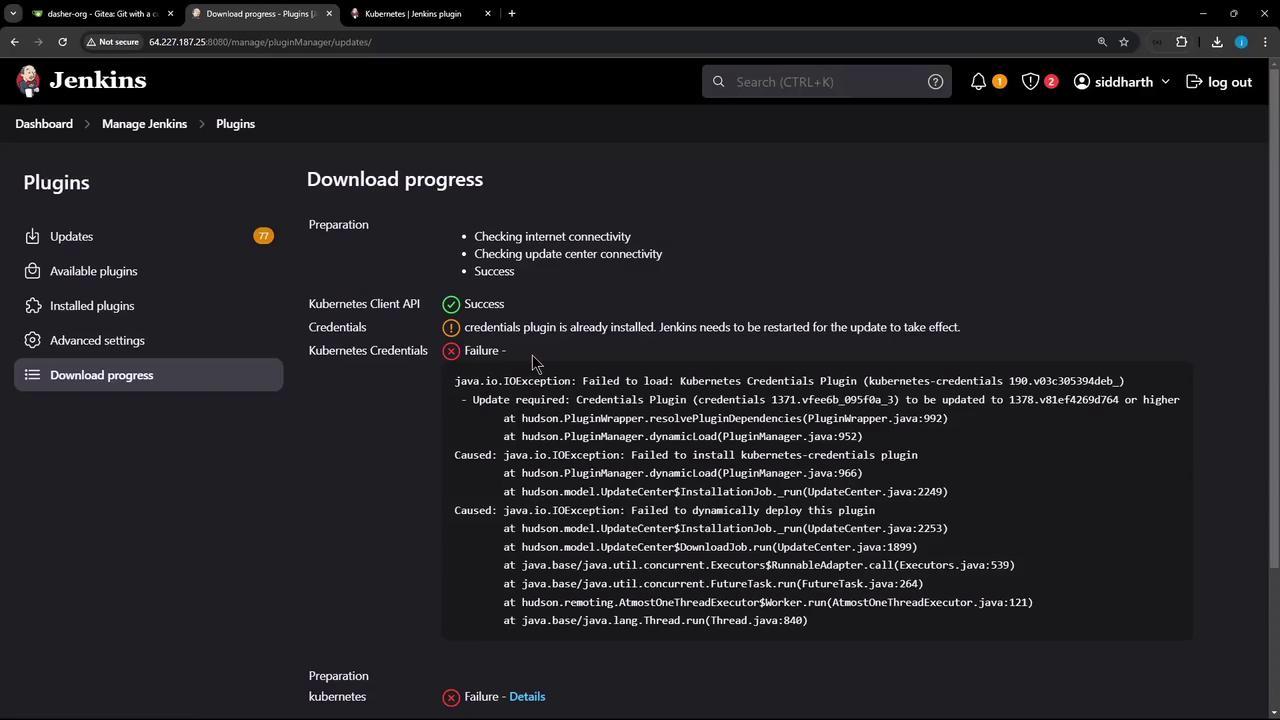
Always restart Jenkins after plugin upgrades to ensure dependencies load correctly.
2. Configure the Kubernetes Cloud
- Go to Manage Jenkins → Manage Nodes and Clouds → Configure Clouds.
- Click Add a new cloud and select Kubernetes.
- Provide a name (e.g.,
prod-k8s-us-east).
A. Connect Using a Kubeconfig File
- Export your full kubeconfig:
- In Jenkins, add a Secret file credential (
kubeconfig-us-east) and uploadkubeconfig.yaml. - Select this credential under Kubernetes Credentials and click Test Connection.
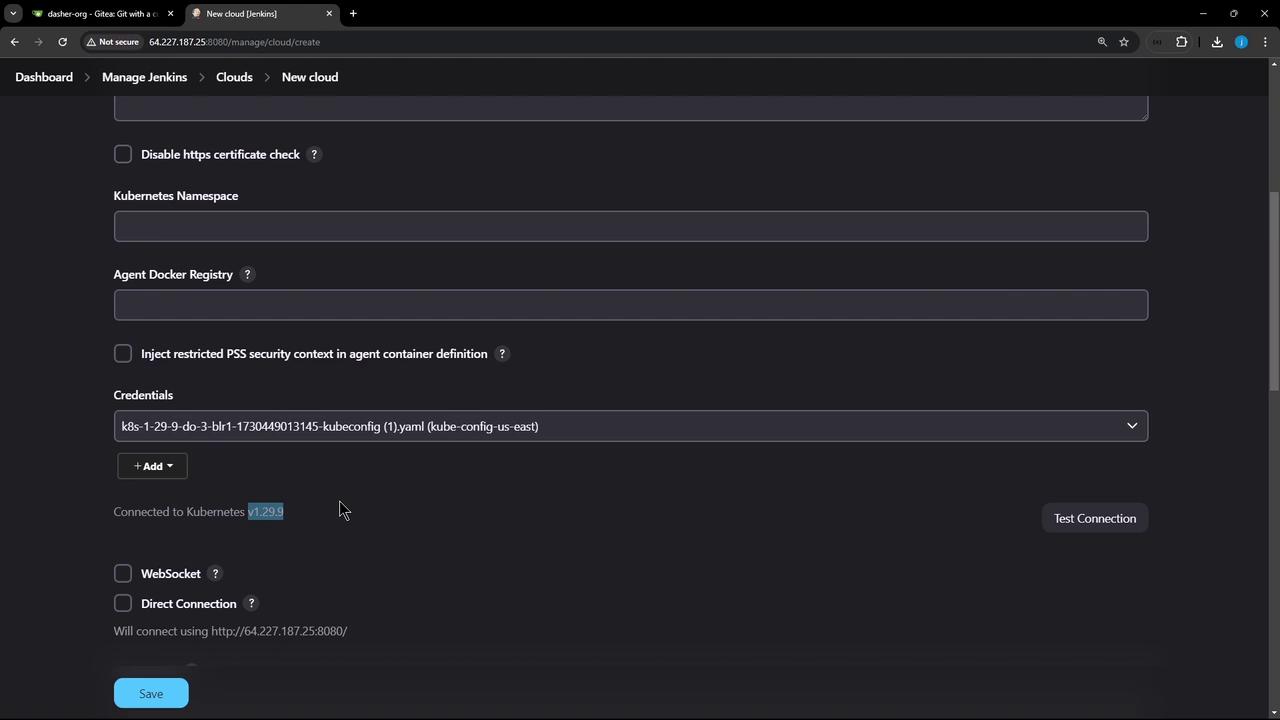
Using a full-admin kubeconfig grants access to the entire cluster. For production, it’s best practice to use a least-privileged service account.
B. Connect Using a Service Account Token
Follow these steps to lock down permissions:- Create a namespace and service account:
- Generate a long-lived token:
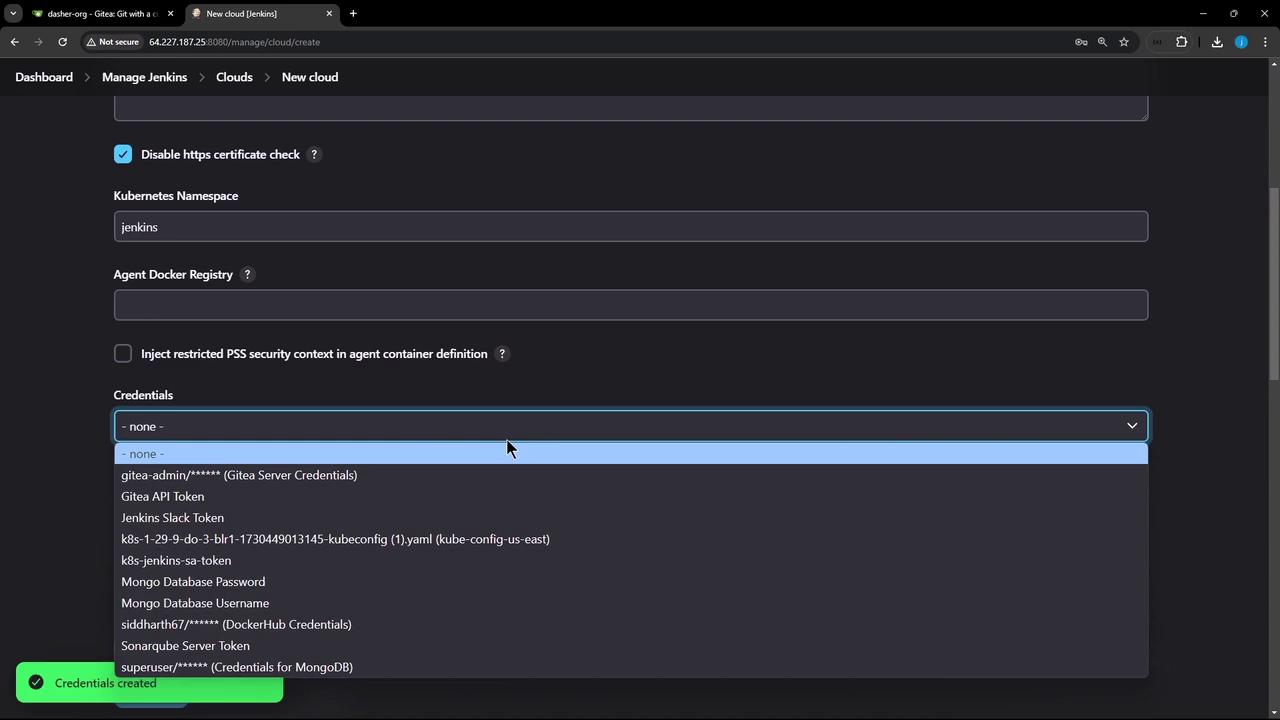
- In Jenkins, add a Secret text credential (
jenkins-sa-token) with this token. - Back in the Kubernetes cloud config:
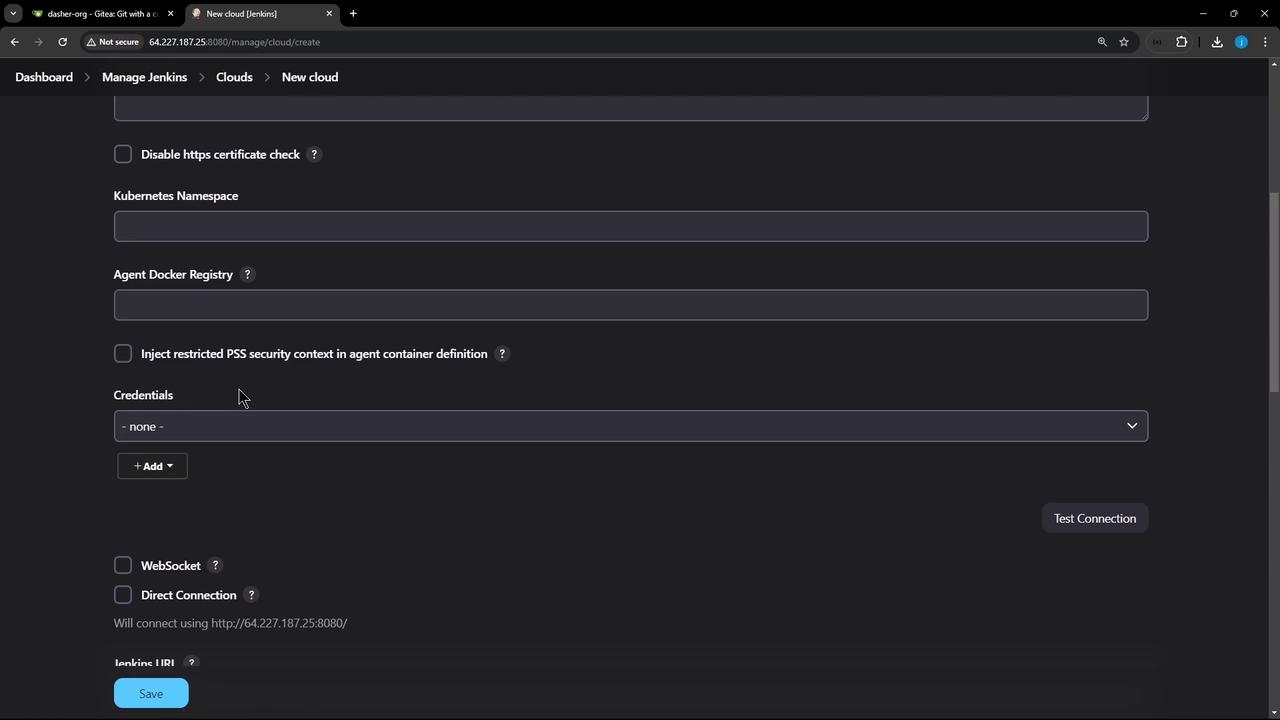
- Kubernetes URL: your API server endpoint
- Namespace:
jenkins - Credentials:
jenkins-sa-token - Click Test Connection.
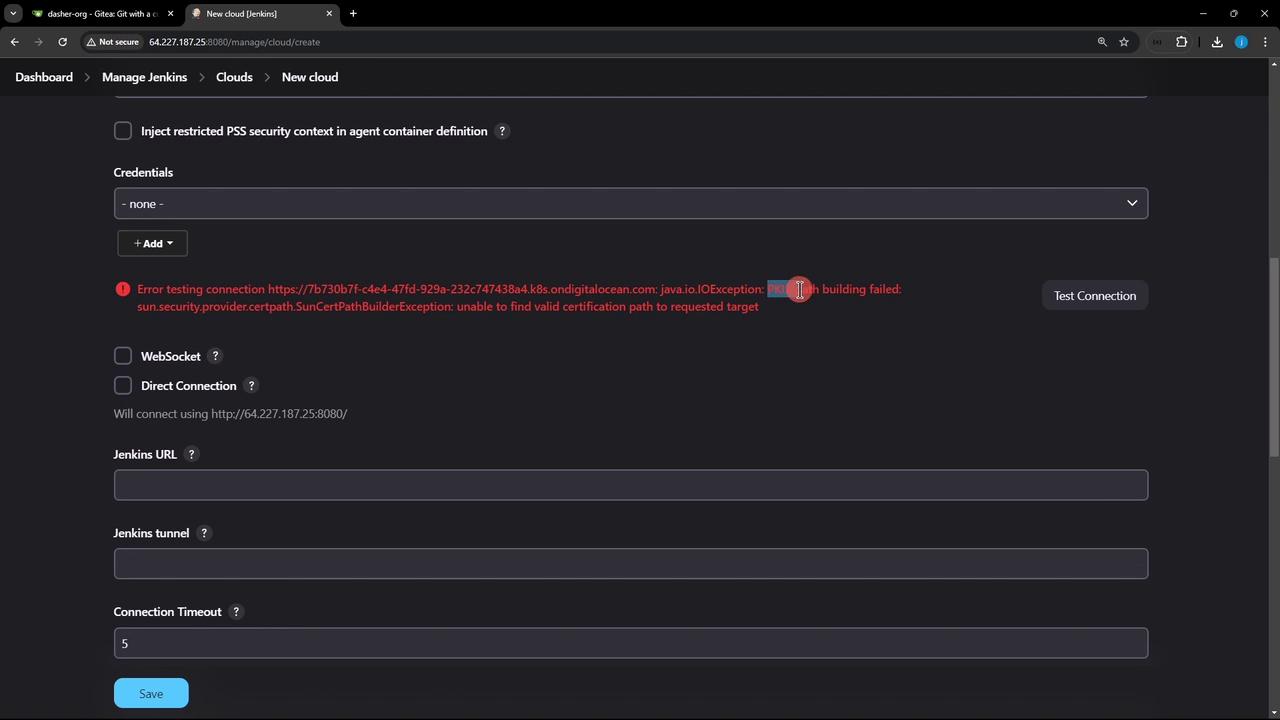
Disabling TLS verification is insecure. Instead, provide the CA certificate for your API server under Kubernetes CA Certificate.
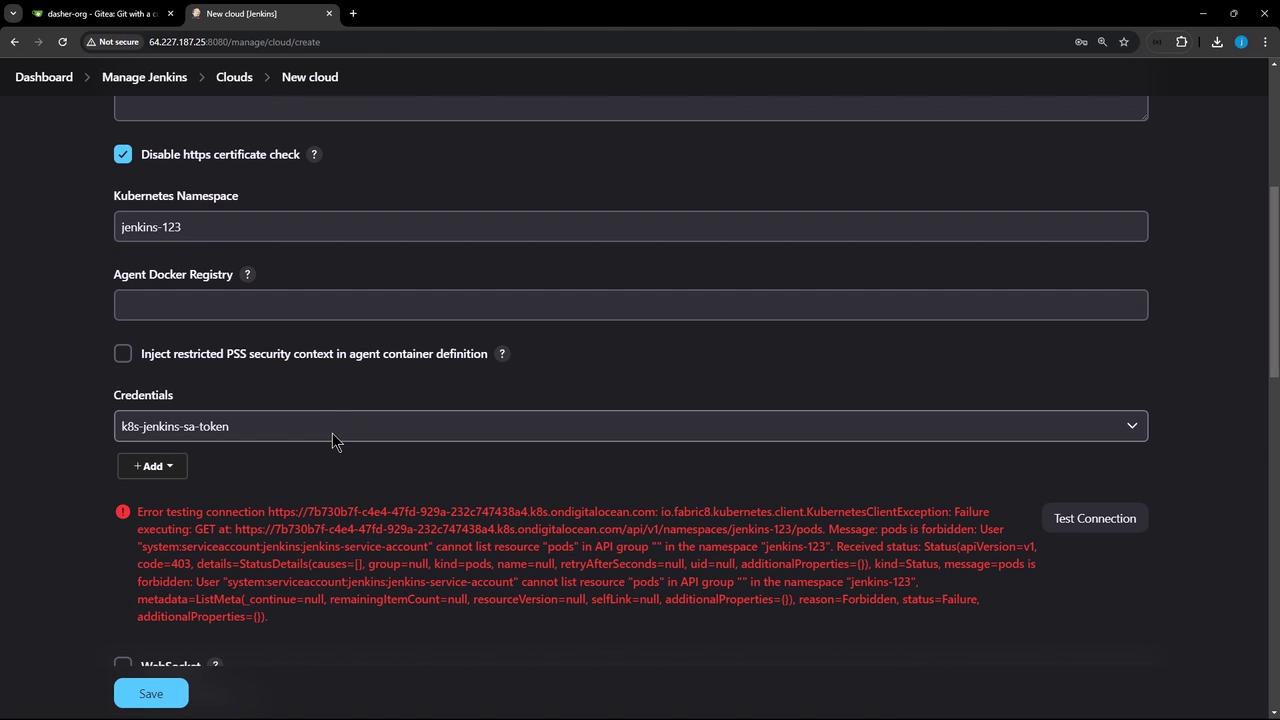
- Grant namespace-scoped admin rights:
- In Jenkins, click Test Connection again. You should see the credentials dropdown populated and a successful response:
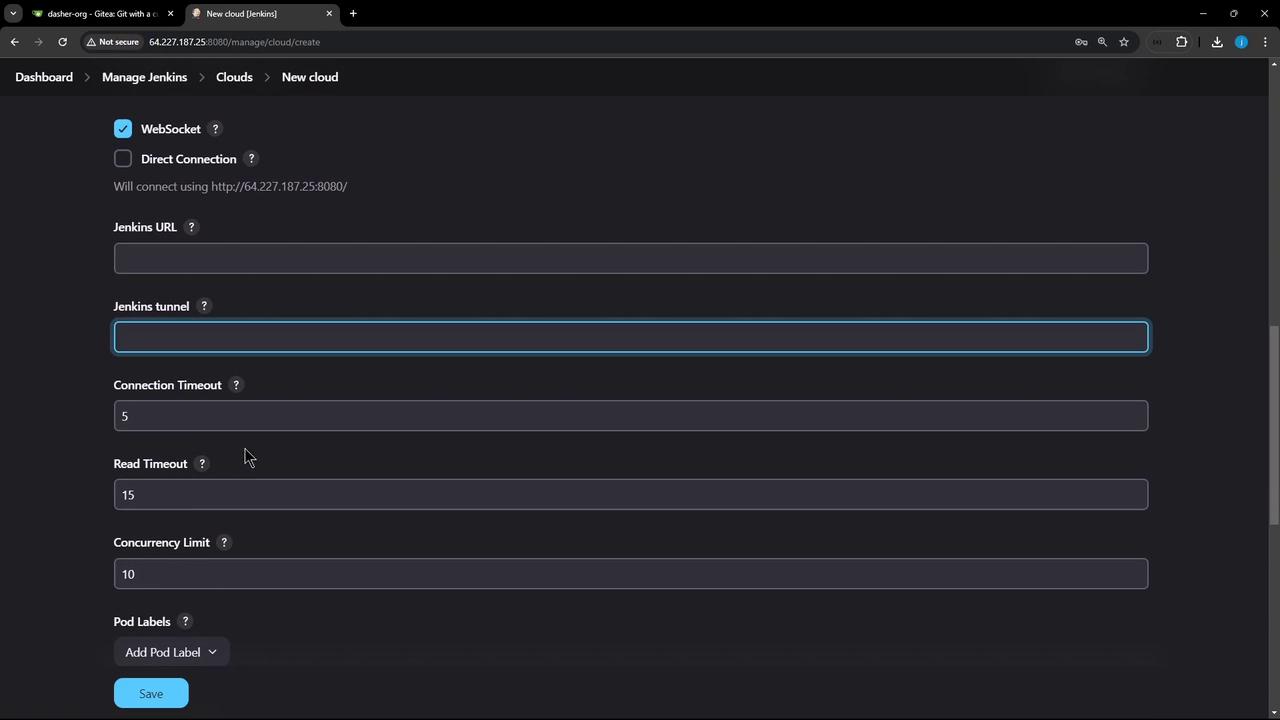
3. Finalize Cloud Settings
Configure how Jenkins launches and cleans up pods:- Jenkins URL / Jenkins tunnel: Host:port for JNLP/WebSocket agent connections.
- Pod Labels: e.g.,
organization=KodeKloudAzureArc—tags applied to every agent pod. - Pod Retention:
| Option | Description |
|---|---|
| Never | Delete pods immediately after build |
| On failure | Keep pods only if the build fails |
| Always | Retain pods regardless of build outcome |