- Identically named jobs (e.g.,
build) don’t collide - Credentials and properties are scoped per folder
- Pipelines access only the libraries, credentials, and cloud profiles in their folder tree
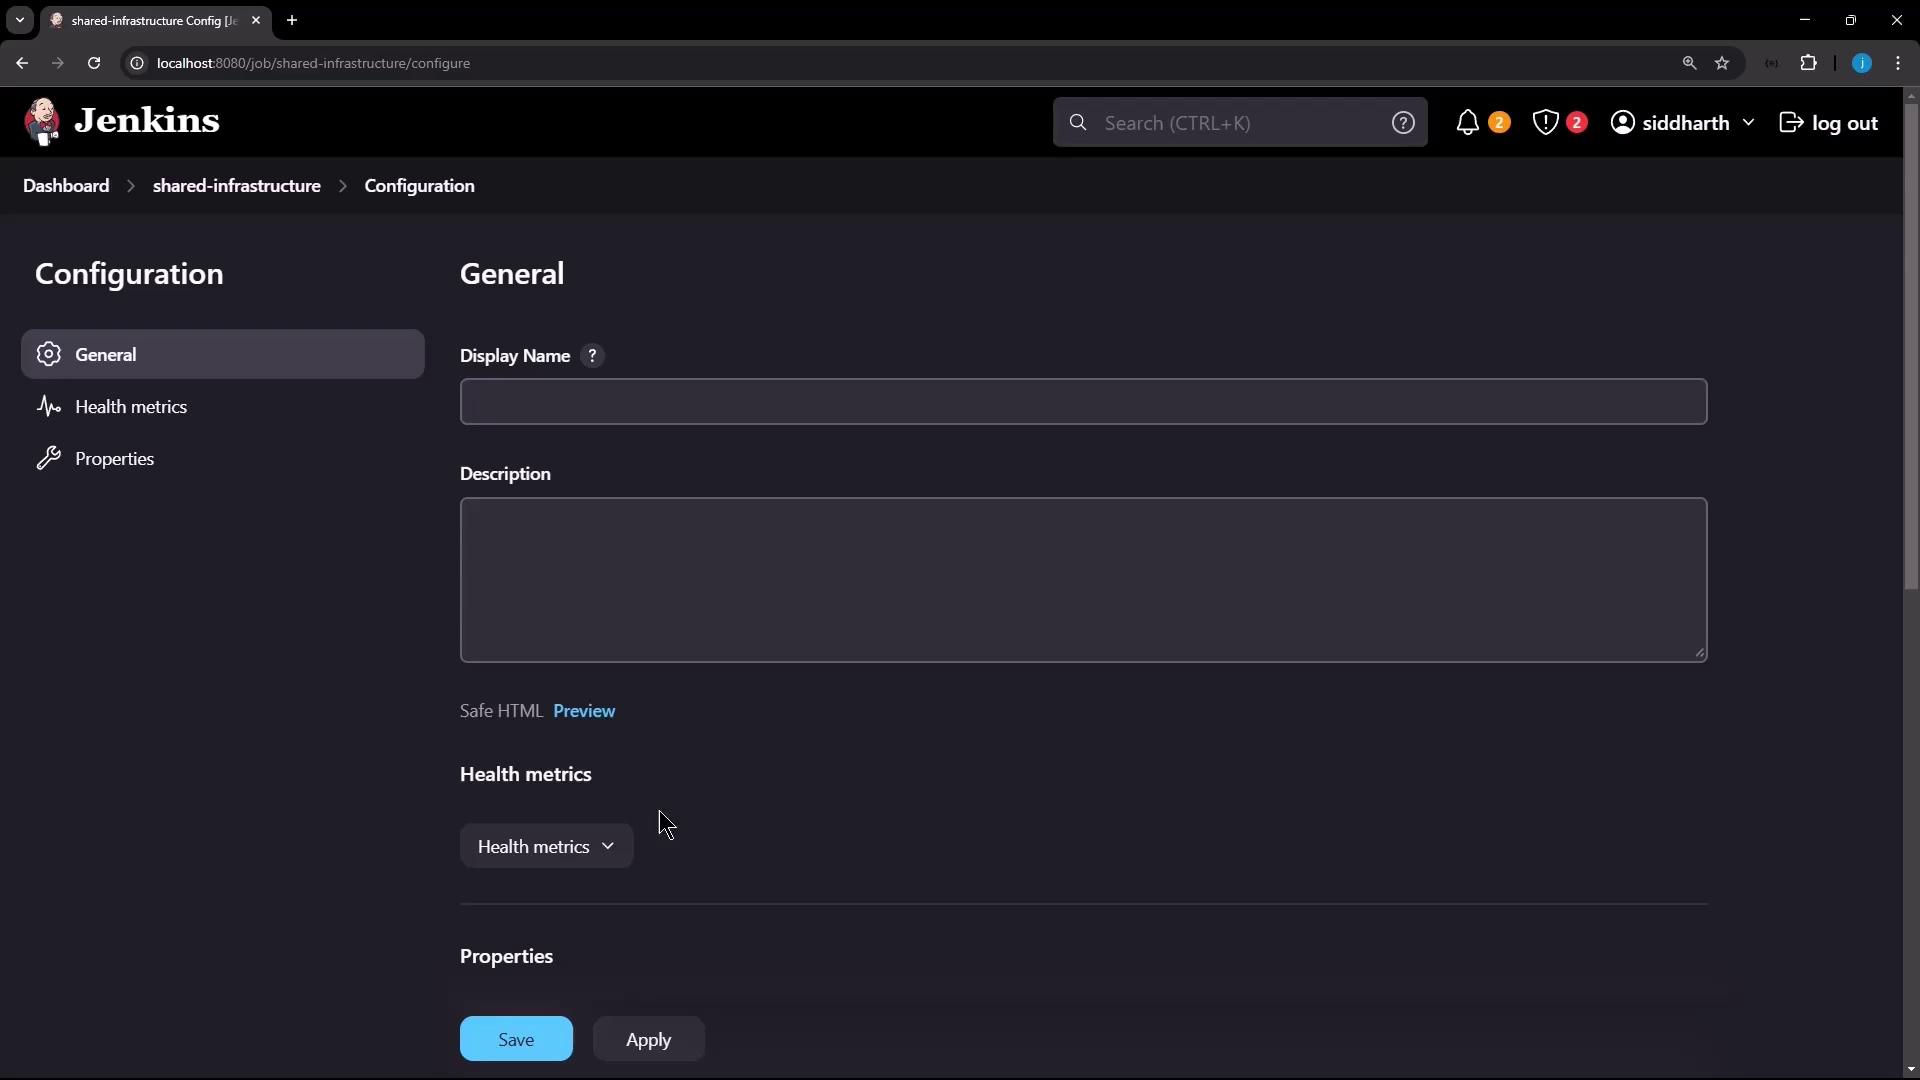
- Create a Shared Infrastructure Folder
- Add Folder-Scoped Credentials
- Nest a Team A Folder
- Build and Run a Pipeline in Team A
1. Create a Shared Infrastructure Folder
Add a new folder called Shared Infrastructure: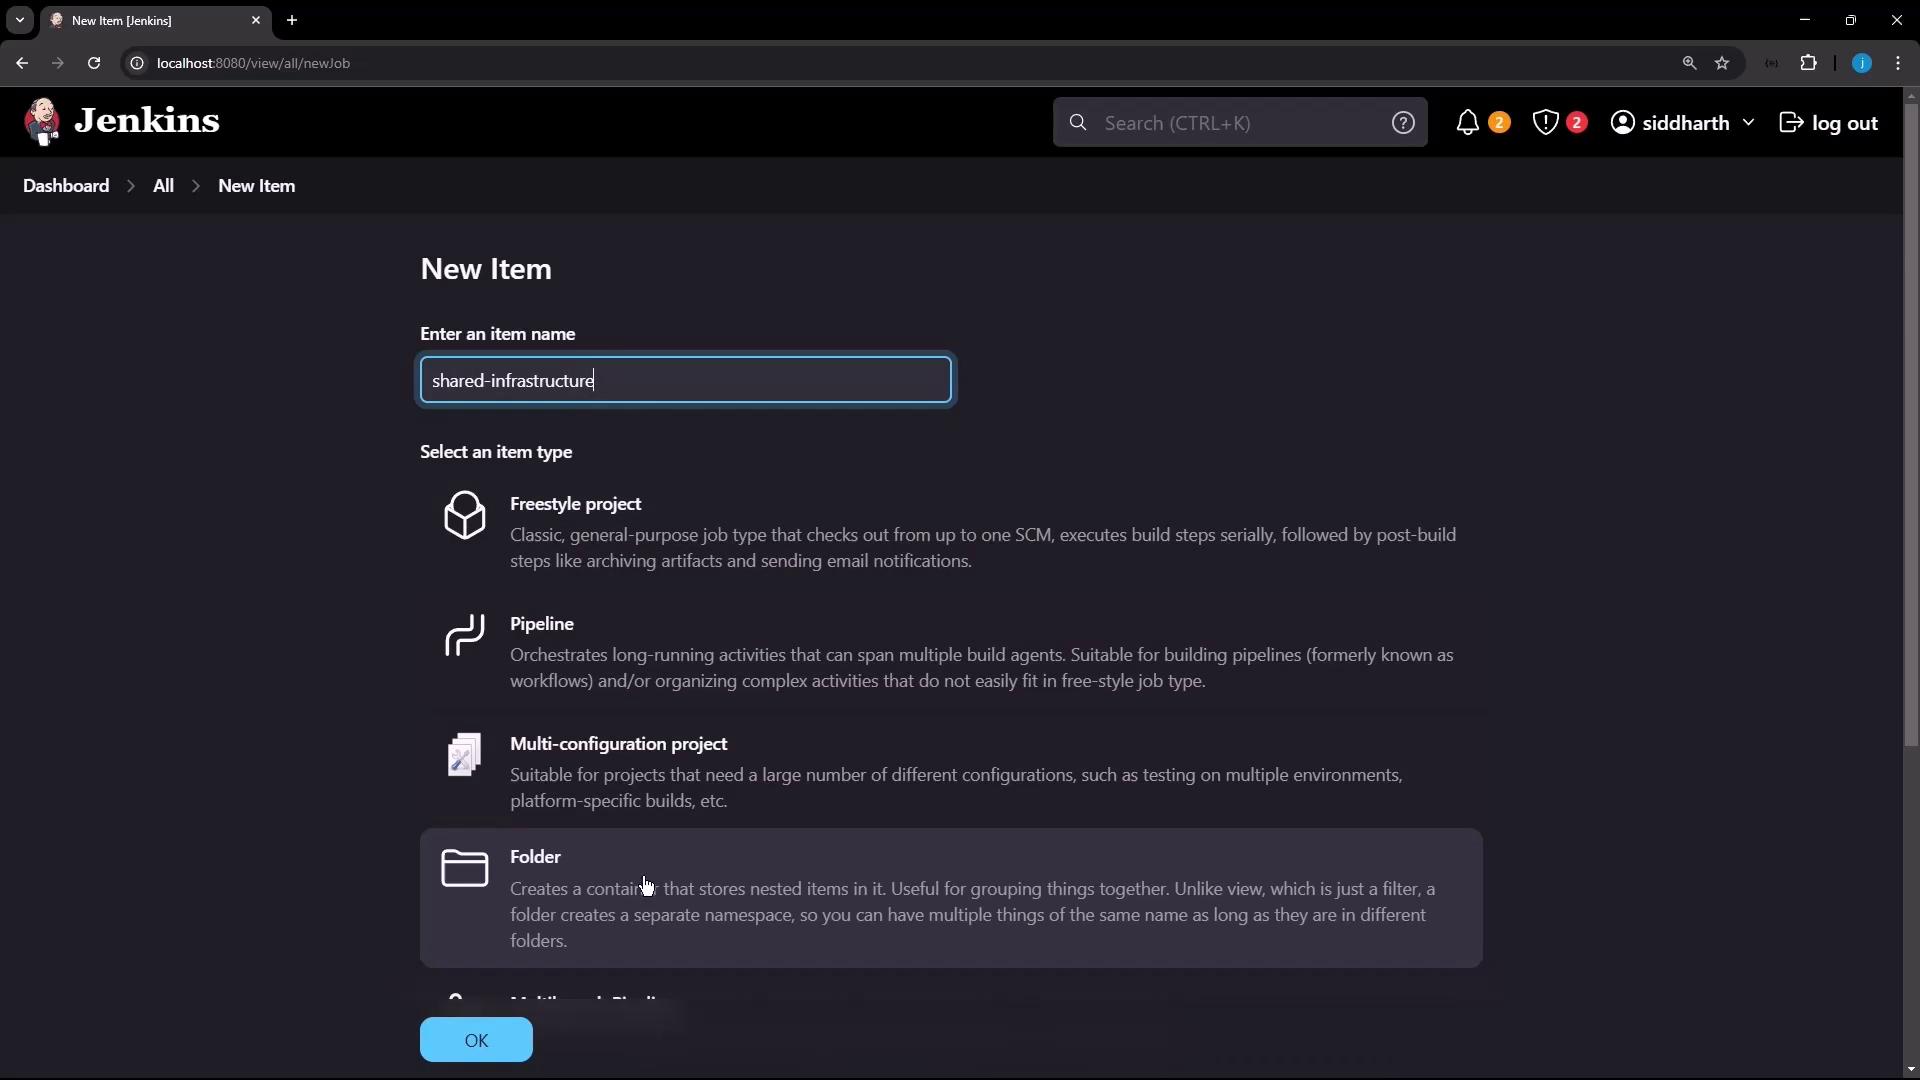

Use clear, consistent folder names (e.g.,
shared-infrastructure) to help teams find shared resources quickly.2. Add Folder-Scoped Credentials
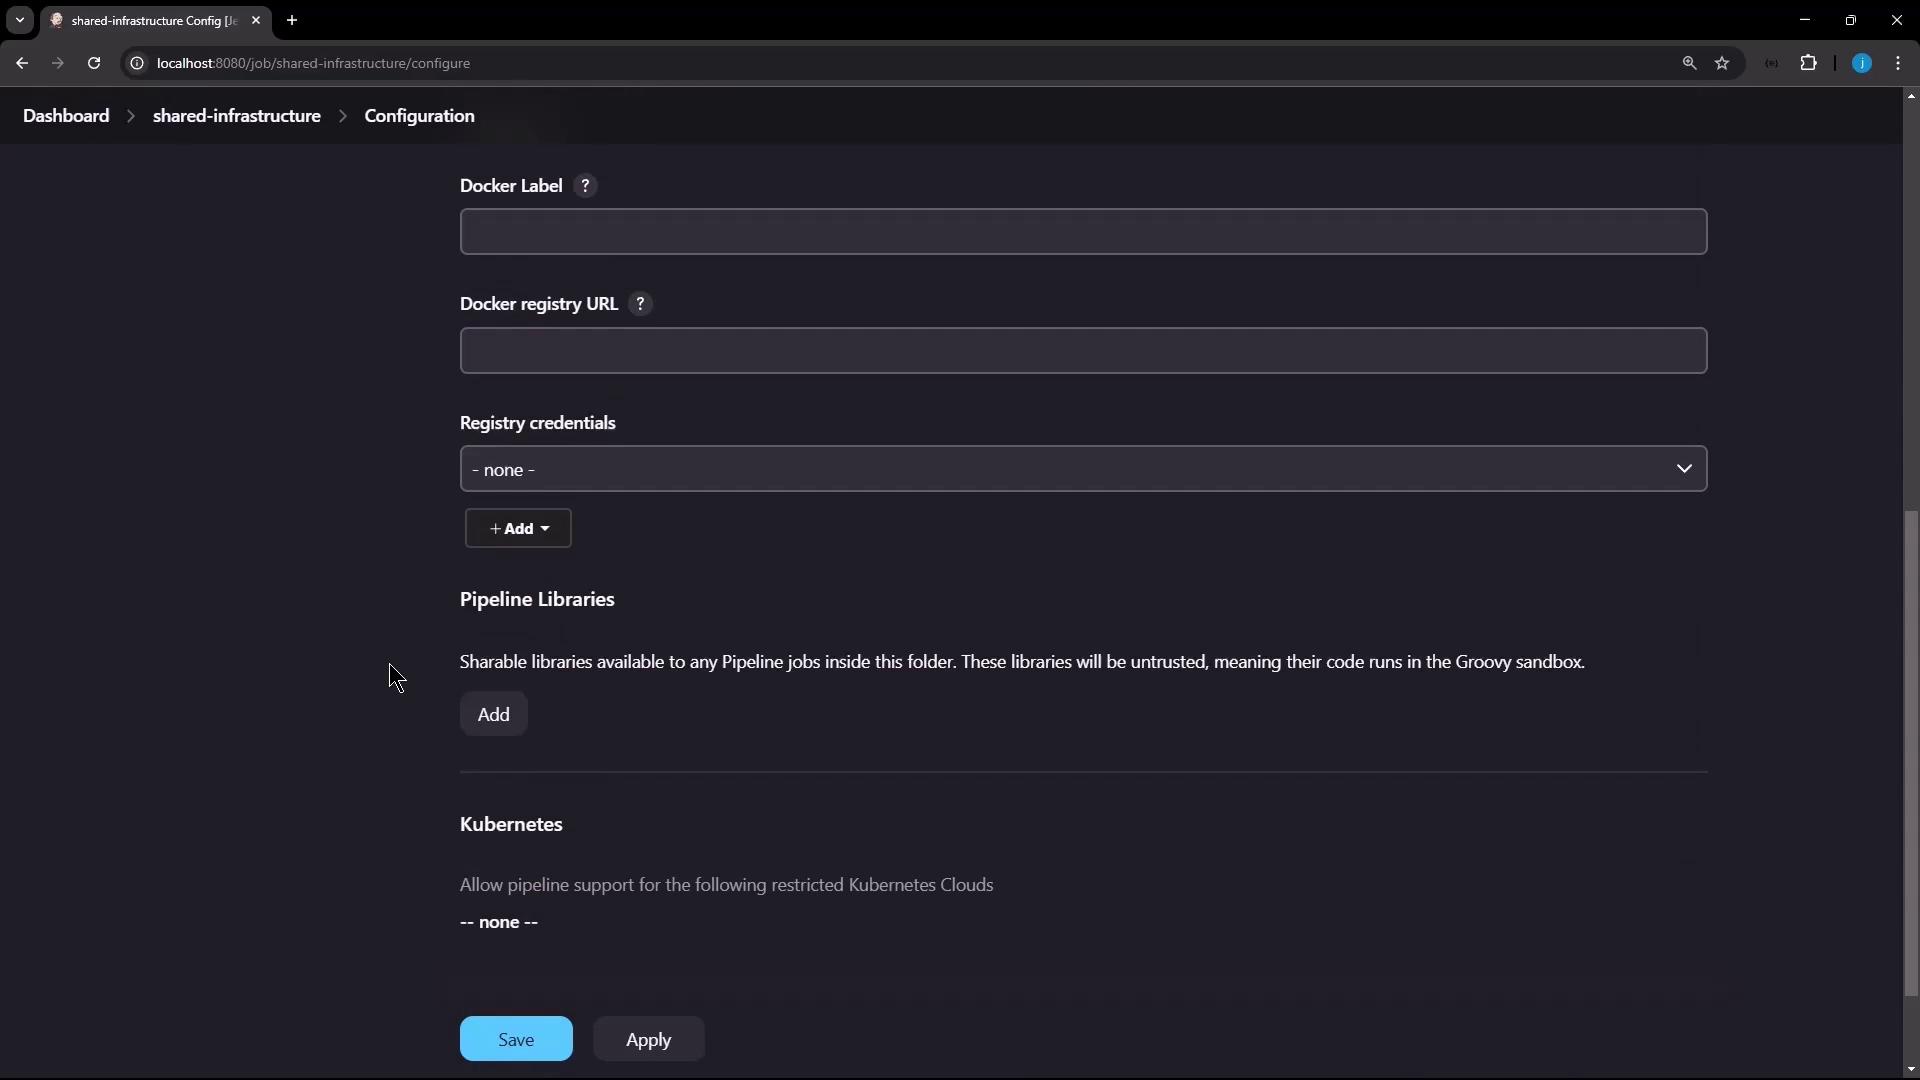
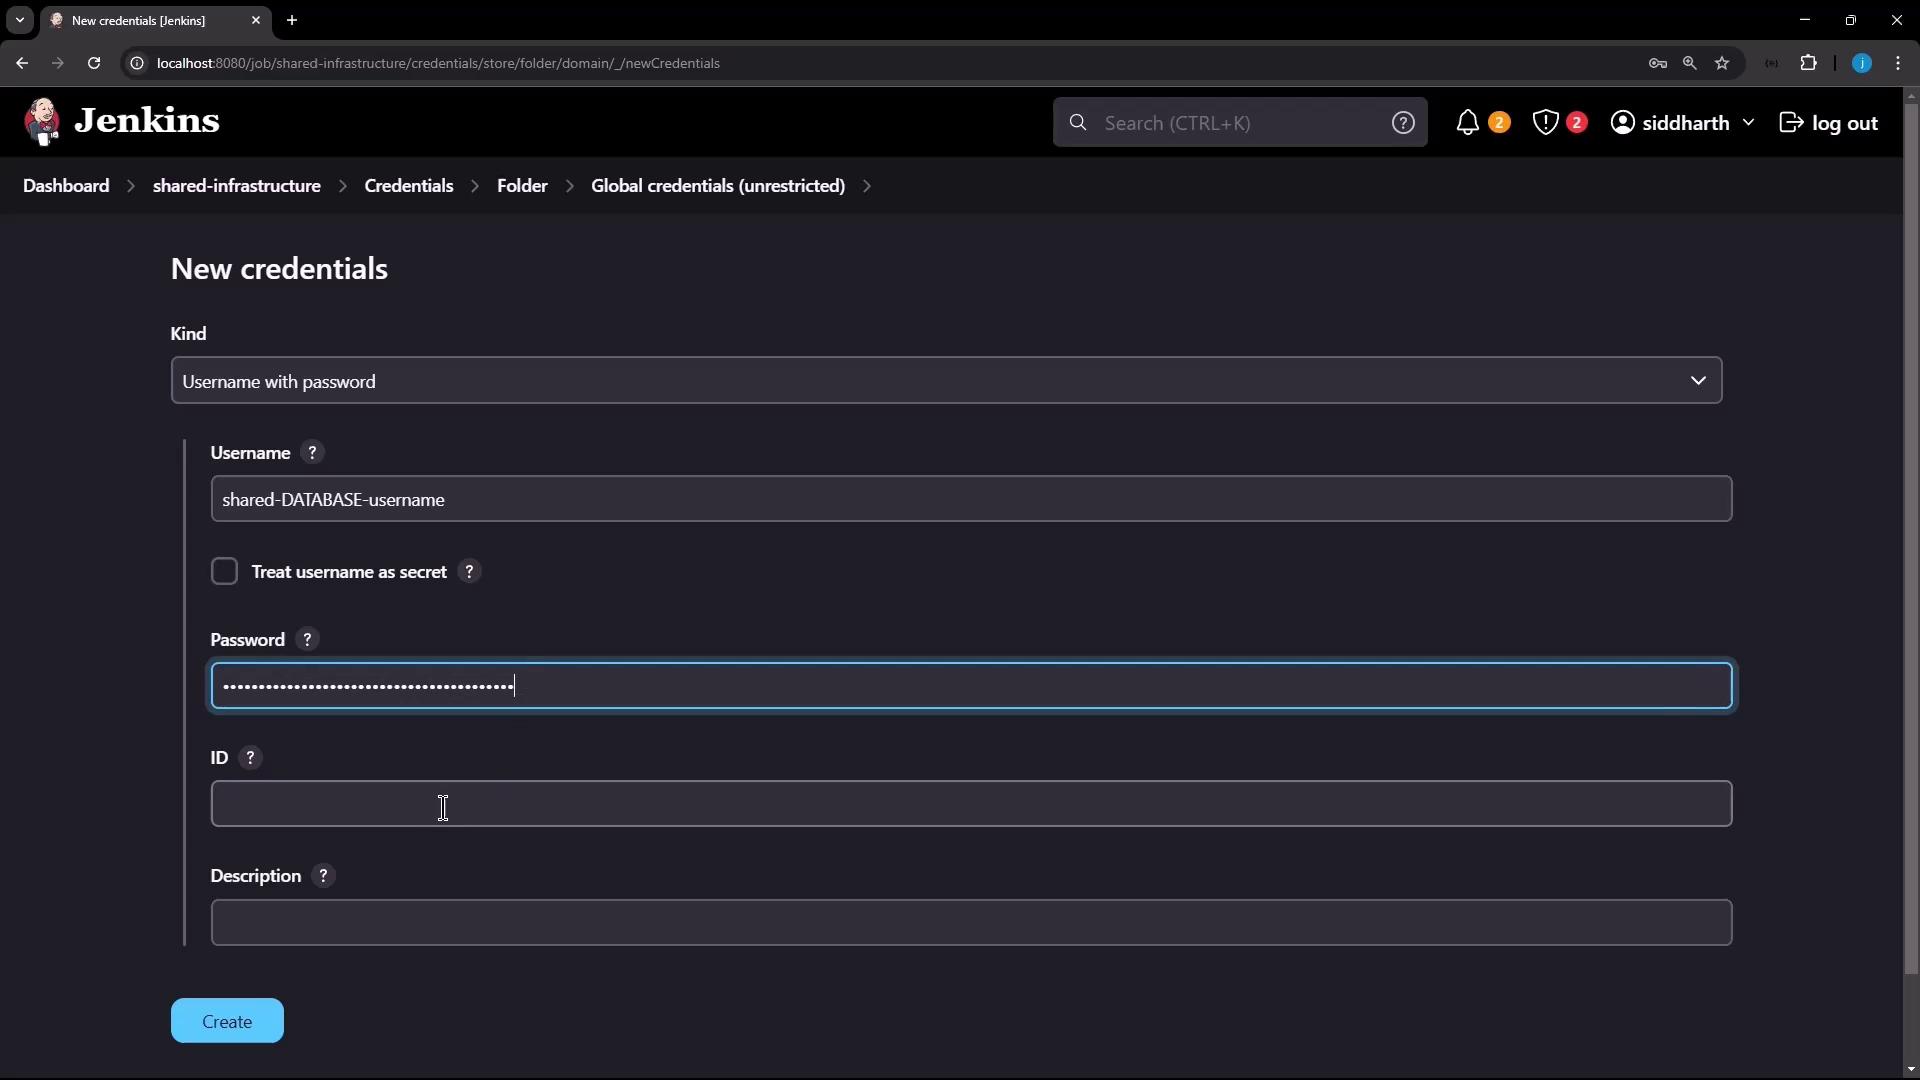
Inside Shared Infrastructure, go to Credentials and click Add Credentials: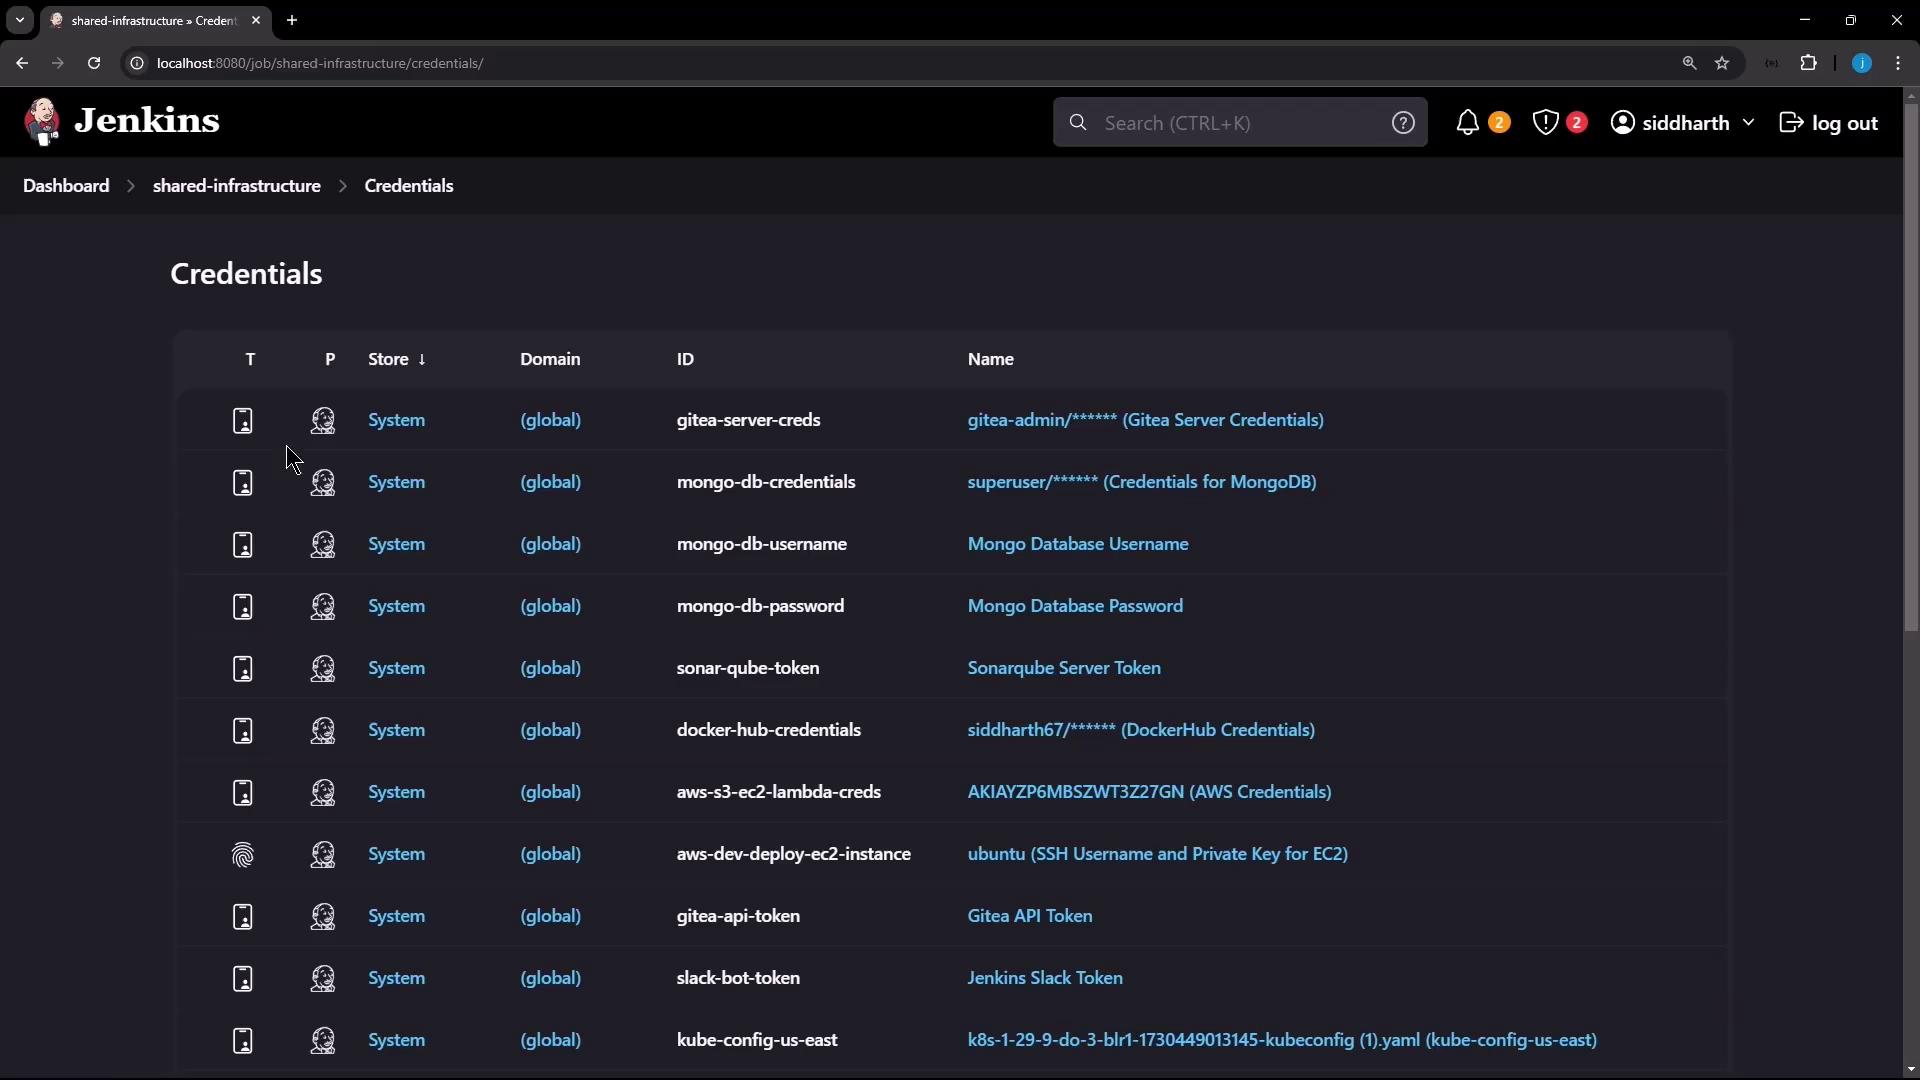
- Username: Shared Database Username
- Password: (demo value)
- ID: shared-db-creds
- Description: Shared DB Credential
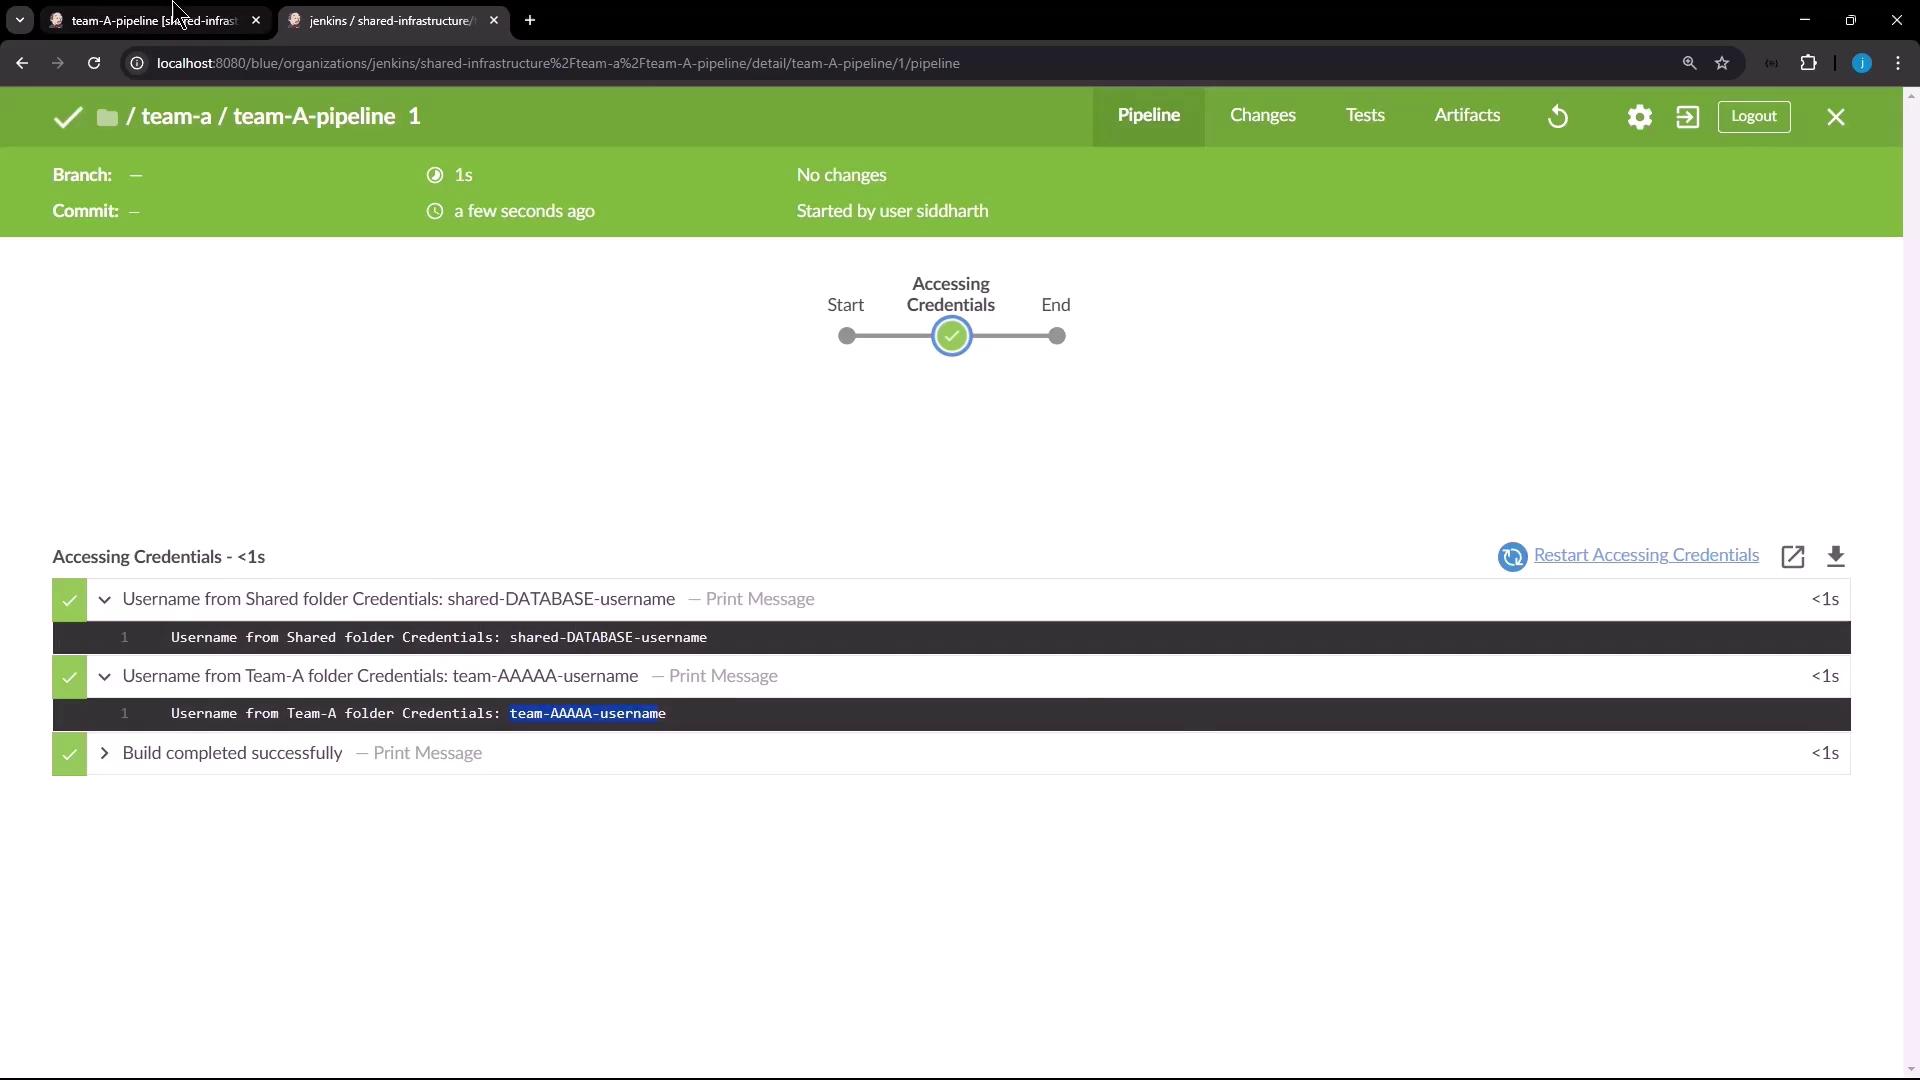
Never print full secret values in logs. Always reference credentials via
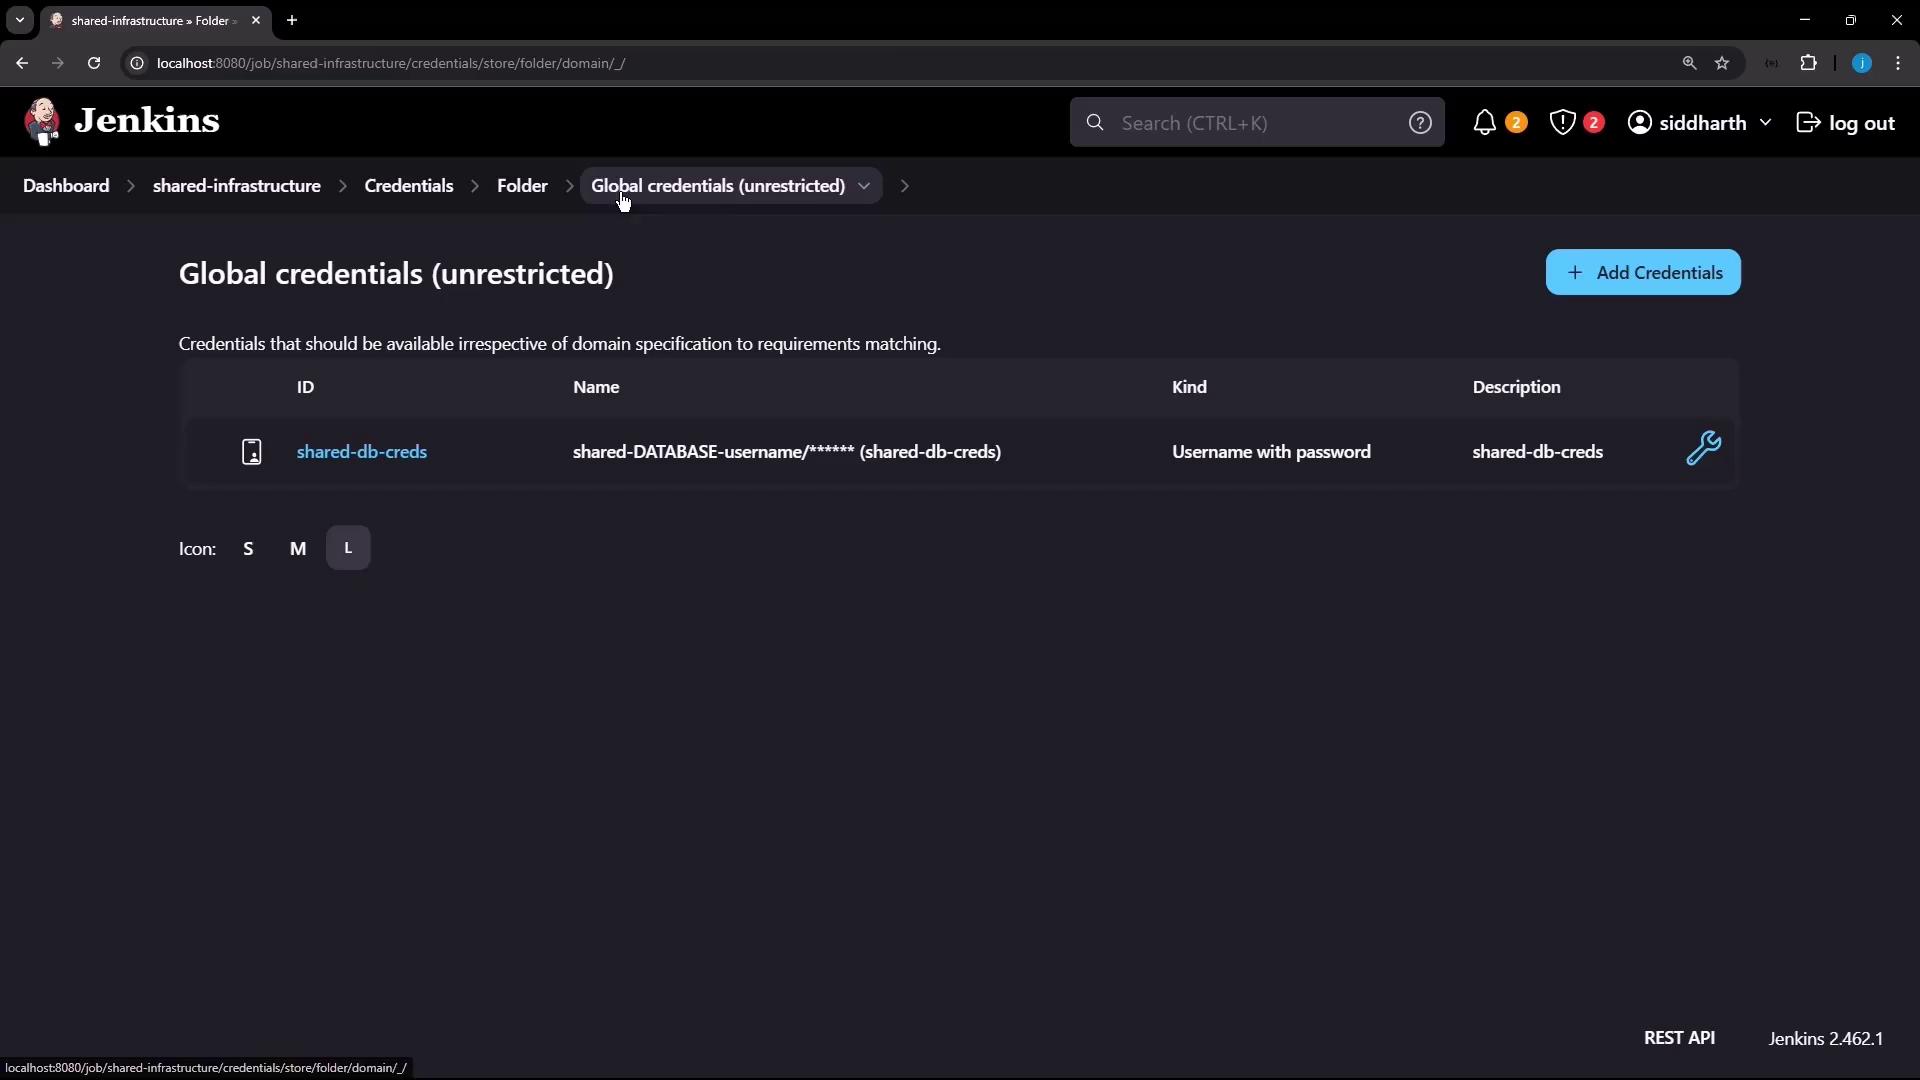
credentials() to keep them masked.Credential Summary
| Credential ID | Scope | Description |
|---|---|---|
| shared-db-creds | Shared Infrastructure | Shared DB Credential |
3. Nest a Team A Folder
Under Shared Infrastructure, create a subfolder named Team A. It inherits parent settings but allows its own additions: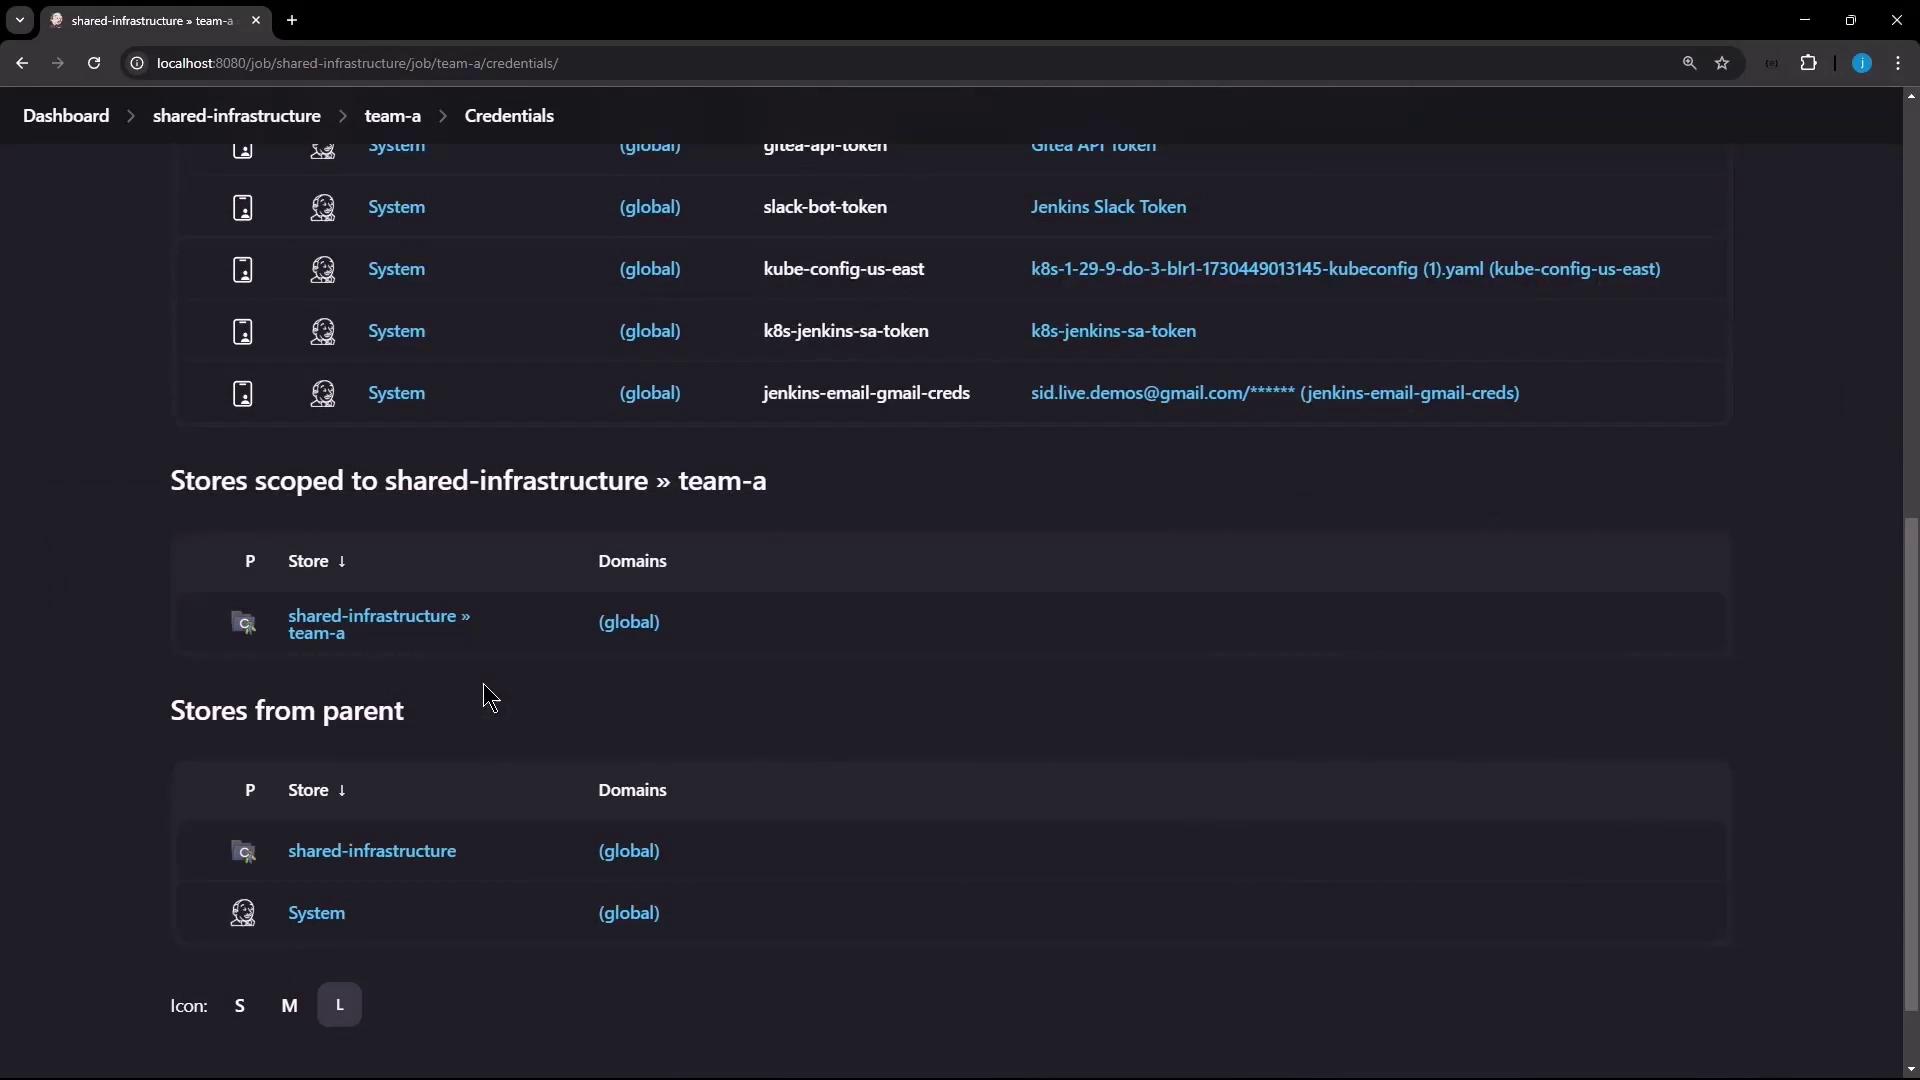
- Username: Team A Username
- Password: (demo)
- ID: team-a-creds
- Description: Team A Bricks
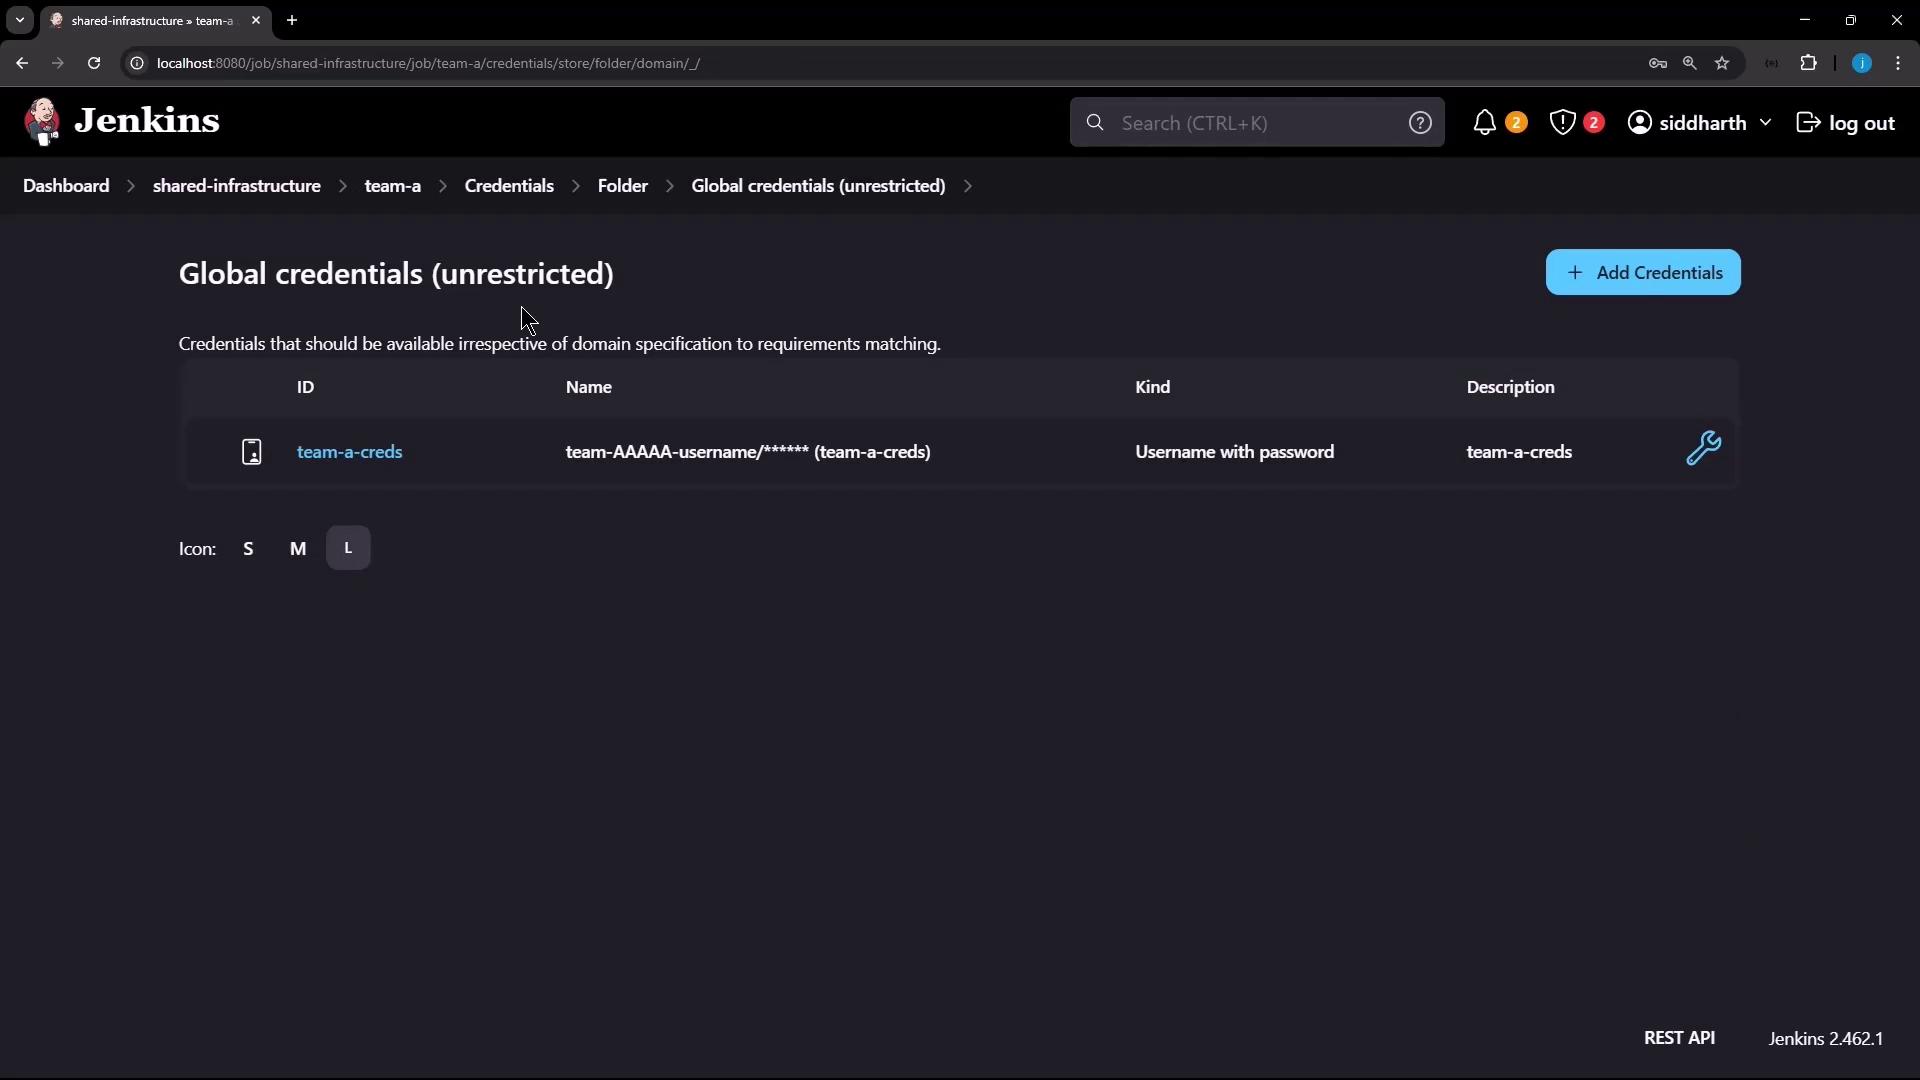
| Credential ID | Scope | Description |
|---|---|---|
| team-a-creds | Shared Infrastructure > Team A | Team A Bricks |
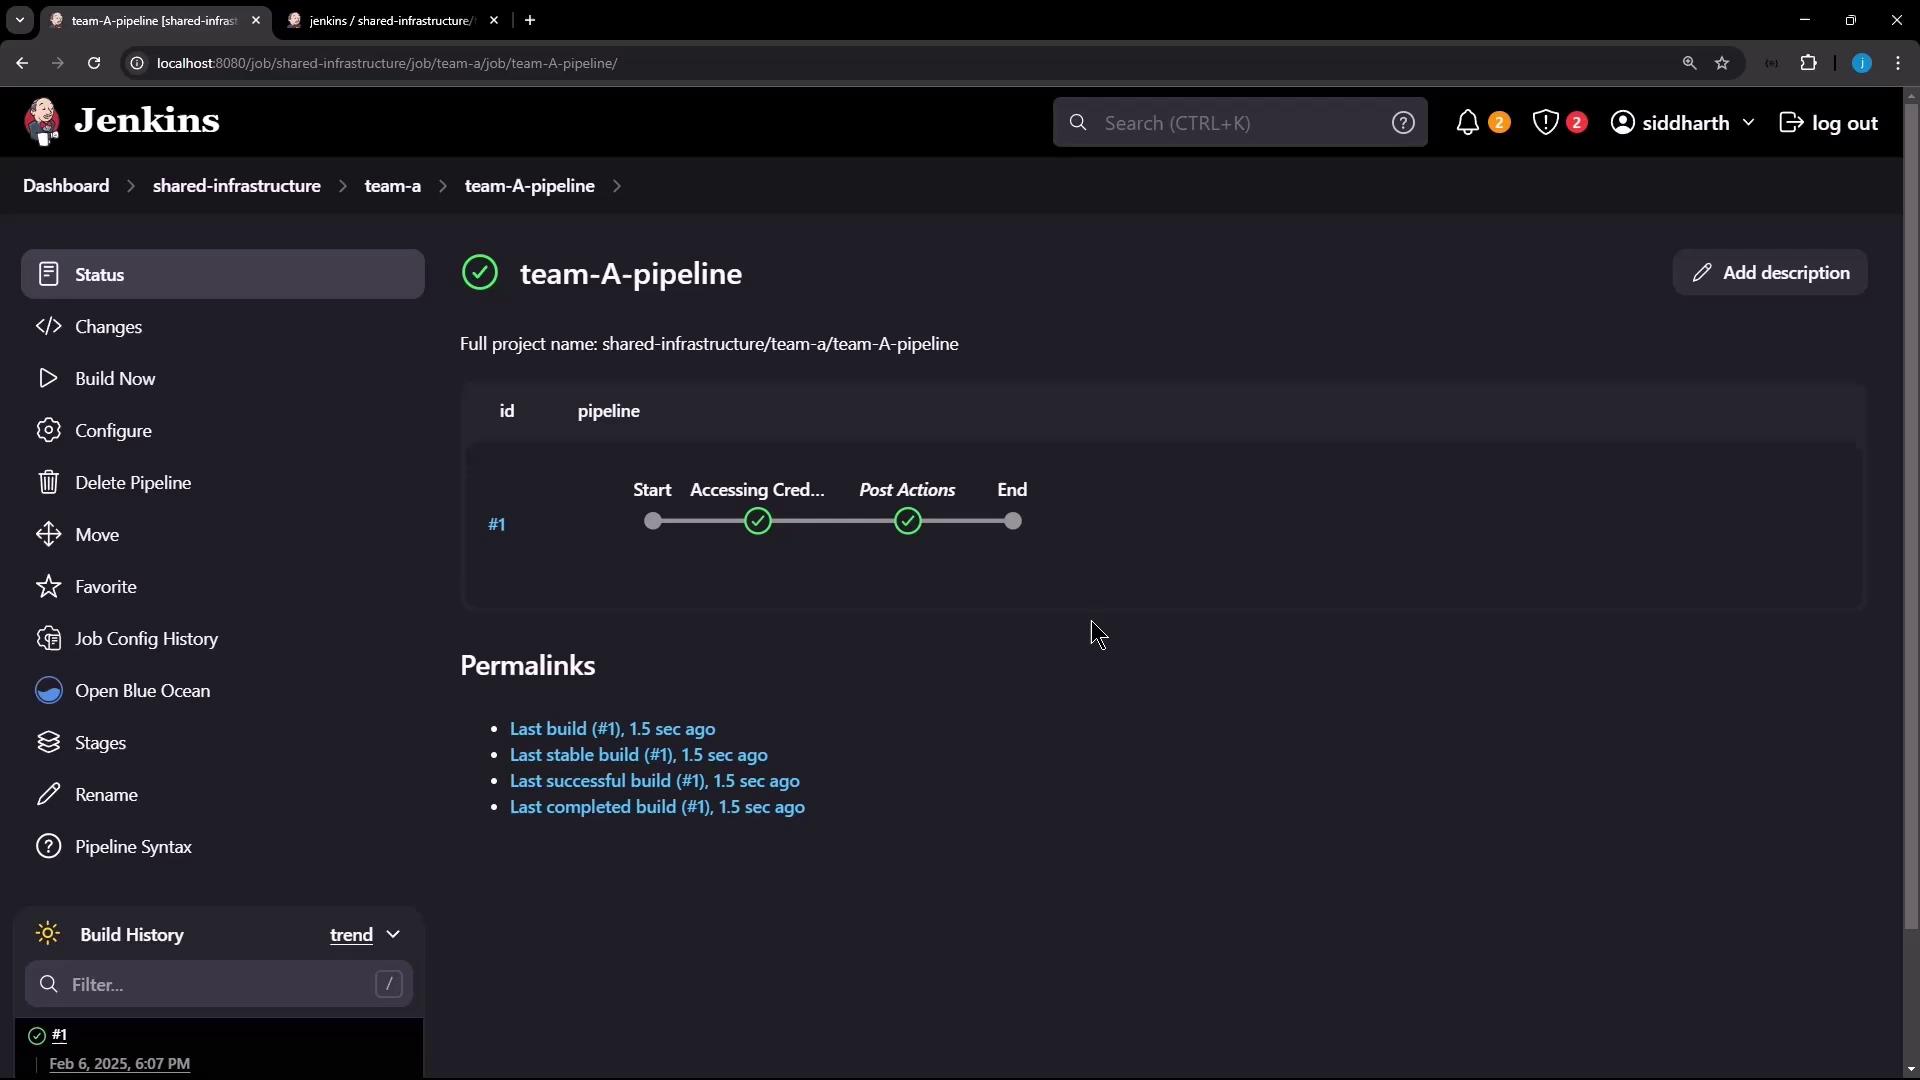
4. Build and Run a Pipeline in Team A
Still within Team A, create a Pipeline named Team A Pipeline. Use this Jenkinsfile to demonstrate folder-scoped credential access: