Installing the Slack Notification Plugin
Jenkins offers a dedicated Slack Notification plugin to send build statuses, messages, and files directly to Slack channels.- In Jenkins, navigate to Manage Jenkins > Manage Plugins.
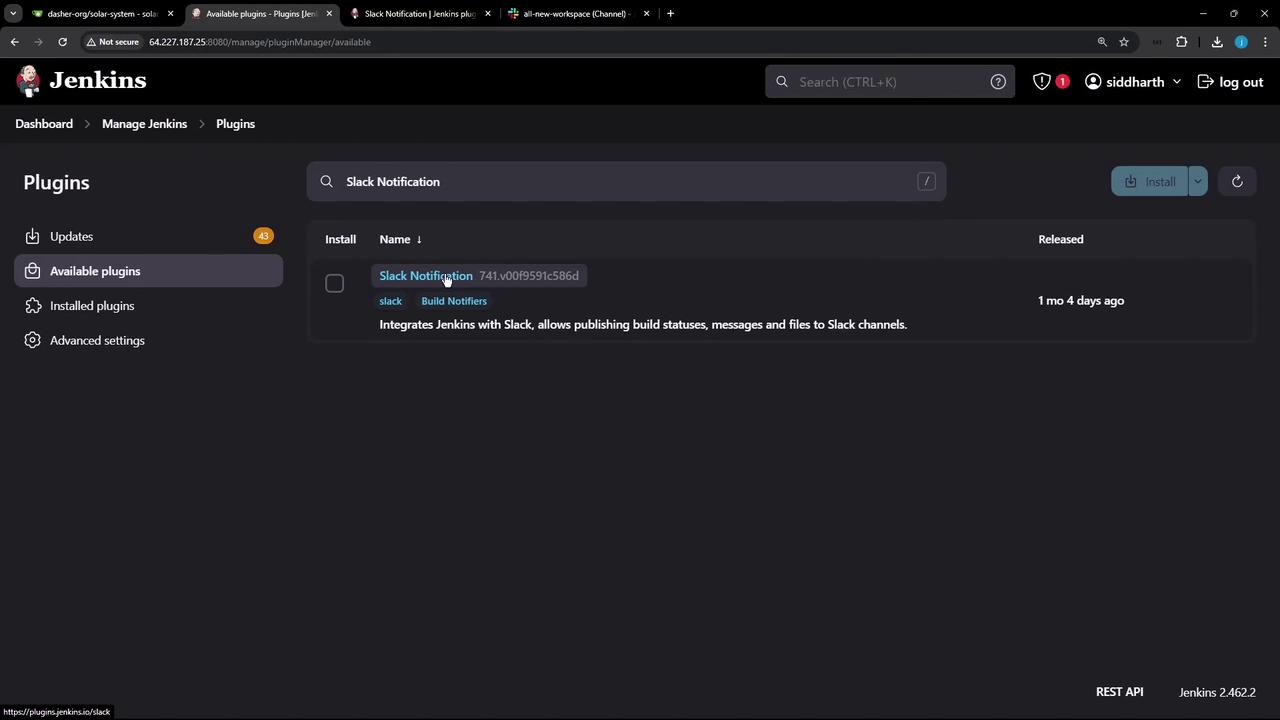
- Open the Available tab, search for Slack Notification, select it, and click Install without restart.
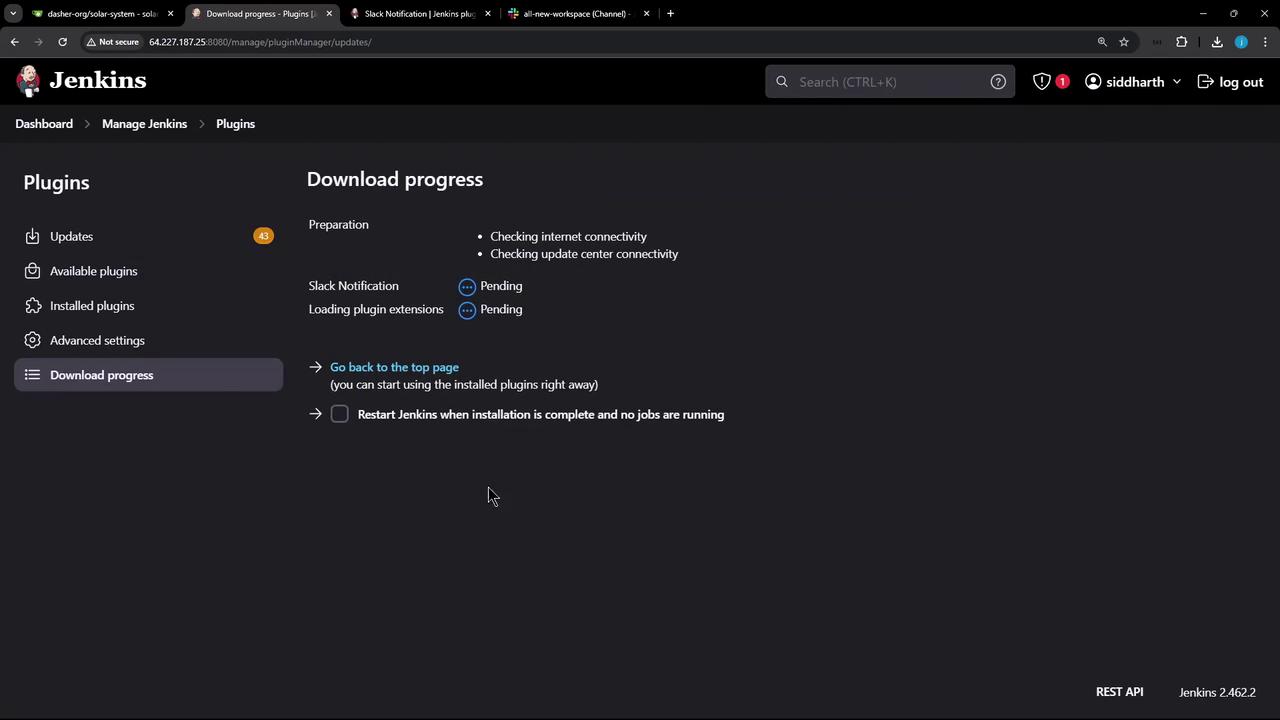
- Monitor the download progress under Plugin Manager. You’ll see statuses like “Pending,” “Downloading,” and “Installed.”
- Once installation completes, restart Jenkins to activate the plugin.
Restarting Jenkins ensures the Slack plugin is loaded and all dependencies are ready.
Reviewing the Plugin Documentation
While Jenkins restarts, review the official plugin documentation to explore advanced features and configuration options: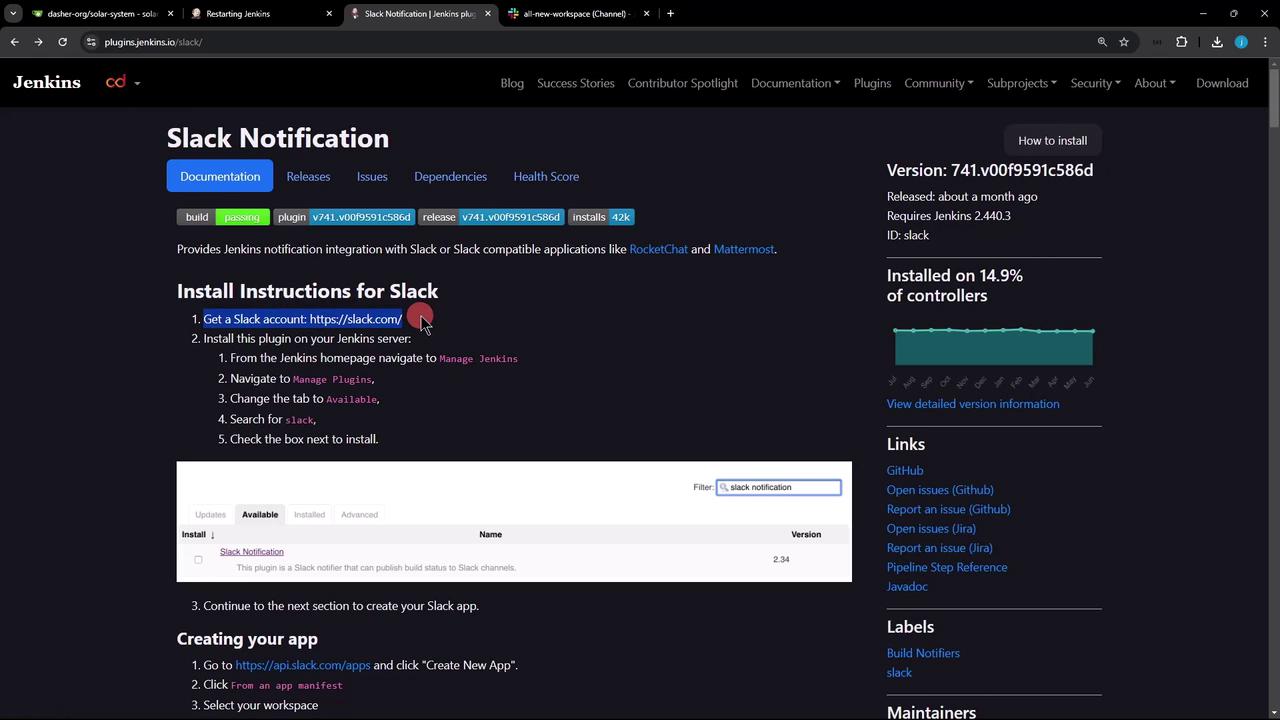
Creating a Slack Channel
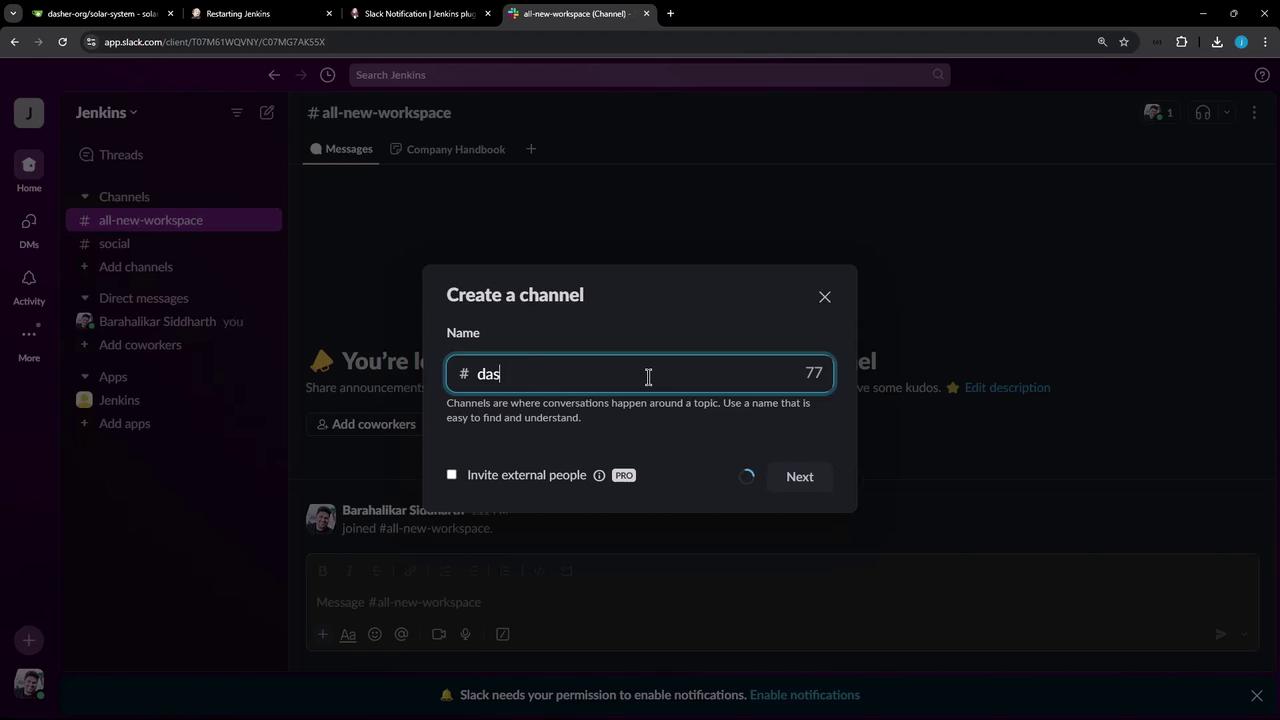
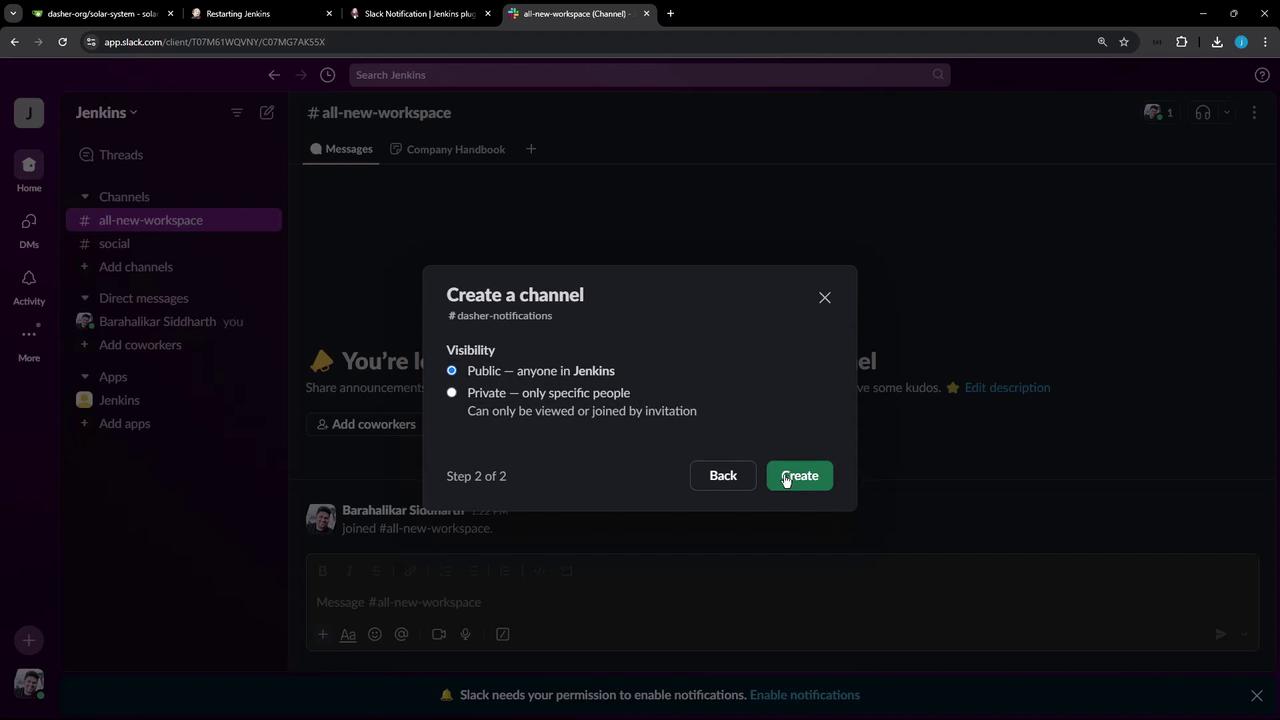
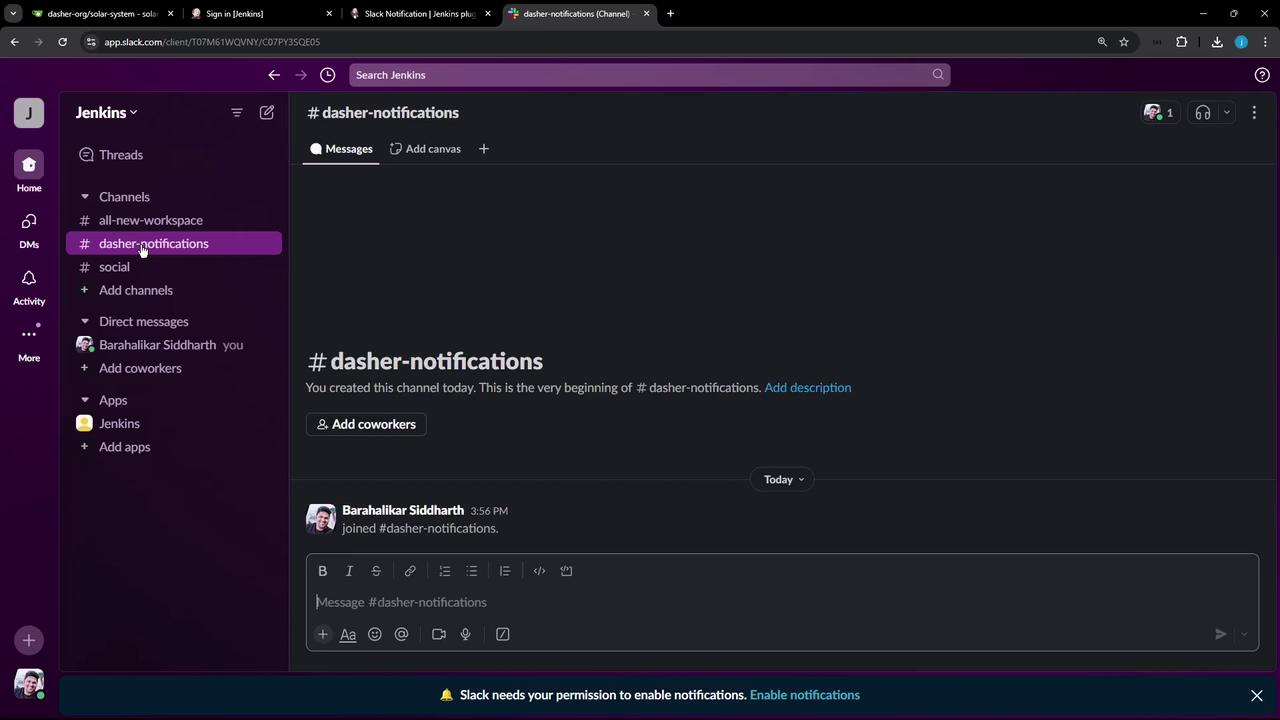
Define a Slack channel to receive Jenkins build notifications:- In Slack, click Add channels > Create a channel.
- Name it
dasher-notifications(or your preferred identifier). - Choose Public or Private, then click Create.
Creating a Slack App via Manifest
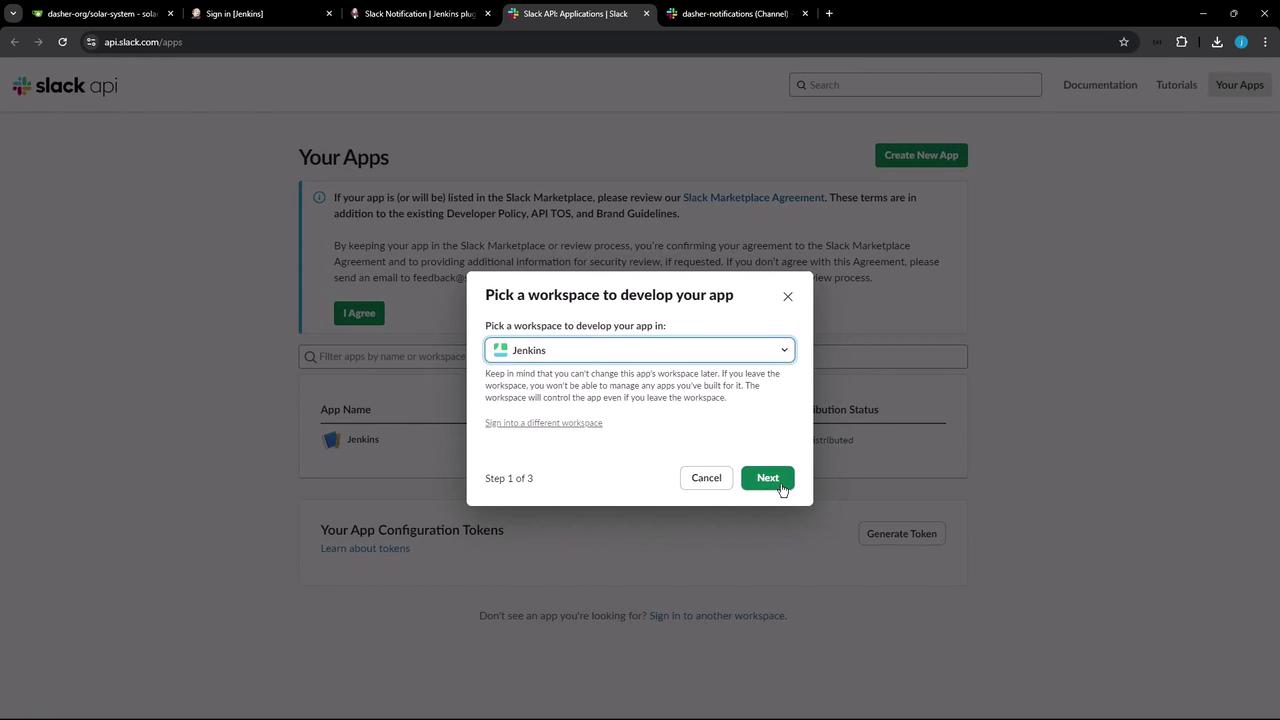
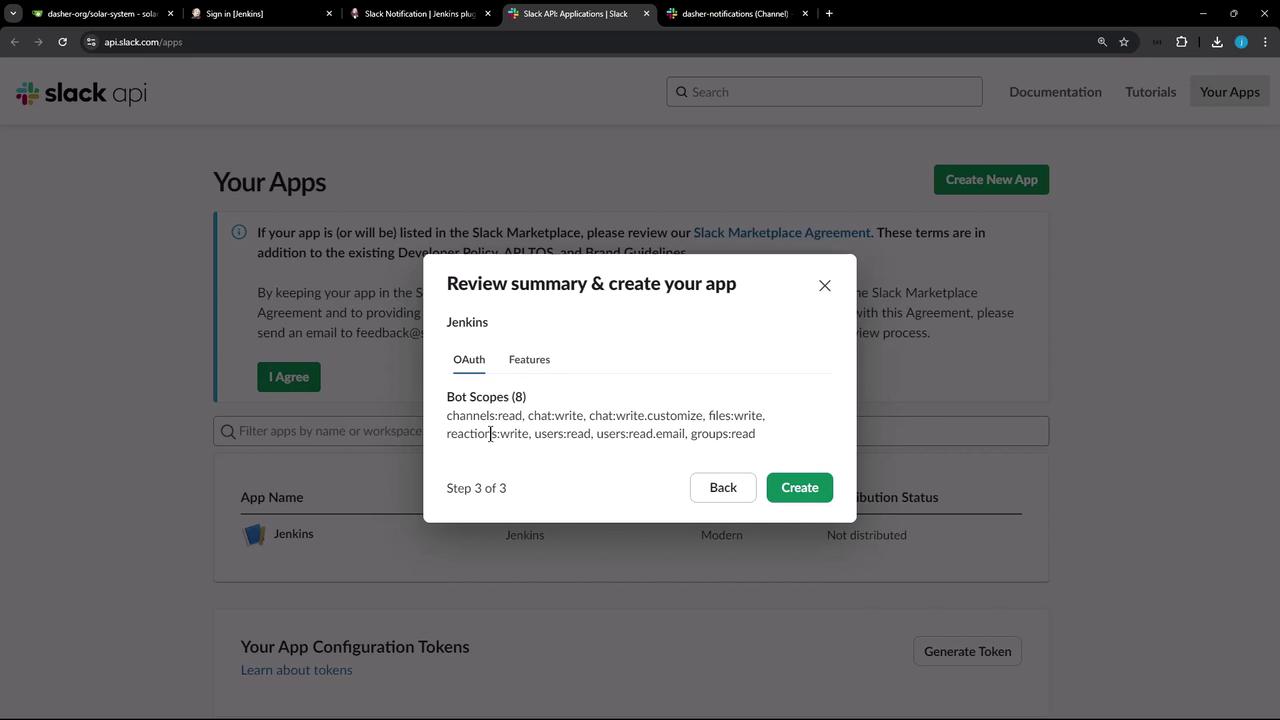
Grant Jenkins permission to post messages by creating a Slack App with a bot user.- In Slack, go to Apps > Build, choose From an app manifest, and select your workspace.
- Paste the YAML manifest below to define the bot and its scopes:
- Click Next, review permissions, then Create App.
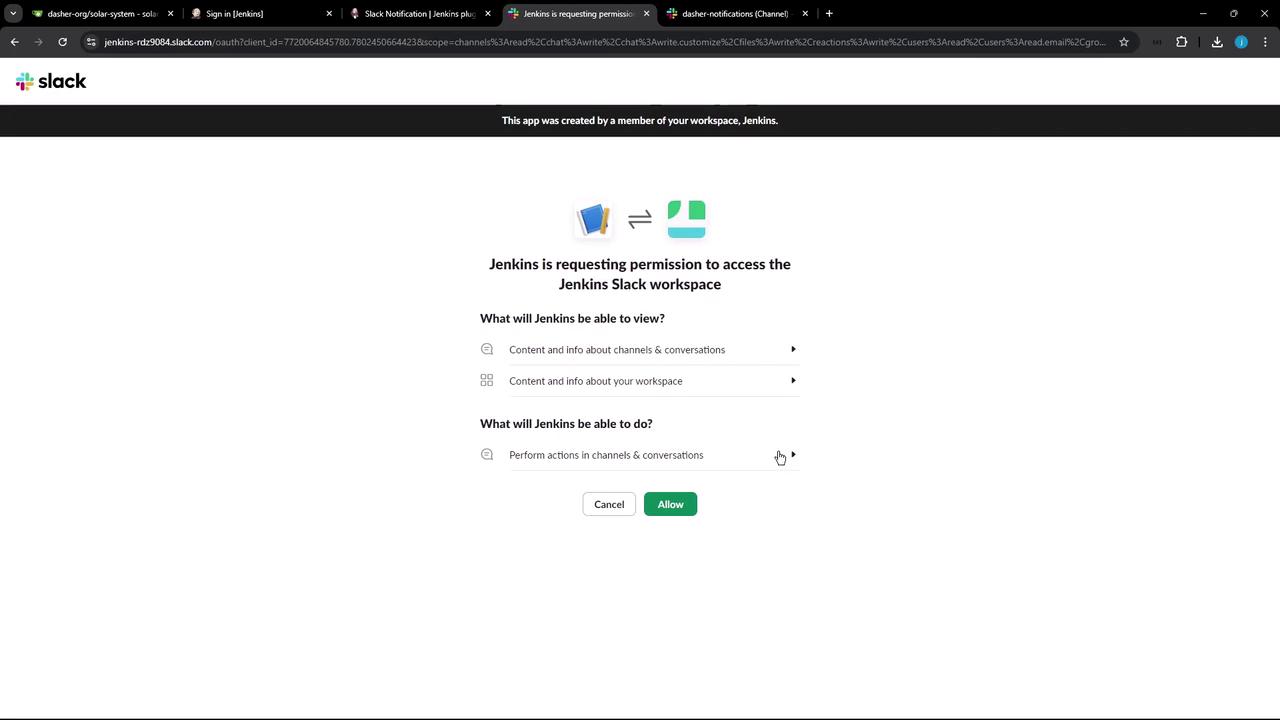
- Under OAuth & Permissions, click Install to Workspace and authorize the app.
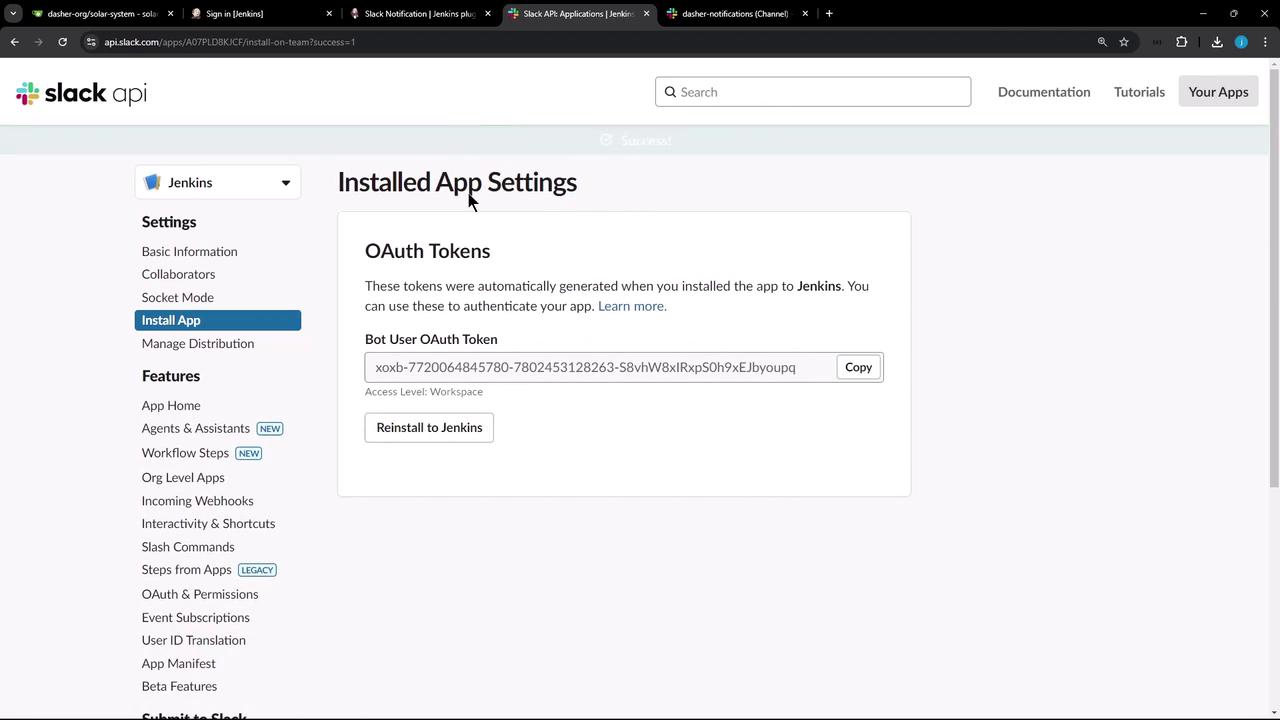
- Copy the Bot User OAuth Access Token from Installed App Settings. You’ll use this as a Jenkins credential.
Slack Bot Scopes Reference
| Scope | Purpose |
|---|---|
| channels:read | Read public channel info |
| chat:write | Post messages in channels |
| chat:write.customize | Customize message appearance |
| files:write | Upload files |
| reactions:write | Add reactions to messages |
| users:read | Read user profiles |
| users:read.email | Access user email addresses |
| groups:read | Read private channel info |
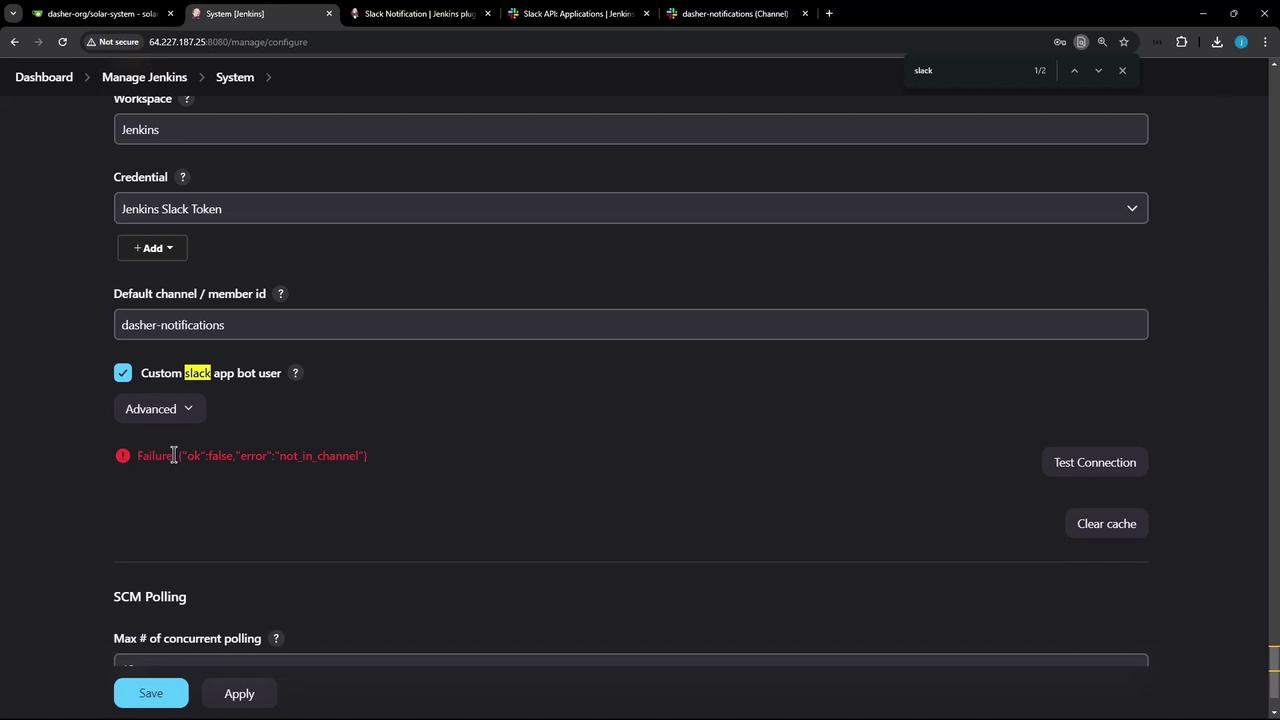
Configuring Jenkins with Slack Credentials
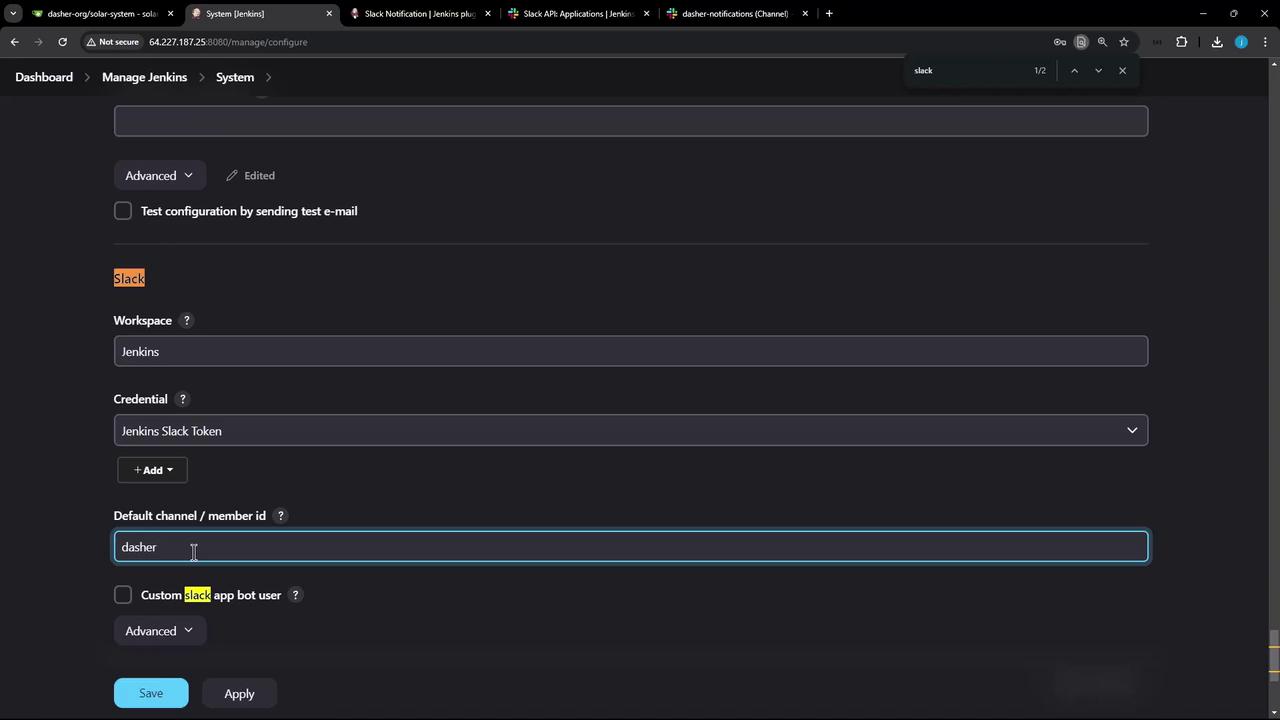
- After Jenkins restarts, go to Manage Jenkins > Configure System.
- Scroll to the Slack section.
- For Workspace, enter
Jenkins. - Under Credentials, click Add > Jenkins > Secret text.

- In the dialog:
- Kind: Secret text
- Secret: Bot User OAuth token
- ID:
slack-bot-token - Click Add.
- Back in the Slack section, select Credentials →
slack-bot-token. - Set Default Channel / Member ID to
#dasher-notifications. - Click Test Connection, then Save.
If Jenkins reports that the bot isn’t in the channel, invite it before retesting:
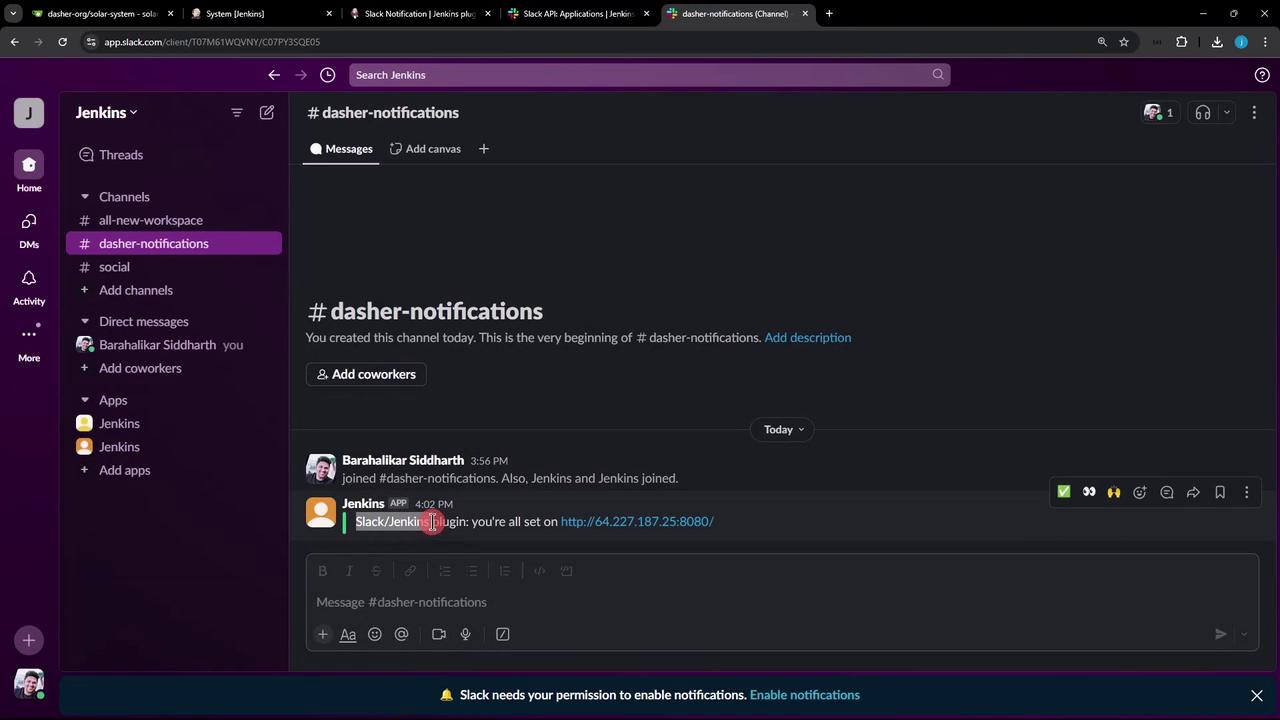
Verifying the Integration
Once the connection succeeds, the Jenkins app will join the channel and post a confirmation message.