In this guide, you’ll learn how to install the Jenkins LTS release on an Ubuntu VM, verify prerequisites, install Java 17, and complete the initial setup via the web interface. By following these steps, you’ll have a stable, secure Jenkins server ready for your CI/CD pipelines.
Table of Contents
Choose a Jenkins Release System Prerequisites Add Jenkins APT Repository Install Jenkins Verify Jenkins Service Install Java 17 Start Jenkins Retrieve Initial Admin Password Complete Setup Wizard References
1. Choose a Jenkins Release Jenkins provides two main release lines:
Release Type Characteristics Recommended For LTS Stability, security fixes over extended support Production environments Weekly Latest features and bug fixes Testing and early feature adoption
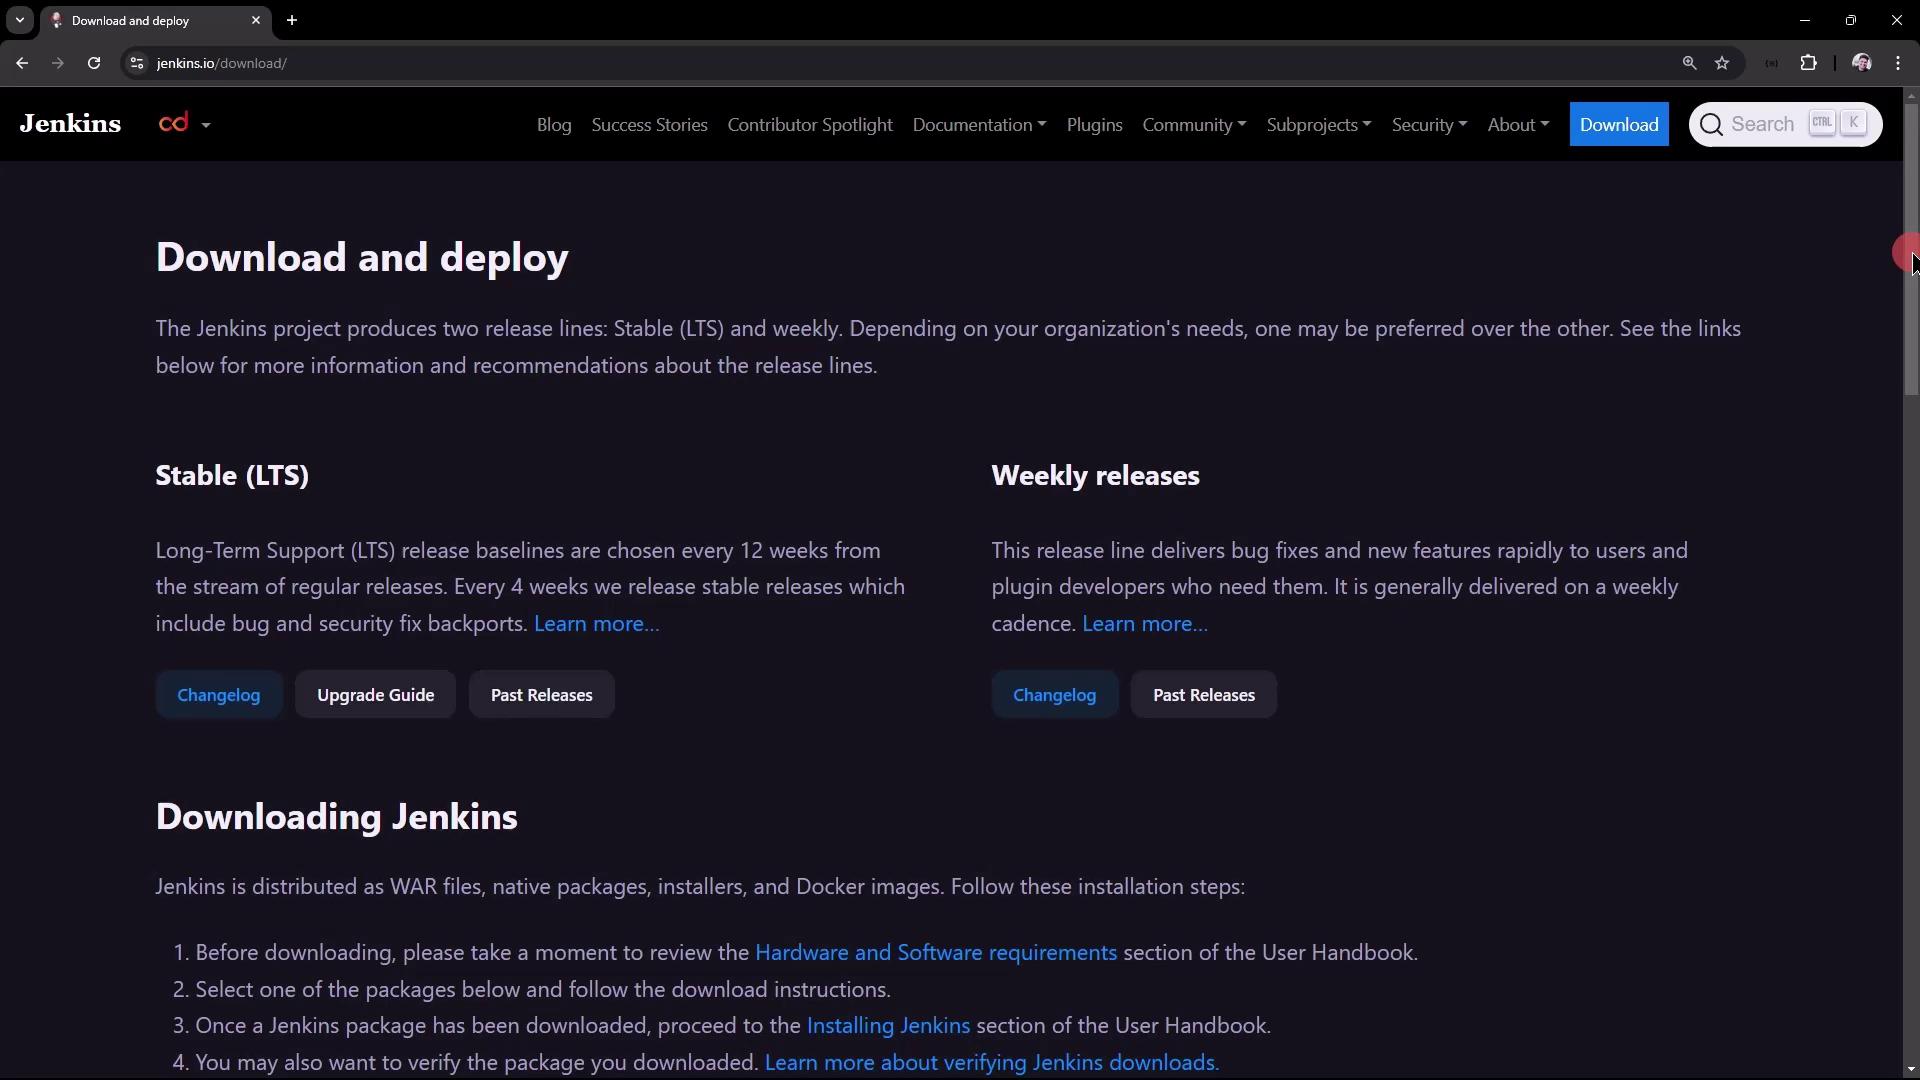
Scroll to your platform on the Jenkins download page . You can select Docker, Kubernetes, Windows, or Debian/Ubuntu packages.
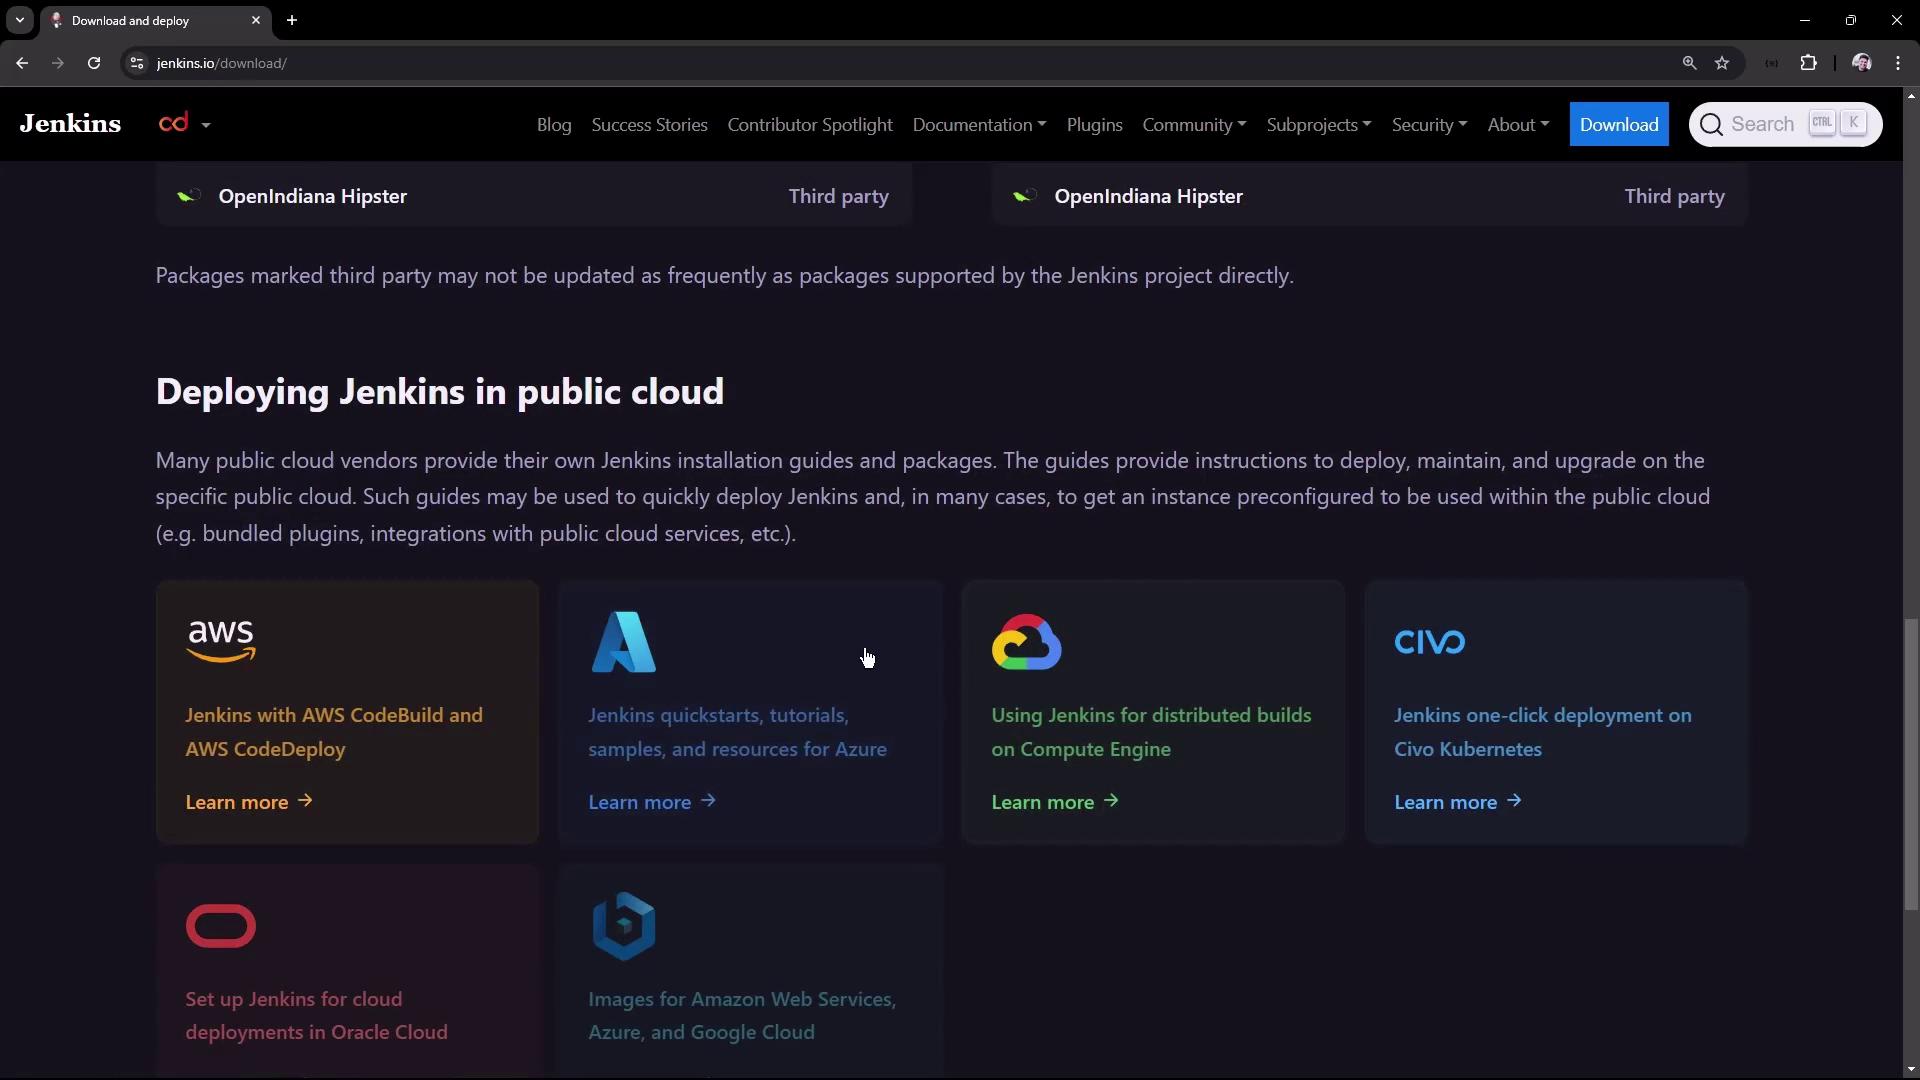
For public-cloud deployments, you also have AWS, Azure, Google Cloud, Oracle Cloud, and others:
In this tutorial, we’ll proceed with Jenkins LTS on Ubuntu .
2. System Prerequisites Our test VM specifications:
Resource Specification RAM 4 GB CPU 2 cores OS Ubuntu 20.04+
Refer to the Jenkins Linux prerequisites for full details.
3. Add Jenkins APT Repository Add the Jenkins GPG key and repository:
sudo wget -O /usr/share/keyrings/jenkins-keyring.asc \
  https://pkg.jenkins.io/debian-stable/jenkins.io-2023.key

echo "deb [signed-by=/usr/share/keyrings/jenkins-keyring.asc] \
  https://pkg.jenkins.io/debian-stable binary/" \
  | sudo tee /etc/apt/sources.list.d/jenkins.list > /dev/null
Update APT and install Jenkins:
sudo apt-get update
sudo apt-get install -y jenkins
4. Install Jenkins During the installation, you should see output confirming the package download:
Get:10 https://pkg.jenkins.io/debian-stable binary/ Packages [27.6 kB]
Hit:11 http://archive.ubuntu.com/ubuntu focal InRelease
Fetched 409 kB in 3s (147 kB/s)
Reading package lists... Done
The following NEW packages will be installed:
  jenkins net-tools
0 upgraded, 2 newly installed, 0 to remove and 8 not upgraded.
Get:1 https://pkg.jenkins.io/debian-stable binary/ jenkins 2.462.1 [91.2 MB]
5. Verify Jenkins Service Immediately check Jenkins status:
sudo systemctl status jenkins
If Java is missing, you’ll see a failure:
● jenkins.service - Jenkins Continuous Integration Server
   Active: failed (Result: exit-code)
…
jenkins[31418]: jenkins: failed to find a valid Java installation
Inspect logs for details:
sudo journalctl -u jenkins --no-pager
java -version
# Command 'java' not found
Jenkins requires a supported Java runtime to start. Installing or configuring Java is mandatory.
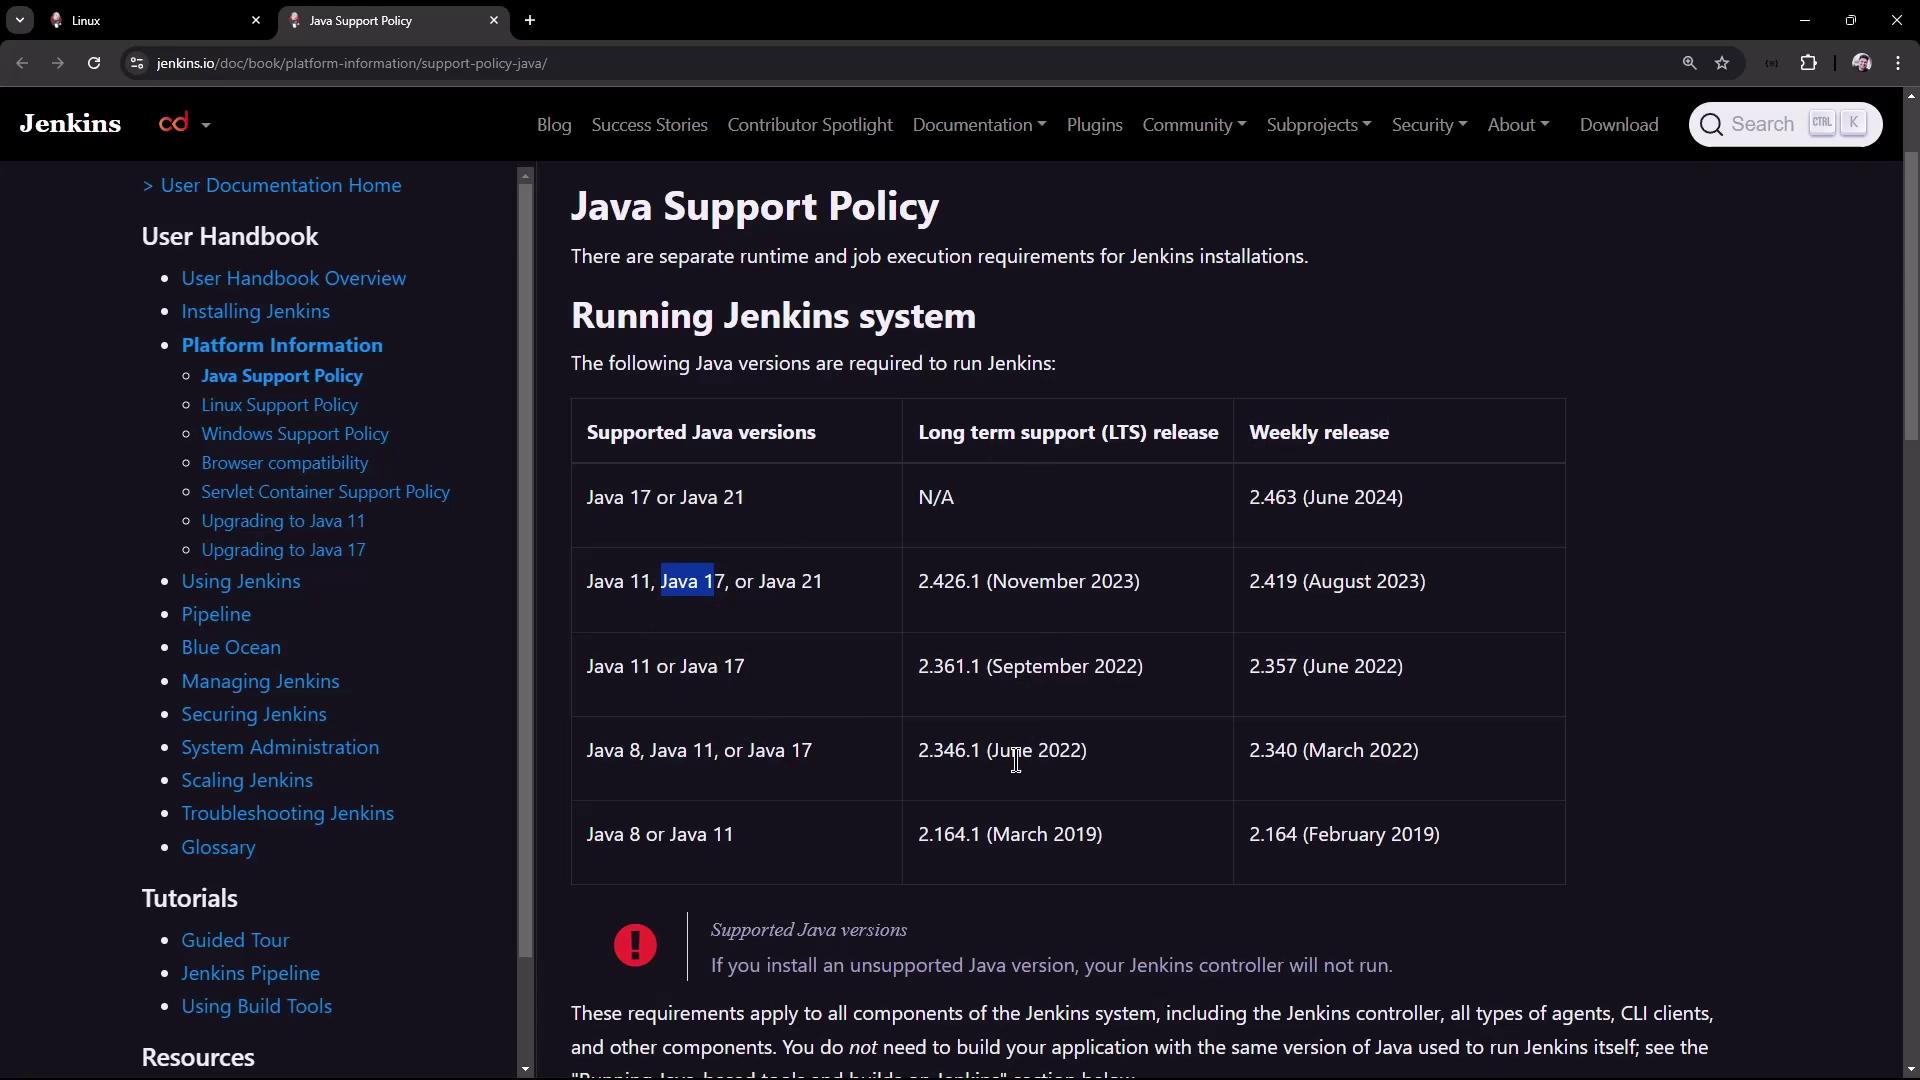
6. Install Java 17 Jenkins LTS supports Java 17 per the Java Support Policy .
Install OpenJDK 17 and fontconfig:
sudo apt update
sudo apt install -y openjdk-17-jre fontconfig
java -version
Expected output:
openjdk version "17.0.8" 2023-07-18
OpenJDK Runtime Environment (build 17.0.8+7-Debian-1deb12u1)
OpenJDK 64-Bit Server VM (build 17.0.8+7-Debian-1deb12u1, mixed mode)
7. Start Jenkins Restart and check status:
sudo systemctl restart jenkins
sudo systemctl status jenkins
You should see:
● jenkins.service - Jenkins Continuous Integration Server
   Active: active (running) since Mon 2024-08-19 08:03:40 UTC; 10s ago
 Main PID: 34102 (java)
    CGroup: /system.slice/jenkins.service
           └─34102 /usr/bin/java -Djava.awt.headless=true -jar /usr/share/java/jenkins.war ...
8. Retrieve Initial Admin Password Find the initial admin password in the logs:
sudo journalctl -u jenkins | grep 'initialAdminPassword'
Or directly read the file:
sudo cat /var/lib/jenkins/secrets/initialAdminPassword
Inspect the Jenkins home directory:
ls /var/lib/jenkins
# config.xml  plugins  secrets  updates  users  jobs  ...
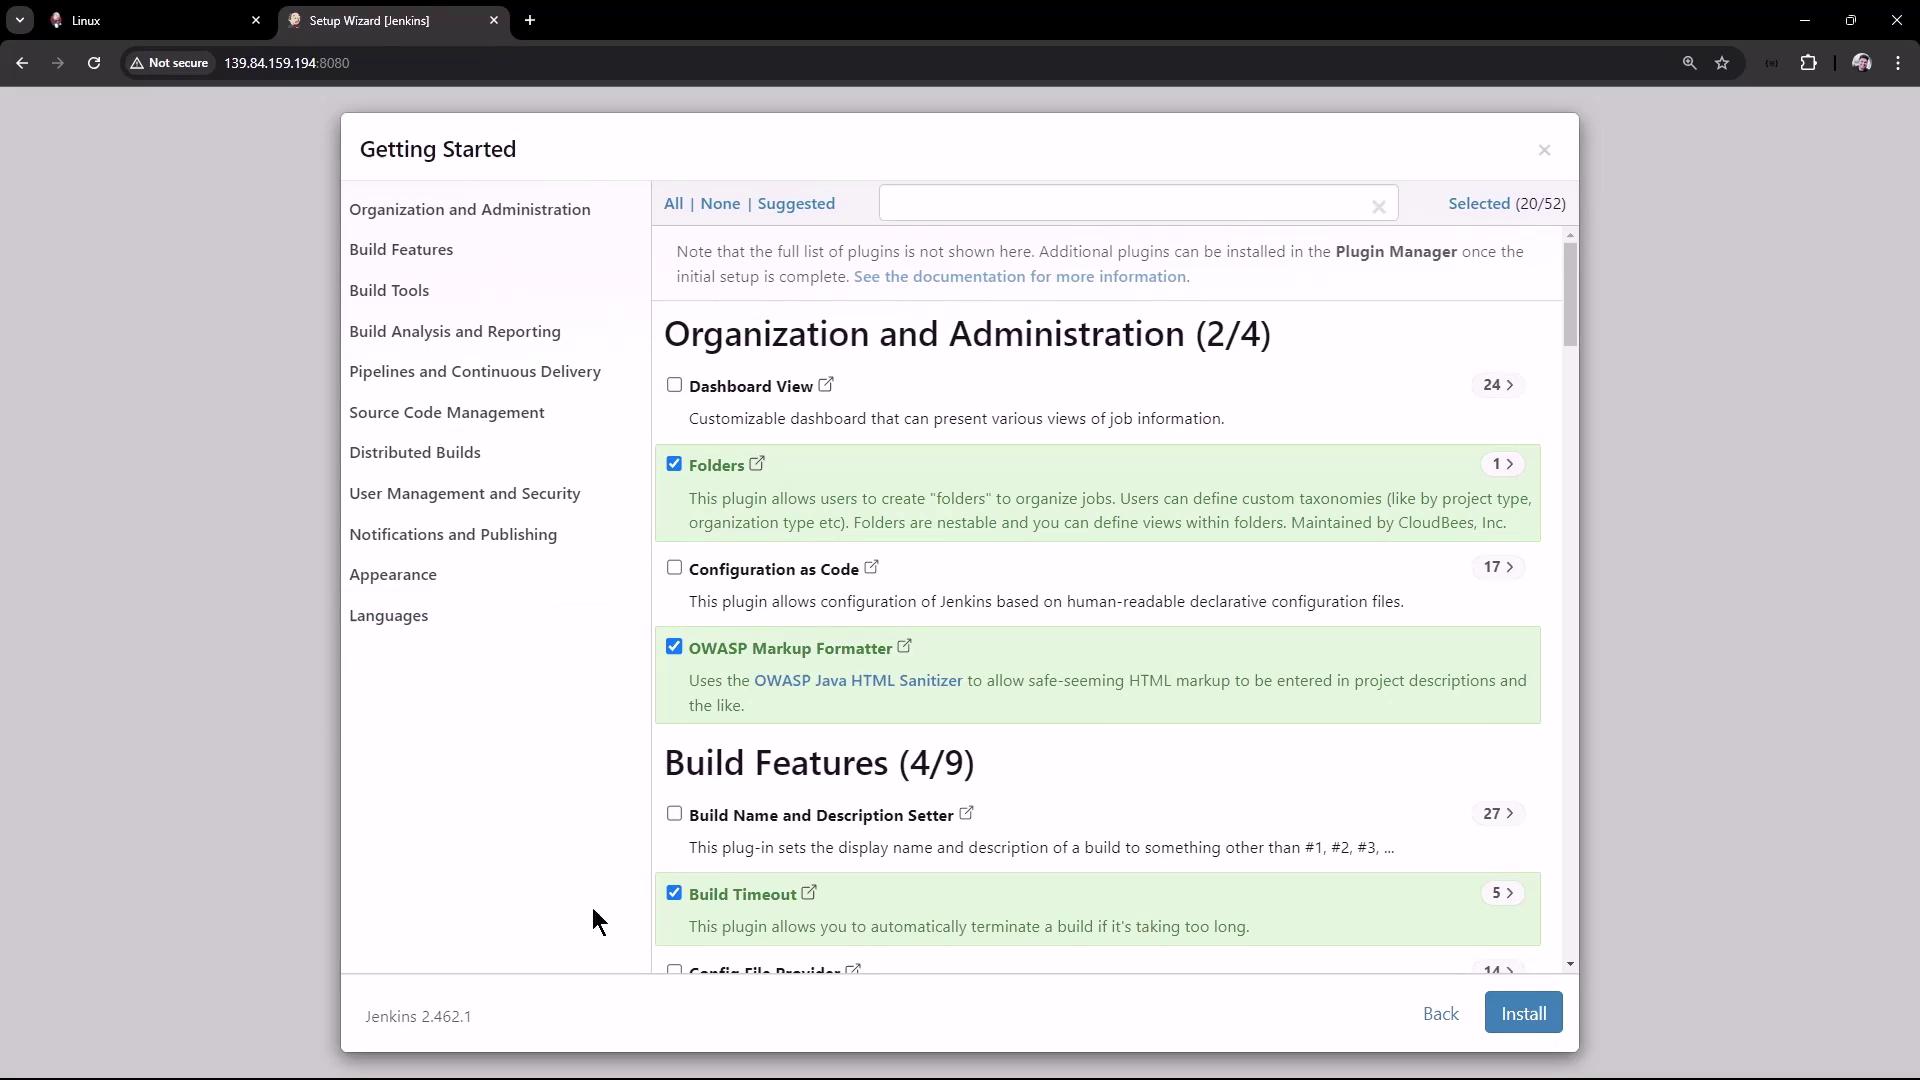
9. Complete Setup Wizard
Open http://<YOUR_VM_IP>:8080 in your browser.
Unlock Jenkins with the admin password from /var/lib/jenkins/secrets/initialAdminPassword.Select Plugins
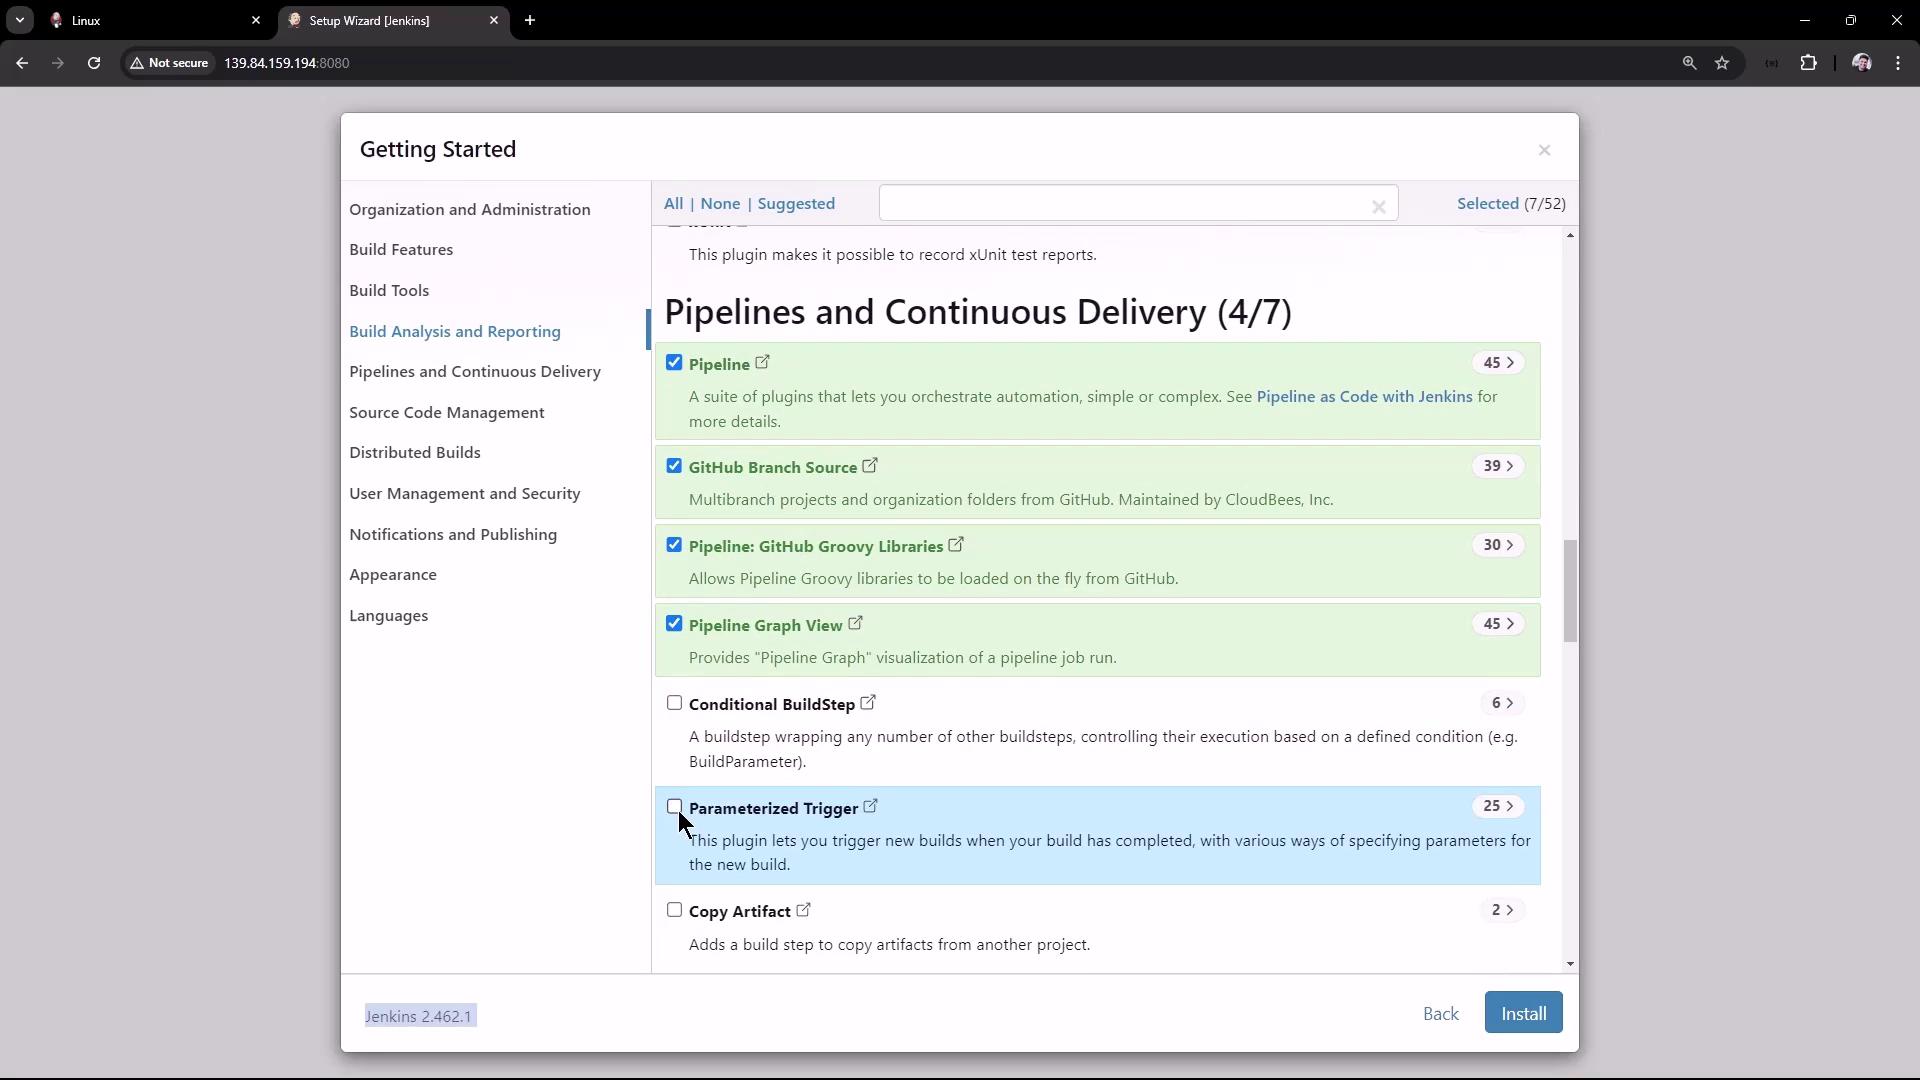
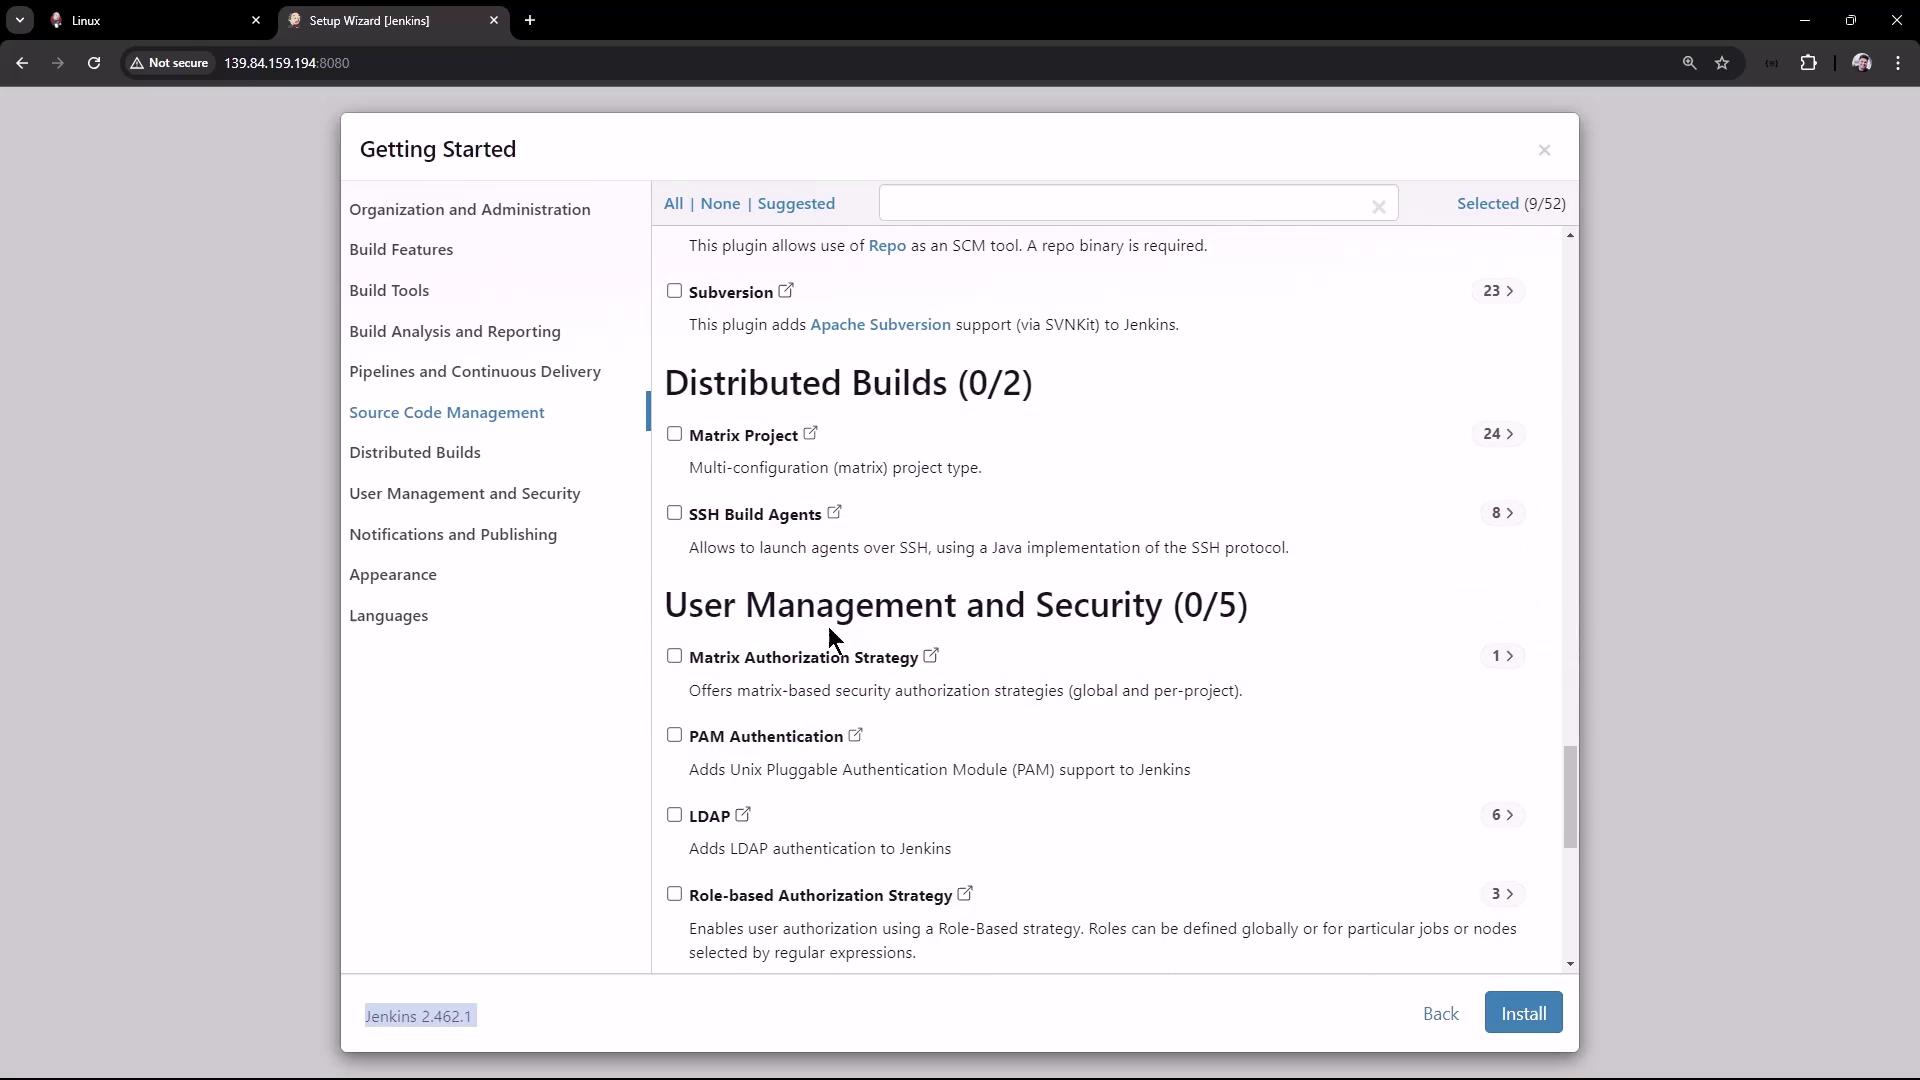
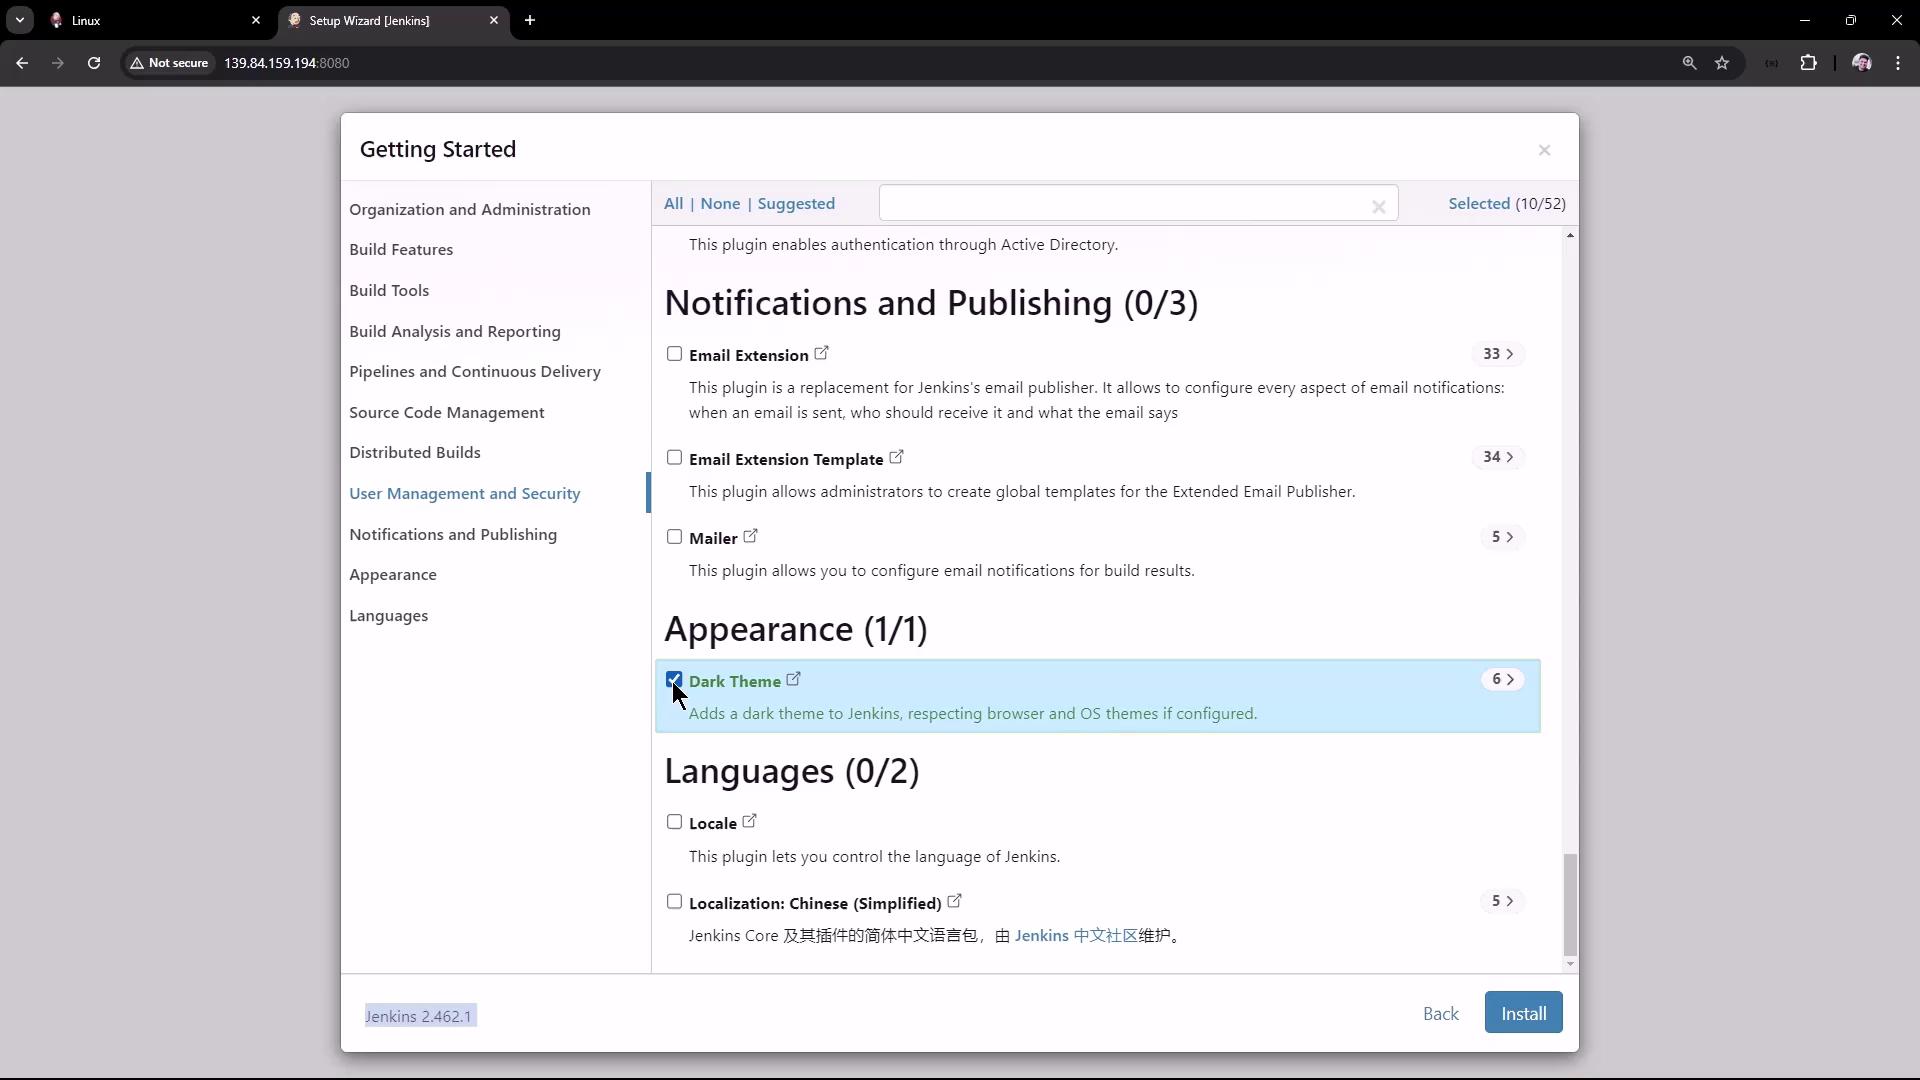
Choose Suggested Plugins or pick specific ones.
Choose Appearance
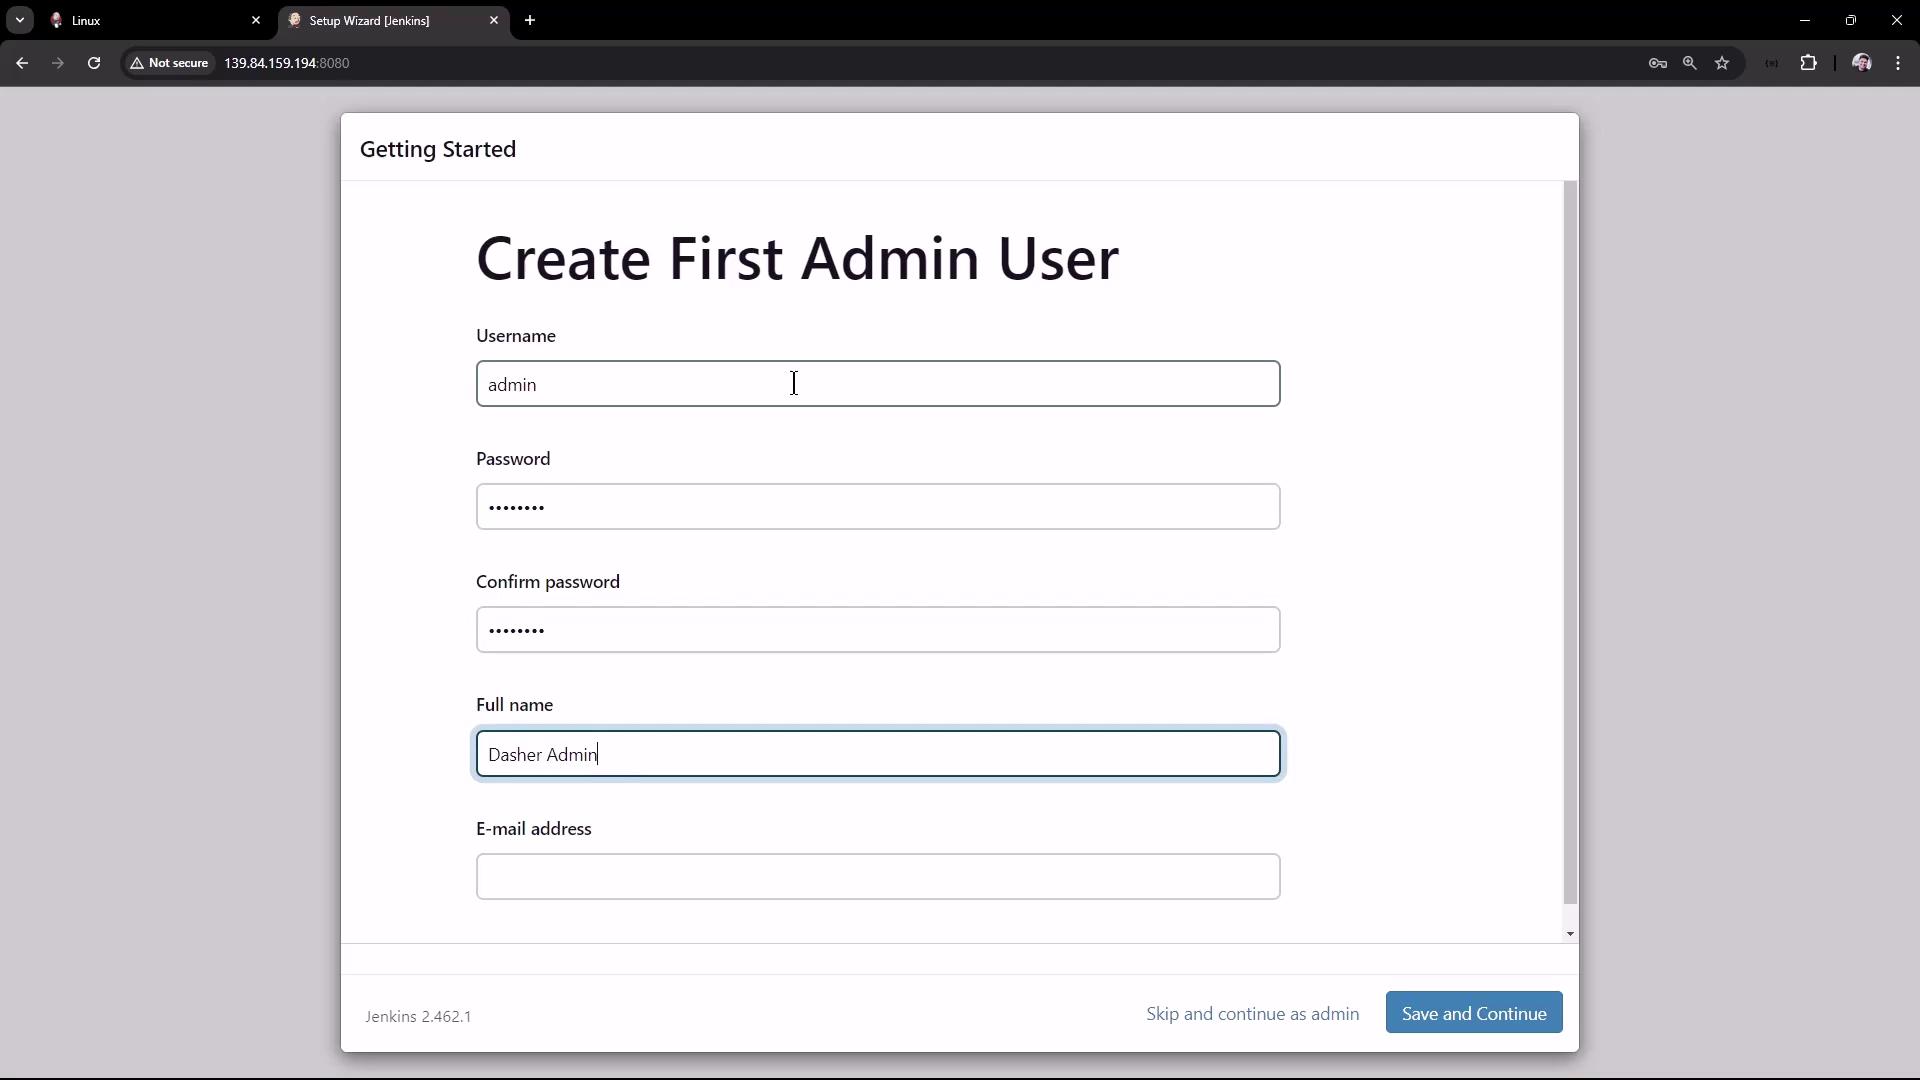
Create First Admin User
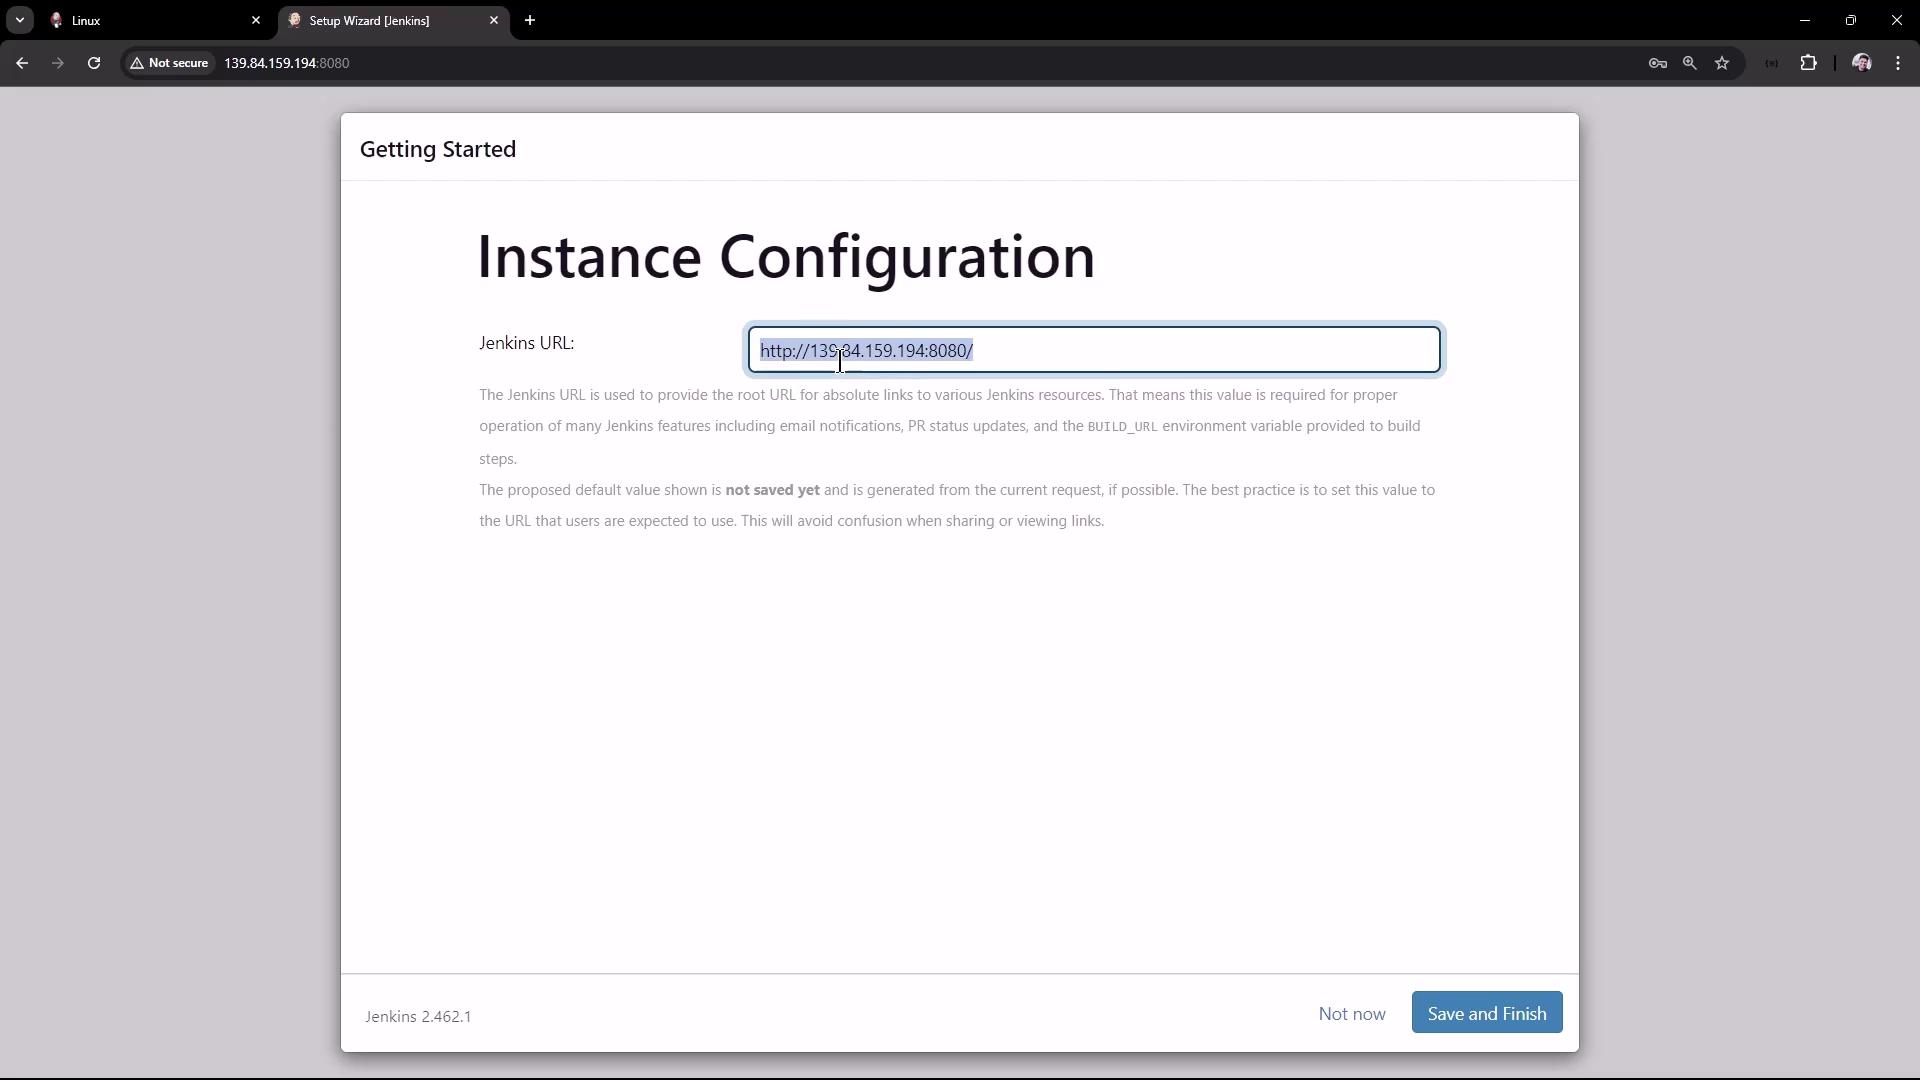
Configure Jenkins URL Save and Finish :
Once done, Jenkins will be ready to use. Start creating your first build pipeline!
10. References