This article explores Admission Controllers in Kubernetes, focusing on validating and mutating controllers and how to configure custom webhook servers.
In this lesson, we explore the different types of Admission Controllers in Kubernetes and demonstrate how to configure custom controllers. We cover both validating and mutating admission controllers, explaining their functions and how Kubernetes processes them during the request lifecycle.
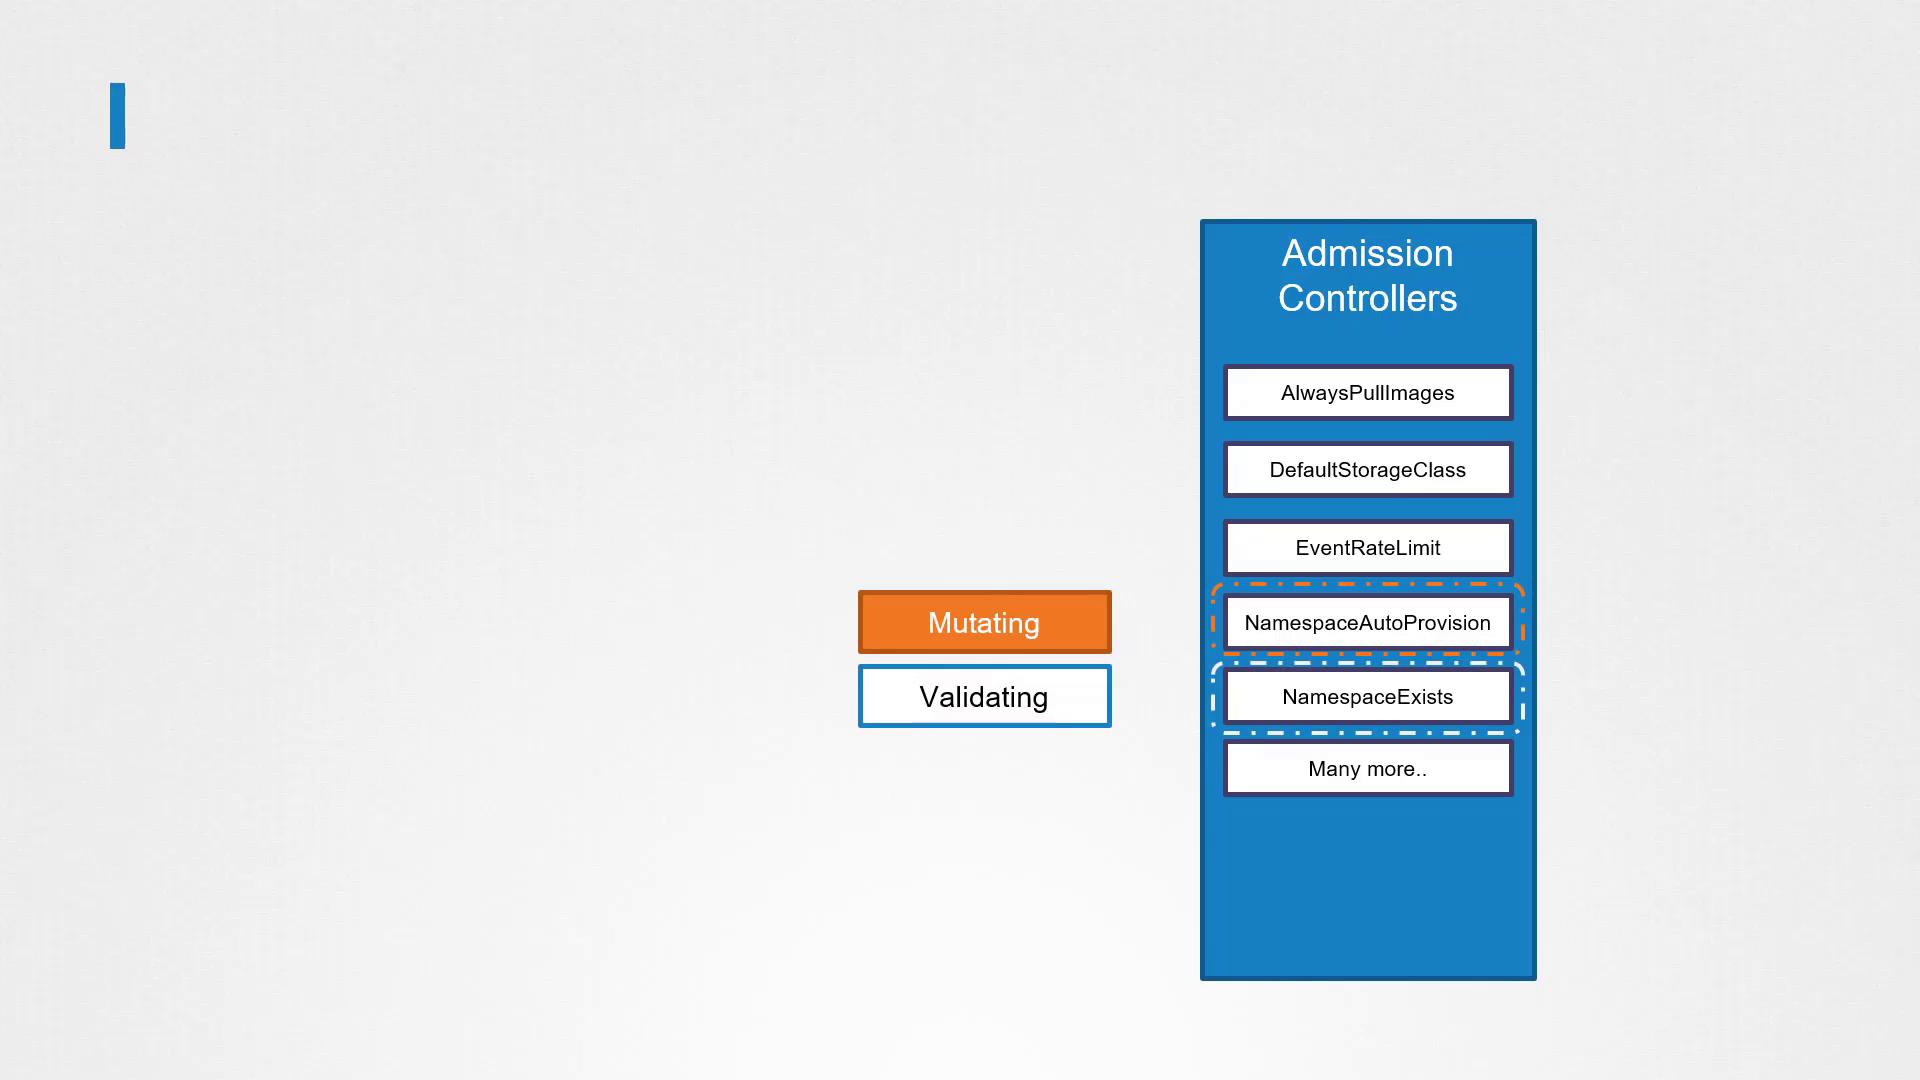
Admission Controllers are plugins that intercept requests to the Kubernetes API server before persisting an object. They are categorized into two main types:
Validating Admission Controllers:
These controllers examine incoming requests and reject them if they do not conform to specified policies. For example, a namespace existence validator checks if the requested namespace exists; if it doesn’t, the request is rejected.
Mutating Admission Controllers:
These controllers modify incoming requests prior to their persistence. A common example is the default storage class admission controller. When you create a PersistentVolumeClaim (PVC) without specifying a storage class, this controller automatically adds the default storage class to the request.
For instance, consider the following PVC creation request:
This request undergoes authentication and authorization, then passes through the admission controllers. Because no storage class is specified, the default storage class admission controller mutates the request. When the PVC is created, inspecting it reveals the storage class added:
Mutating controllers adjust the request (by adding configurations like the storage class), while validating controllers strictly allow or deny requests based on predefined criteria. In many cases, mutating controllers are invoked before validating ones to ensure that any modifications are considered during validation.
If any admission controller in the chain rejects the request, Kubernetes halts further processing and returns an error message to the user.
Kubernetes extends its built-in admission controllers with external admission controllers through webhooks. There are two primary webhook types:
Mutating Admission Webhook
Validating Admission Webhook
These webhooks allow you to deploy a server—either inside or outside your Kubernetes cluster—that implements custom logic for modifying or validating requests. After a request clears all built-in controllers, it is sent as a JSON-formatted admission review object to the webhook server. The server responds with an admission review object indicating whether the request is allowed and, if applicable, provides JSON patches to mutate the request.For example, a validating webhook admission review request may look like:
You can implement a webhook server in any programming language as long as it supports the mutate and validate APIs and returns the correct JSON response. Below is a simplified example of a webhook server written in Go.
Copy
package mainimport ( "encoding/json" "flag" "fmt" "io/ioutil" "net/http" "k8s.io/api/admission/v1beta1" metav1 "k8s.io/apimachinery/pkg/apis/meta/v1" "k8s.io/klog")// toAdmissionResponse is a helper function to create an AdmissionResponse with an embedded error.func toAdmissionResponse(err error) v1beta1.AdmissionResponse { return v1beta1.AdmissionResponse{ Result: &metav1.Status{ Message: err.Error(), }, }}// admitFunc defines the function type for validators and mutators.type admitFunc func(v1beta1.AdmissionReview) v1beta1.AdmissionResponse// serve handles the HTTP part of a request before passing it to the admit function.func serve(w http.ResponseWriter, r *http.Request, admit admitFunc) { var body []byte if r.Body != nil { data, err := ioutil.ReadAll(r.Body) if err == nil { body = data } } // Further processing of the admission review would occur here.}
You can implement a similar server in other languages. Below is pseudocode for a sample webhook server in Python that handles both validation and mutation:
Copy
from flask import Flask, request, jsonifyimport base64import jsonapp = Flask(__name__)@app.route("/validate", methods=["POST"])def validate(): object_name = request.json["object"]["metadata"]["name"] user_name = request.json["request"]["userInfo"]["name"] allowed = True message = "" if object_name == user_name: message = "You can't create objects with your own name." allowed = False return jsonify({ "response": { "allowed": allowed, "uid": request.json["request"]["uid"], "status": {"message": message}, } })@app.route("/mutate", methods=["POST"])def mutate(): user_name = request.json["request"]["userInfo"]["name"] patch = [{"op": "add", "path": "/metadata/labels/users", "value": user_name}] # The patch must be base64 encoded before sending in the response. encoded_patch = base64.b64encode(json.dumps(patch).encode()).decode() return jsonify({ "response": { "allowed": True, "uid": request.json["request"]["uid"], "patch": encoded_patch, "patchType": "JSONPatch", } })if __name__ == "__main__": app.run(host="0.0.0.0", port=443, ssl_context=("path/to/tls.crt", "path/to/tls.key"))
In an exam or production environment, you are not expected to write the full webhook implementation code. The focus should be on understanding how admission webhook servers function and how they integrate with Kubernetes.
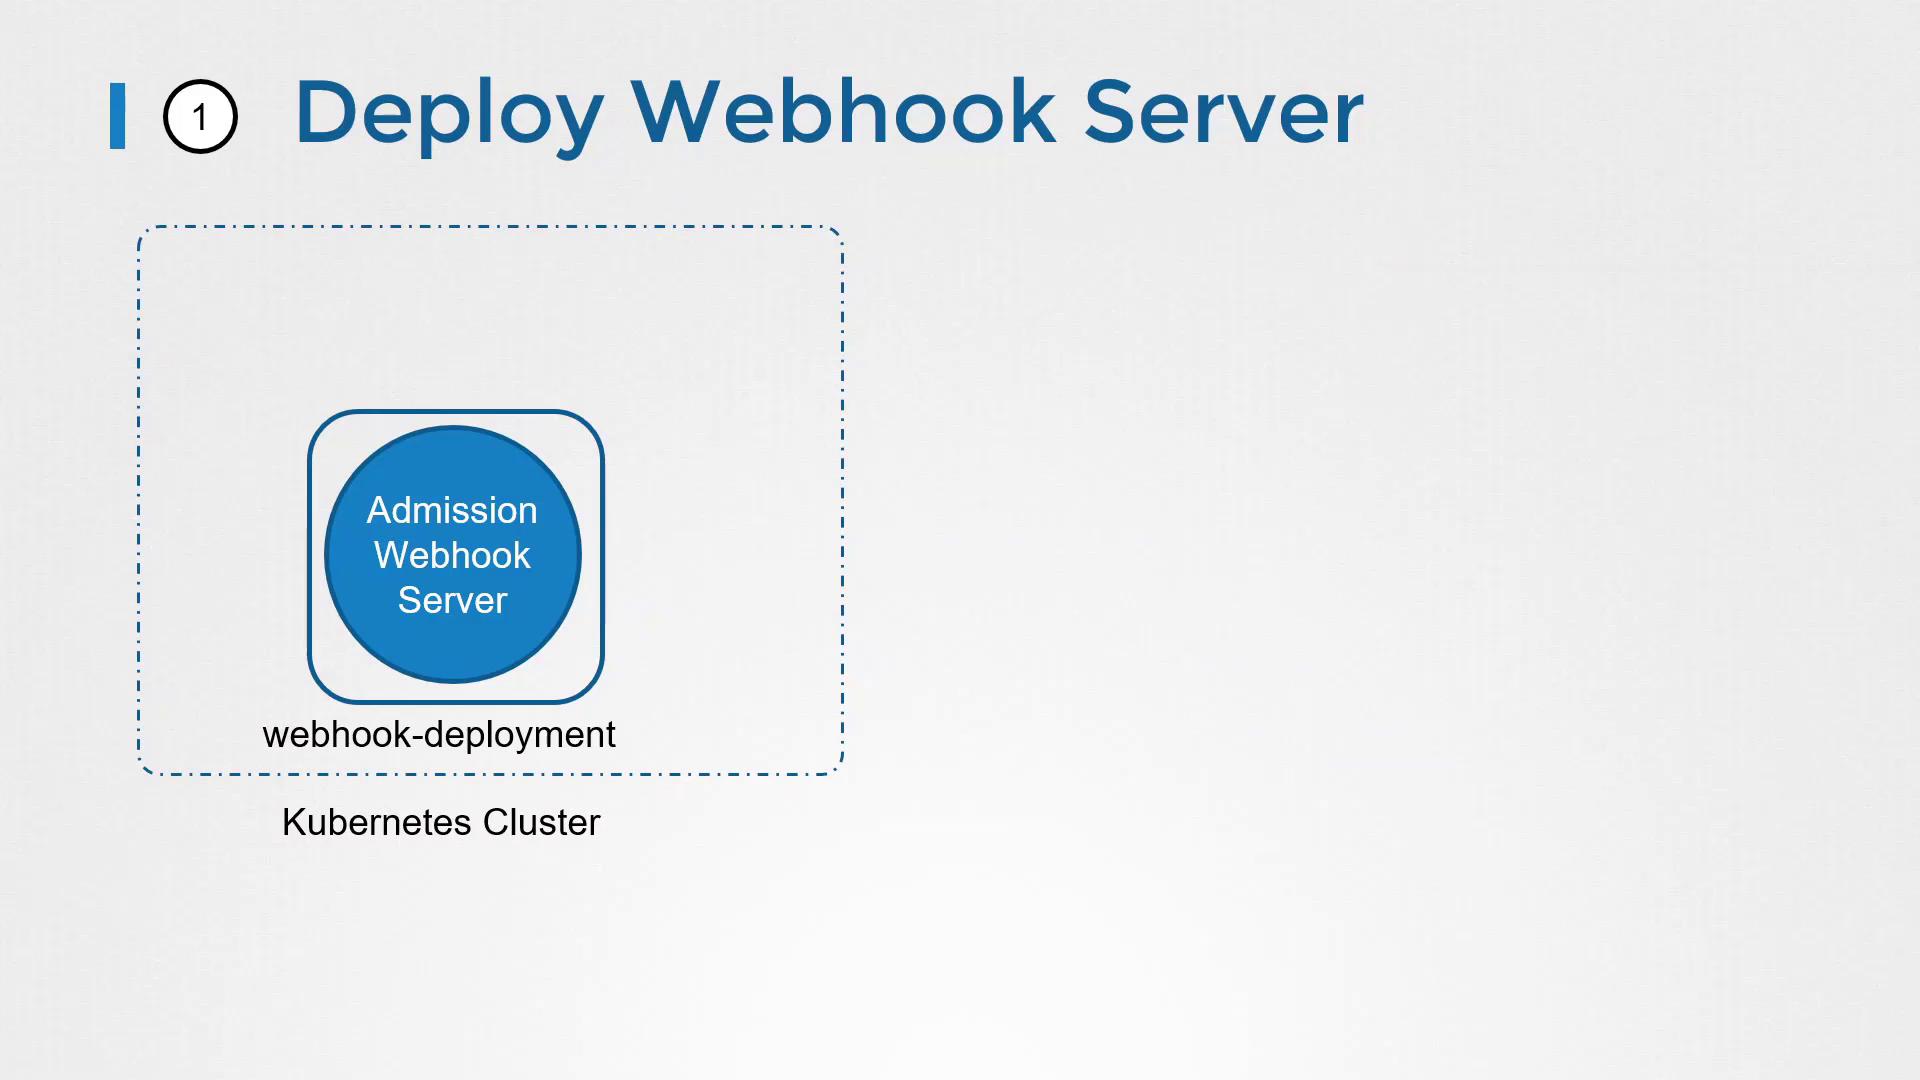
Once your webhook server is ready, you can host it as a standalone server or containerize it and deploy it as a Deployment within your Kubernetes cluster. If you opt to deploy within the cluster, remember to create a corresponding Service so that the API server can communicate with your webhook.Next, configure your Kubernetes cluster by creating a webhook configuration object. For example, to direct pod creation requests to your validating webhook service, you could use the following configuration:
For a mutating webhook, create a MutatingWebhookConfiguration object instead. In both cases, ensure that TLS is properly configured between the API server and your webhook server by generating the required certificates and providing the CA bundle in the configuration.With this configuration, every pod creation request triggers a call to your webhook service. Based on the response, the request will either be allowed or rejected.
That concludes this lesson on Validating and Mutating Admission Controllers. Practice these concepts with hands-on exercises, and stay tuned for more advanced topics in the upcoming lessons.For further reading, check out the following resources: