Cursor AI

Understanding and Customizing Cursor

Demo Automating with Agent Mode

In this walkthrough, we’ll explore how to use Agent Mode in Cursor AI to automate a full Python project—from reading customer data to generating tests and documentation—in minutes. You’ll learn how to:

  • Enable and configure Autocompletion safely.
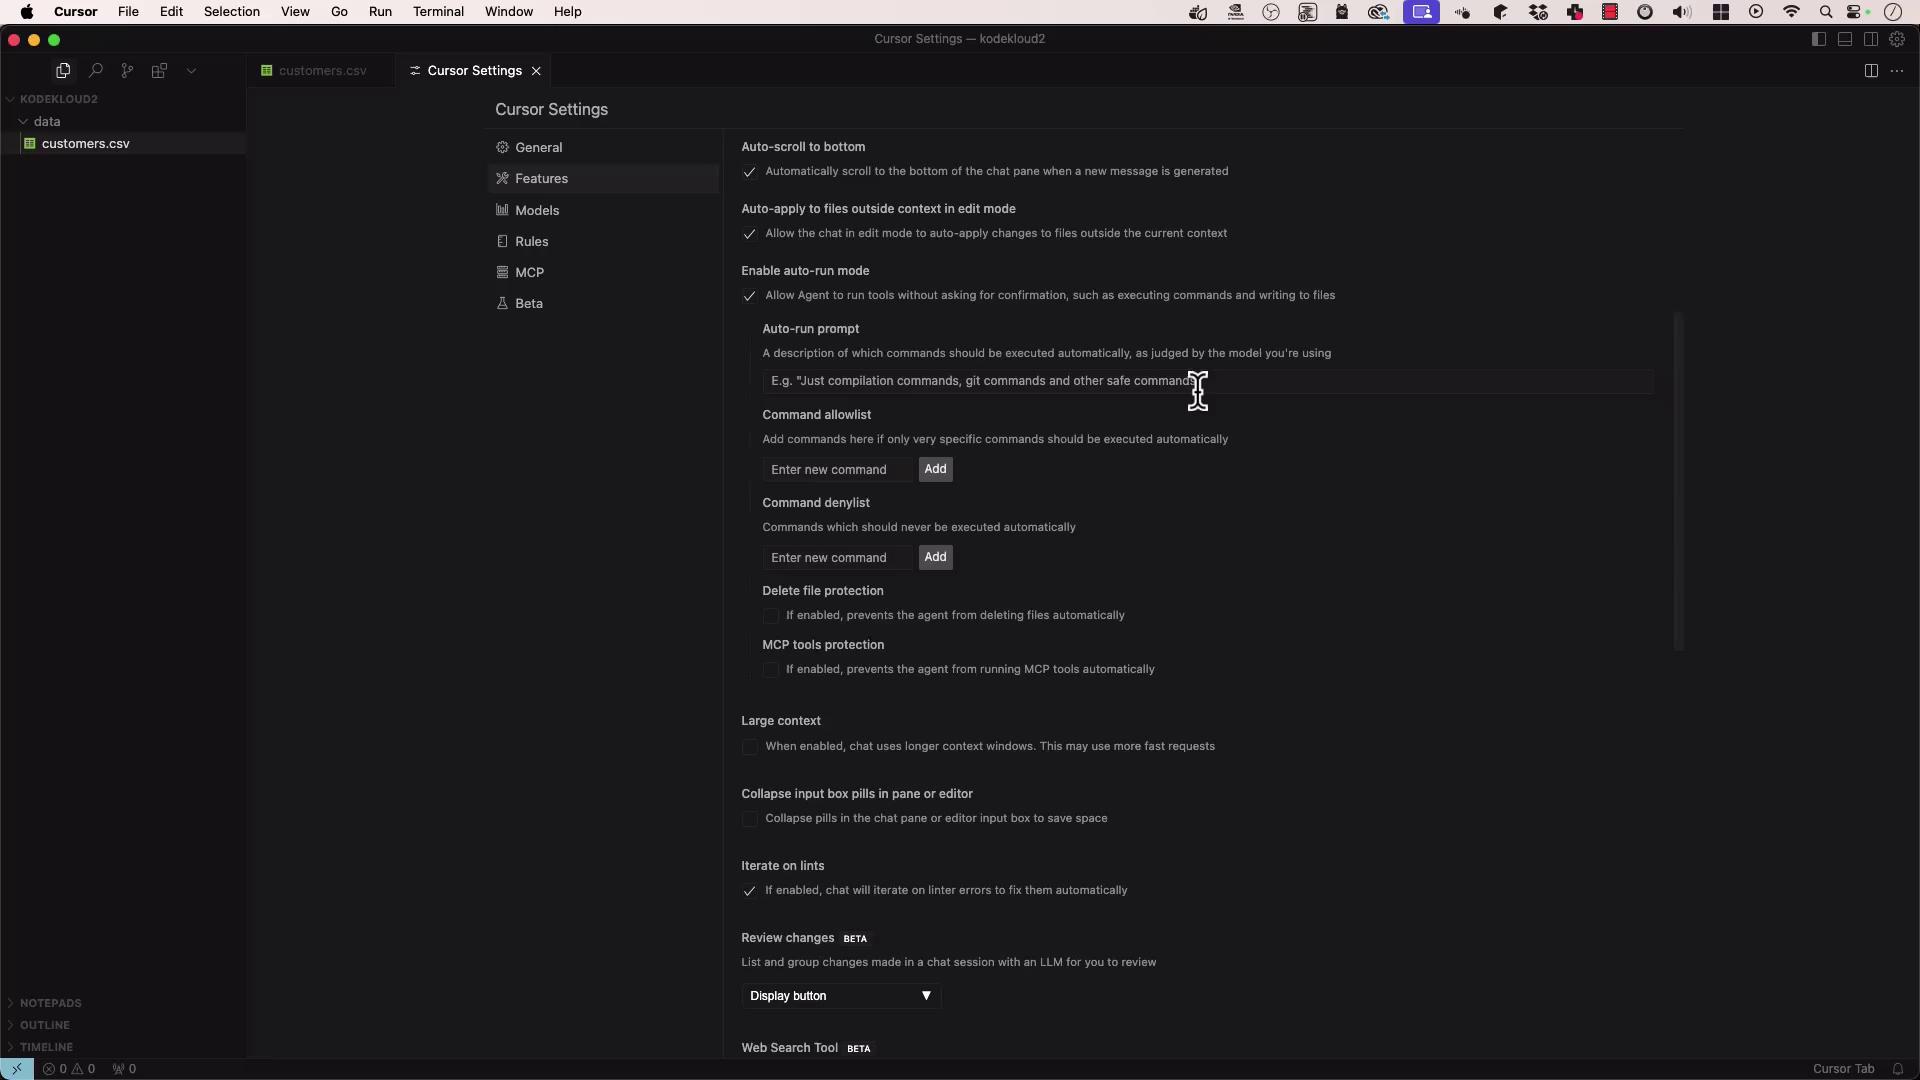
  • Define an allowlist/denylist for automated commands.
  • Generate code, tests, and docs with a single instruction set.
  • Run and verify the output locally using a Python virtual environment.

Prerequisites

  • Cursor AI with Agent Mode enabled
  • Python 3.8 or higher installed
  • A CSV file named customers.csv containing customer data

1. Enable Autocompletion Mode

First, open Cursor Settings and turn on Autocompletion mode. Read the disclaimer carefully before proceeding.

Warning

Enabling Autocompletion mode may increase the risk of prompt injection. Only proceed if you trust the source of your prompts.

The image shows a software interface with a dark theme, displaying a "Cursor Settings" menu with various options related to auto-run mode, command allowlist/denylist, and file protection. A file named "customers.csv" is open in the sidebar.

Configure Autocompletion Settings

SettingDescription
Auto Run PromptNatural-language instructions the agent will execute automatically.
Command AllowlistList commands the agent is permitted to run (e.g., pip install pytest).
Command DenylistBlock undesired commands (e.g., rm -rf /).
File ProtectionPrevent deletion or modification of critical files.
MCP ToolsDisable resource-intensive operations to control cloud costs.

Save these settings and switch to Agent mode.

2. Attach Data and Select Model

  1. Upload customers.csv (large CSV with customer records).
  2. Choose whether to include the full context or let the agent use intelligent compression.
  3. Select your model (e.g., gpt-4o-cloud).

3. Provide an Instruction List

Ask the agent to perform these steps:

  1. Create process_customers.py to read customers.csv.
  2. Extract first and last names → write to namevalues.csv.
  3. Extract phone numbers → write to phone.txt.
  4. Install pytest.
  5. Generate a pytest test suite validating the script.

Click Generate. The agent will:

  • Read the first 200 lines of customers.csv.
  • Produce process_customers.py with data-processing logic.
  • Create unit tests in test_process_customers.py.
  • Display all proposed code changes for your approval.

Once you Accept, the files appear in your workspace.

4. Set Up Your Local Environment

Open a terminal and create a Python virtual environment:

# Create and activate venv
python -m venv venv
source venv/bin/activate

# Install pytest
pip install pytest

5. Run the Data Processing Script

Execute the generated script:

python process_customers.py

Note

The script writes output files namevalues.csv and phone.txt without printing to the console. Verify with:

head -n 5 namevalues.csv
head -n 5 phone.txt

6. Inspect Output Samples

# namevalues.csv
first_name,last_name
Joye,Lonnon
Charyl,Wanka
Merrel,Palumbo
Dannel,Tarplee

# phone.txt
619-459-1773
916-472-7327
215-772-7423
723-375-1649
217-778-2922

7. Run and Auto-Fix Tests

pytest test_process_customers.py -v

If any tests fail, Agent Mode will update the tests and re-run them automatically until they pass.

8. Generate requirements.txt and README.md

Ask the agent to scaffold these files:

requirements.txt

pytest>=8.0

README.md

## Setup

1. Clone the repository.
2. Create a virtual environment:
   ```bash
   python -m venv venv
   ```text
3. Activate:
   - macOS/Linux: `source venv/bin/activate`
   - Windows: `venv\Scripts\activate`
4. Install dependencies:
   ```bash
   pip install -r requirements.txt
   ```text

## Usage

```bash
python process_customers.py
```text
Reads `customers.csv`, writes names to `namevalues.csv` and phones to `phone.txt`.

## Testing

```bash
pytest -v
```text

import csv

def process_customer_data(input_file, name_output_file, phone_output_file):
    """
    Process customer data from a CSV file and extract names and phone numbers.

    Args:
        input_file (str): Path to the input CSV file.
        name_output_file (str): Path to the output CSV file for names.
        phone_output_file (str): Path to the output TXT file for phone numbers.
    """
    with open(input_file, newline='') as csvfile:
        reader = csv.DictReader(csvfile)
        names, phones = [], []
        for row in reader:
            first = row.get('first_name', '').strip()
            last = row.get('last_name', '').strip()
            phone = row.get('phone_number', '').strip()
            if first or last:
                names.append((first, last))
            if phone:
                phones.append(phone)

    with open(name_output_file, 'w', newline='') as namefile:
        writer = csv.writer(namefile)
        writer.writerow(['first_name', 'last_name'])
        writer.writerows(names)

    with open(phone_output_file, 'w') as phonefile:
        for phone in phones:
            phonefile.write(phone + '\n')

if __name__ == '__main__':
    process_customer_data('customers.csv', 'namevalues.csv', 'phone.txt')

Watch Video

Watch video content

Previous
Demo Remote Development