

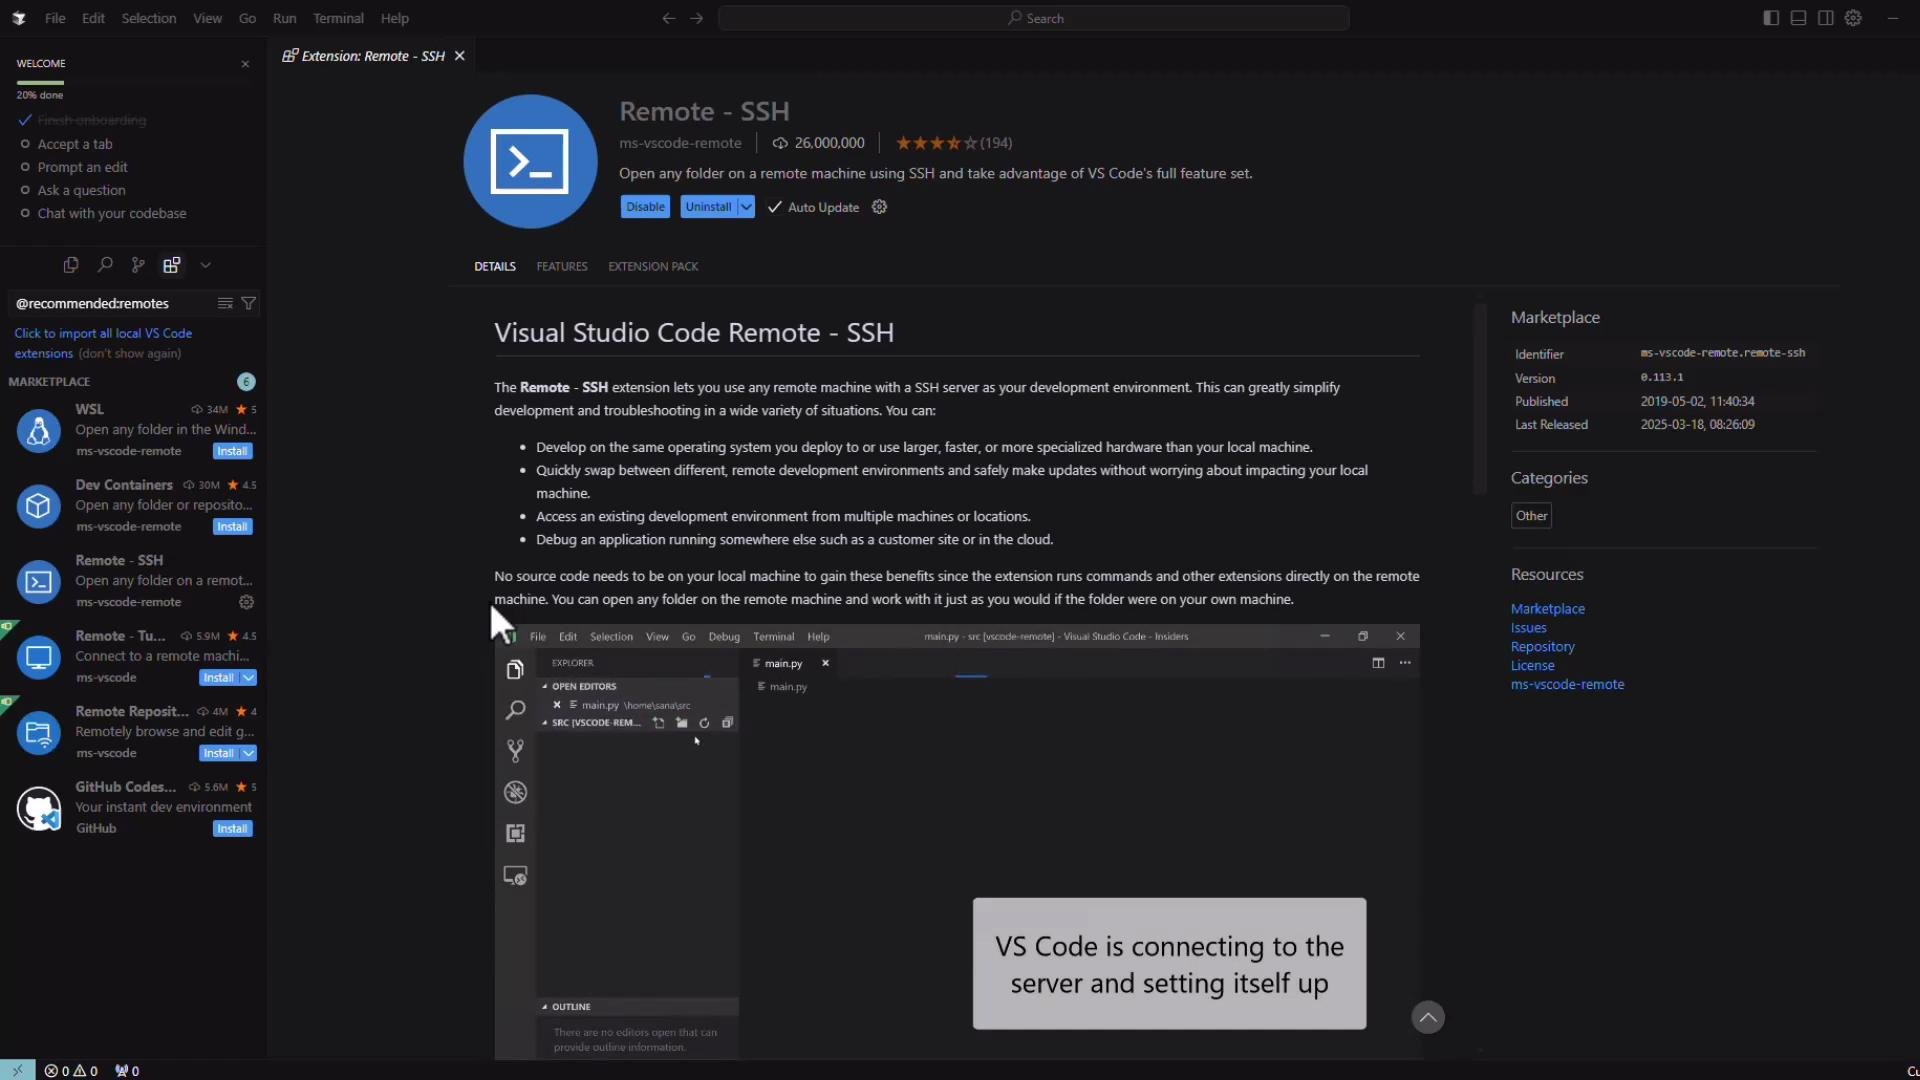
Aside from Remote - SSH, Cursor also supports Dev Containers and other remote extensions. Choose the remote method that best fits your workflow — e.g., Dev Containers for reproducible dev environments, Remote - SSH for direct access to a specific host.
- Below is a simple Python example (SVM cross-validation) that demonstrates a CPU/GPU-bound task you might run on a remote machine.
- In Cursor, select “Connect via SSH”.
- Choose “Add New SSH Host” and enter the host using the form user@host (recommended) or the IP address.
Always prefer specifying user@host in your SSH entries (for example jeremy@10.0.0.94). If you only specify an IP, your local username may be appended automatically and you may log in as a different user than intended.
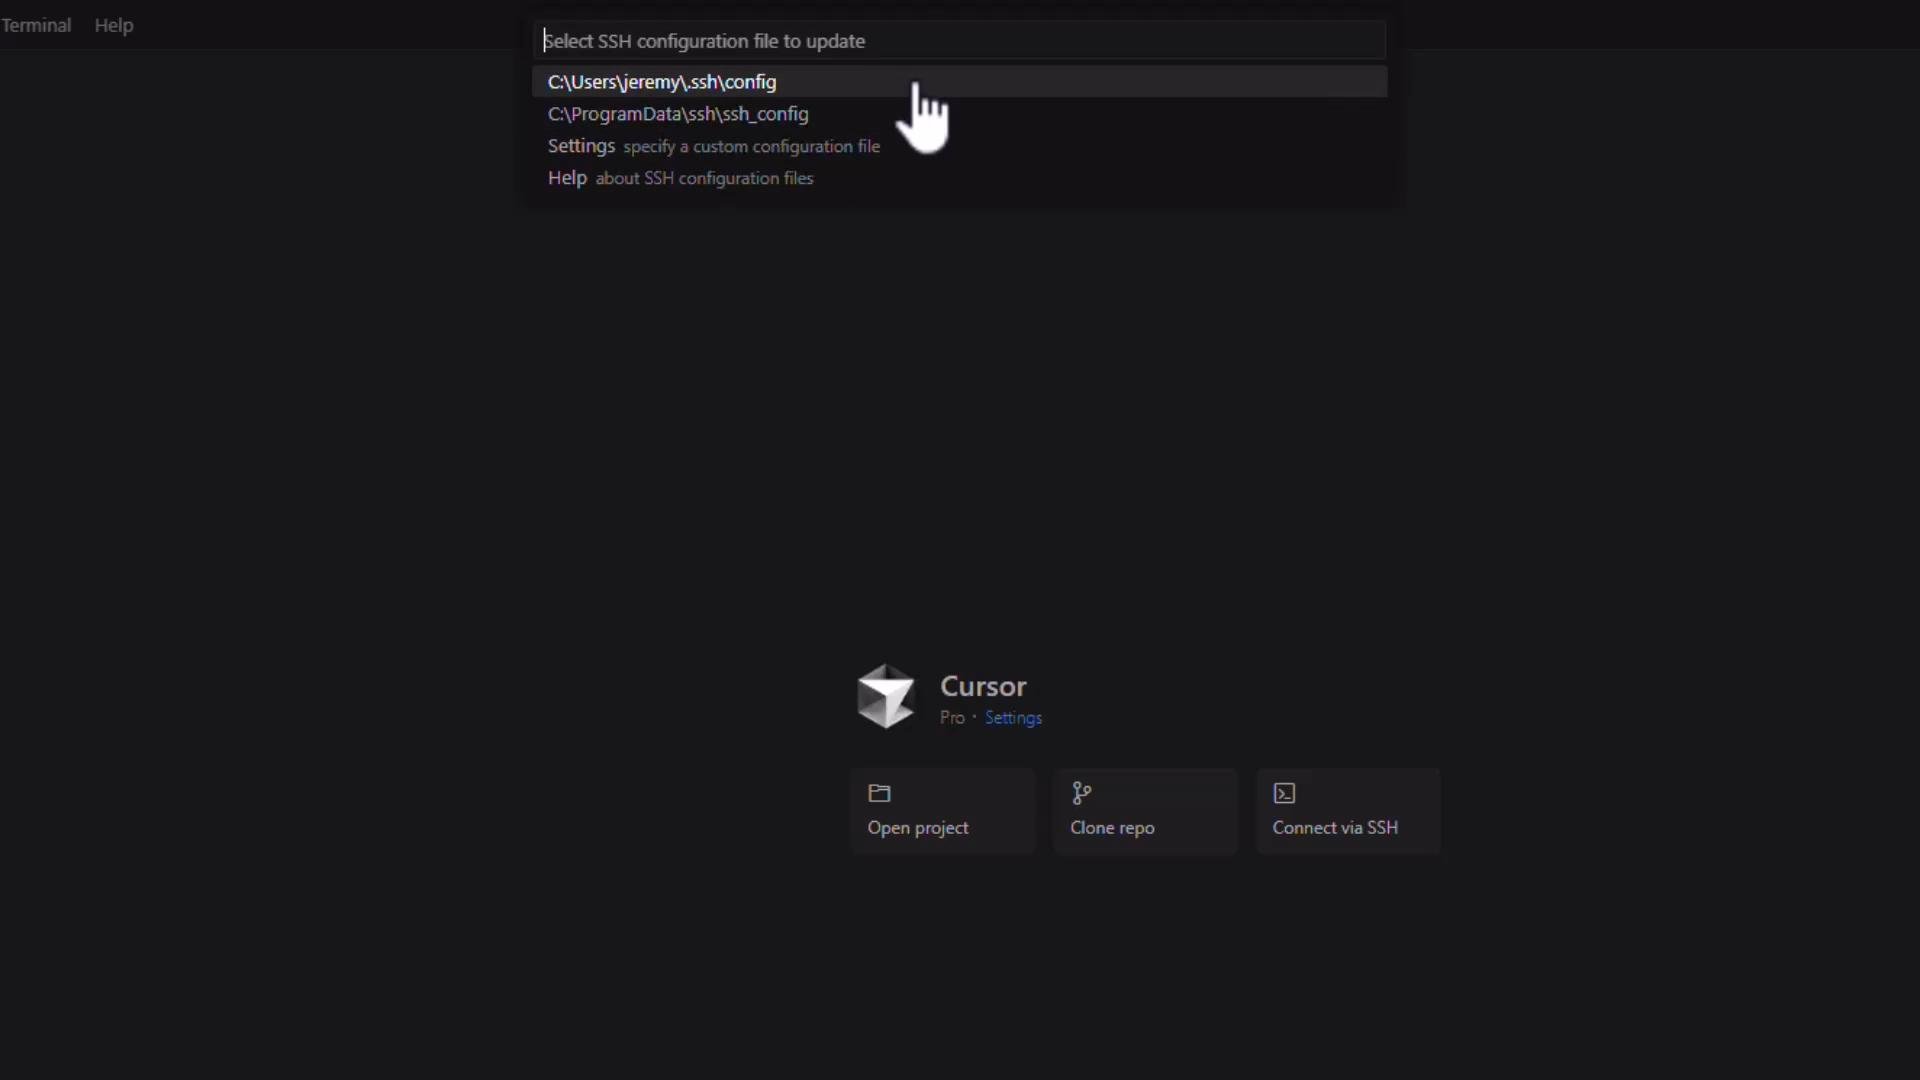
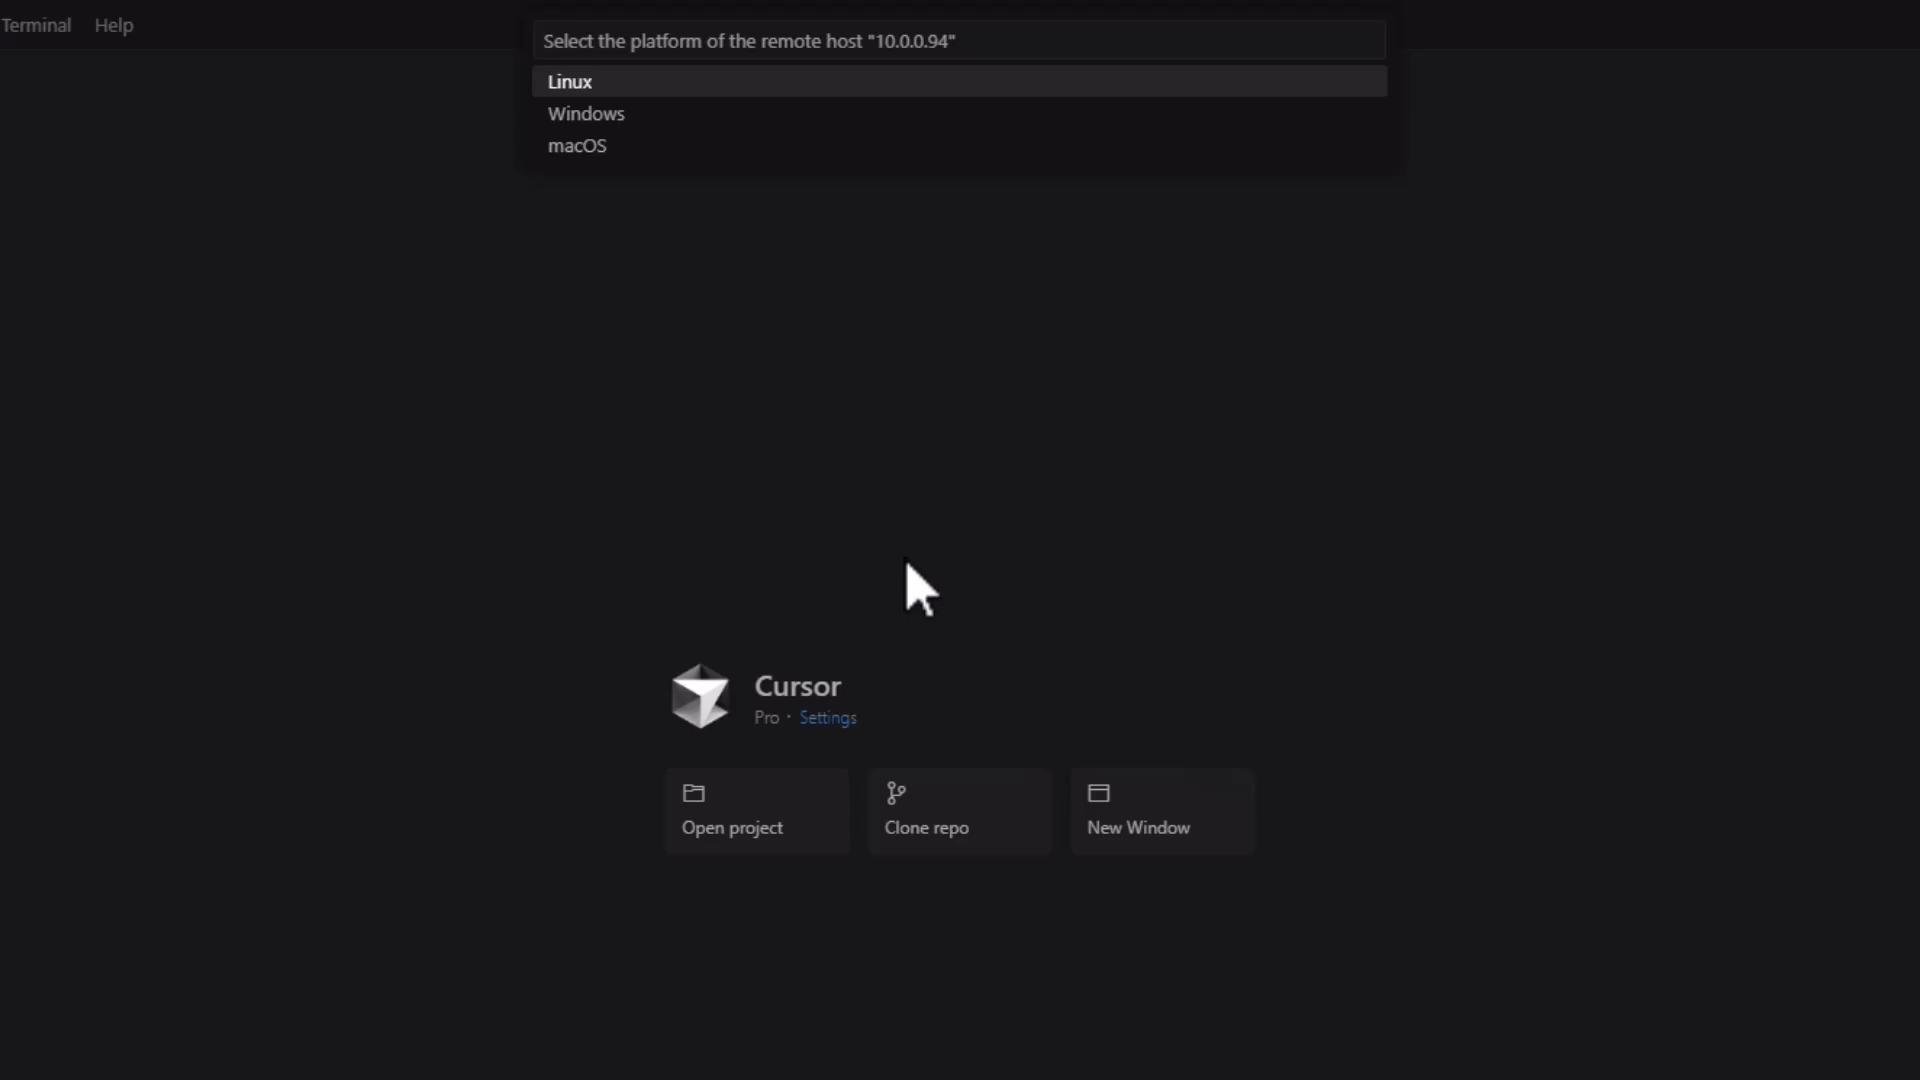
- After adding the host, click Connect. Cursor opens a new window and prompts you to select the remote platform (Linux, Windows, or macOS) for that host.
- You will typically confirm the host fingerprint and then authenticate with a password or SSH key.
- If this is the first time connecting, Cursor/VS Code will install the VS Code server on the remote host. You’ll see a status such as “Downloading VS Code Server…” while installation completes.
- After installation, the server runs on the remote machine and accepts connections from the Cursor client.
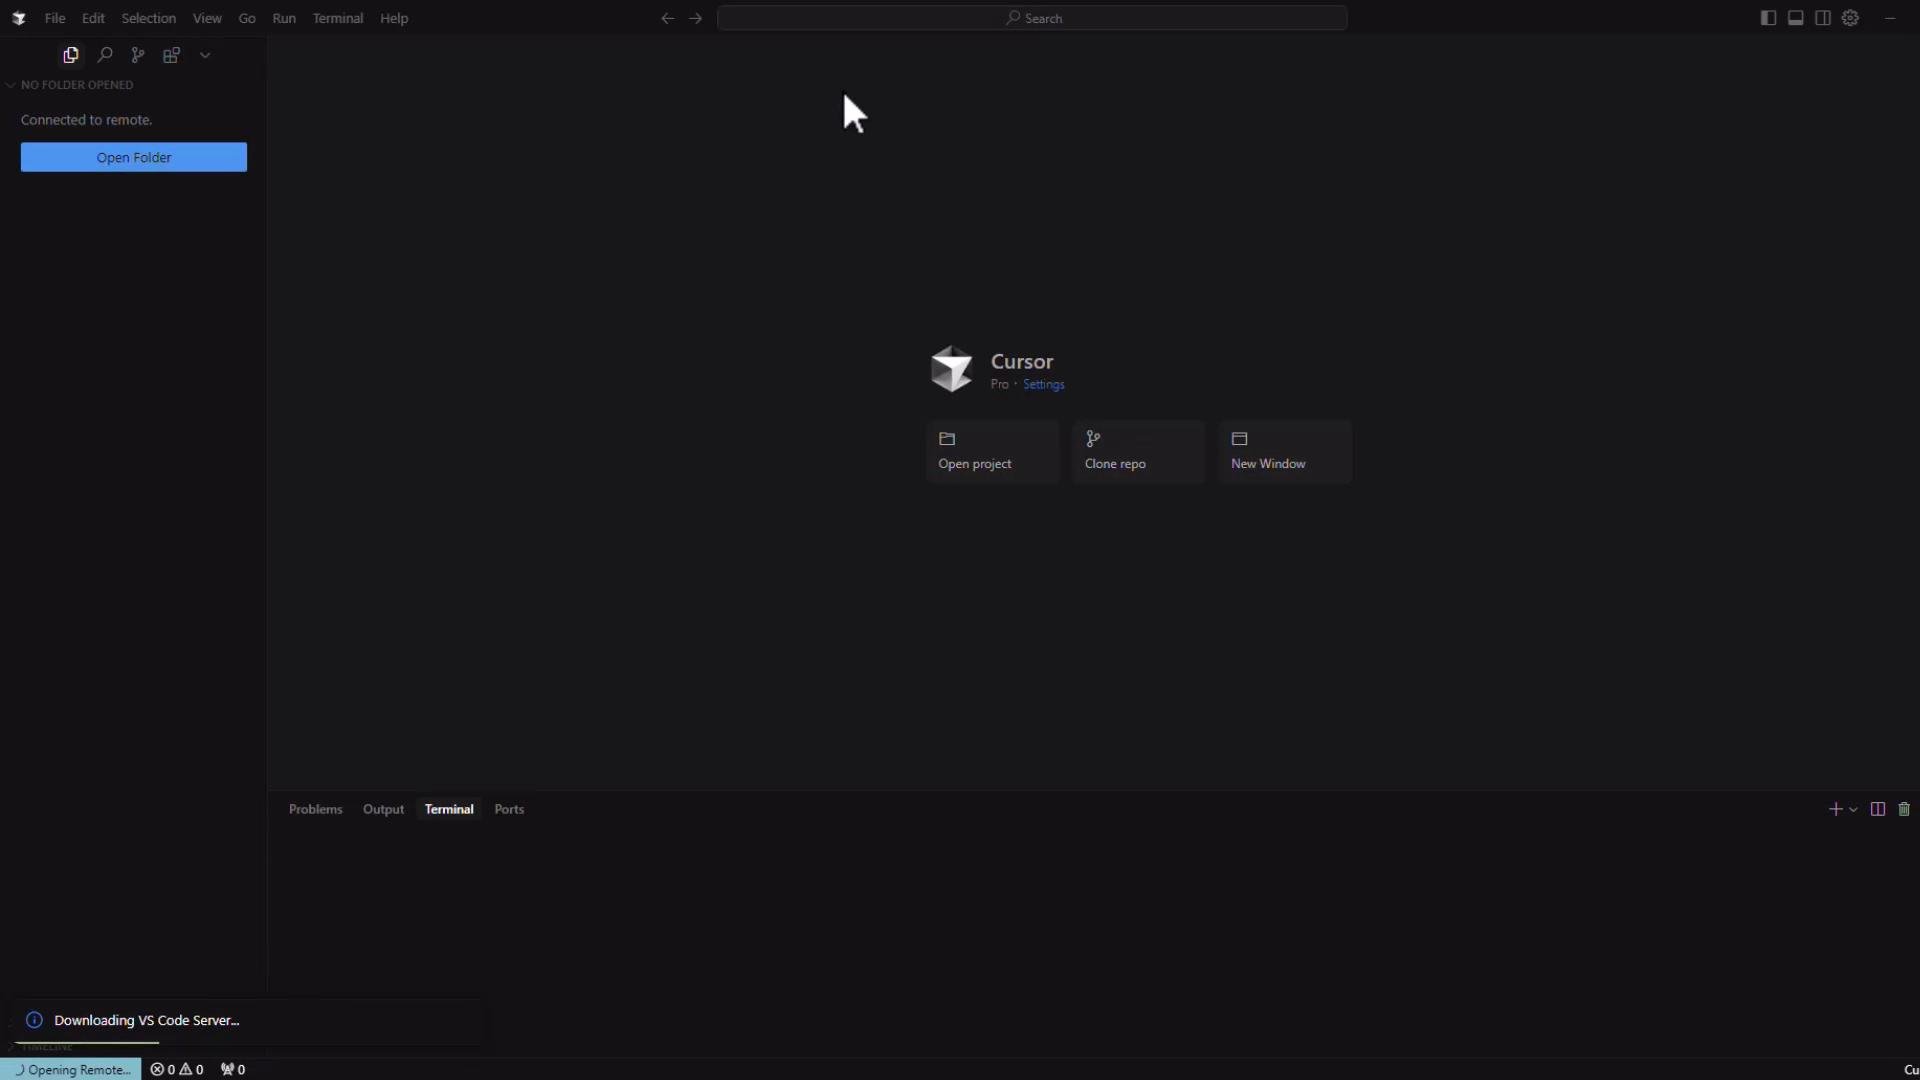
- Once the server is running, open a folder that exists on the remote host or clone a repository into the remote workspace.
- The Cursor file explorer now reflects files on the remote filesystem.
- Any terminal you open from a Cursor window connected to the host runs on the remote machine.
- Editing files, running scripts, installing packages, or debugging will execute remotely, using the remote host’s CPU/GPU and filesystem.
- You can open and edit apps like a Flask project directly on the remote host. Below is a small excerpt.
- You can add multiple SSH host entries to your SSH config and switch between machines (Linux, macOS, Windows).
- The process is the same: add user@host to your SSH config, connect from Cursor, choose the correct platform, and authenticate.
Recommended links and references
Summary
- Cursor uses the Remote - SSH model to run development workflows on a remote host while displaying the editor UI locally.
- Editing, terminals, debugging, and package management operate on the remote machine.
- Always specify user@host in your SSH entries to avoid unintended username substitutions.
- Use SSH keys for repeatable, passwordless authentication.
If you plan to use multiple remote hosts frequently, save each host entry in your SSH config with descriptive comments and enable SSH key authentication to avoid repeated password prompts.