What is Jenkins?
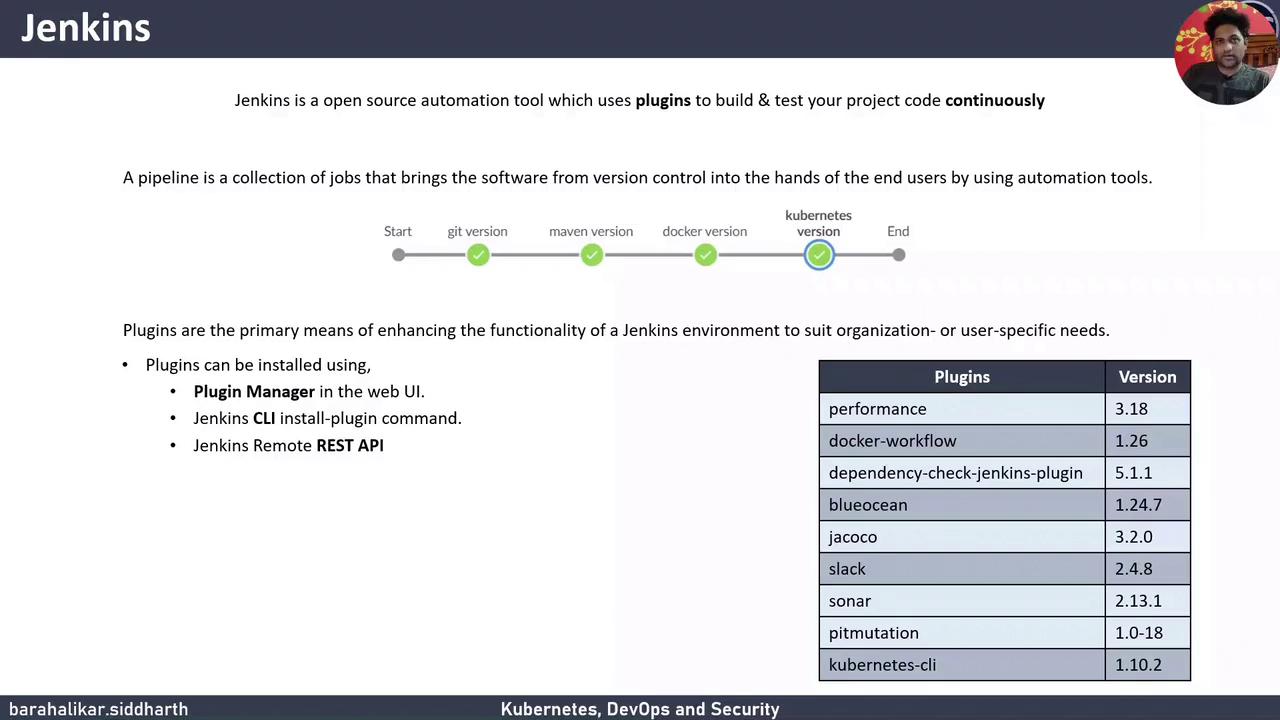
Jenkins is a leading open-source automation server for continuous integration and delivery (CI/CD). It leverages a rich plugin ecosystem to build, test, and deploy your applications automatically. Jenkins supports multiple project types:- Freestyle: Classic build jobs
- Multi-configuration: Matrix builds across multiple environments
- Multibranch Pipeline: Auto-discovers branches with
Jenkinsfile - Simple Pipeline: Defines build steps in code
| Installation Method | Description |
|---|---|
| Plugin Manager (UI) | Browse and install from the Jenkins dashboard |
| Jenkins CLI | Use java -jar jenkins-cli.jar to install plugins |
| Remote REST API (Automation) | Script plugin installation using REST calls |
Automating plugin installation with the Remote REST API ensures consistent environments, especially in Infrastructure as Code workflows.
1. Verifying the Jenkins Service
On your VM, Jenkins runs on port 8080 by default. Verify the service status:2. Accessing the Jenkins Web UI
Open your browser and navigate to:If you changed the default port in your install script, adjust the URL accordingly.
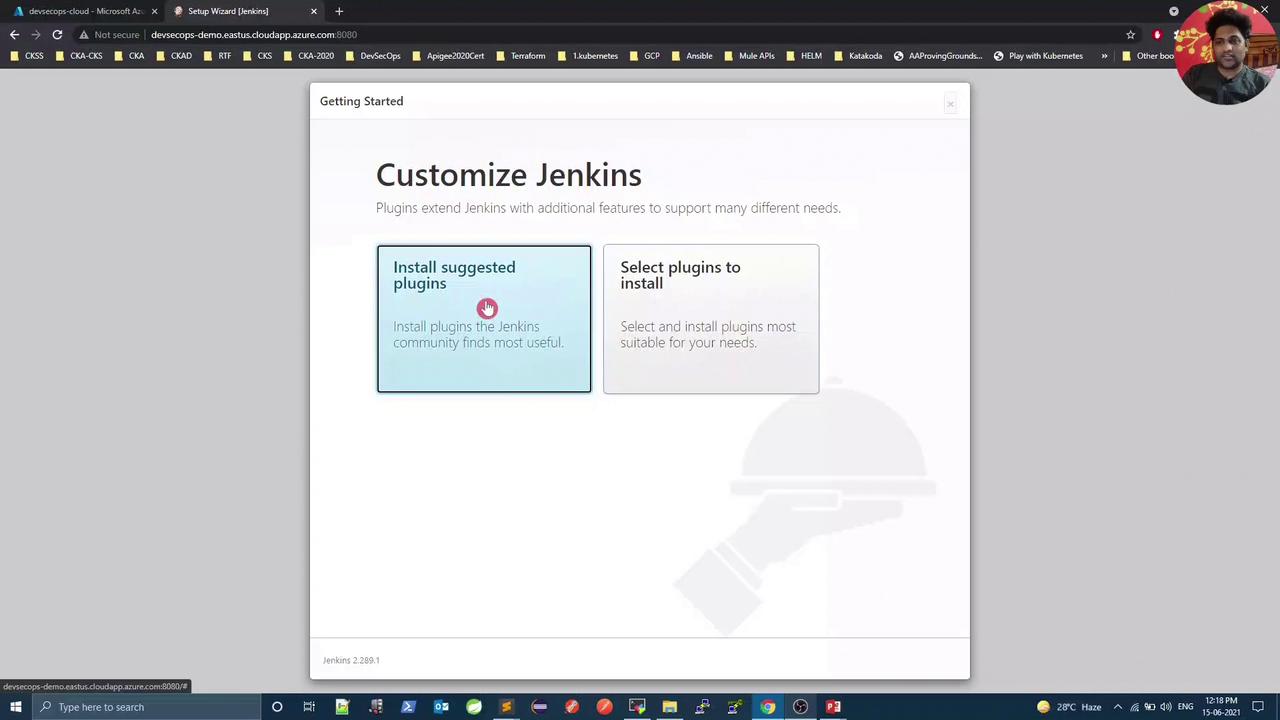
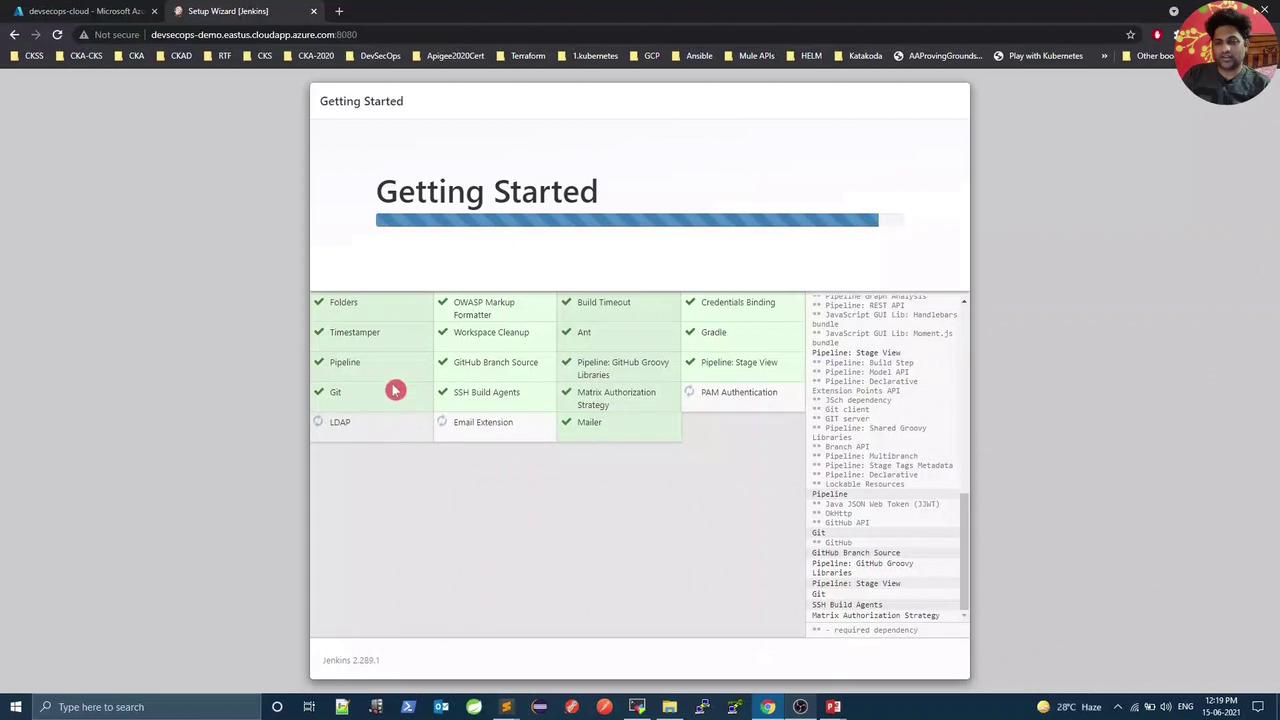
3. Installing Suggested Plugins
After unlocking Jenkins, select Install suggested plugins to set up common integrations such as Git, Pipeline, and folders. This bulk installation simplifies your initial configuration.Depending on your network and VM resources, this step may take several minutes.
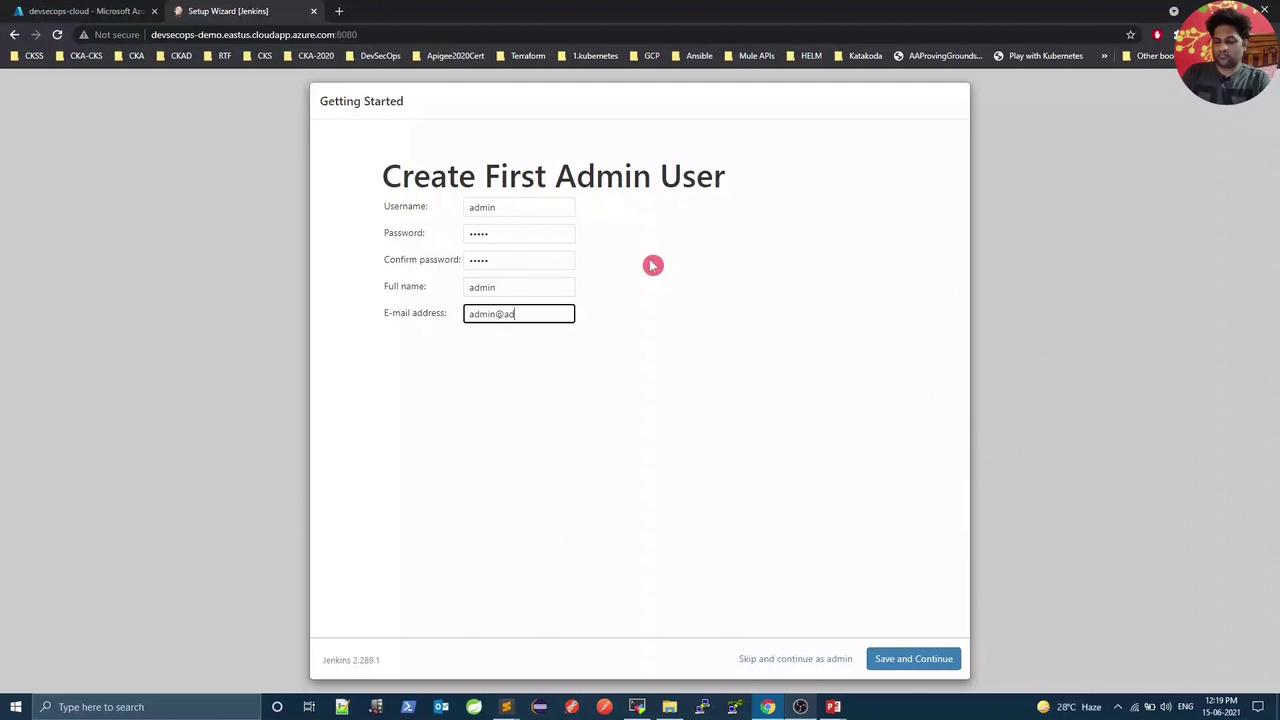
4. Creating the First Admin User
Once the plugins are in place, Jenkins prompts you to create an admin account. Provide:- Username
- Password
- Full name
- Email address
5. Configuring the Jenkins Instance URL
Set the Jenkins URL used by external systems (e.g., Git webhooks). Enter your VM’s DNS name or static IP, then save.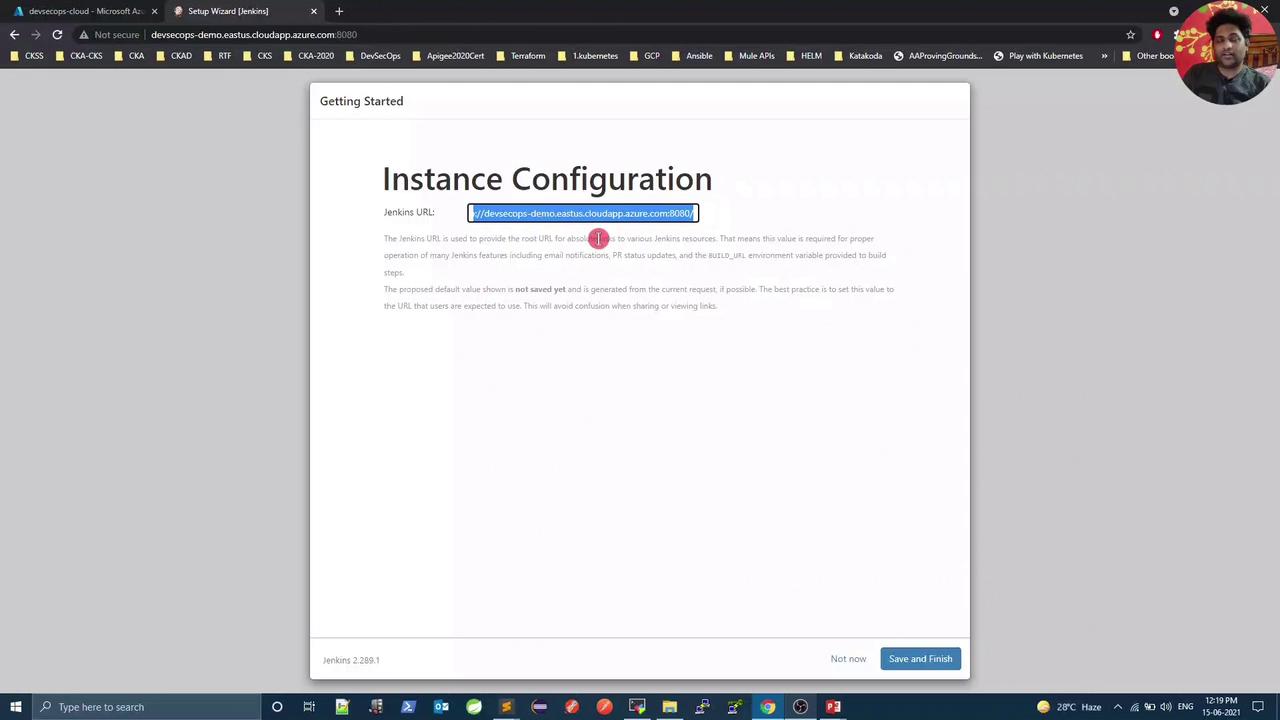
6. Completing the Setup
With the URL configured, click Start using Jenkins to finish the wizard.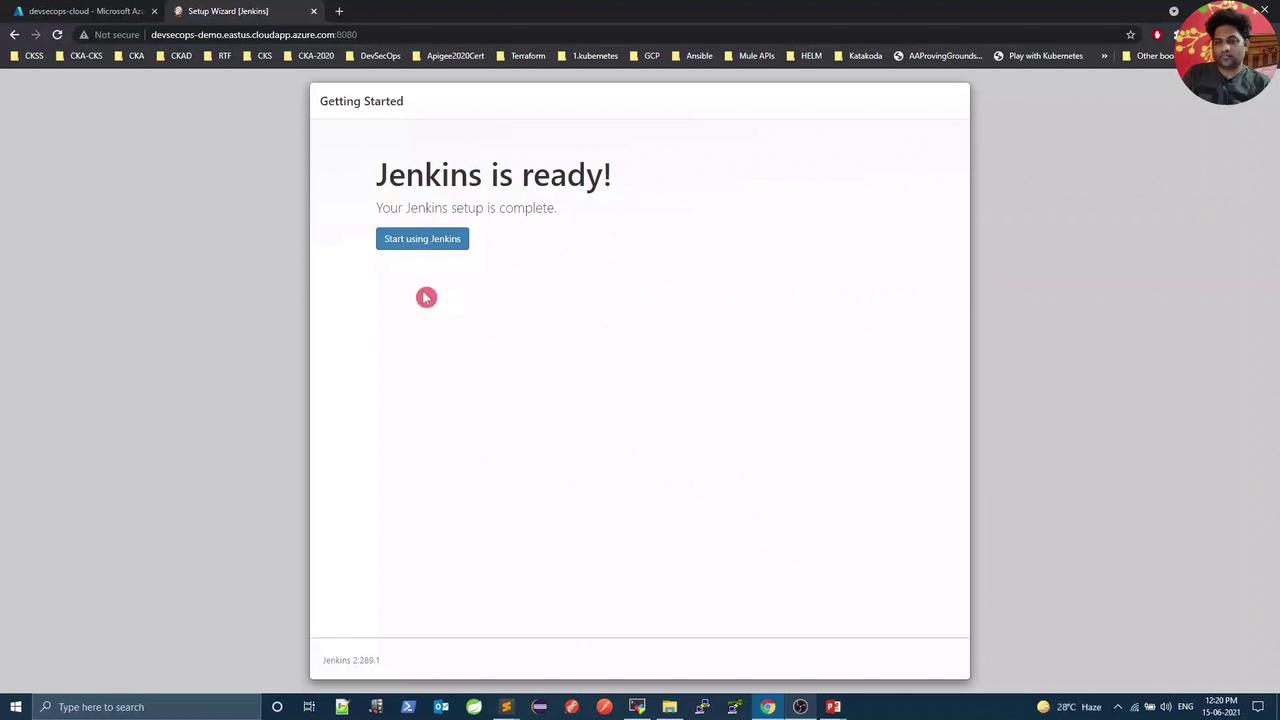
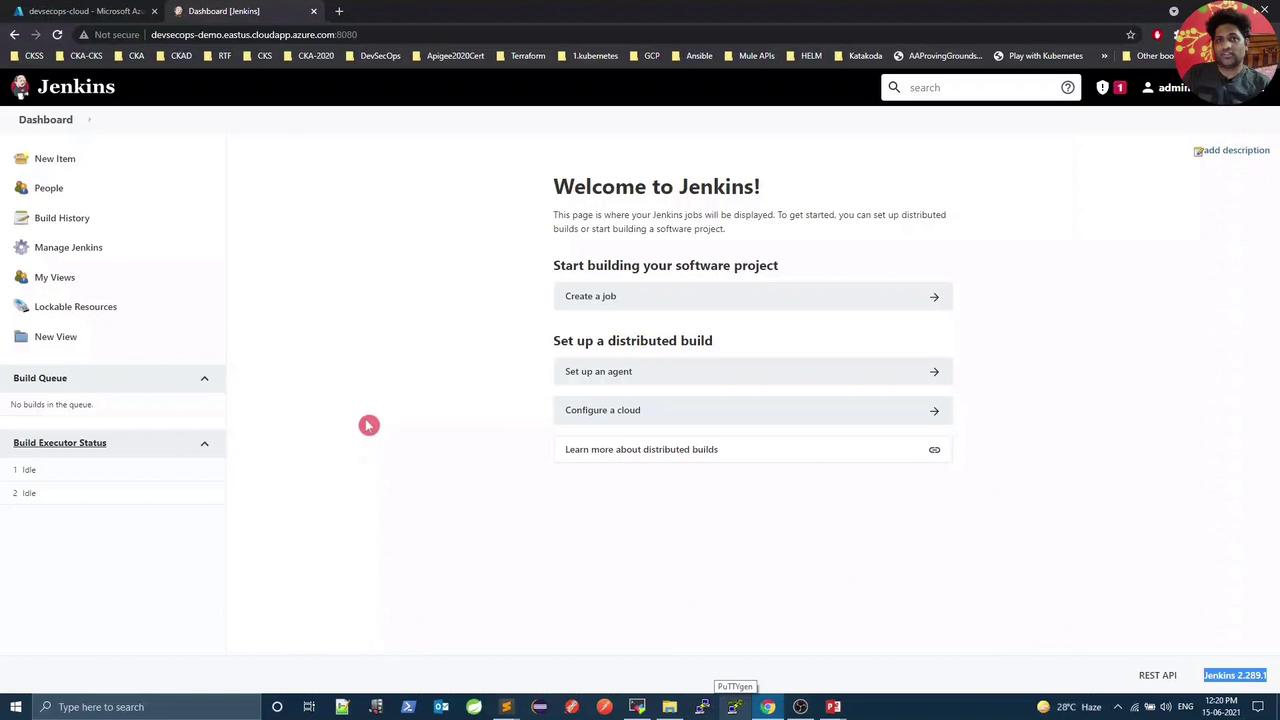
7. Exploring the Jenkins Dashboard
You’ve arrived at the Jenkins dashboard (version 2.289.1). From here, you can:- Create and configure new pipelines
- Manage credentials and plugins
- Set up distributed builds