- Check your Azure free trial credits
- Stop your virtual machine (VM) when it’s idle
- Start the VM again when you need it
- Review detailed cost analysis to monitor your spending
1. Checking Your Remaining Credits
- Sign in to the Azure portal: https://portal.azure.com
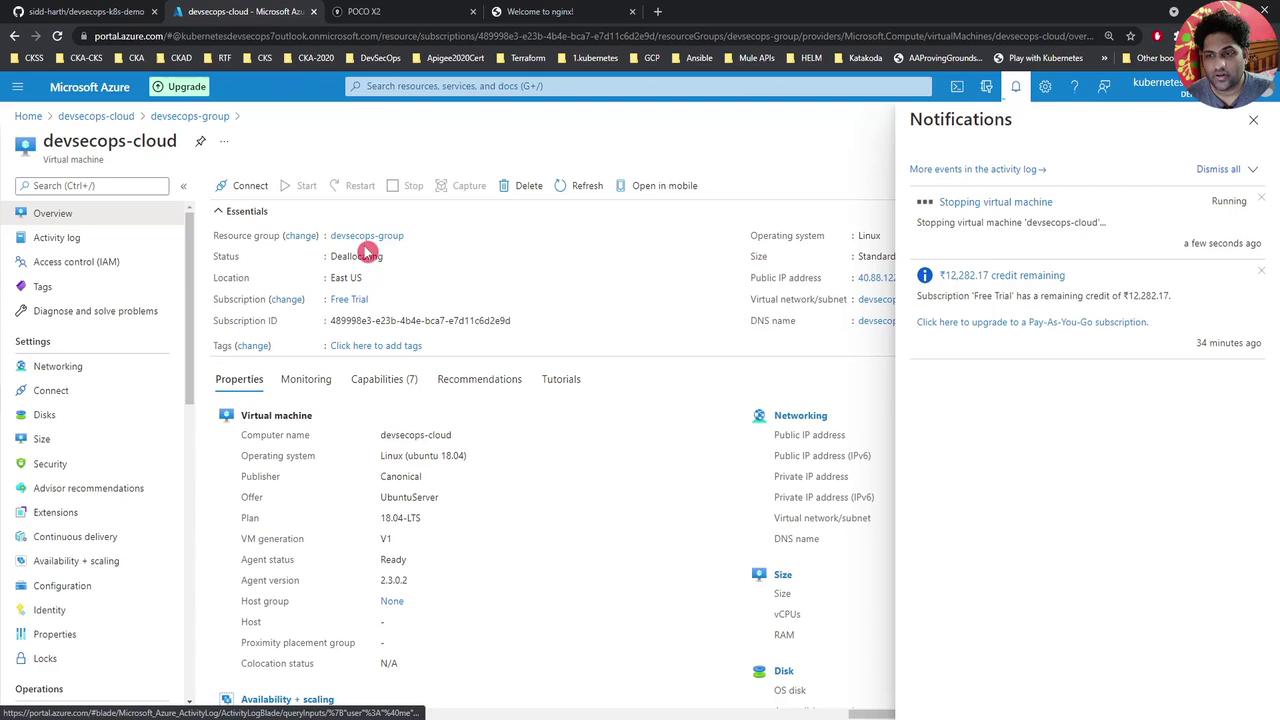
- Click the Notifications (bell) icon in the top-right corner.
- View the remaining credits for your free trial under Notifications.
If you don’t see your credits immediately, refresh the portal or wait a few seconds for the dashboard to update.
2. Stopping the VM
- In the left-hand menu, select Virtual machines.
- Find your VM (for example, devsecops-cloud).
- Click Stop at the top of the VM overview.
- Confirm the shutdown when prompted.
Stopping (deallocating) a VM releases compute resources and stops billing for core hours, but you may still incur charges for allocated storage and public IP addresses.
3. Starting the VM Again
When you’re ready to resume work:- Navigate back to Virtual machines.
- Select your VM.
- Click Start at the top of the overview page.
- Wait a few moments for the VM to power on.
4. Viewing Detailed Cost Analysis
To break down your spending by resource and service:- In the Azure portal, select Resource groups in the left menu.
- Click on your resource group (e.g., DevSecOps).
- Under Cost Management + Billing, choose Cost analysis.
- Select the desired time range (for example, This month) to view charts and tables.
| Metric | Description | Example |
|---|---|---|
| Compute Hours | Total VM runtime in hours | 120 hours |
| Storage Transactions | Read/write operations on managed disks | 5,000 transactions |
| Public IP Allocation | Hours the public IP was reserved (even idle) | 720 hours |
| Data Transfer | Egress data out of Azure | 15 GB |
Cost analysis data may take several hours (or up to 24 hours) to fully populate after you create or modify resources.
By stopping your VM when it’s idle and using Cost analysis regularly, you’ll maximize your Azure free trial credits and avoid unexpected charges.