DevSecOps - Kubernetes DevOps & Security
Kubernetes Operations and Security
Promoting App to Prod and Visualize using Kiali
In this tutorial, you’ll learn how to extend your existing Jenkins pipeline to deploy a Kubernetes application into a production namespace and then visualize the service mesh using Kiali. While a dedicated pipeline is recommended for production, this guide demonstrates how to add a production stage to your current Jenkinsfile.
Table of Contents
- Updating the Jenkinsfile
- Kubernetes Production Deployment YAML
- Why Drop
NET_RAW? - Rollout Status Script
- Triggering the Deployment
- Verifying the Production Deployment
- Visualizing with Kiali
- References
Updating the Jenkinsfile
Add a new stage named K8S Deployment - PROD right after your CIS Benchmarking stage. This stage runs two parallel steps:
stage('K8S Deployment - PROD') {
  steps {
    parallel(
      'Deployment': {
        withKubeConfig([credentialsId: 'kubeconfig']) {
          sh "sed -i 's#replace#${imageName}#g' k8s_PROD-deployment_service.yaml"
          sh "kubectl -n prod apply -f k8s_PROD-deployment_service.yaml"
        }
      },
      'Rollout Status': {
        withKubeConfig([credentialsId: 'kubeconfig']) {
          sh "bash k8s-PROD-deployment-rollout-status.sh"
        }
      }
    )
  }
}
Note
Make sure your Jenkins agent has permissions to apply manifests in the prod namespace.
Kubernetes Production Deployment YAML
Create a file named k8s_PROD-deployment_service.yaml with the following content. It includes:
- A Deployment with three replicas
- A security context that drops
NET_RAW - Resource requests and limits
- A
ClusterIPService
apiVersion: apps/v1
kind: Deployment
metadata:
  name: devsecops
  labels:
    app: devsecops
spec:
  replicas: 3
  selector:
    matchLabels:
      app: devsecops
  template:
    metadata:
      labels:
        app: devsecops
    spec:
      serviceAccountName: default
      volumes:
        - name: vol
          emptyDir: {}
      containers:
        - name: devsecops-container
          image: replace
          ports:
            - containerPort: 8080
          volumeMounts:
            - mountPath: /tmp
              name: vol
          securityContext:
            capabilities:
              drop:
                - NET_RAW
            runAsUser: 100
            runAsNonRoot: true
            readOnlyRootFilesystem: true
            allowPrivilegeEscalation: false
          resources:
            requests:
              memory: "256Mi"
              cpu: "200m"
            limits:
              memory: "512Mi"
              cpu: "500m"
---
apiVersion: v1
kind: Service
metadata:
  name: devsecops-svc
  labels:
    app: devsecops
spec:
  type: ClusterIP
  selector:
    app: devsecops
  ports:
    - port: 8080
      targetPort: 8080
      protocol: TCP
Resource Requests and Limits
| Resource | Request | Limit |
|---|---|---|
| CPU | 200m | 500m |
| Memory | 256Mi | 512Mi |
Why Drop NET_RAW?
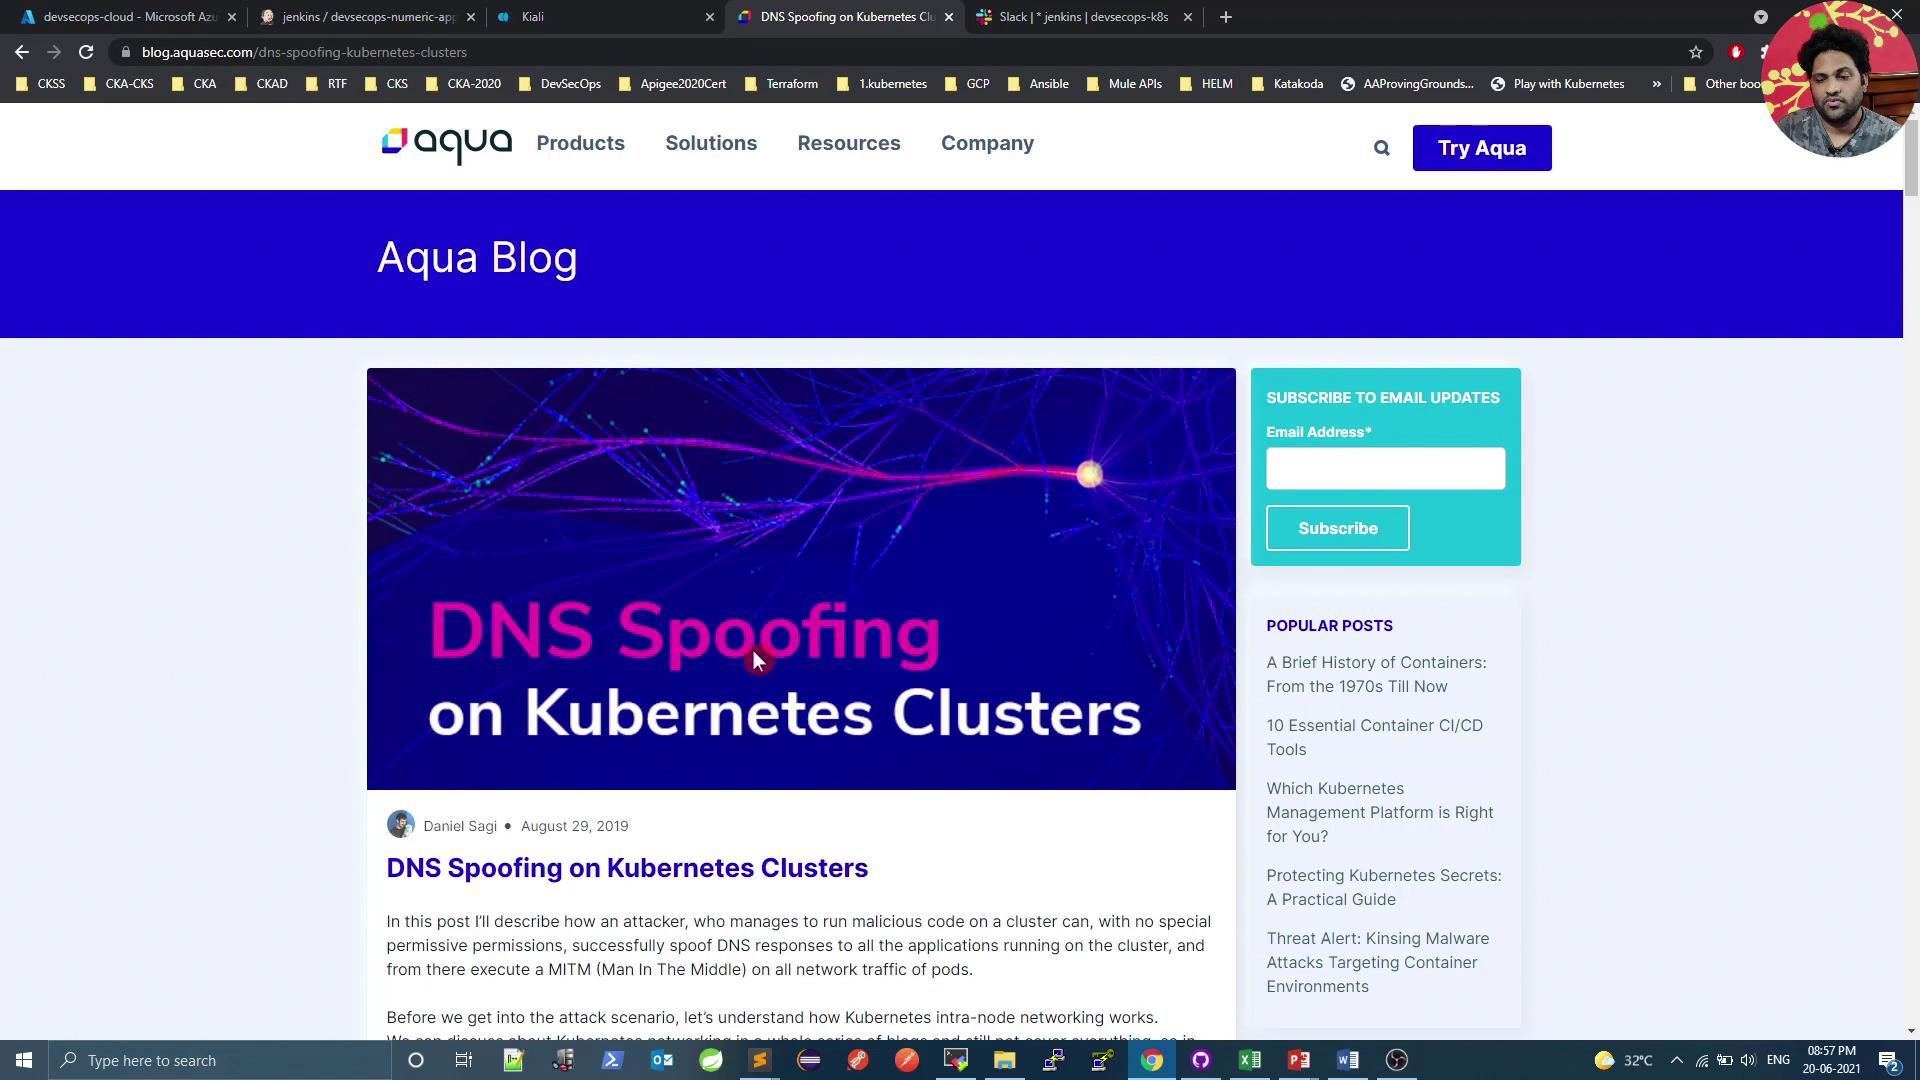
Dropping the NET_RAW capability mitigates DNS spoofing and other low-level network attacks. For a deeper dive, read DNS Spoofing on Kubernetes Clusters.
apiVersion: v1
kind: Pod
metadata:
  name: security-context-demo
spec:
  containers:
    - name: test
      image: alpine
      securityContext:
        capabilities:
          drop:
            - NET_RAW
Warning
Ensure no essential functionality relies on raw sockets before dropping NET_RAW.
Rollout Status Script
Save the following as k8s-PROD-deployment-rollout-status.sh in your repo. It waits for the deployment to roll out, then rolls back on failure:
#!/bin/bash
# Wait for pods to start
sleep 60s

if ! kubectl -n prod rollout status deploy ${deploymentName} --timeout=5s | grep -q "successfully rolled out"; then
  echo "Deployment ${deploymentName} rollout has failed"
  kubectl -n prod undo deploy ${deploymentName}
  exit 1
else
  echo "Deployment ${deploymentName} rollout is successful"
fi
Make the script executable:
chmod +x k8s-PROD-deployment-rollout-status.sh
Triggering the Deployment
- Commit and push both
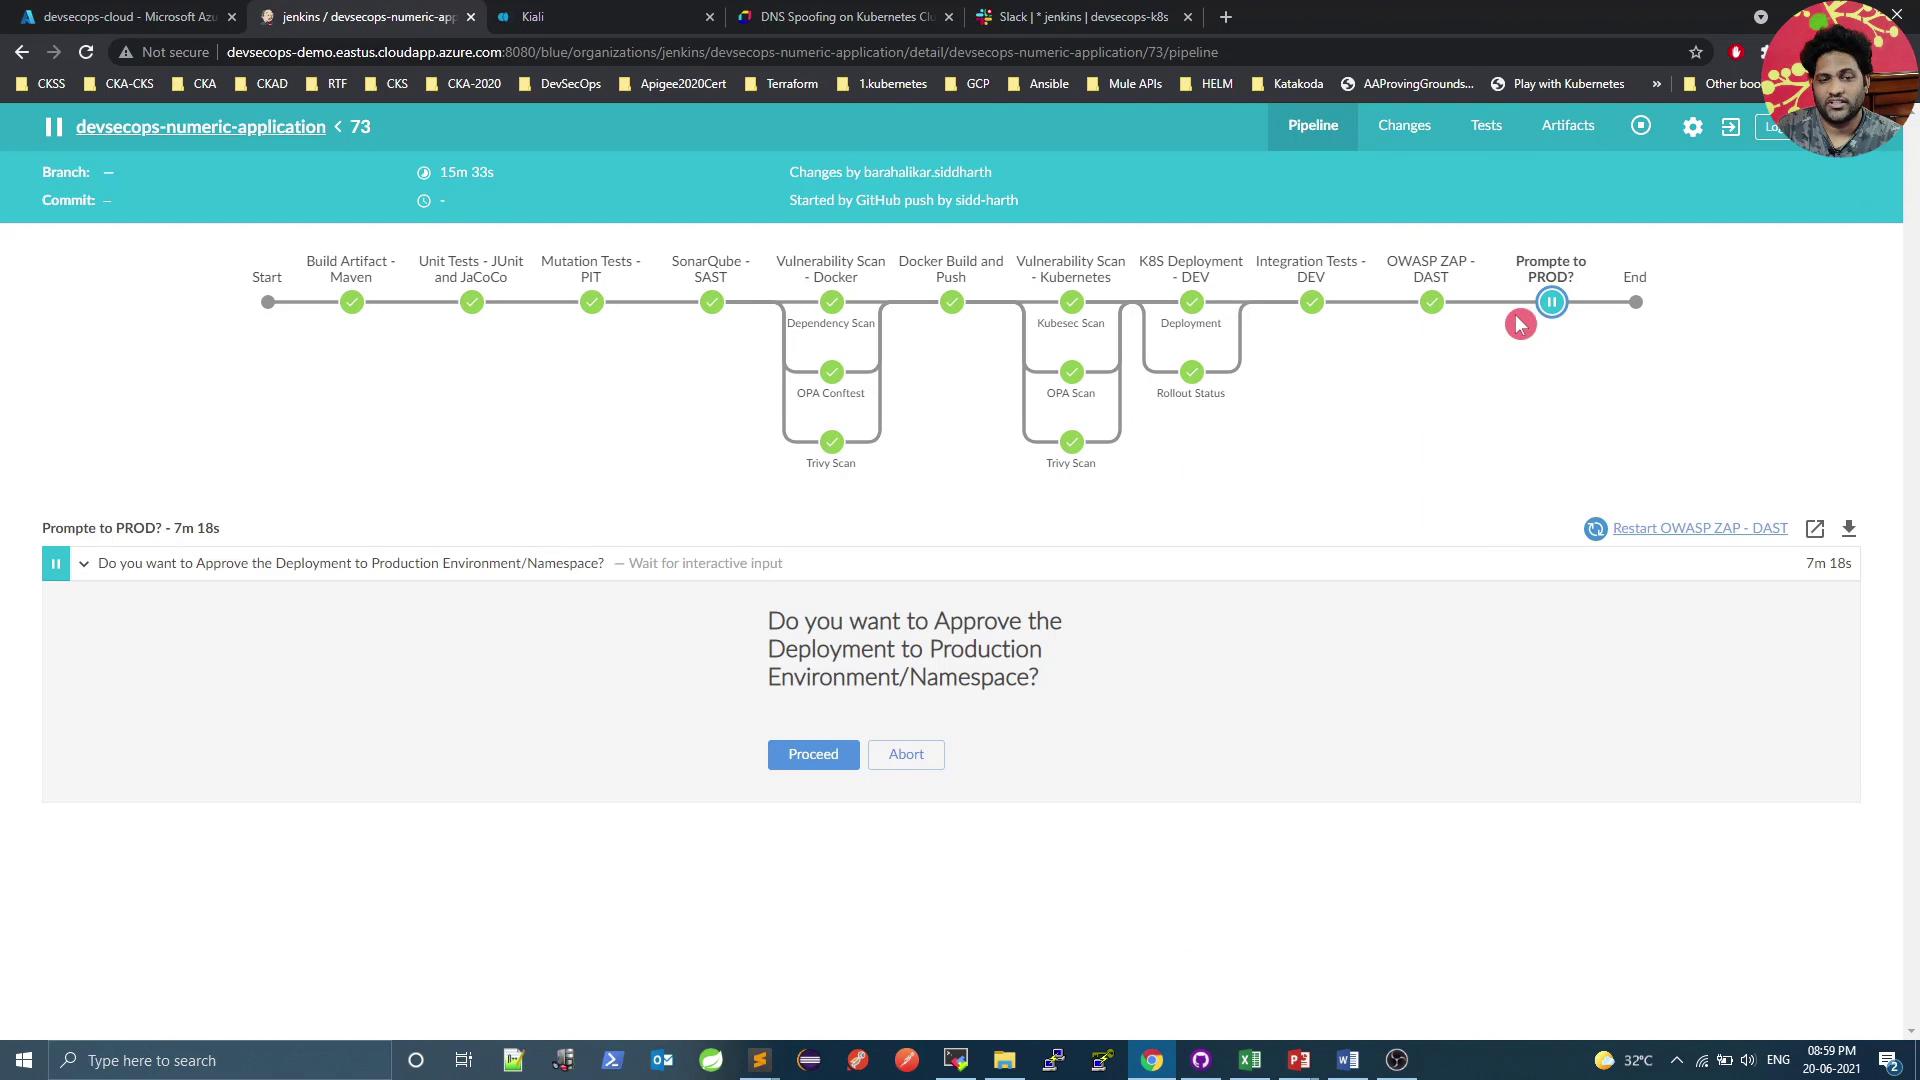
Jenkinsfileand YAML/script files to your Git repo. - Start the Jenkins build.
- Approve the production deployment when prompted.
Verifying the Production Deployment
Validate pods in the prod namespace and confirm the Kiali service:
# Check Kiali in istio-system
kubectl -n istio-system get svc kiali

# View prod pods
kubectl -n prod get po
Example output:
NAME                                 READY   STATUS    RESTARTS   AGE
devsecops-7699f69c9f-cq44c           2/2     Running   0          34s
devsecops-7699f69c9f-qnrrr           2/2     Running   0          34s
devsecops-7699f69c9f-m82p            2/2     Running   0          34s
node-app-597c464649-lgs82            2/2     Running   0          121m
The extra container in each pod is the Istio sidecar proxy.
Visualizing with Kiali
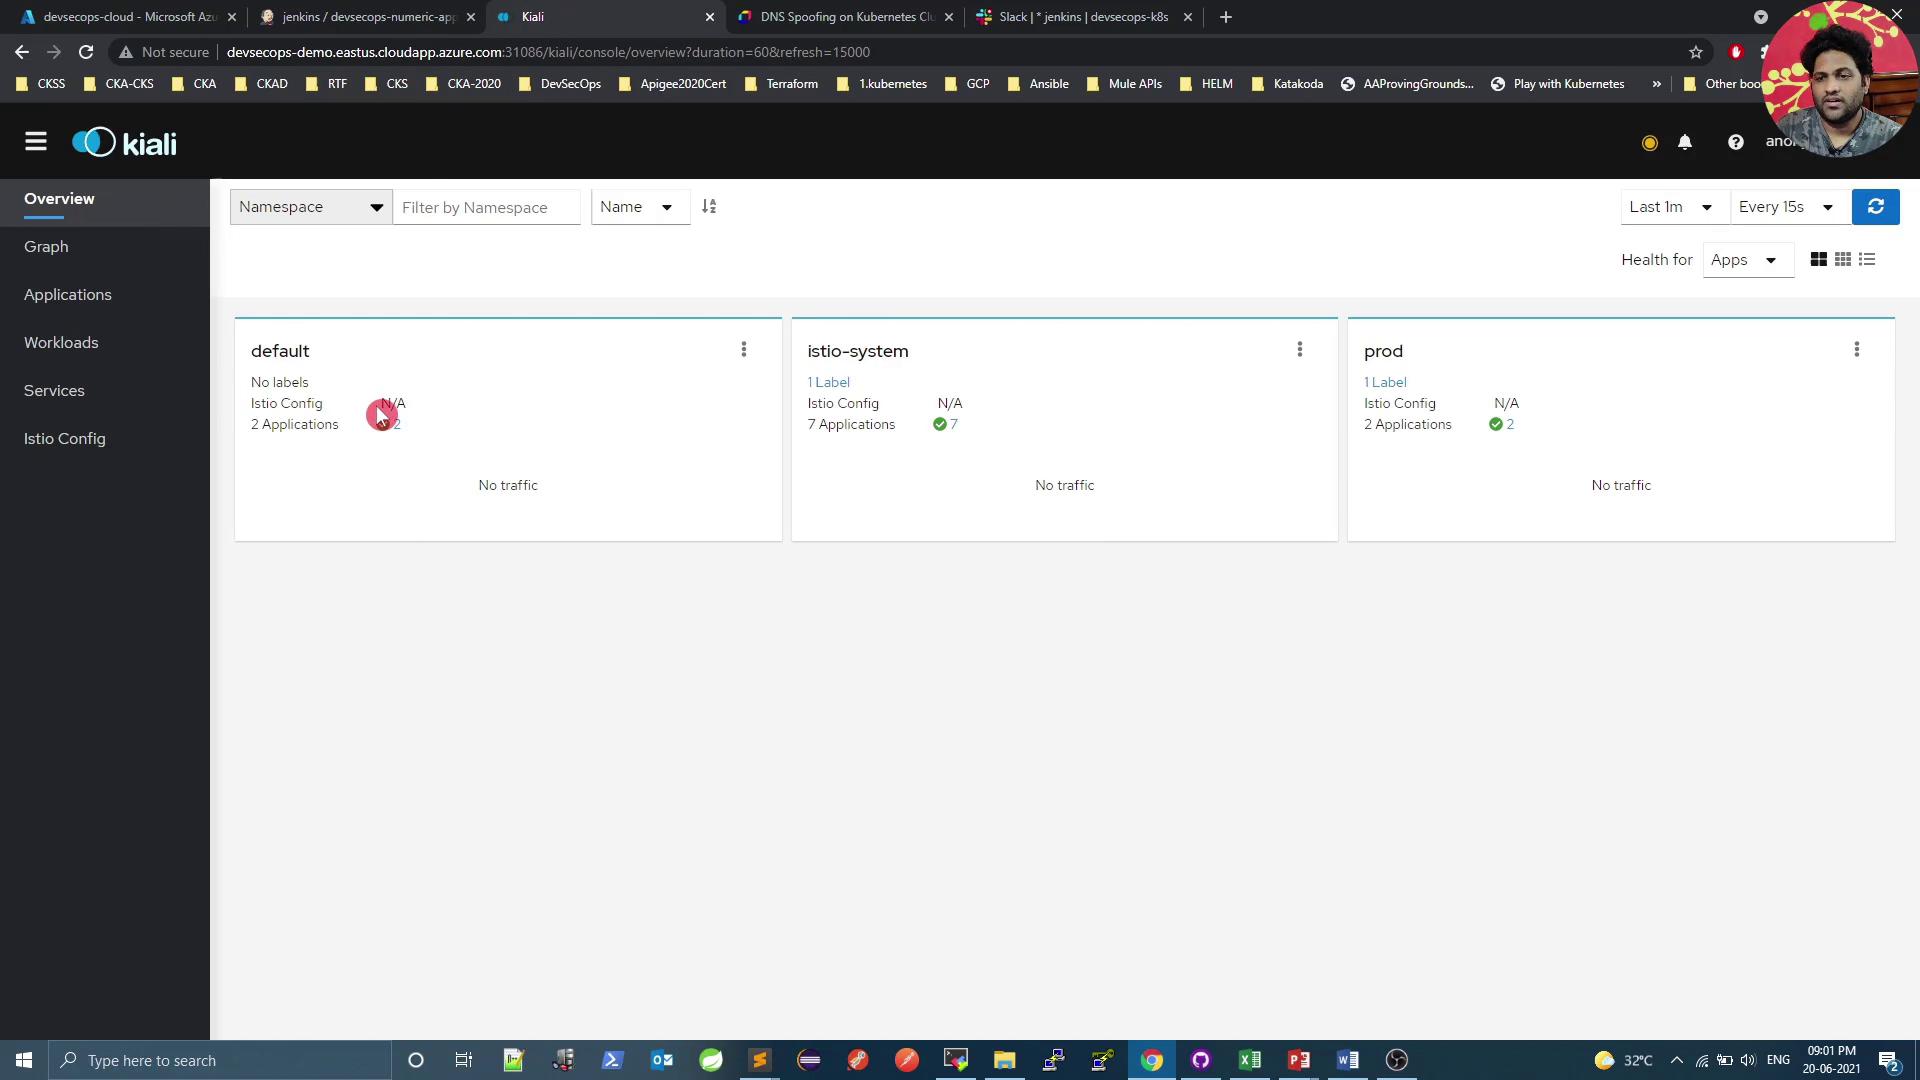
Kiali offers a comprehensive dashboard to monitor your service mesh. Below is a quick overview of key sections.
Namespaces Overview
Outbound & Inbound Metrics
Outbound Metrics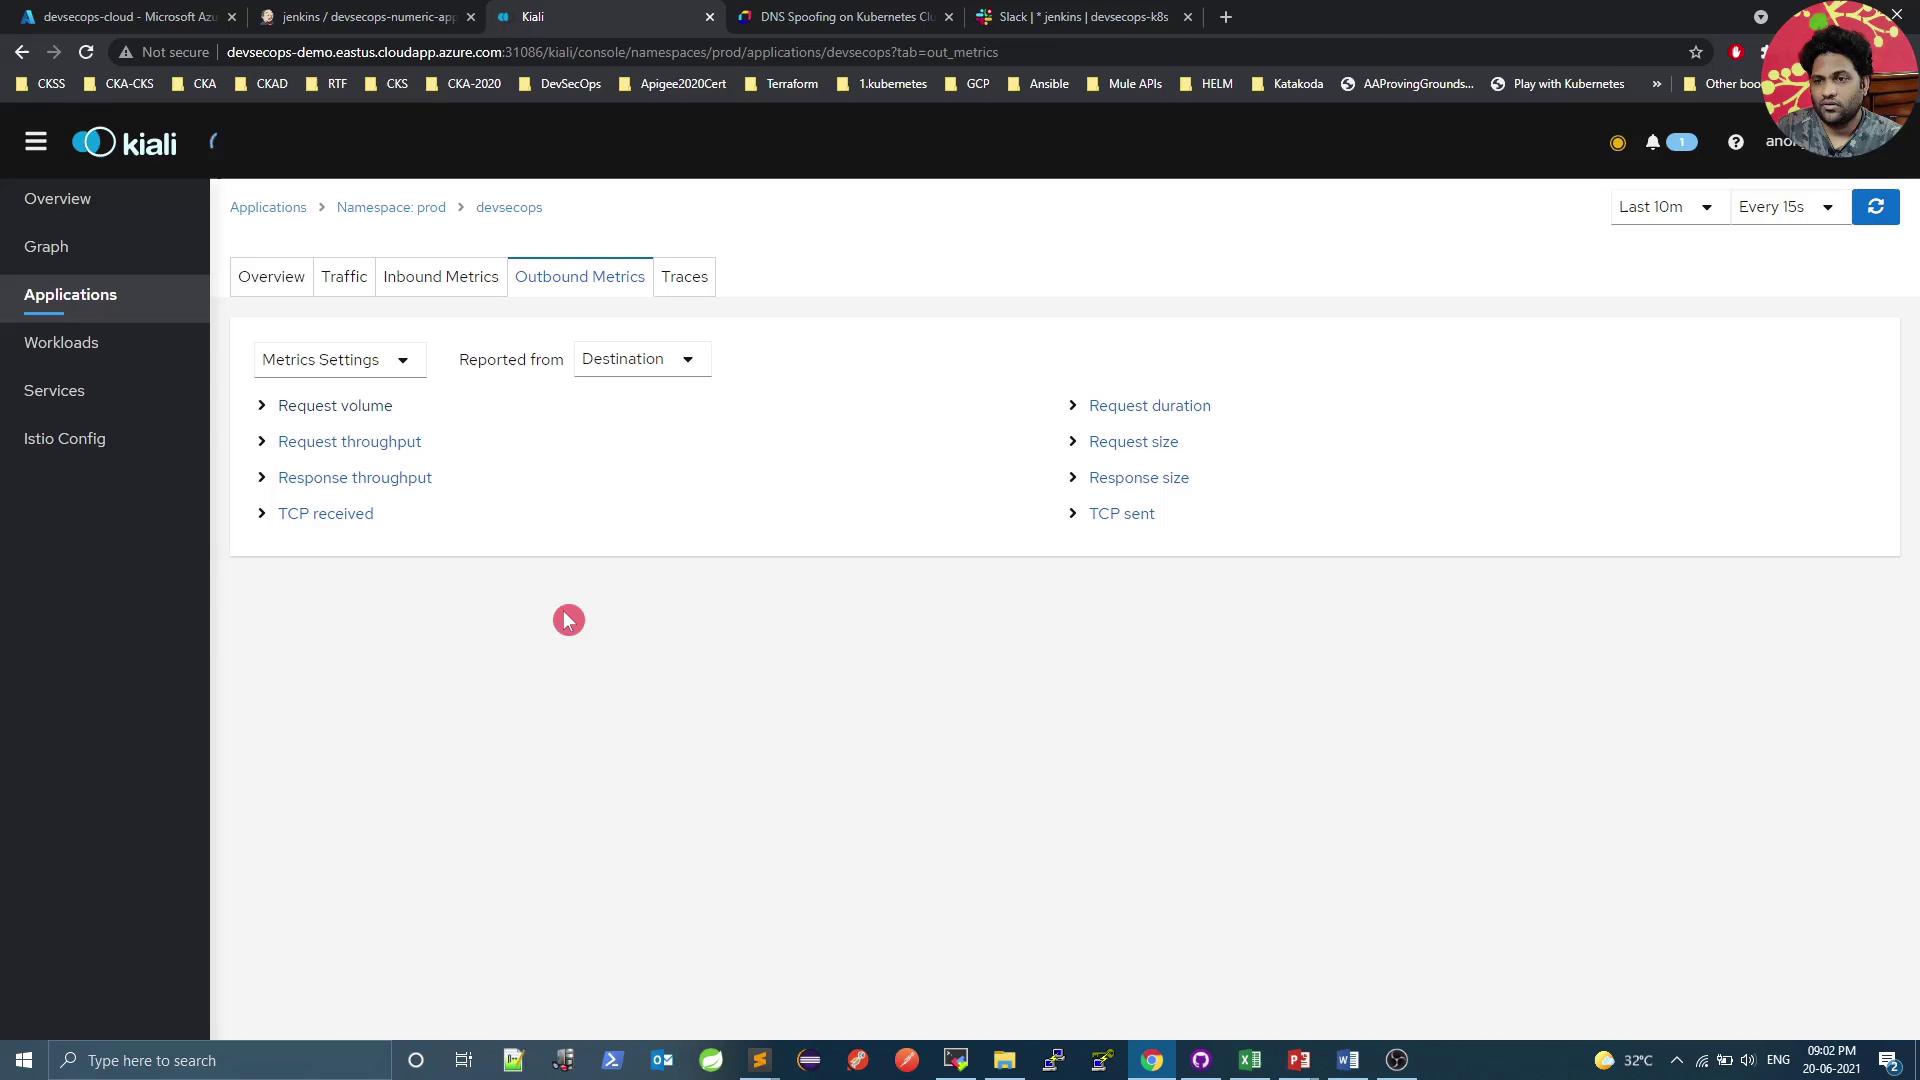
Inbound Metrics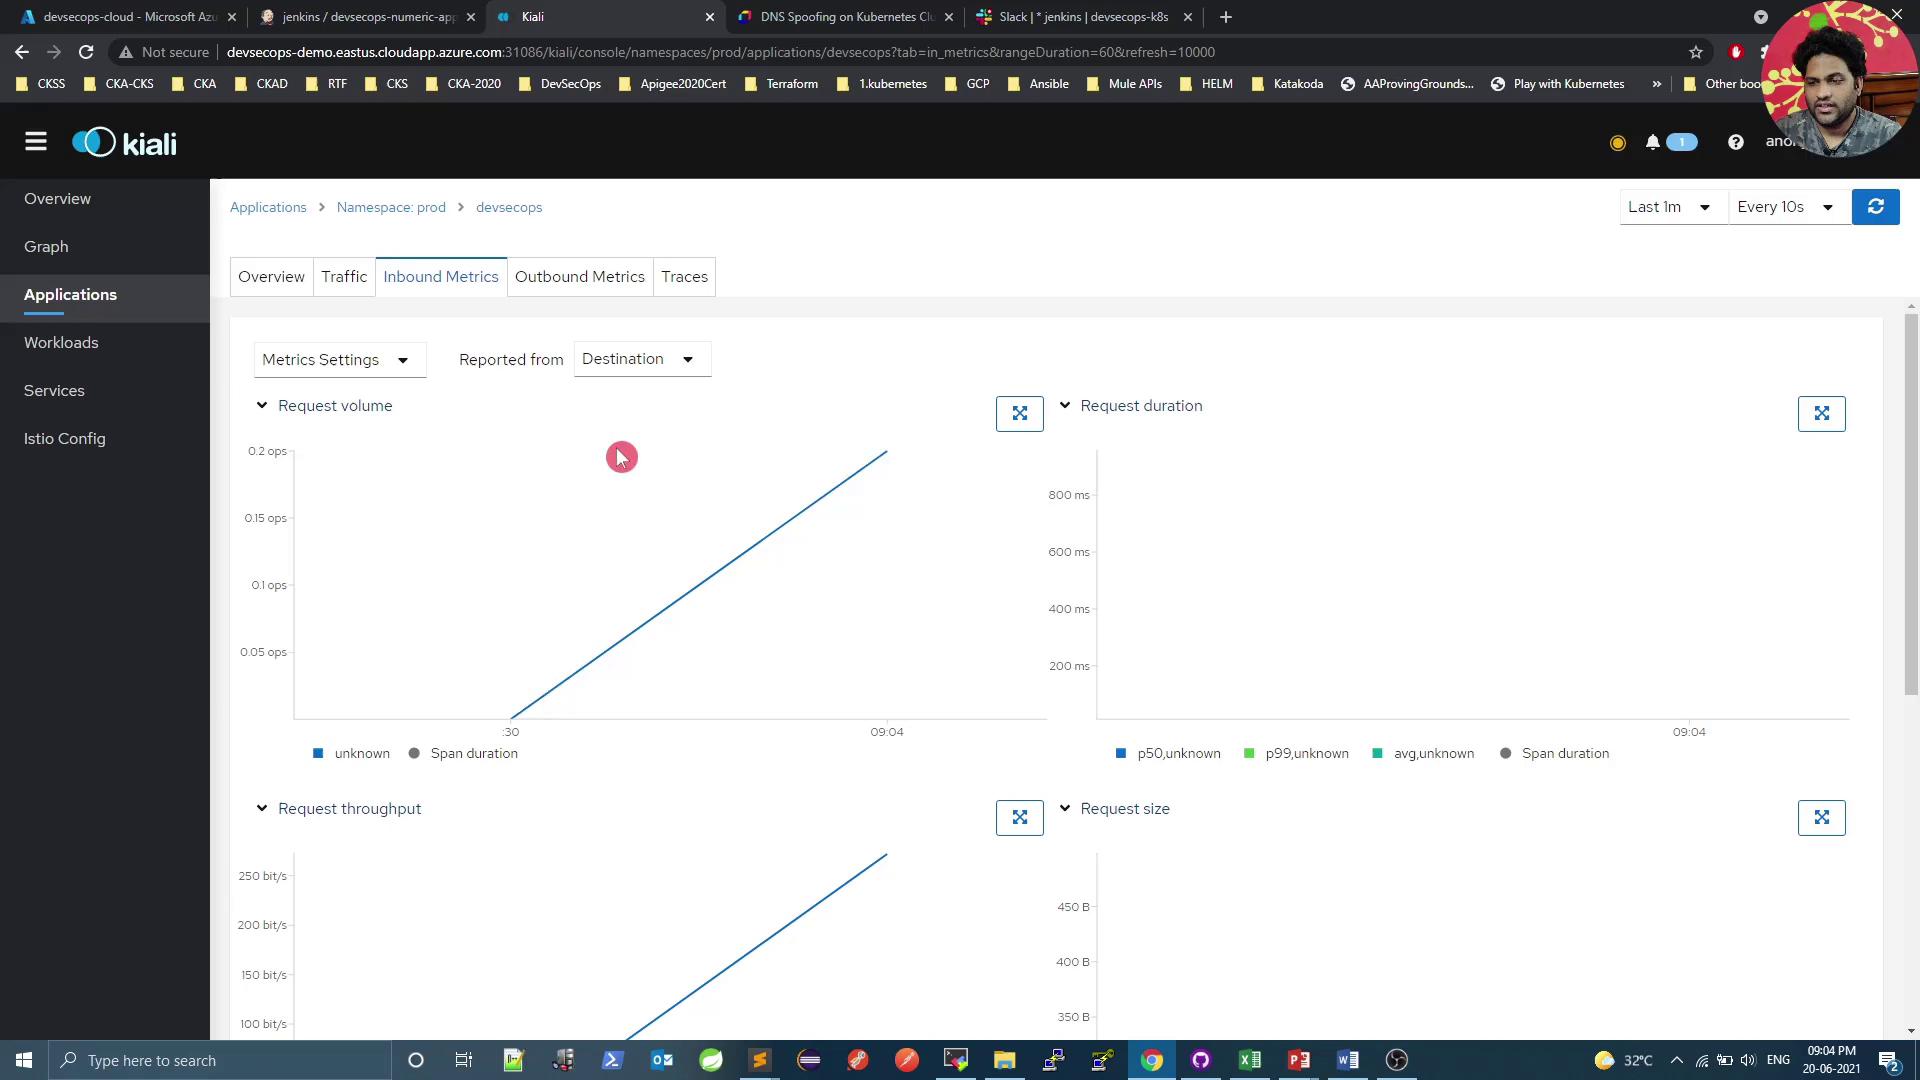
Generating Traffic
Use a simple curl loop to generate load and see real-time metrics:
# Get service endpoints
kubectl -n istio-system get svc kiali
kubectl -n prod get svc

# Loop requests
while true; do
  curl -s 10.101.121.127:8080/increment/99
  echo
  sleep 1
done
Workload Health and Logs
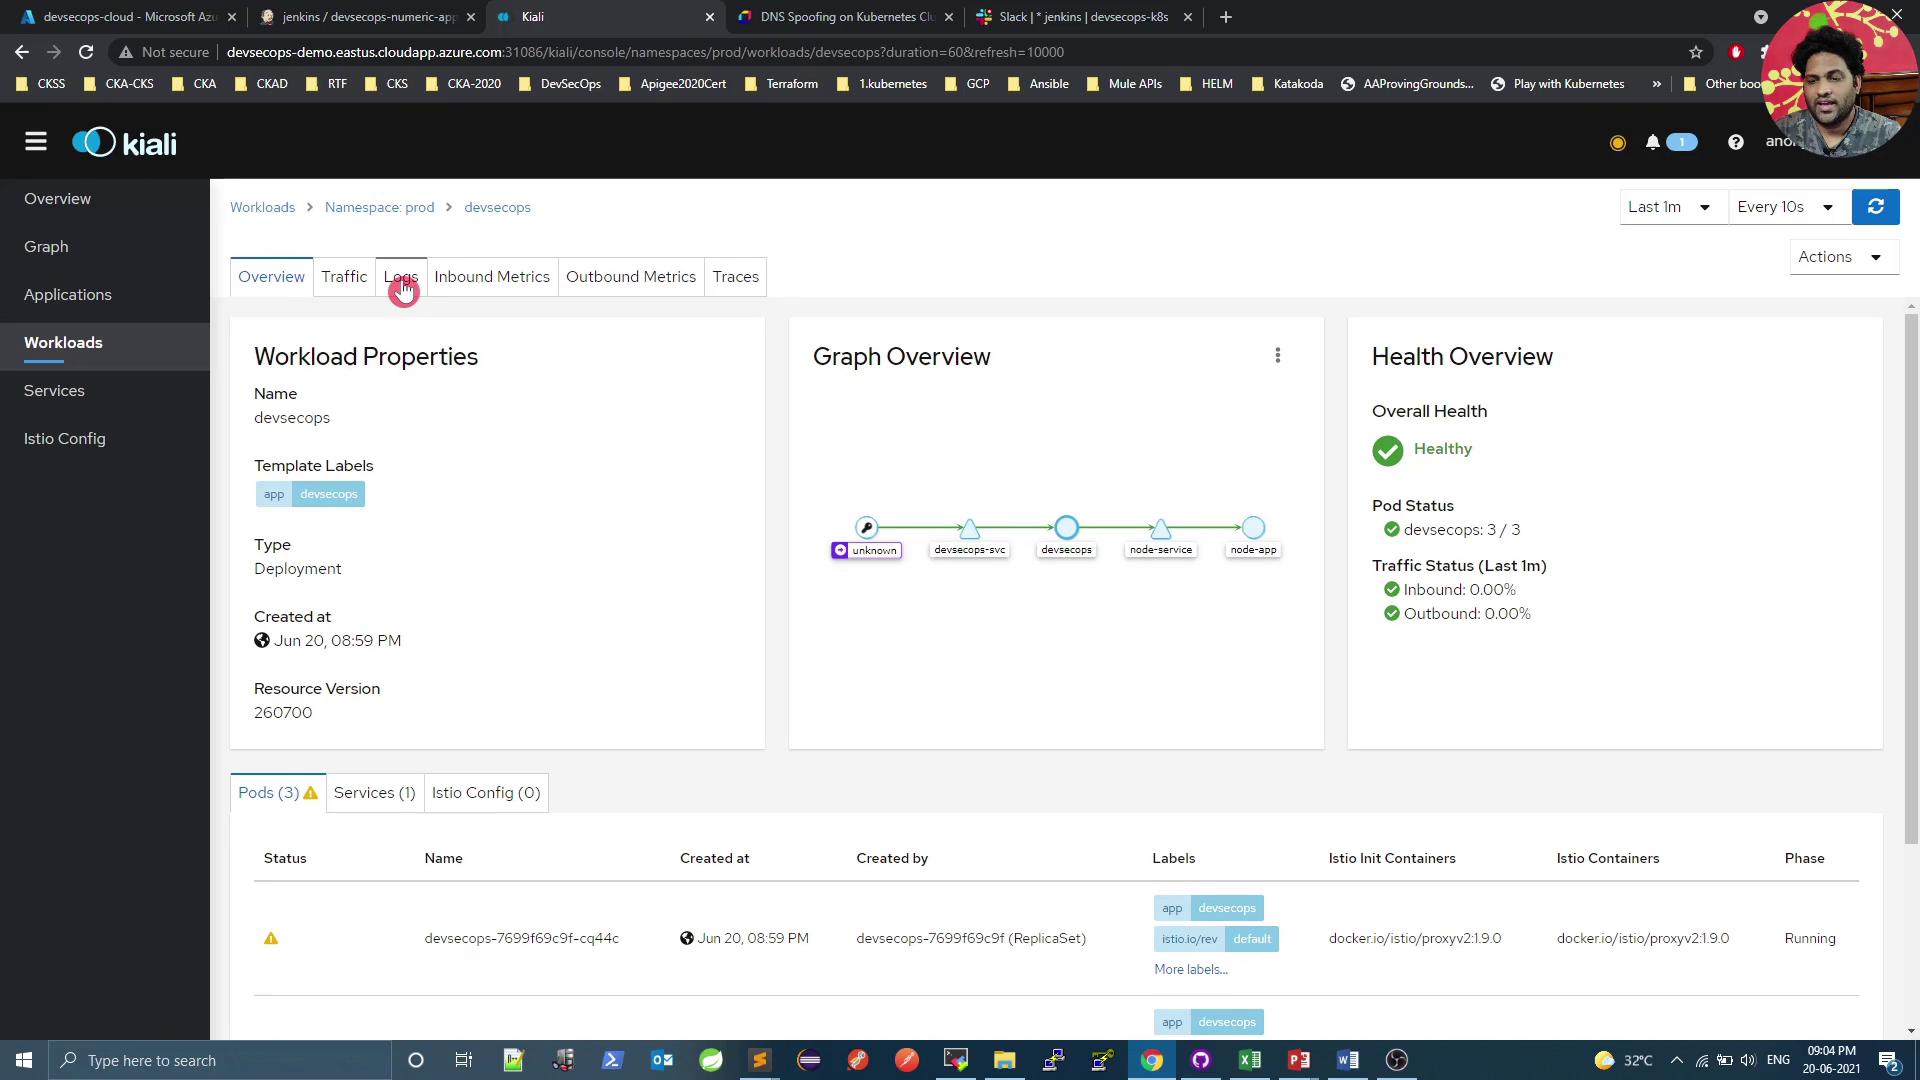
Access logs directly in Kiali:
2021-06-26 15:33:40.059 INFO 1 --- [nio-8080-exec-2] com.devsecops.NumericController       : Value Received in Request - 99
...
[2021-06-20T15:33:47.962Z] "GET /increment/99 HTTP/1.1" 200 0 3 ... inbound|8080|
Service Mesh Graph
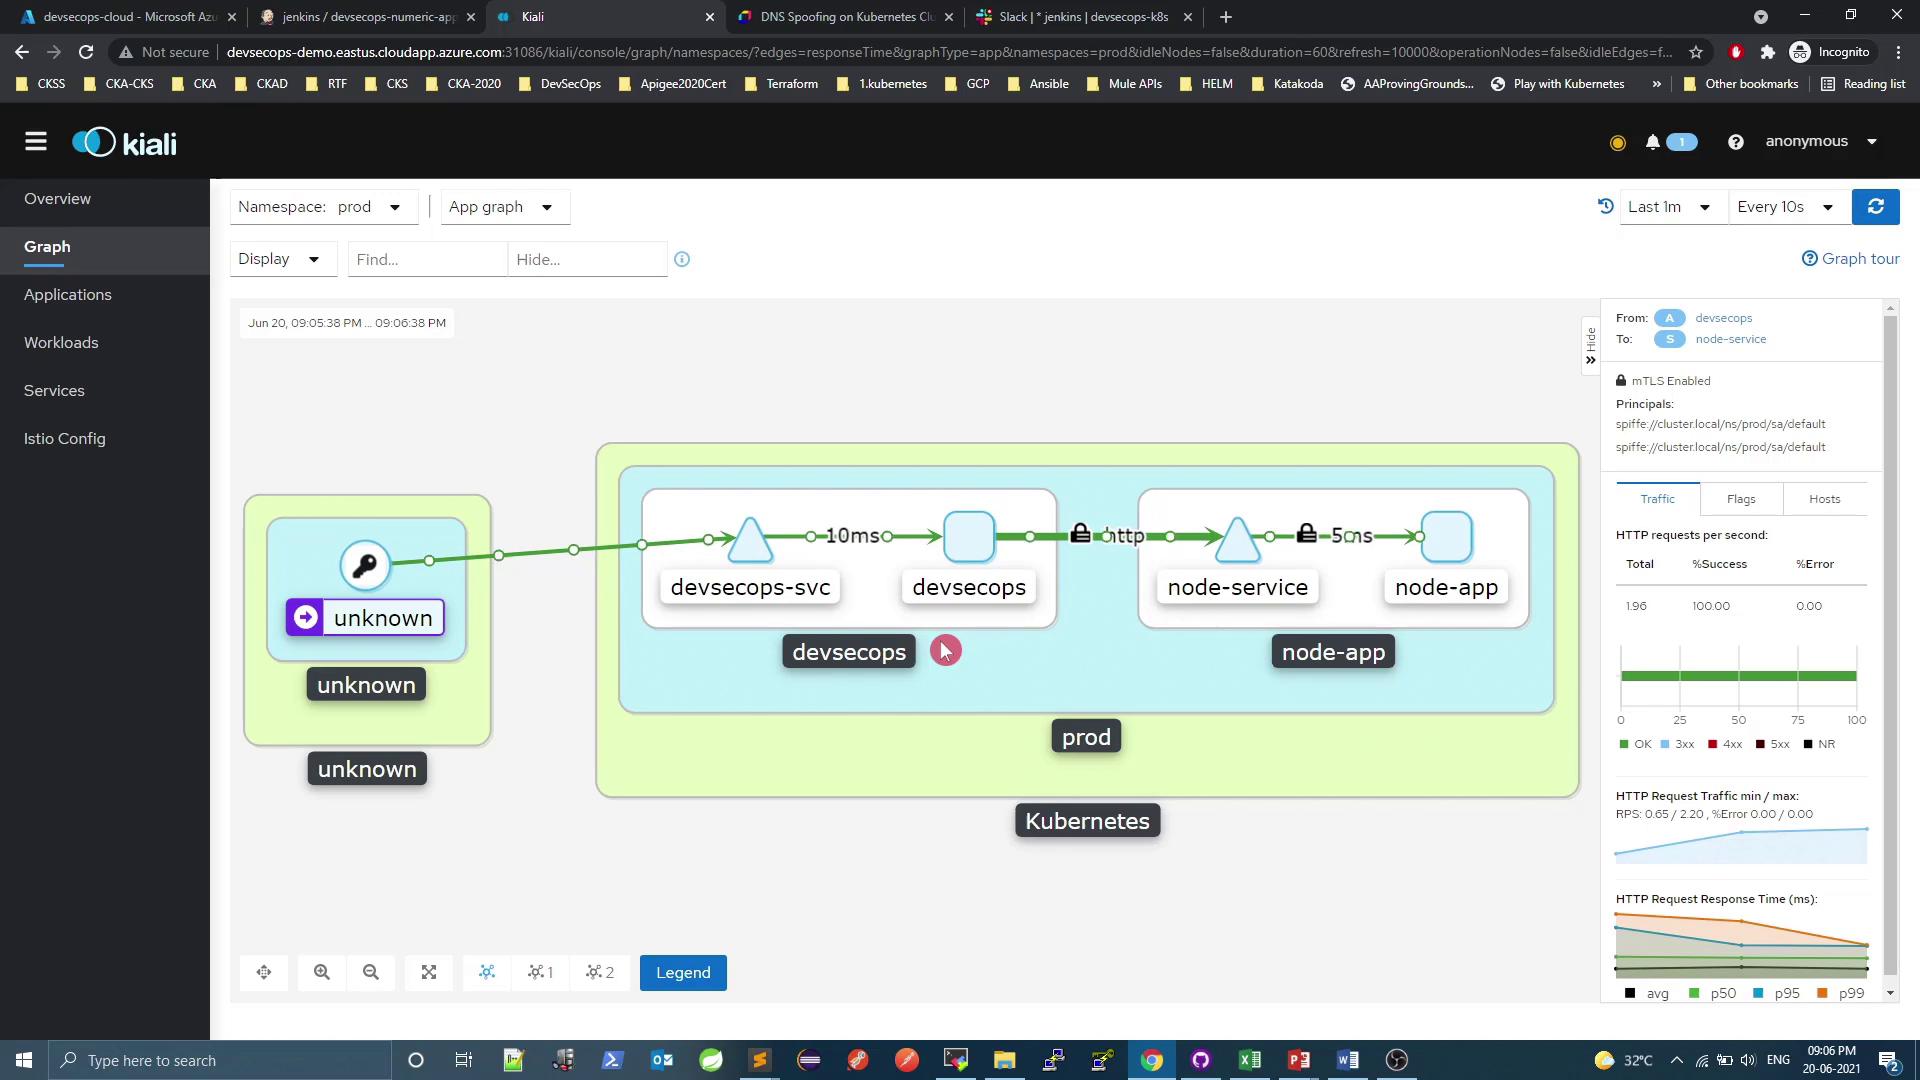
The lock icon indicates that mutual TLS (mTLS) is enforced between services.
References
Watch Video
Watch video content