Docker Certified Associate Exam Course

Docker Engine Enterprise

Demo Deployment in Kubernetes from UCP

In this tutorial, you’ll learn how to deploy an NGINX Pod, expose it via a Service, and clean up resources using the Docker Enterprise Universal Control Plane (UCP). By the end, you’ll have a working application accessible through a NodePort and know how to uninstall DTR and UCP components cleanly.

Prerequisites

  • A running UCP cluster with at least one manager node.
  • kubectl configured to communicate with UCP’s Kubernetes API.
  • Access to a node’s external IP for Service testing.

For more background on Kubernetes primitives, see Kubernetes Basics.


1. Creating an NGINX Pod

  1. In the UCP console, go to Kubernetes → Pods and click Create.

  2. Select the default namespace.

    Warning

    Avoid using the default namespace in production. Create a dedicated namespace for isolation and resource quotas.

  3. Paste the following Pod manifest to launch an NGINX container:

    apiVersion: v1
    kind: Pod
    metadata:
      name: nginx-pod
      labels:
        app: nginx
    spec:
      containers:
        - name: nginx
          image: nginx:stable
          ports:
            - containerPort: 80
    
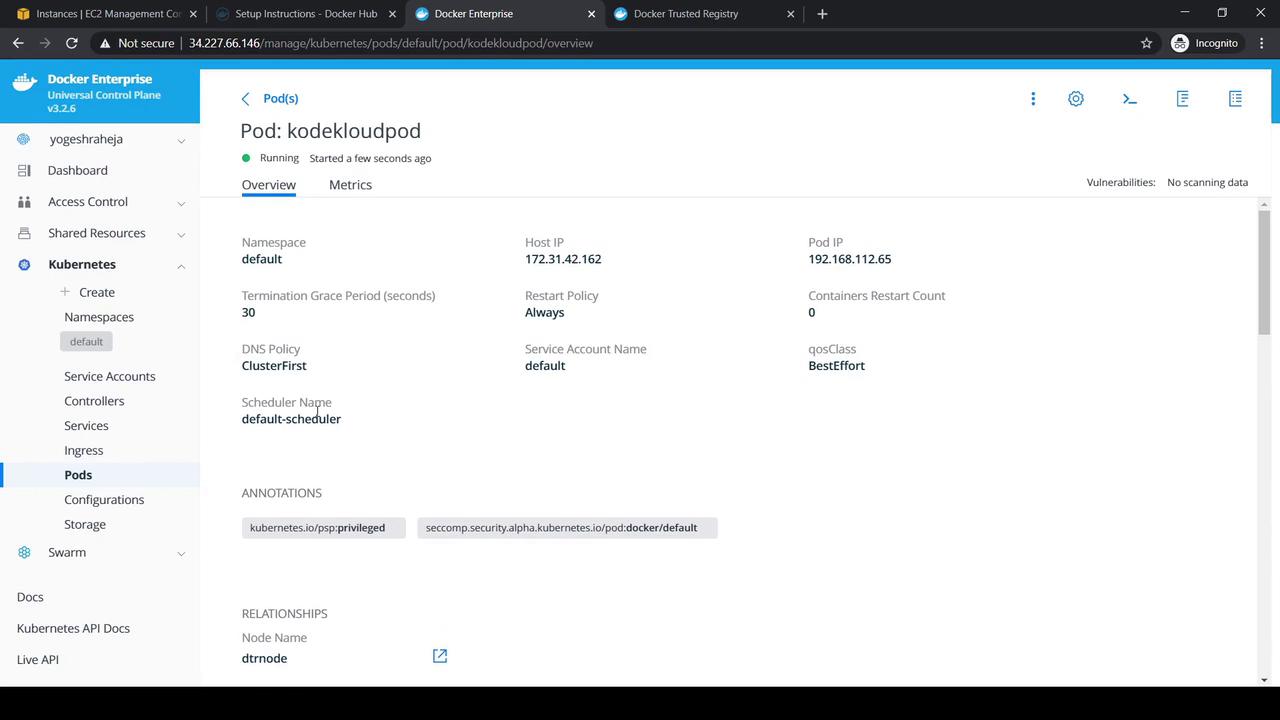
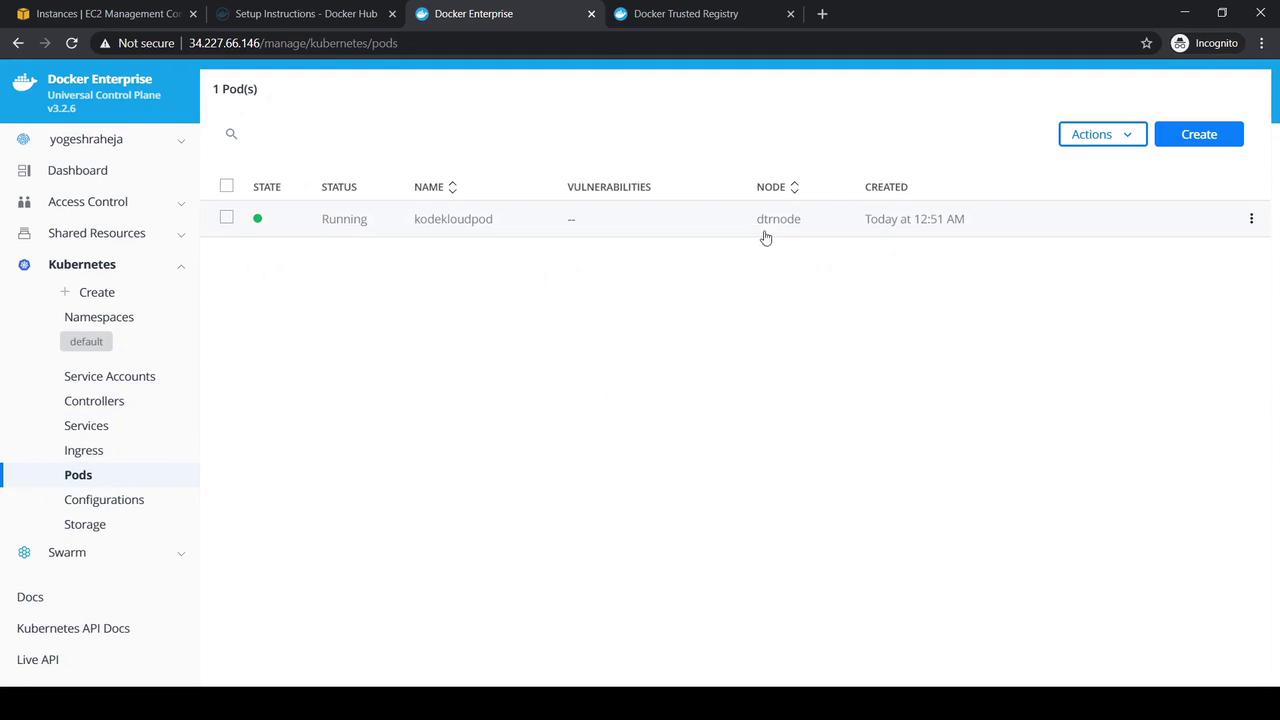
  4. Click Create and wait until the Pod status changes to Running.

  5. Click the newly created Pod to view its details:

The image shows a Docker Enterprise interface displaying details of a Kubernetes pod named "kodekloudpod," including its status, IP addresses, and configuration settings.


2. Exposing the Pod via a NodePort Service

To make the NGINX Pod reachable from outside the cluster:

  1. Navigate to Kubernetes → Services and click Create.

  2. Keep the default namespace selected.

  3. Enter this Service manifest, which maps port 80 on the Pod to port 30080 on each node:

    apiVersion: v1
    kind: Service
    metadata:
      name: nginx-nodeport-svc
    spec:
      type: NodePort
      selector:
        app: nginx
      ports:
        - name: http
          protocol: TCP
          port: 80
          targetPort: 80
          nodePort: 30080
    
  4. Click Create to provision the Service.

  5. Open the Service details to confirm the assigned ports:

The image shows a Docker Enterprise Universal Control Plane interface displaying a Kubernetes pod named "kodekloudpod" that is currently running on the node "dtrnode." The interface includes options for managing Kubernetes resources.

  1. Retrieve the external IP of the node hosting the Pod:

    kubectl get nodes -o wide
    
  2. In your browser, navigate to http://<external-ip>:30080. You should see the default NGINX welcome page.


3. Cleaning Up Resources

Once testing is complete, remove the Pod and Service:

  1. In the UCP console, select the nginx-nodeport-svc Service.
  2. Click Action → Remove, then confirm.
  3. Repeat for the nginx-pod Pod.

This ensures a clean slate for future deployments.


Follow the official Docker documentation for a safe and complete uninstallation process.

ComponentDocumentation Link
Docker Trusted Registry (DTR)https://docs.docker.com/ee/dtr/administration/install
Universal Control Plane (UCP)https://docs.docker.com/ee/ucp/administration/install

Uninstalling Docker Trusted Registry

  1. Open the DTR docs and scroll to Uninstall.
  2. Copy the provided command and execute it, supplying your UCP URL and credentials when prompted.

Uninstalling Universal Control Plane

  1. In the UCP docs, find the Uninstall section.

  2. Run the interactive uninstall command on one manager node:

    docker container run --rm -it \
      -v /var/run/docker.sock:/var/run/docker.sock \
      --name ucp \
      docker/ucp:3.2.6 uninstall-ucp --interactive
    
  3. To clean up leftovers, execute:

    # Remove UCP services
    docker service rm $(docker service ls -f name=ucp -q)
    
    # Remove UCP containers
    docker container rm -f $(docker container ls -q -f name=ucp_)
    
    # Remove UCP volumes
    docker volume rm $(docker volume ls -f name=ucp -q)
    
  4. Finally, delete any UCP-related secrets:

    docker secret rm <secret-name>
    

That completes this demo. Happy deploying!

Watch Video

Watch video content

Previous
Demo Deployment in Docker EE