Docker Certified Associate Exam Course
Docker Engine Enterprise
Demo RBAC in Docker EE
In this guide, you’ll learn how to configure Role-Based Access Control (RBAC) in Docker Enterprise Edition (EE) using Universal Control Plane (UCP). We’ll walk through:
- Setting up an organization and teams
- Creating users and assigning them to teams
- Defining a custom role and collection
- Granting permissions
- Verifying access for each user
By the end, you’ll see how RBAC in Docker EE ensures that teams can only perform the actions they’re authorized for.
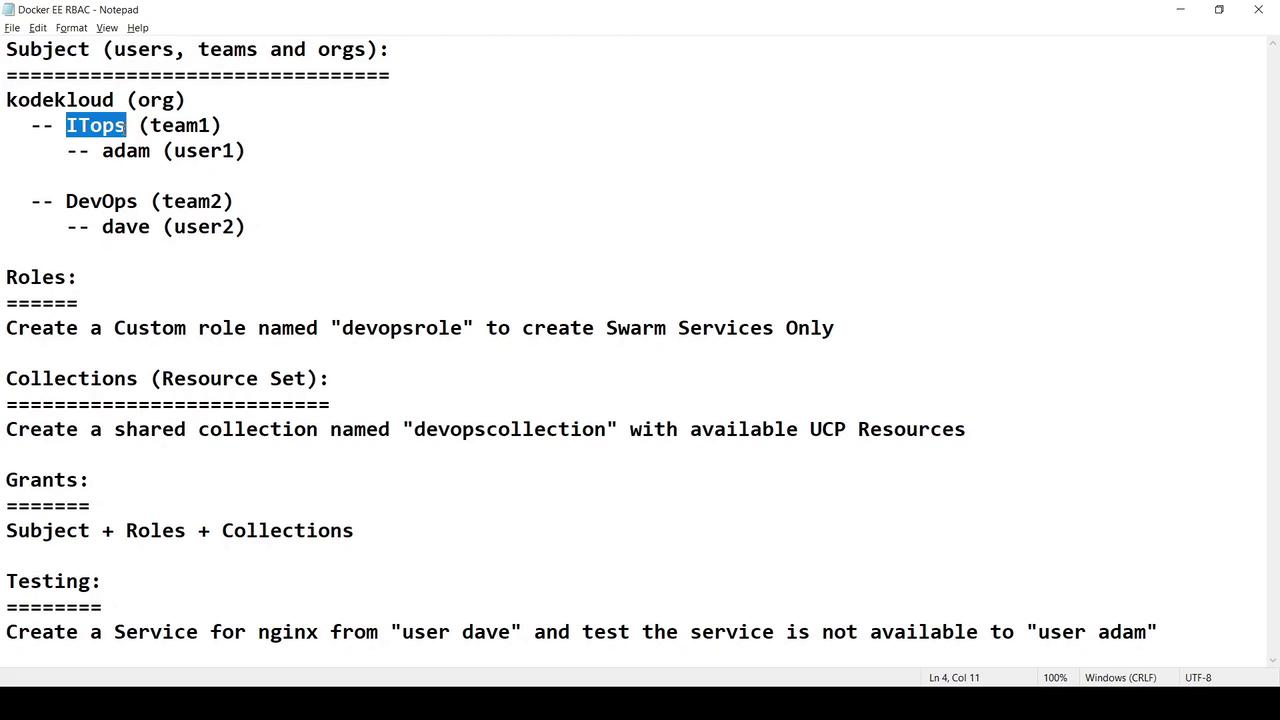
Use Case Overview
We want to implement RBAC for an organization named KodeKloud, with two teams and two users. Here’s the plan:
| Component | Identifier | Purpose |
|---|---|---|
| Organization | KodeKloud | Parent entity for teams and resources |
| Teams | ITOps, DevOps | Logical groups for users |
| Users | Adam (ITOps), Dave (DevOps) | Team members |
| Role | DevOps Role | Permissions to manage Swarm services |
| Collection | DevOps Collection | UCP resources exposed to the DevOps team |
| Grant | DevOps Role + Collection | Assign to DevOps team under KodeKloud |
| Testing | Dave vs. Adam | Confirm allowed vs. denied operations |
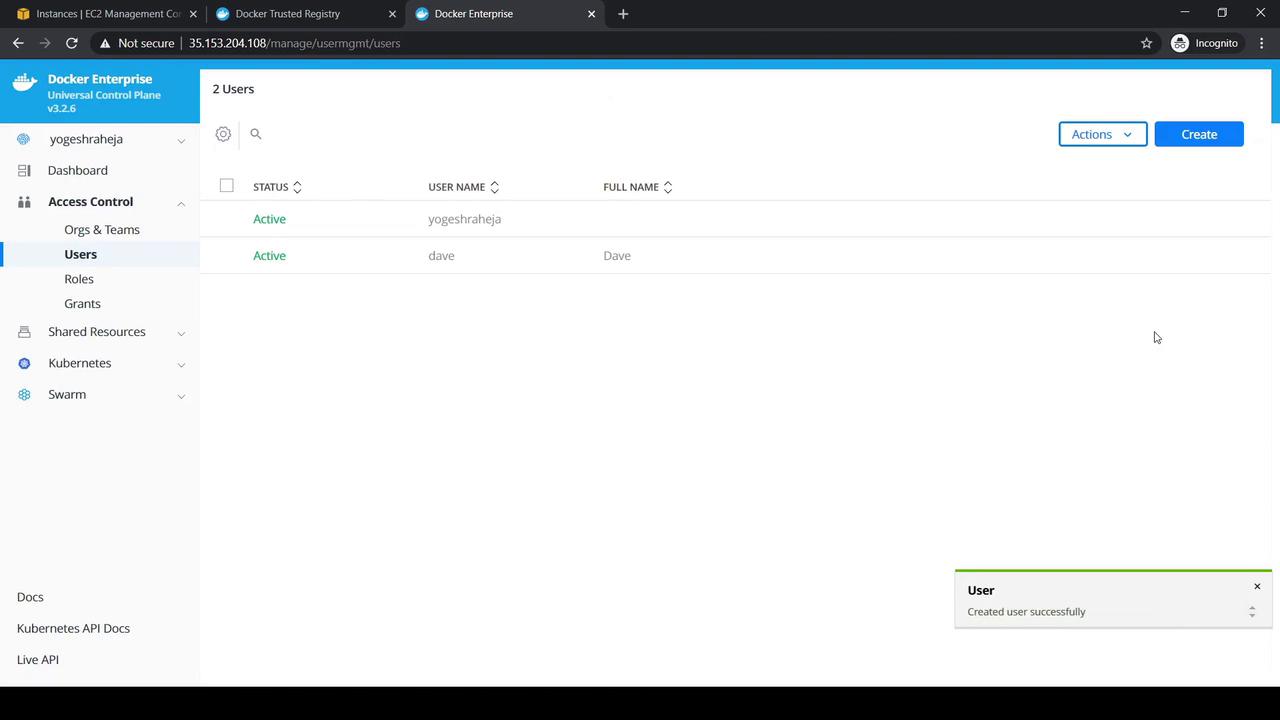
1. Creating Users
Administrator Access Required
You must be logged in as a UCP admin (e.g., Yogesh Raheja) to manage users.
- Sign in to UCP as the admin user.
- Navigate to Access Control → Users and click Create.
- Enter Dave’s details (username, password, full name) and Create.
- Repeat the process to add Adam.
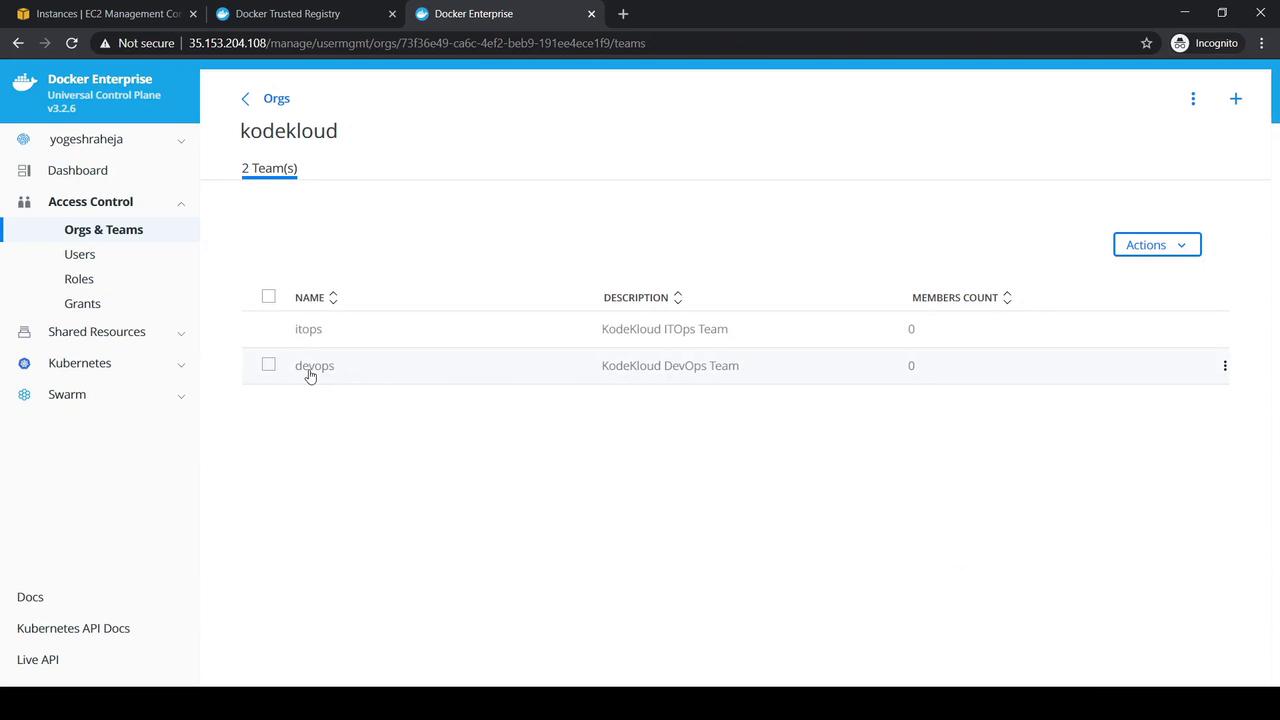
2. Creating Organization and Teams
- Go to Access Control → Orgs & Teams.
- Click Create, set Name to
KodeKloud, and save. - Under the new org, select Create a Team and add
ITOps. - Click the + icon again to add the
DevOpsteam.
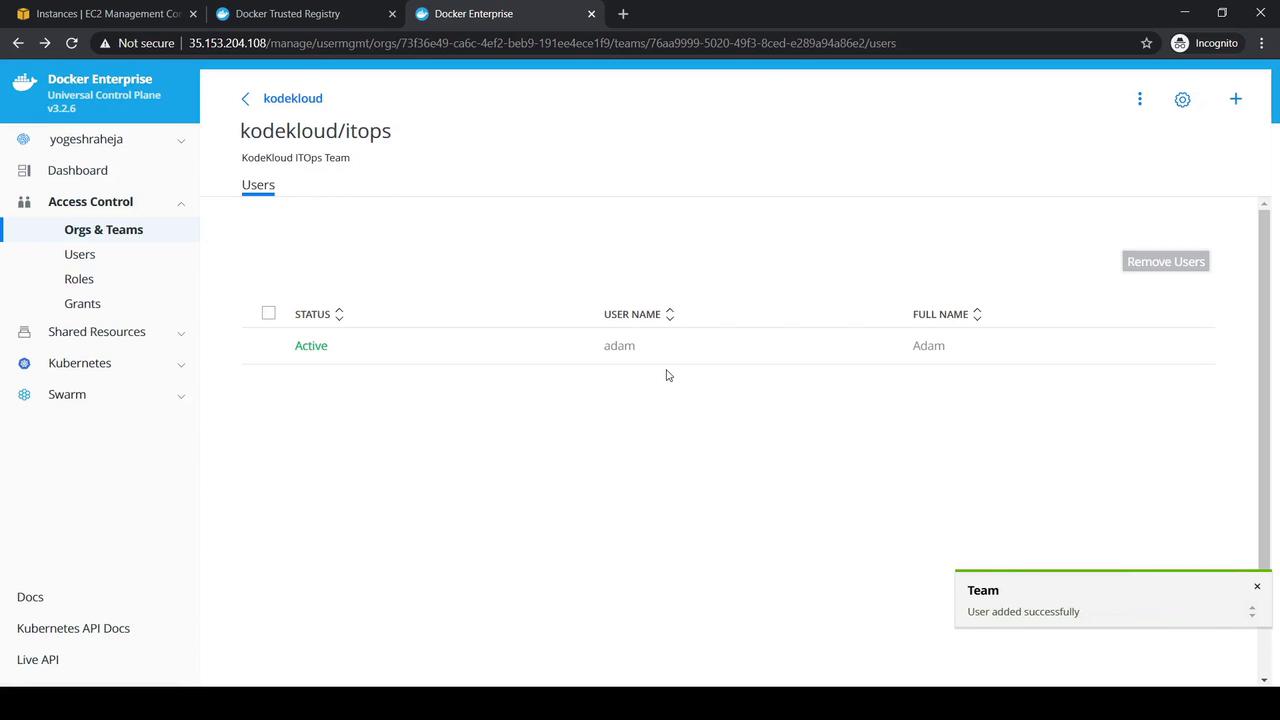
3. Assigning Users to Teams
- Select DevOps → Add User → choose Dave.
- Select ITOps → Add User → choose Adam.
Each team should now list one member.
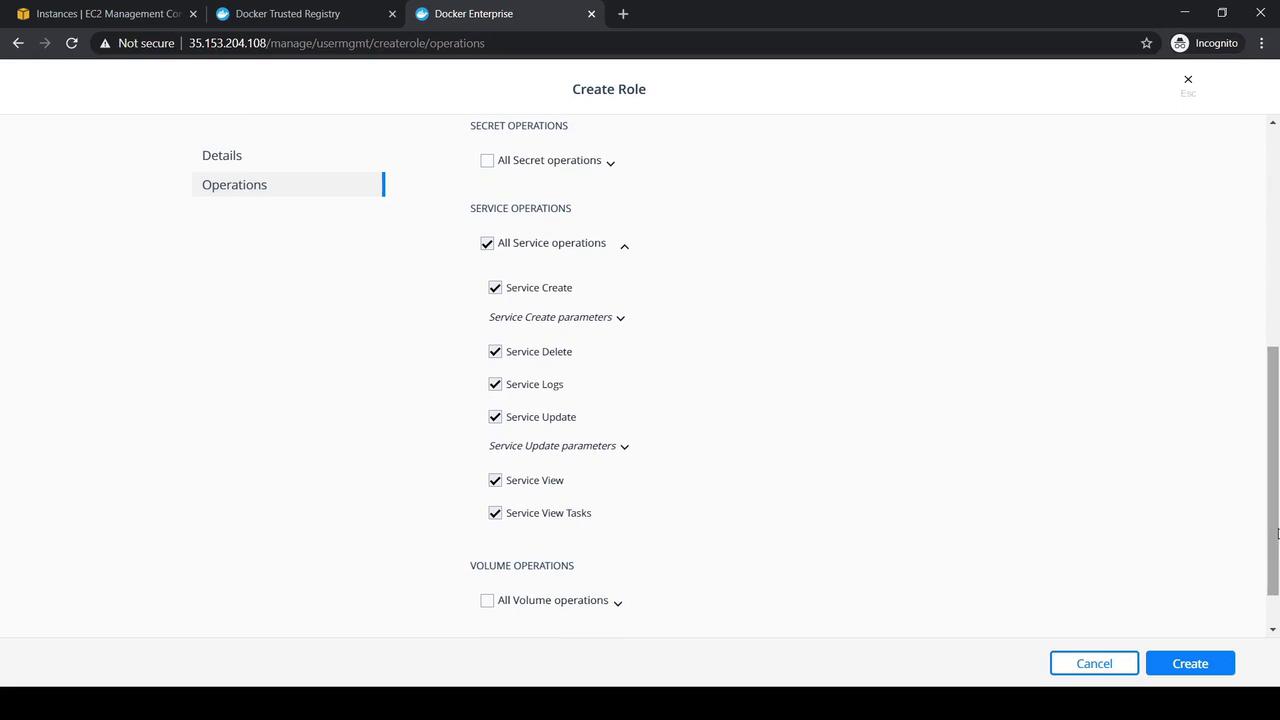
4. Creating the DevOps Role
- Navigate to Access Control → Roles → Swarm.
- Click Create, set Role Name to
DevOps Role. - Expand Service under Operations and select All Service Operations.
- Click Create.
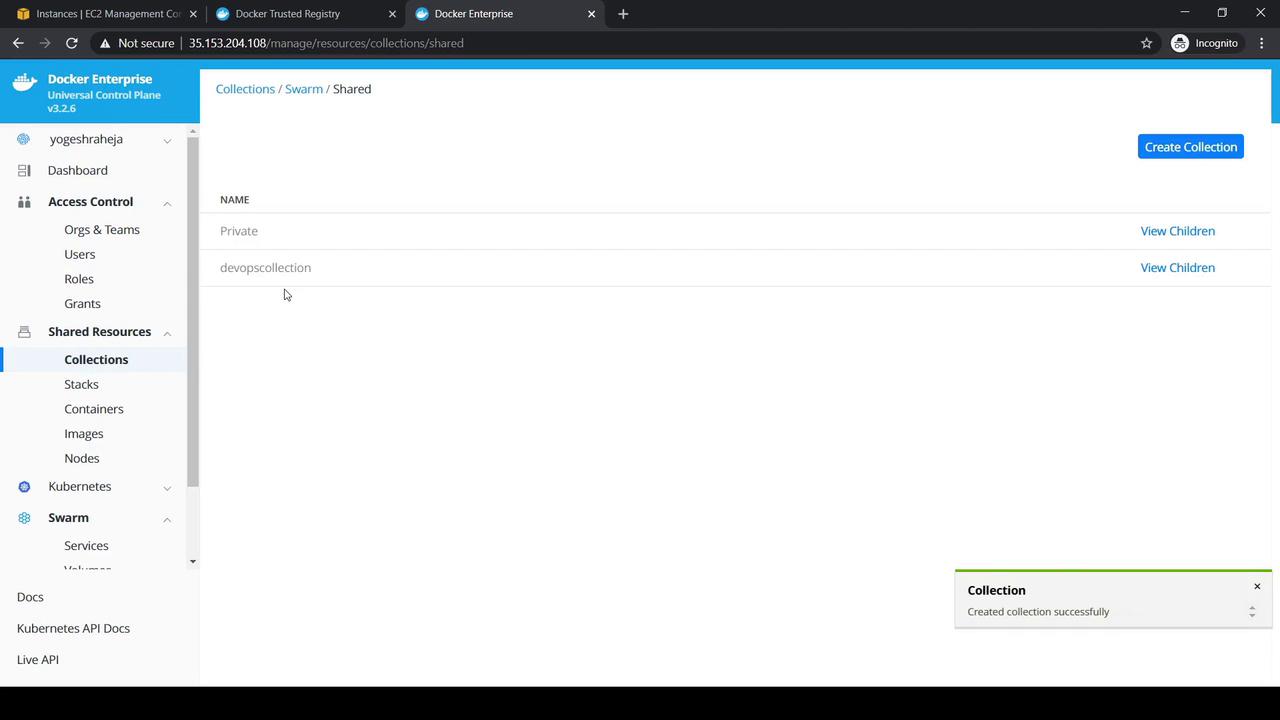
5. Creating the DevOps Collection
- Go to Shared Resources → Collections.
- Under the Swarm default collection, click View Children and choose Shared.
- Click Create Collection, name it
DevOps Collection, and save.
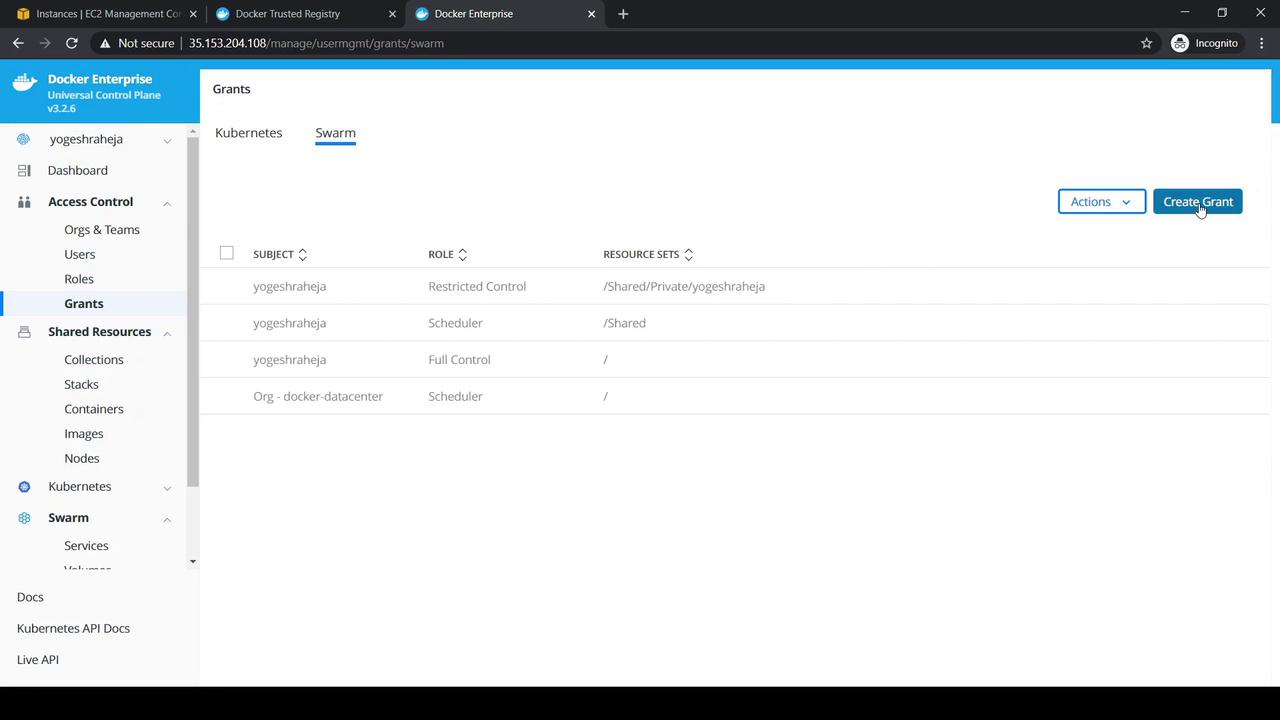
6. Granting the Role and Collection
- Head to Access Control → Grants → Swarm and click Create Grant.
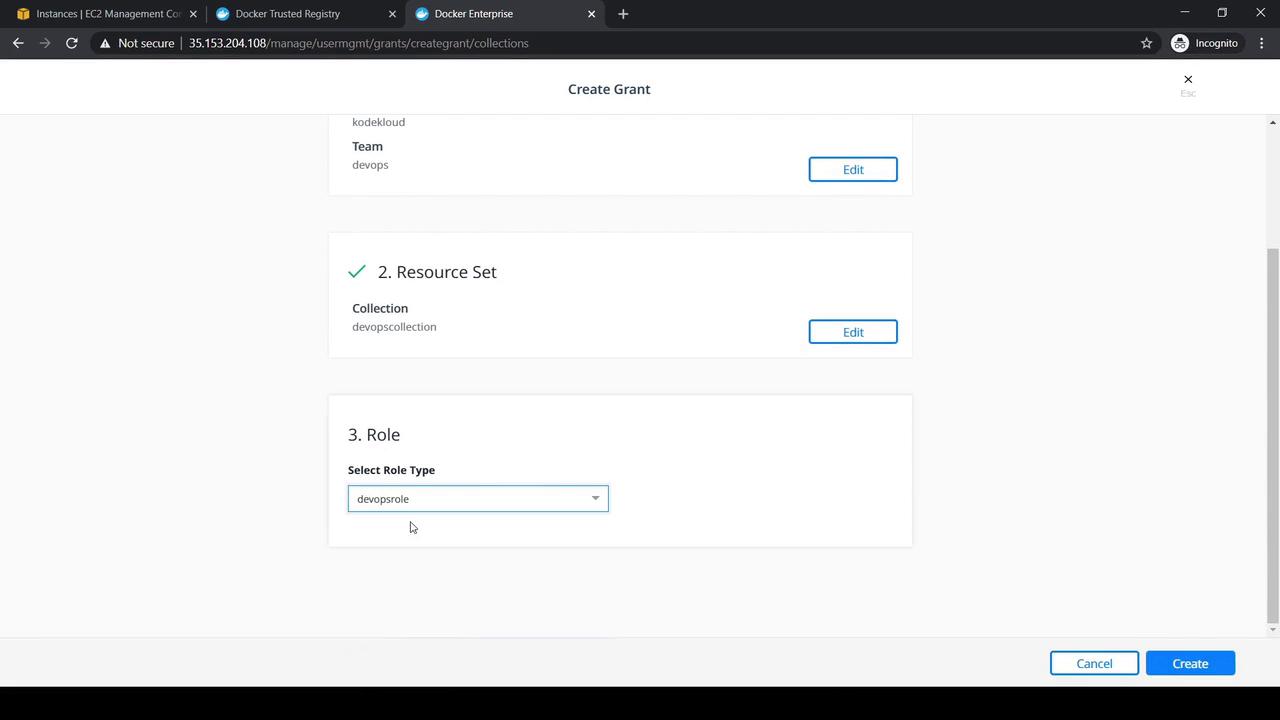
- Under Subject, select Organization: KodeKloud and Team: DevOps, then Next.
- Choose DevOps Collection for the Resource Set, then Next.
- Pick DevOps Role under Role Type and click Create.
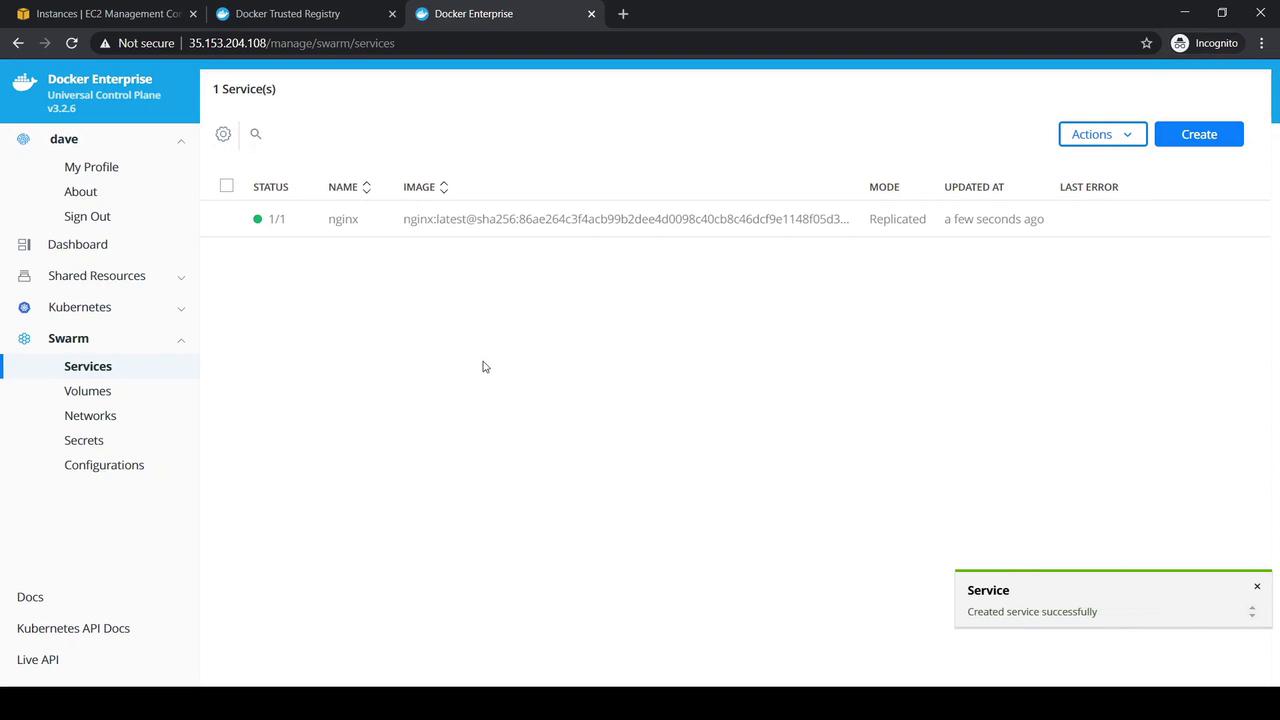
7. Testing RBAC as Dave
- Log out, then sign in to UCP as Dave.
- Verify that his profile displays the DevOps Collection, DevOps Role, and the grant.
- Switch to the Swarm tab and click Create Service:
- Service Name:
nginx - Image:
nginx:latest - Mode:
replicated(replicas:1)
- Service Name:
- Click Create and confirm the service appears.
Next, attempt to create a Kubernetes namespace (which should be denied):
apiVersion: v1
kind: Namespace
metadata:
  name: testnamespace
UCP will return an “access denied” error, confirming Kubernetes operations are blocked for Dave.
8. Verifying Adam Has No Access
- Log out and sign back in as Adam.
- Navigate to Swarm → Services.
- Adam should see no services, including the one Dave created.
Links and References
- Docker UCP RBAC Best Practices
- Docker Enterprise Edition Overview
- Docker Certified Associate Exam Guide
Next Steps
Consider automating user and team management with the UCP CLI or API for large-scale environments.
Watch Video
Watch video content