Docker Certified Associate Exam Course
Docker Trusted Registry
Docker Trusted Registry Operations
In this lesson, we’ll walk through the end-to-end workflow for working with Docker Trusted Registry (DTR). You’ll learn how to name, tag, push, and share images within your organization’s private registry.
Recap: Docker Image Naming Conventions
When you reference an image without specifying a registry host, Docker defaults to Docker Hub (docker.io). An image reference is composed of three parts:
| Component | Description | Example |
|---|---|---|
| Registry | Host address for the registry | docker.io |
| Namespace | Account or organization name | httpd |
| Repository | Repository (image) name | httpd |
# Explicitly specifying Docker Hub
image: docker.io/httpd/httpd

# Omitting the registry (defaults to Docker Hub)
image: httpd/httpd
Note
If you leave out the registry host, Docker assumes docker.io. Always include the full path when pushing to a private registry.
Using an Internal Registry
In a Docker Enterprise environment with your own registry (e.g., registry.company.org), image references must include that host:
registry.company.org/httpd/httpd
Warning
If you don’t have a DNS entry for your registry, you can use its IP address. However, using a stable DNS name is recommended to avoid future disruptions.
1. Build and Tag Your Image
Build your application and tag it for the internal registry. Replace 54.145.234.153 with your registry’s IP or hostname, and adjust the namespace/repository as needed:
docker build . -t 54.145.234.153/yogeshraheja/kodekloud
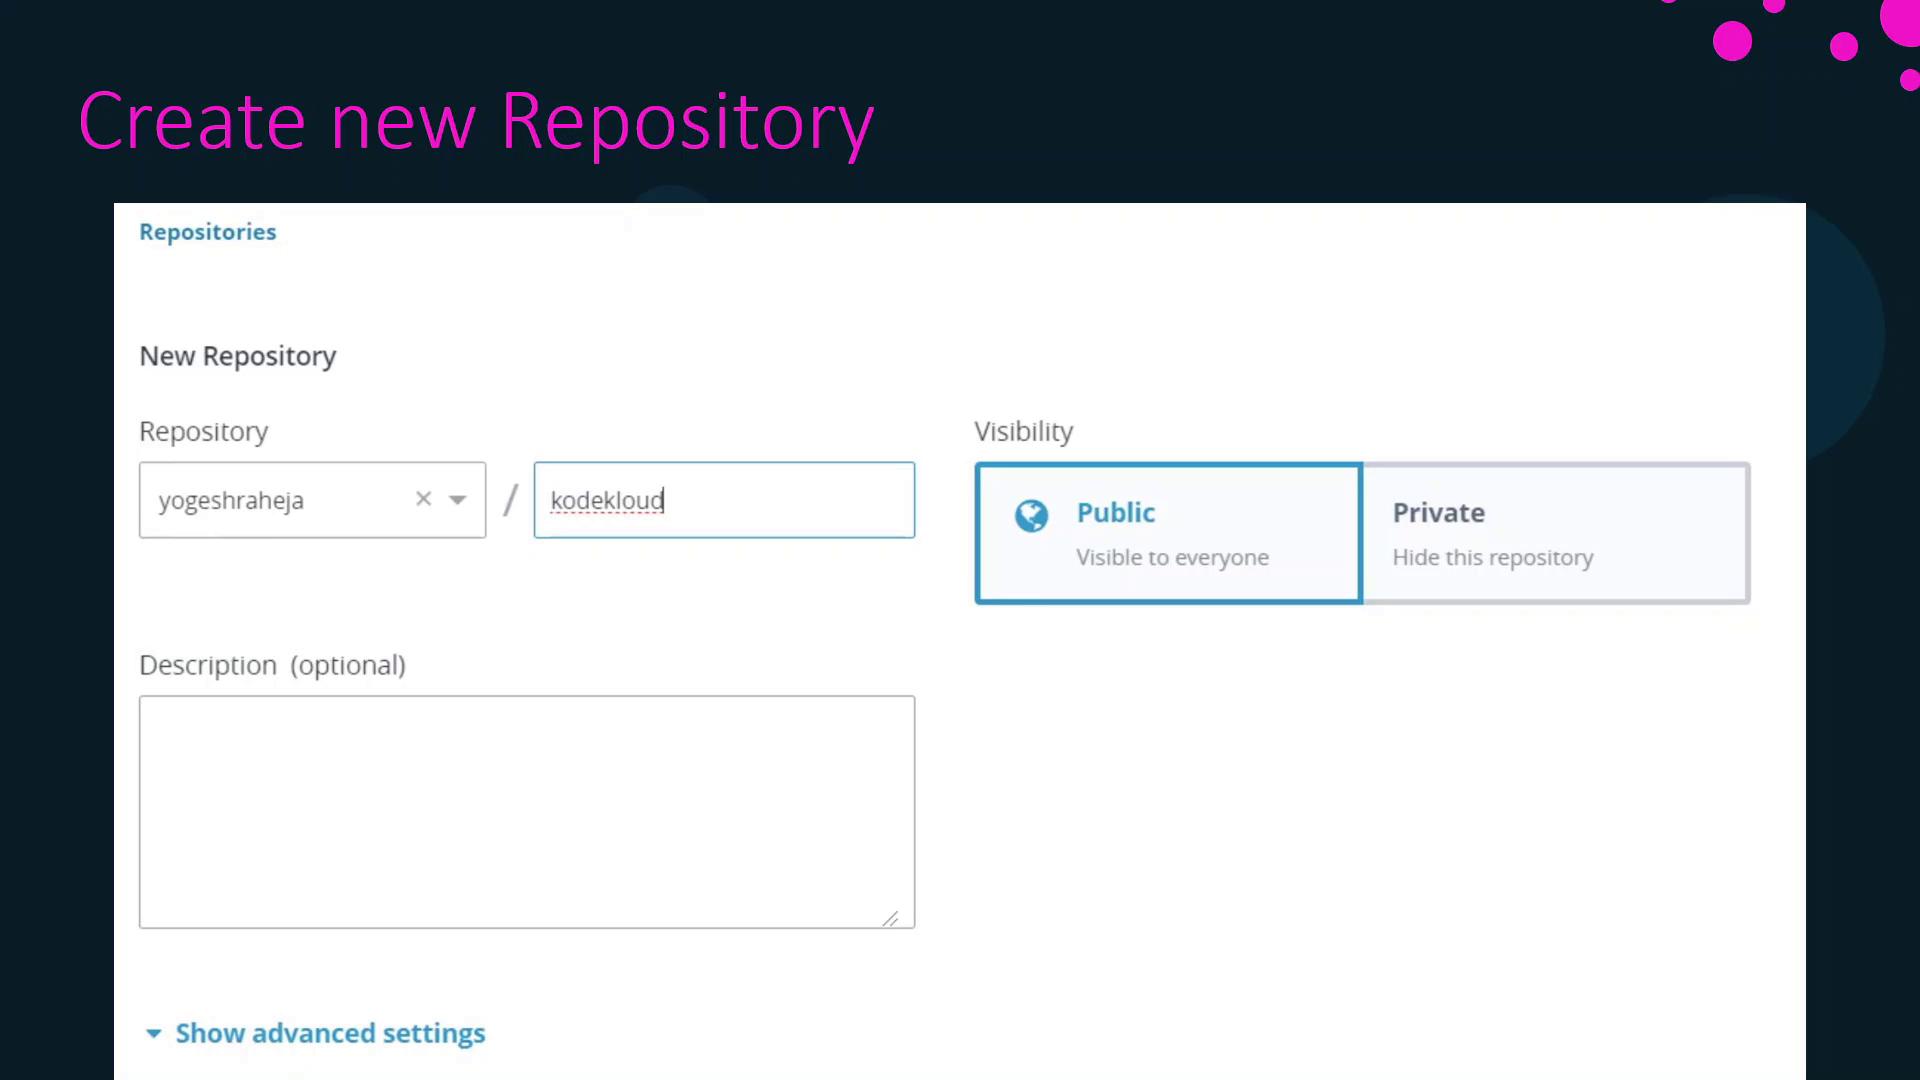
2. Create the Repository in DTR UI
Before pushing, create the repository via the DTR web interface:
- Click New Repository.
- Enter the Namespace (user or organization).
- Provide a Repository name.
- (Optional) Add a Description.
- Set the Visibility (public or private).
3. Push the Image to DTR
With the repository created, push your tagged image:
# Build and tag (if not already done)
docker build . -t 54.145.234.153/yogeshraheja/kodekloud

# Push to your private registry
docker push 54.145.234.153/yogeshraheja/kodekloud
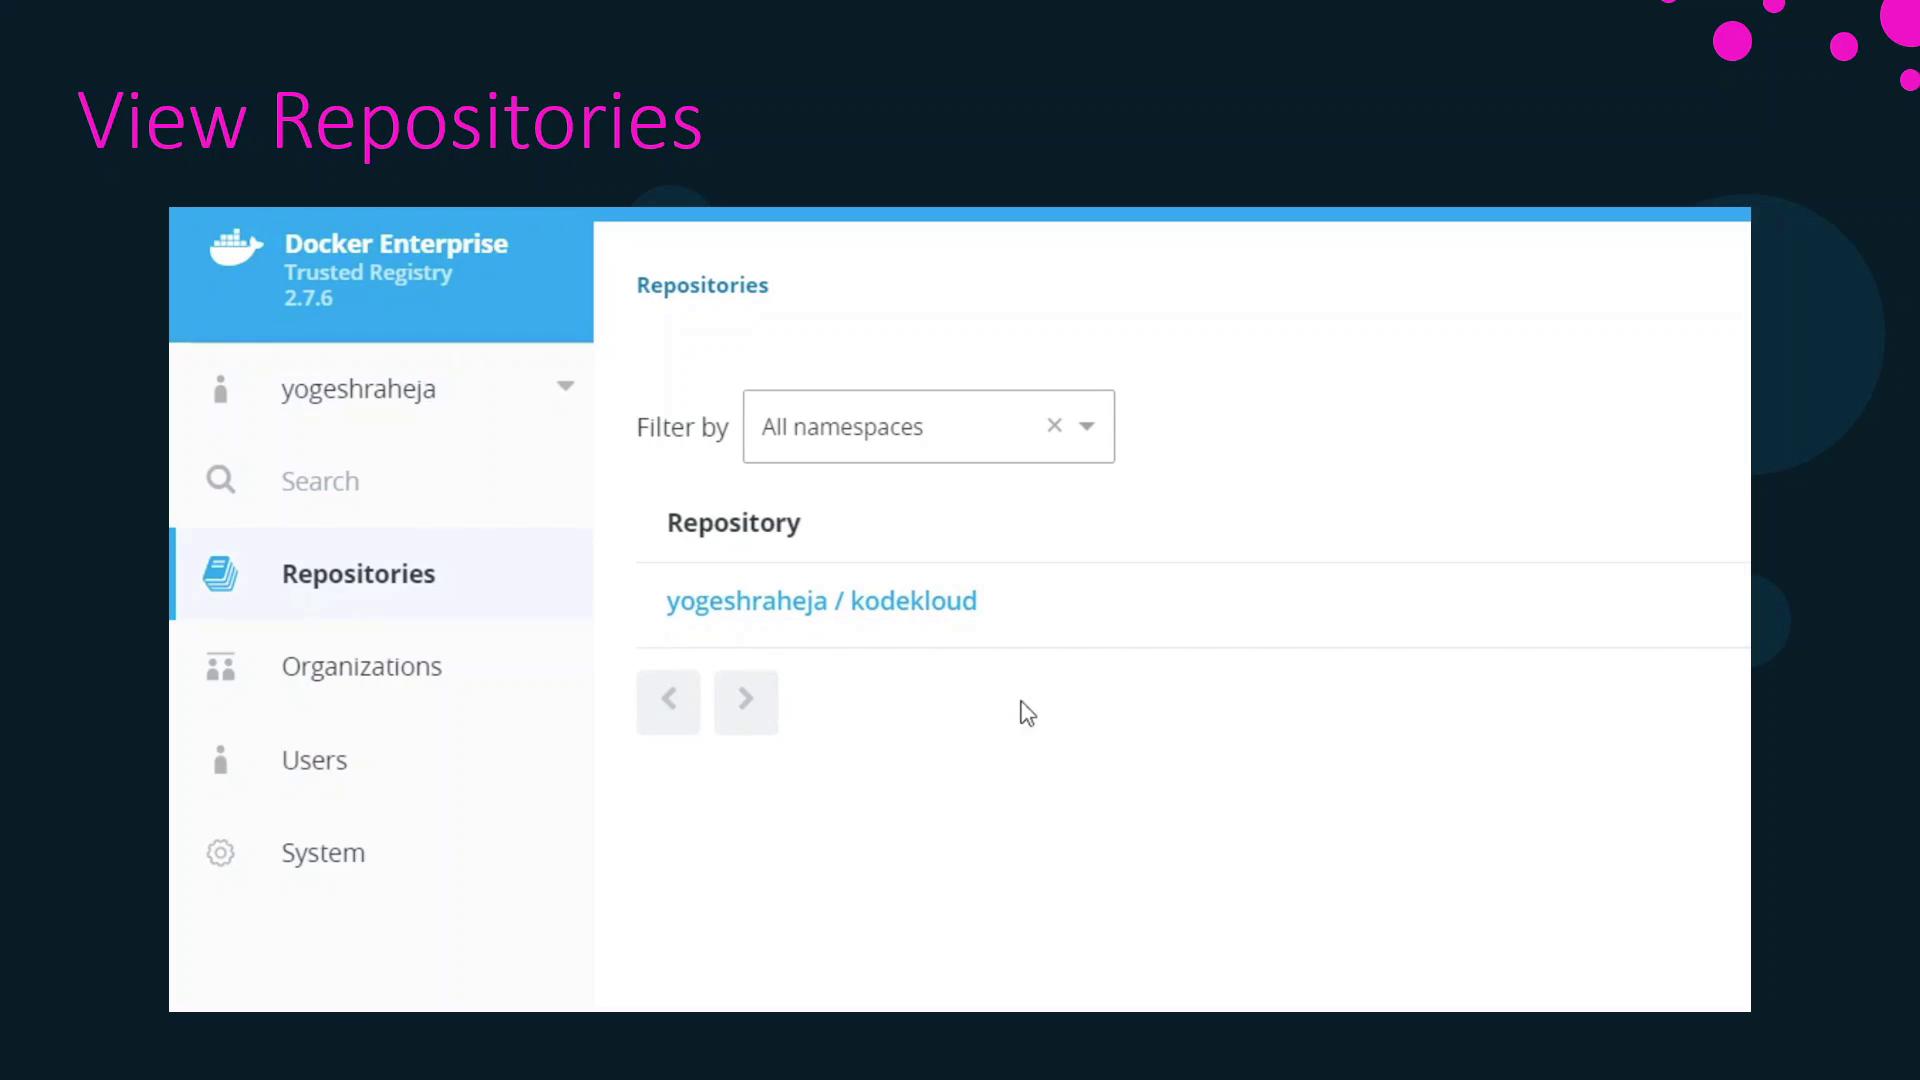
Once the push completes, you’ll see the repository listed under Repositories in the DTR interface.
4. Pulling the Image
Other team members can now retrieve the image:
docker pull 54.145.234.153/yogeshraha/kodekloud
This completes the standard workflow: build, tag, create, push, and pull images within Docker Trusted Registry.
Links and References
Watch Video
Watch video content