Prerequisites
- You are signed in to the GCP Console with your target project selected.
- Billing is enabled for that project.
Setting budgets and alerts helps you stay within expected costs, especially when idle resources or sudden usage spikes can lead to unexpected charges.
1. Access the Billing Dashboard
- Go to the GCP Console.
- Confirm the correct project is selected in the top toolbar.
- Search for Billing in the navigation bar and click Billing.
2. Open Budgets & Alerts
In the left-hand menu, click Budgets & alerts. Since you haven’t created any budgets yet, the list will be blank.3. Create Your First Budget
- Click CREATE BUDGET.
- Name your budget, for example
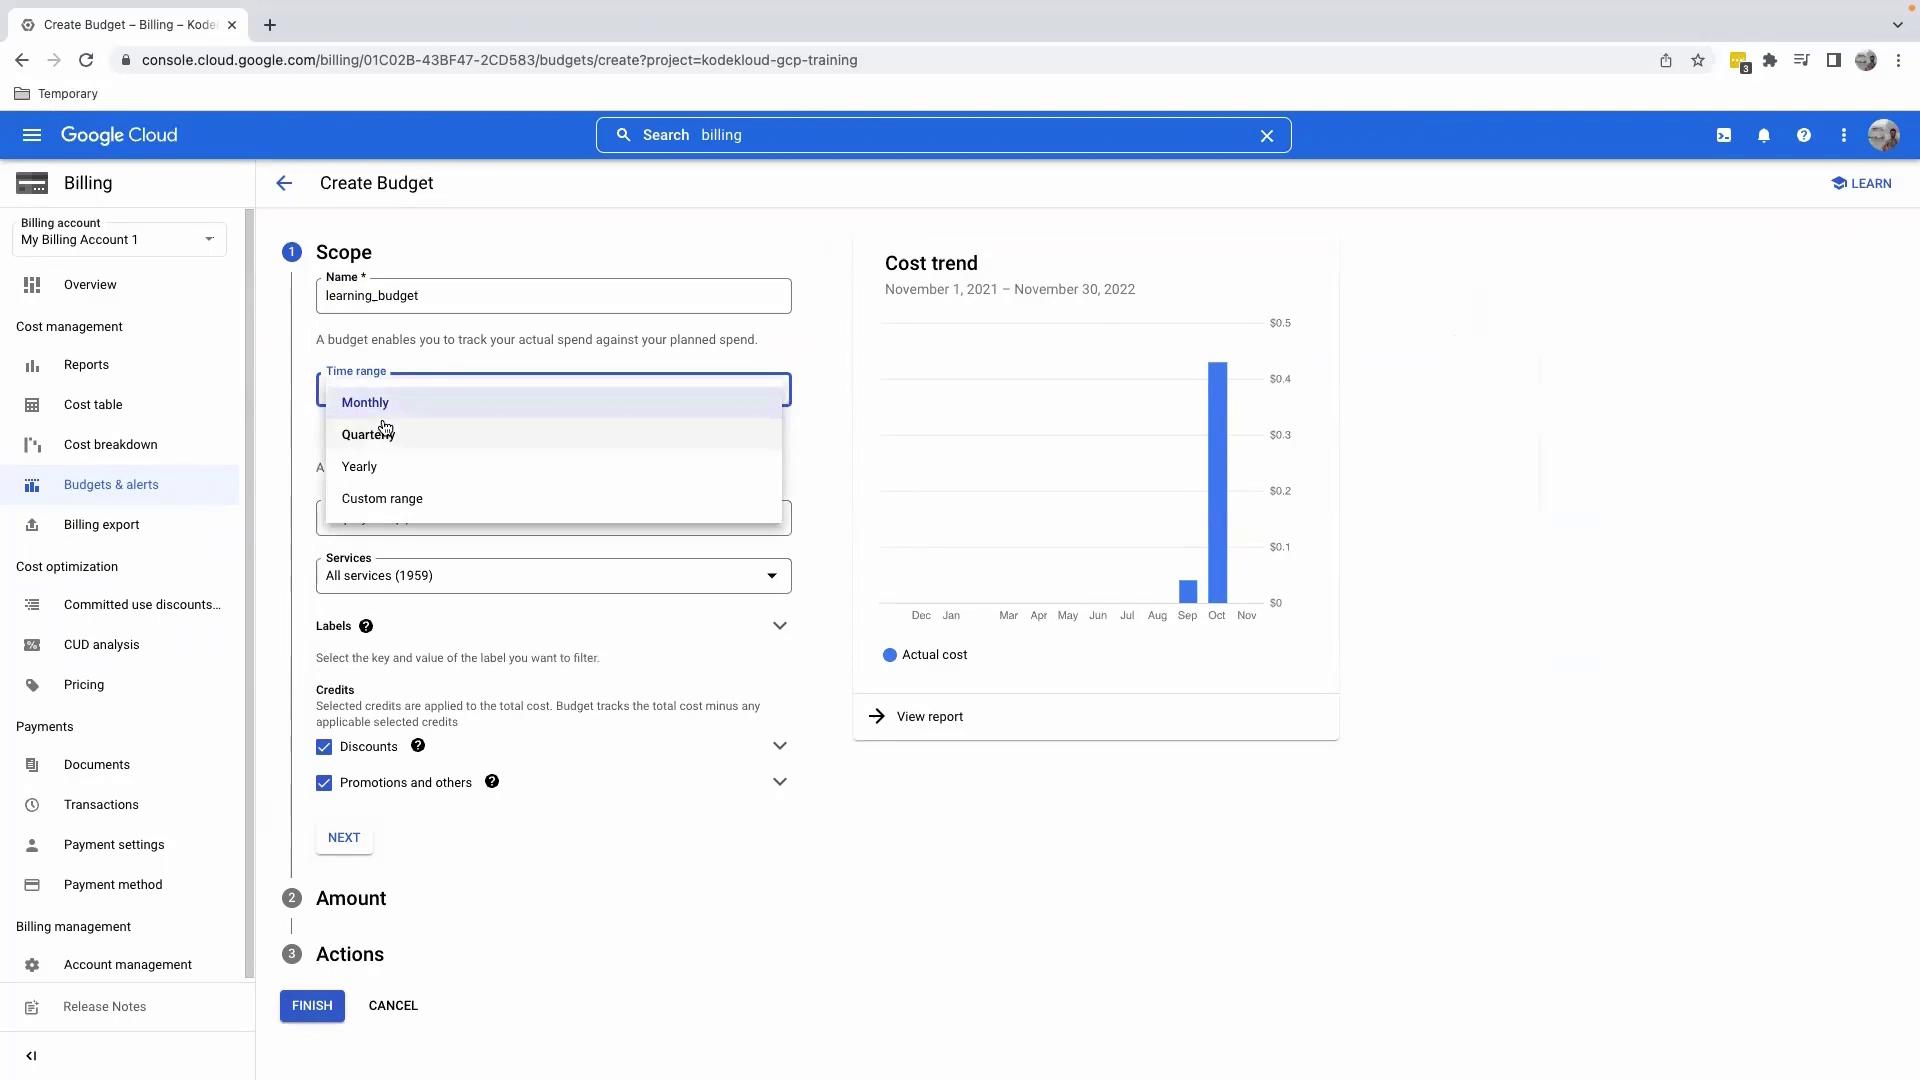
learning_budget. - Under Budget scope:
- Time range: Select Monthly.
- Projects: Pick your current project.
- Services: Leave All services to monitor total spend.
- Click Next.
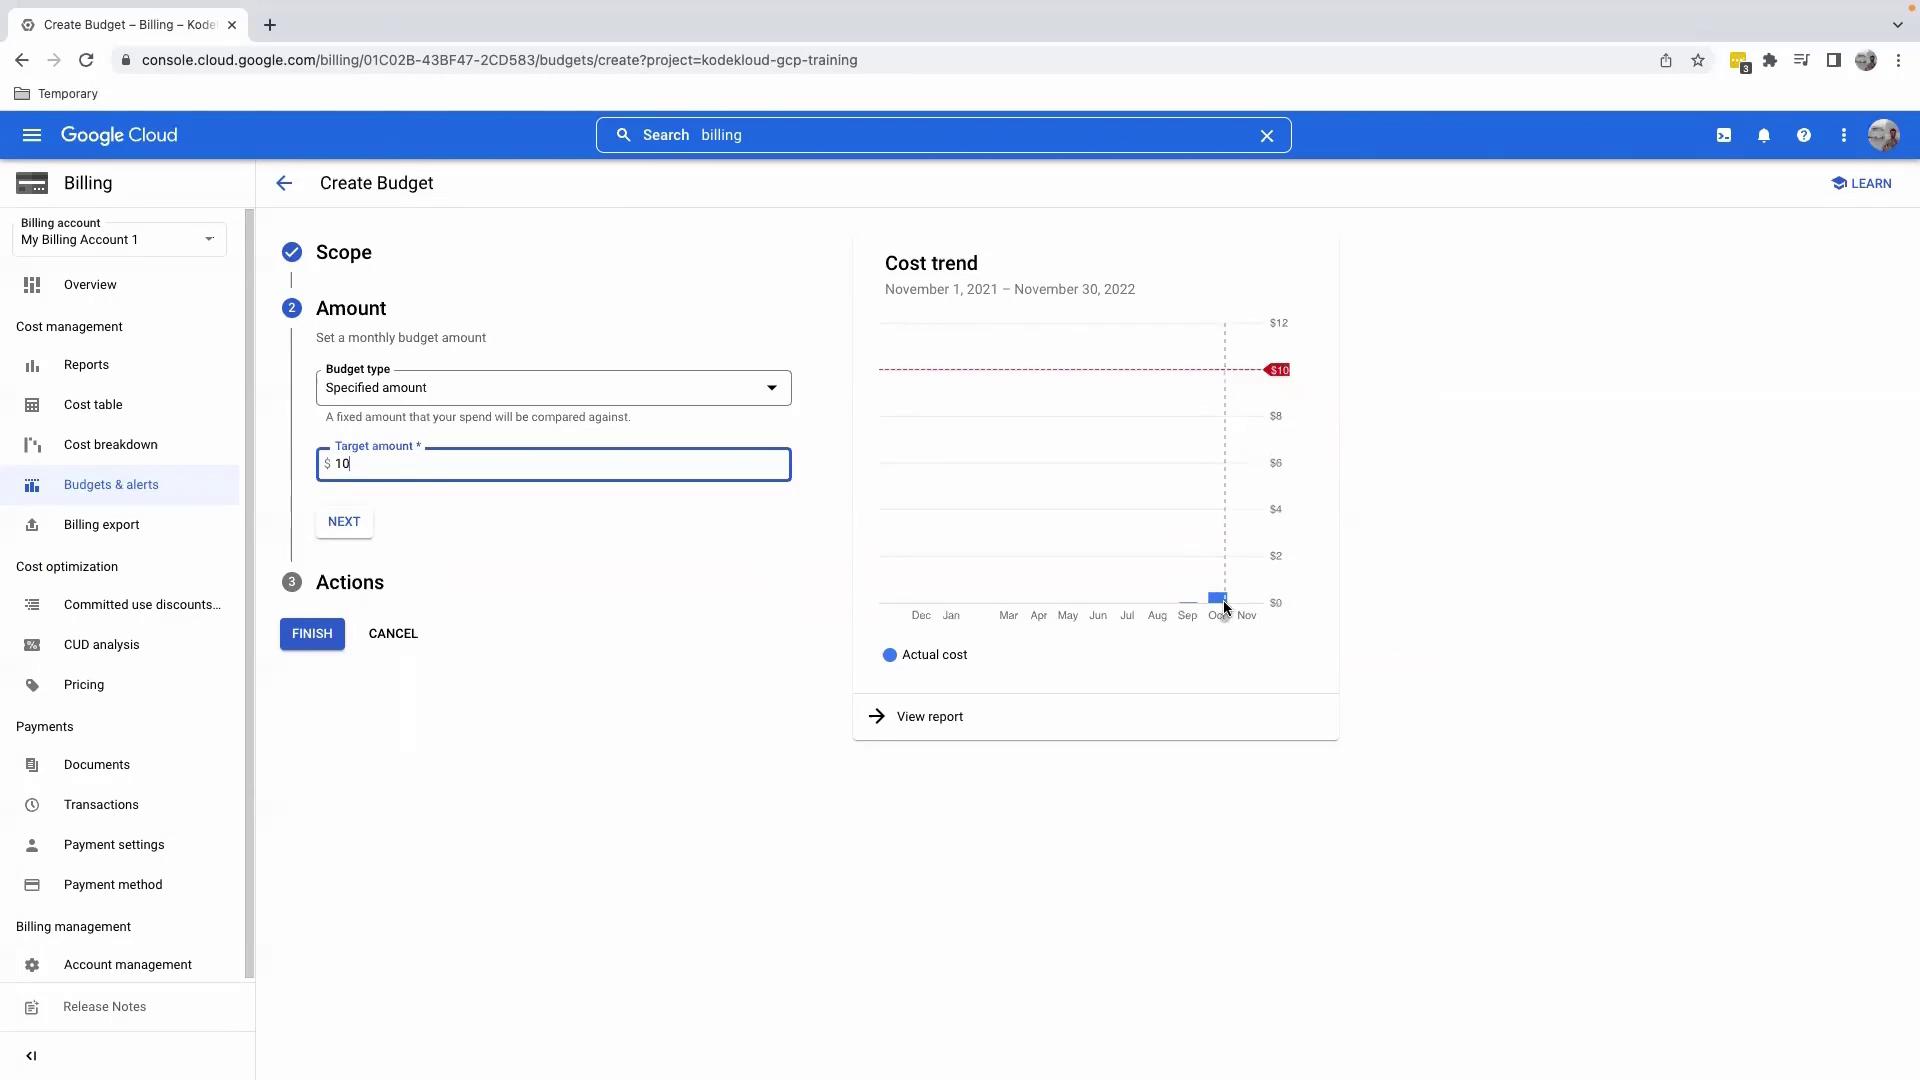
4. Set Your Budget Amount
- In Budget amount, type your limit (e.g.,
10for $10). - Review the cost trend graph on the right—this visual compares historical spend against your chosen threshold.
- Click Next to move on to notification settings.
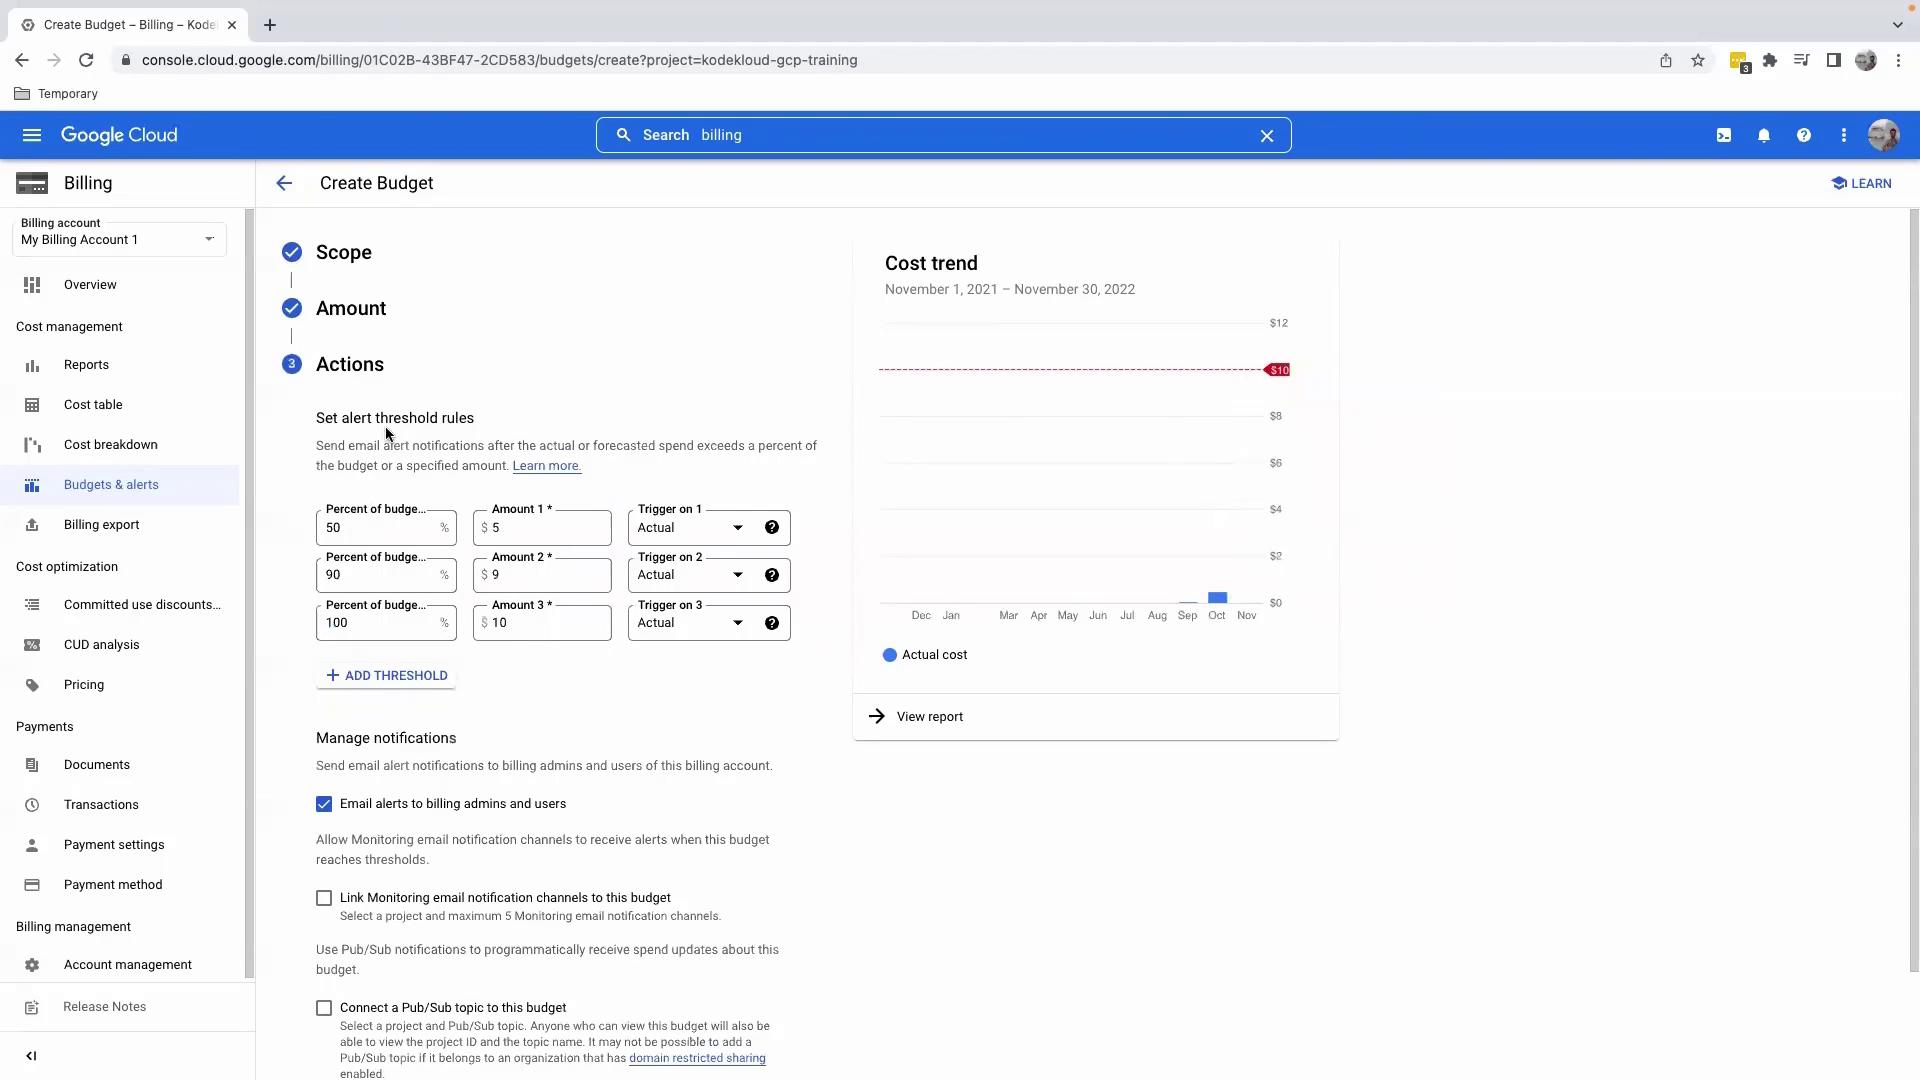
5. Configure Alert Thresholds
On the Set threshold rules page:- Remove or adjust default thresholds (50%, 90%, 100%) as needed.
- For example, keep only 90% (
$9) and 100% ($10) alerts. - Under Notifications, choose Email.
- By default, alerts will go to your account’s primary email.
- Click Finish.
6. Verify Your Budget
After creating the budget, you will see it listed on the Budgets & alerts page: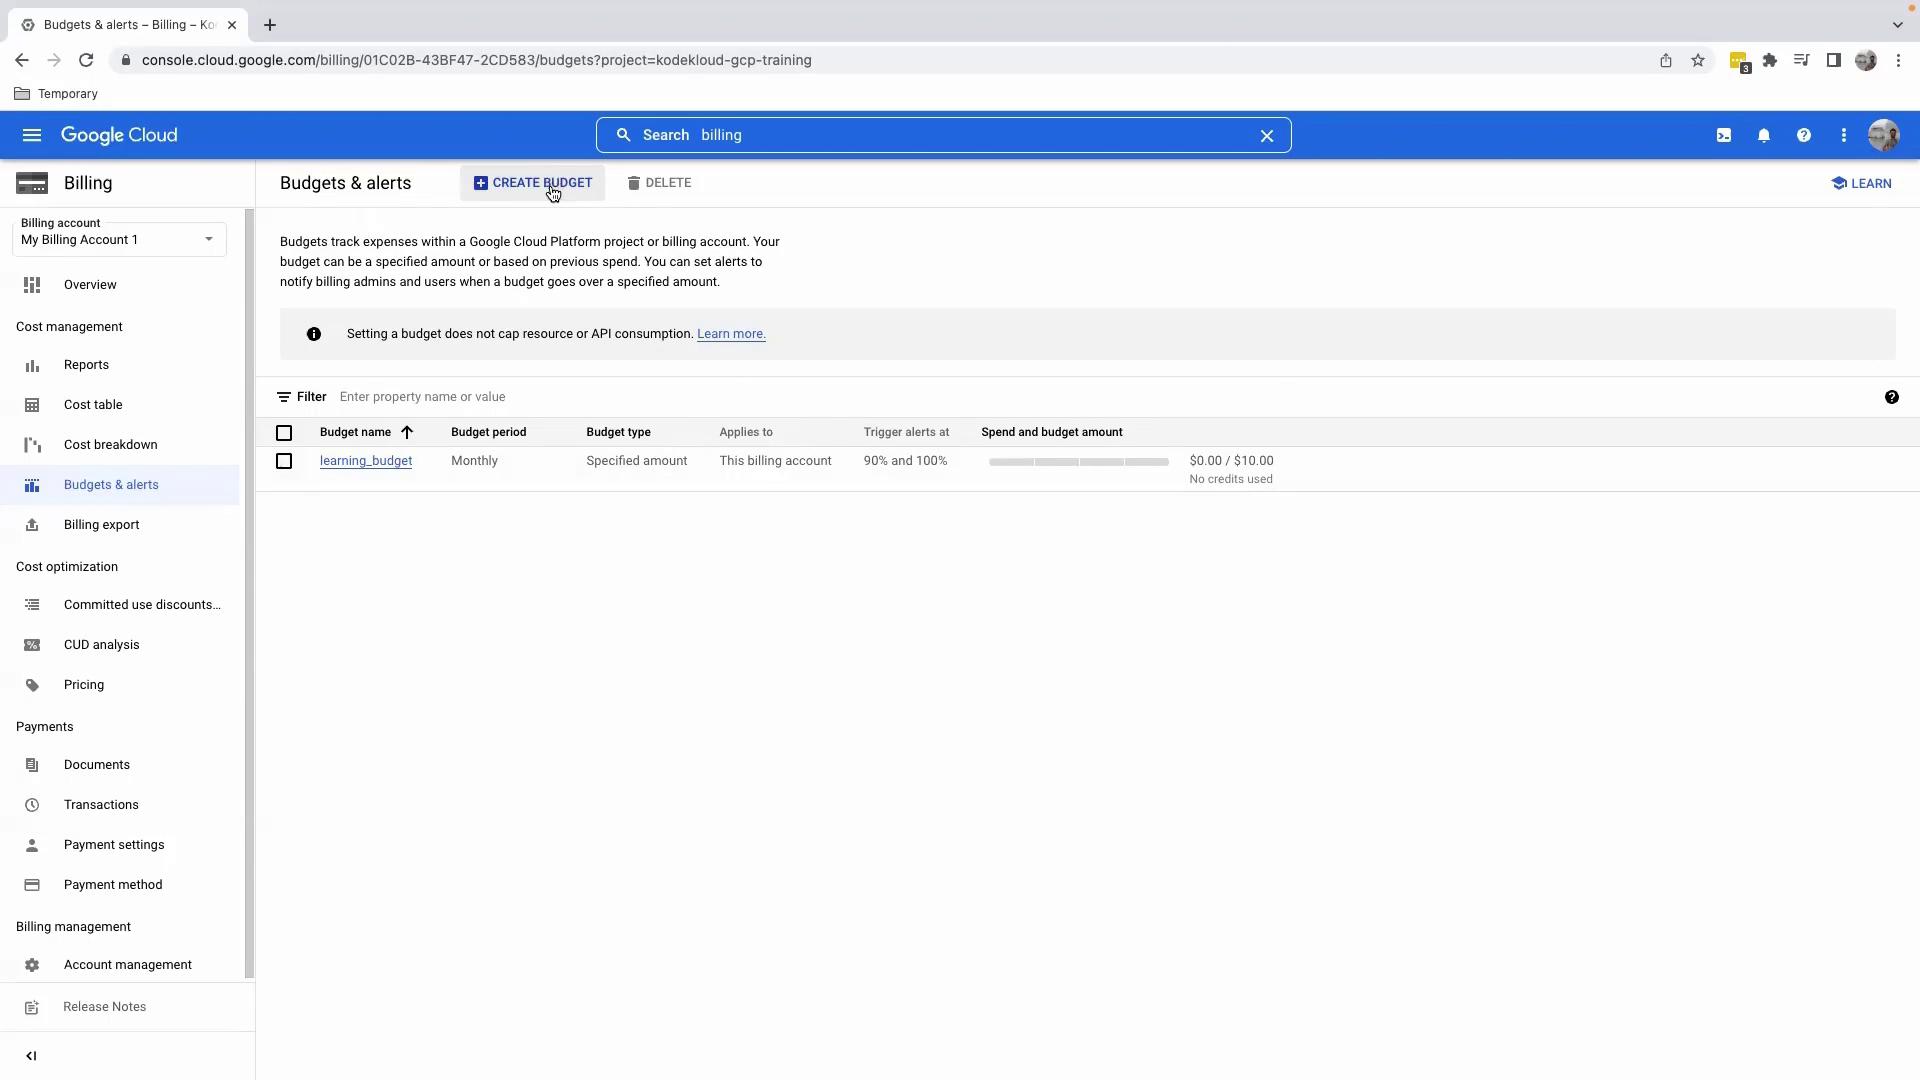
7. Create a Service-Specific Budget
To monitor spending for a single service, such as Compute Engine:- Click CREATE BUDGET again.
- Name it (e.g.,
compute_budget). - Under Budget scope:
- Time range: Monthly
- Projects: Your target project
- Services: Select Compute Engine from the dropdown
- Click Next, set a Budget amount (e.g.,
$5), adjust thresholds, then click Finish.
- Project-level budget monitoring all services.
- Service-level budget exclusively for Compute Engine.
Recommended Best Practices
| Best Practice | Description |
|---|---|
| Use Multiple Budgets | Combine project-level and resource-level budgets for granular control. |
| Adjust Thresholds Strategically | Set early alerts (e.g., 50%) to diagnose cost spikes before they grow. |
| Review Alerts Weekly | Regularly review alert emails to identify and clean up idle resources. |
| Integrate with Pub/Sub | Forward budget notifications to Pub/Sub for automated cost-management actions. |
Alerts are not blocking—resources won’t stop once you exceed a budget. Regularly review and clean up unused resources to control costs.