- Prepare Azure resources with the CLI or Portal
- Configure GitHub Actions workflows
- Securely connect GitHub to Azure
- Verify deployments in Azure and GitHub
- Optionally download a publish profile for manual setup
Prerequisites
- A GitHub repository with your Node.js application
- An active Azure subscription
- Azure CLI installed and authenticated (
az login) - Basic knowledge of GitHub Actions and YAML workflows
Official Deployment Docs & Resources
GitHub maintains comprehensive guides for CI/CD with Azure. For more examples and advanced configuration, refer to: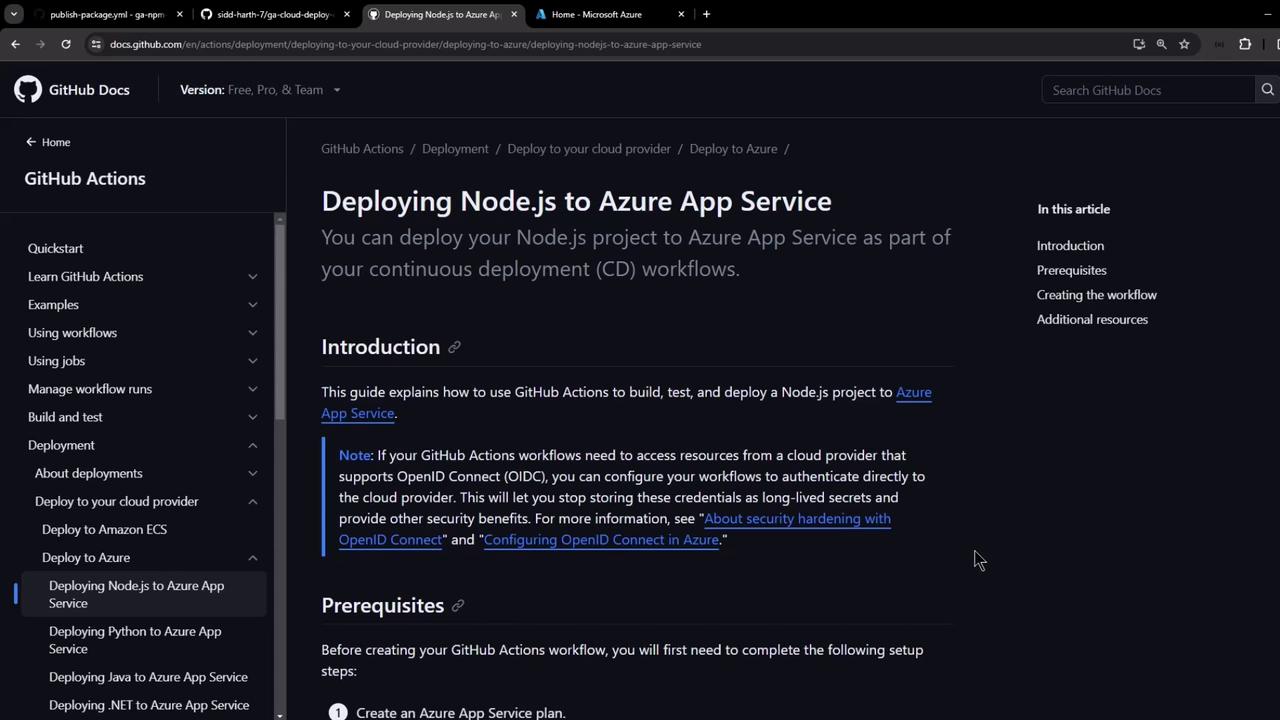
Create Azure App Service via CLI
Use the Azure CLI to provision your App Service plan and web app quickly.Store the XML output as a GitHub Secret named
AZURE_WEBAPP_PUBLISH_PROFILE for seamless deployment.Quick CI/CD Workflow Overview
Your GitHub Actions workflow typically defines two jobs:| Job | Purpose | Key Actions |
|---|---|---|
| build | Prepare application artifact | Checkout → Setup Node.js → Test → Zip |
| deploy | Publish the build artifact to Azure App Service | Download → Unzip → azure/webapps-deploy@v2 |
.github/workflows/azure-nodejs.yml):
Step 1: Create App Service in Azure Portal
- Navigate to App Services → Create.
- Select your Subscription and Resource Group.
- Configure instance details (Runtime: Node.js, OS: Linux).
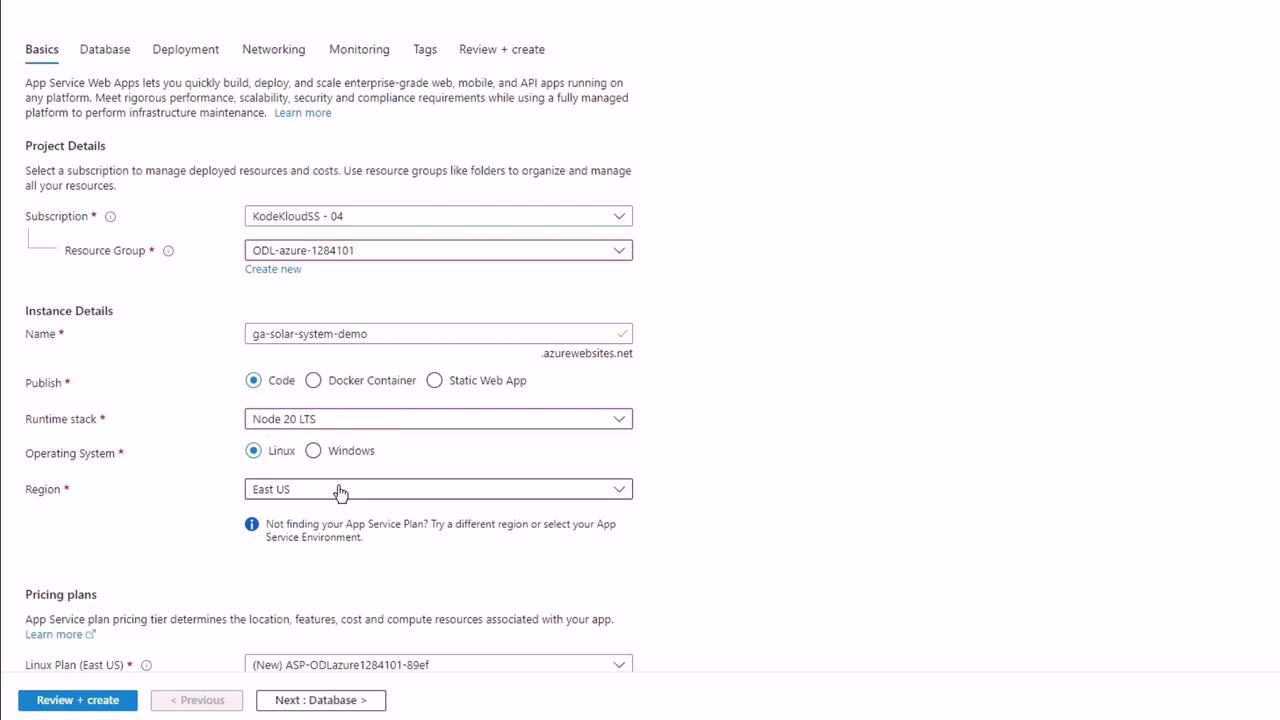
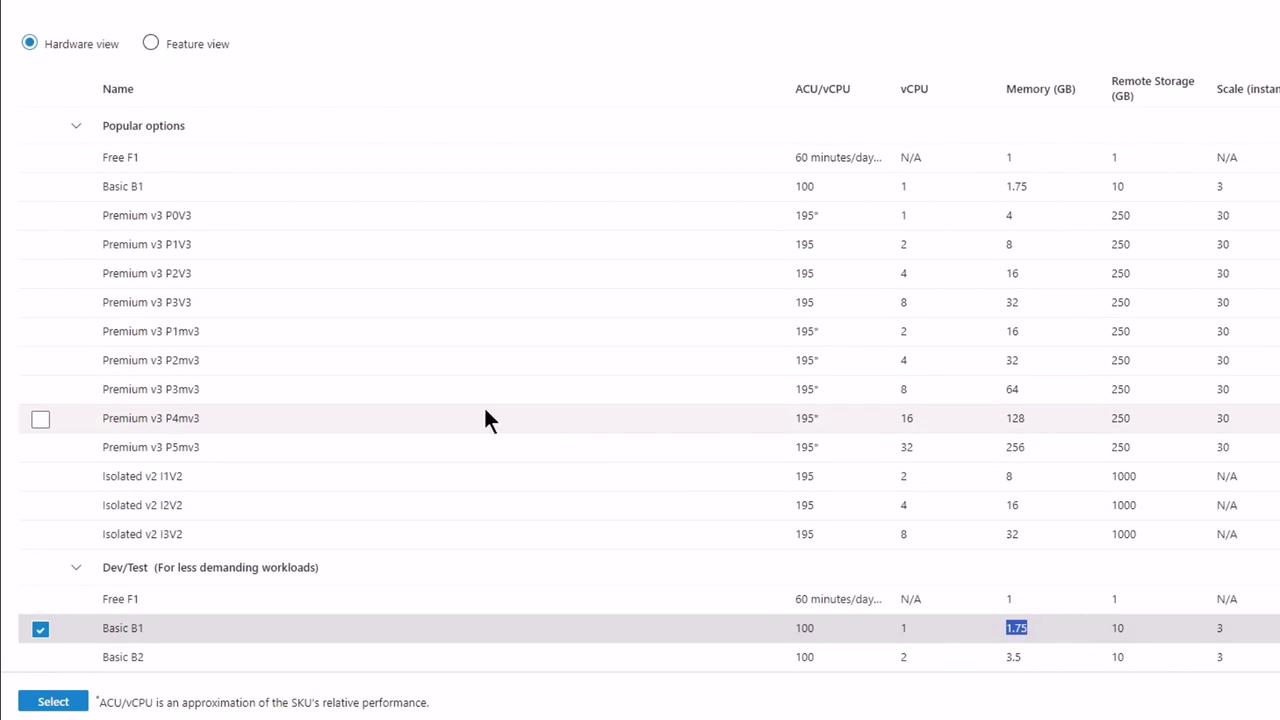
- Choose a pricing plan (e.g., Basic B1).
- Under Deployment, enable GitHub Actions and authenticate.
Step 2: Authorize GitHub Access
When prompted, grant Azure permission to your GitHub account and repository: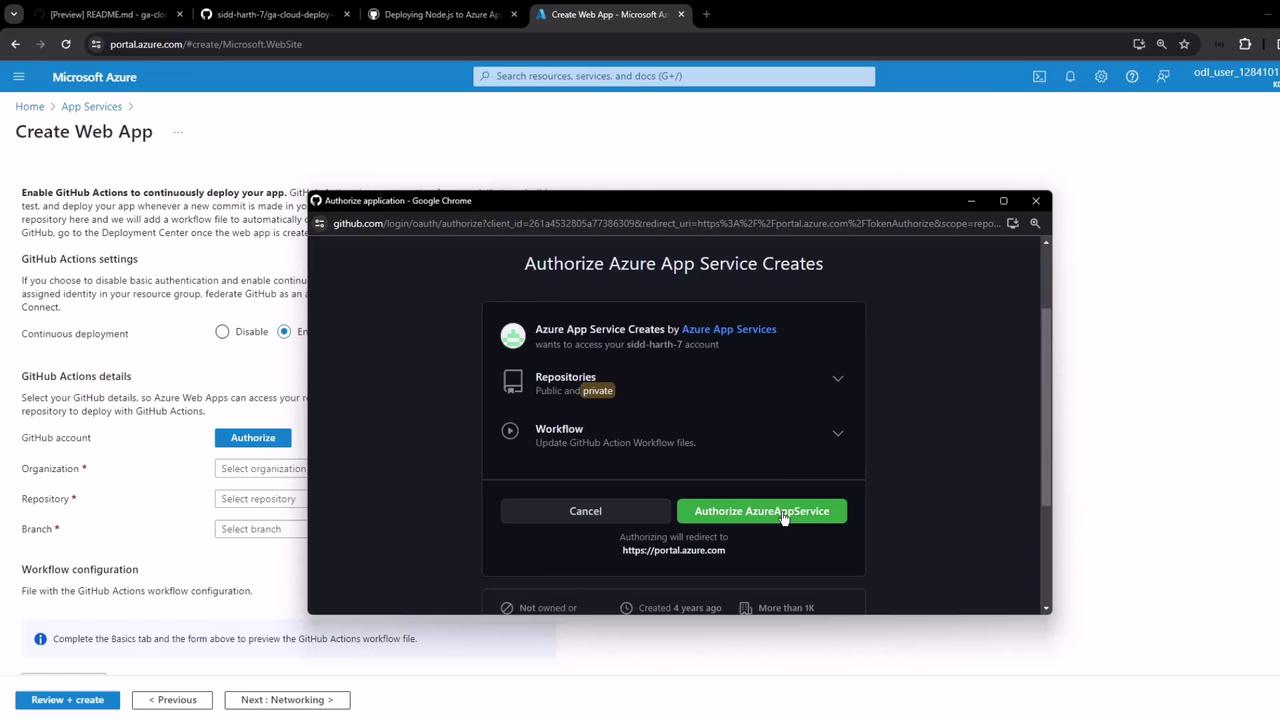
- Select Organization
- Choose Repository (e.g., GA Cloud Deploy Demo)
- Pick Branch (main)
- Preview & Confirm
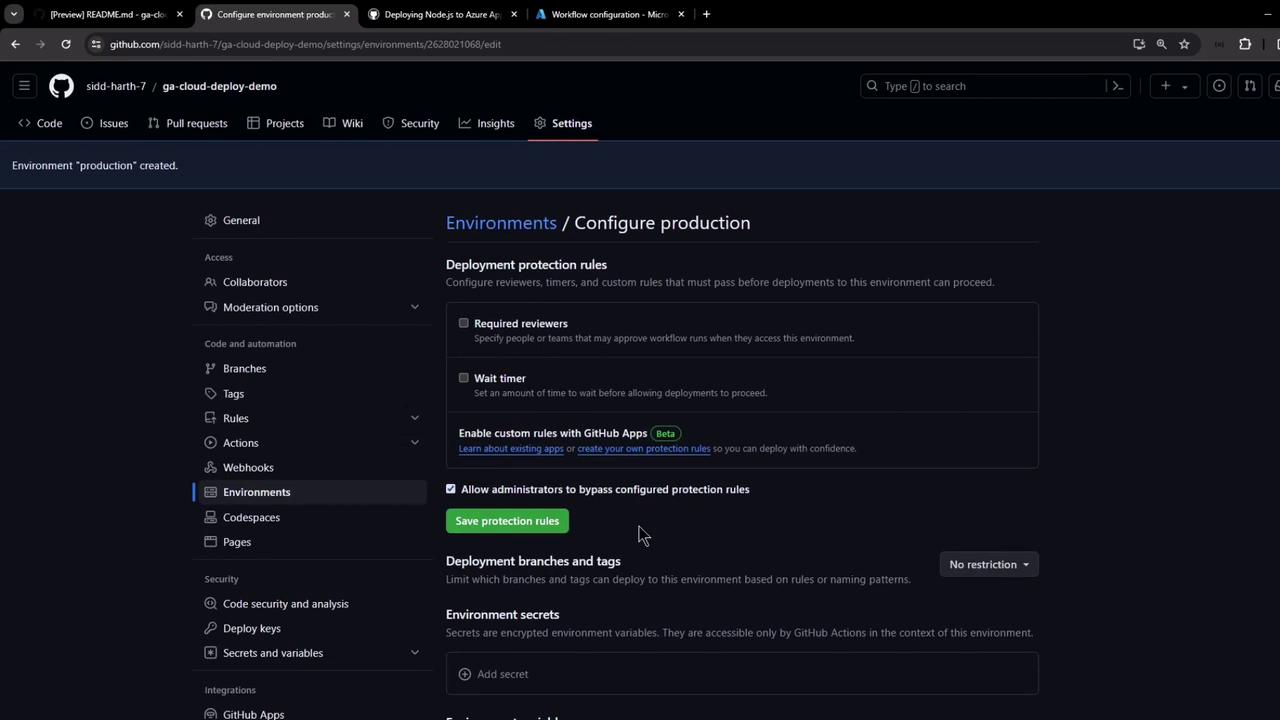
Step 3: Secure GitHub Environment
- In GitHub, go to Settings → Environments.
- Create an environment named
production. - (Optional) Add protection rules or required reviewers.
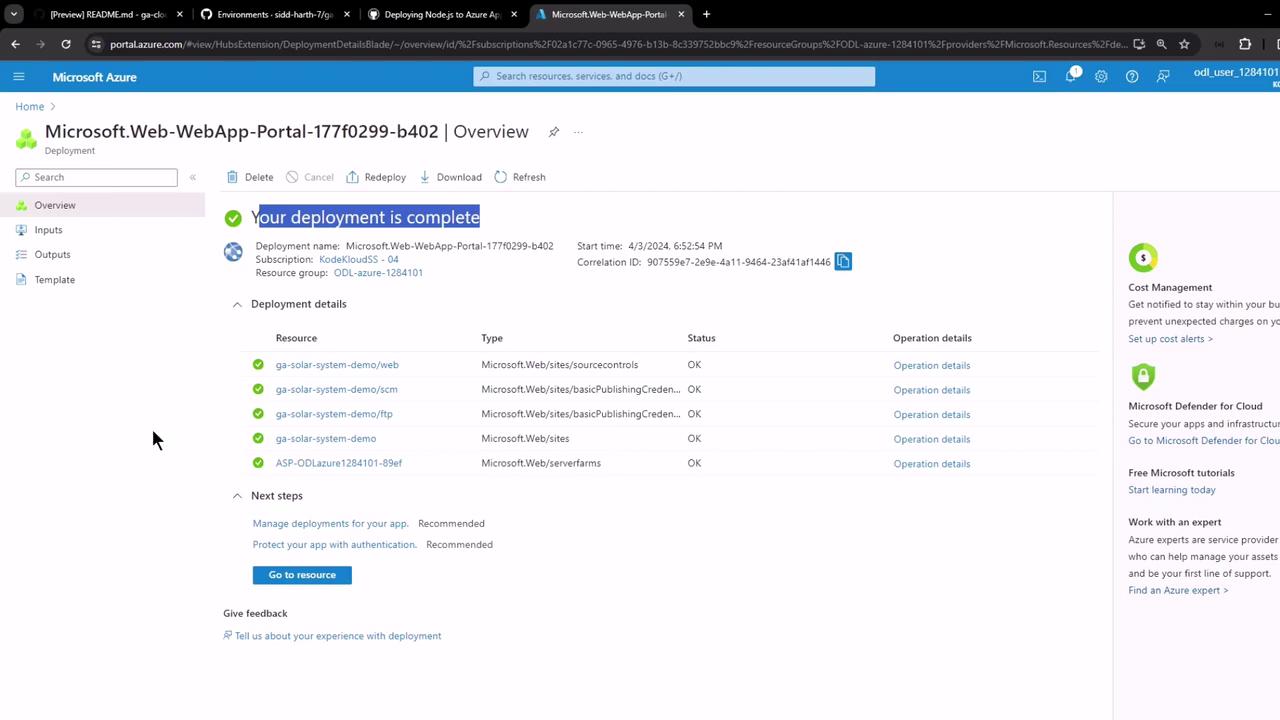
Step 4: Automatic Workflow Commit
Azure provisions the resources and commits a workflow file to.github/workflows/:
Step 5: Inspect GitHub Changes
- Secrets: A new
AZURE_WEBAPP_PUBLISH_PROFILEappears under Settings → Secrets. - Workflow:
.github/workflows/main_<webapp>.yamlis added. - Actions: View your first run.

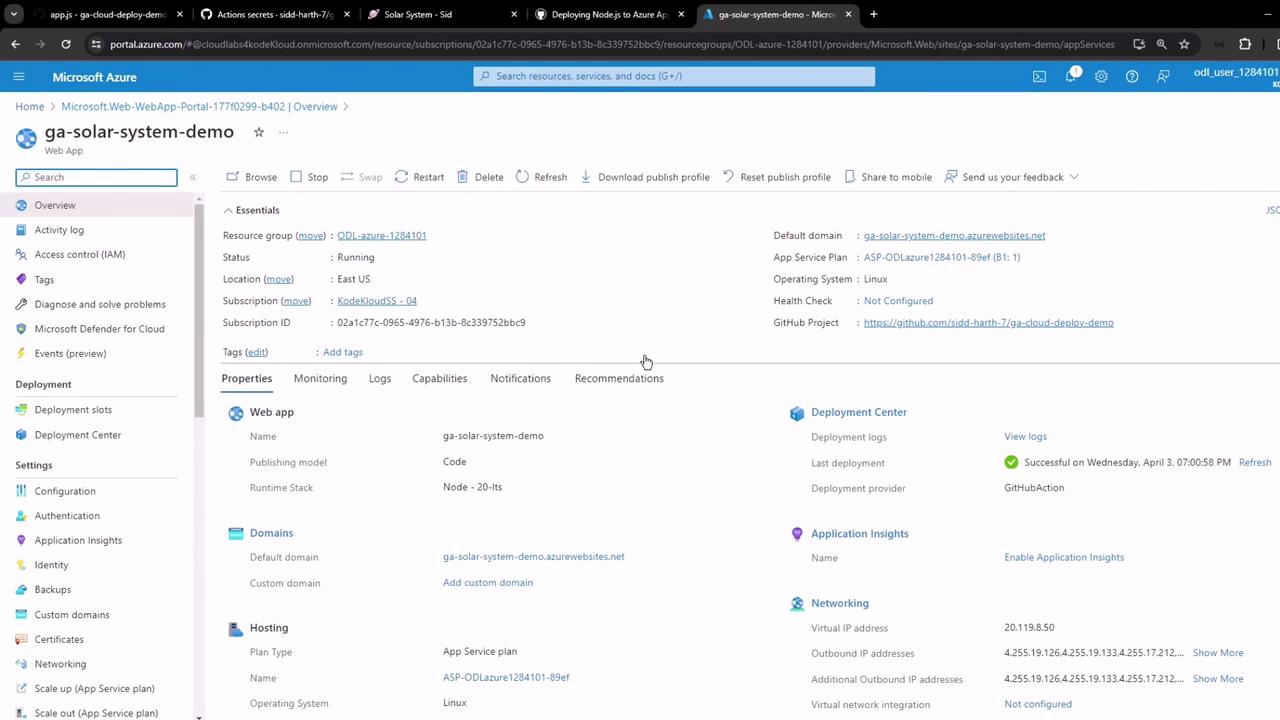
Step 6: View Your Live App
GitHub Actions outputs the application URL after deployment. Click the link to verify your app: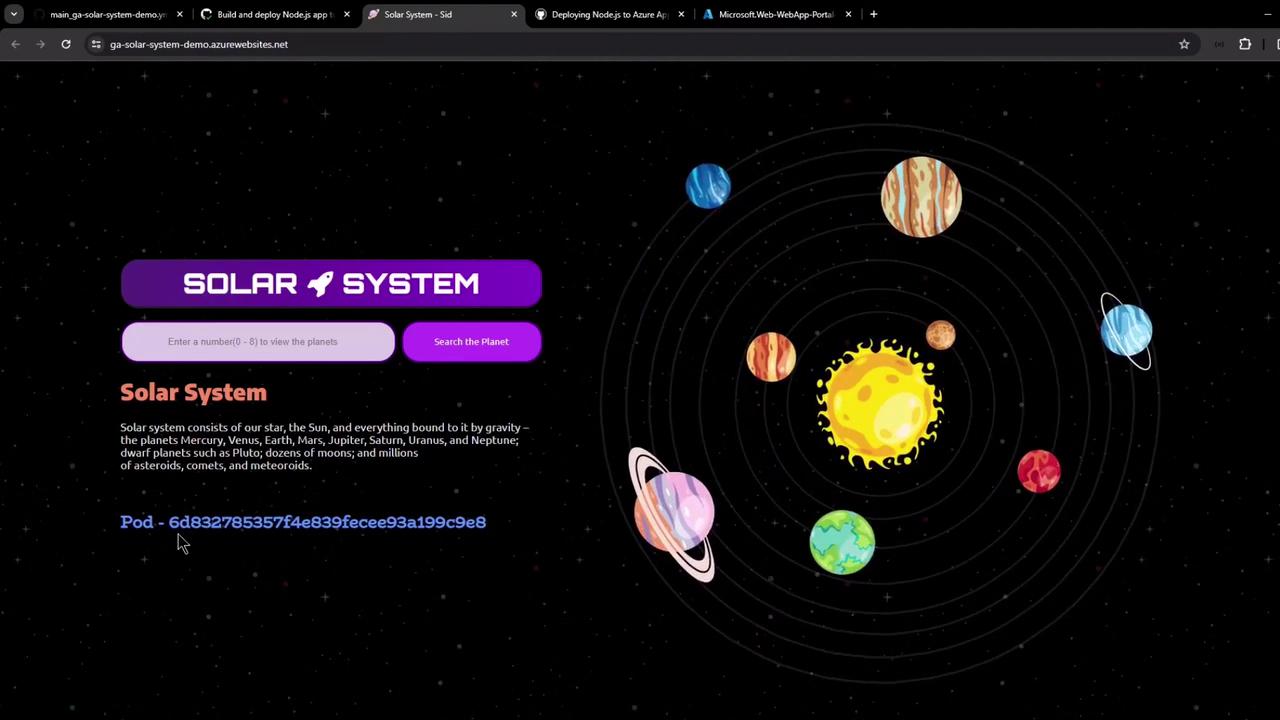
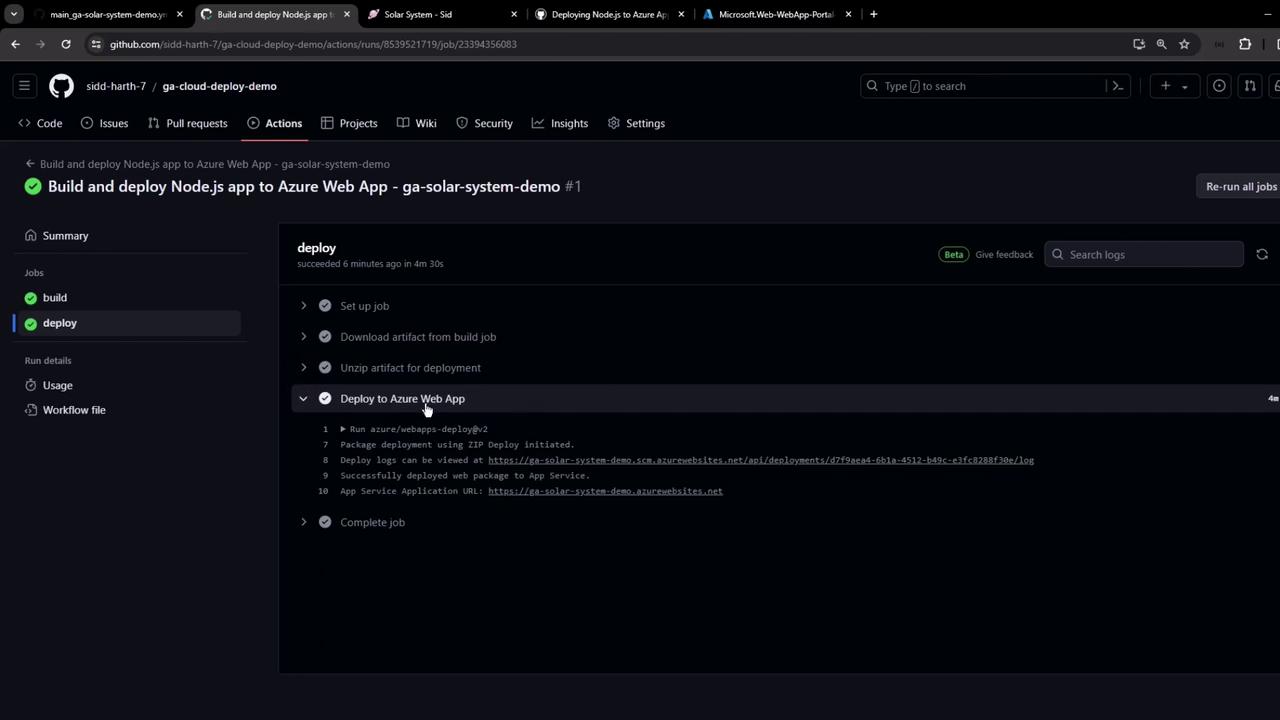
Step 7: Review Deployment Logs
- Build Job: Checkout, Node.js setup, install, build, test, and packaging.
- Deploy Job: Artifact download, unzip, and Azure webapp zip-deploy.
Sample Node.js Application Code
Below is a simple Express app. Do not hardcode credentials in production—use GitHub Secrets and environment variables.Never commit secrets or plaintext credentials to your repository. Always leverage GitHub Secrets.
Manual Publish Profile Download
If you prefer a manual setup:- In the Azure portal, select your Web App → Get publish profile.
- Download the XML and save it as
AZURE_WEBAPP_PUBLISH_PROFILEin GitHub Secrets.
Congratulations! You’ve now set up a full CI/CD pipeline to build, test, and deploy your Node.js app to Azure App Service with GitHub Actions.