GitHub Actions Certification
GitHub Actions in the Enterprise Cloud
Managing self hosted runners using groups Part1
In this guide, you’ll learn how to configure and manage self-hosted GitHub Actions runners across GitHub Enterprise and organization scopes. We’ll cover:
- Reviewing Enterprise vs. Organization settings
- Creating and renaming runner groups
- Assigning runners to repositories (including public repos)
- Installing a self-hosted runner on Linux
- Running a sample workflow on your new runner
1. Compare Enterprise and Organization Dashboards
First, open two browser tabs side by side:
Tab 1: Enterprise Overview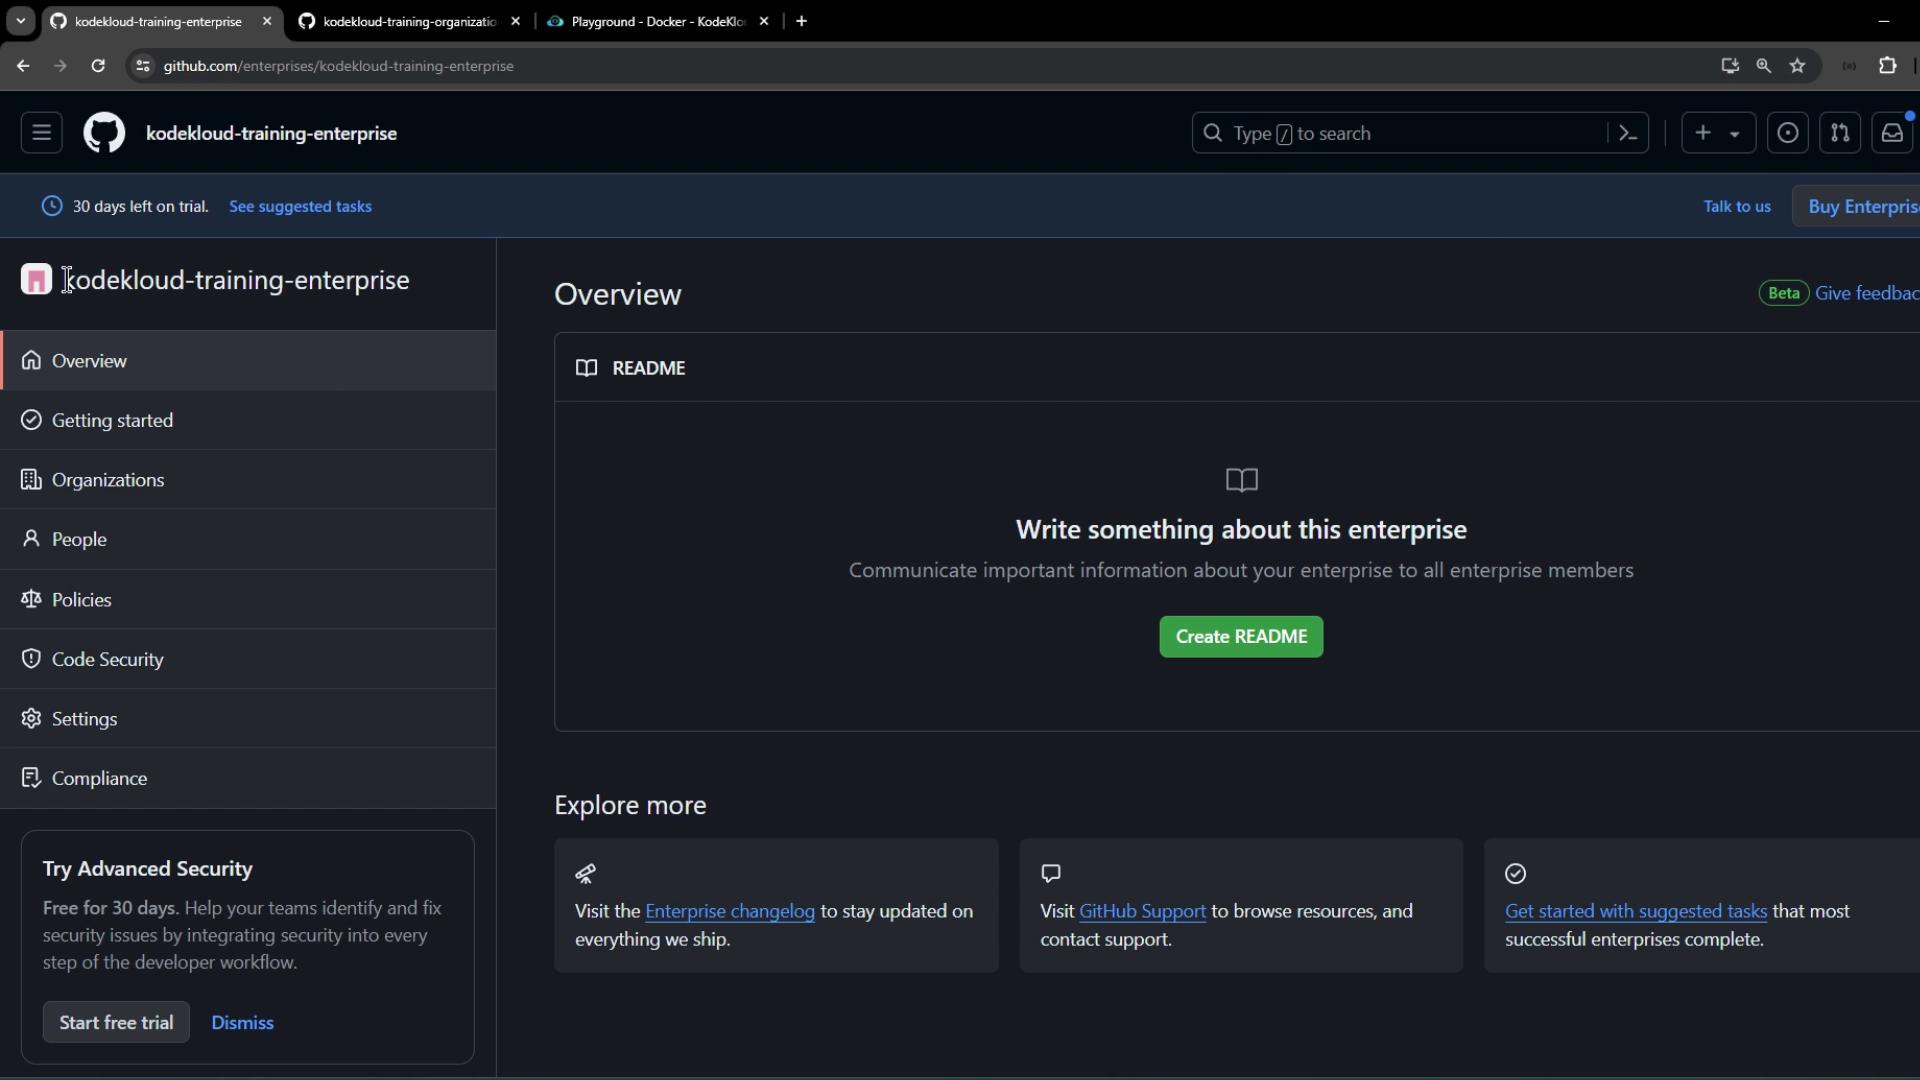
Tab 2: Organization Home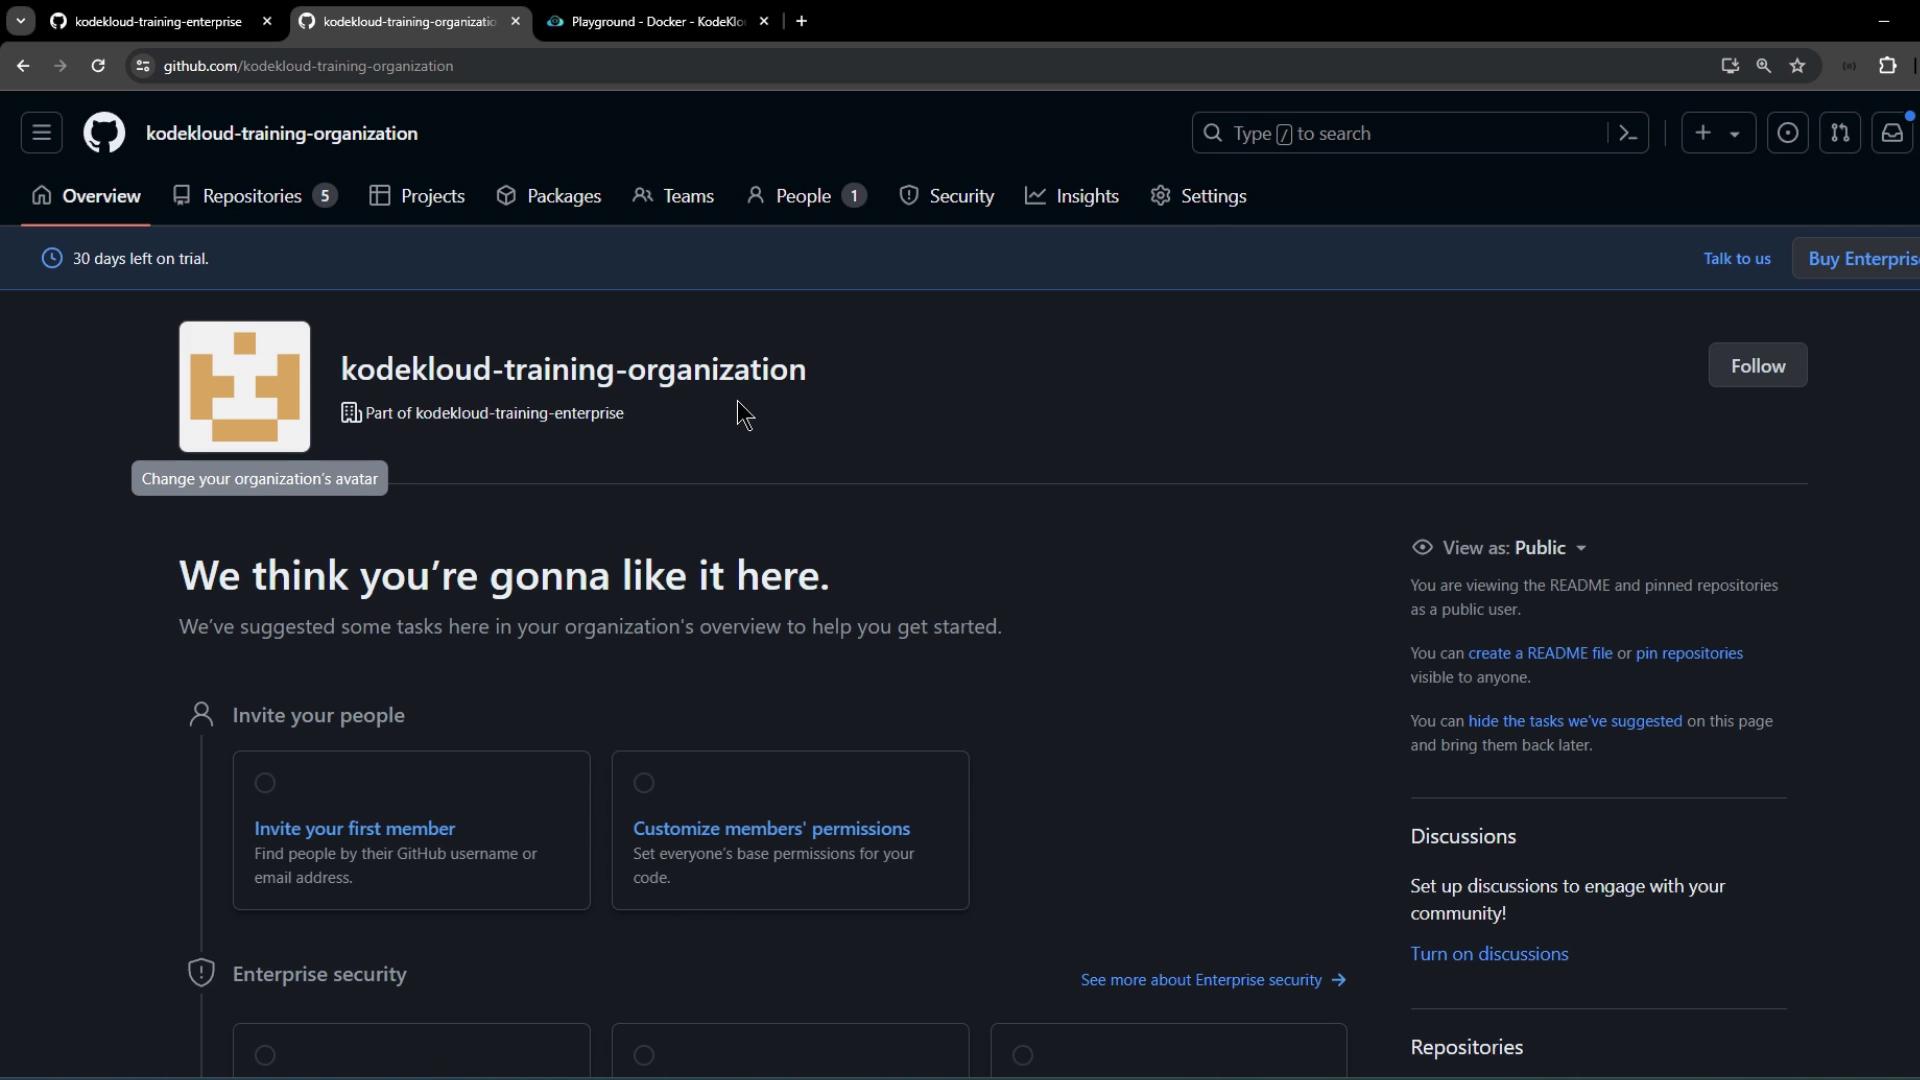
Notice the UI placement:
- Enterprise settings live in the left sidebar.
- Organization and user settings appear in the top navigation.
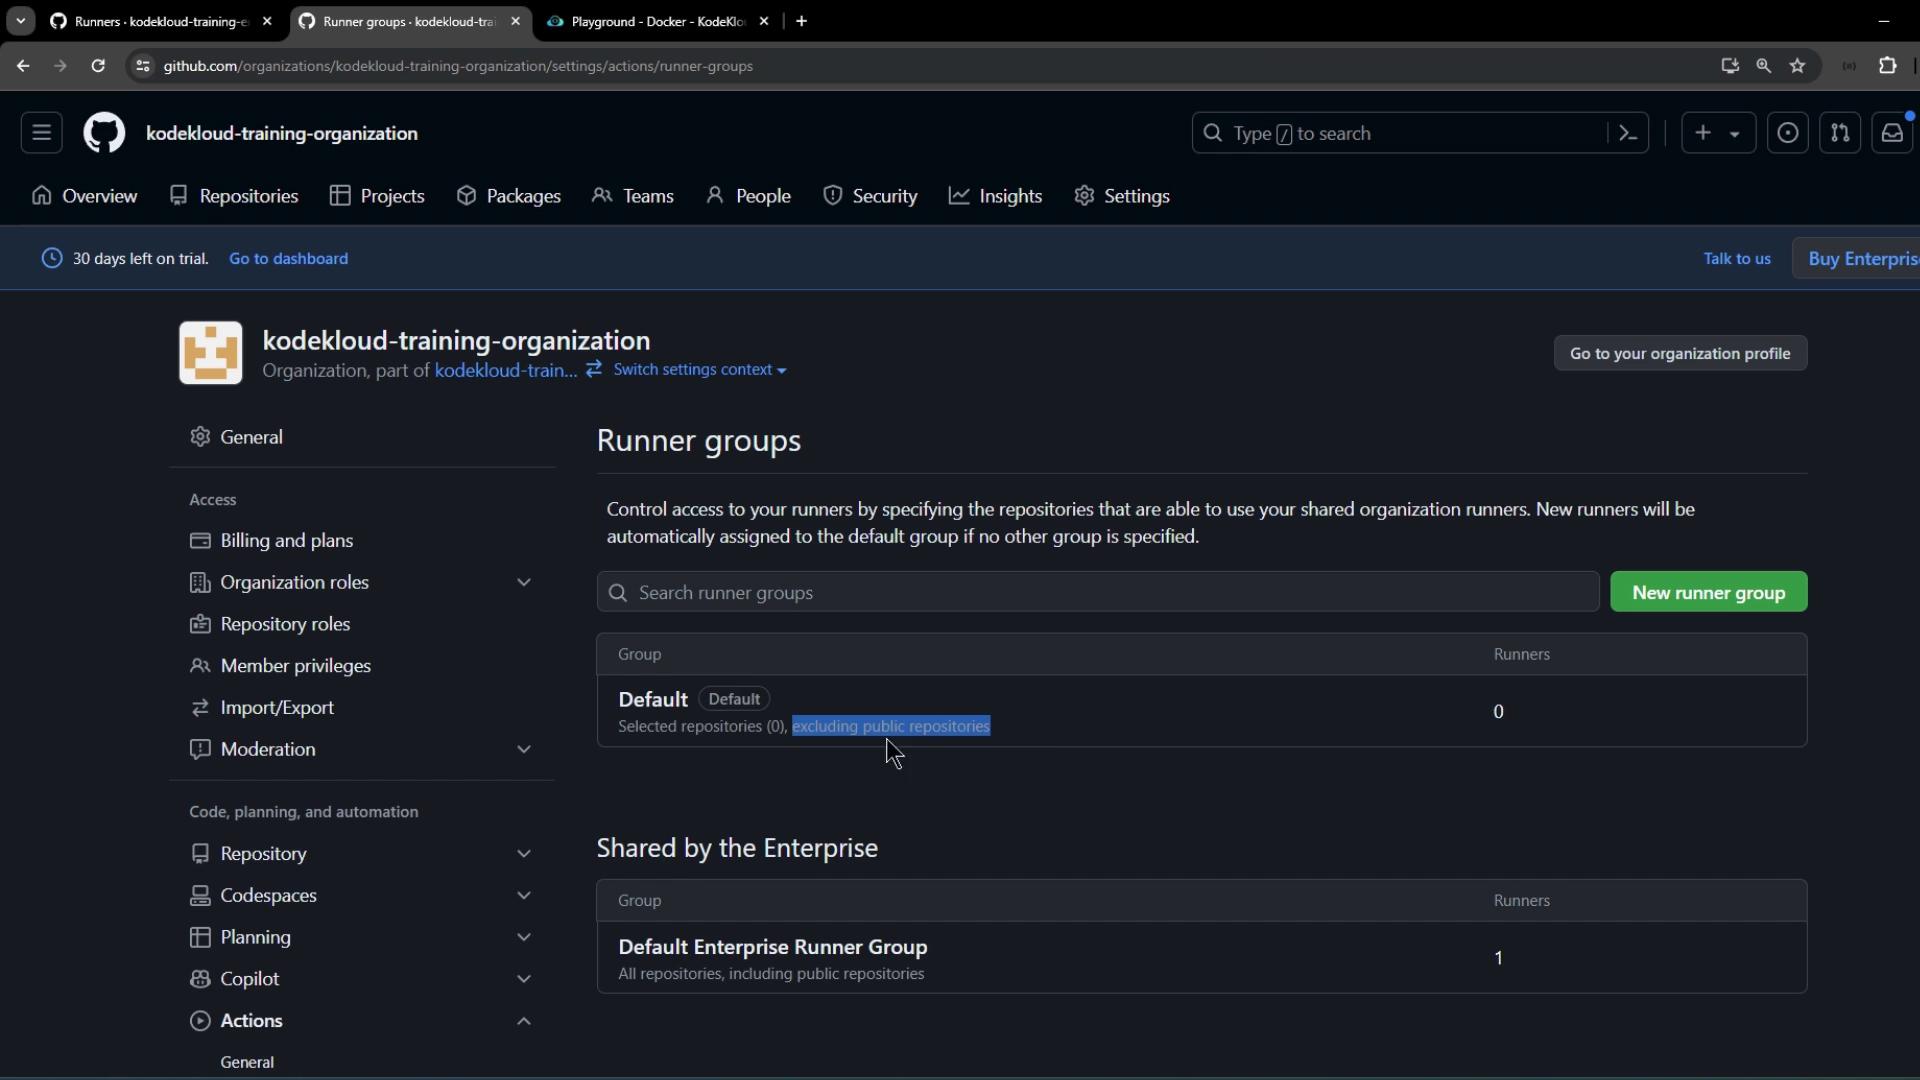
2. View and Rename Organization Runner Groups
In your organization, navigate to Settings > Actions > Runner groups.
You’ll see the default runner group:
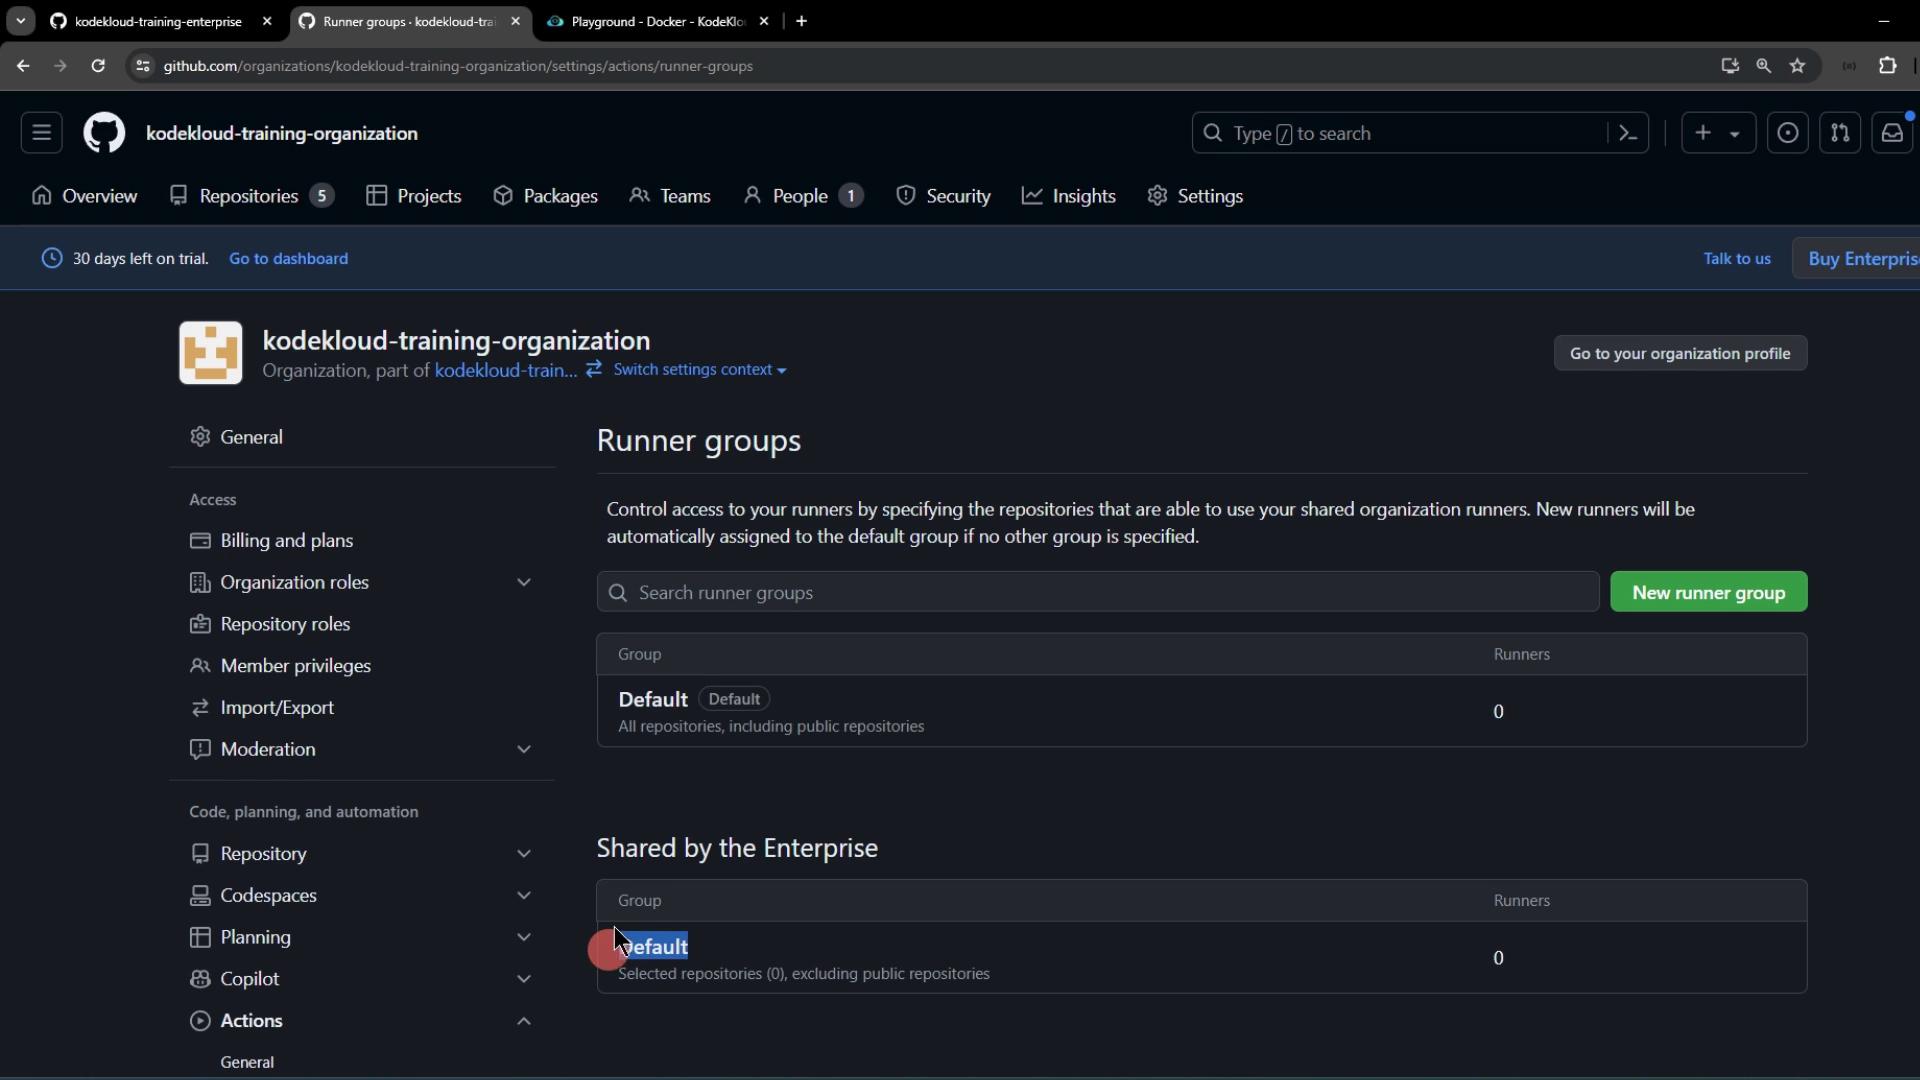
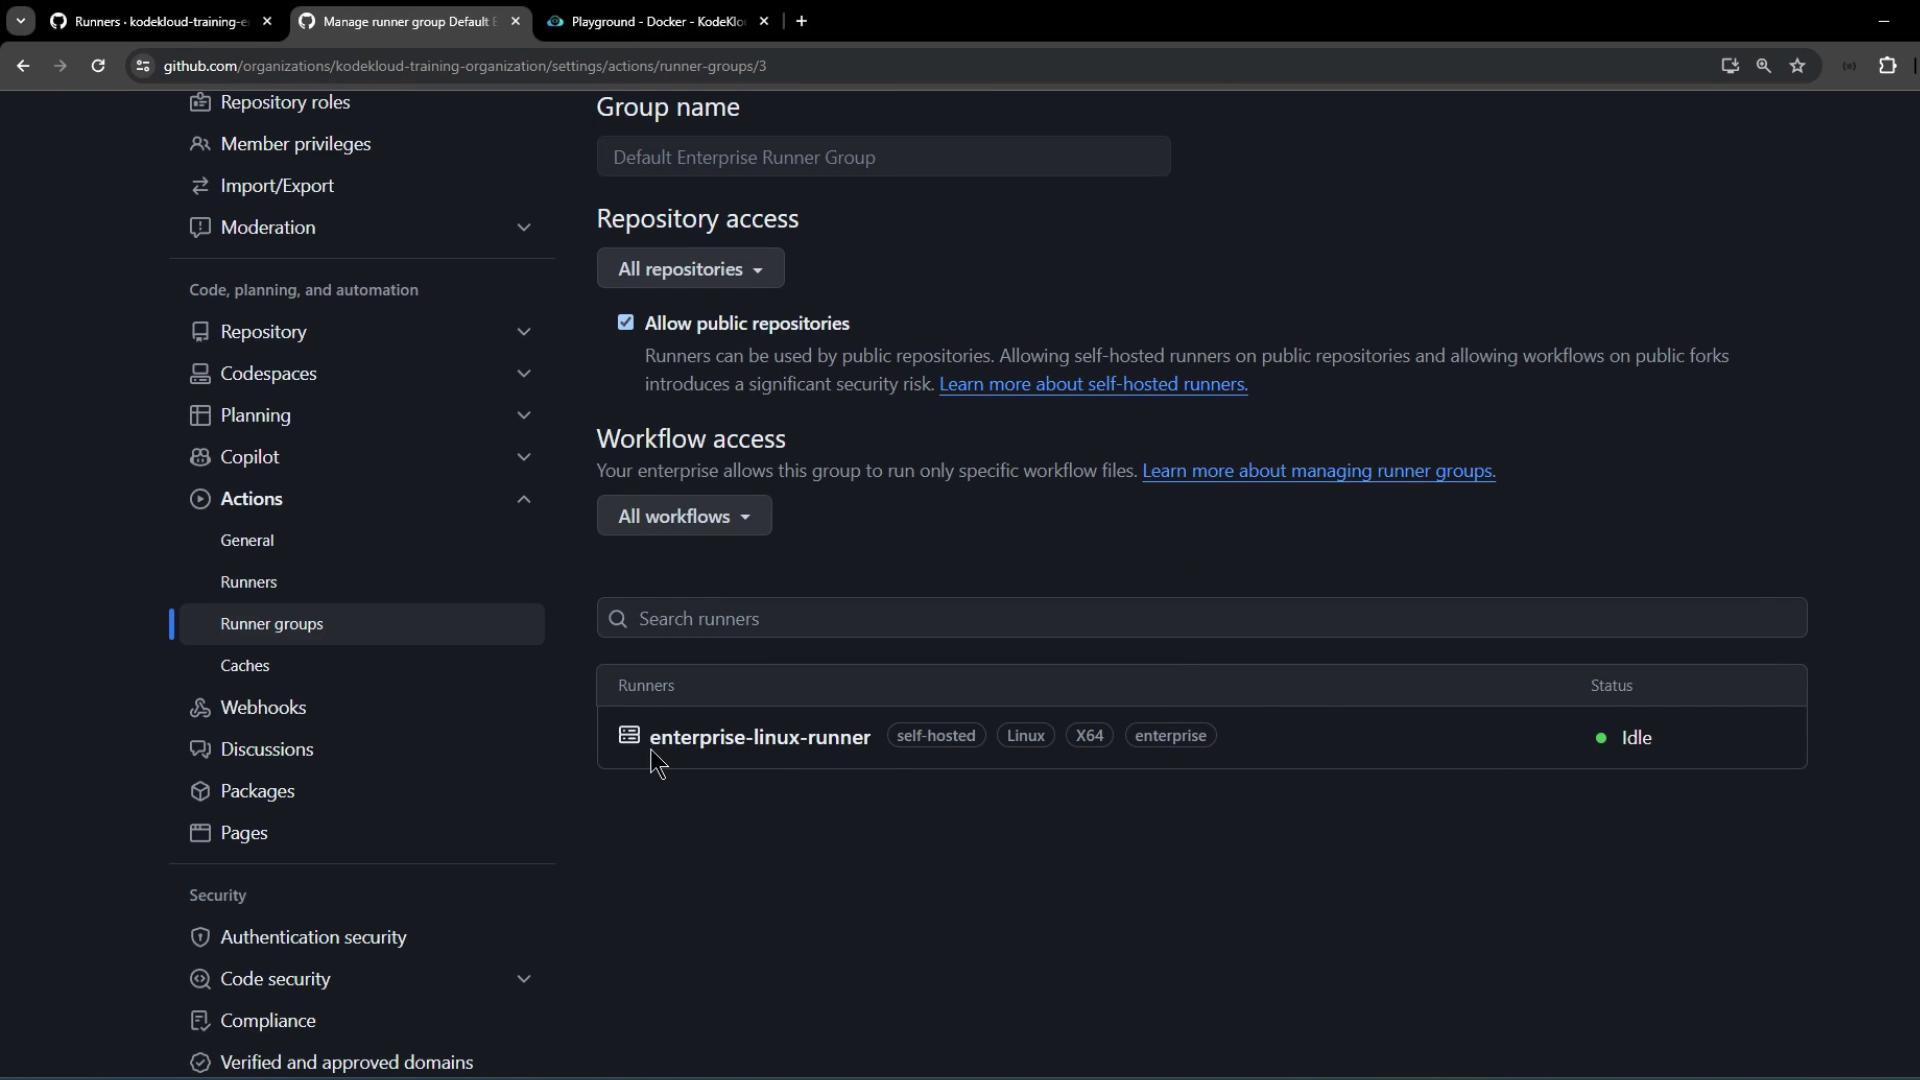
Click into the default group and observe that public repository support cannot be toggled here:
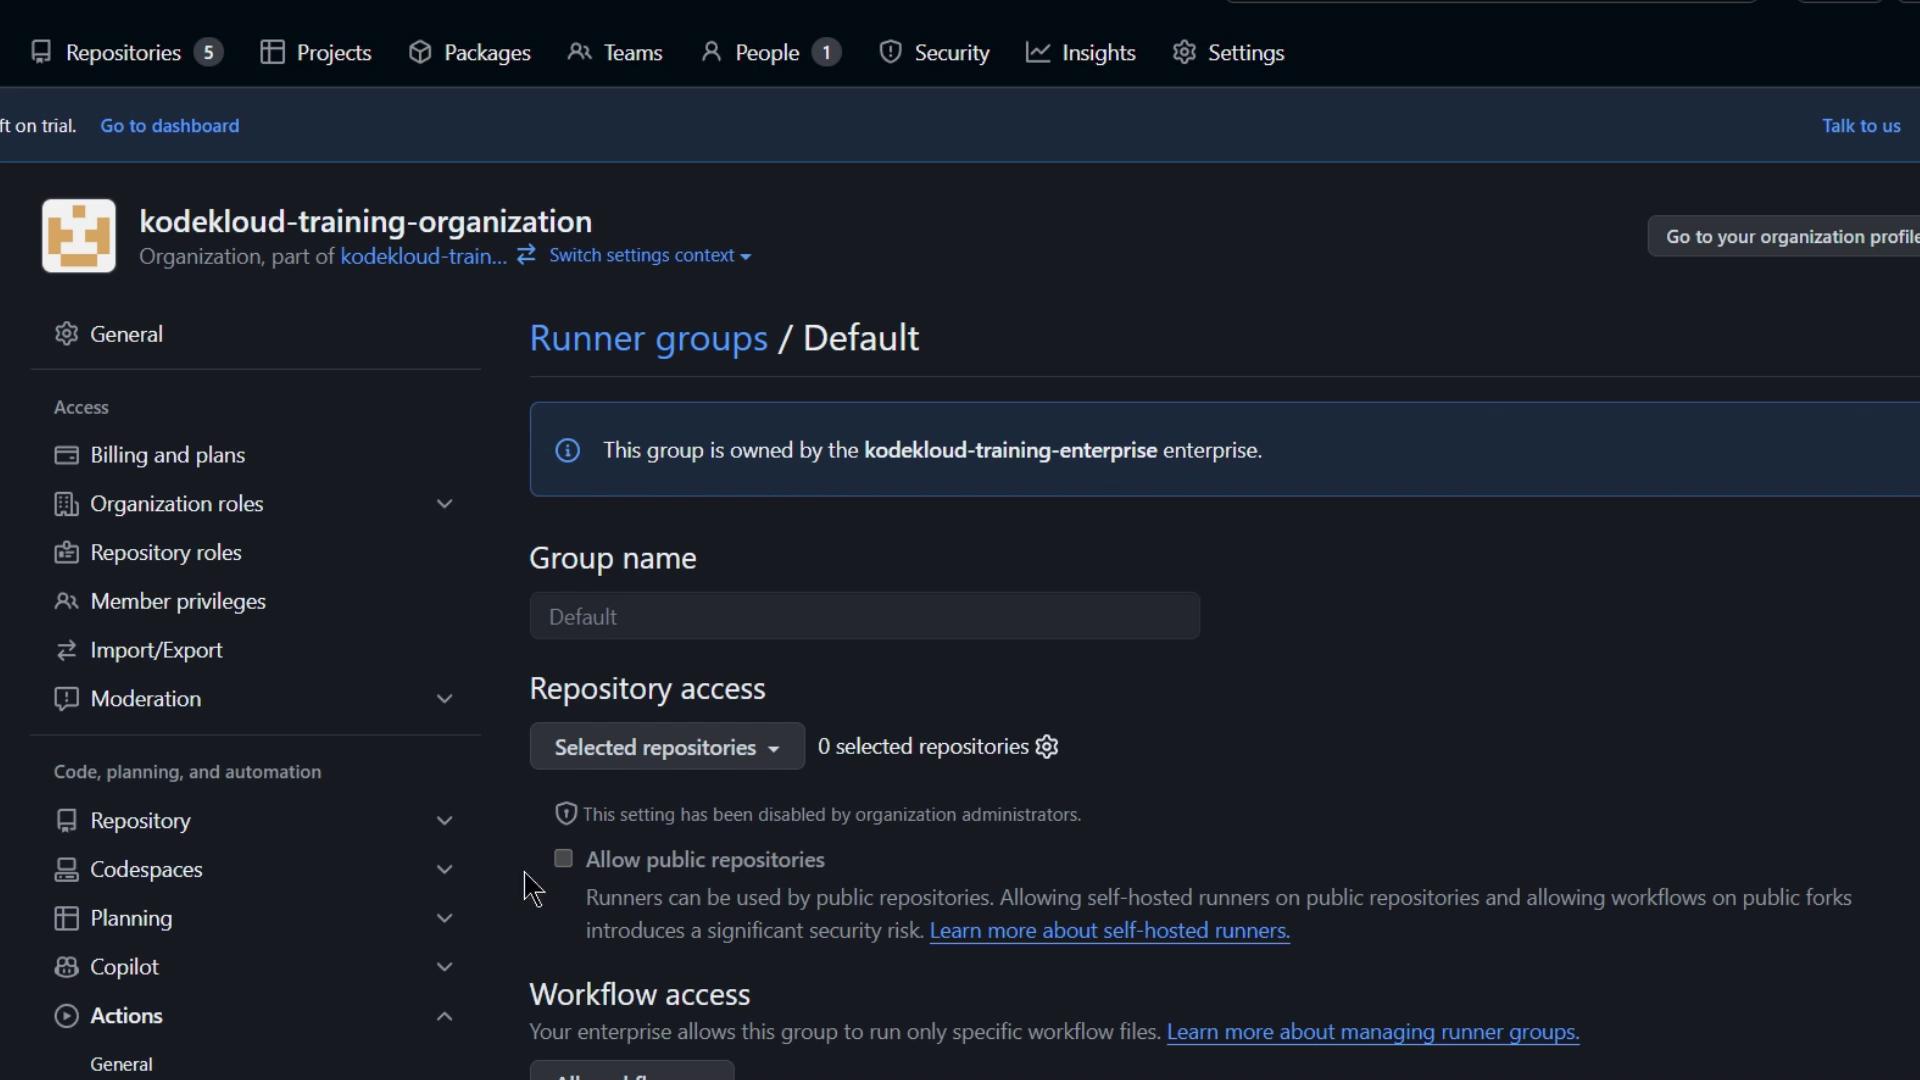
Warning
Public repository support for a runner group is only configurable at the enterprise level. You won’t be able to enable it within the organization settings.
3. Configure Enterprise Runner Group Policies
Switch to Enterprise > Policies > Actions > Runner groups:
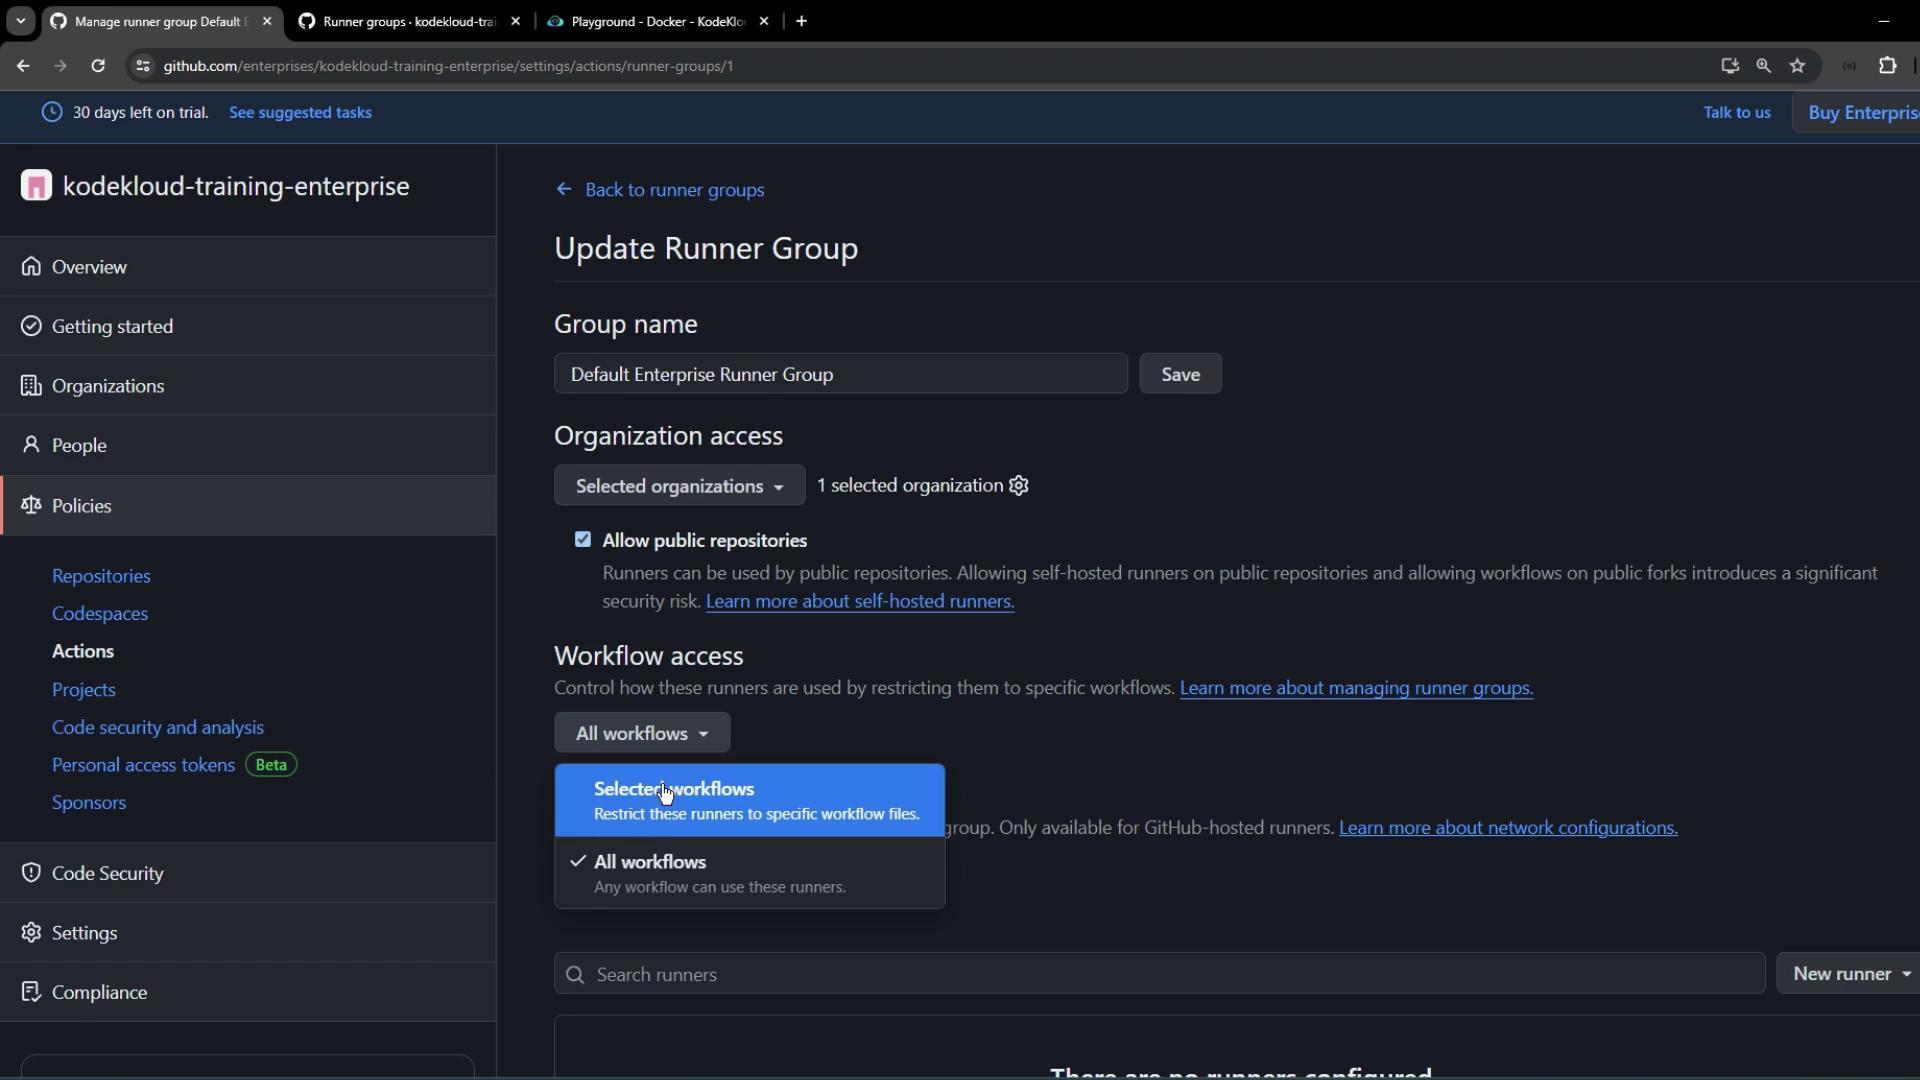
Here you can:
| Option | Description |
|---|---|
| Group Name | Rename (e.g., default enterprise runner group) |
| Organization Access | Restrict to specific orgs or allow all |
| Repository Access | Choose All, Selected, and include Public repos |
| Workflow File Restrictions | Limit to certain workflow filenames |
Apply your changes and save.
4. Assign Runner Group to Organization Repositories
Return to the organization’s Runner groups page and refresh. The renamed enterprise group will appear. Click Add repository access:
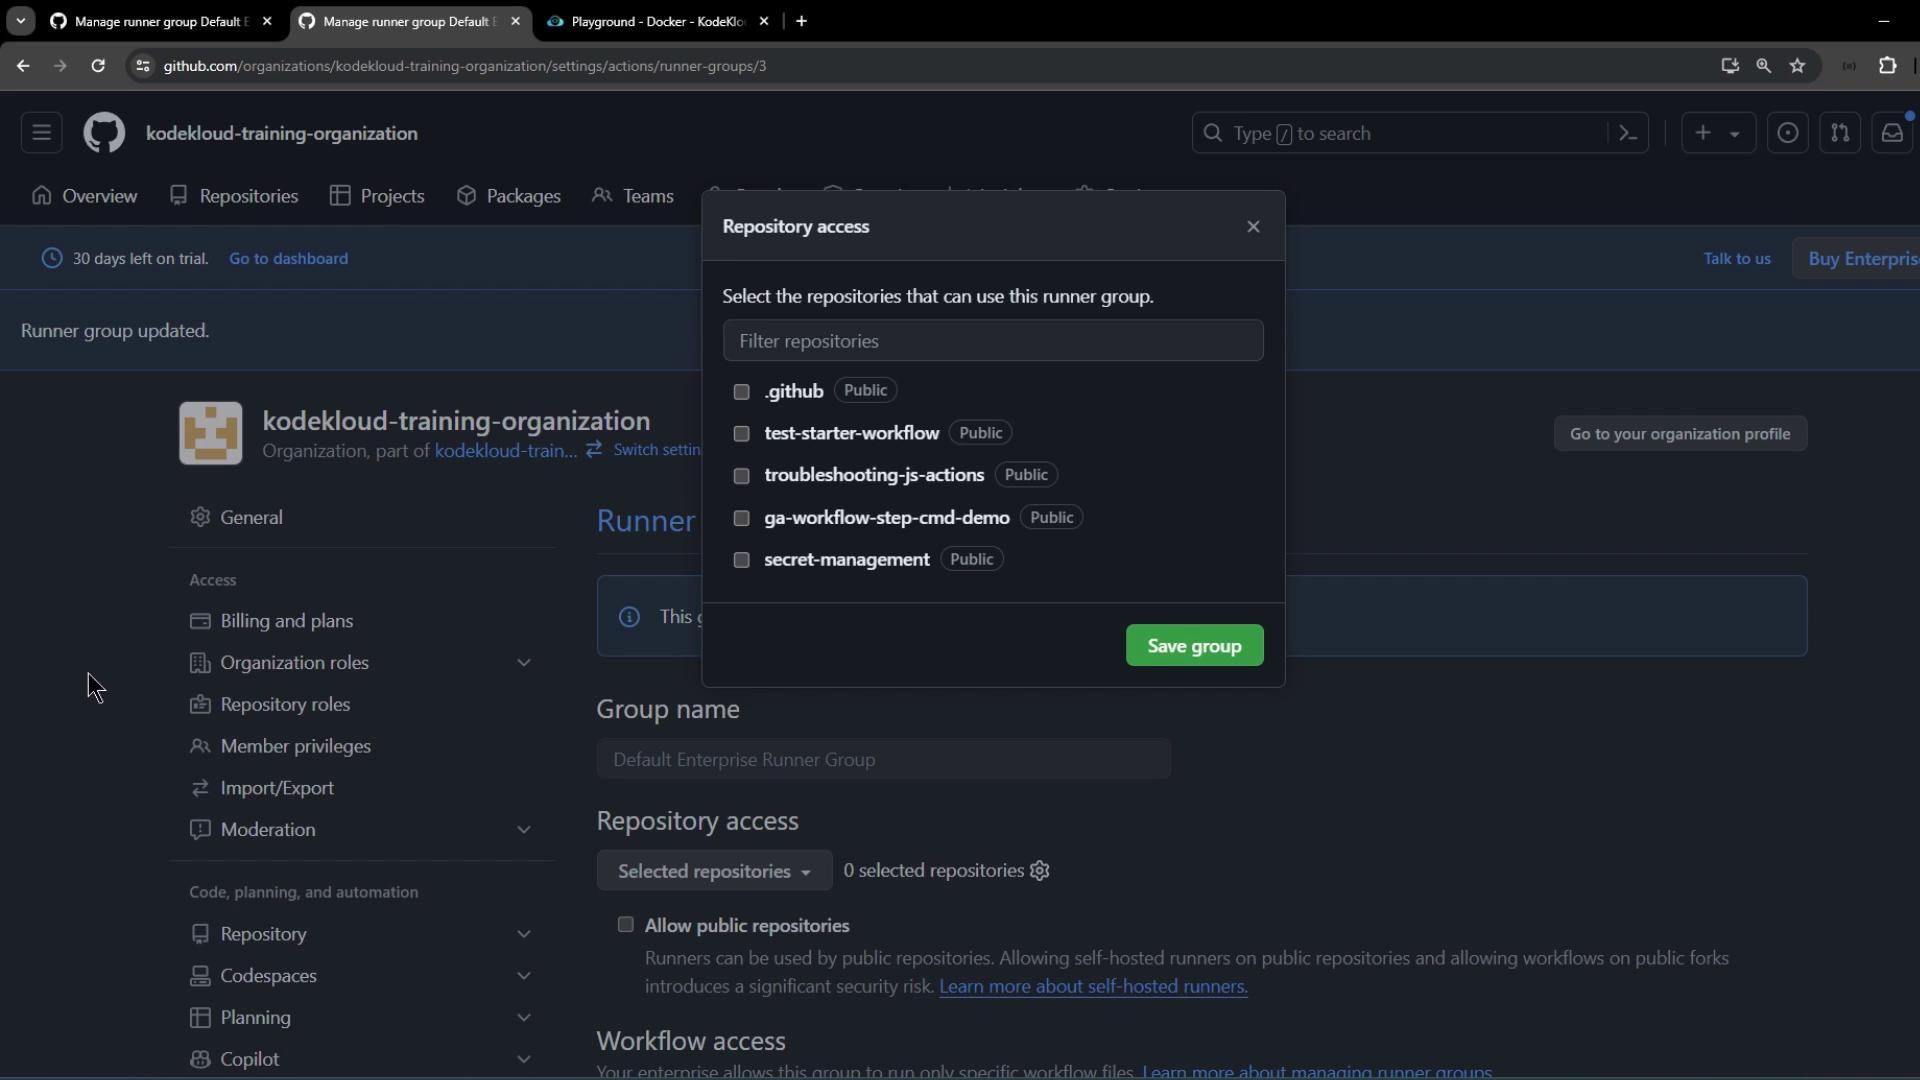
Select:
- All repositories
- Include public repositories
Save to propagate the policy.
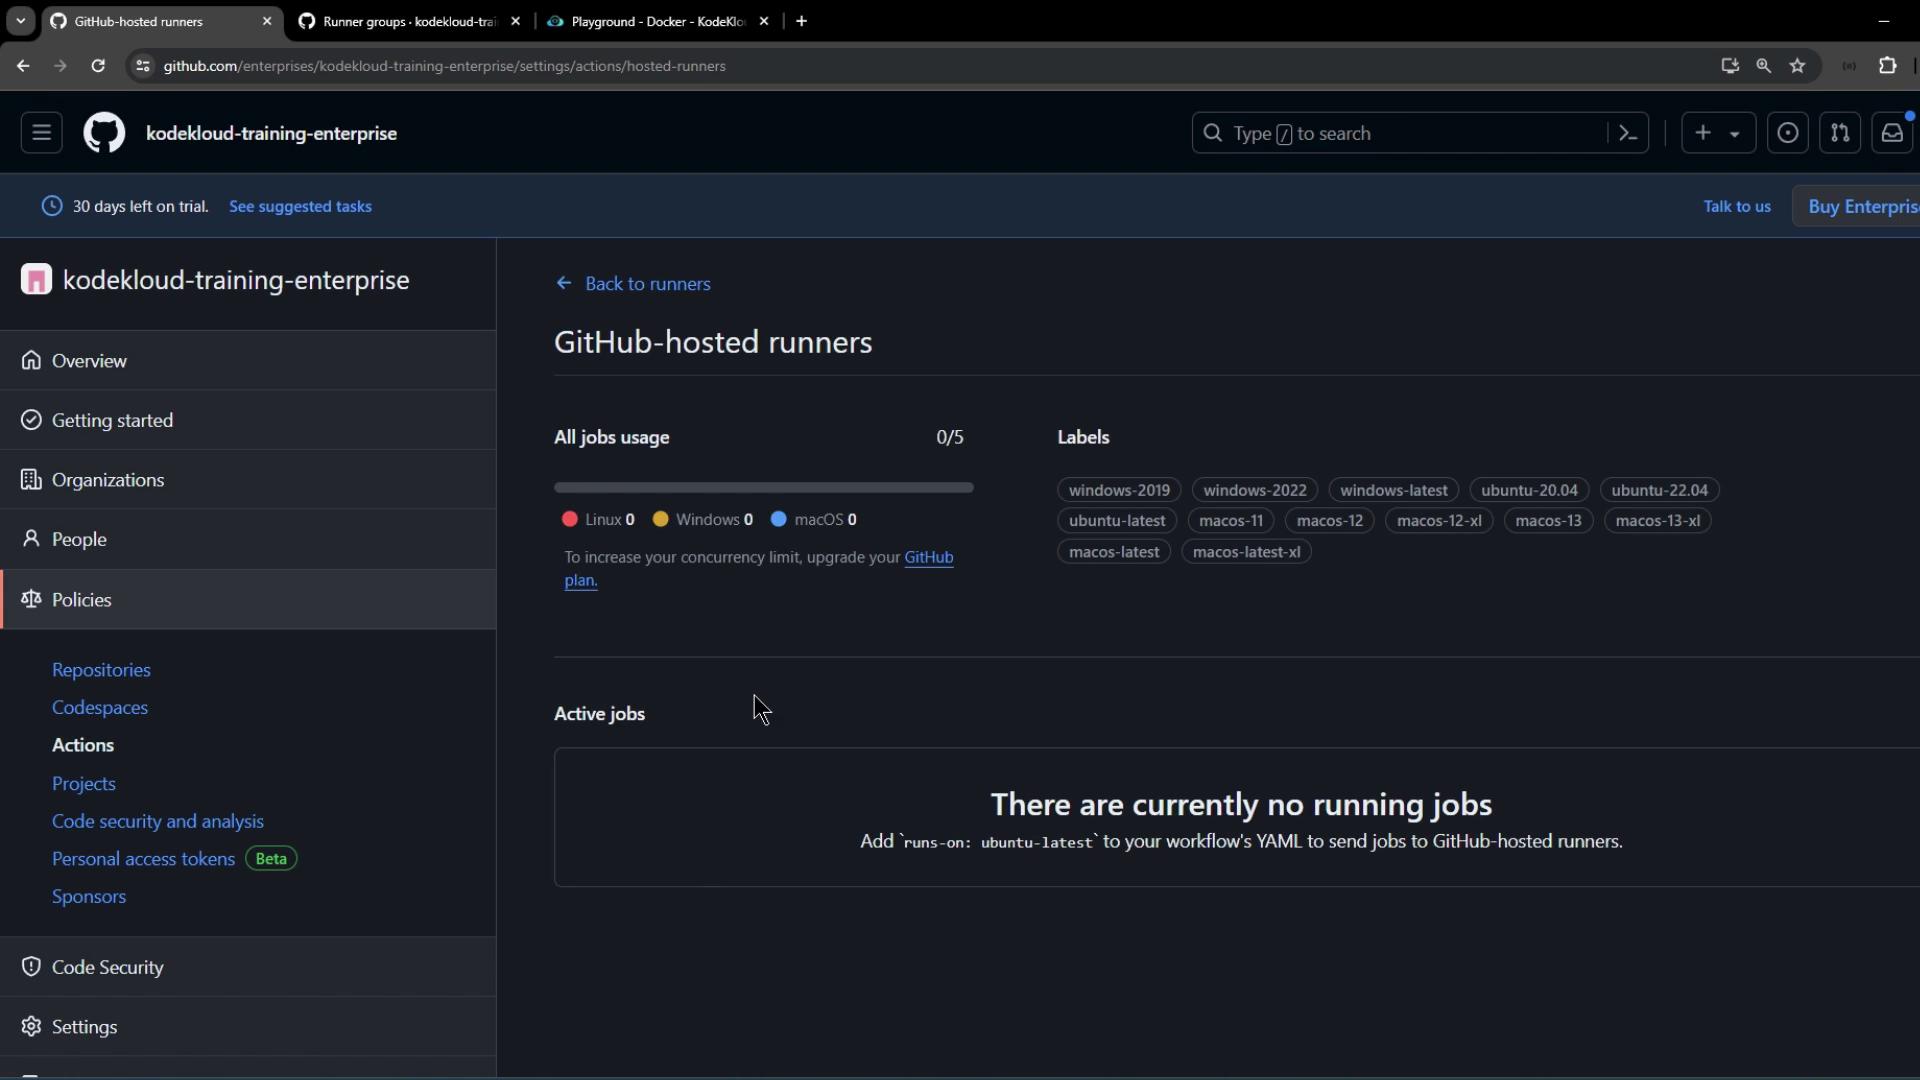
5. Install a Self-Hosted Runner on Linux
In the enterprise settings, go to Policies > Actions > Runners:
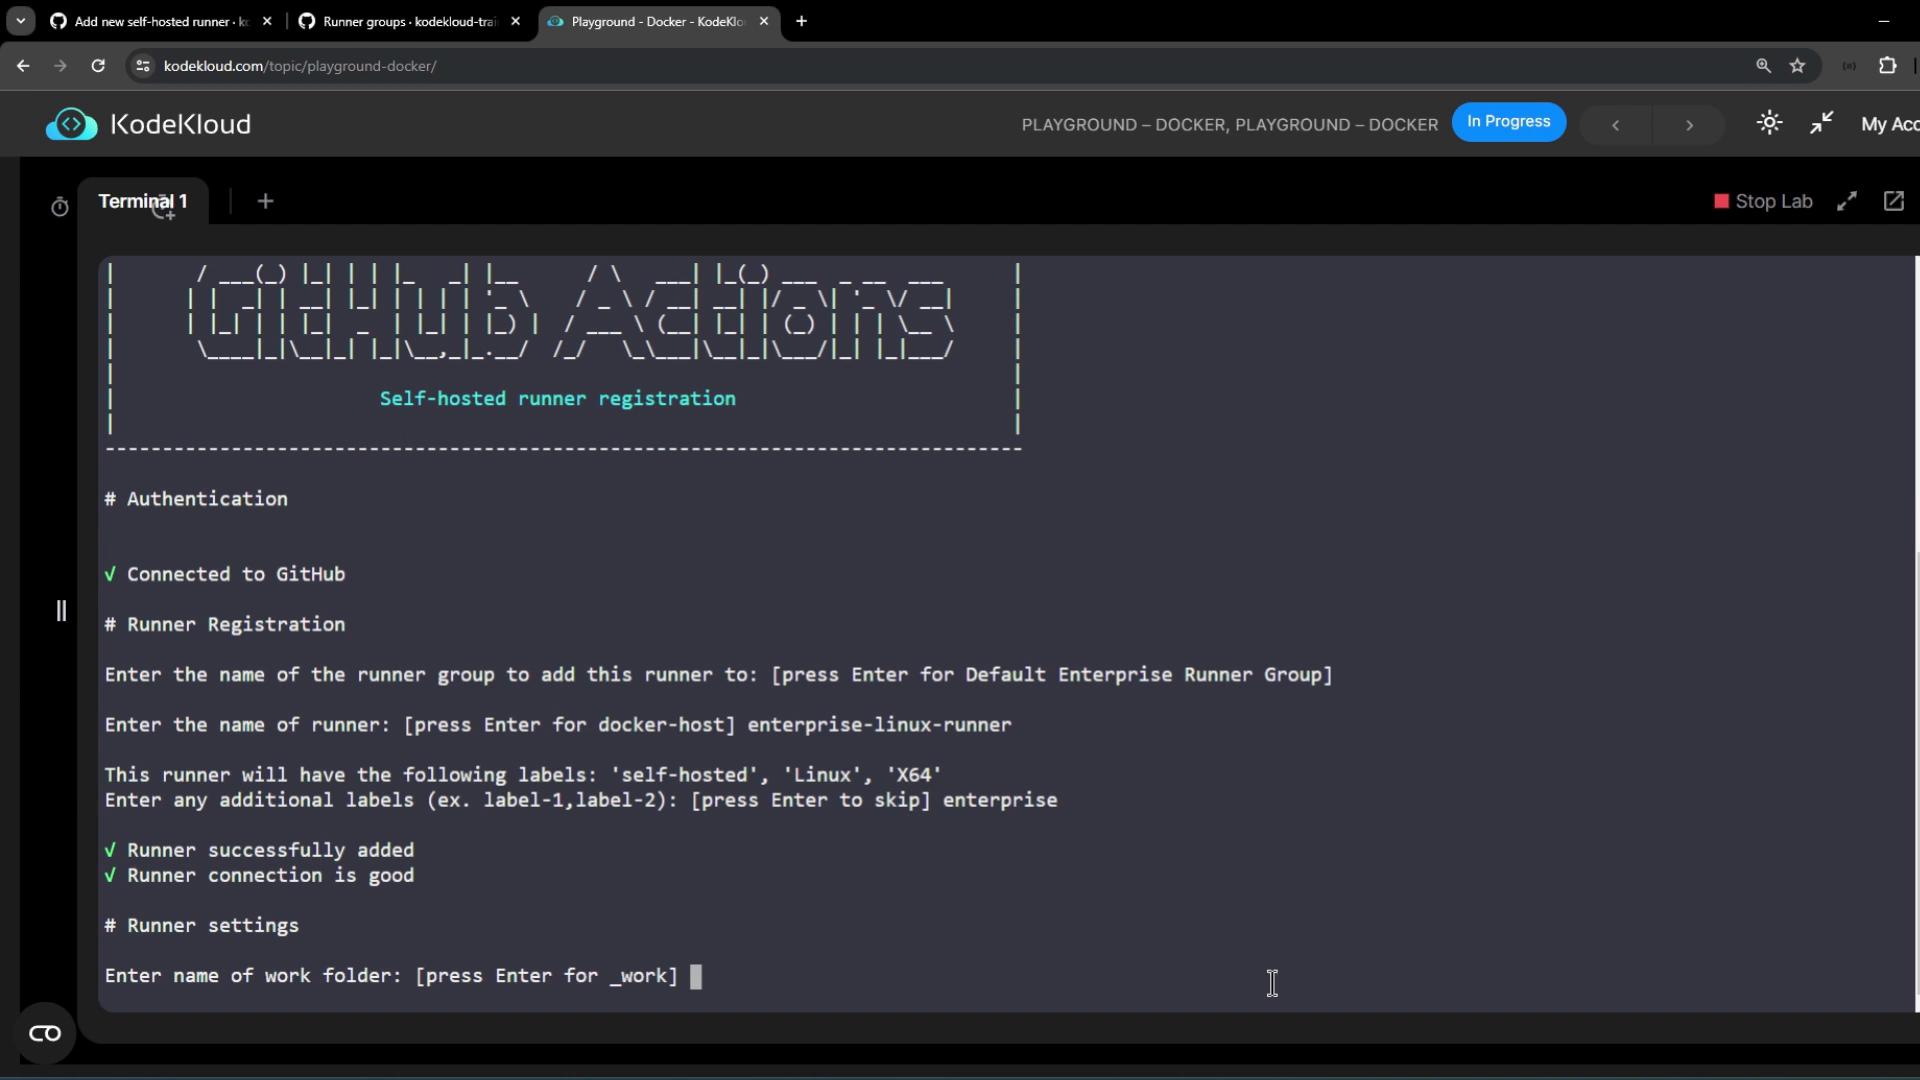
Click New self-hosted runner, choose Linux → x64, and follow the prompts. On your Linux VM, run:
# 1. Create directory and enter it
mkdir actions-runner && cd actions-runner

# 2. Download the runner package
curl -L -o actions-runner-linux-x64-2.315.0.tar.gz \
  https://github.com/actions/runner/releases/download/v2.315.0/actions-runner-linux-x64-2.315.0.tar.gz

# 3. (Optional) Verify checksum
echo "6362646b67613c6981db76f4d25e68e463a9af2cc8d16e31bfeabe39153606a0 actions-runner-linux-x64-2.315.0.tar.gz" \
  | shasum -a 256 -c

# 4. Extract
tar xzf actions-runner-linux-x64-2.315.0.tar.gz

# 5. Configure (replace URL and token)
./config.sh \
  --url https://github.com/enterprises/kodekloud-training-enterprise \
  --token BDEPF64QGNY4SWJQPXUFF363GDQT42

# 6. Start the runner
./run.sh
During setup, assign this runner to your default enterprise runner group and add a label such as enterprise.
Once up, you’ll see logs like:
6. Verify Runner Registration
Back in the enterprise’s Runners list, your new self-hosted runner appears with labels and an idle status:

Switch to the organization’s Runner groups view to confirm it’s available there too:
7. Create a New Repository and Workflow
Disable the organization’s default runner for public repos to enforce enterprise runners.
Go to Repositories > New repository in your organization:

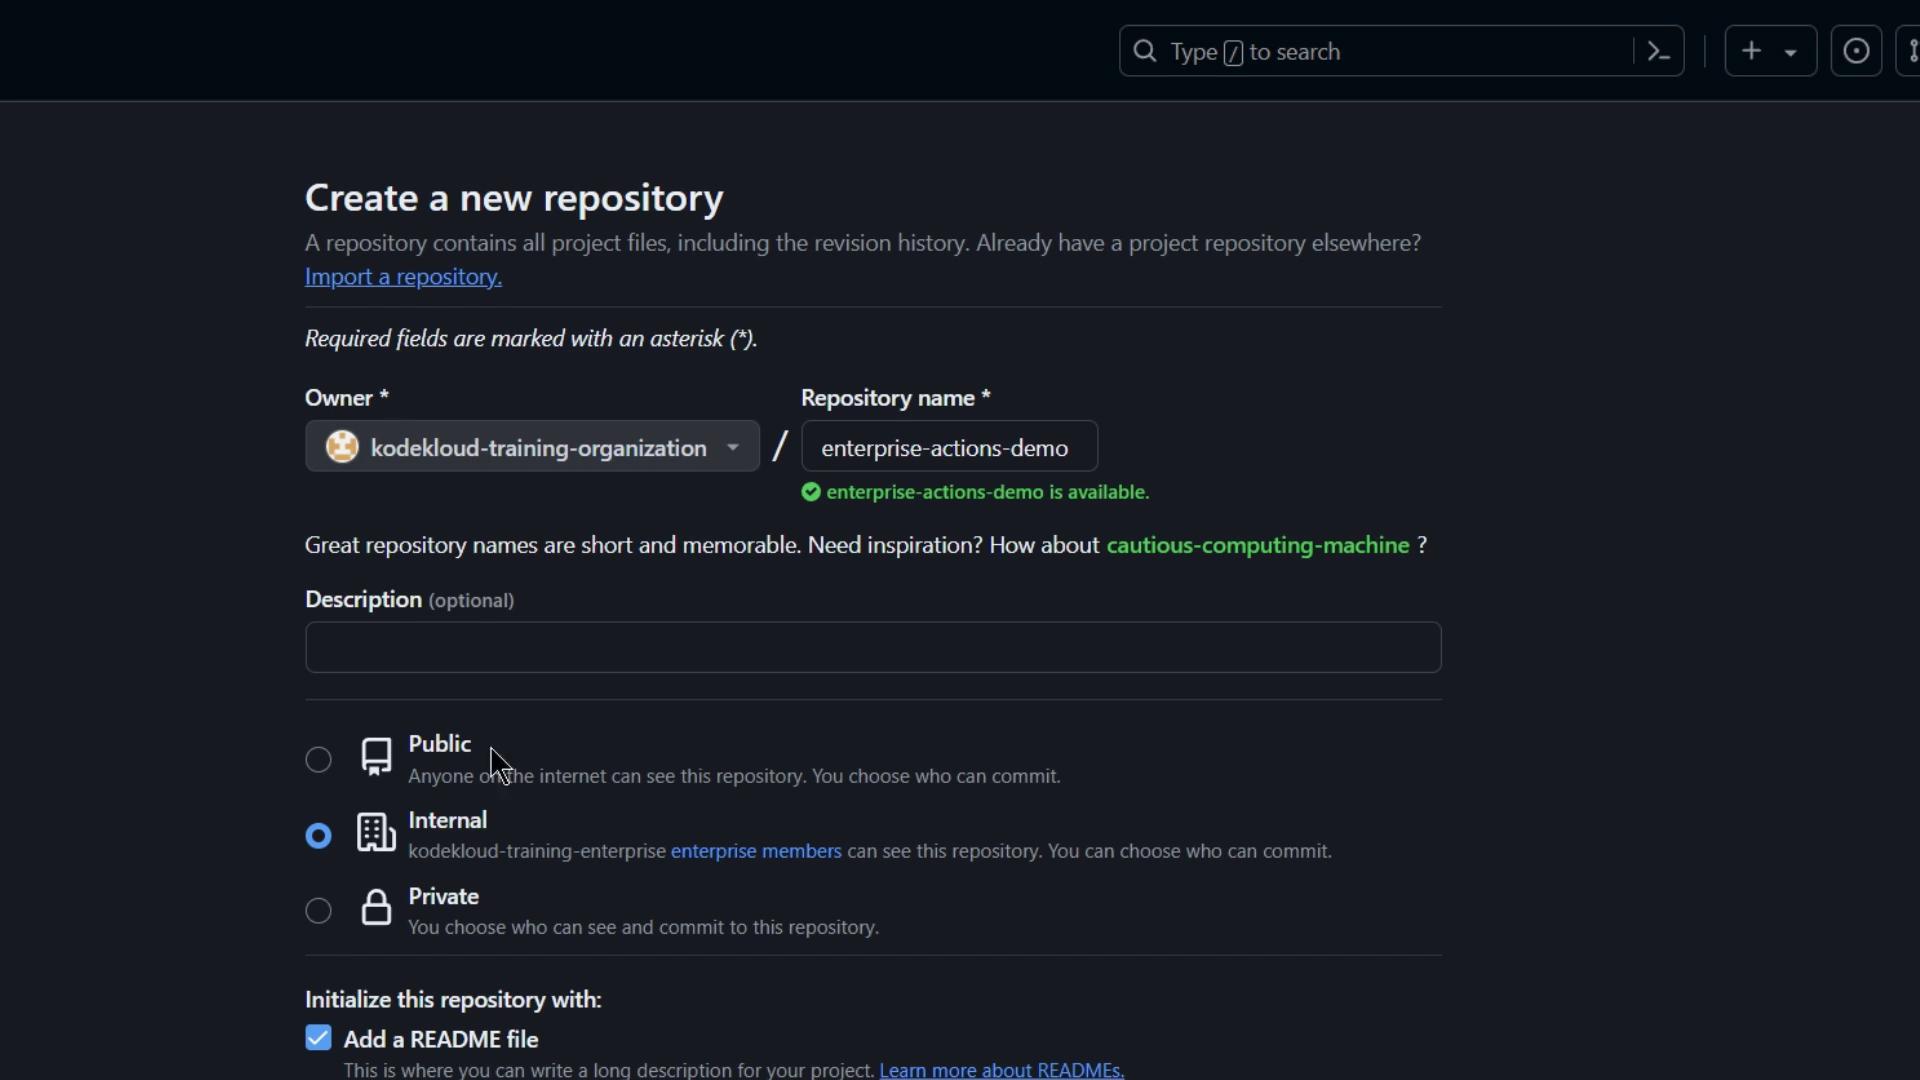
Initialize with a README and clone locally:
git clone [email protected]:kodekloud-training-organization/demo-repo.git
cd demo-repo
- Add a workflow at
.github/workflows/demo.yaml:
name: Exploring GitHub Enterprise Action Features

on:
  push:
  workflow_dispatch:

jobs:
  demo_job:
    runs-on: self-hosted
    steps:
      - name: Hello
        run: echo "Hello GitHub Enterprise!!"

      - name: External Call using cURL
        run: curl -v http://httpbin.org/ip
- Commit and push:
git add .
git commit -m "Add demo workflow for enterprise runner"
git push
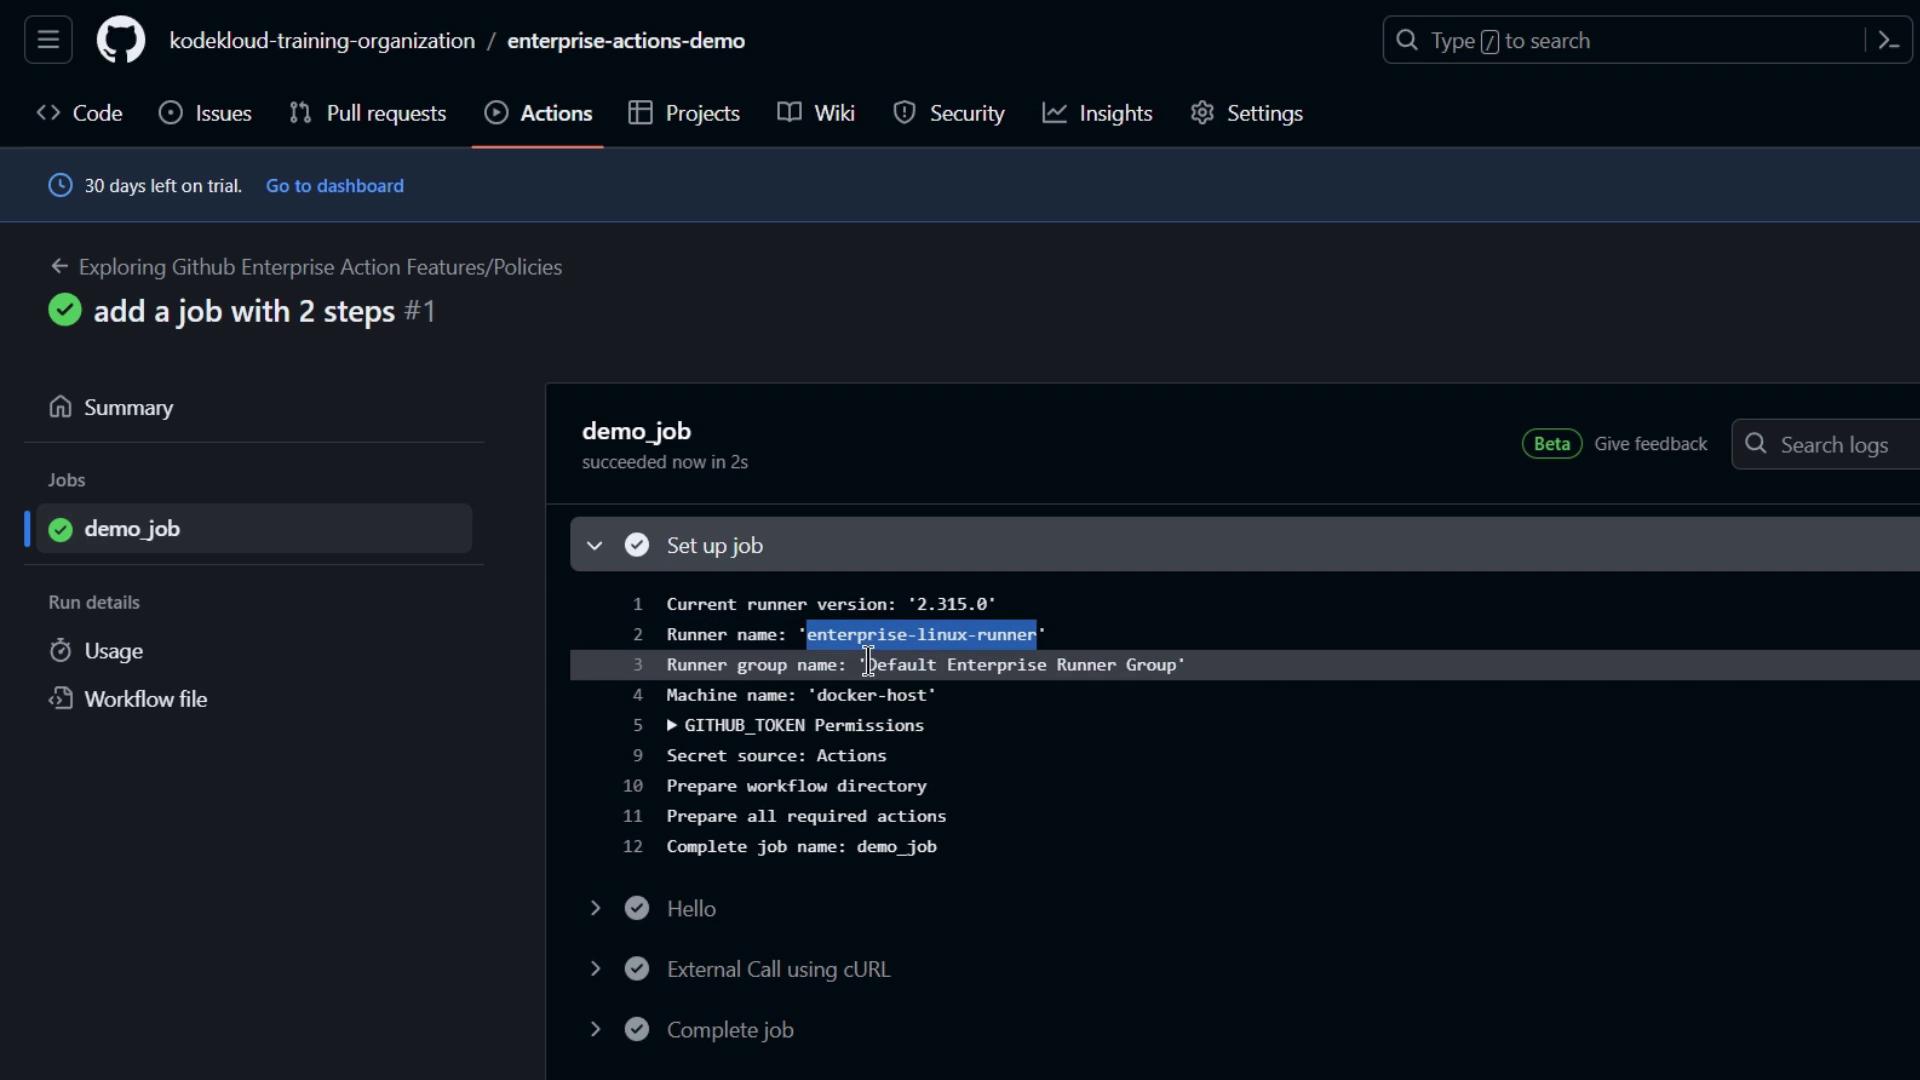
8. Review Workflow Execution
Navigate to the repository’s Actions tab. You should see demo_job queued and running on your self-hosted enterprise runner:
Next Steps
In Part 2, we’ll cover how to move runners between groups and update labels directly from the GitHub UI.
Links and References
Watch Video
Watch video content