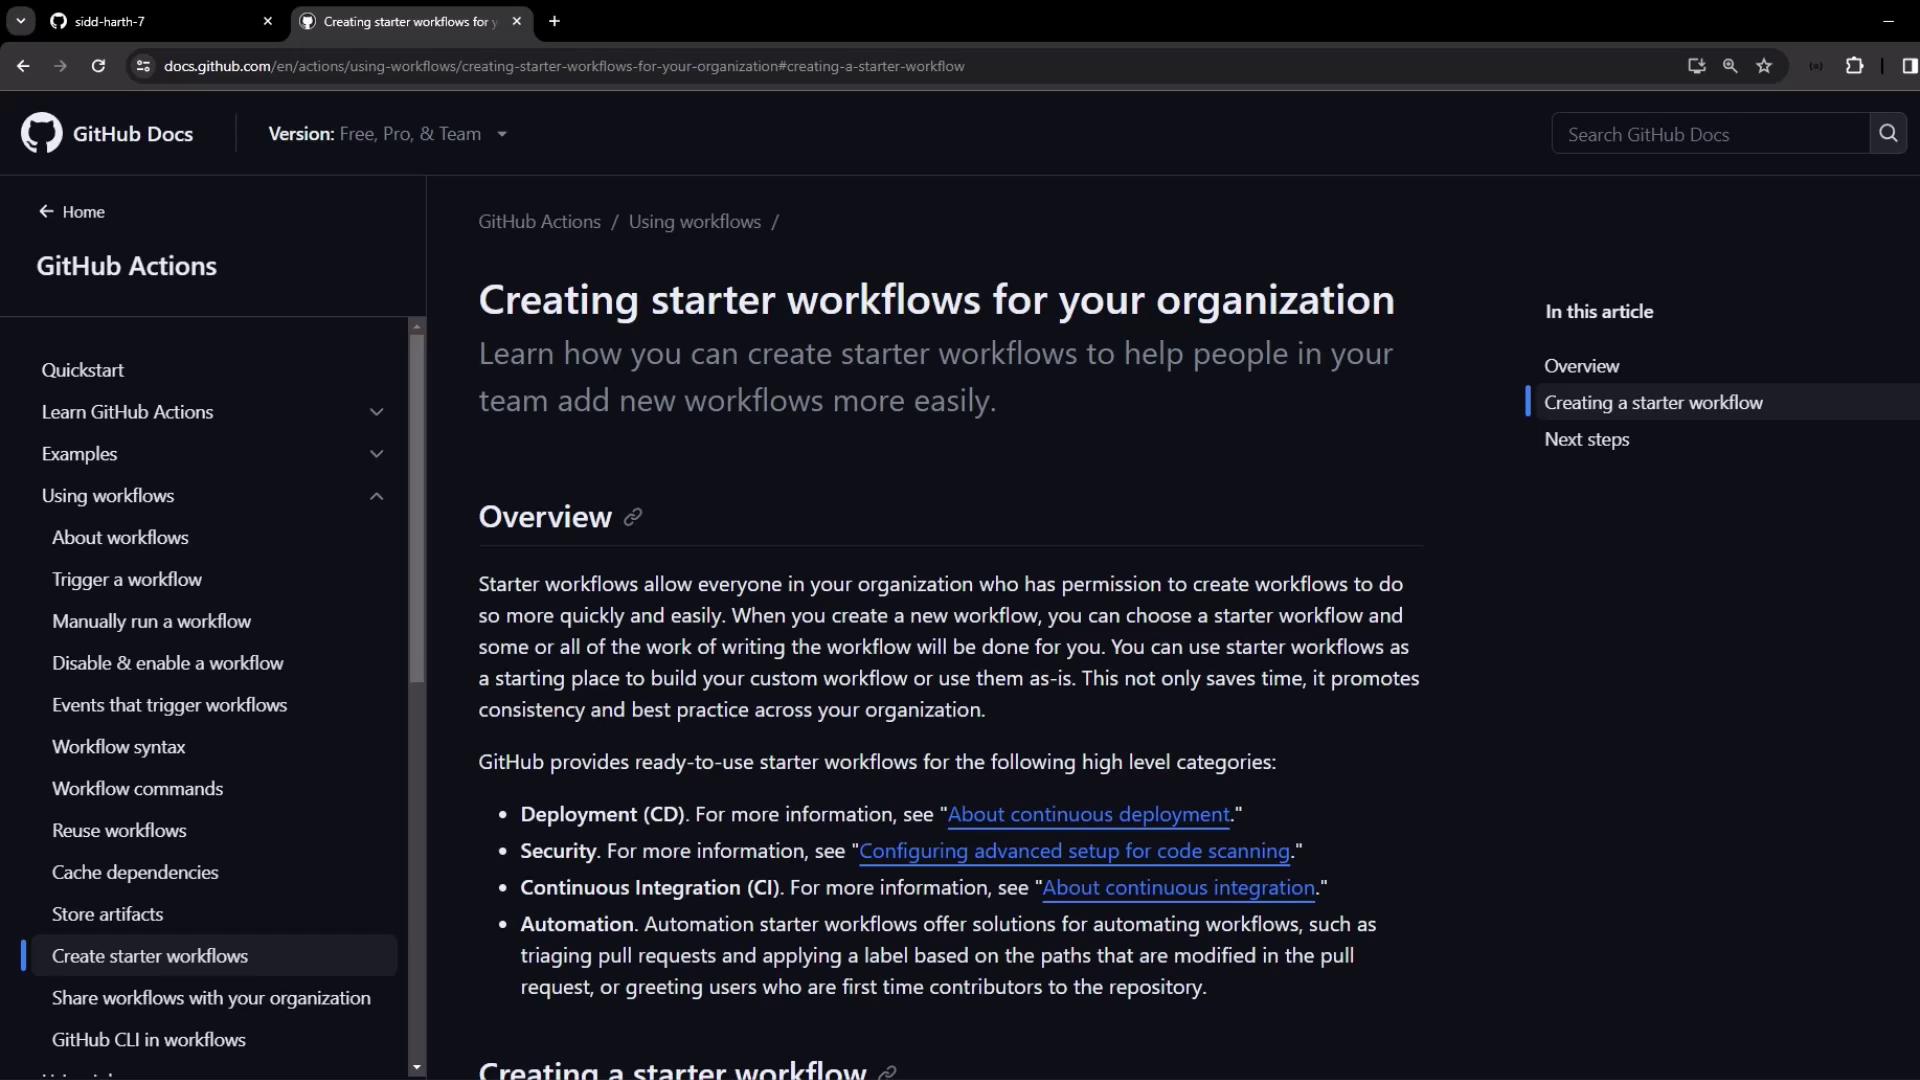
.github repository, teams can pick prebuilt workflow templates across all repos—boosting consistency and cutting down duplication.
1. Define a Starter Workflow Template
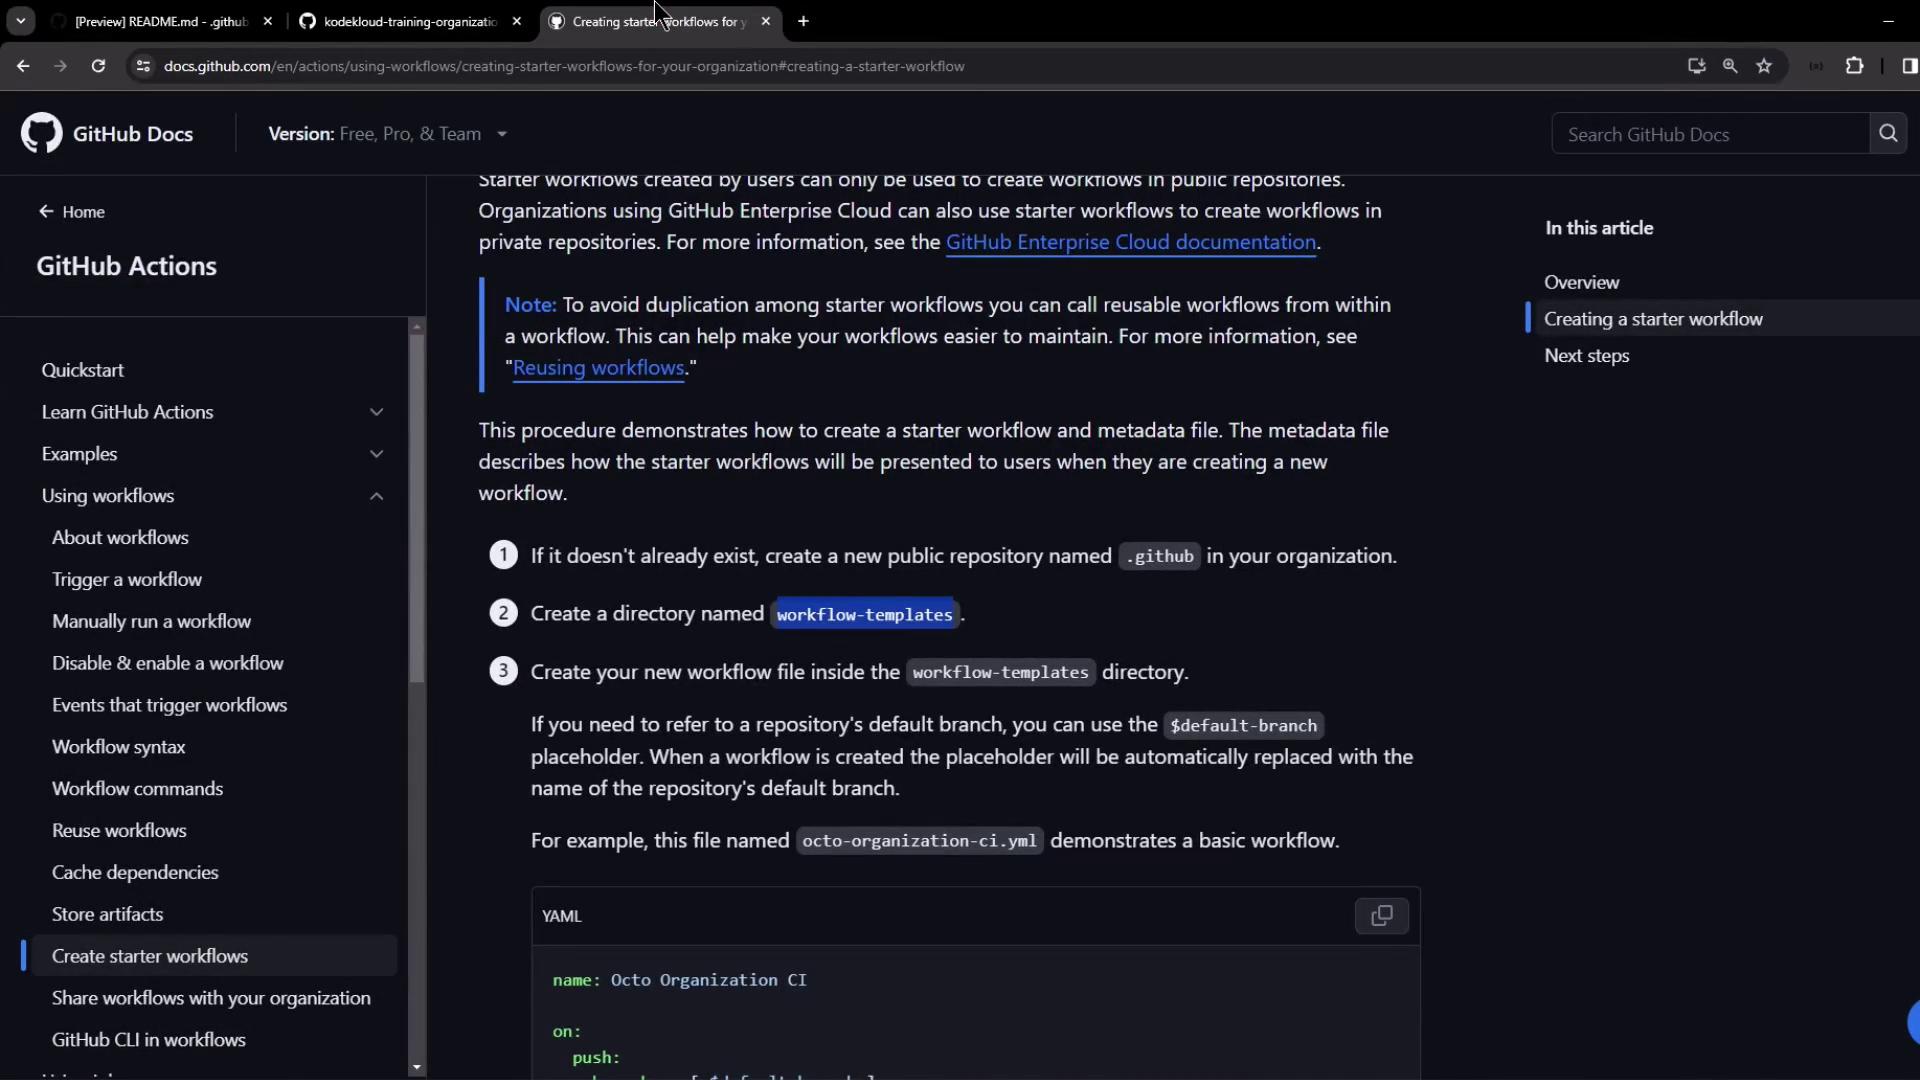
To publish a reusable workflow:- Create a public repository named
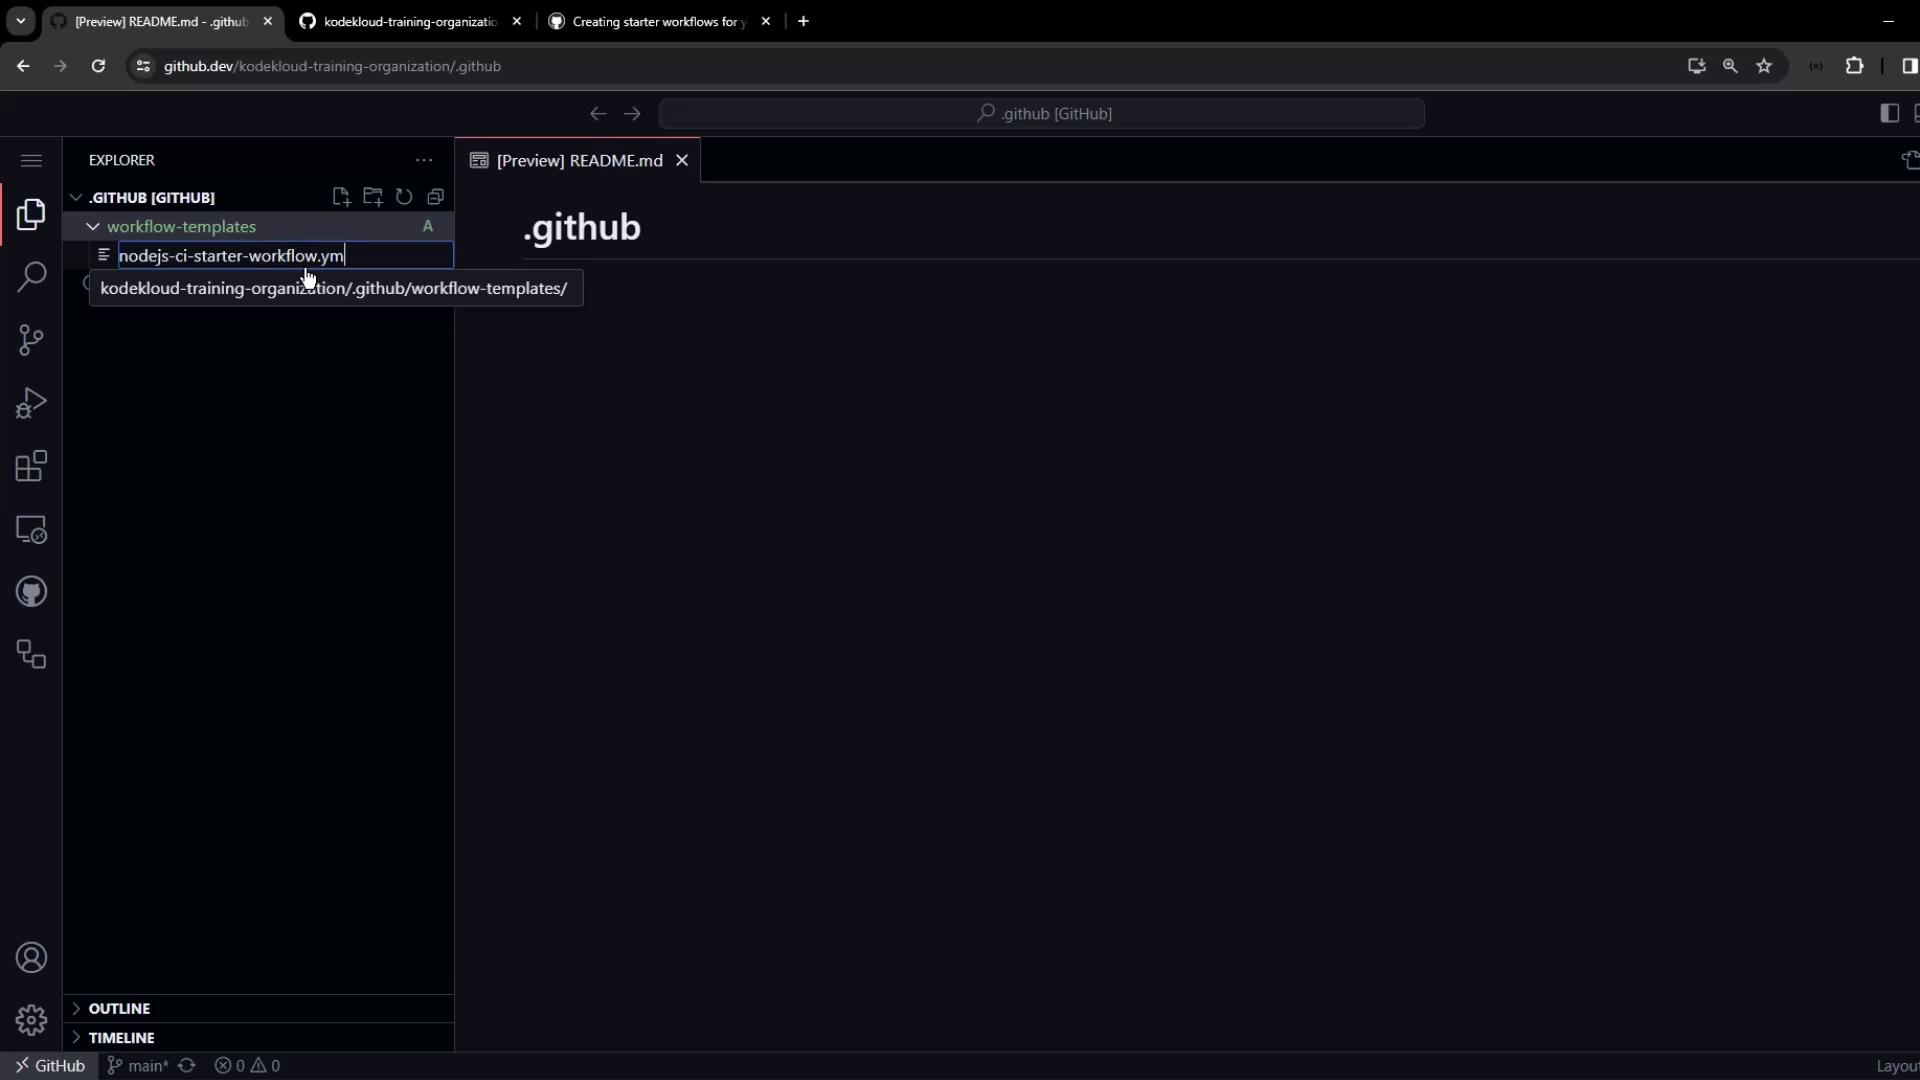
.githubat the root of your organization. - Inside
.github, add a folder calledworkflow-templates. - Add a workflow YAML file (for example,
org-ci-starter.yml). - Add a matching metadata file named
org-ci-starter.properties.json.
The metadata JSON controls how your template appears in the workflow picker.
nameanddescriptiondefine the display text.iconNamelets you specify an optional SVG icon.categoriesandfilePatternshelp users find the right template.
| File Path | Purpose | Example Filename |
|---|---|---|
.github/workflow-templates/{template}.yml | Workflow definition | org-ci-starter.yml |
.github/workflow-templates/{template}.properties.json | Display metadata | org-ci-starter.properties.json |
(Optional) .github/workflow-templates/{icon}.svg | Custom icon for the template | kode-kloud-icon.svg |
.github/workflow-templates/org-ci-starter.yml):
.github/workflow-templates/org-ci-starter.properties.json):
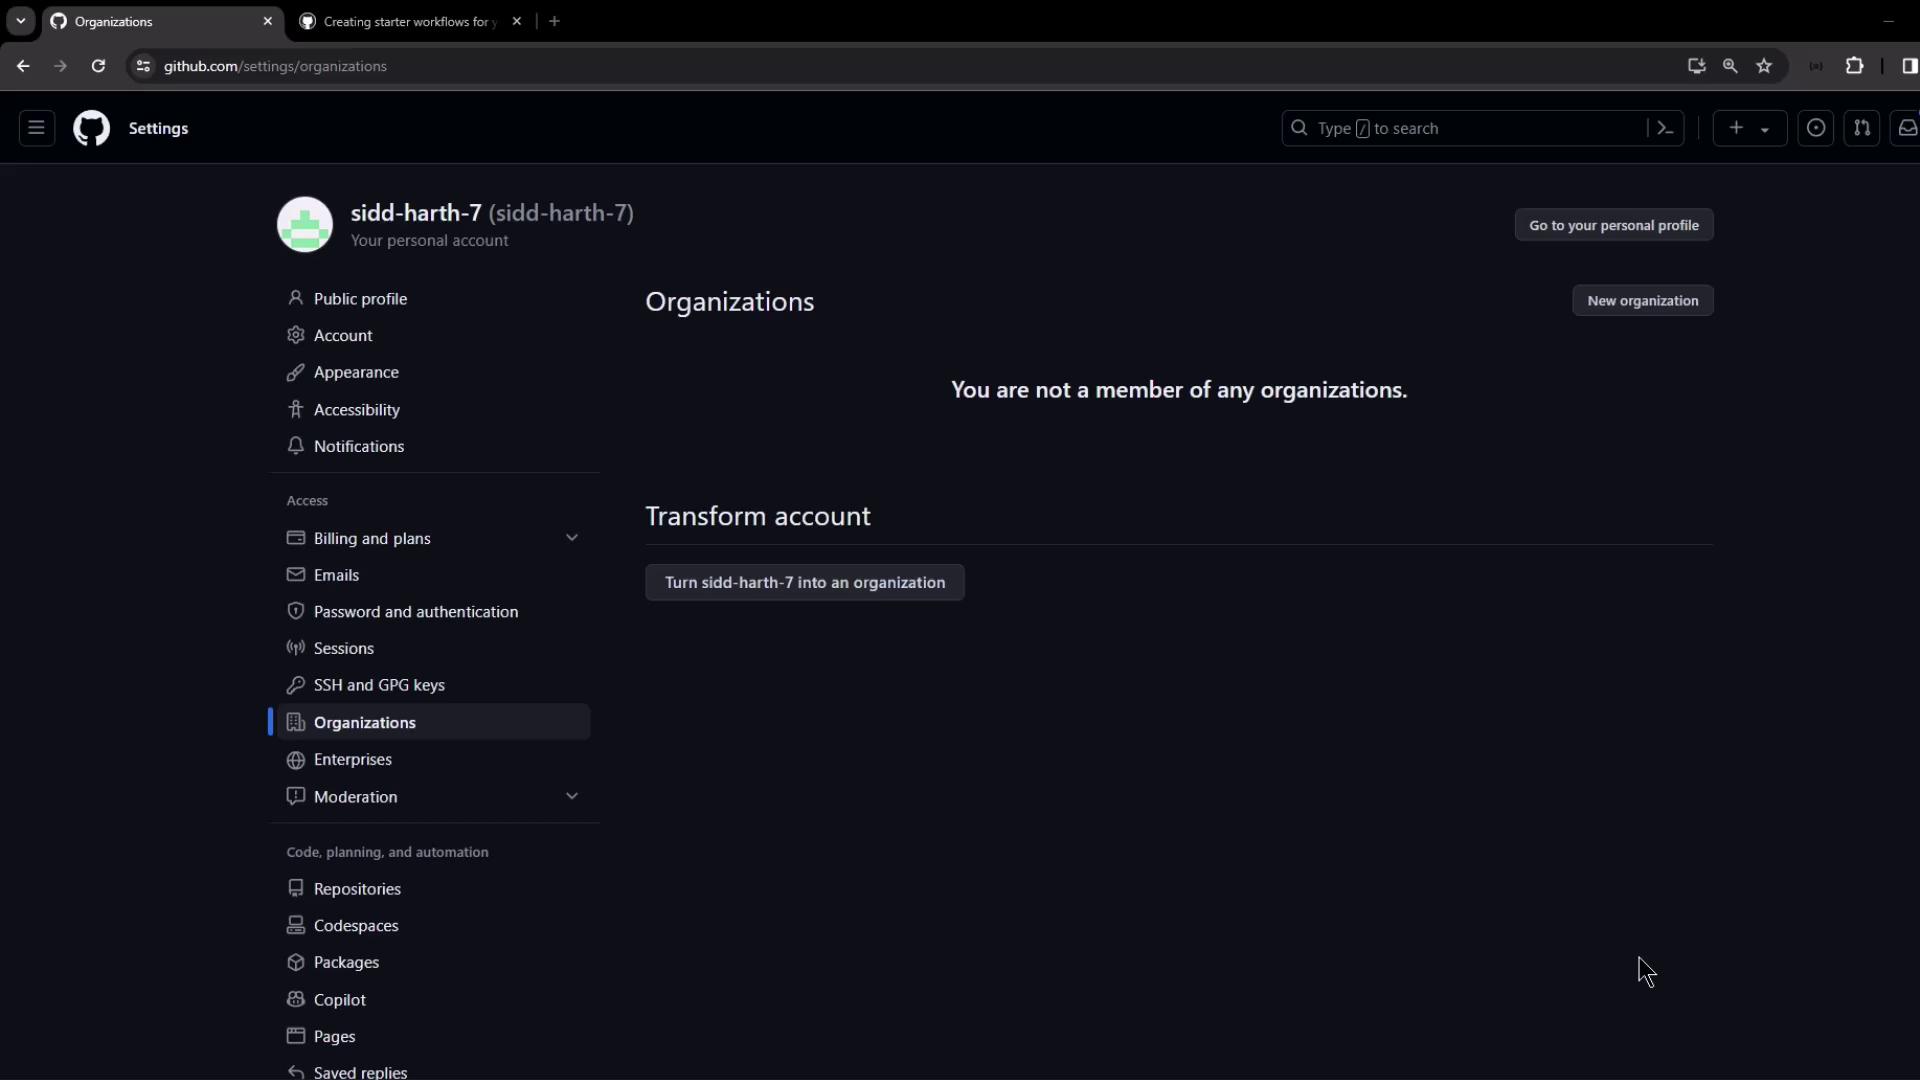
2. Create Your GitHub Organization
If you don’t already have an organization, set one up:- Click your profile photo → Your organizations.
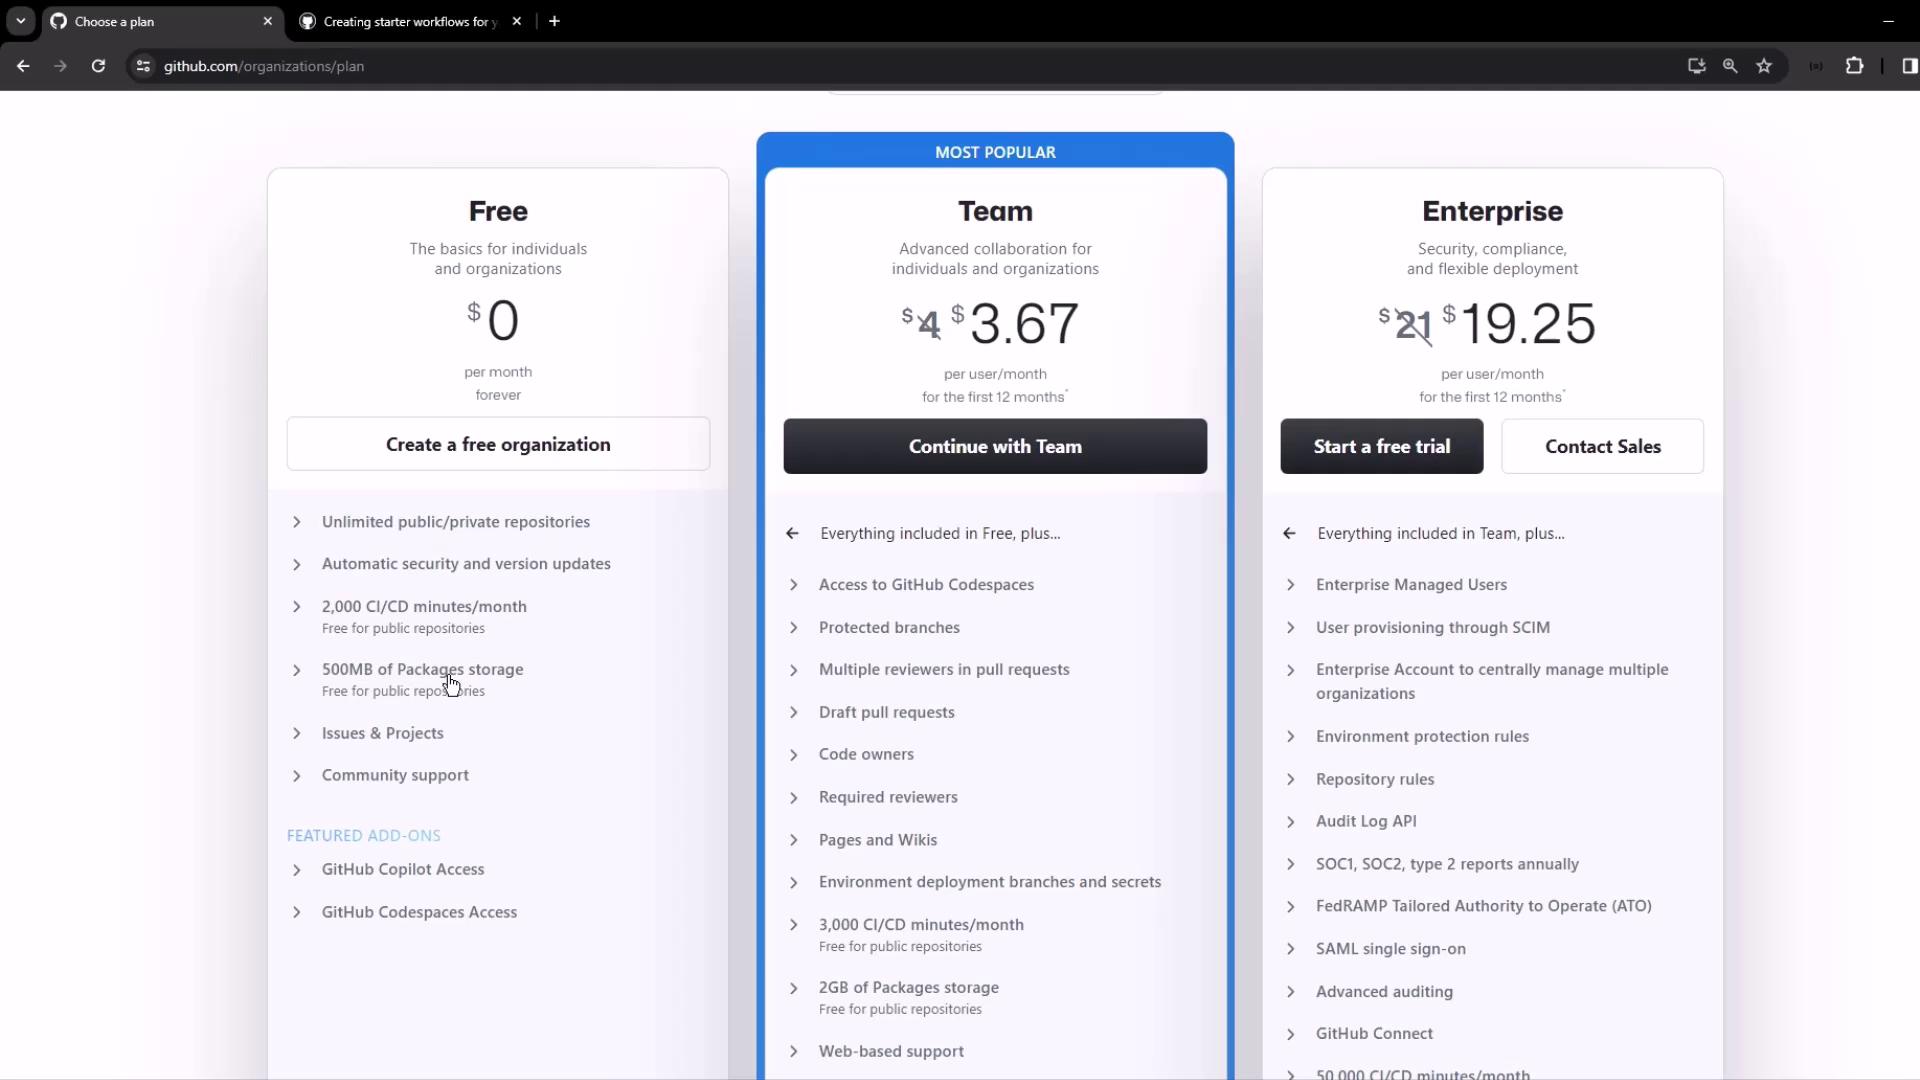
- Select New organization, choose the Free plan.
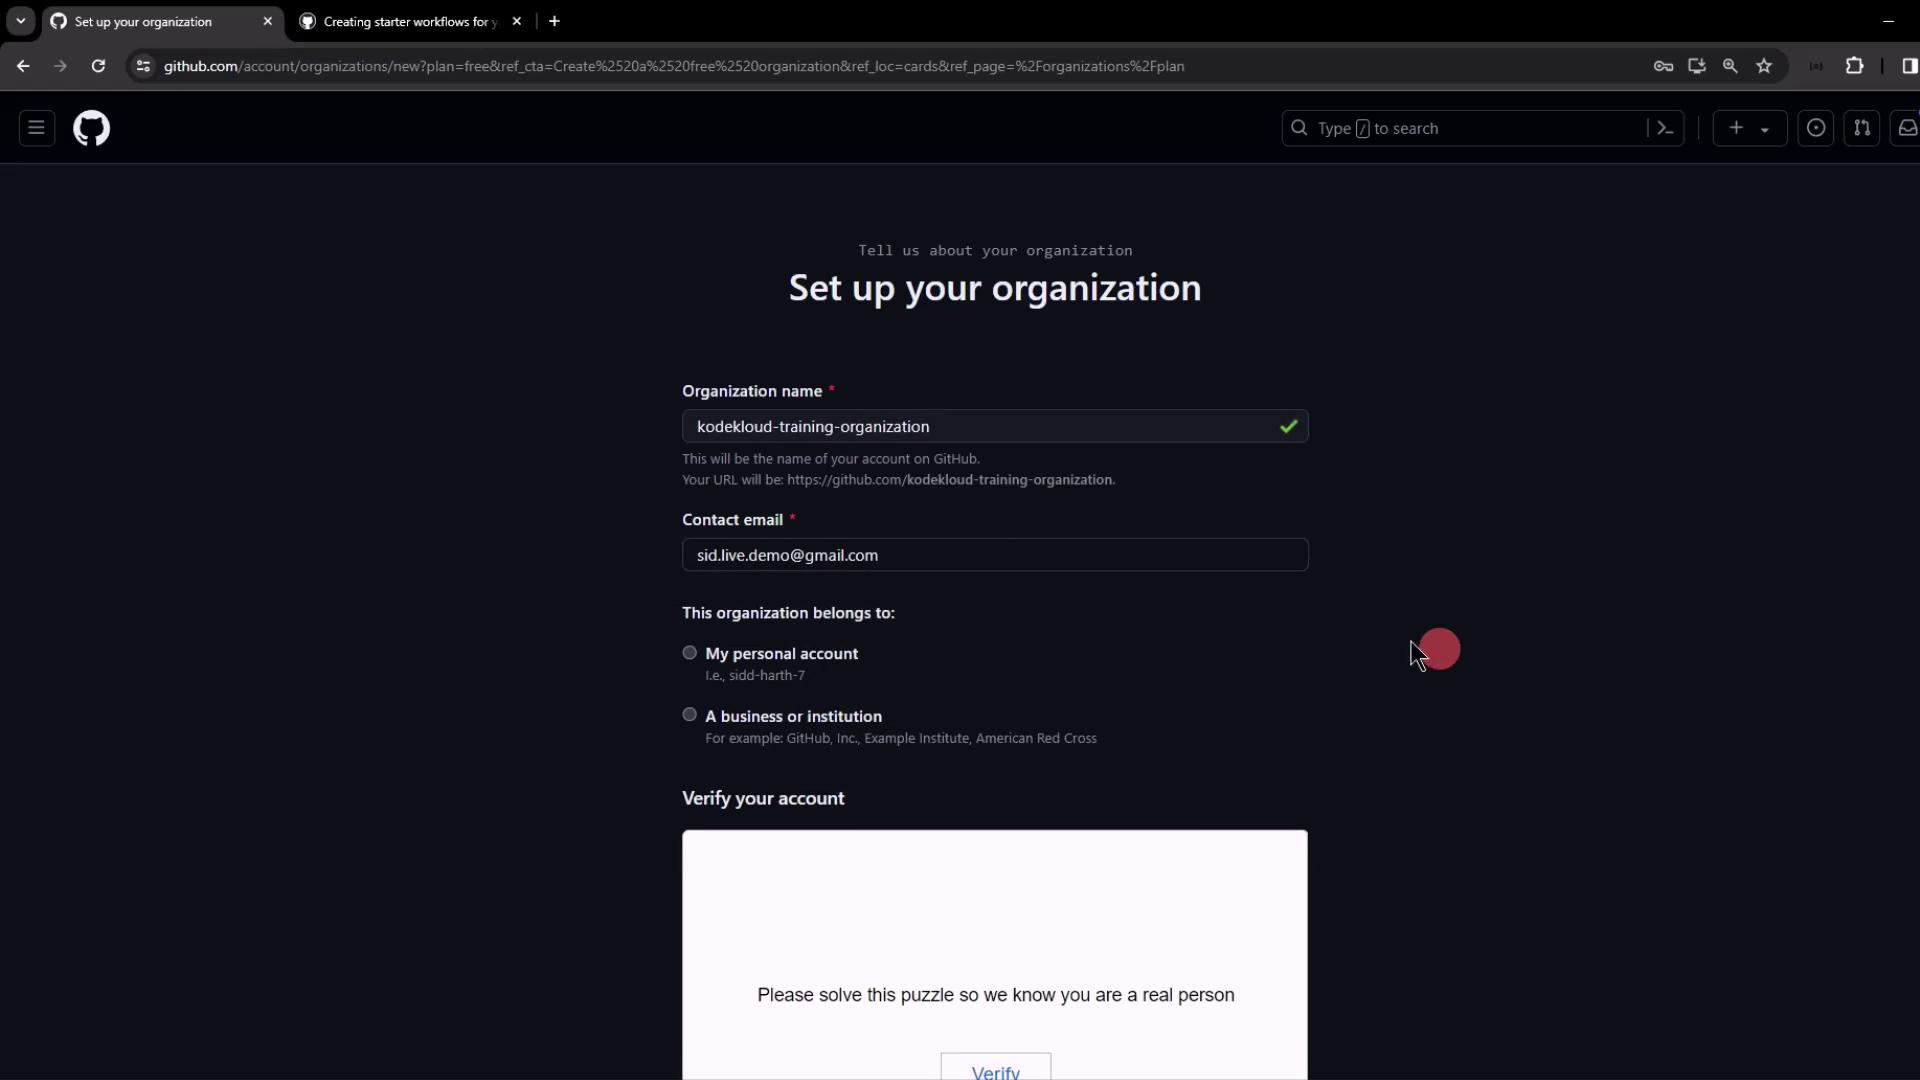
- Enter an organization name and contact email.
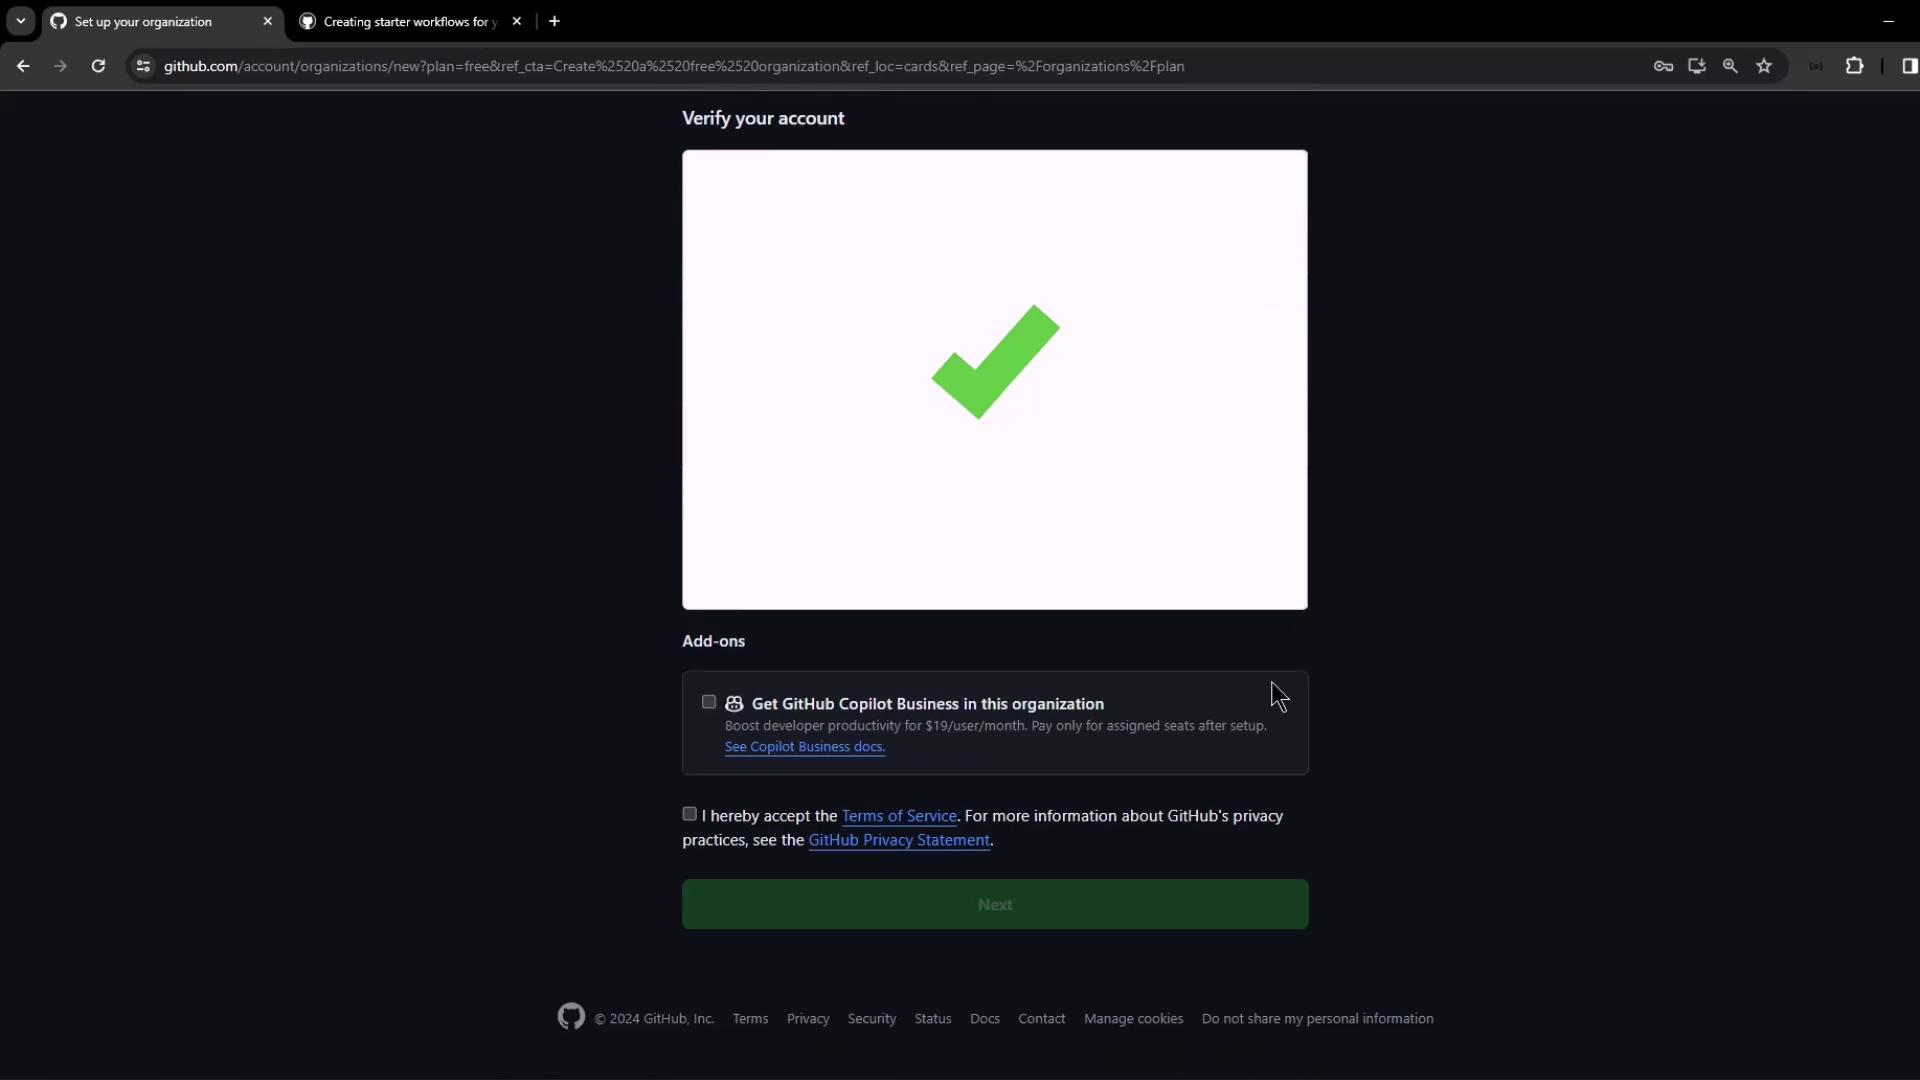
- Complete account verification and accept the terms.
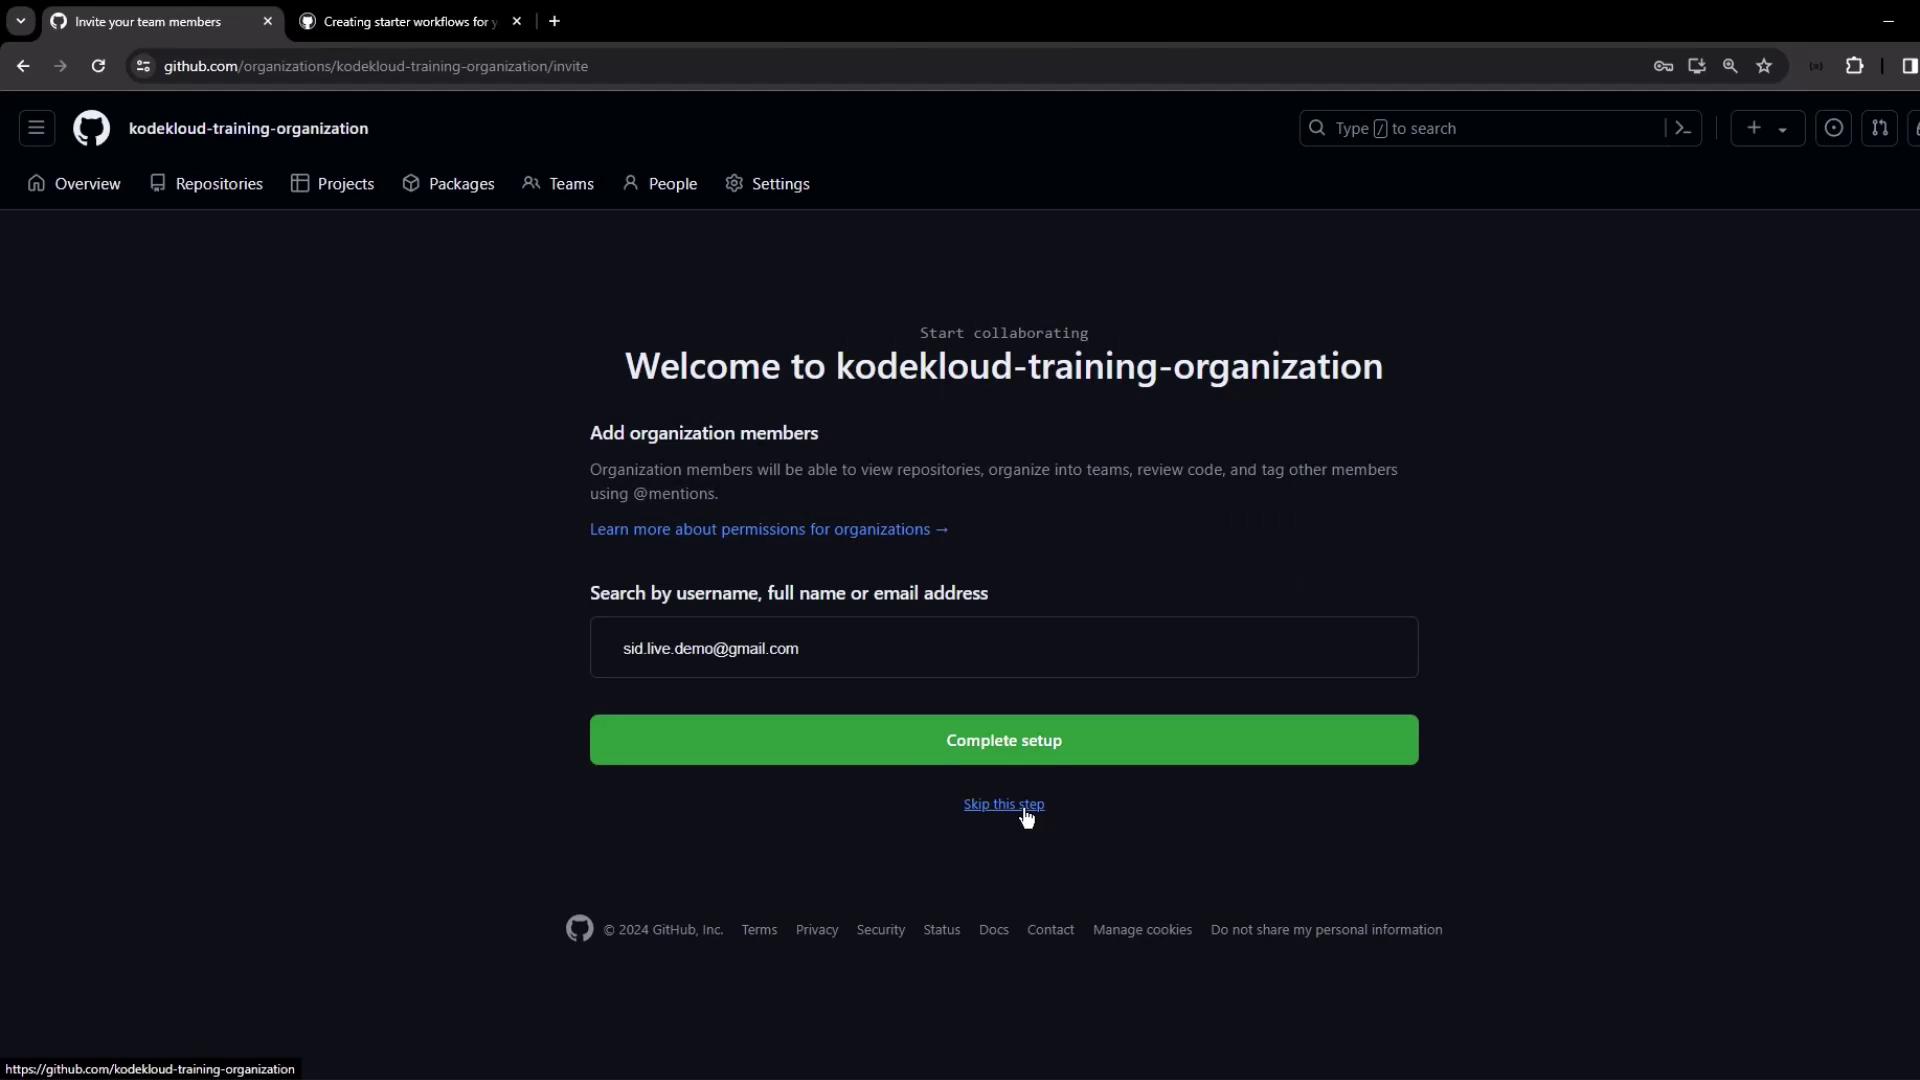
- Skip adding members initially—you can invite collaborators later.
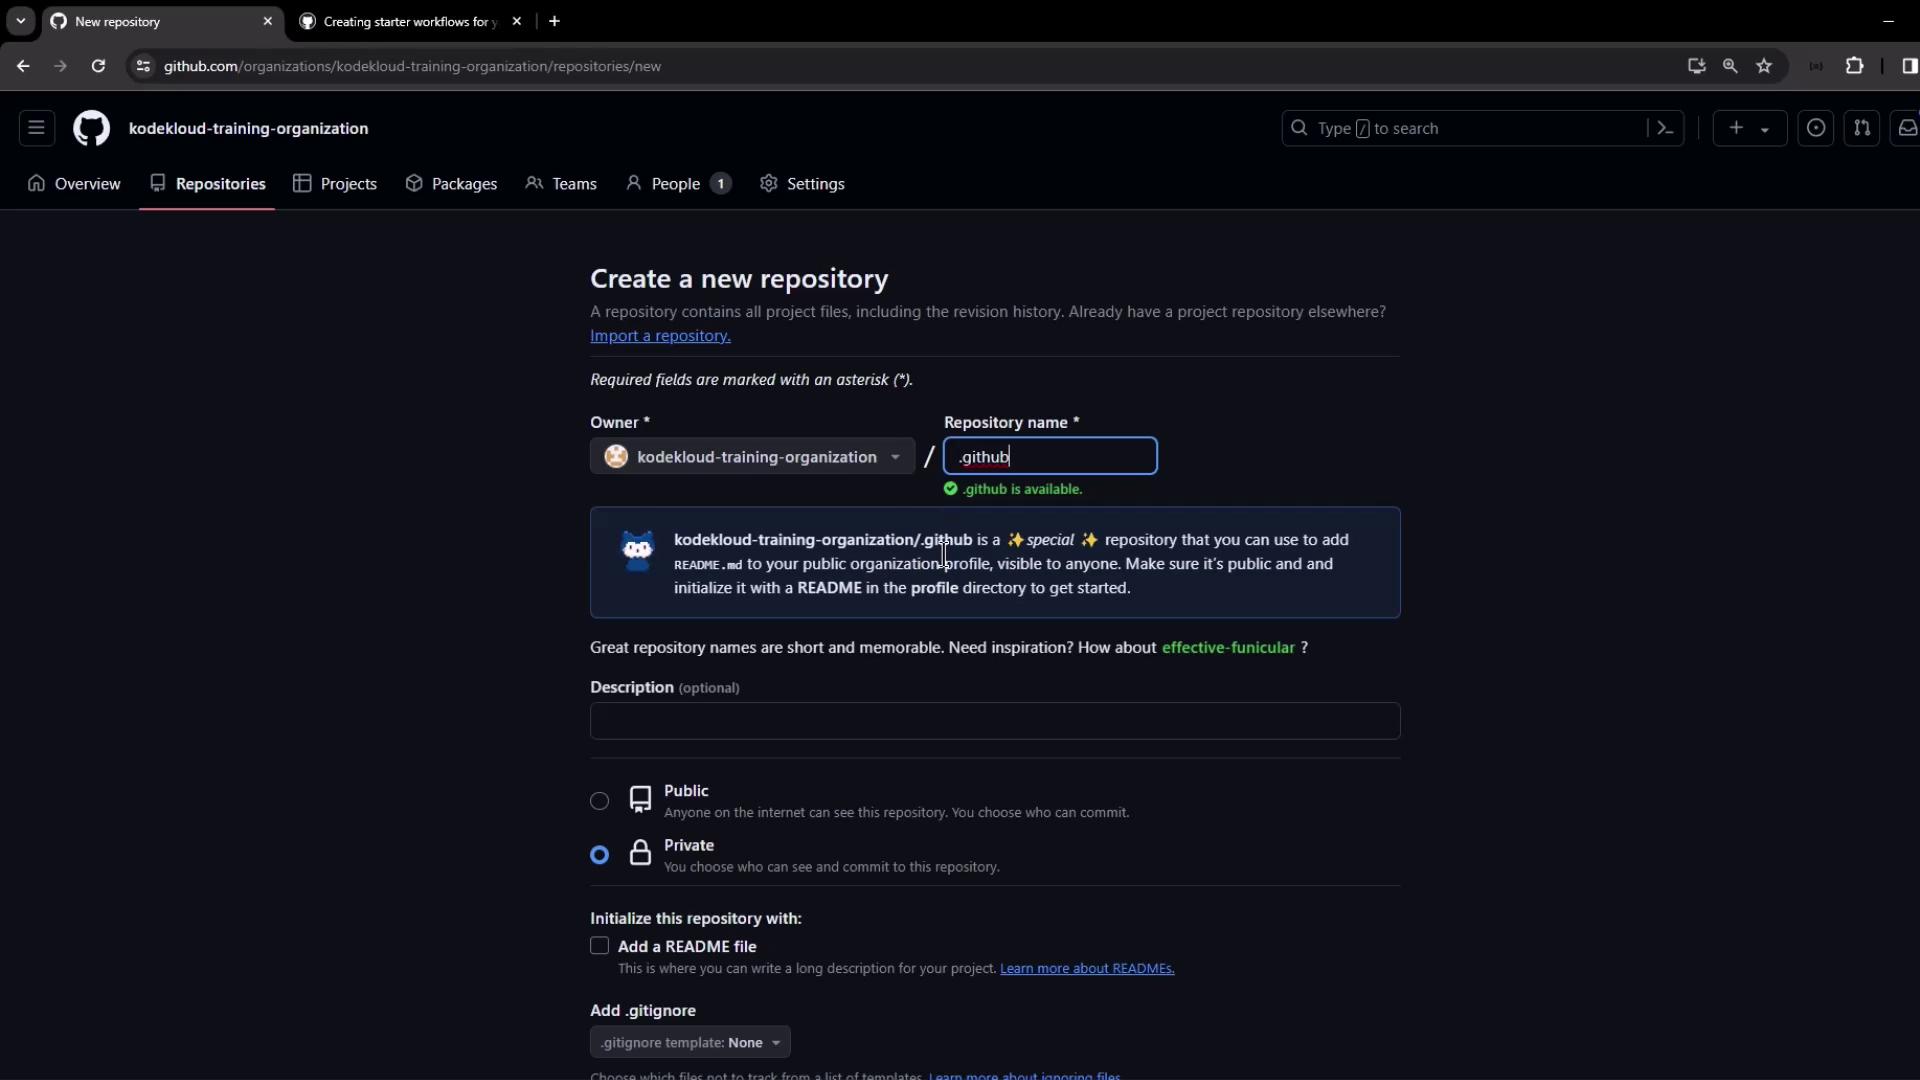
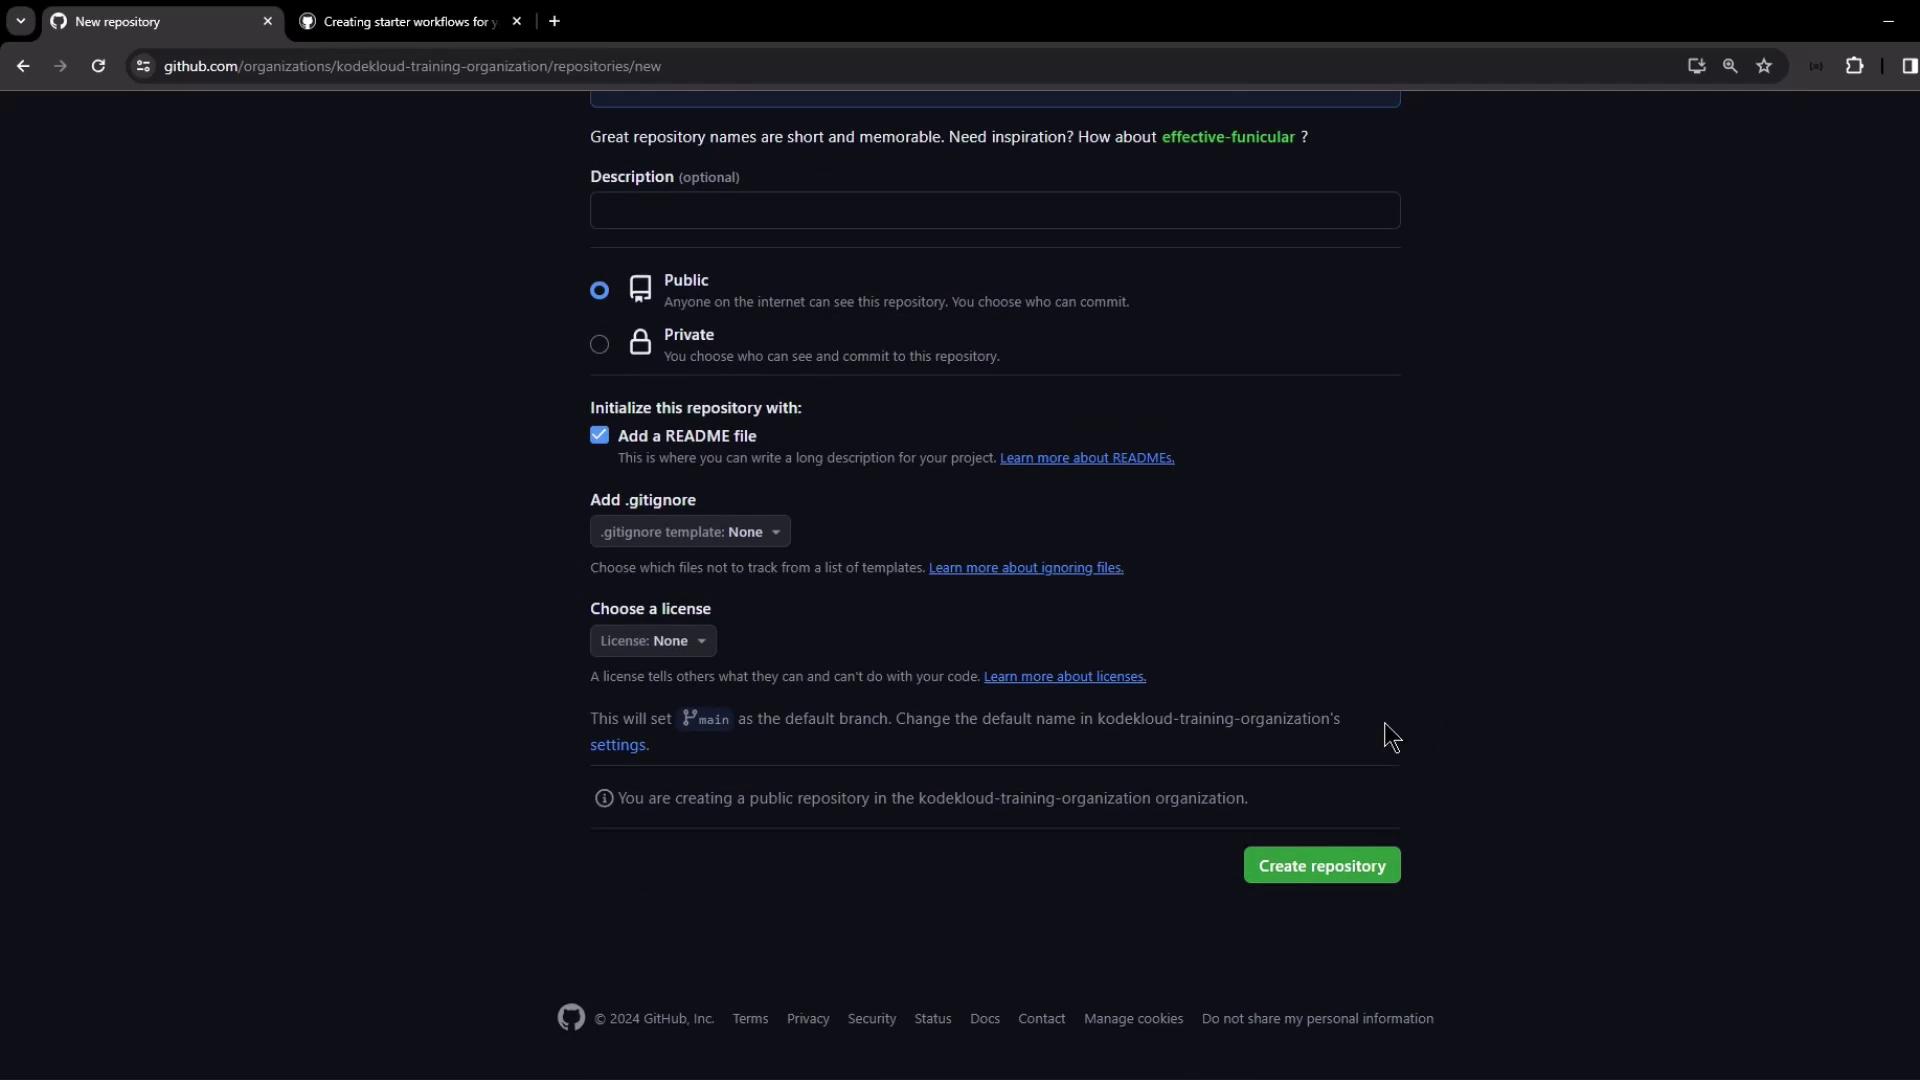
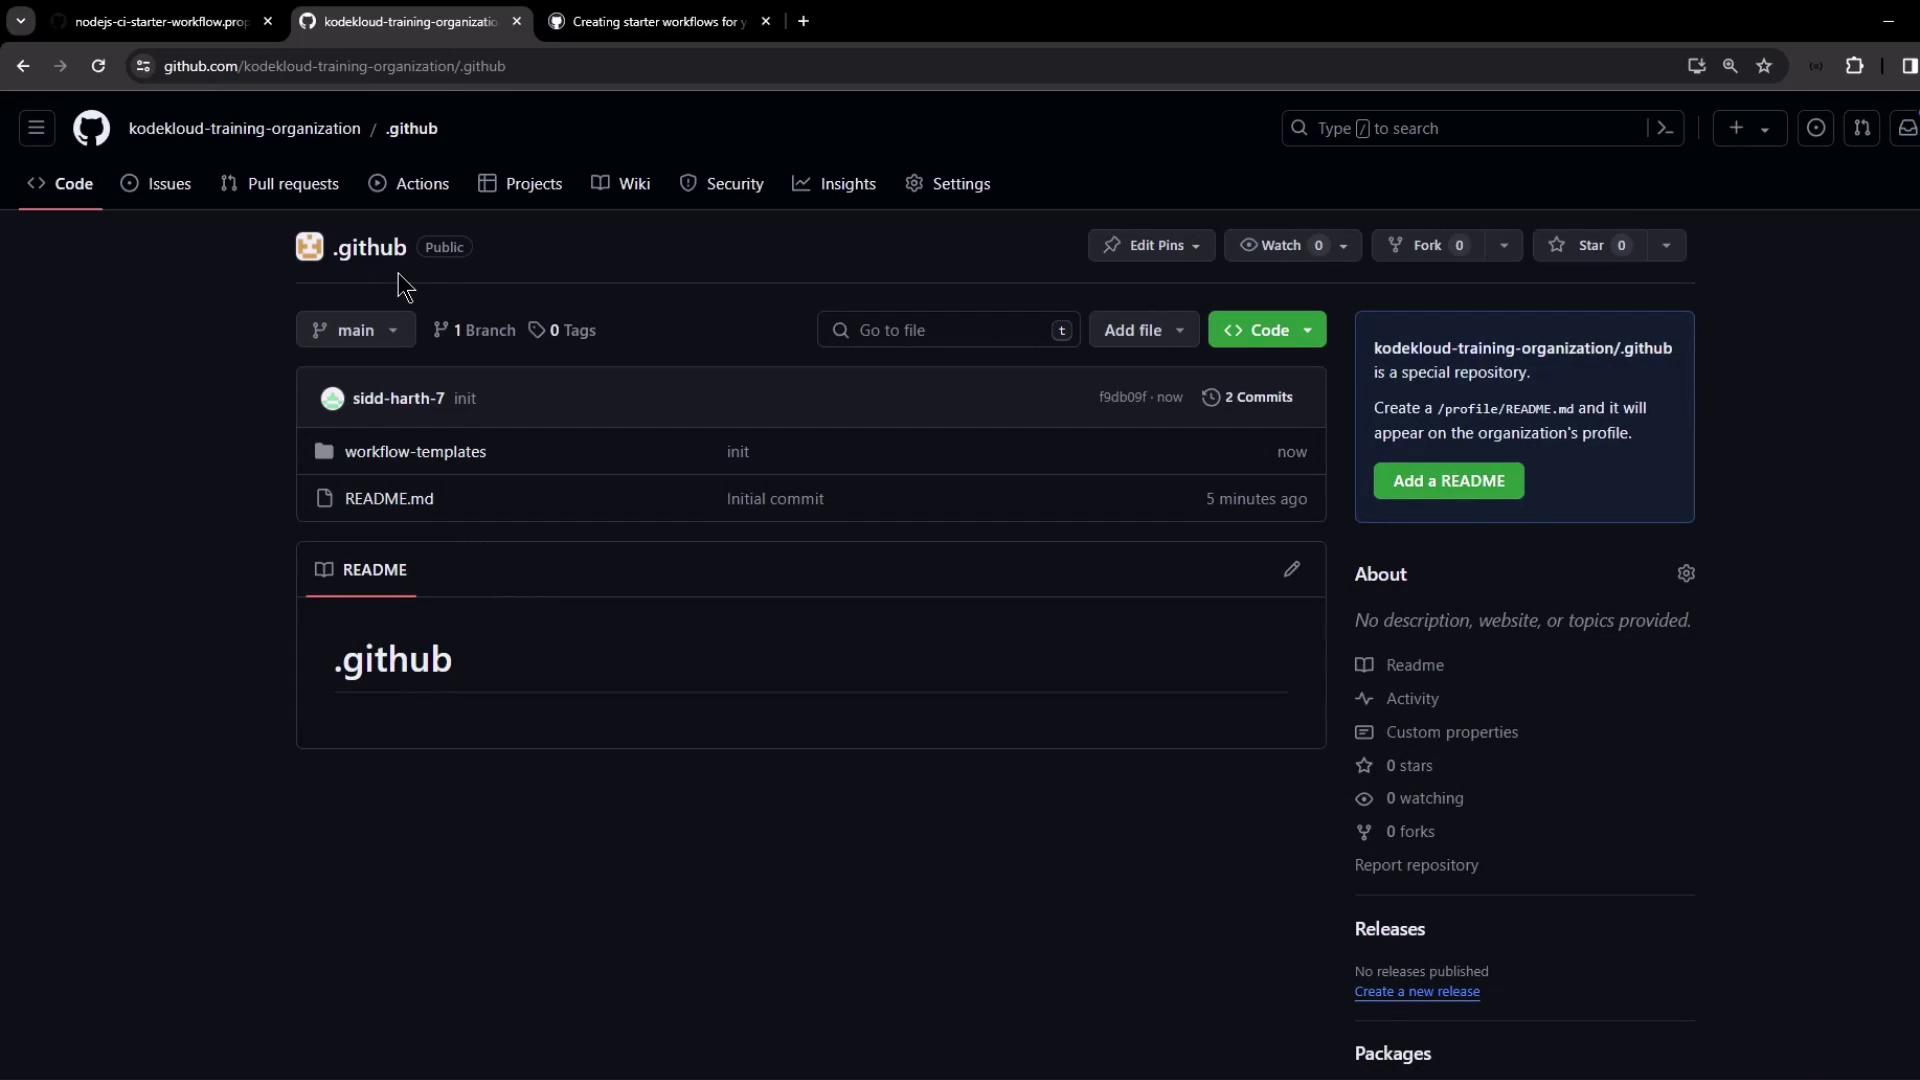
3. Set Up the .github Repository
Within your organization:
- Click New repository → Enter .github as the name.
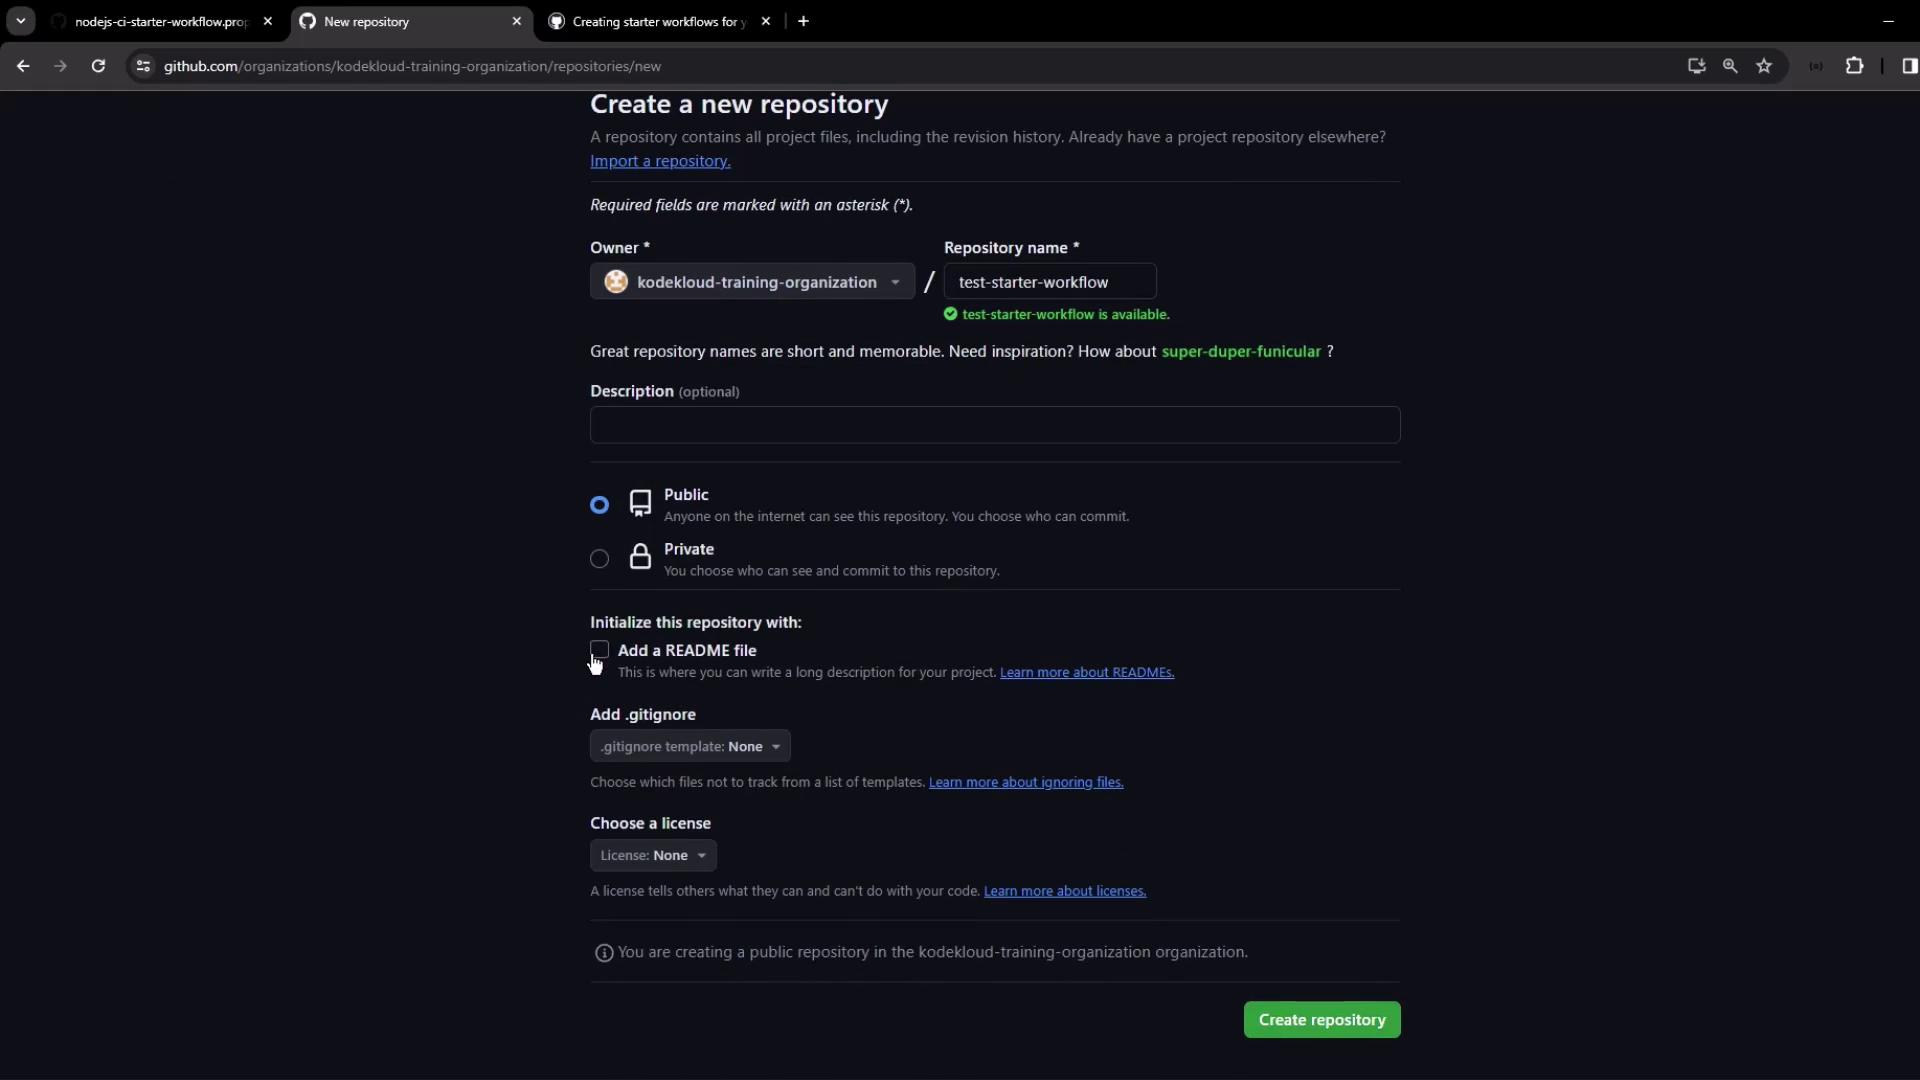
- Set Visibility to Public.
- Initialize with a README (optional) and click Create repository.
workflow-templates/ folder in the .github repo—either via the web editor or locally:
4. Example: Node.js CI Starter Workflow
Create.github/workflow-templates/nodejs-ci-starter-workflow.yml:
.github/workflow-templates/nodejs-ci-starter-workflow.properties.json:
kode-kloud-icon.svg) to the same folder.
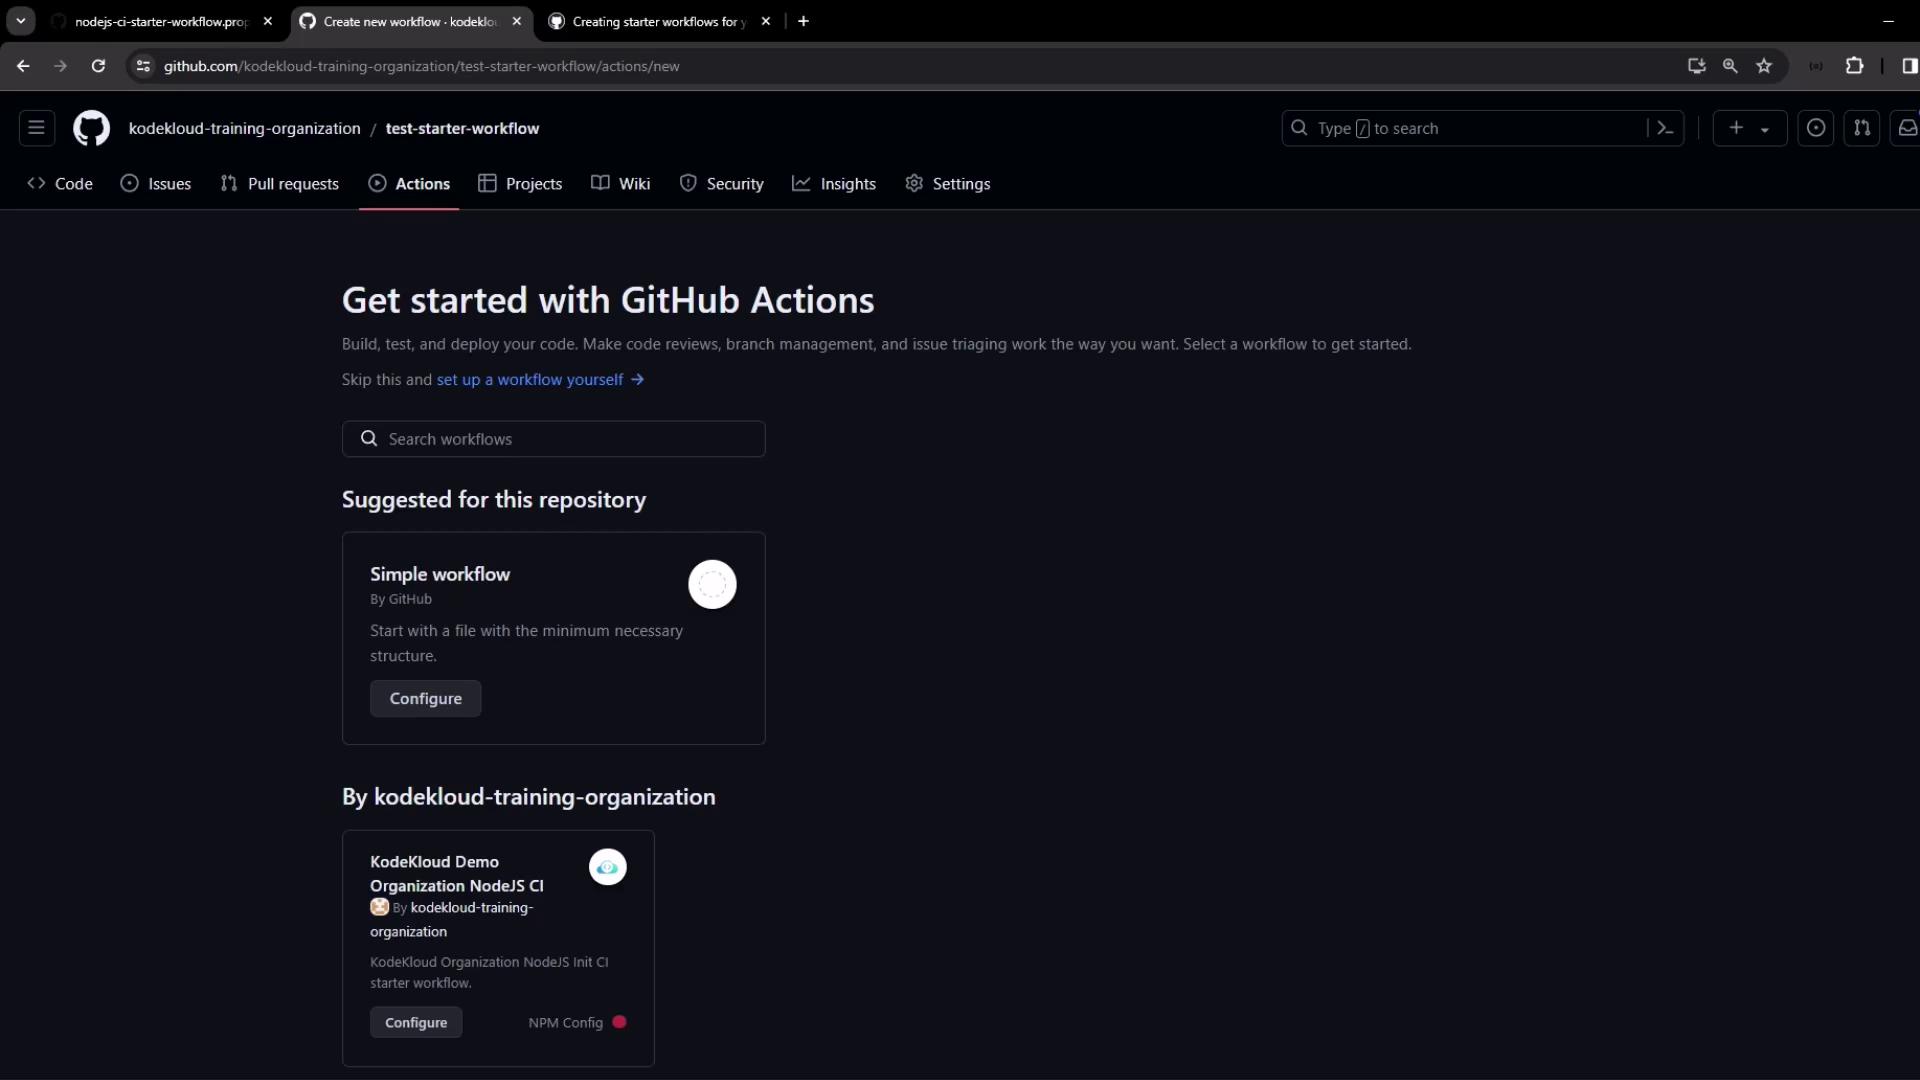
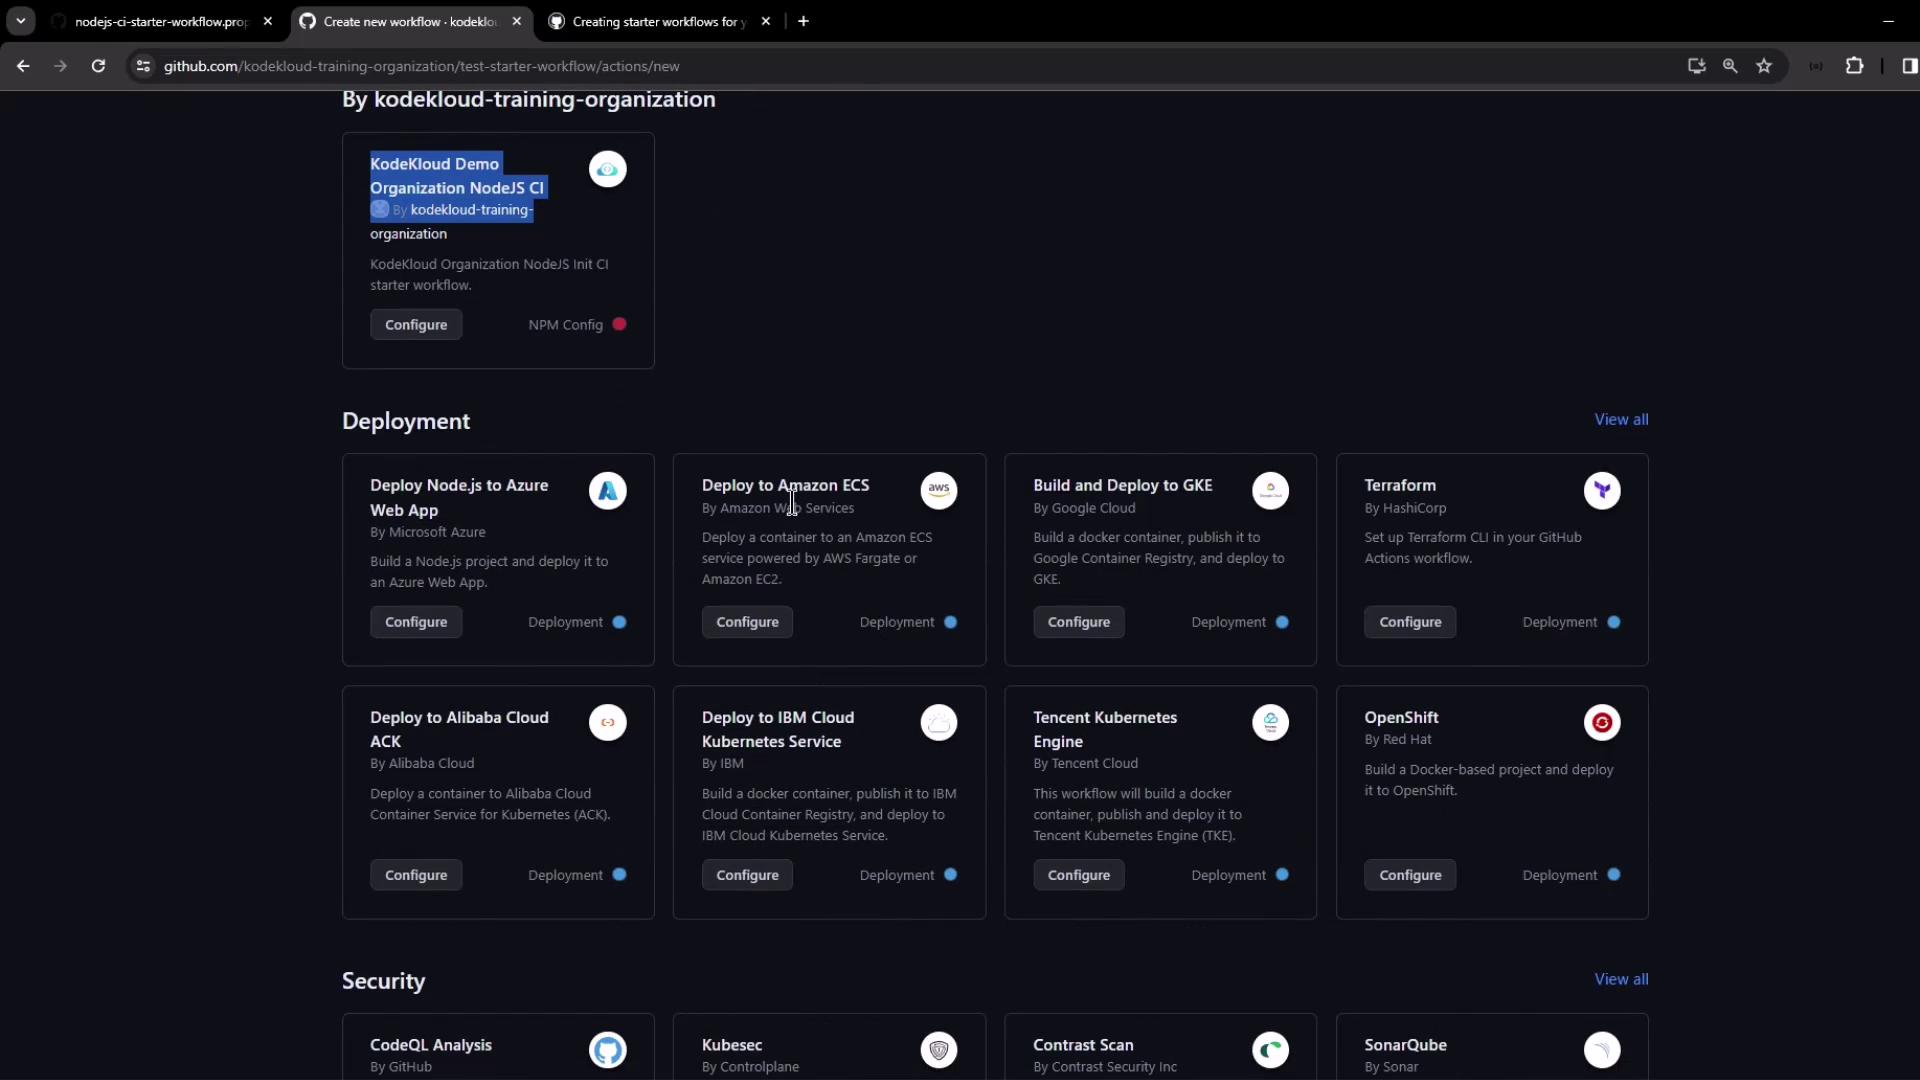
5. Consume the Starter Workflow
In any new or existing repo under your org:- Click New repository, initialize with a README if desired.
- Navigate to the Actions tab.
$default-branch (e.g., main):
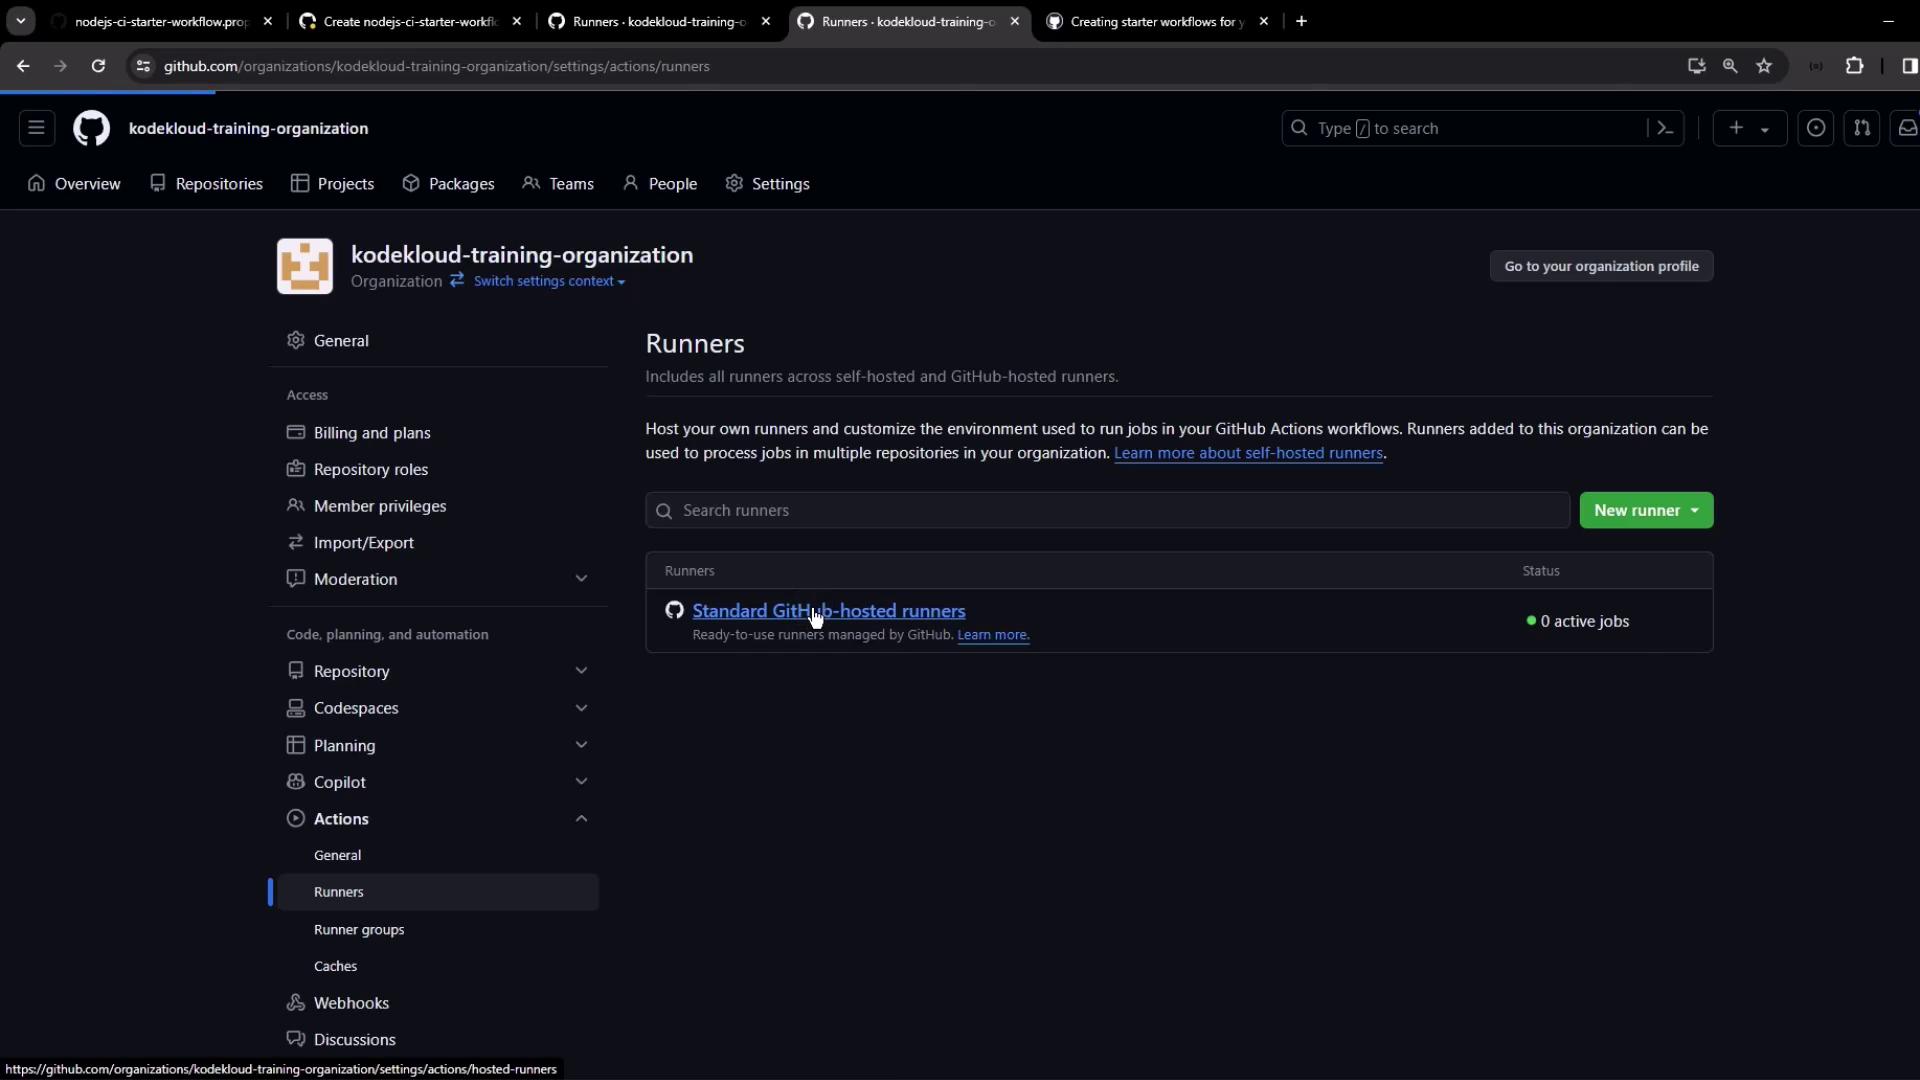
6. Configure Runners for Organization Repos
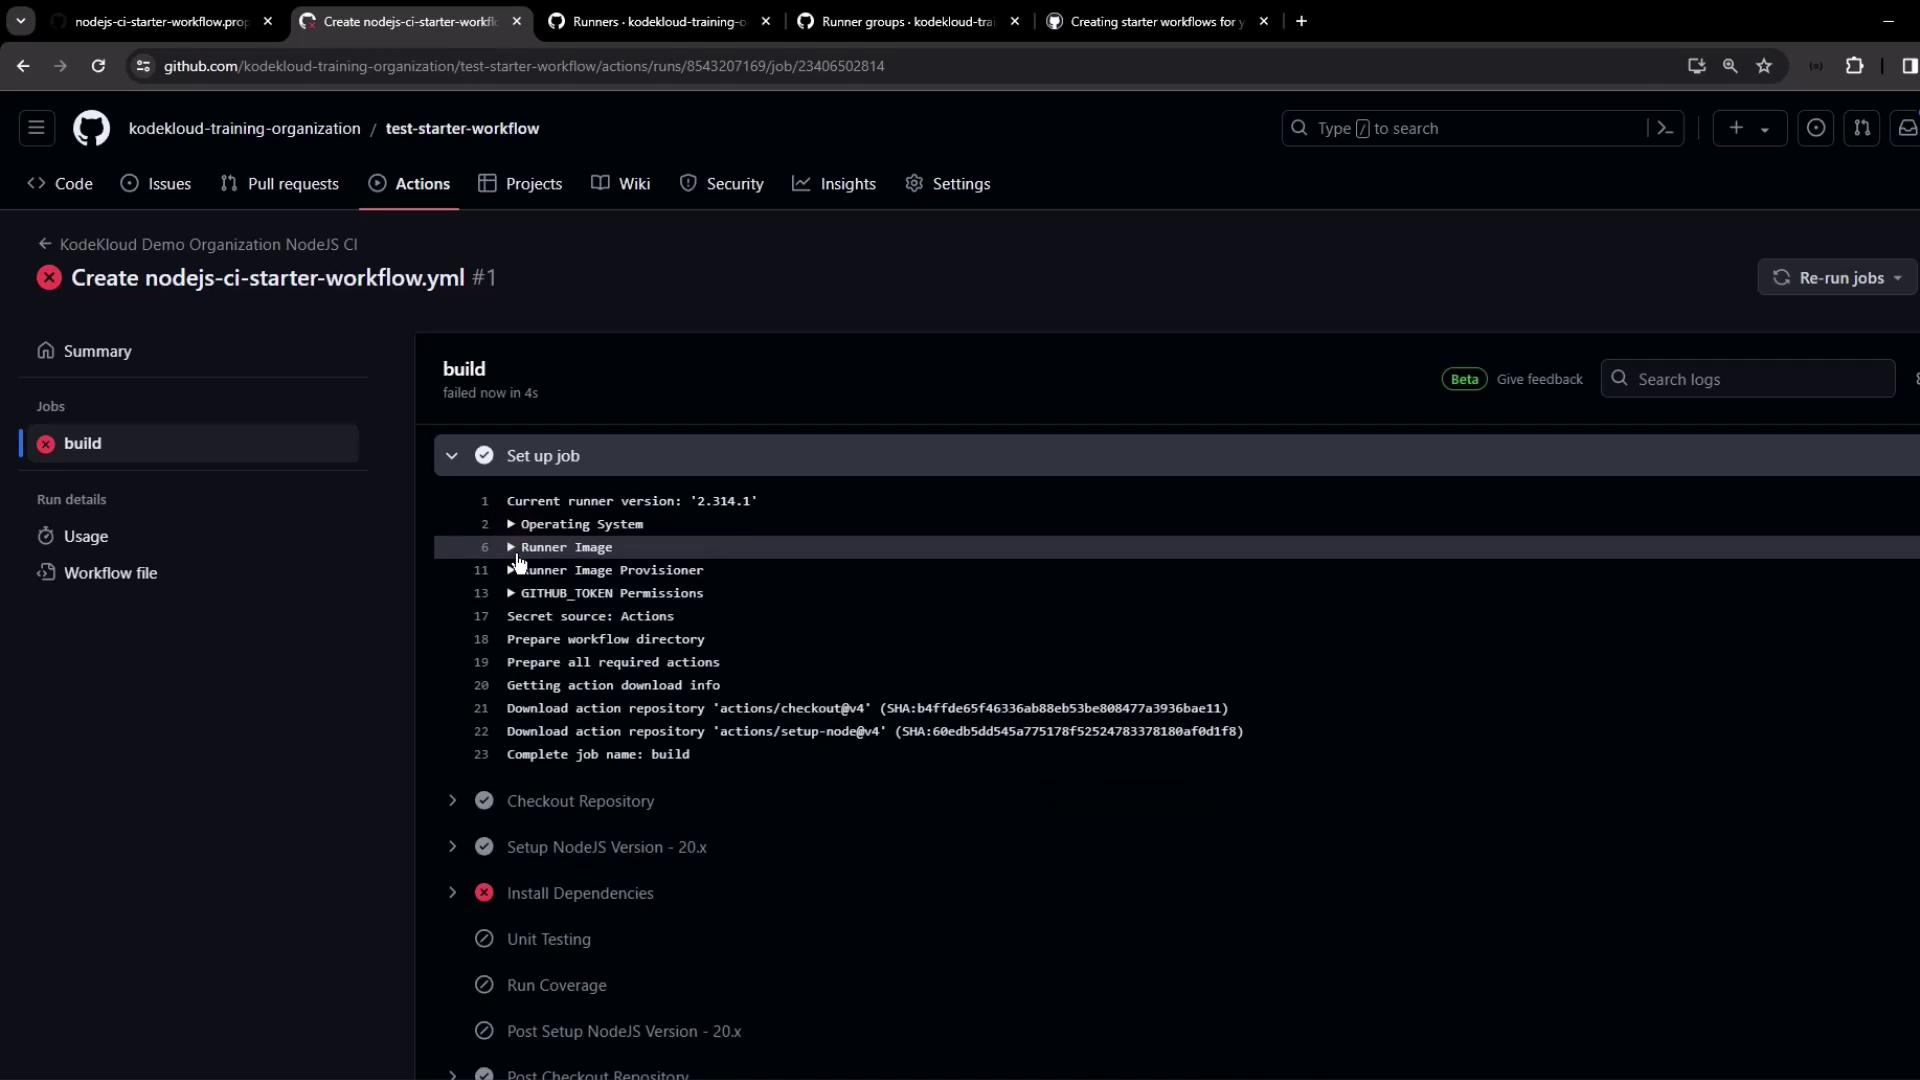
If your workflow remains queued, verify runner access:- In the repo: Settings > Actions > Runners—you may see none configured.
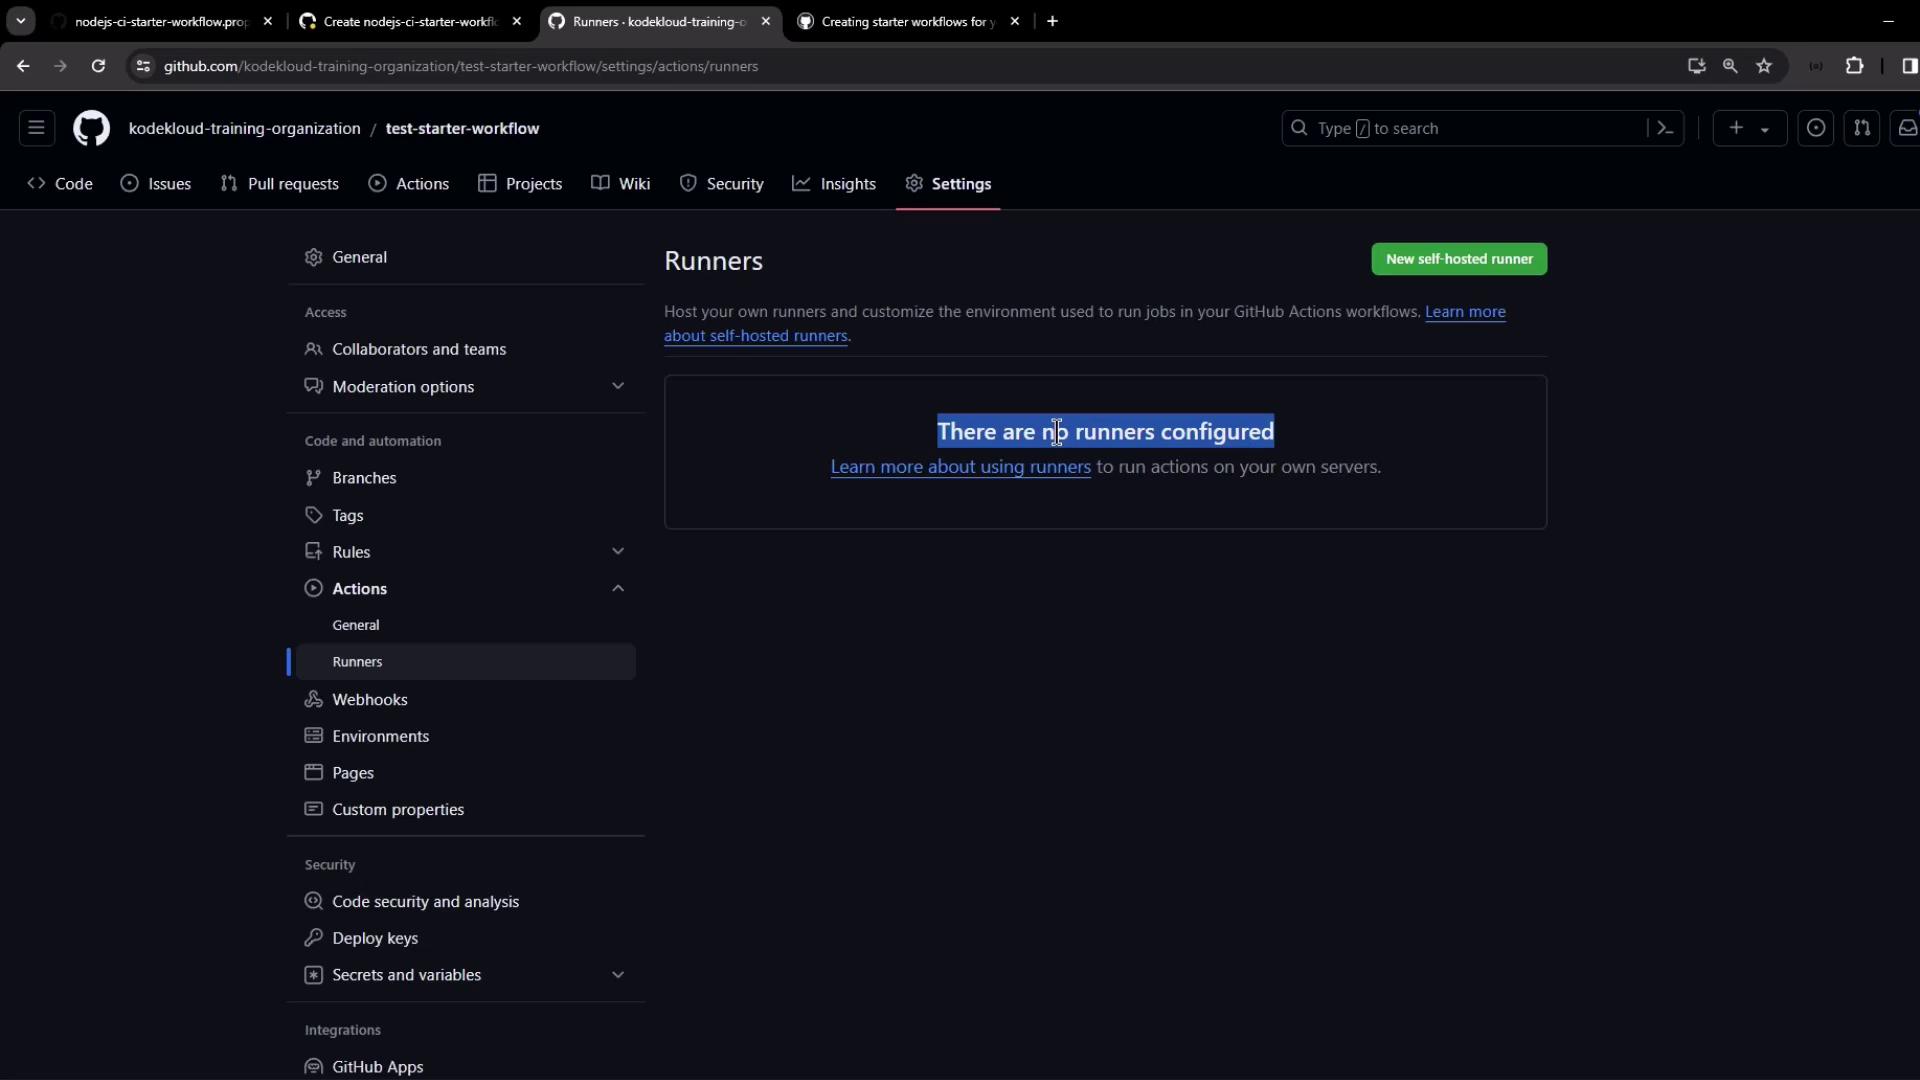
- At the org level: Settings > Actions > Runners. The default runner group might exclude public repos.
- Edit the default group to allow all repositories (including public).
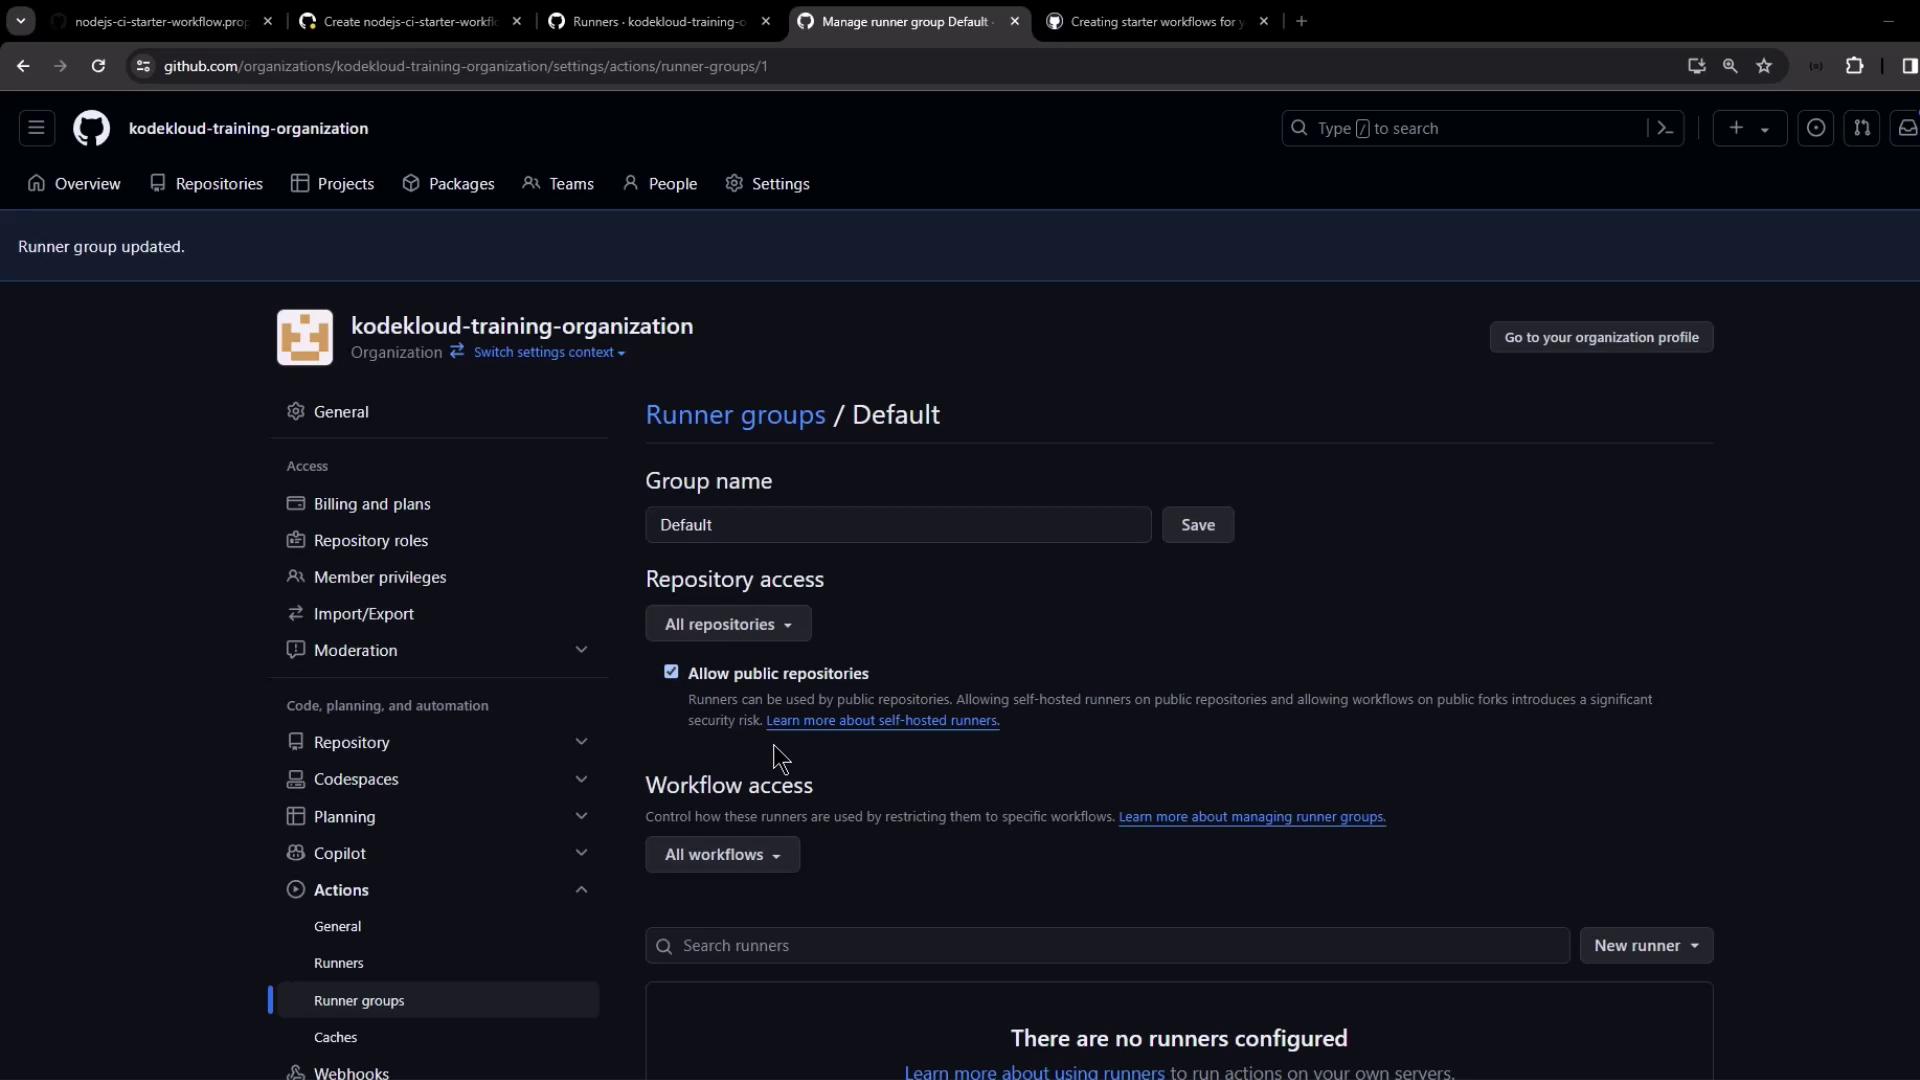
If no runners are permitted, workflows will remain queued indefinitely. Always verify your runner group settings after creating or migrating repositories.