1. Generate the Badge Markdown
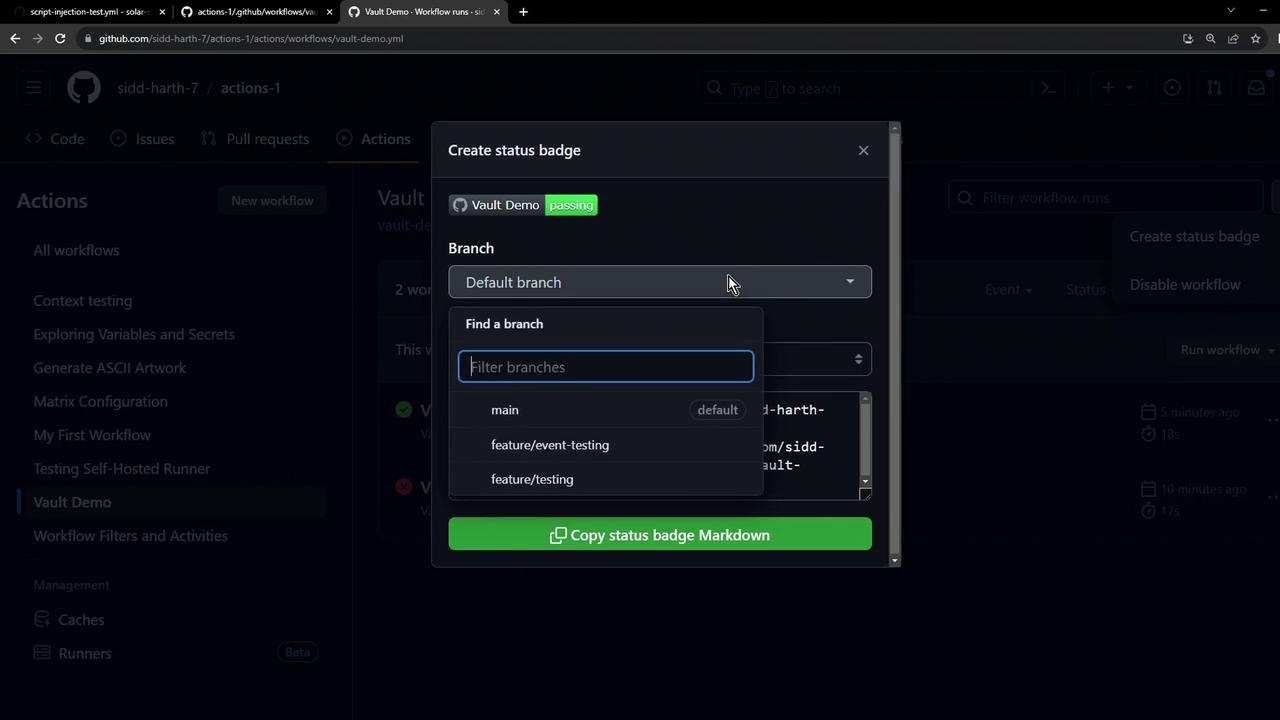
- Navigate to your repository on GitHub and click the Actions tab.
- Select the workflow you want to badge (e.g.,
vault-demo). - In the workflow overview, click Create status badge.

By default, GitHub uses your default branch (often
main). You can switch branches or filter by event types before copying the badge snippet.2. Embed the Badge in Markdown
Copy the Markdown snippet provided by GitHub and paste it into yourREADME.md (or any .md file):
| Parameter | Example | Purpose |
|---|---|---|
| Workflow name | Vault Demo | The label displayed alongside the badge |
| SVG URL | https://github.com/…/vault-demo.yml/badge.svg | Renders the badge image |
| Link URL | https://github.com/…/vault-demo.yml | Directs to the workflow runs page |
3. Track Multiple Workflows
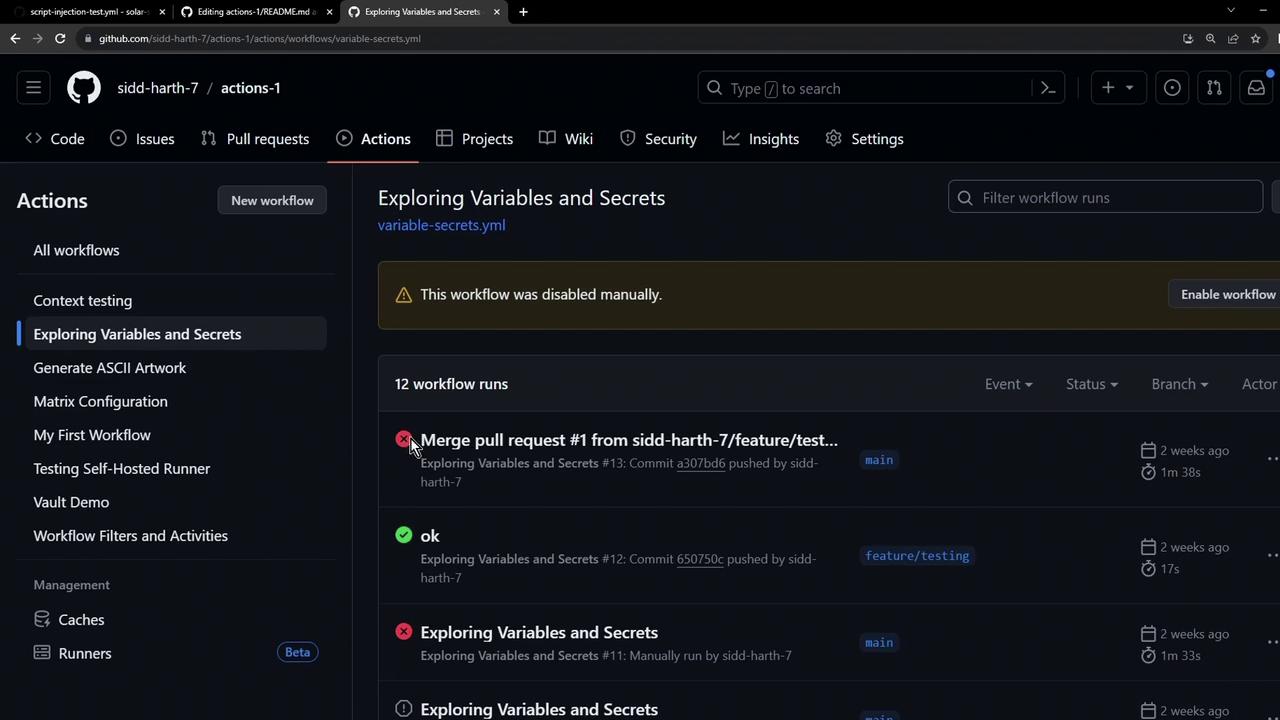
To monitor additional workflows, repeat Step 1 and Step 2 for each workflow. For example:
If you’re updating only your README, consider adding
[skip ci] to your commit message to avoid triggering CI workflows unnecessarily.