actions/checkout step to your GitHub Actions workflow, ensuring your repository code is available for subsequent steps.
Prerequisites
- A GitHub repository
- Basic familiarity with GitHub Actions and YAML syntax
1. Browse the GitHub Marketplace
Visit the GitHub Marketplace and search for “checkout” to filter relevant actions.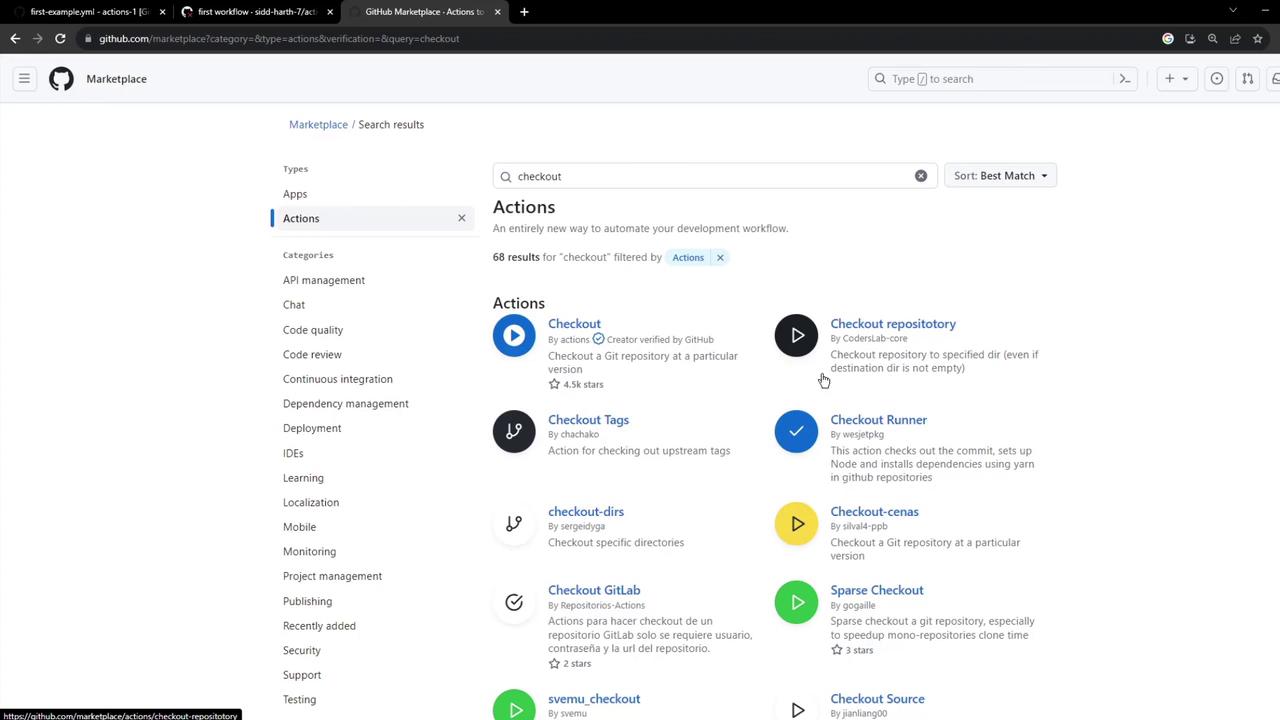
2. Select the Official Checkout Action
Choose the Checkout Action maintained by GitHub. Look for the verified badge next to the publisher name.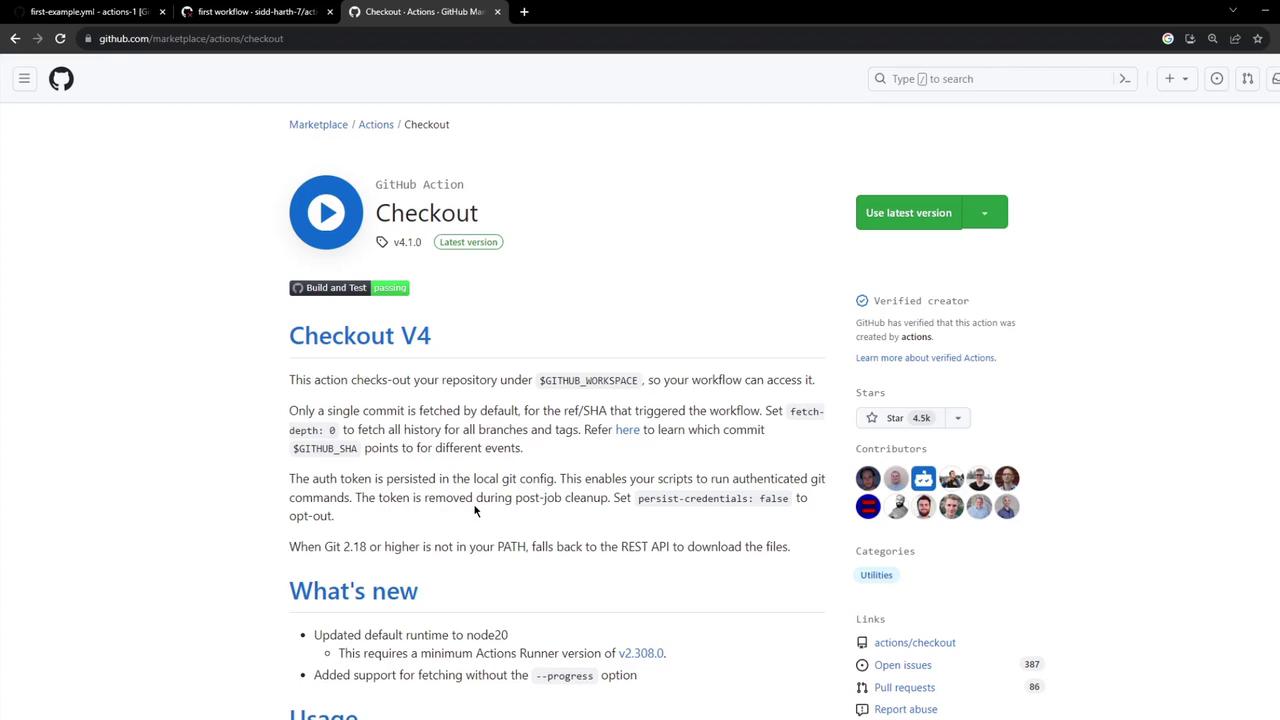
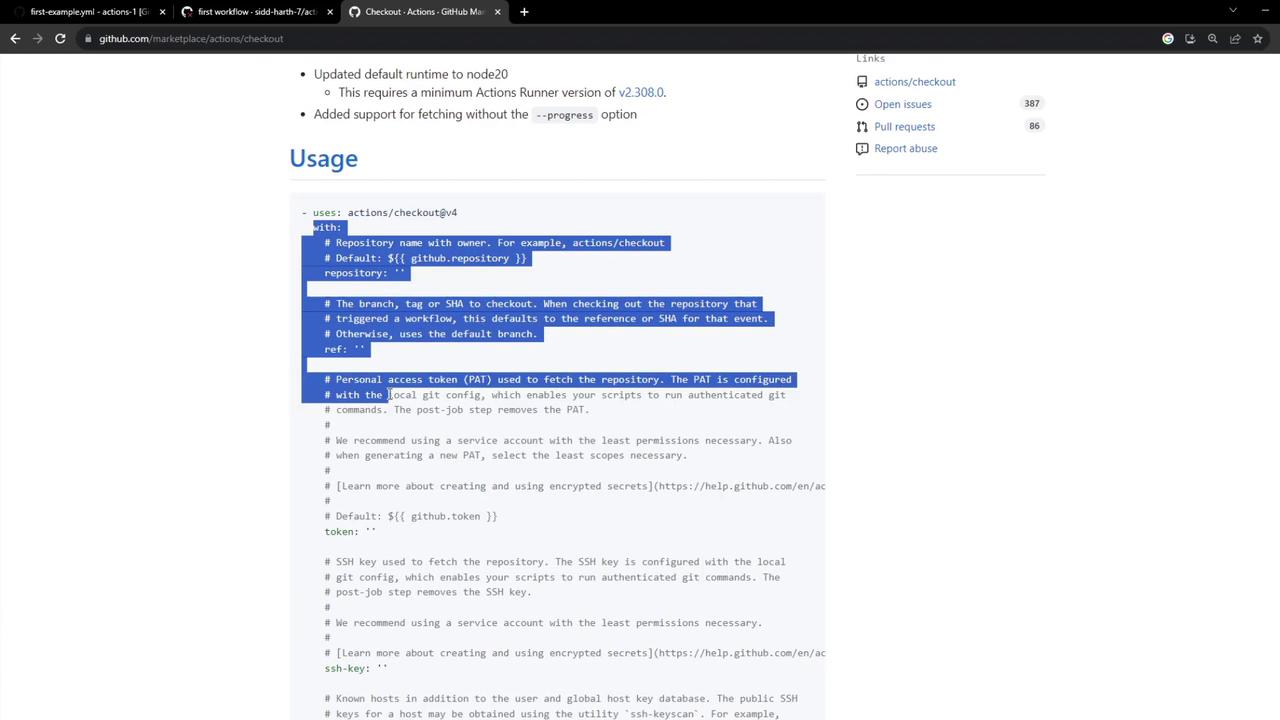
3. Review the Checkout Action Documentation
Theactions/checkout@v4 README contains usage examples and configurable options. Review it for advanced scenarios like submodule fetching or shallow clones.
4. Update Your Workflow File
Add the checkout step at the top of your job’ssteps list so that all subsequent commands have access to your repository files.
If you omit
actions/checkout, subsequent steps won’t have access to your code, leading to errors such as file not found when running commands like ls or cat.| Step Name | Action |
|---|---|
| Checkout Repository | uses: actions/checkout@v4 |
| Welcome message | run: echo "My first GitHub Actions Job" |
| List files | run: ls |
| Read file | run: cat README.md |
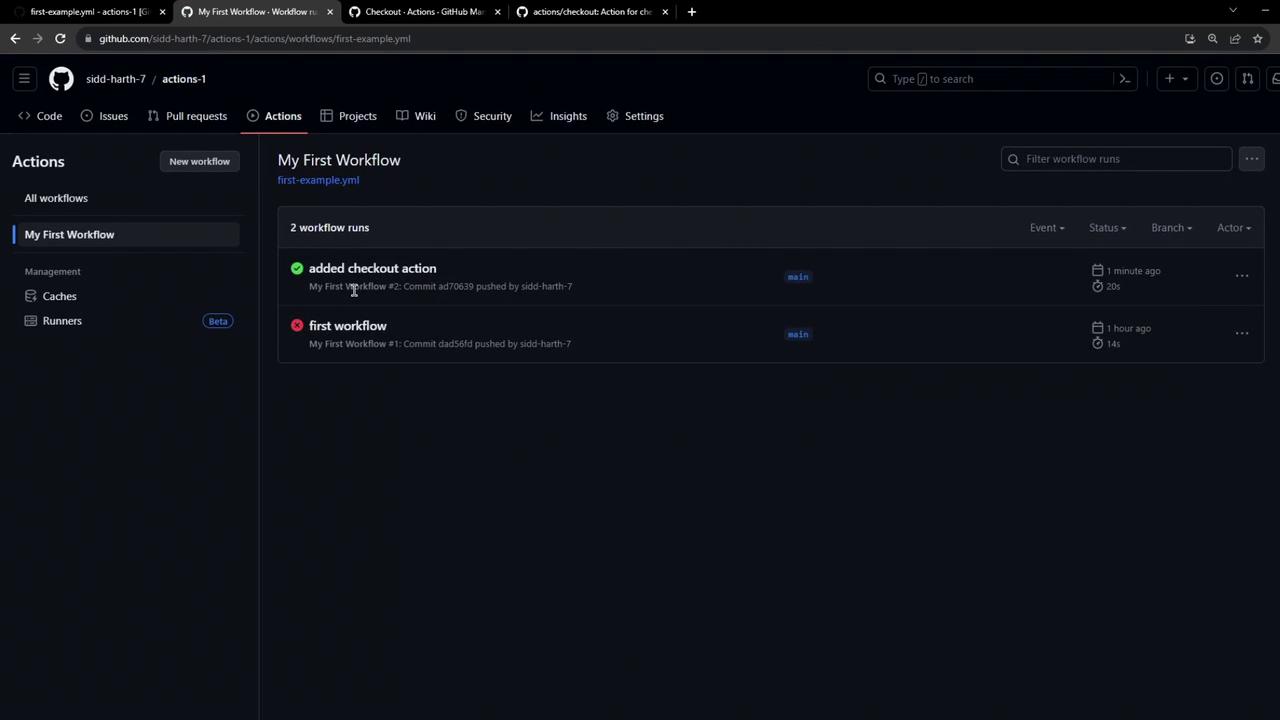
5. Commit and Trigger the Workflow
Commit your changes and push to GitHub. Navigate to the Actions tab to watch your workflow run live.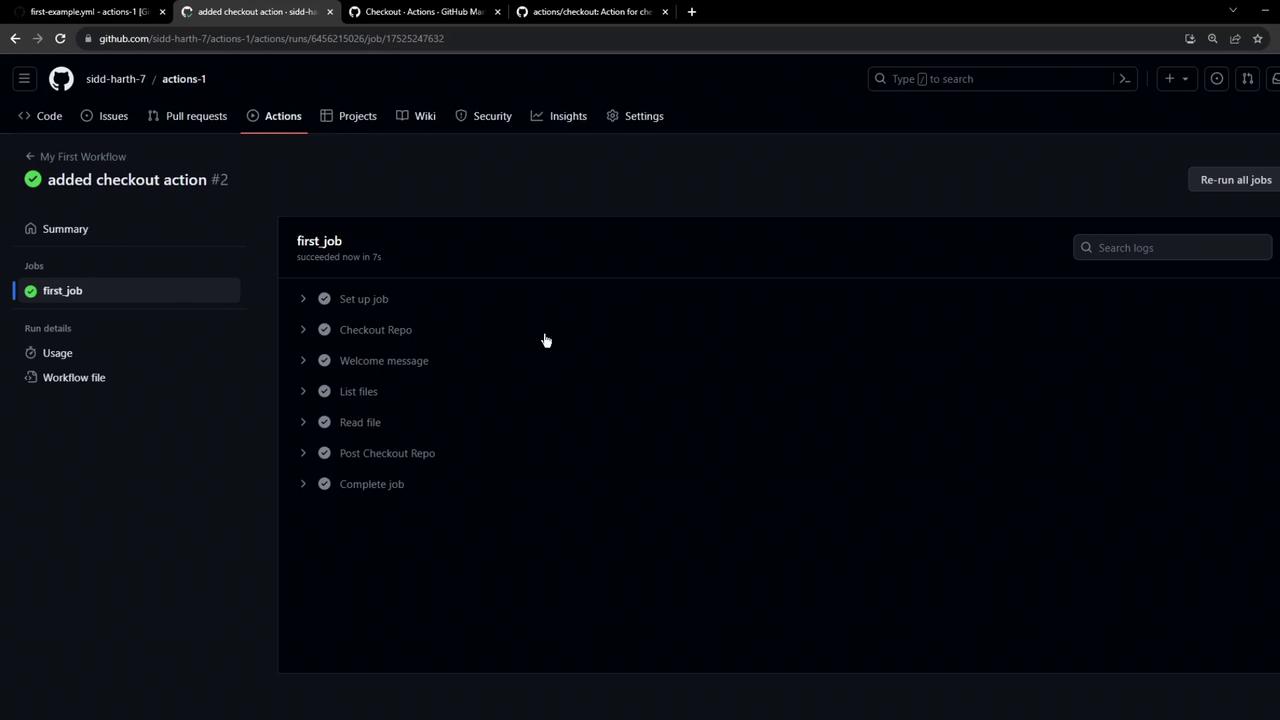
6. Inspect the Logs
In the job logs, you’ll see the checkout action pulling down your repository. To view hidden files (e.g., the.github directory), use:
Run
ls -a to display all files, including those starting with a dot.7. Review Workflow History
Return to the main Actions page to see past runs, both successful and failed, and download logs or enable timestamps.