- Installing the Copilot extension
- Trying a simple Flask example
- Configuring Copilot settings
- Exploring Copilot Chat
- Using contextual prompts
- Adding workspace-specific instructions
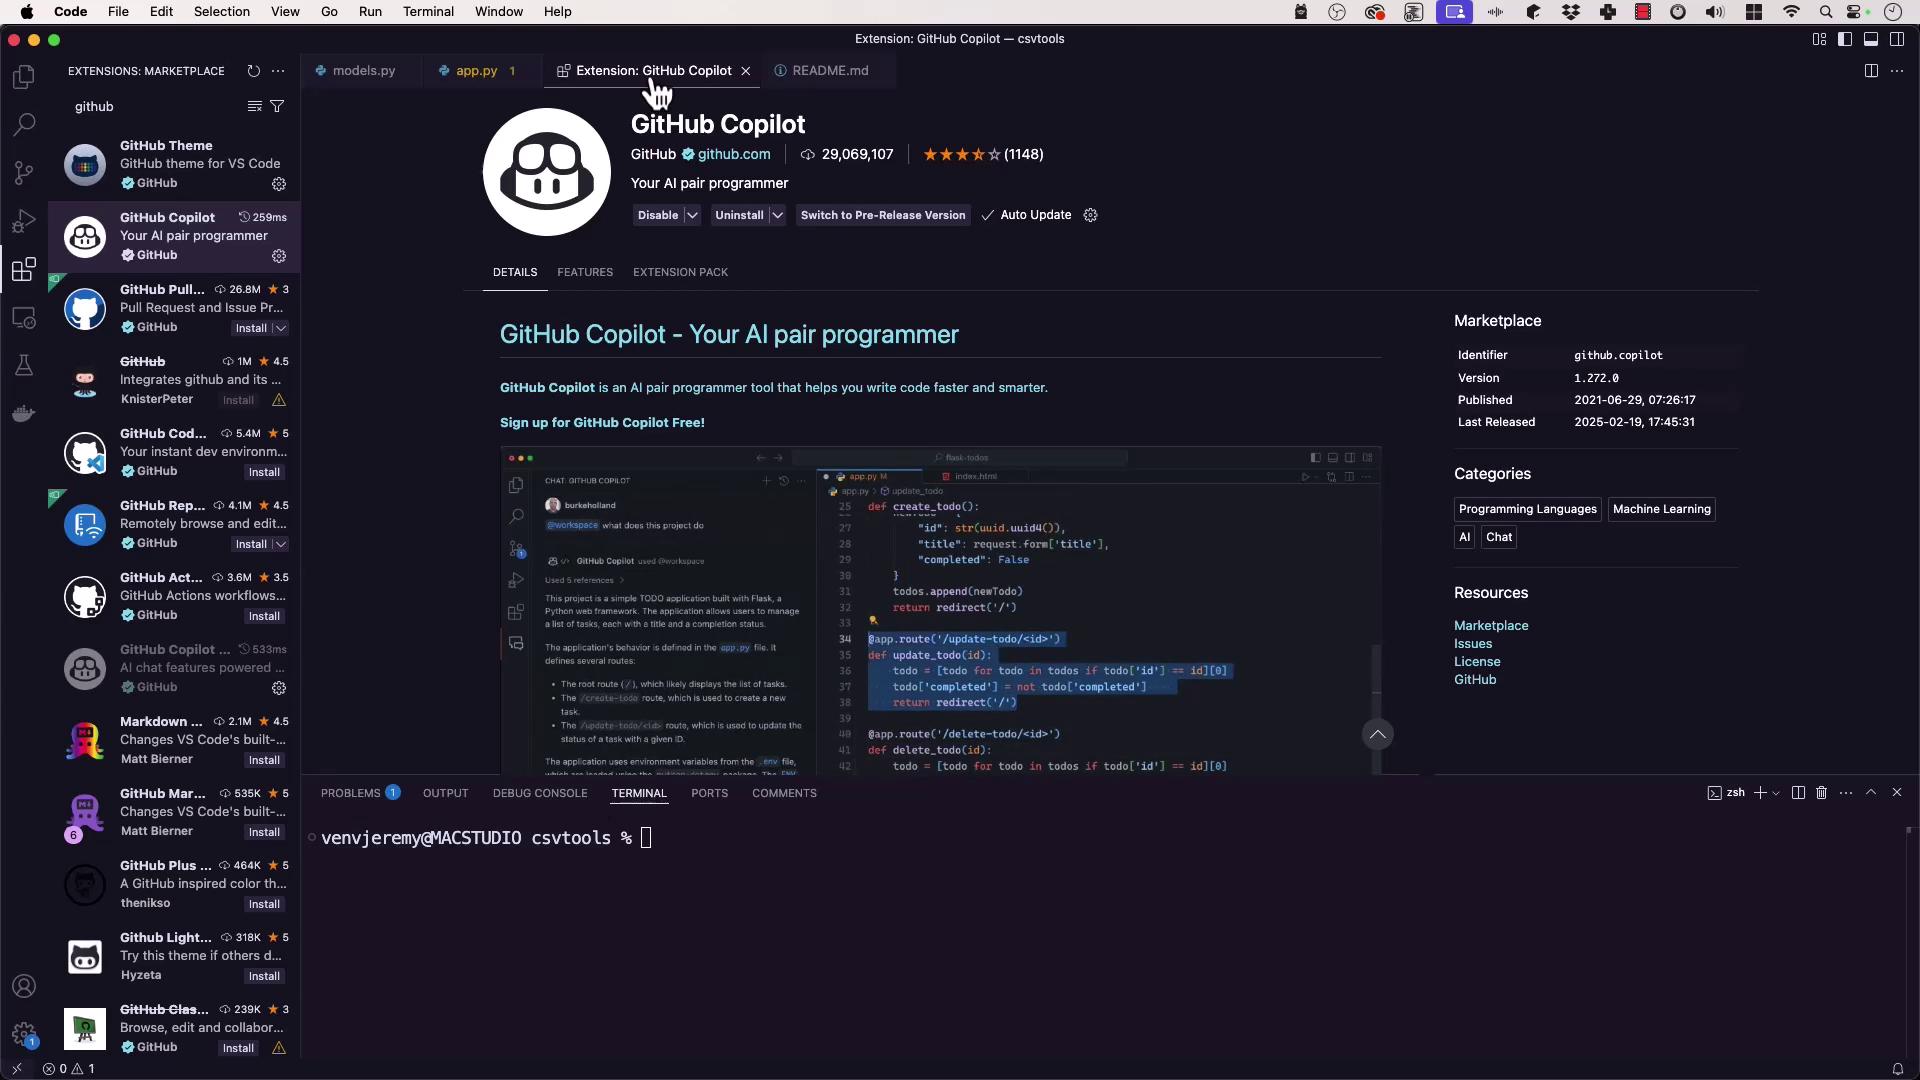
1. Install the GitHub Copilot Extension
- Launch Visual Studio Code and open the Extensions view (
Ctrl+Shift+X). - Search for GitHub Copilot.
- Click Install.
- Authenticate with your GitHub account when prompted.
You must have a valid Copilot subscription or trial to authenticate. Visit GitHub Copilot Pricing for more details.
2. Try a Simple Flask Example
After installation, Copilot will suggest code completions inline. Here’s a minimal Flask app with an in-memory database and a POST endpoint:Ensure you have Flask installed:
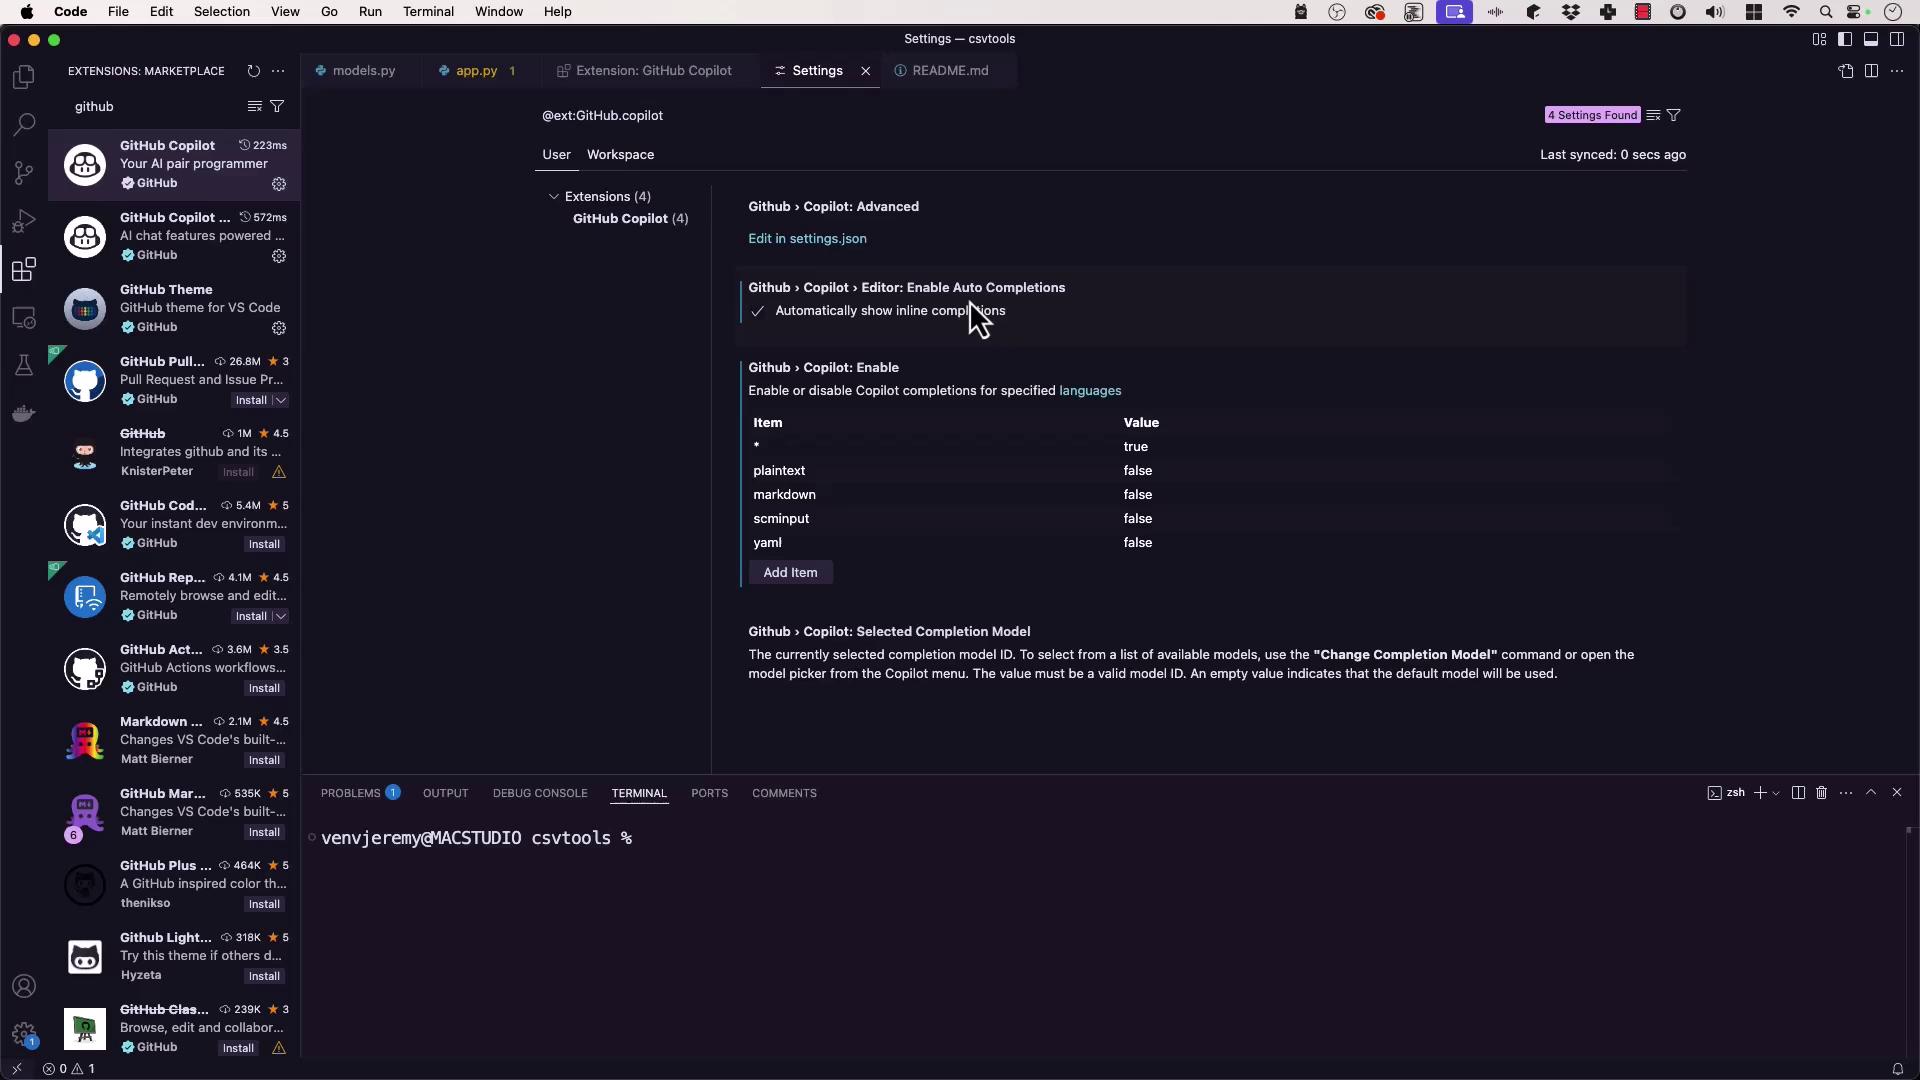
3. Configure Copilot Settings
VS Code lets you enable or disable Copilot features globally or per language. Open Settings (Ctrl+,) and search for “Copilot.” Key options include:
| Setting | Description | Default |
|---|---|---|
| Inline Completions | Show suggestions as you type | Enabled |
| Model Selection | Select a specific Copilot model | default |
| Language-Specific Activation | Toggle Copilot for individual languages | All enabled |
| Automatic Test-Failure Fixes (Chat) | Auto-correct failing tests via Copilot Chat | Disabled |
settings.json directly:
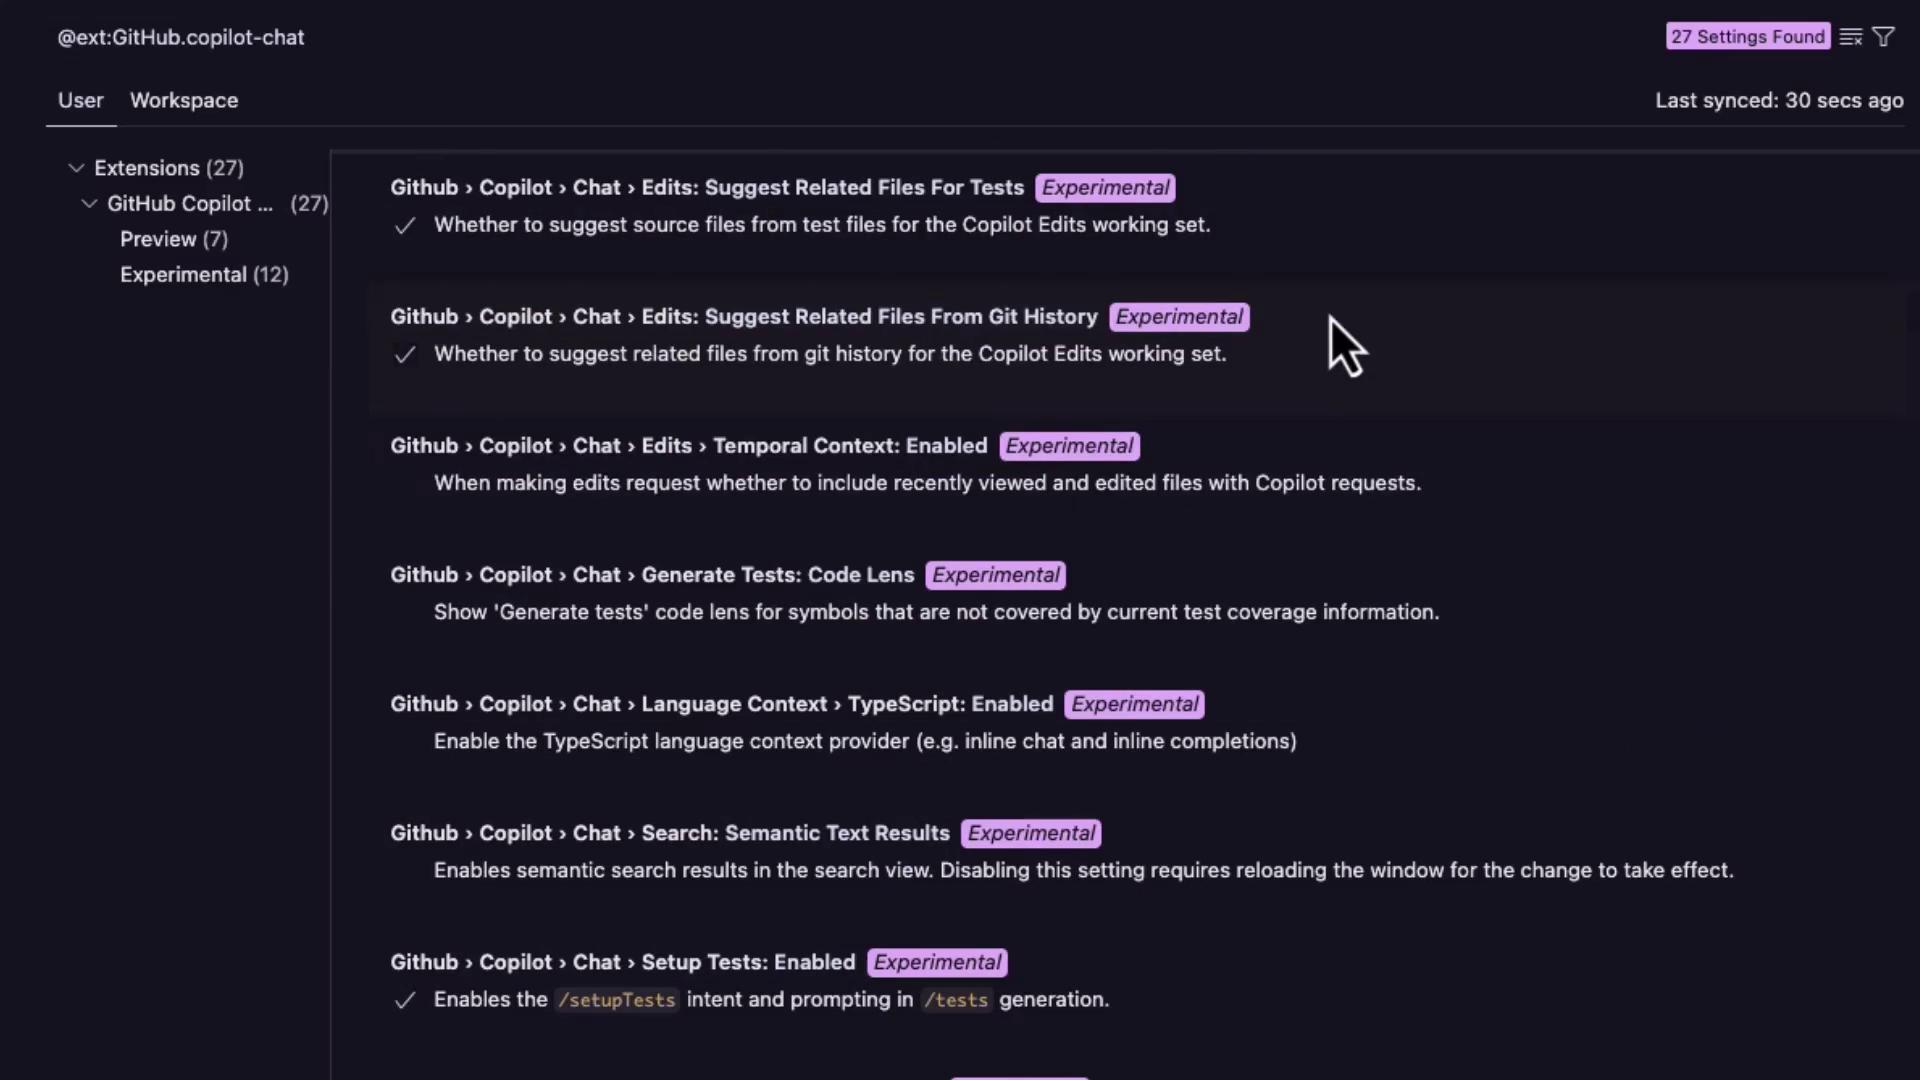
4. Explore GitHub Copilot Chat
Copilot Chat provides an interactive panel for code explanations, refactoring, and test generation.- Click the Copilot Chat icon in the sidebar or status bar.
- Ask questions like “Explain this function” or “Generate unit tests.”

Chat Configuration
Within the Copilot Chat settings, you can:- Enable automatic test-failure fixes
- Suggest follow-up messages
- Override locale (
en,fr, etc.) - Define the default chat panel location
- Include or exclude enterprise repositories
5. Use Context with Copilot Chat
- Open any file (e.g.,
app.py). - Select or add code snippets.
- Launch Copilot Chat and ask targeted questions:
6. Add Custom Instructions
To guide Copilot across your repository, create a custom instructions file:.github/copilot/instructions.md with workspace-specific guidelines:
Commit this file to version control so that all collaborators benefit from the same Copilot behavior.