- Creating a GitLab Group
- Initializing a GitLab Project
- Configuring your .gitlab-ci.yml file
- Reviewing pipeline execution
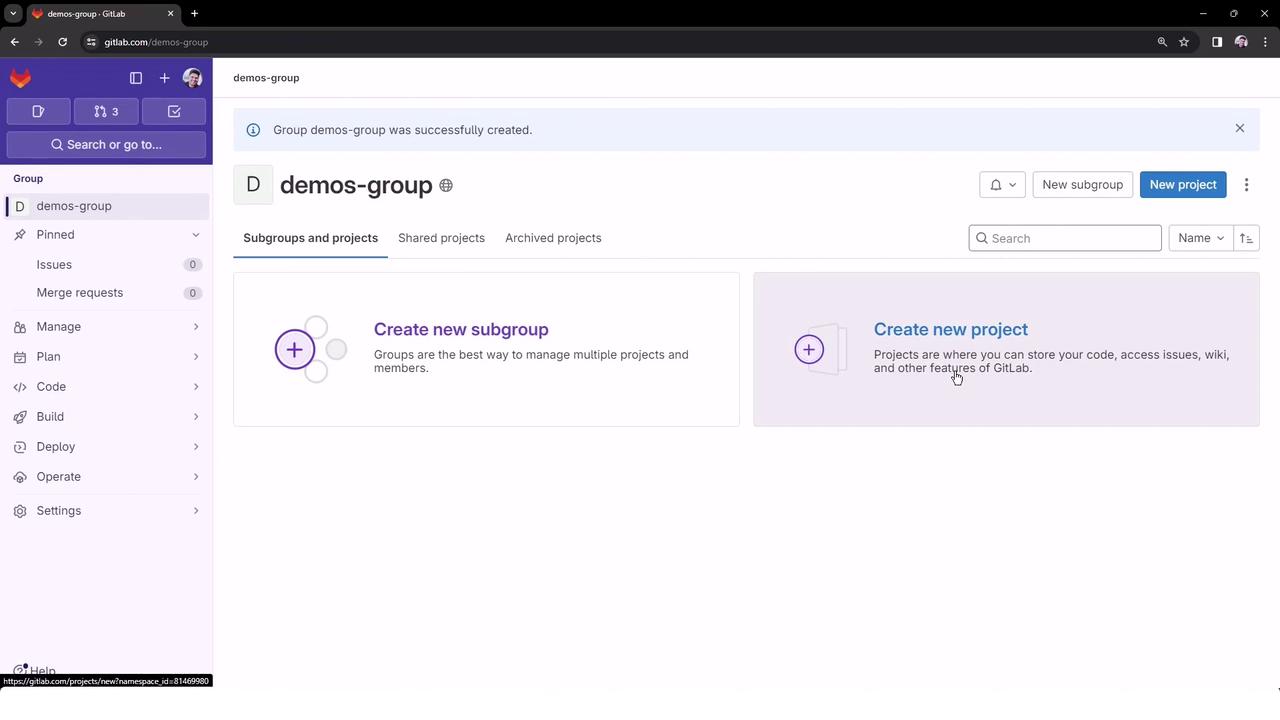
1. Create a GitLab Group
First, organize your demos under a top-level group calleddemos-group:
- Go to Groups → Create group.
- Set Group name to
demos-group.
The Group URL will begitlab.com/demos-group. - Choose Visibility Level: Public.
- Click Create group.

Group names should avoid special characters (e.g., periods) if you plan to integrate with SCIM or other identity providers.
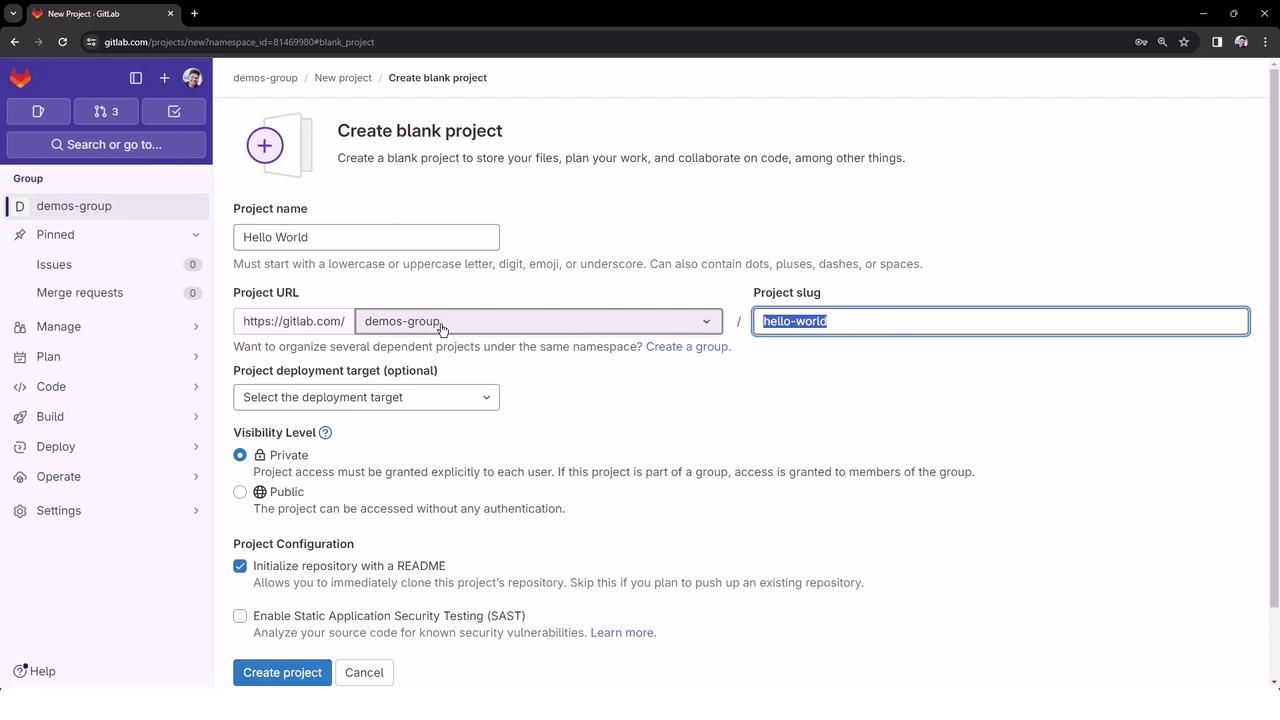
2. Create a New Project
Insidedemos-group, create a project named hello-world:
- Click New project → Create blank project.
- Enter Project name:
hello-world
The Project URL becomesgitlab.com/demos-group/hello-world. - Set Visibility: Public.
- Check Initialize repository with a README.
- Click Create project.
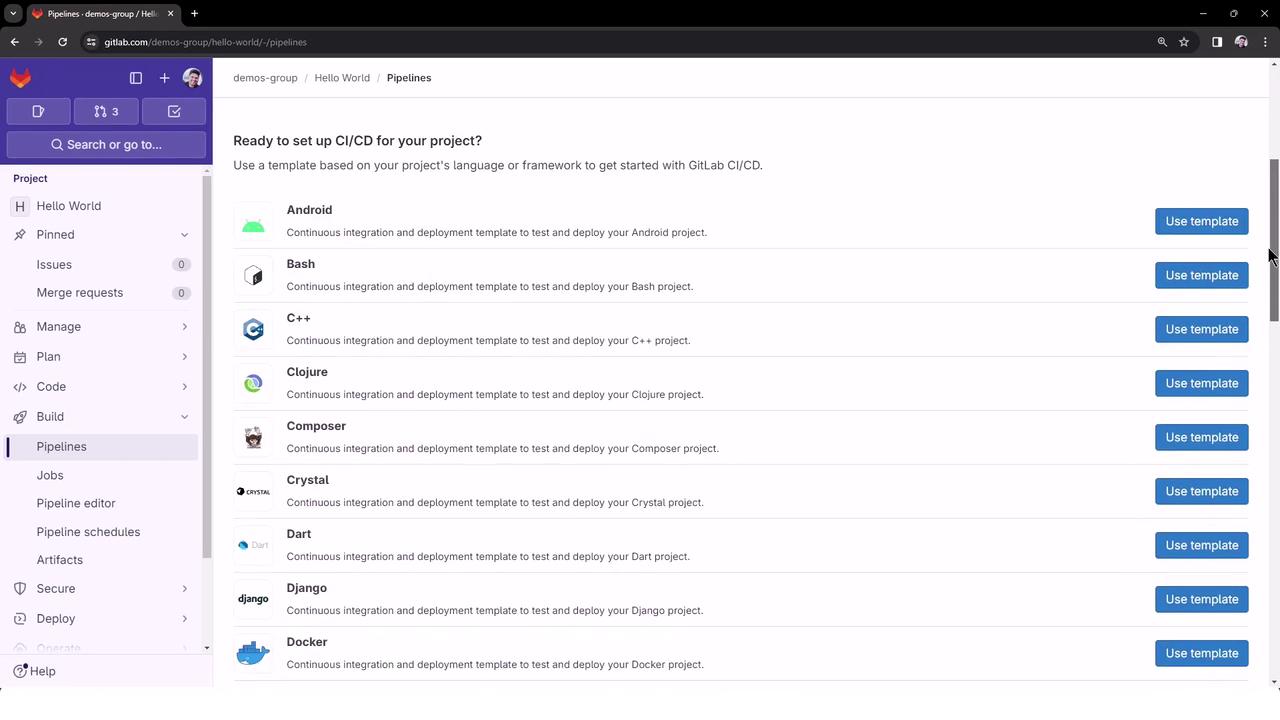
3. Set Up CI/CD Pipeline
Click CI/CD → Pipelines → Setup CI/CD (or Configure pipeline) to open the editor. You’ll see a list of templates and an empty.gitlab-ci.yml file:

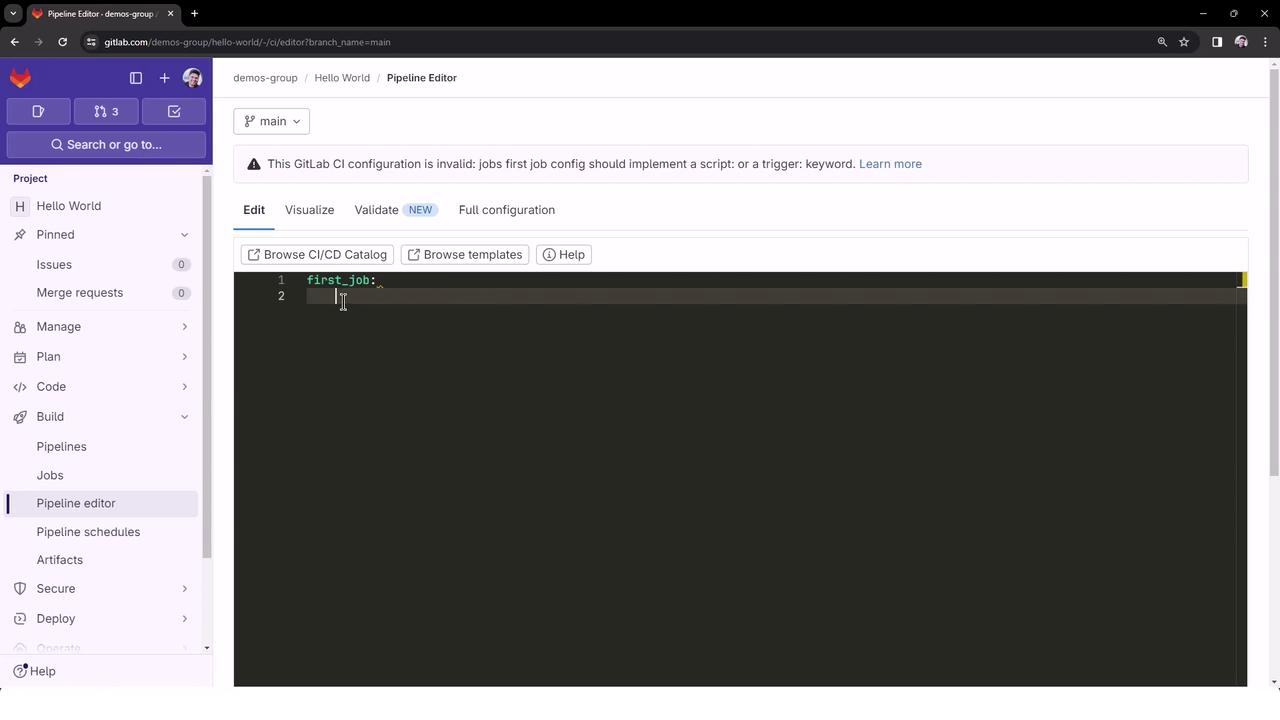
Define a Minimal Pipeline
Add the following to.gitlab-ci.yml at the repository root:
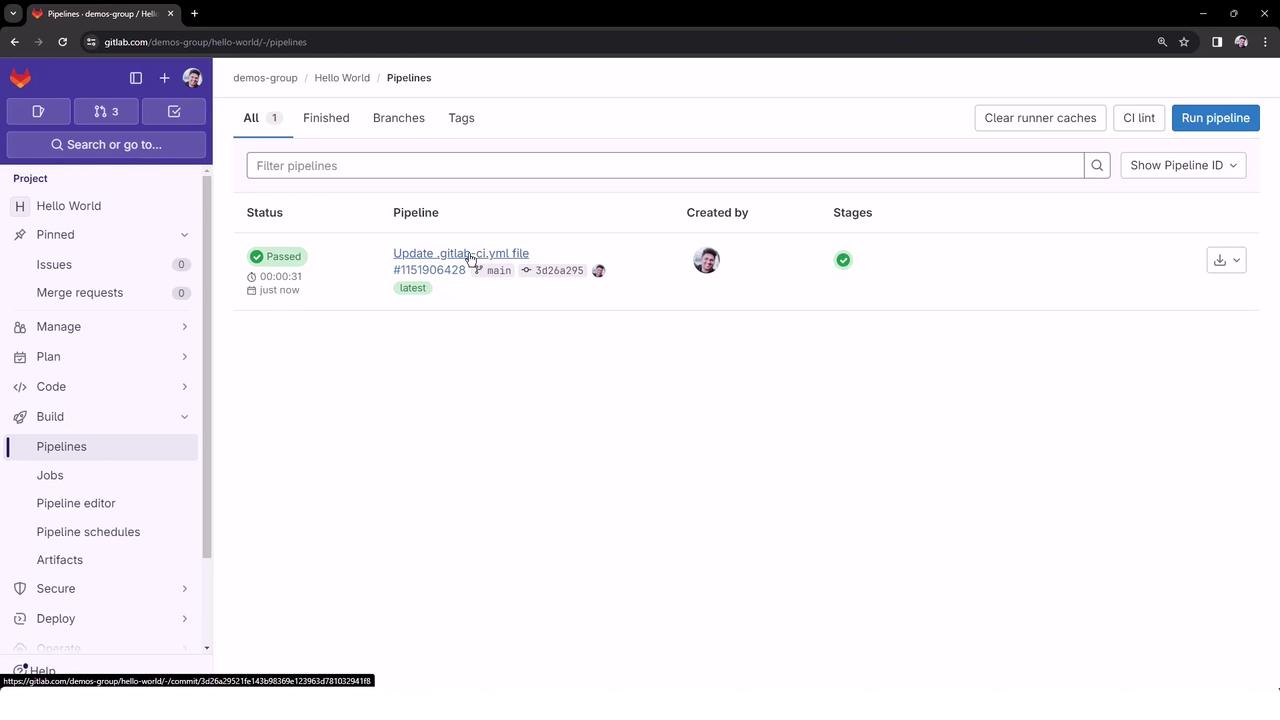
main. This push triggers a pipeline run automatically.
Pipeline Stages Overview
| Stage | Purpose |
|---|---|
| build | Compile or prepare artifacts |
| test | Run unit tests and code validation |
| deploy | Deploy to staging or production environment |
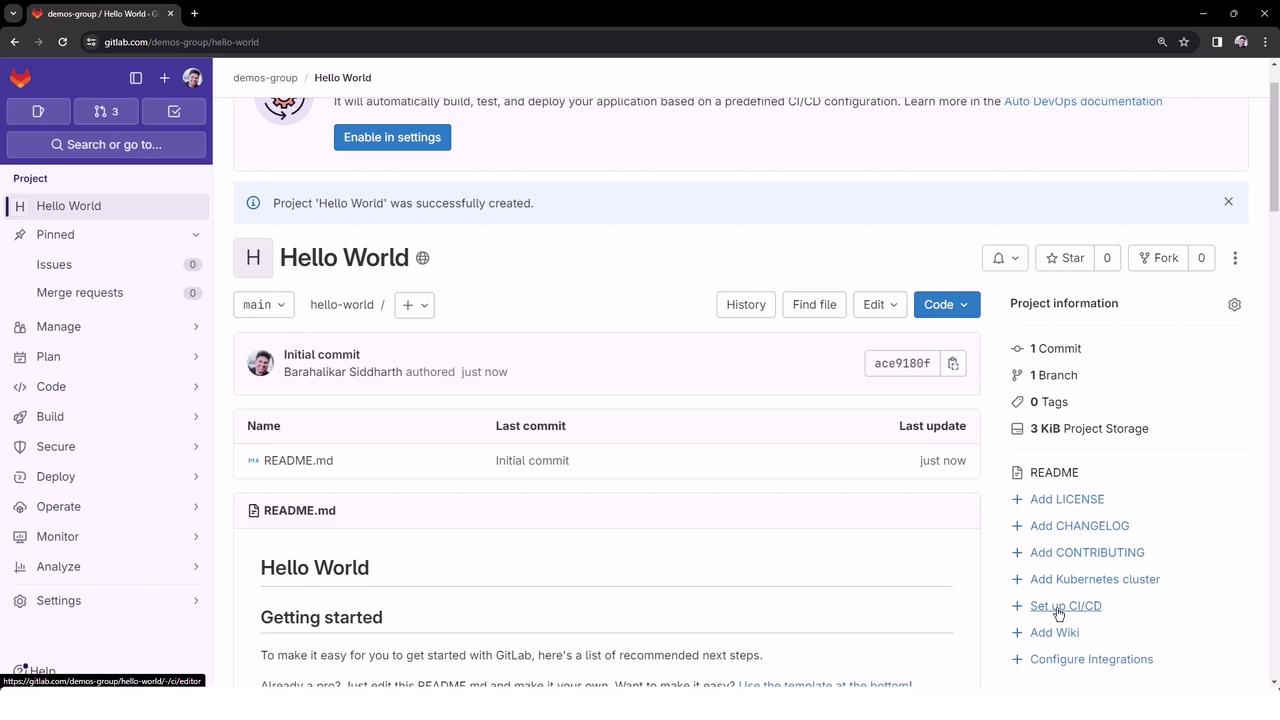
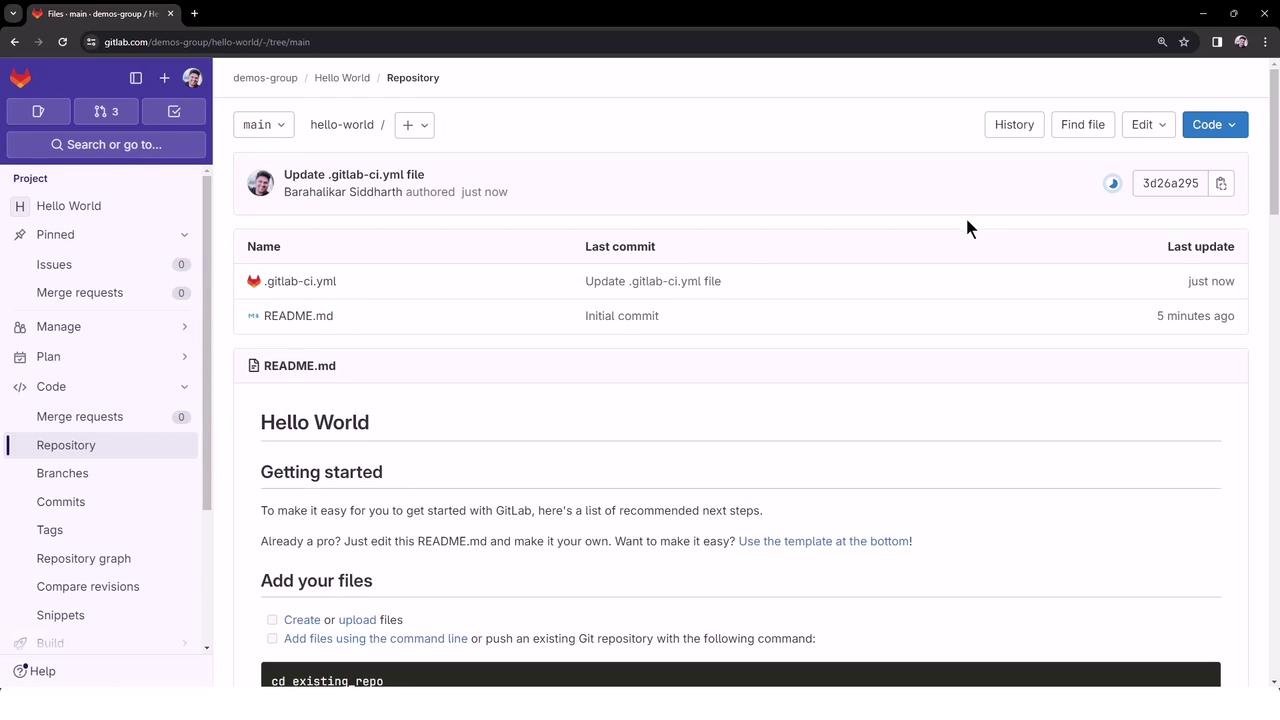
4. Inspect the Repository and Pipeline
Back in Code → Files, confirmREADME.md and .gitlab-ci.yml are present:
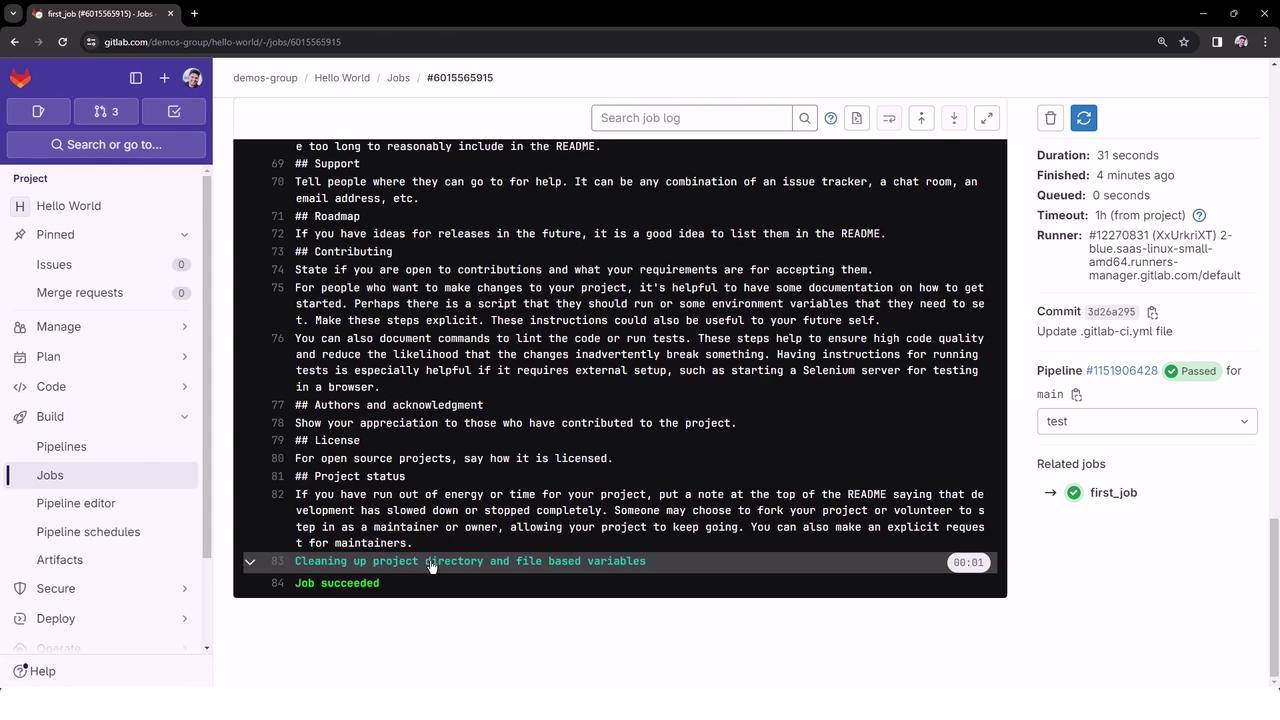
Sample Job Output
script commands, then clean up after success.
Next Steps
In the following lessons, we’ll explore:- Advanced pipeline configurations
- Caching and artifacts
- Parallel and dynamic child pipelines