Creating the Pipeline Job
Begin by opening the Jenkins UI and clicking on New Item. Select the Pipeline option and assign a name to your job (for example, “Hello World Pipeline”). Finally, click OK.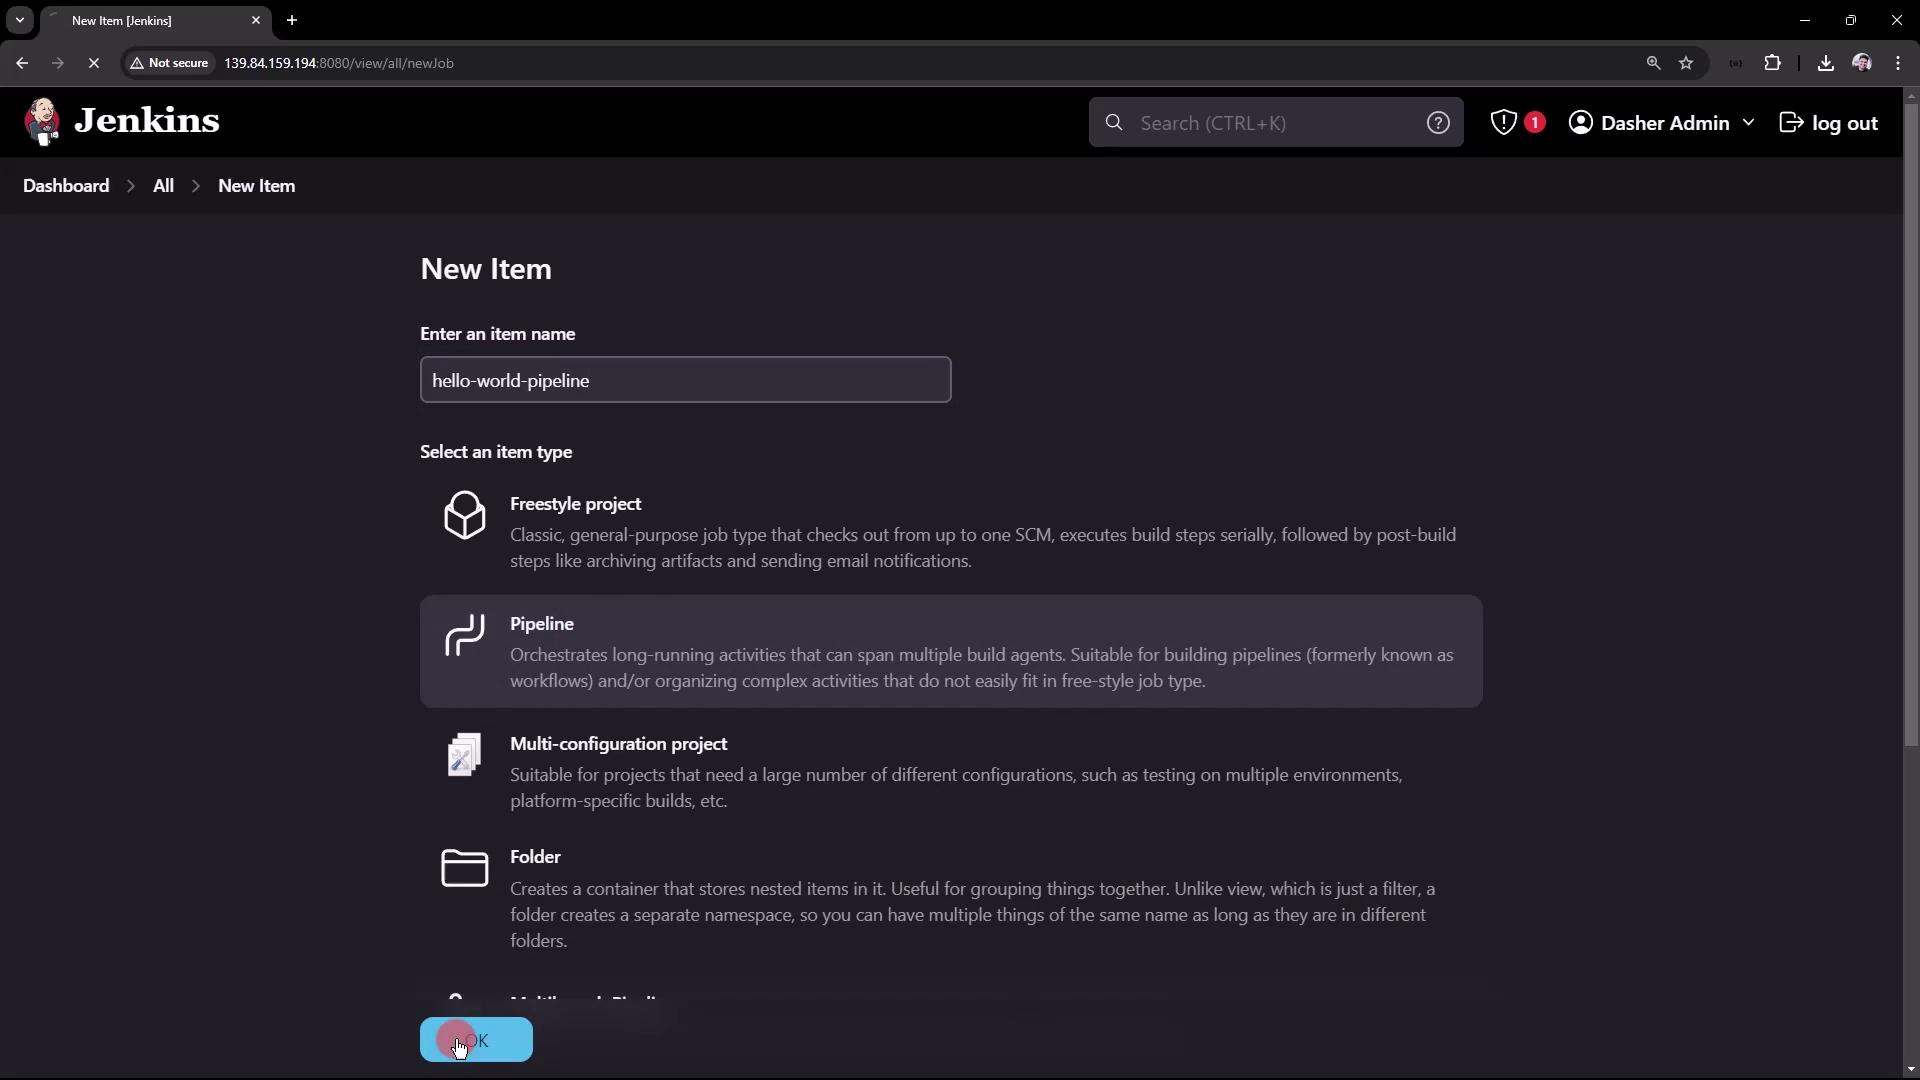
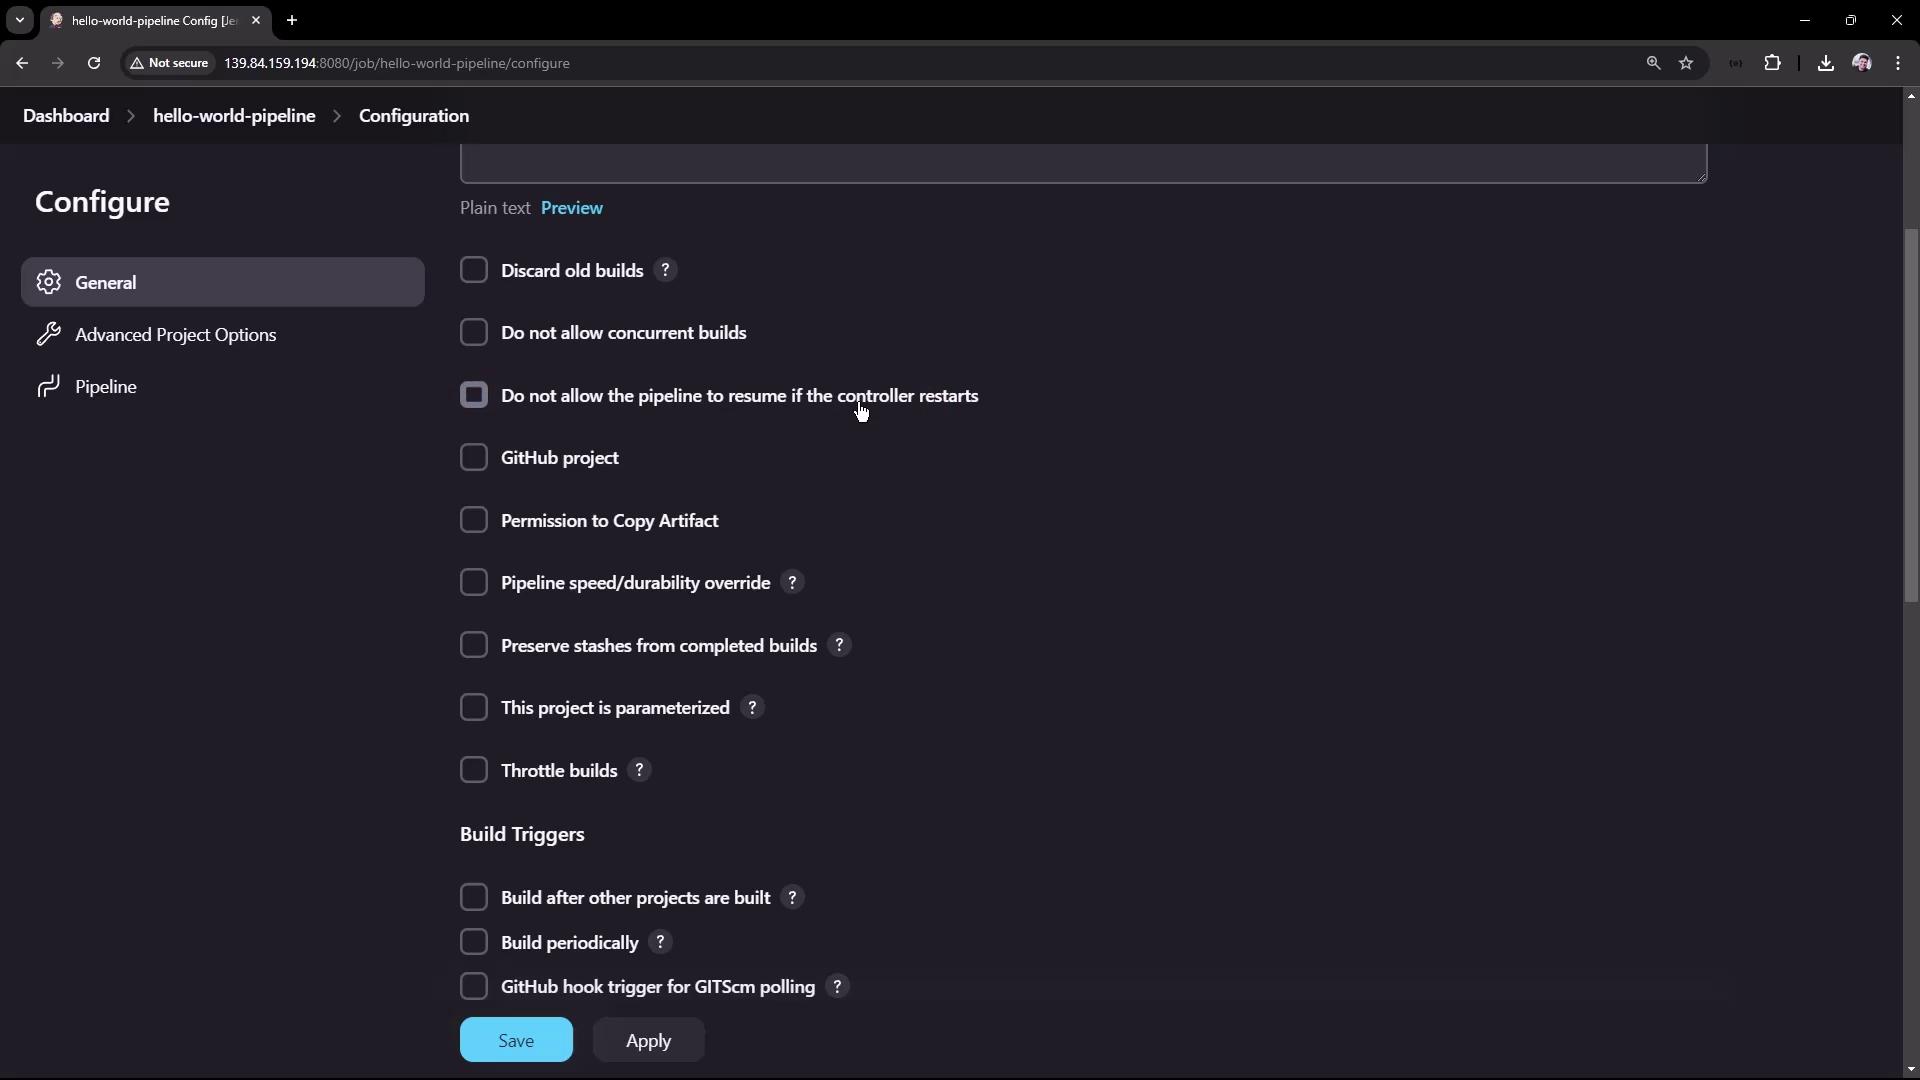
Defining the Pipeline Script
You can define the pipeline script in two ways:- Directly inline on the configuration page.
- Automatically sourced from a Version Control System like Git or Subversion.
- The
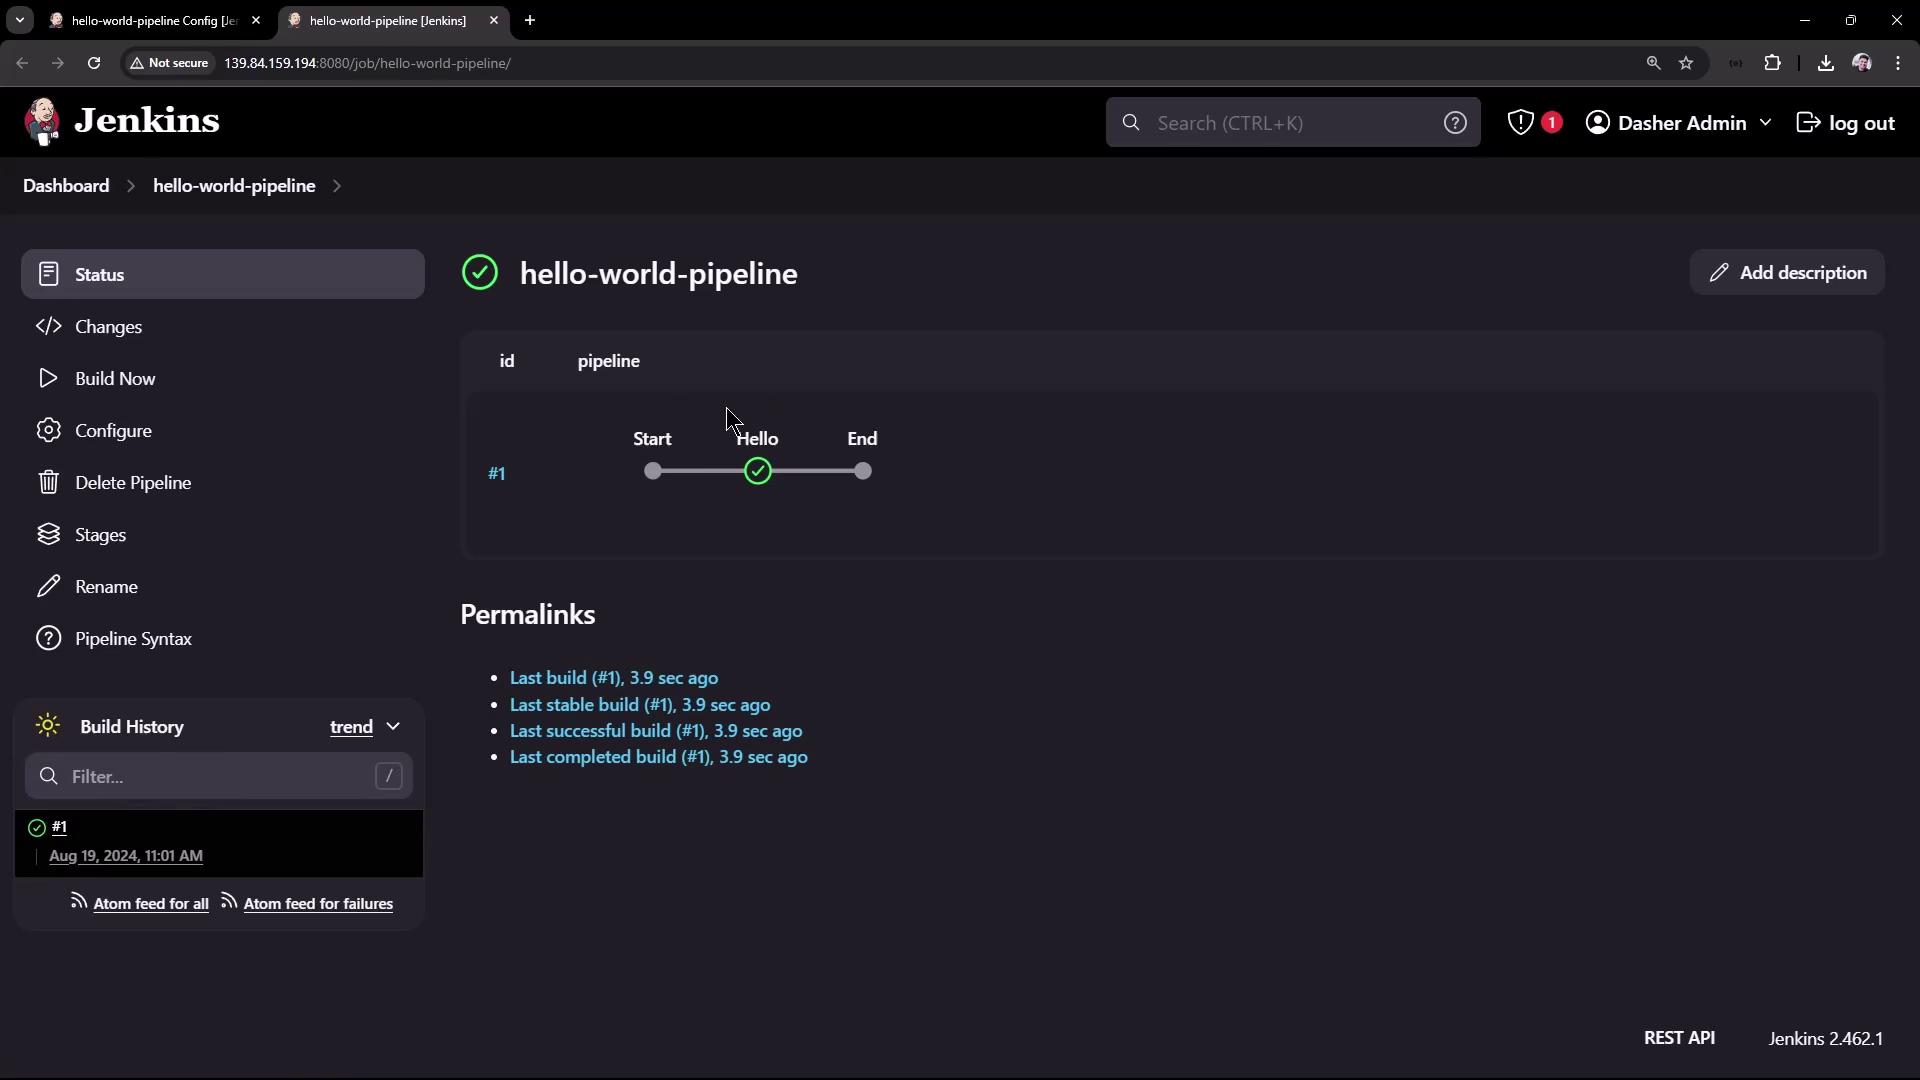
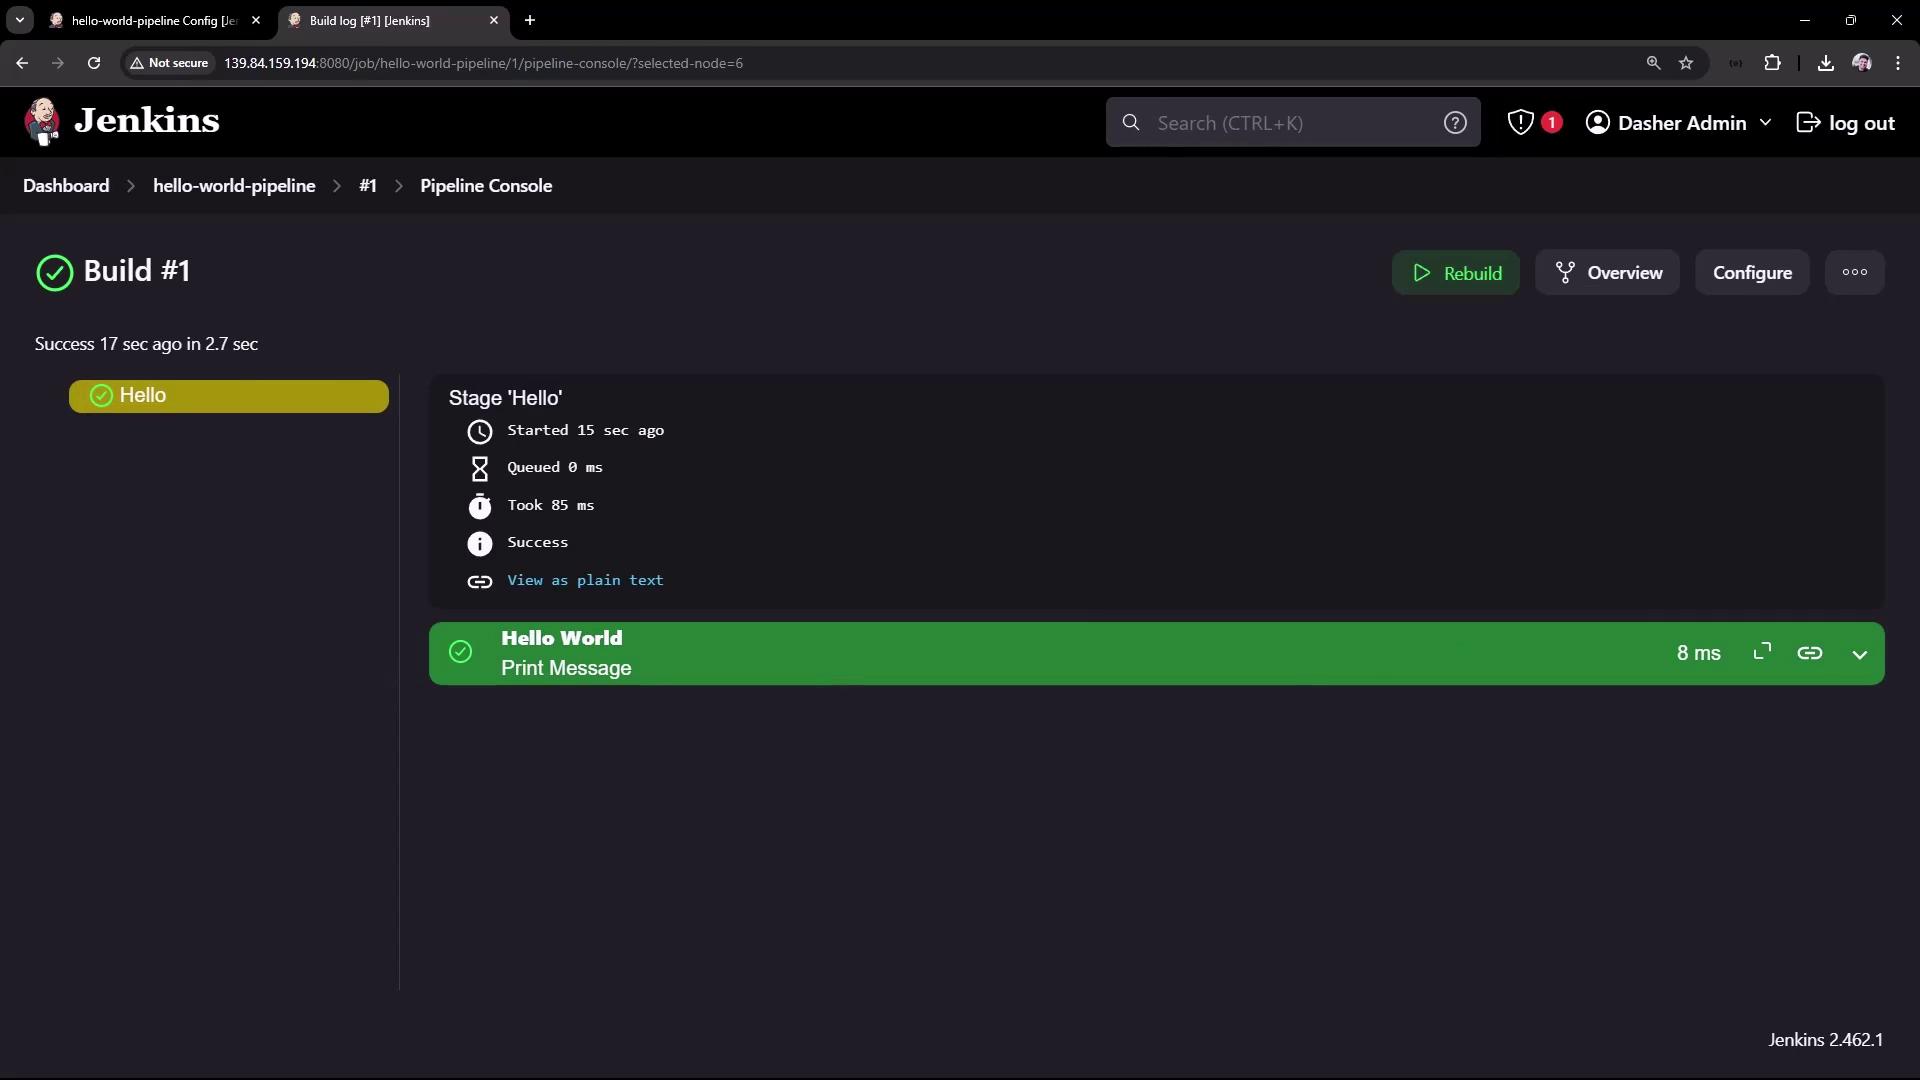
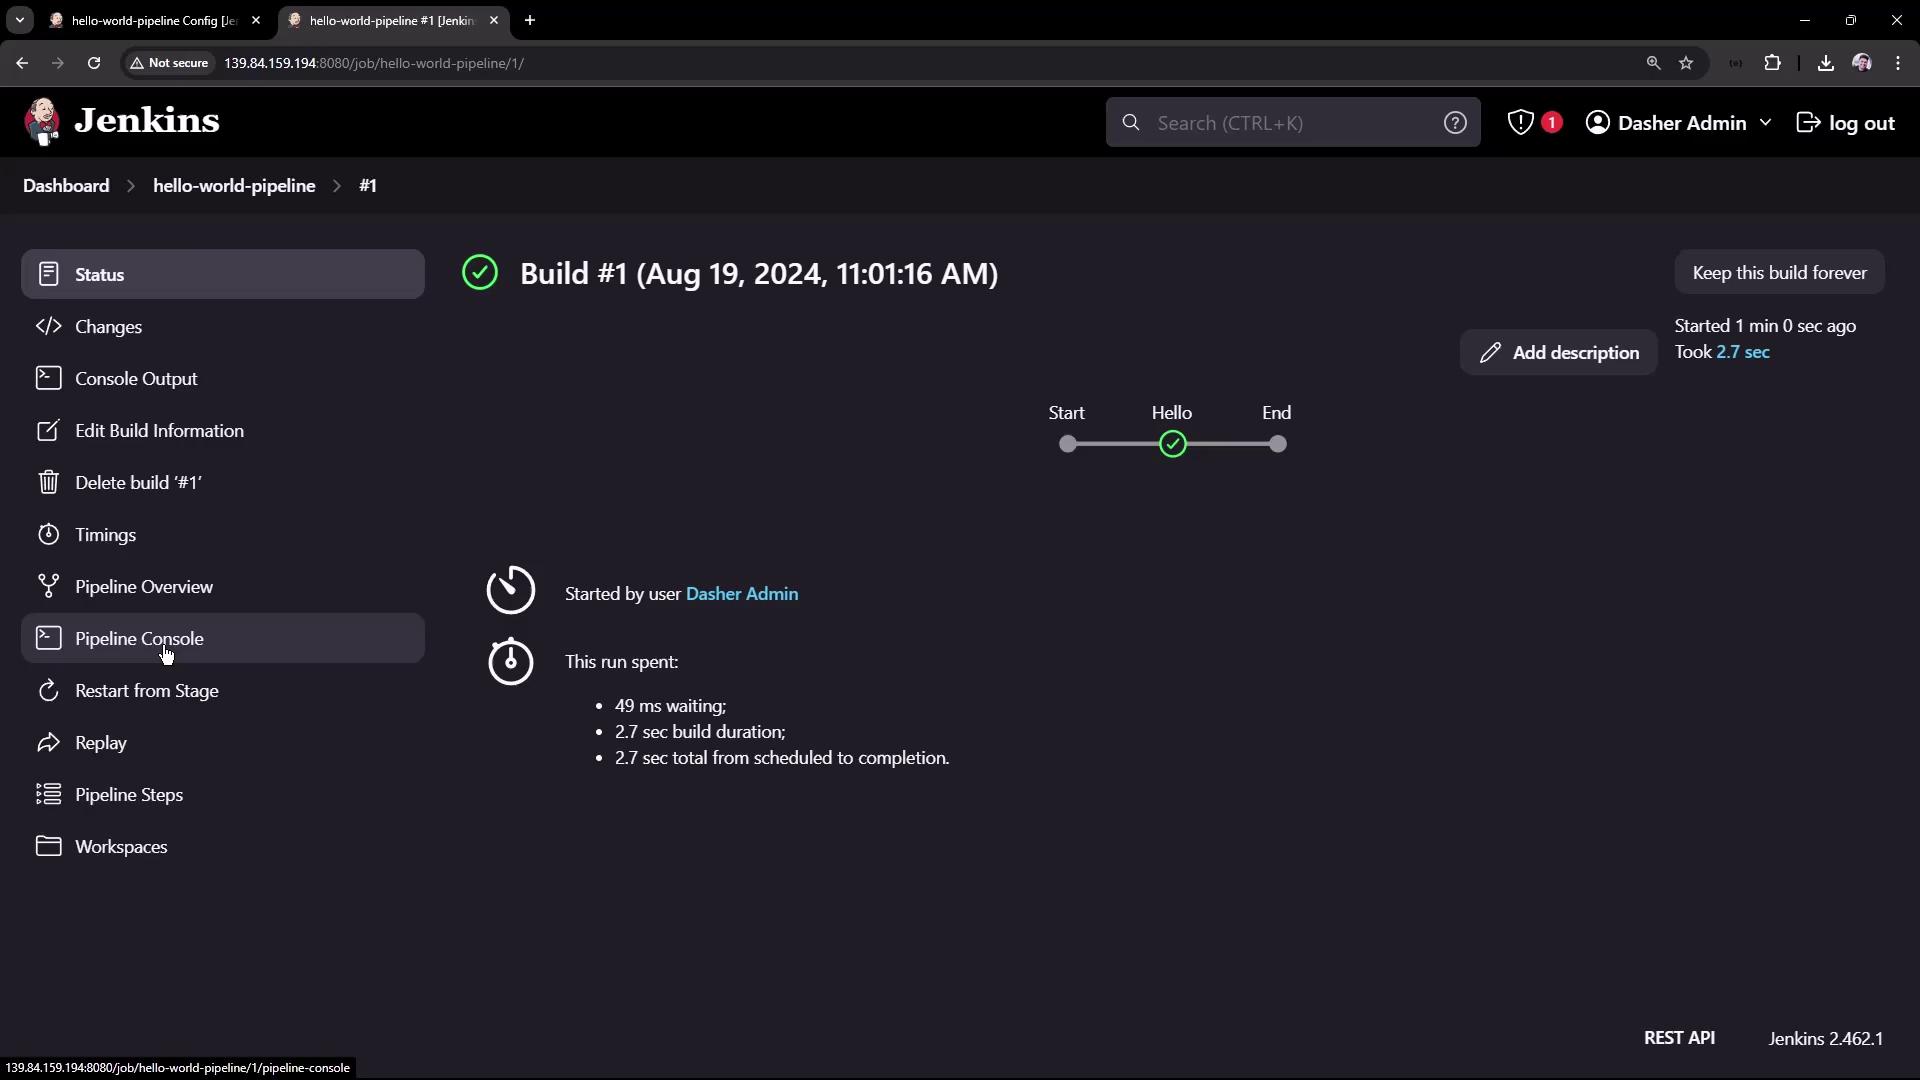
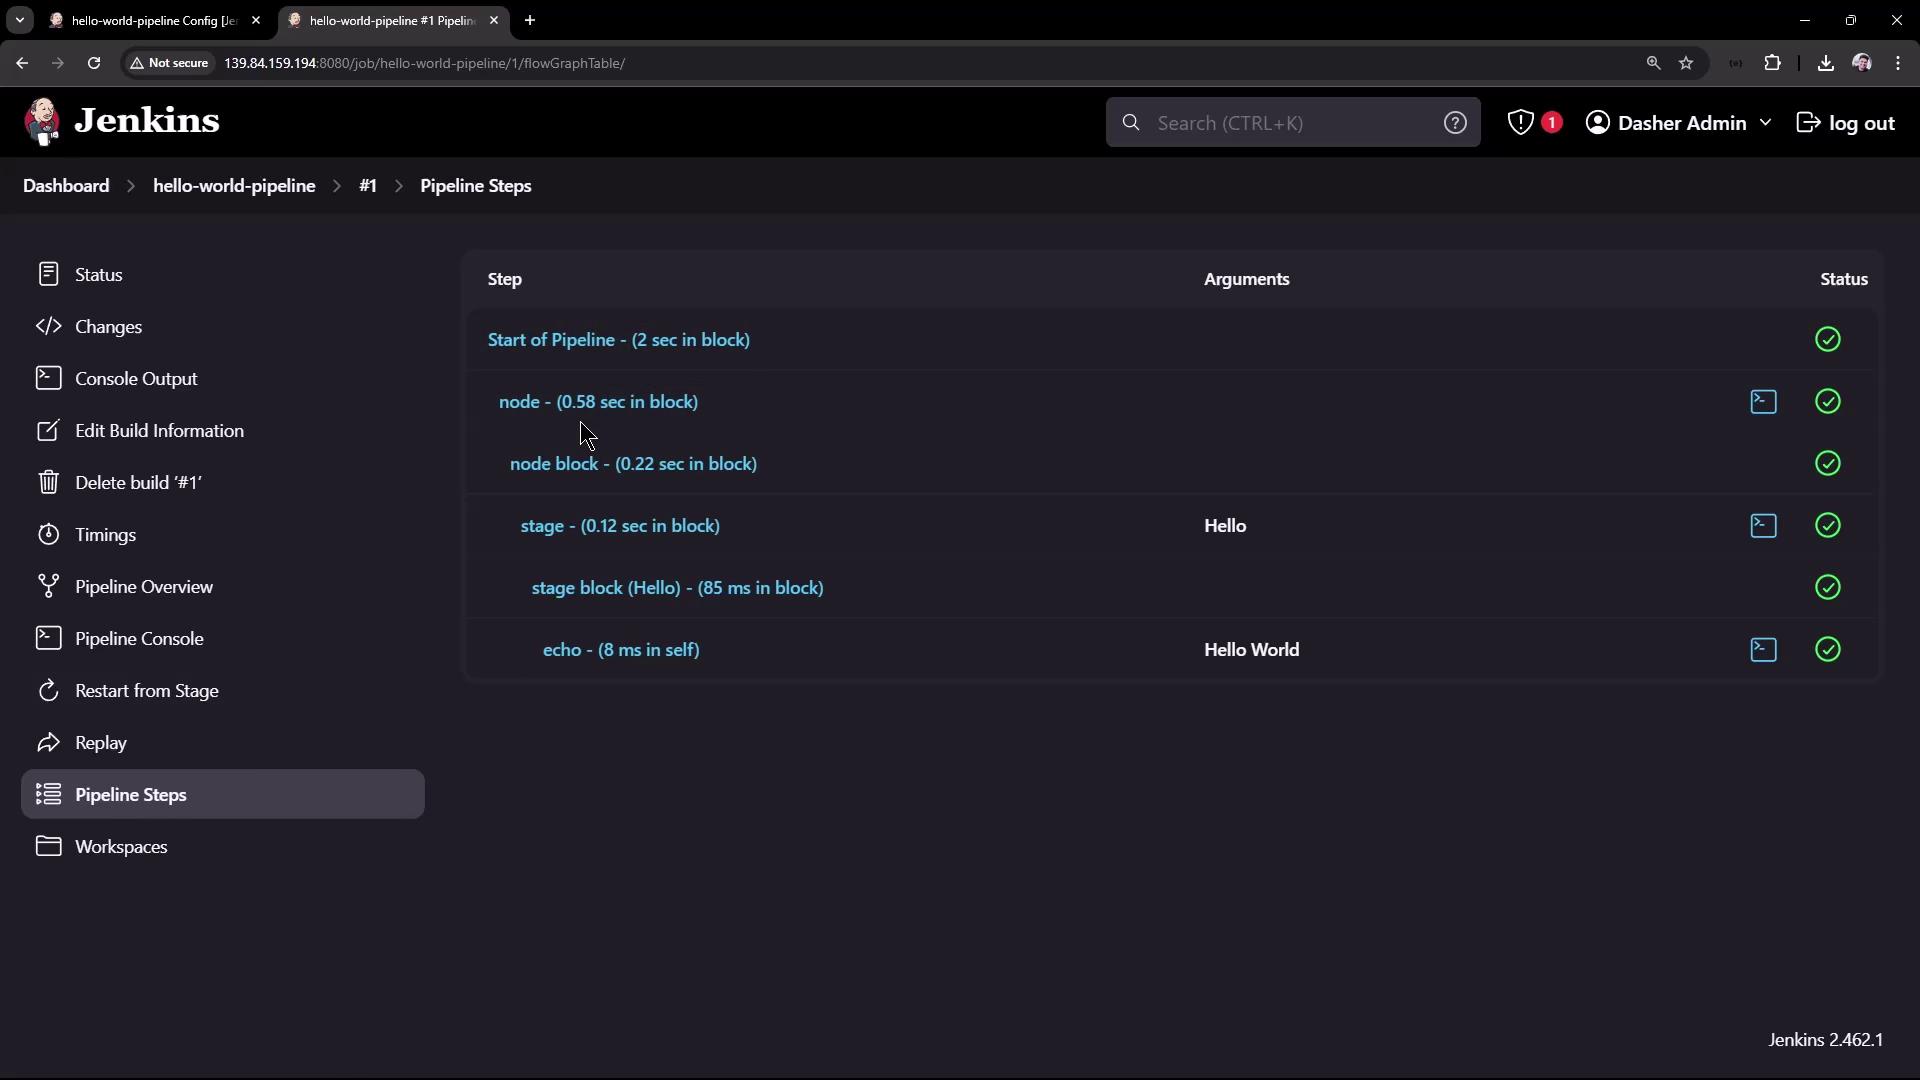
agent anydirective indicates that the job can run on any available node (commonly the Jenkins controller in basic setups). - The pipeline contains one stage named “Hello” that executes a step to display the message “Hello World” using the
echocommand. - Optionally, you can enable the Groovy sandbox for restricted execution. Disabling it without proper administrative approval may cause the job to wait for authorization.
Extending the Pipeline: GitHub and Maven Integration
Next, we’ll extend the pipeline by adding stages that integrate with GitHub and use Maven for project builds. The example below demonstrates a pipeline that:- Configures a Maven tool installation.
- Creates a stage named “Echo Version” to output a message along with the Maven version.
- Includes a stage named “Build” that checks out code from a GitHub repository.
Configuring Maven in Jenkins
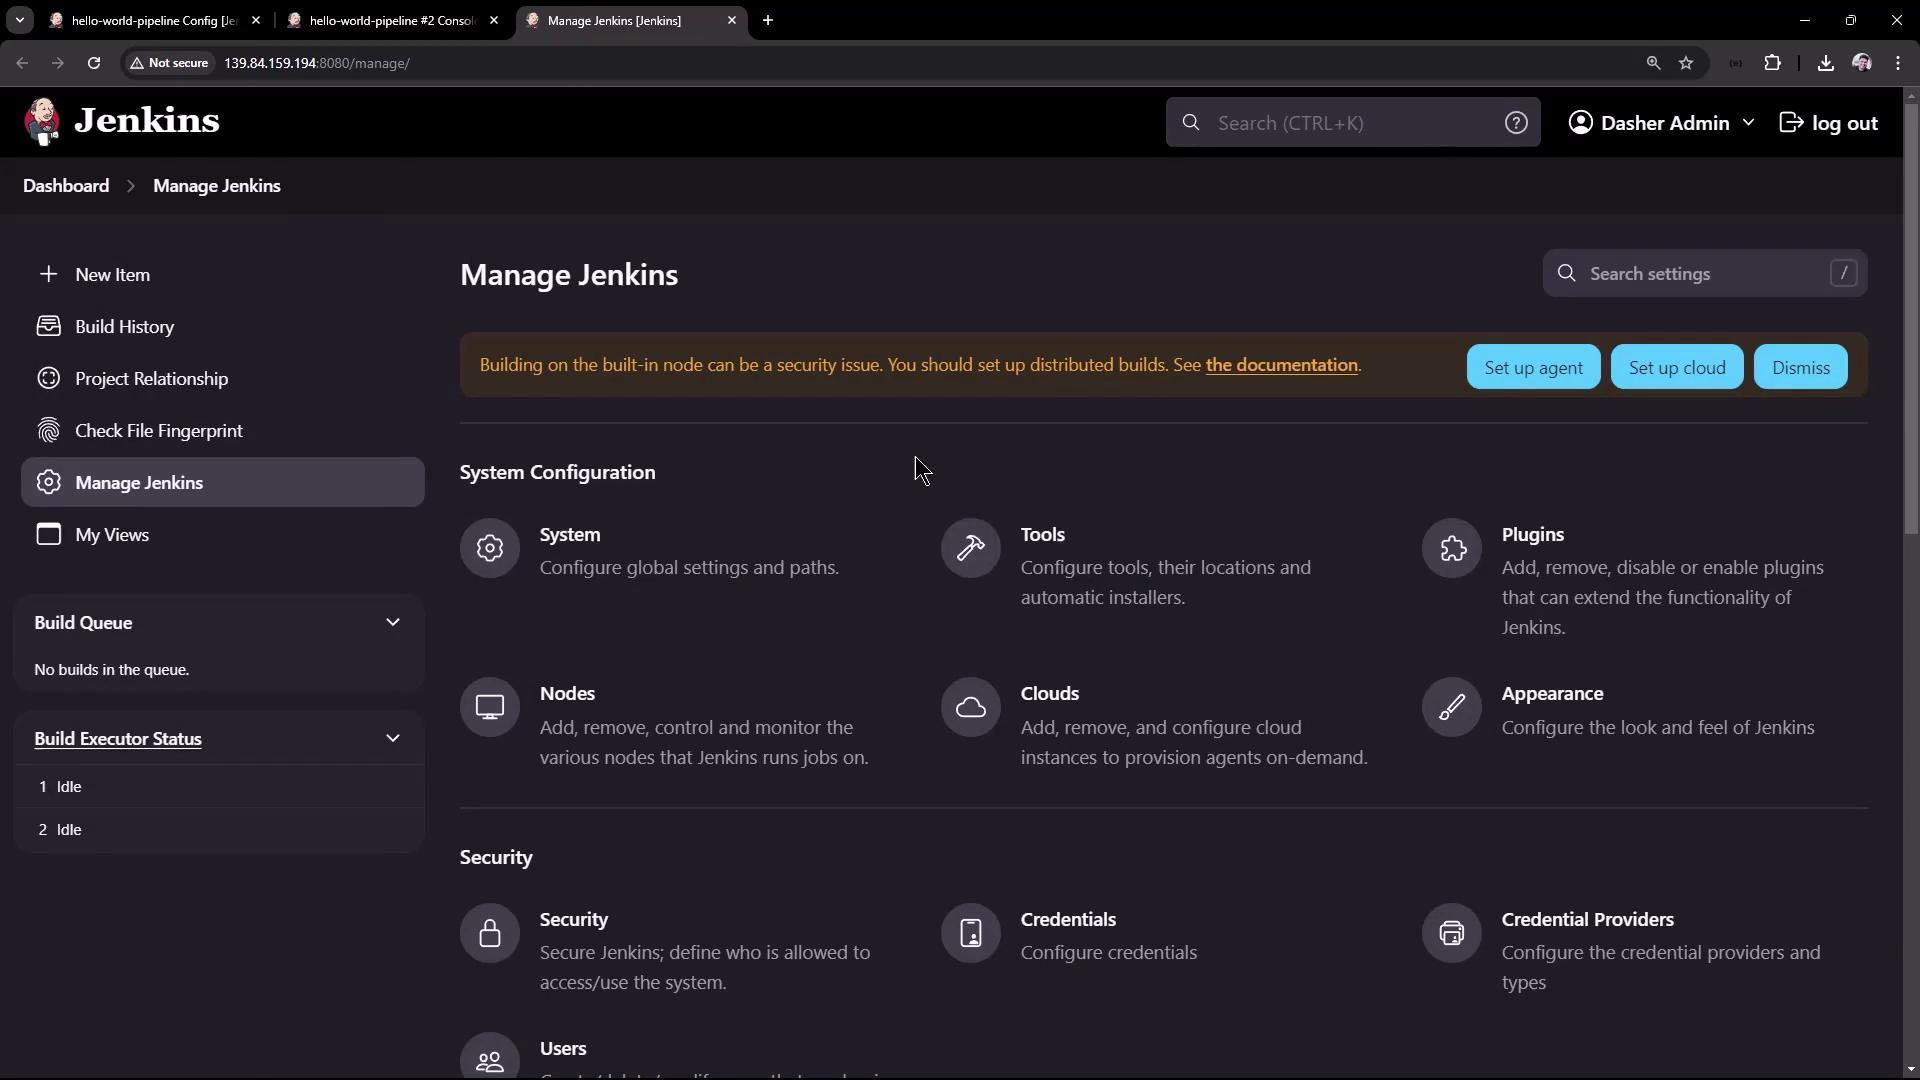
To resolve this Maven configuration issue, follow these steps:- Open the Jenkins Dashboard and navigate to Manage Jenkins.
- Click on Global Tool Configuration (or simply Tools in some Jenkins versions).
- Scroll down to the Maven section. Since no Maven installation is currently configured, add a new installation.
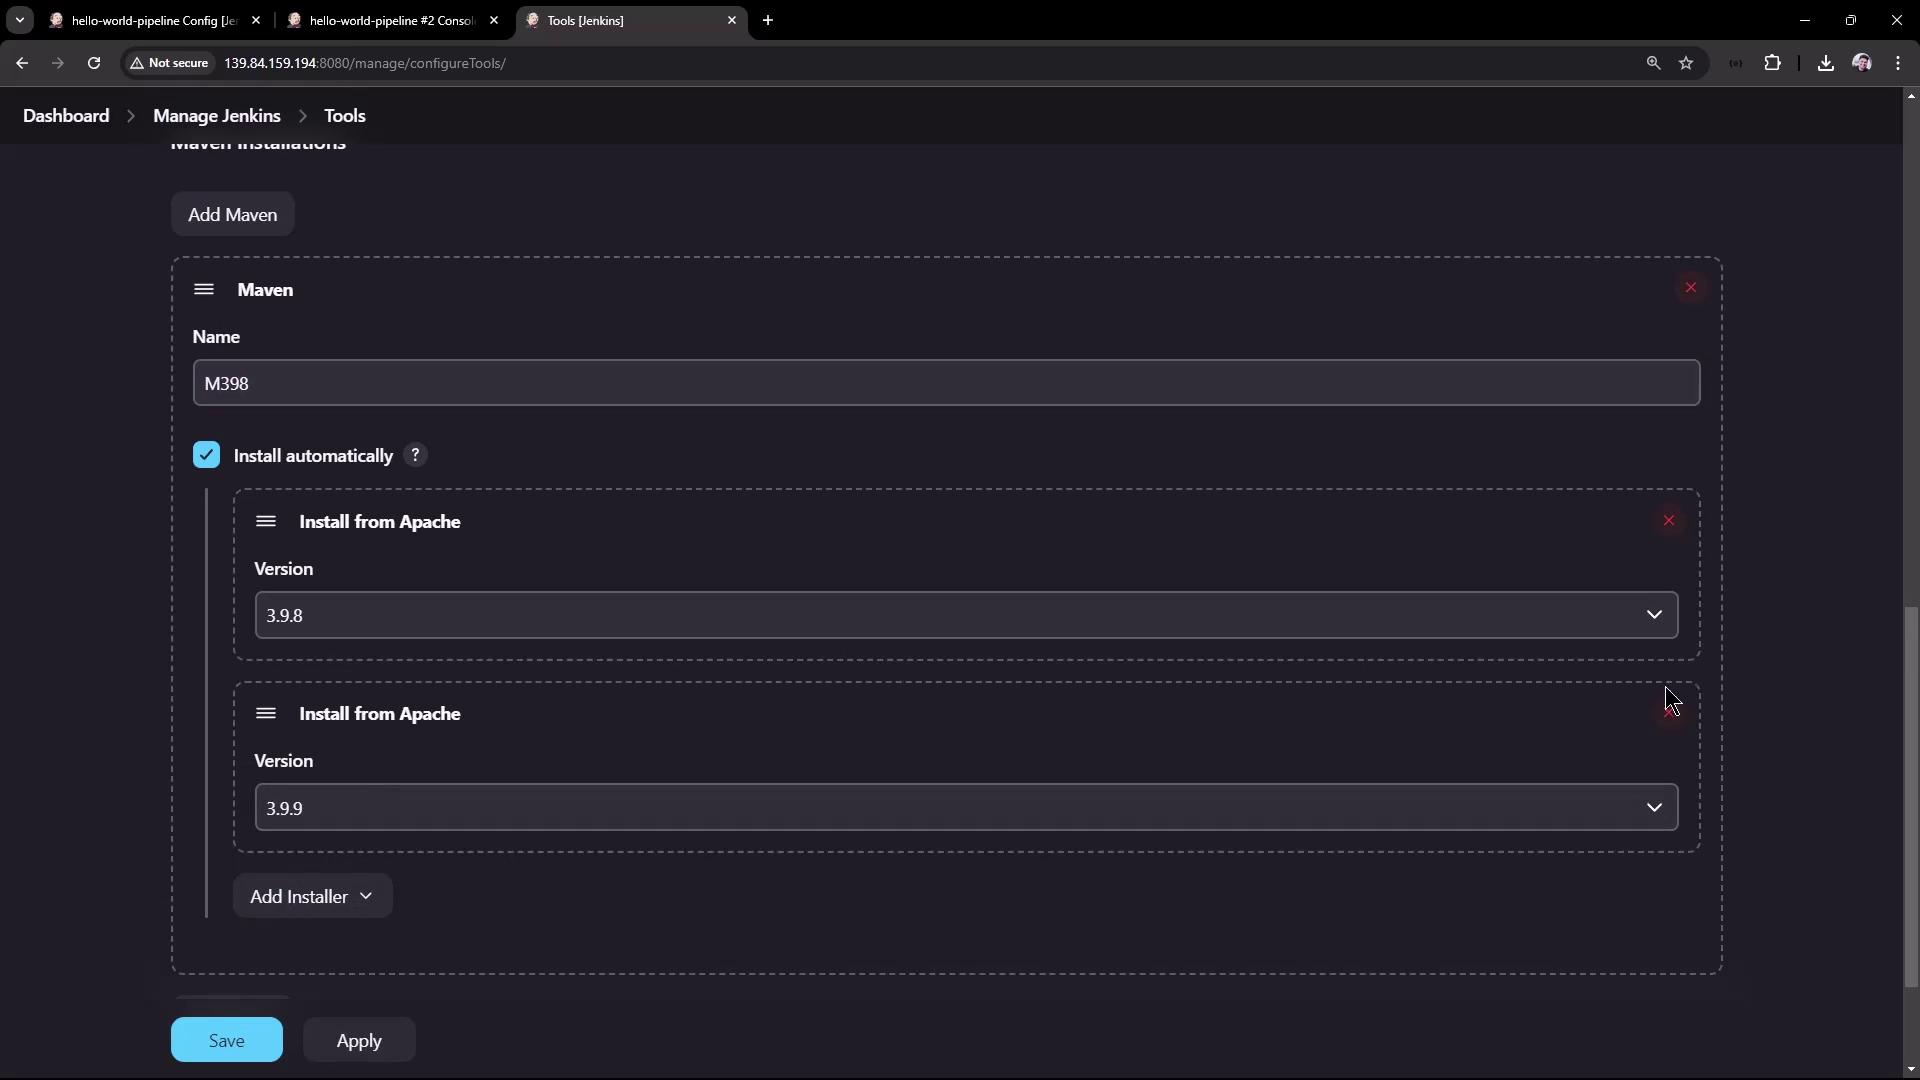
tools section to reference the newly named installation:

Conclusion
In this article, we demonstrated how to create a simple Pipeline Job in Jenkins, from setting up a basic “Hello World” pipeline to extending it with GitHub integration and Maven build steps. We also addressed Maven configuration issues and provided steps to resolve them, ensuring smooth pipeline execution.For further insights, explore other Jenkins documentation such as the Jenkins Pipeline Documentation to deepen your understanding of more advanced pipeline features.