

- Installing a provider adds new managed resource types to your cluster.
- It also starts a controller (pod) that watches those types and reconciles real resources.
Installing a provider
To install a provider you apply a short CrossplaneProvider manifest that references the provider package image. Example (Kubernetes provider):
Authenticating a provider (ProviderConfig / ClusterProviderConfig)
A provider needs credentials to authenticate to the platform it manages. Crossplane usesProviderConfig (or ClusterProviderConfig for cluster-scoped credentials) to tell the provider where to find those credentials.
For the Kubernetes provider you can use an InjectedIdentity credential source. This tells the provider to authenticate with the identity of its own controller pod, avoiding external secrets.
Create a cluster-scoped config named default:
Using
InjectedIdentity means the provider will authenticate with the identity assigned to its controller pod. This avoids storing long-lived credentials in the cluster, but ensure the pod has the required RBAC permissions to act on the target cluster.credentials.source options are available; consult the provider’s documentation for supported sources and formats.
Creating managed resources with the Kubernetes provider
A managed resource in Crossplane represents one real piece of infrastructure. The Kubernetes provider exposes a generic managed type calledObject. Instead of creating a unique Crossplane type for every Kubernetes kind, you embed the desired Kubernetes manifest into spec.forProvider.manifest and the provider will create and manage that resource for you.
Example: create a Namespace named demo via a Crossplane Object:
- The
spec.forProvider.manifestcontains the exact Kubernetes manifest you want the provider to create. providerConfigRef.name: defaulttells the provider which credentials/config to use.- When you create this
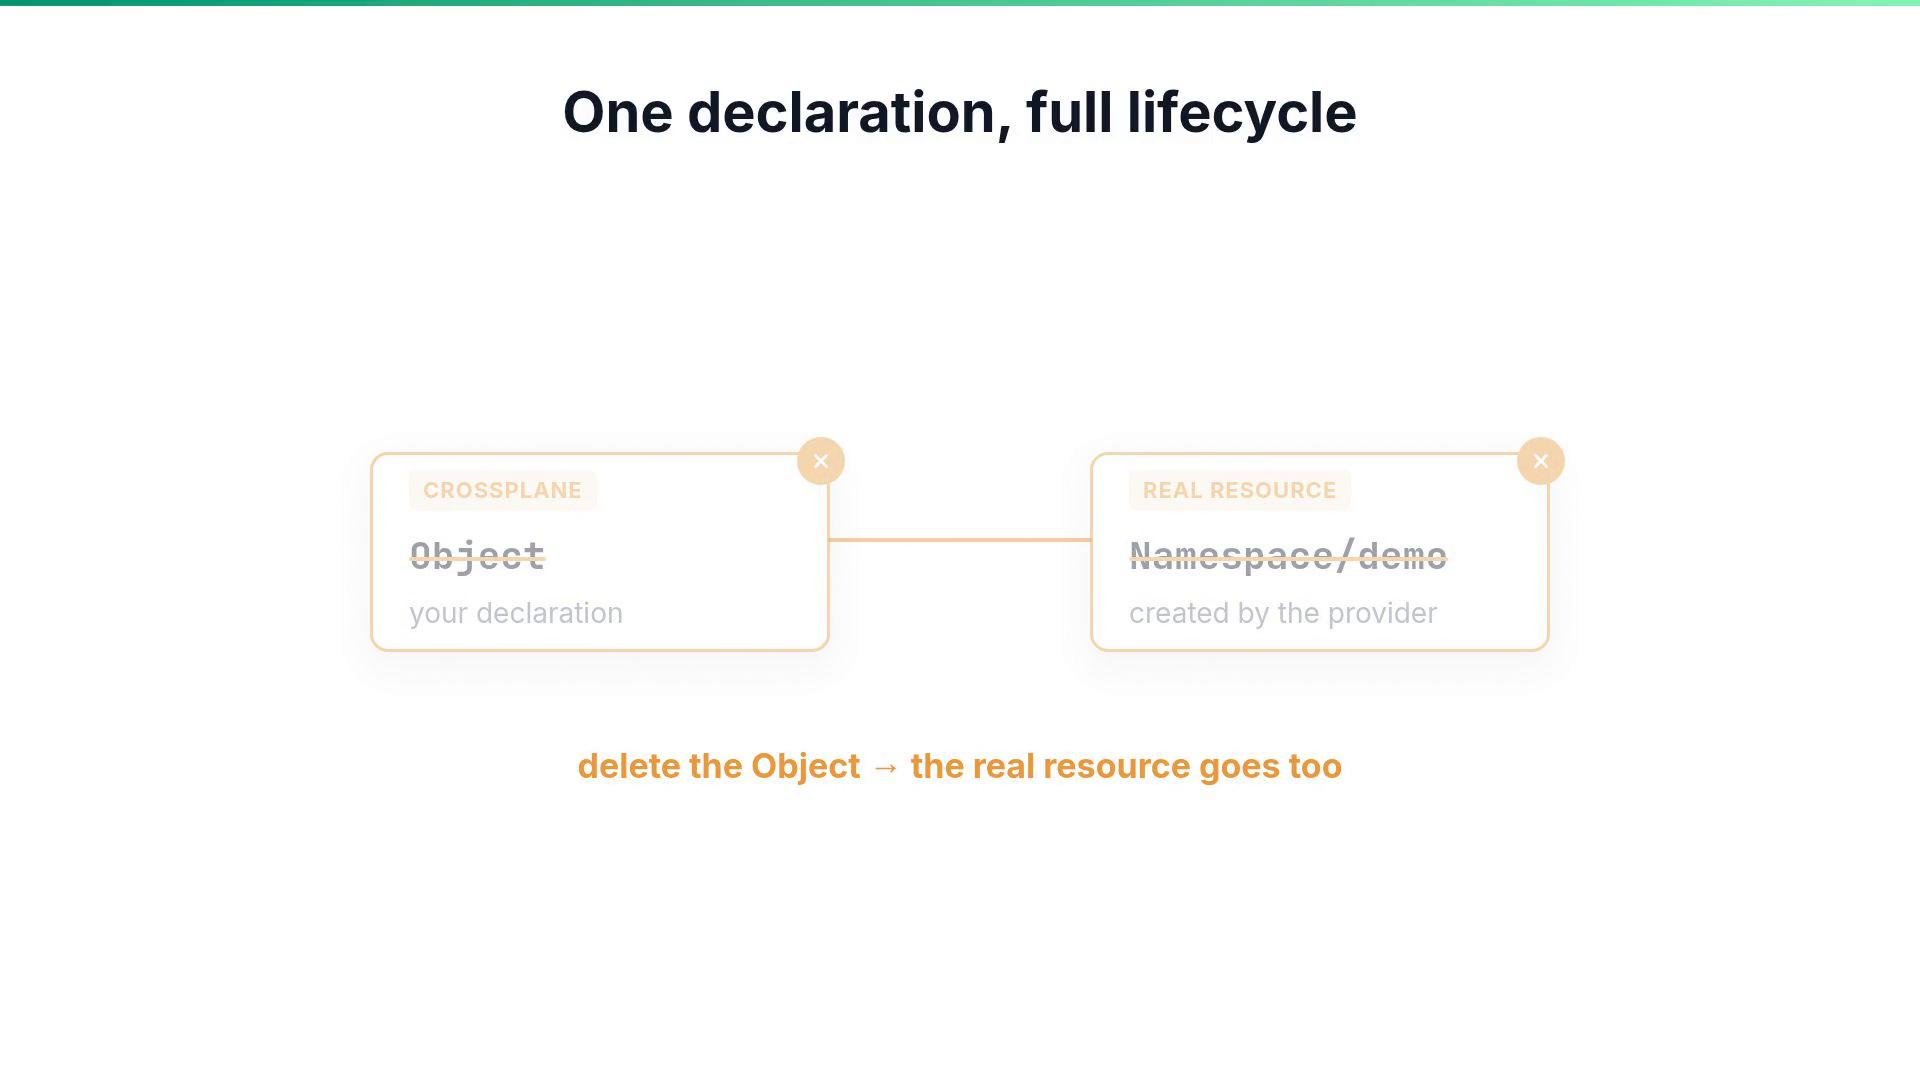
Object, the provider creates the realNamespace. If you delete theObject, Crossplane deletes the real namespace — one declaration, full lifecycle.
Quick reference
Try it yourself
- Install Crossplane on a cluster (see the official docs: https://crossplane.io/docs/).
- Apply the
Providermanifest shown above to install the Kubernetes provider:kubectl apply -f provider-kubernetes.yaml
- Create the
ClusterProviderConfignameddefault(shown above). - Apply the
Objectmanifest to create thedemonamespace:kubectl apply -f demo-namespace-object.yaml
- Observe the created Kubernetes namespace:
kubectl get ns demo
- Delete the Crossplane
Objectto see Crossplane remove the real namespace:kubectl delete object demo-namespace
- Crossplane documentation: https://crossplane.io/docs/
- Kubernetes Basics: https://kubernetes.io/docs/concepts/overview/what-is-kubernetes/