This article provides a step-by-step guide to registering for an AWS account and managing resources effectively.
Welcome, future solutions architects! In this lesson, we will guide you step-by-step through the process of registering for your very own AWS account. While KodeKloud provides AWS playgrounds for cost-free experimentation, setting up your own account enables you to explore additional services not available in the playgrounds.
AWS services may incur charges if left running (e.g., NAT gateways, virtual machines, volumes, network firewalls). Always remember to create and delete your resources as needed.
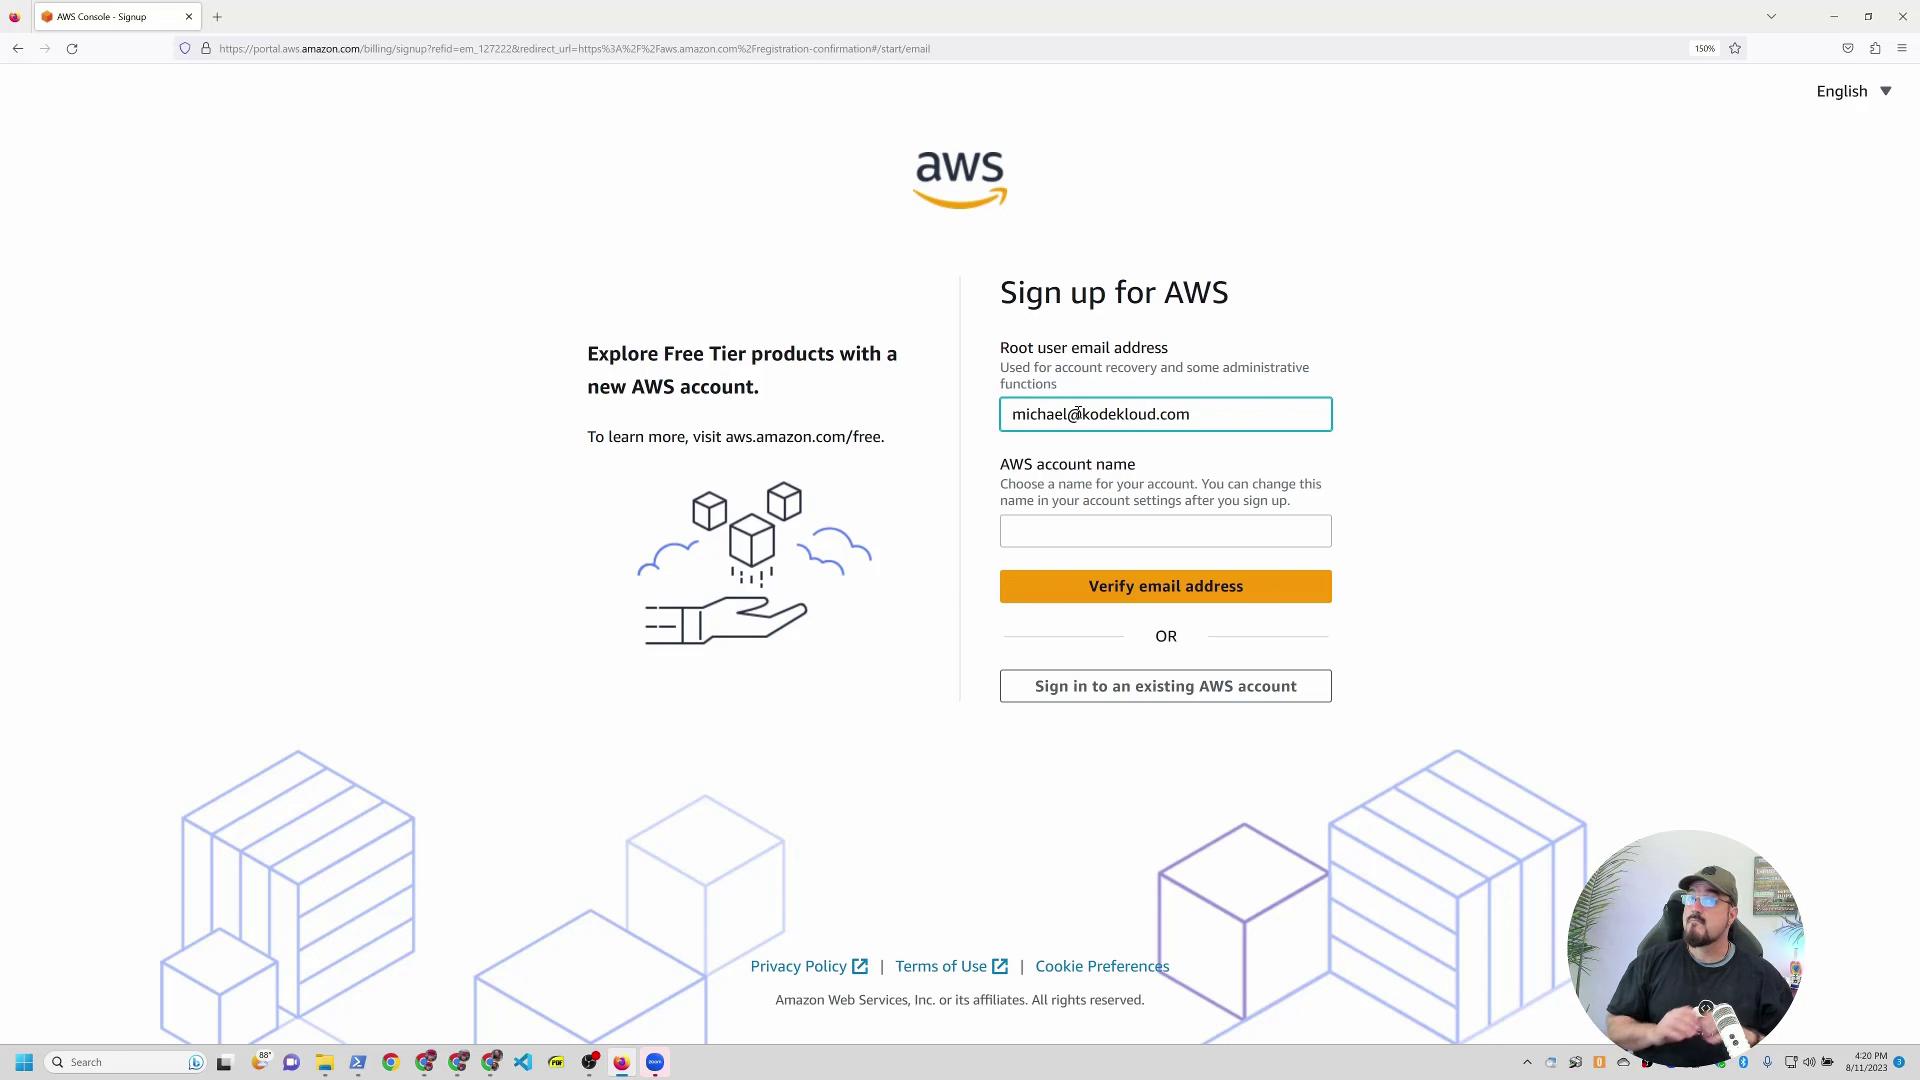
Start by navigating to the AWS homepage and clicking on the “Sign up for a free AWS account” button.
When prompted, enter your email address. You can use a plus sign with an alias (e.g., if your email is Michael@KodeKloud.com, you could use Michael+AWS1@KodeKloud.com). Although it appears unique to AWS, emails will still be delivered to your main inbox. Next, choose an account name, such as “Michael’s demo KK account,” and verify your email.
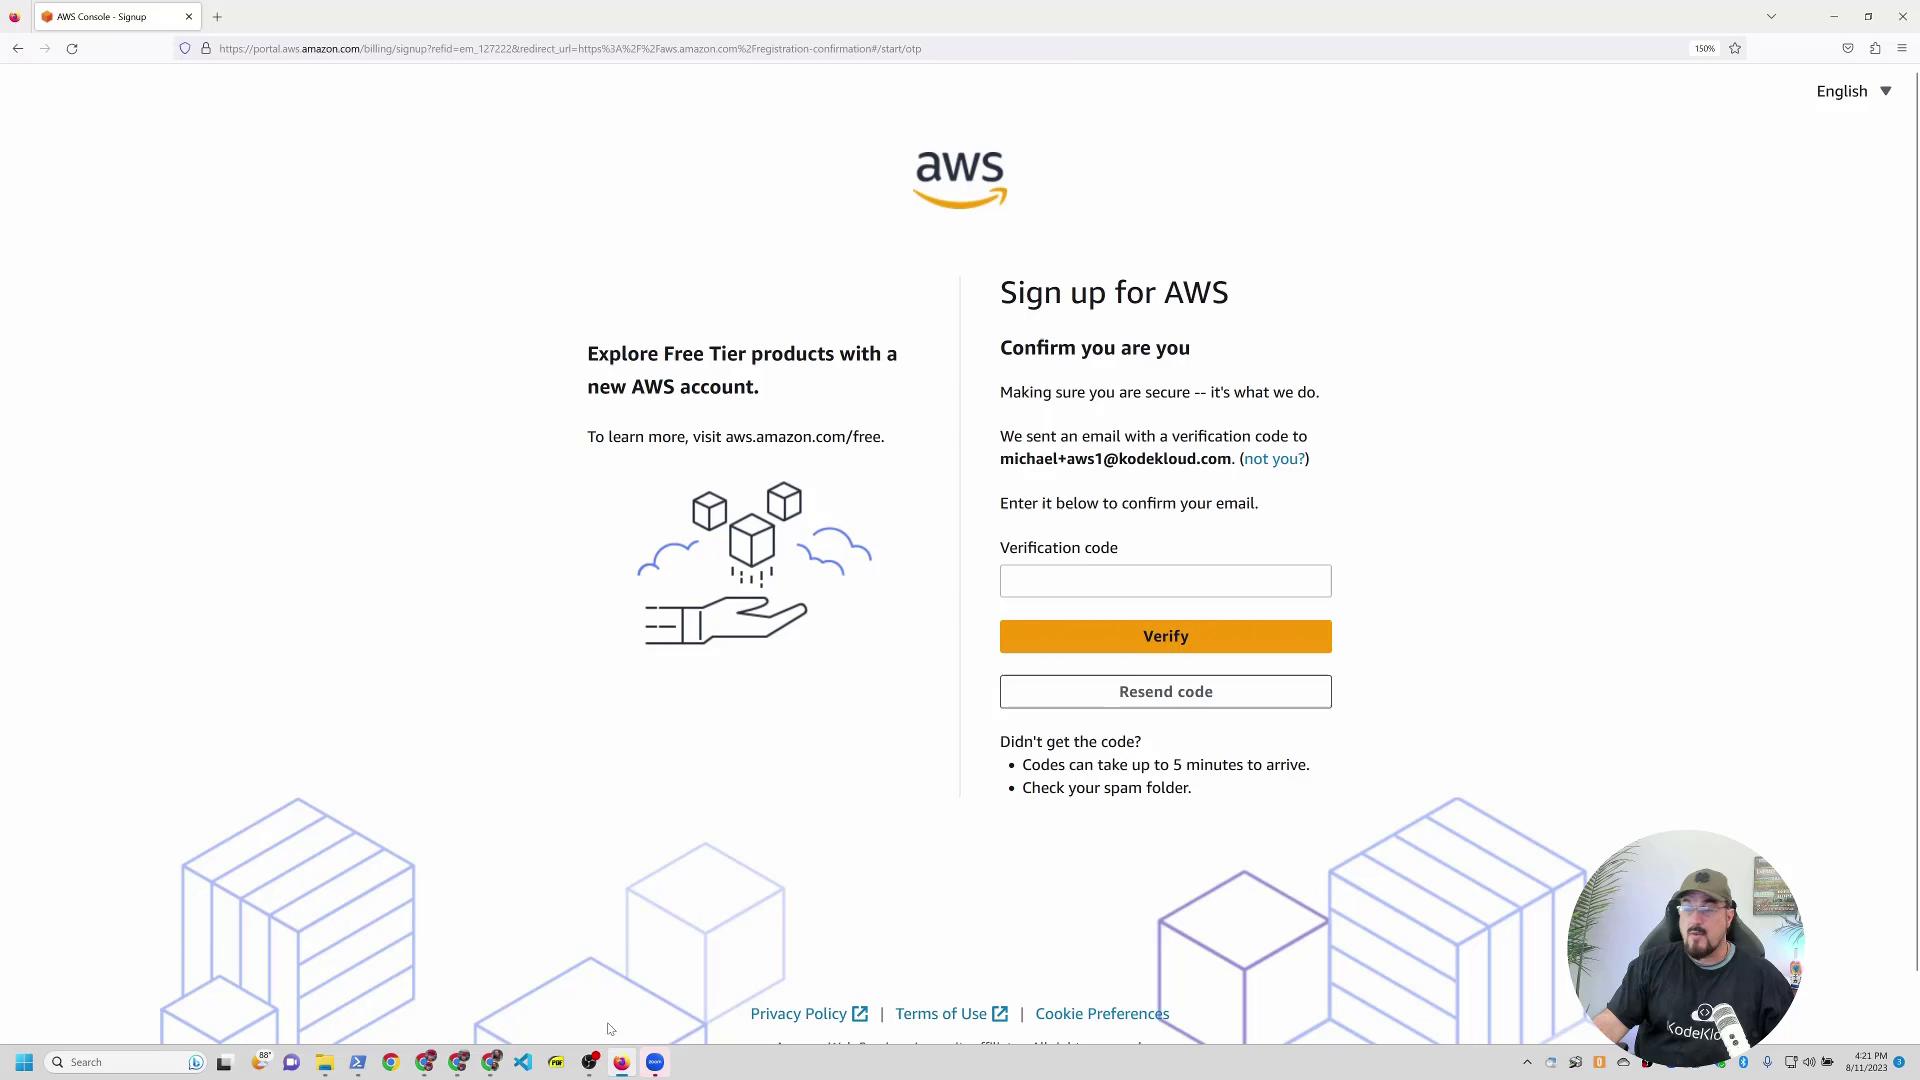
AWS will send a verification code to your email. Once you receive that code, enter it and click “Verify.”
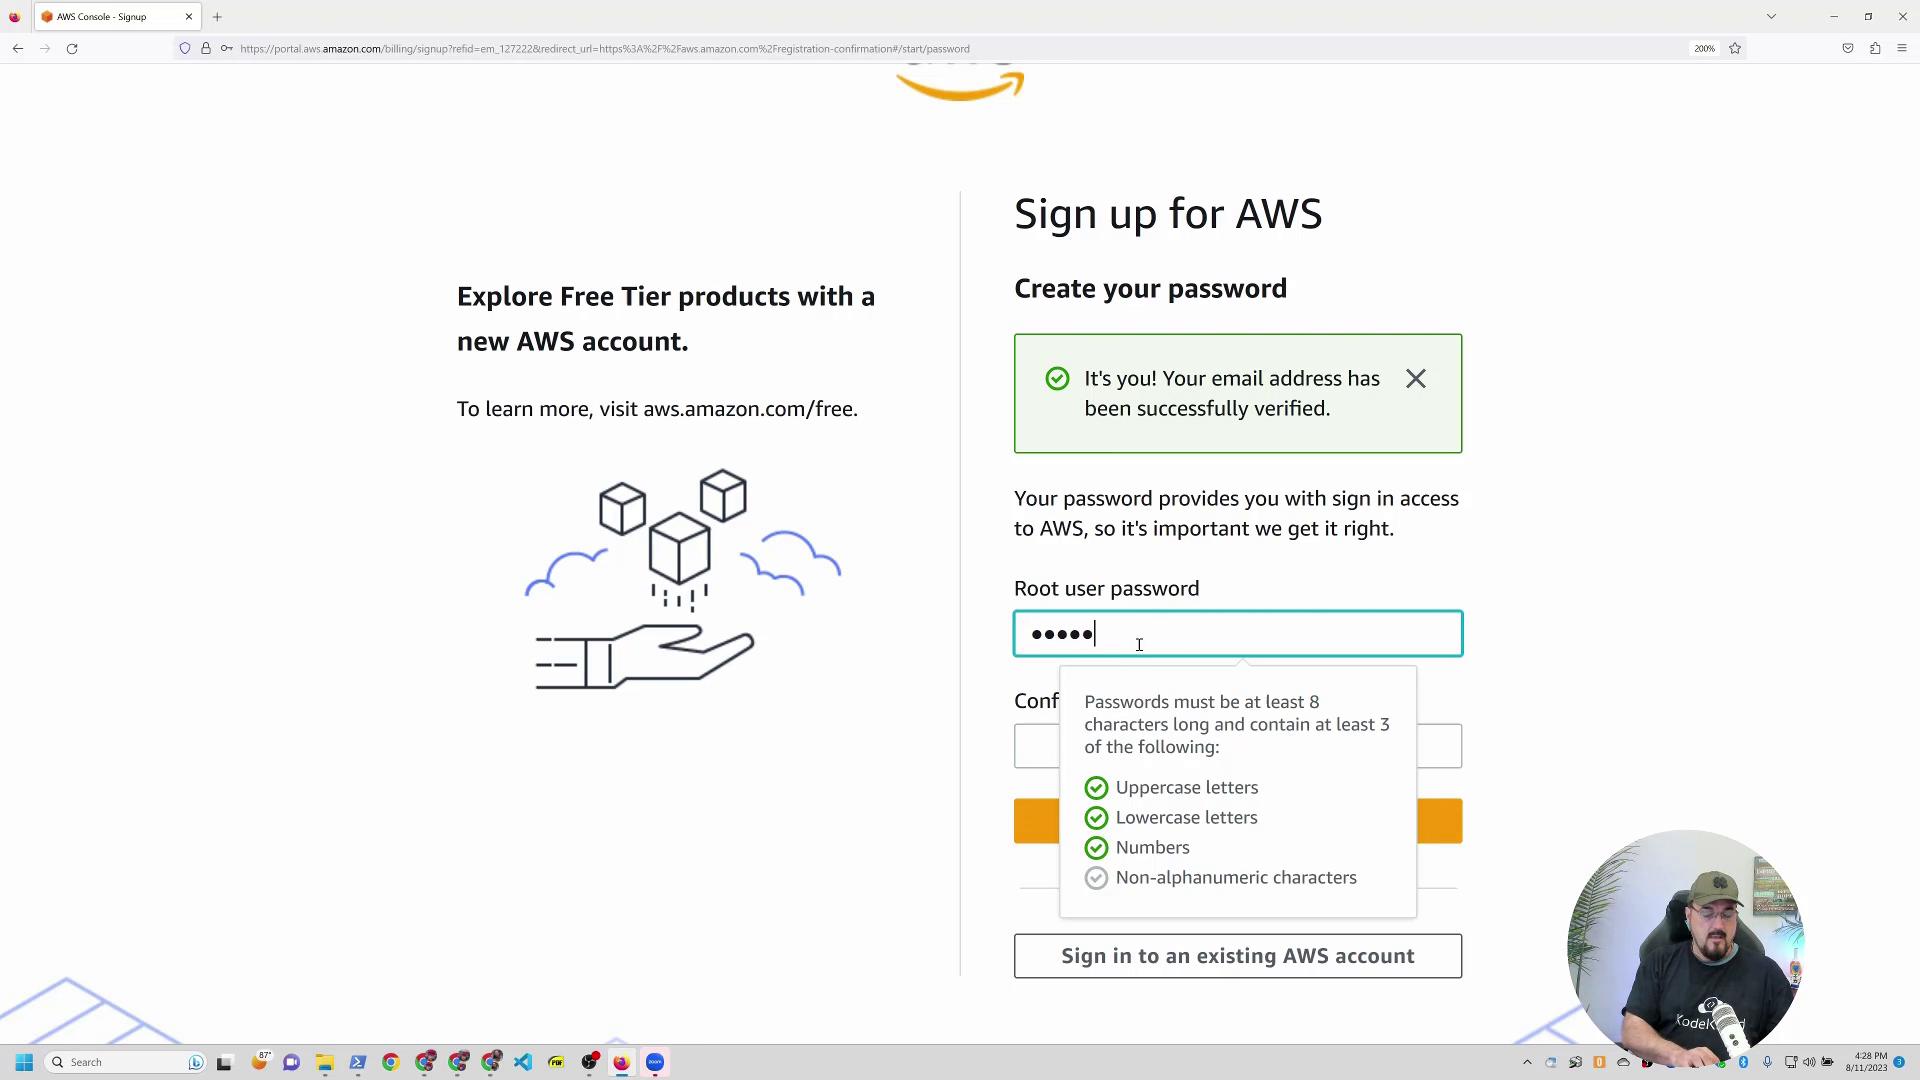
After verification, you’ll be asked to create a password for your root account. Choose a strong, memorable password that satisfies AWS’s complexity requirements.
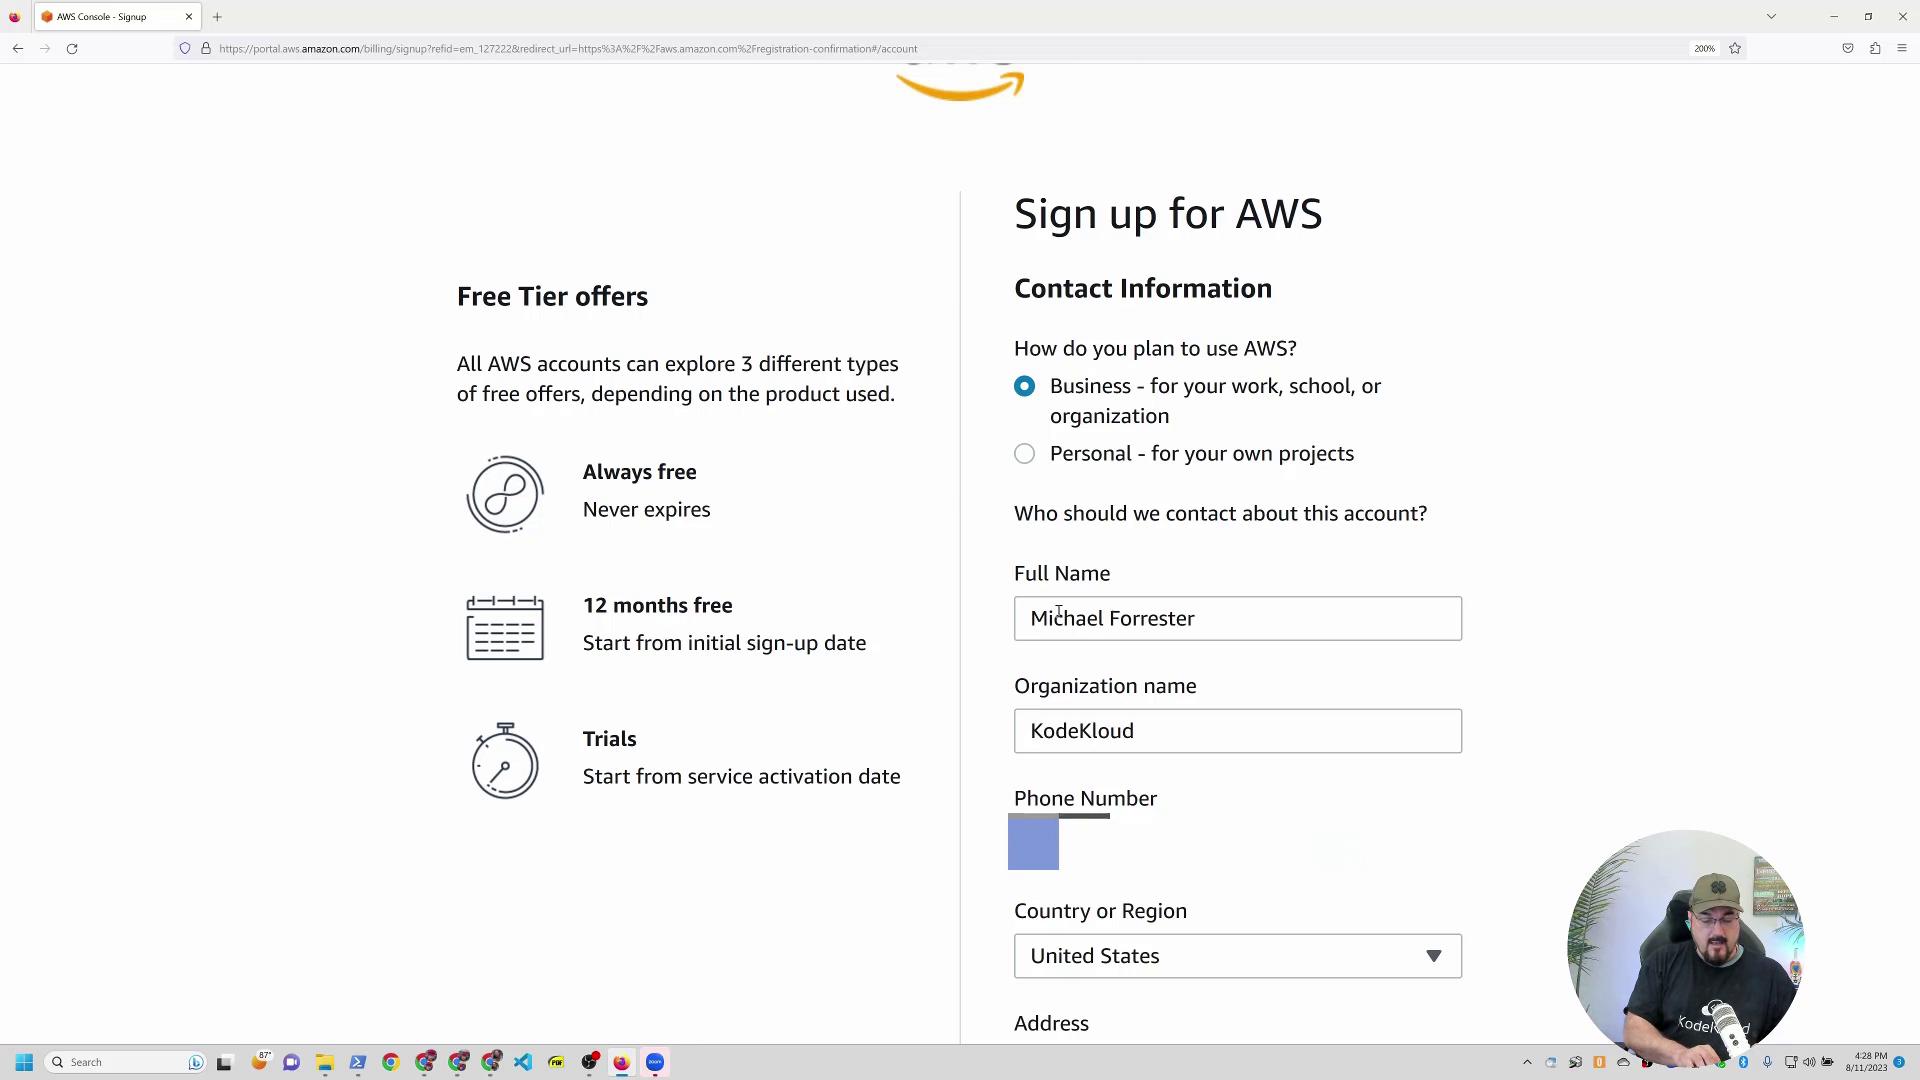
Provide your personal details such as your full name, usage type (e.g., business or personal), and phone number. Additionally, fill in your billing address. For demonstration purposes, personal details may appear blurred for privacy.
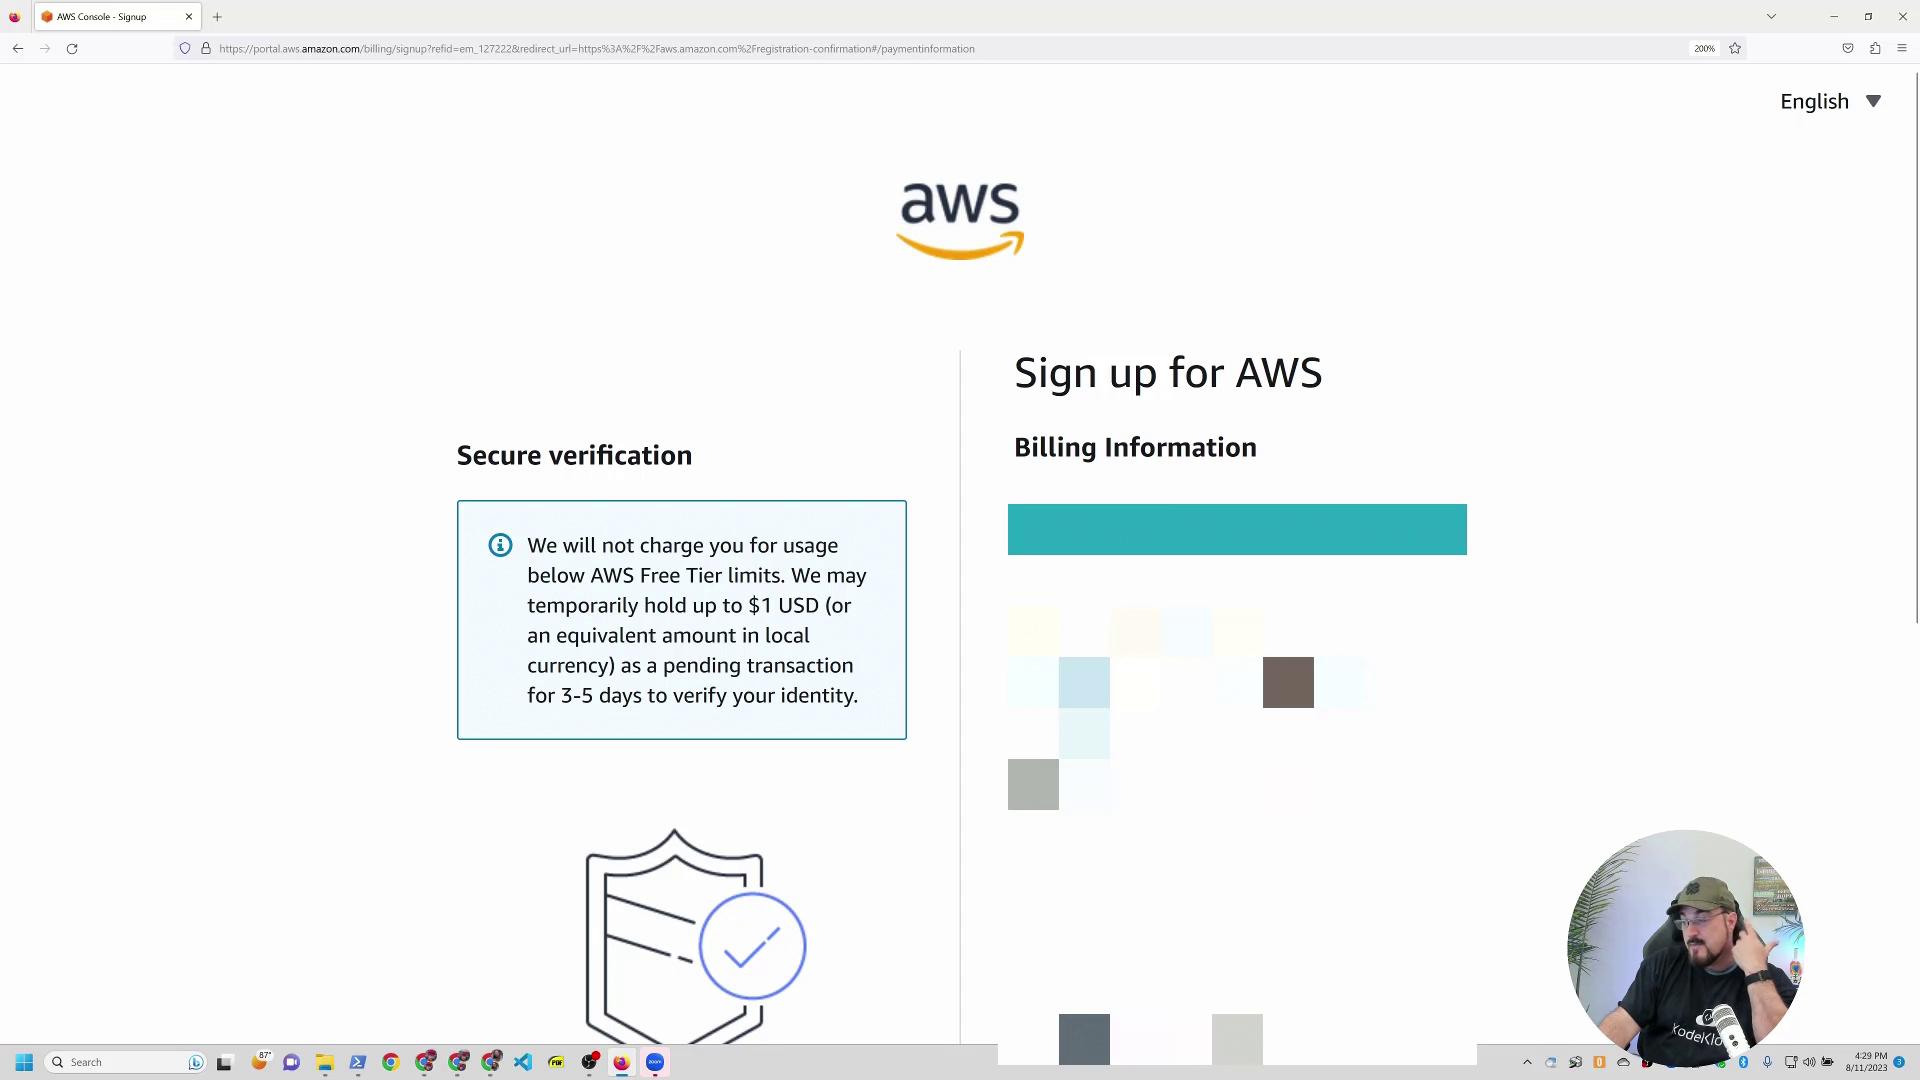
Next, you’ll be asked to provide a credit card for identity verification. AWS might place a temporary hold (typically up to $1 USD) on your card during this process. Rest assured, this is standard procedure, and your actual credit card information will remain secure.
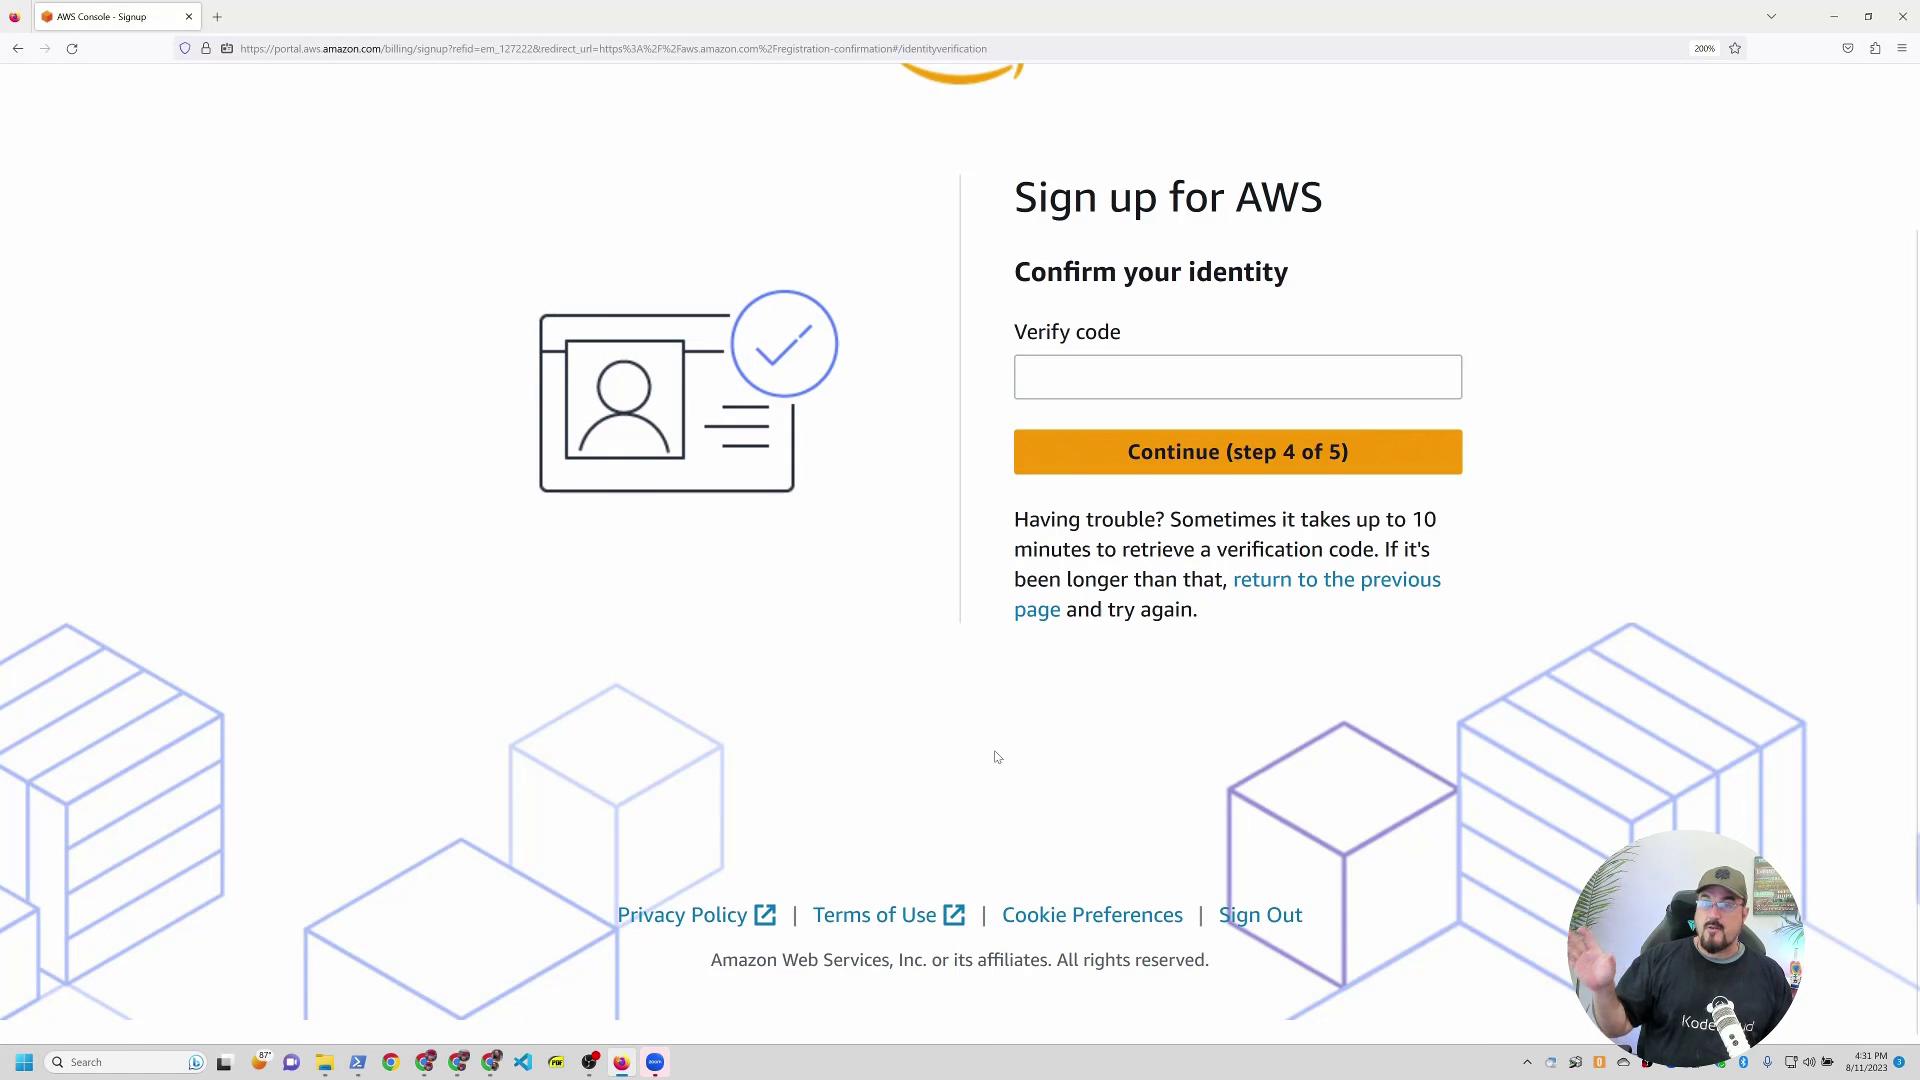
After entering your credit card details and proceeding, AWS will prompt you for an additional round of identity verification via phone call or text message. Once you receive the verification code, simply enter it.
When prompted, you will also be asked to choose between support plans. For most users, the Basic (free) support plan is sufficient as it offers access to comprehensive online support resources.
Copy
0061
This code block represents the verification code you will enter. (In practice, you will receive a unique code specific to your registration.)
Step 5: Completing Registration and Accessing the AWS Management Console
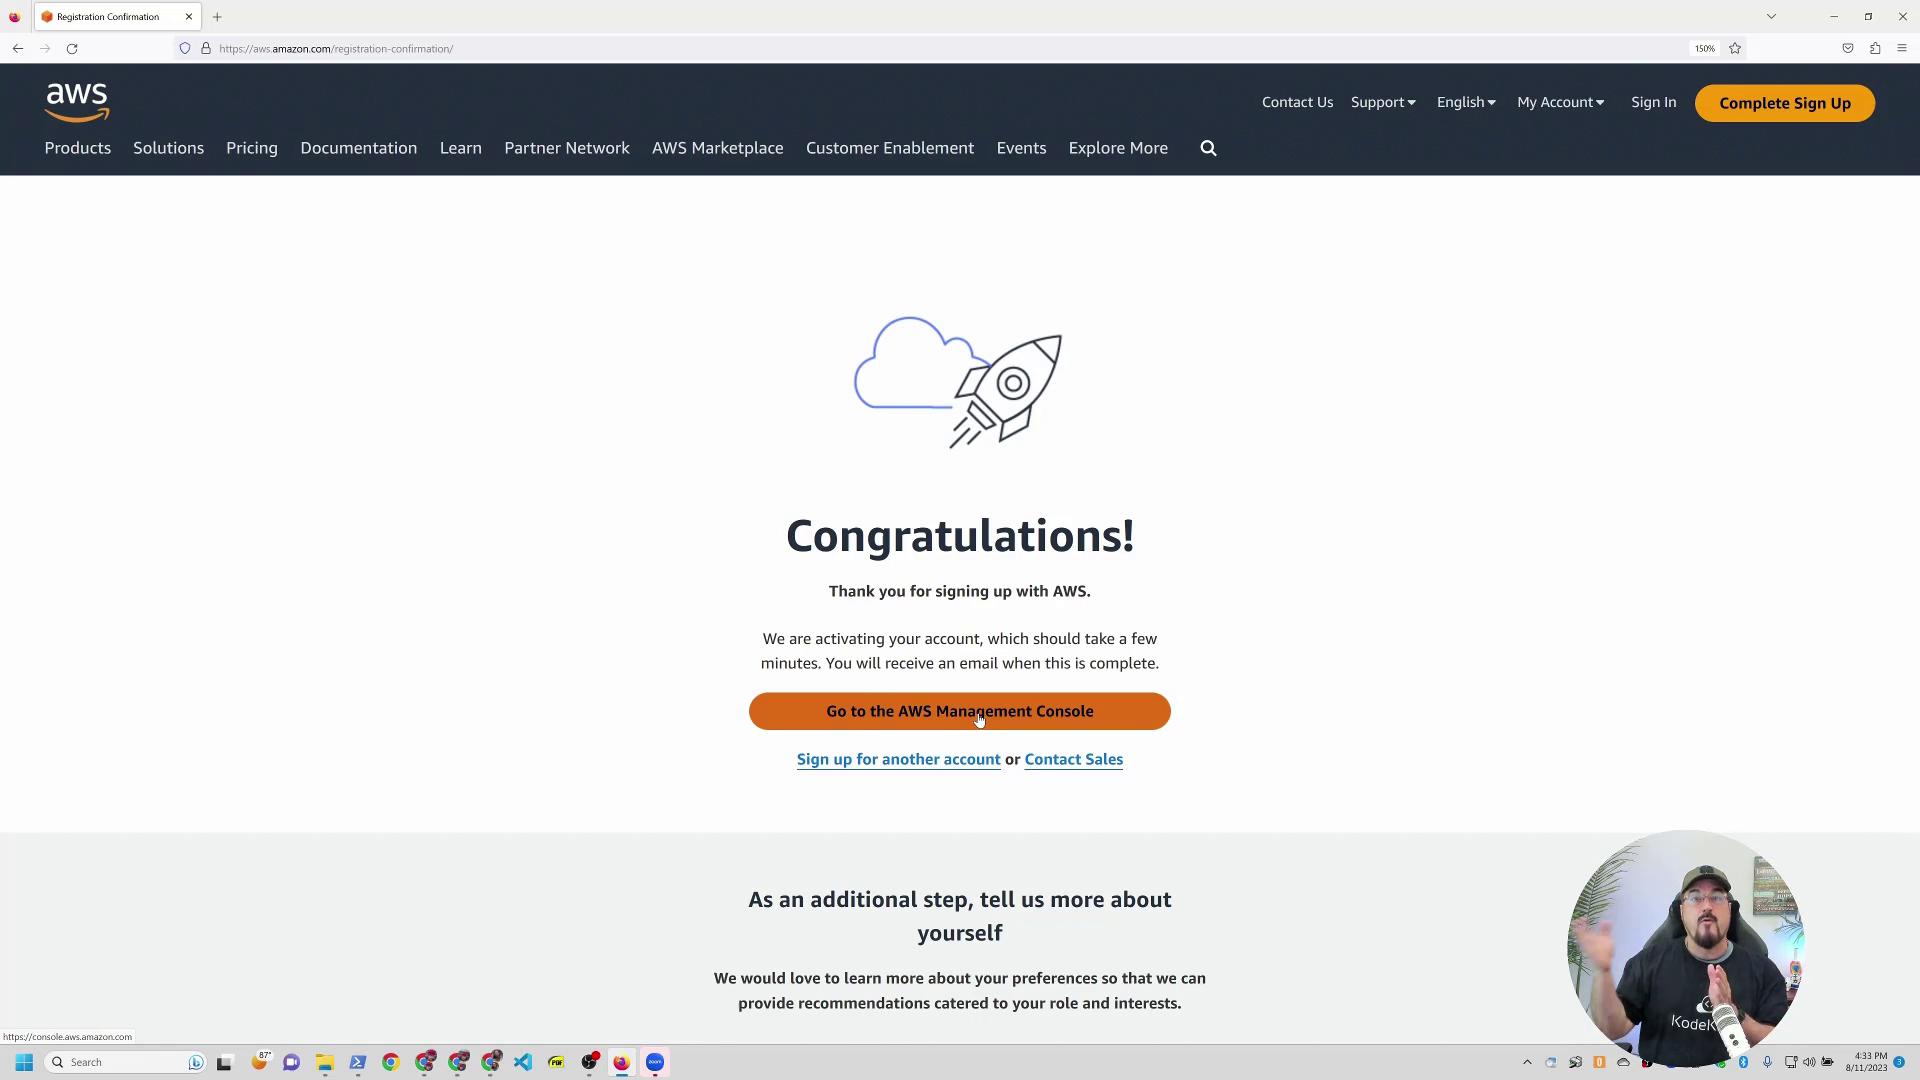
Once the identity verification process is complete, AWS will process your account setup. Global service activation may take up to 24 hours; you will receive an email notification once your account is fully activated.
After activation, log in using your root account credentials (e.g., Michael+AWS1@KodeKloud.com with your chosen password). You should see your account name displayed in the upper right-hand corner, such as “Michael Forrester’s KodeKloud demo.”
After setting up your AWS account, consider these best practices:
Create an IAM user for everyday activities instead of using your root account.
Set up AWS Budgets by searching for “AWS Budgets” in the AWS Management Console. This tool will notify you if your spending exceeds a specified limit (e.g., 5or10).
Thank you for following along! You now have your own AWS account and are ready to explore the wide array of services AWS has to offer. Always manage your resources carefully to avoid unexpected charges.I’m Michael Forrester—see you in the next lesson!