This guide explains setting up an API with AWS API Gateway and Lambda for managing a car inventory.
In this guide, you’ll learn how to set up an API using AWS API Gateway integrated with AWS Lambda functions. This demo covers configuring a REST API to route incoming HTTP requests to dedicated Lambda functions that handle back-end logic for various operations on a car inventory.
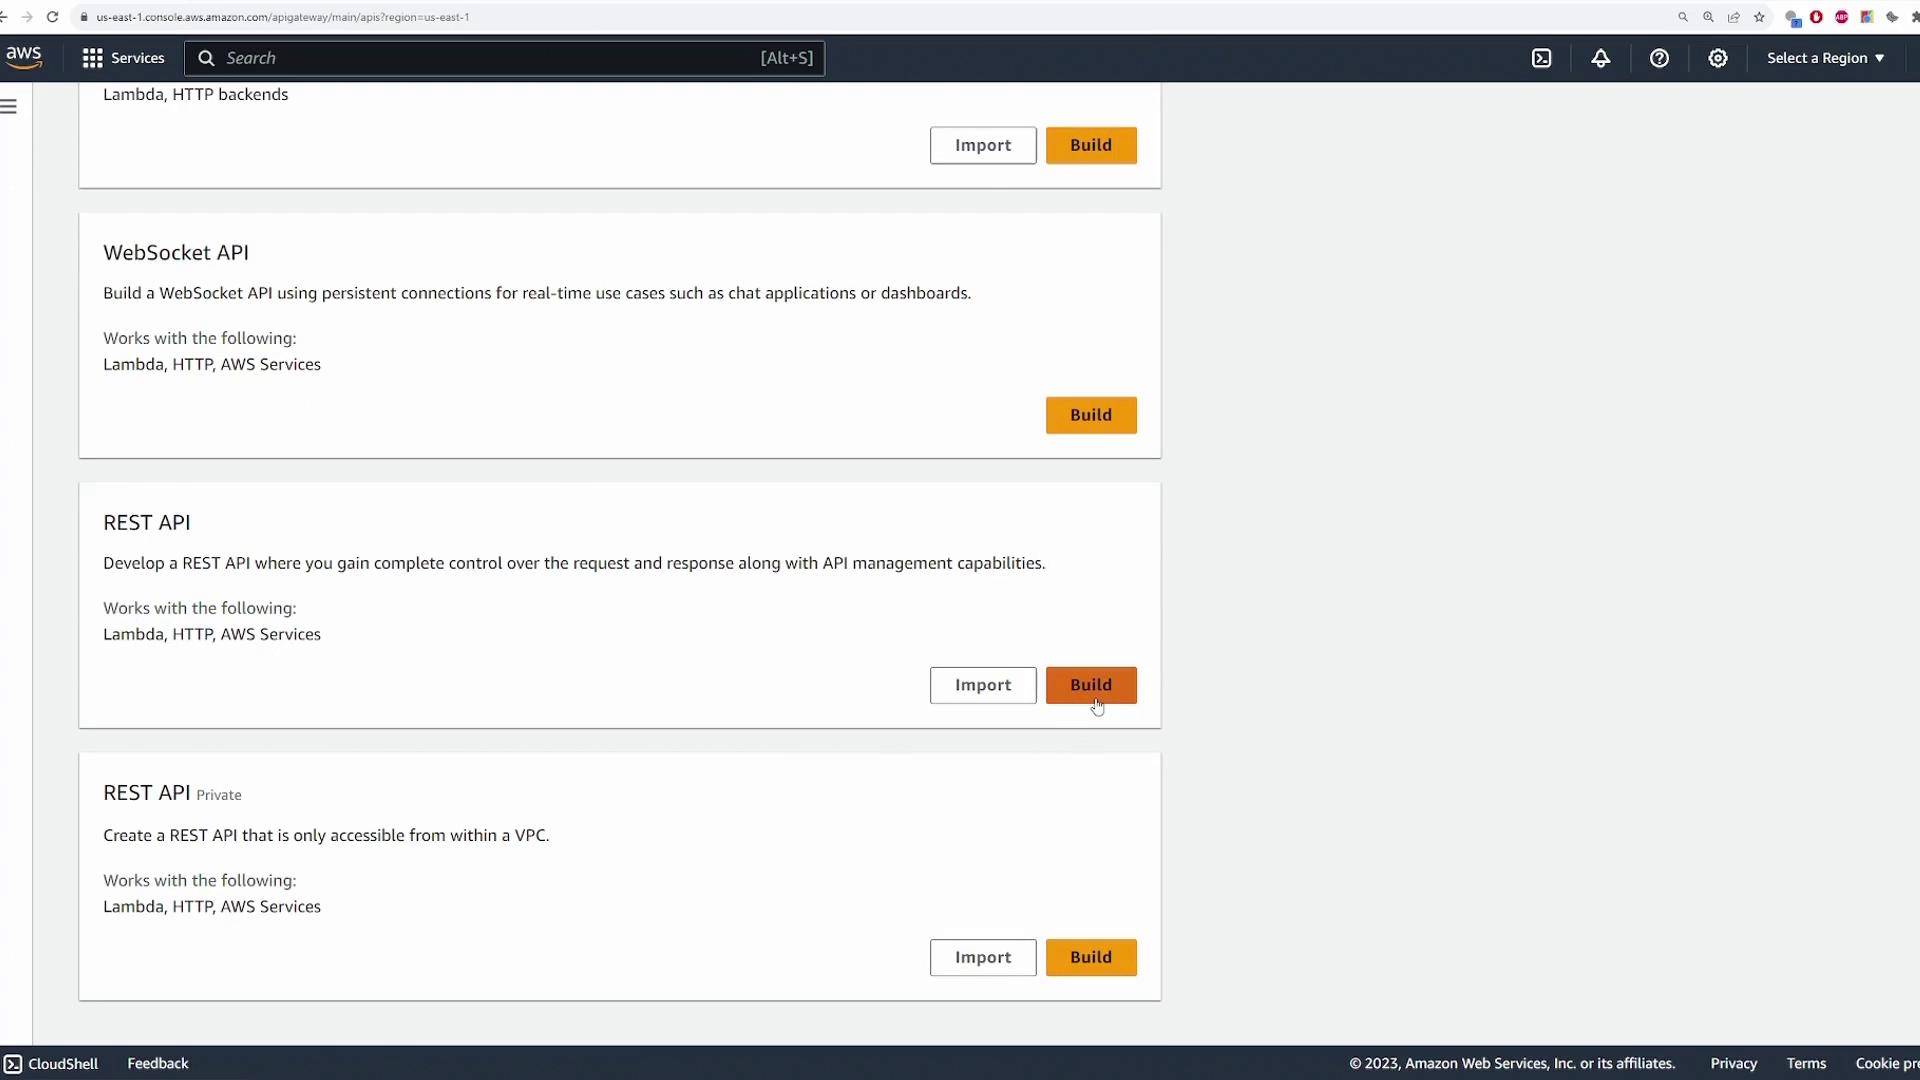
Start by searching for API Gateway in the AWS Management Console to access the API Gateway service page. Here, you can choose from HTTP APIs, WebSocket APIs, and REST APIs (public or private). For this demo, we will create a REST API.Click Build to create a new API rather than importing or cloning an existing one.
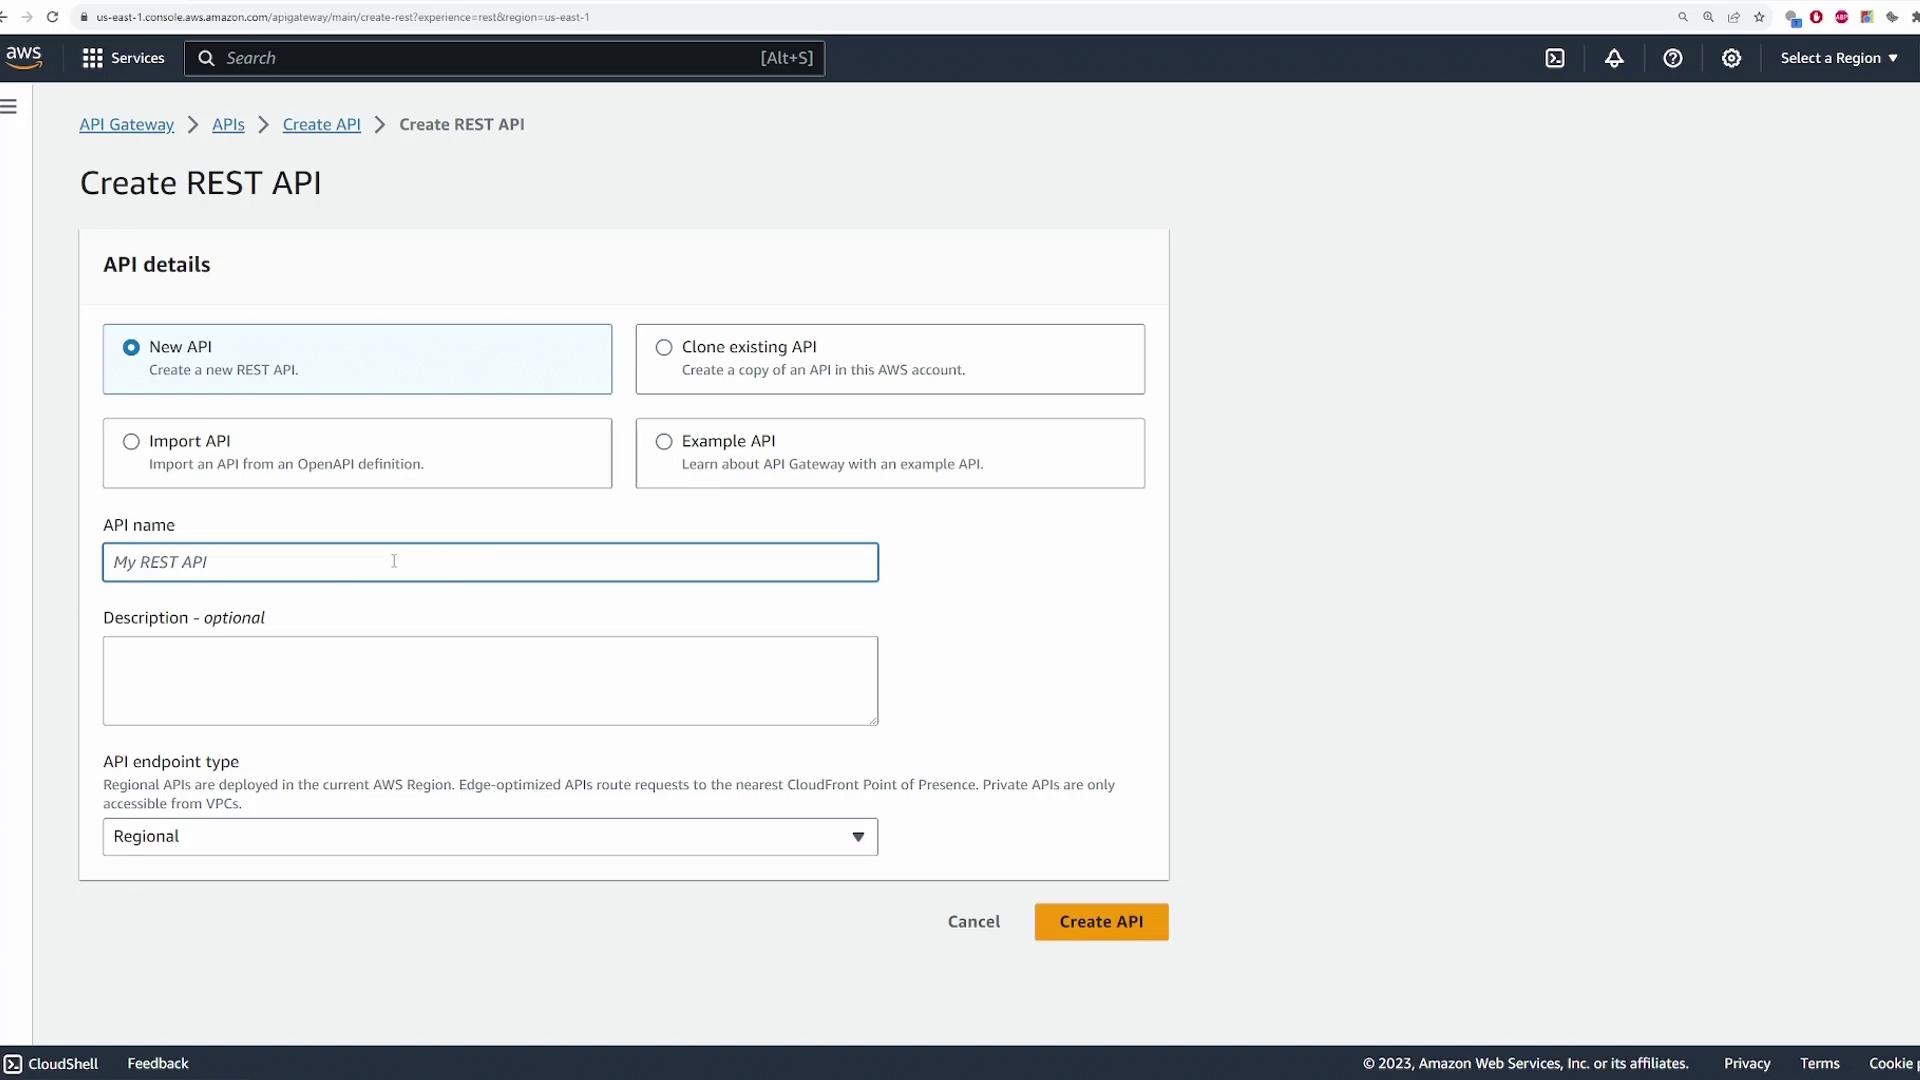
Provide a name for your API (for example, “cars”) and an optional description. Select Regional as the endpoint type and then click Create API.
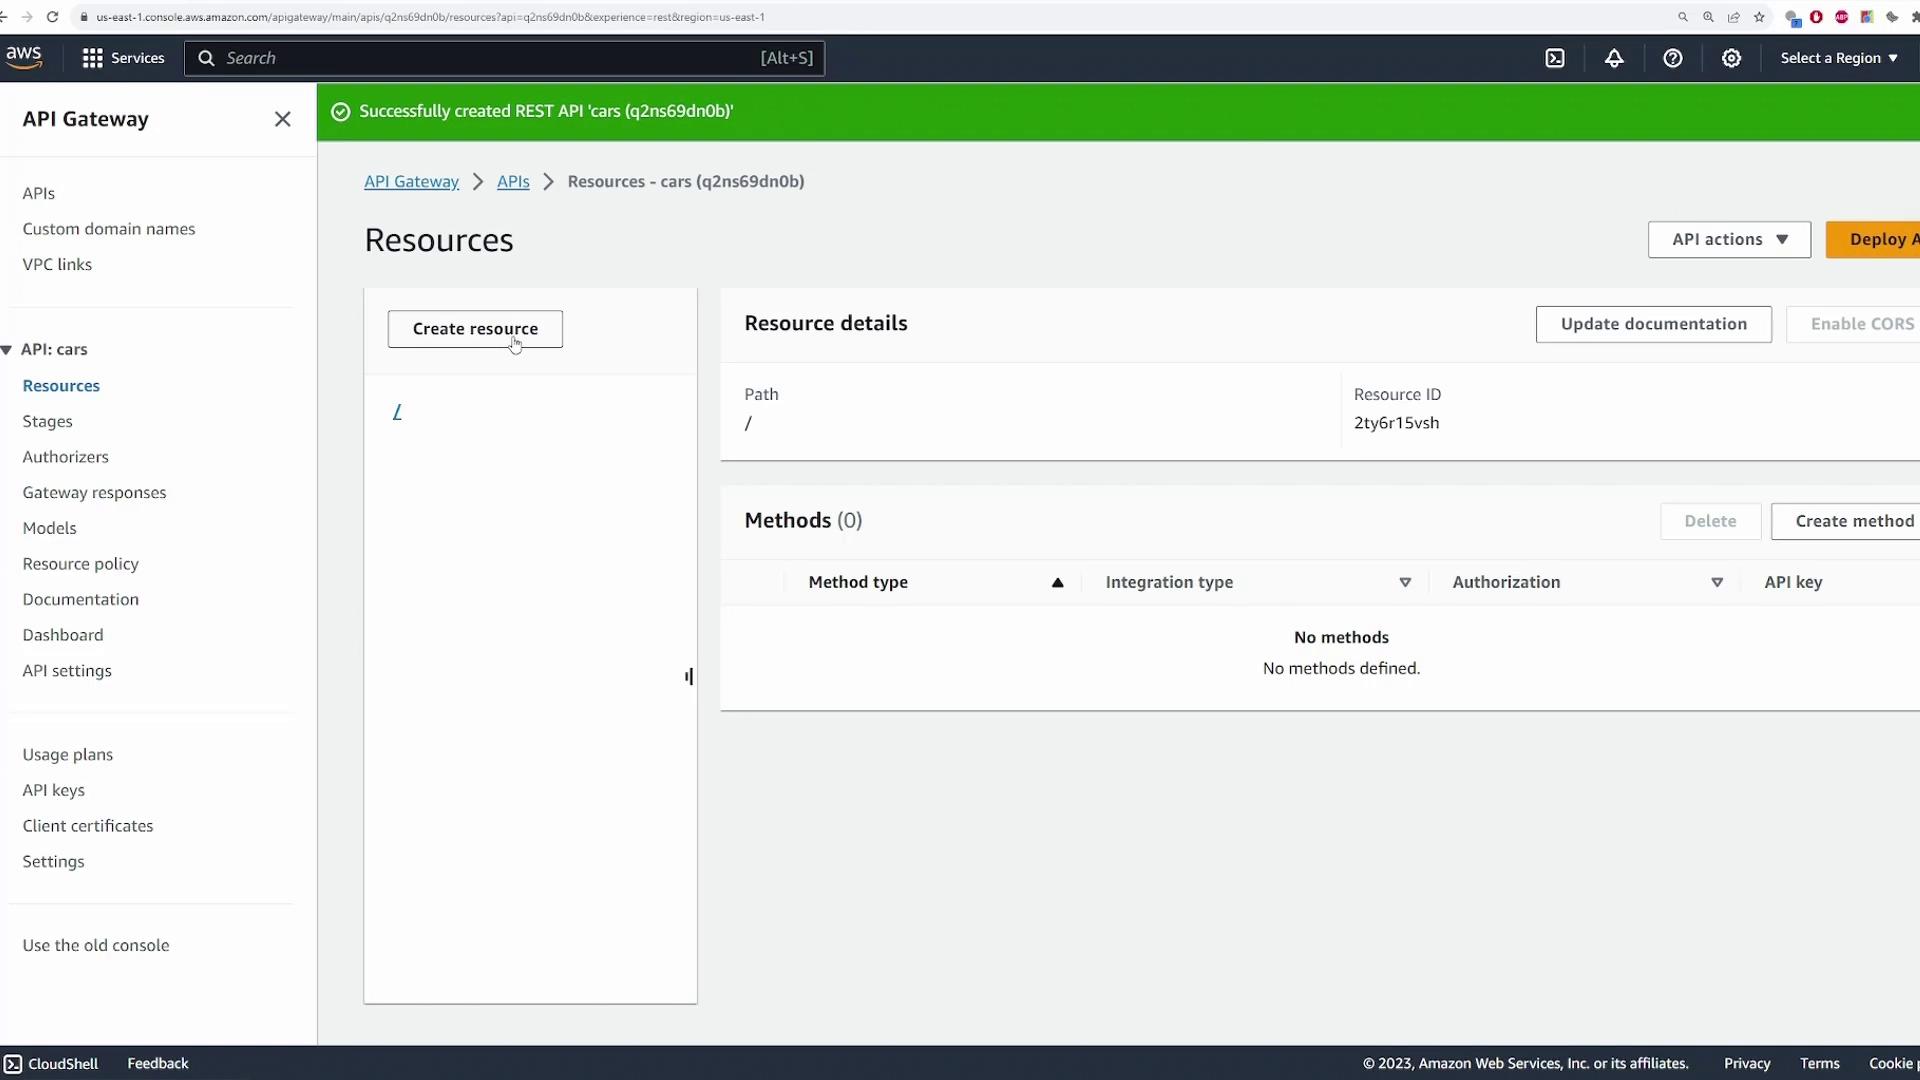
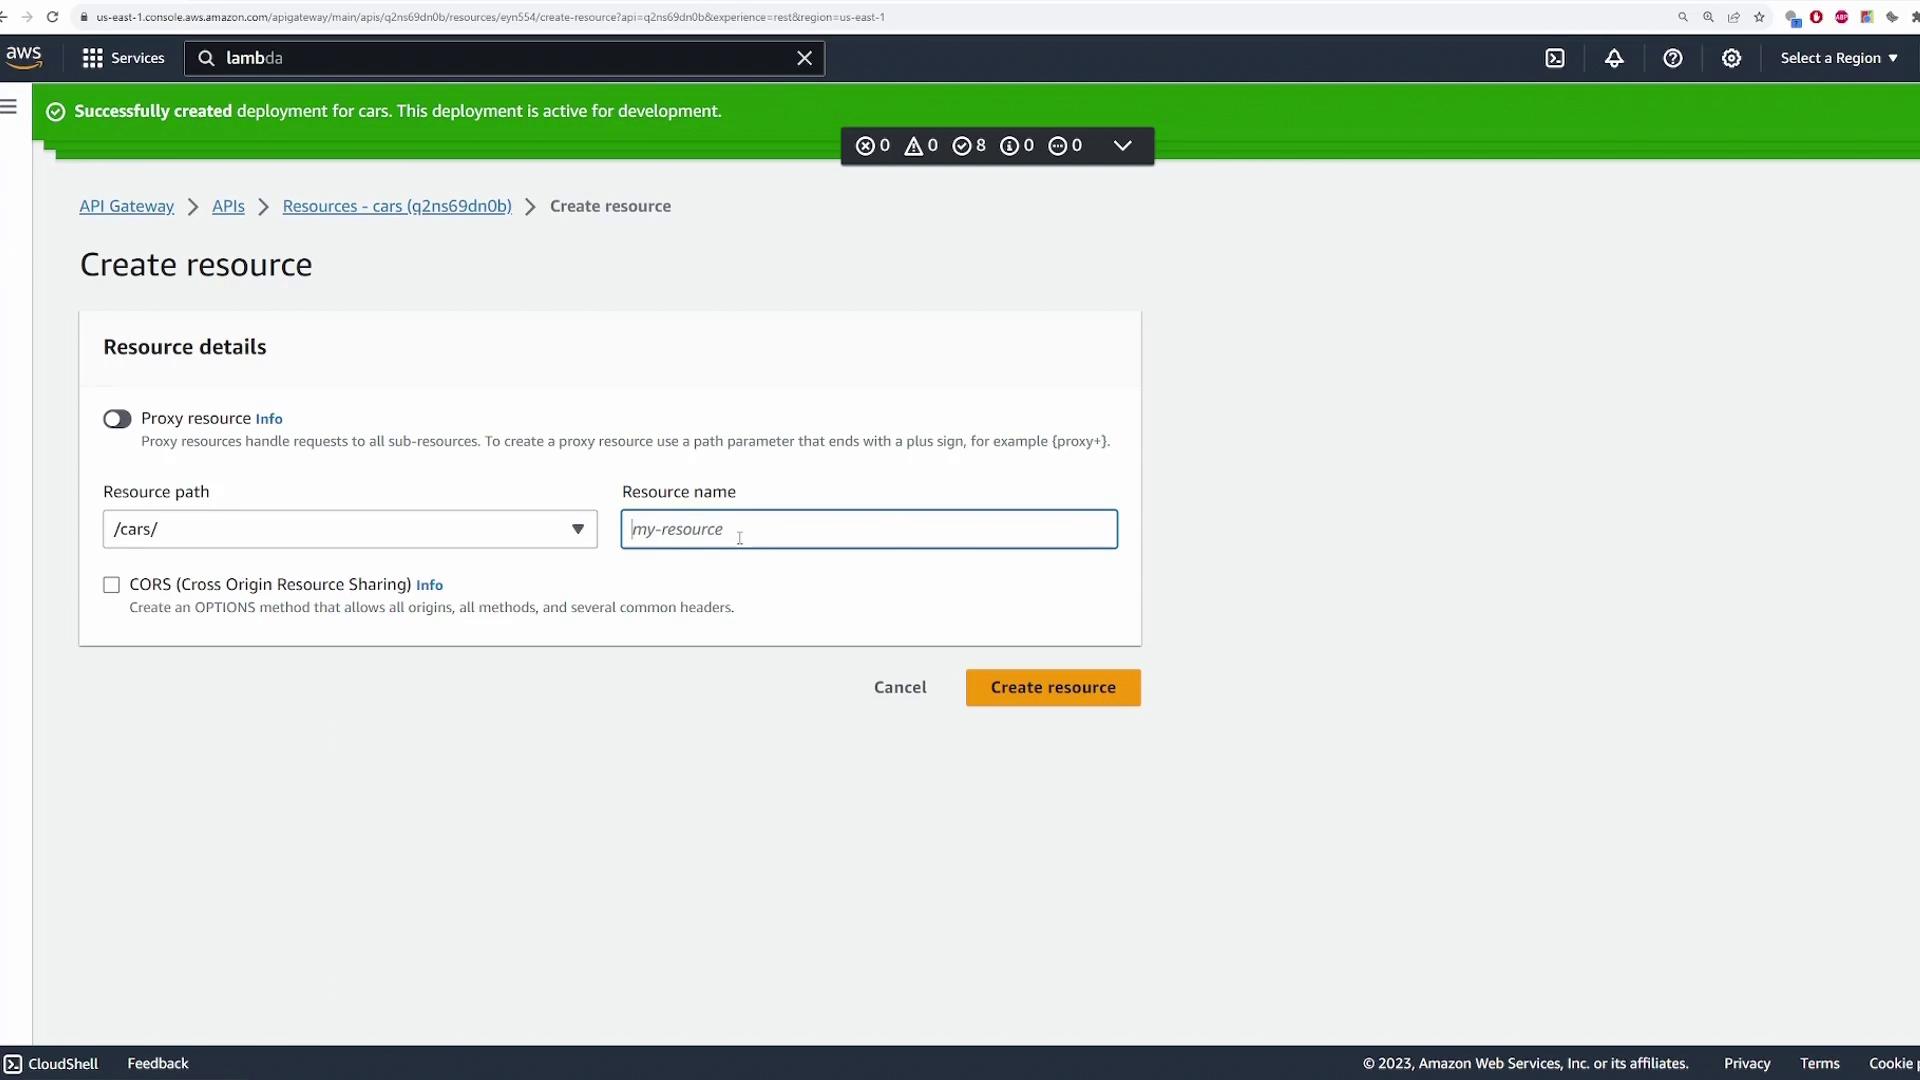
Next, define a resource representing a specific path in your API. In this example, all requests target the /cars endpoint. This configuration helps route HTTP methods to their corresponding Lambda functions.Select your API and create a resource with the path /cars. For this demonstration, you can leave CORS settings unchecked. Click Create Resource to proceed.
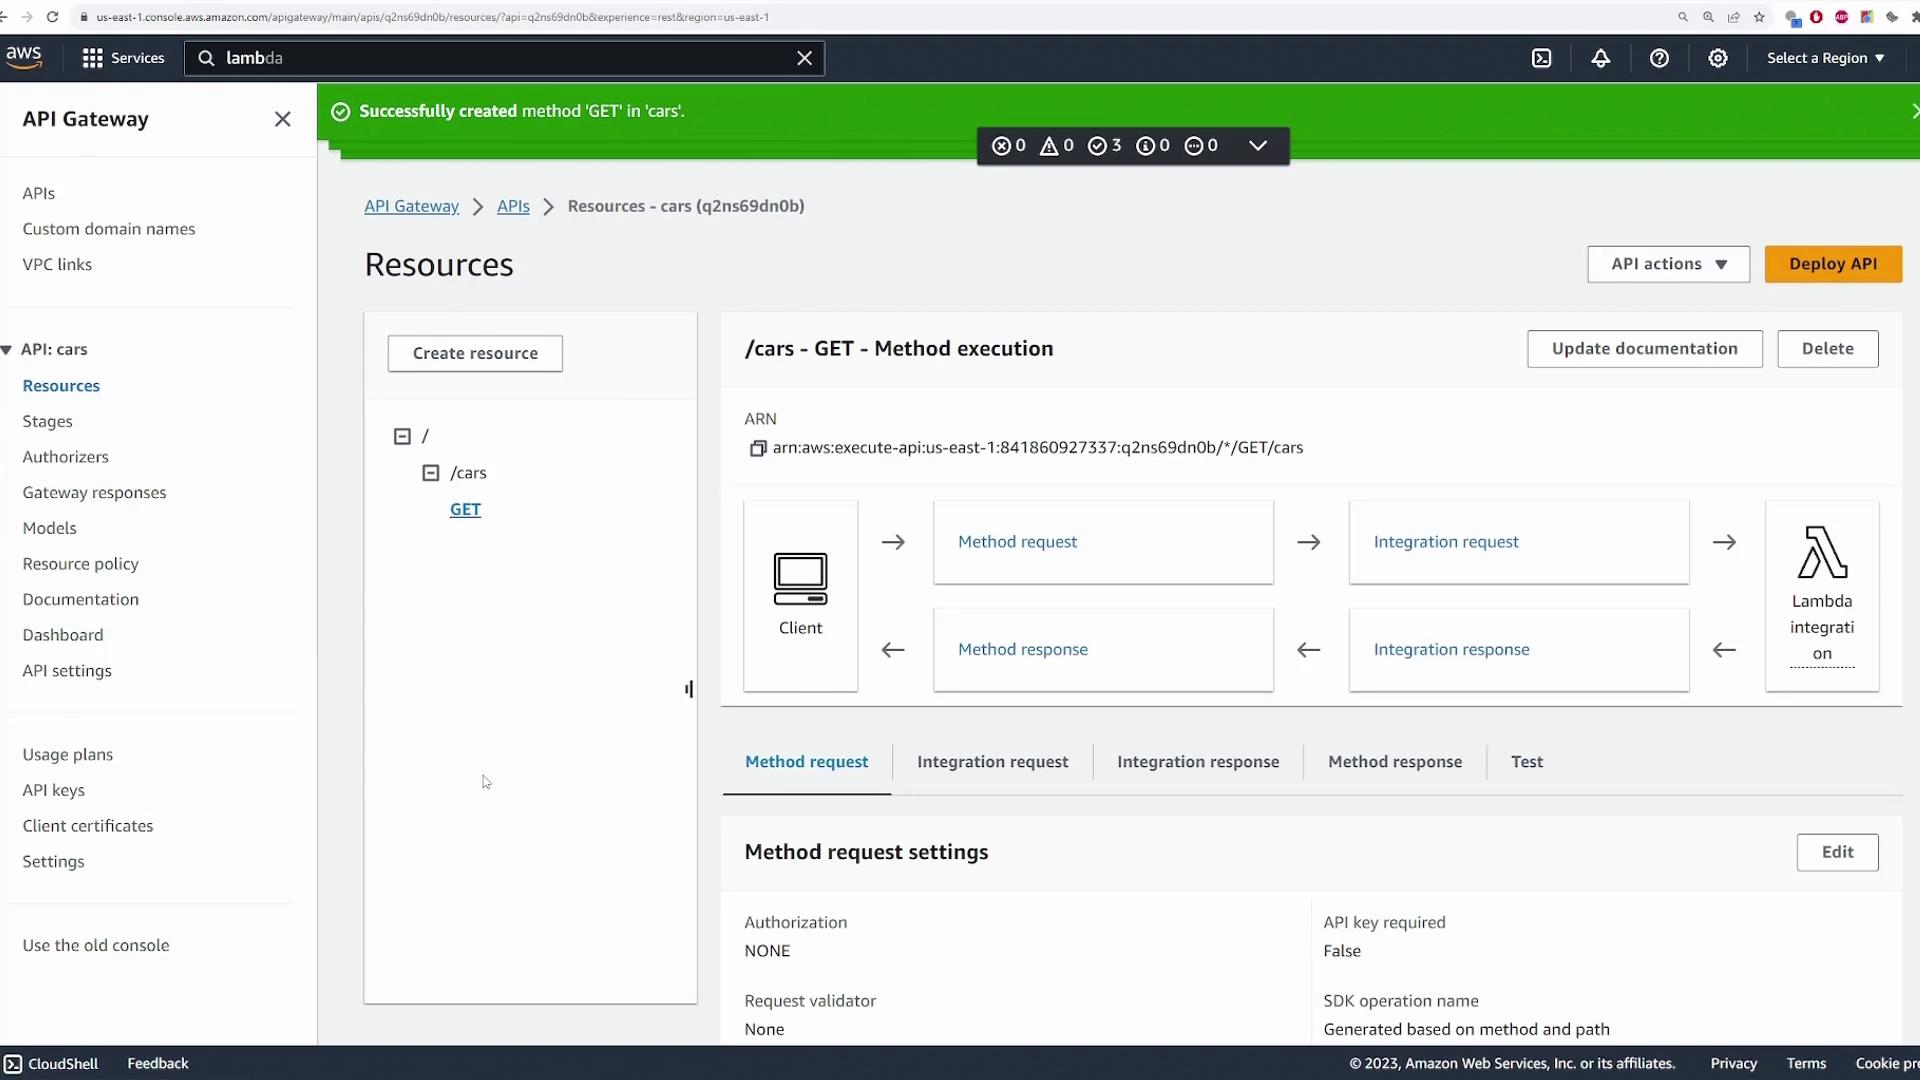
Under the /cars resource, create a GET method that links to a preconfigured Lambda function. Open the AWS Lambda console in another browser tab and verify that you have a function (named “GetCars” in this demo) returning a fixed list of cars. The simplified Lambda function example is shown below:
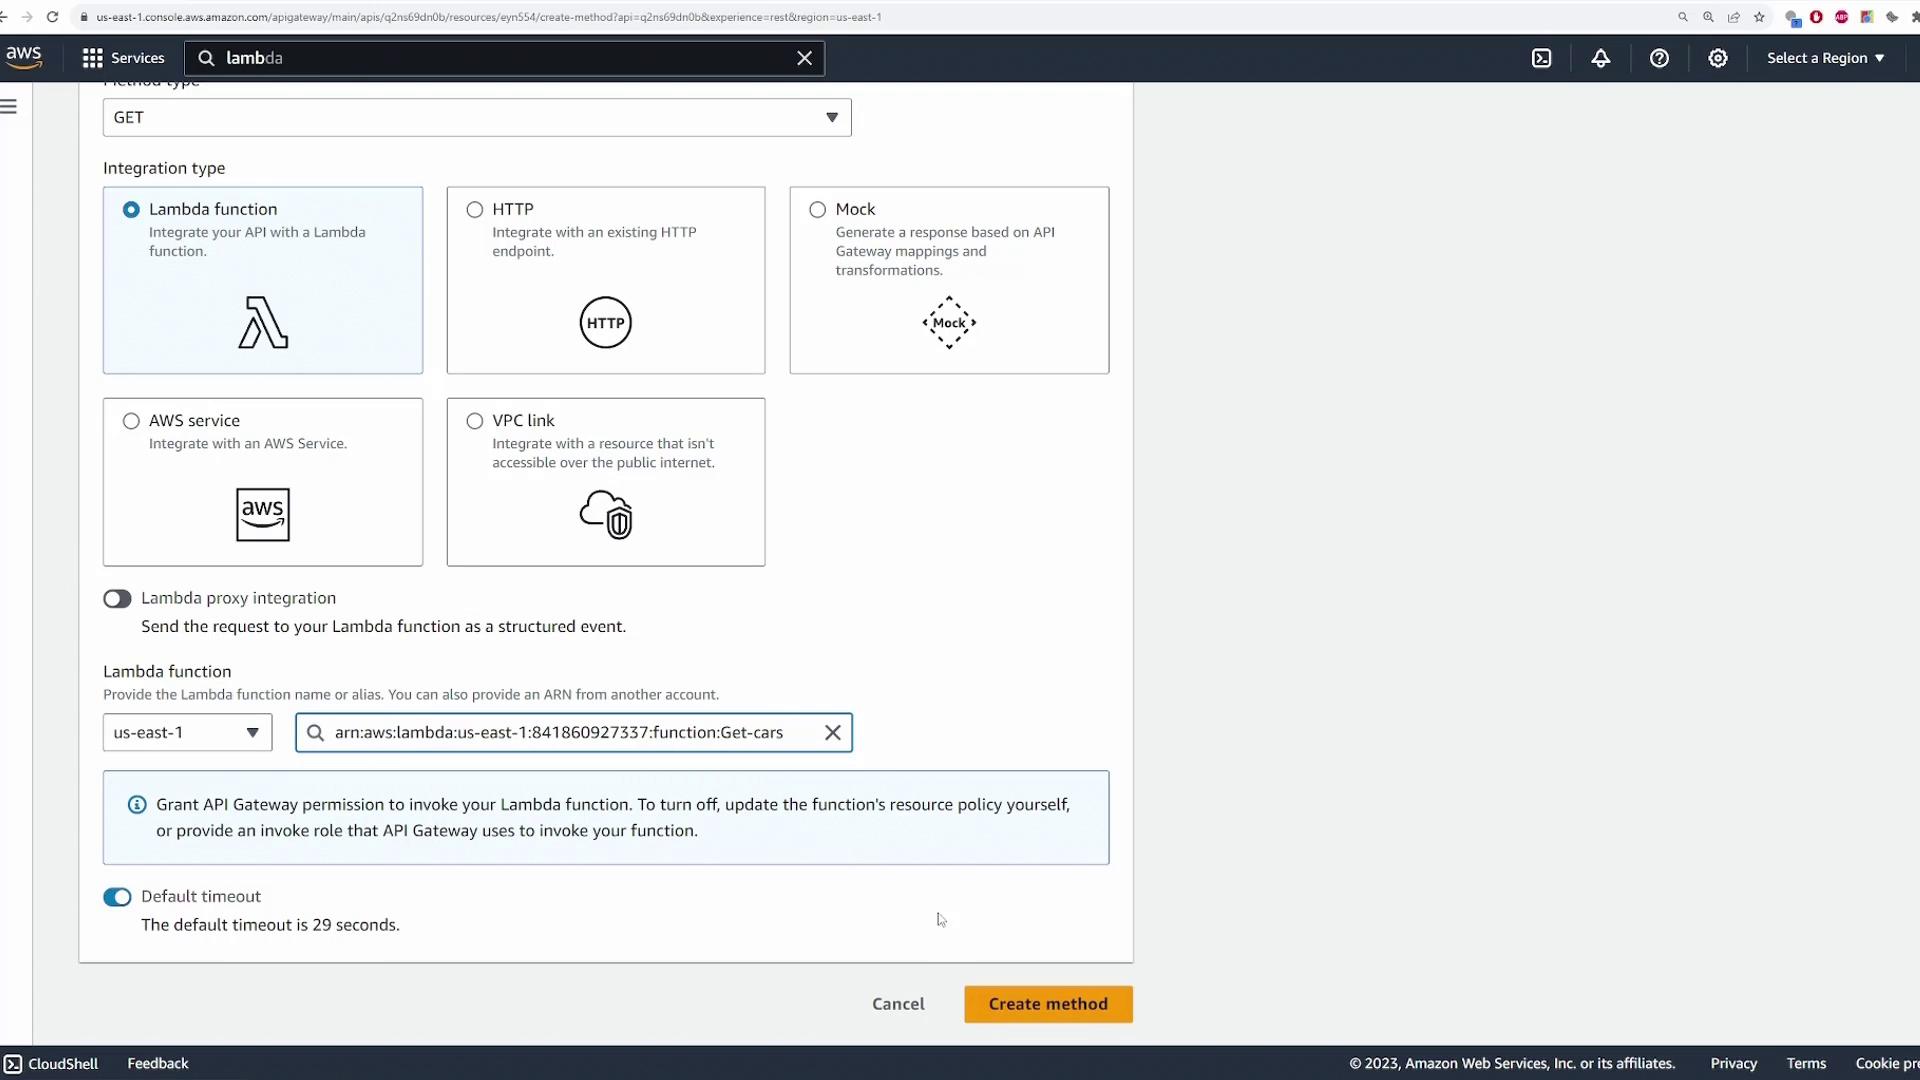
Returning to API Gateway, create the GET method on the /cars resource by clicking Create Method. Choose GET as the HTTP method. Set the integration type to Lambda Function and enable Lambda Proxy Integration to pass the complete event to Lambda. Finally, select your “GetCars” Lambda function and create the method.
After configuration, any GET request to /cars will trigger the “GetCars” Lambda function.
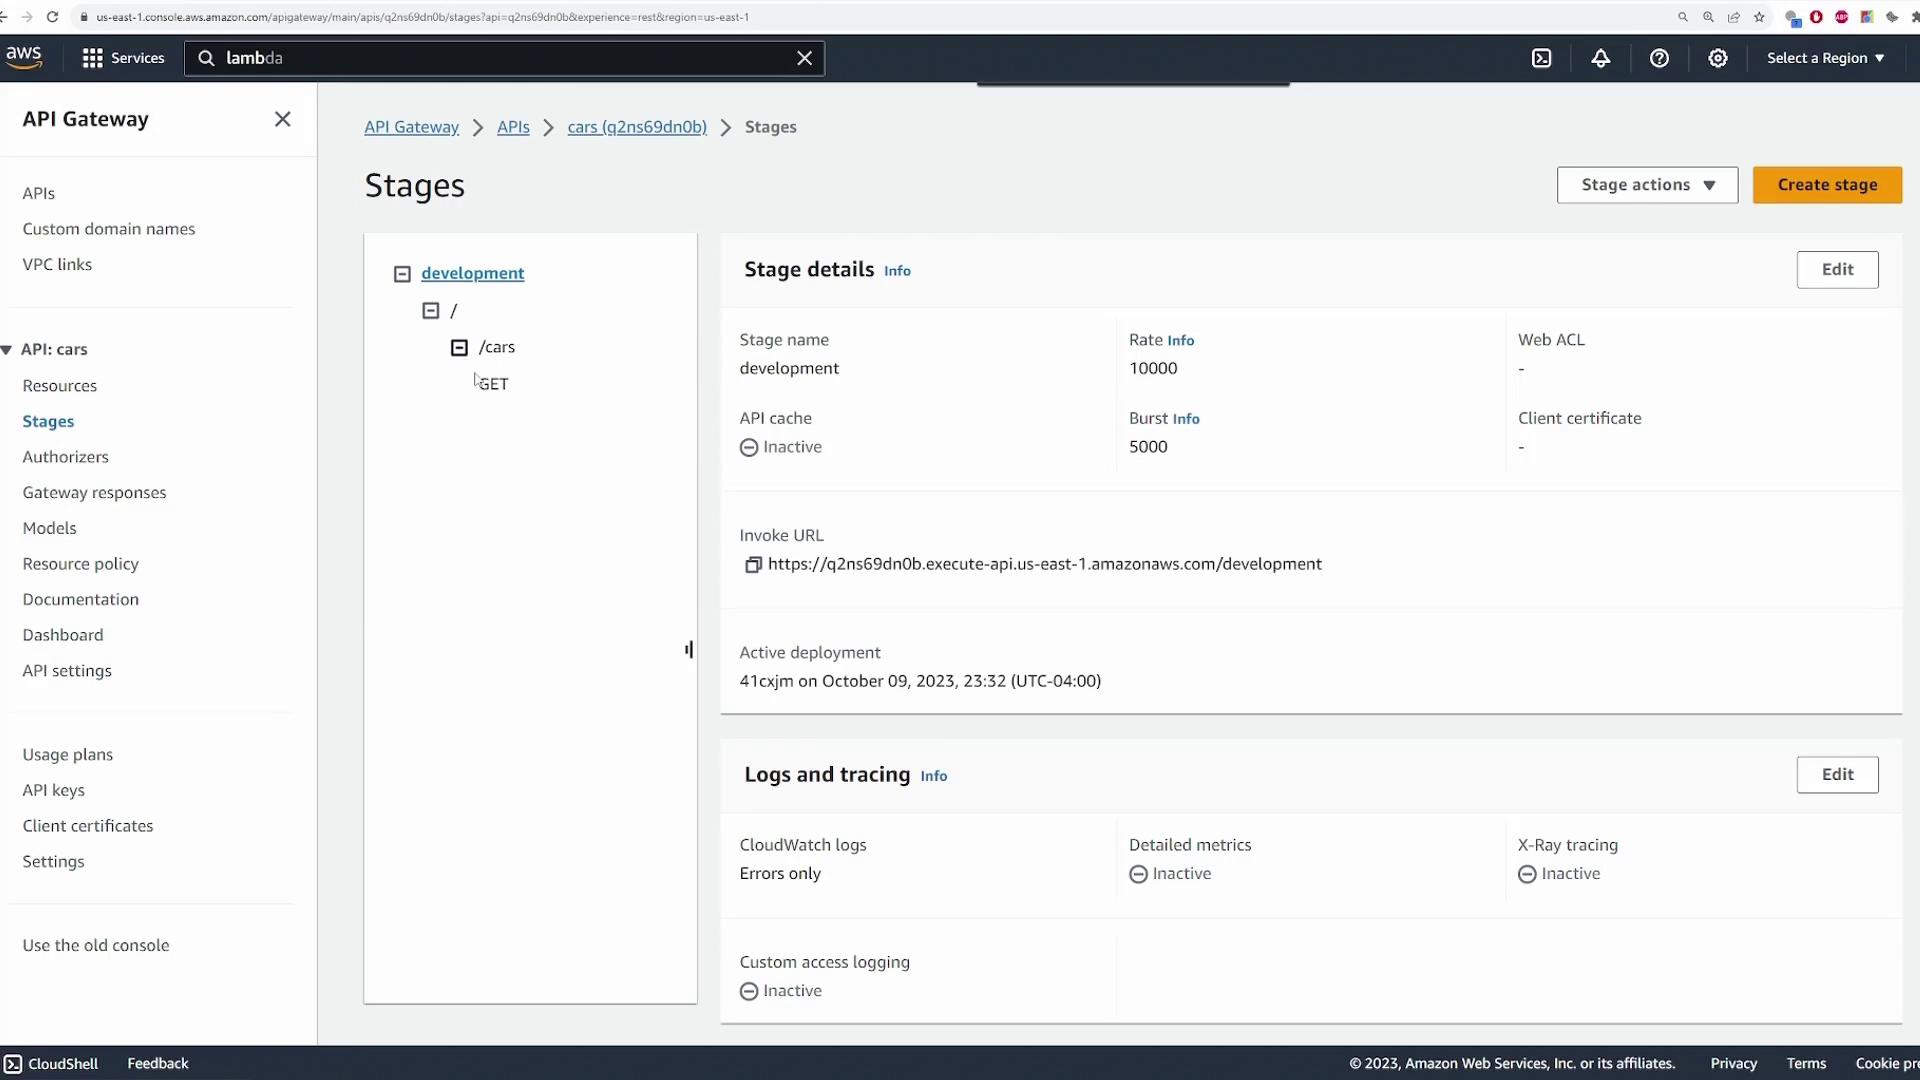
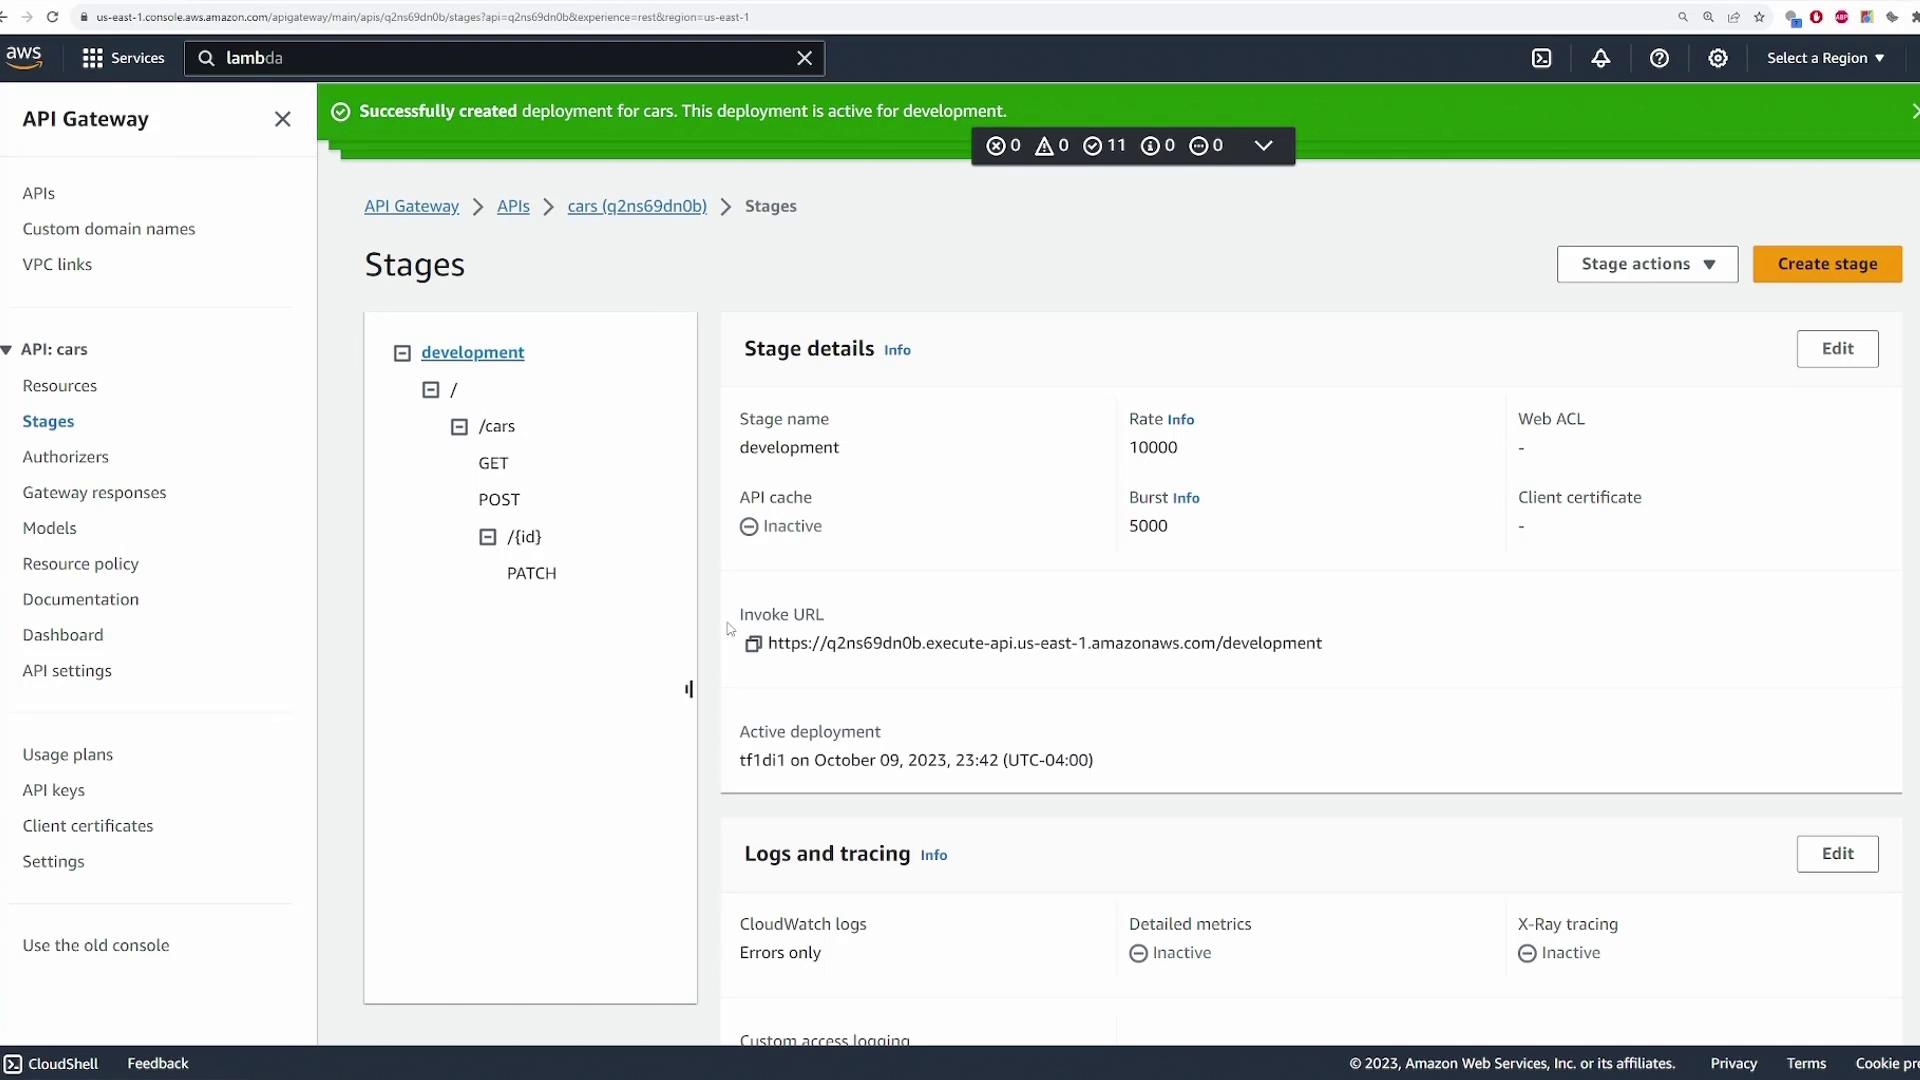
Before testing, deploy your API. Click the Deploy API button, choose a stage (e.g., development), and deploy it. Once deployed, you will receive an invoke URL for sending requests.
To test the GET endpoint, copy the invoke URL and append /cars (since testing the root URL may result in a “Missing Authentication Token” error):
Ensure you append /cars to your invoke URL, as leaving it out may trigger an incorrect response due to missing endpoint context.
For example, if you receive the following response:
Copy
{"message":"Missing Authentication Token"}
It means the request was sent to the base URL instead of the complete URL with /cars.
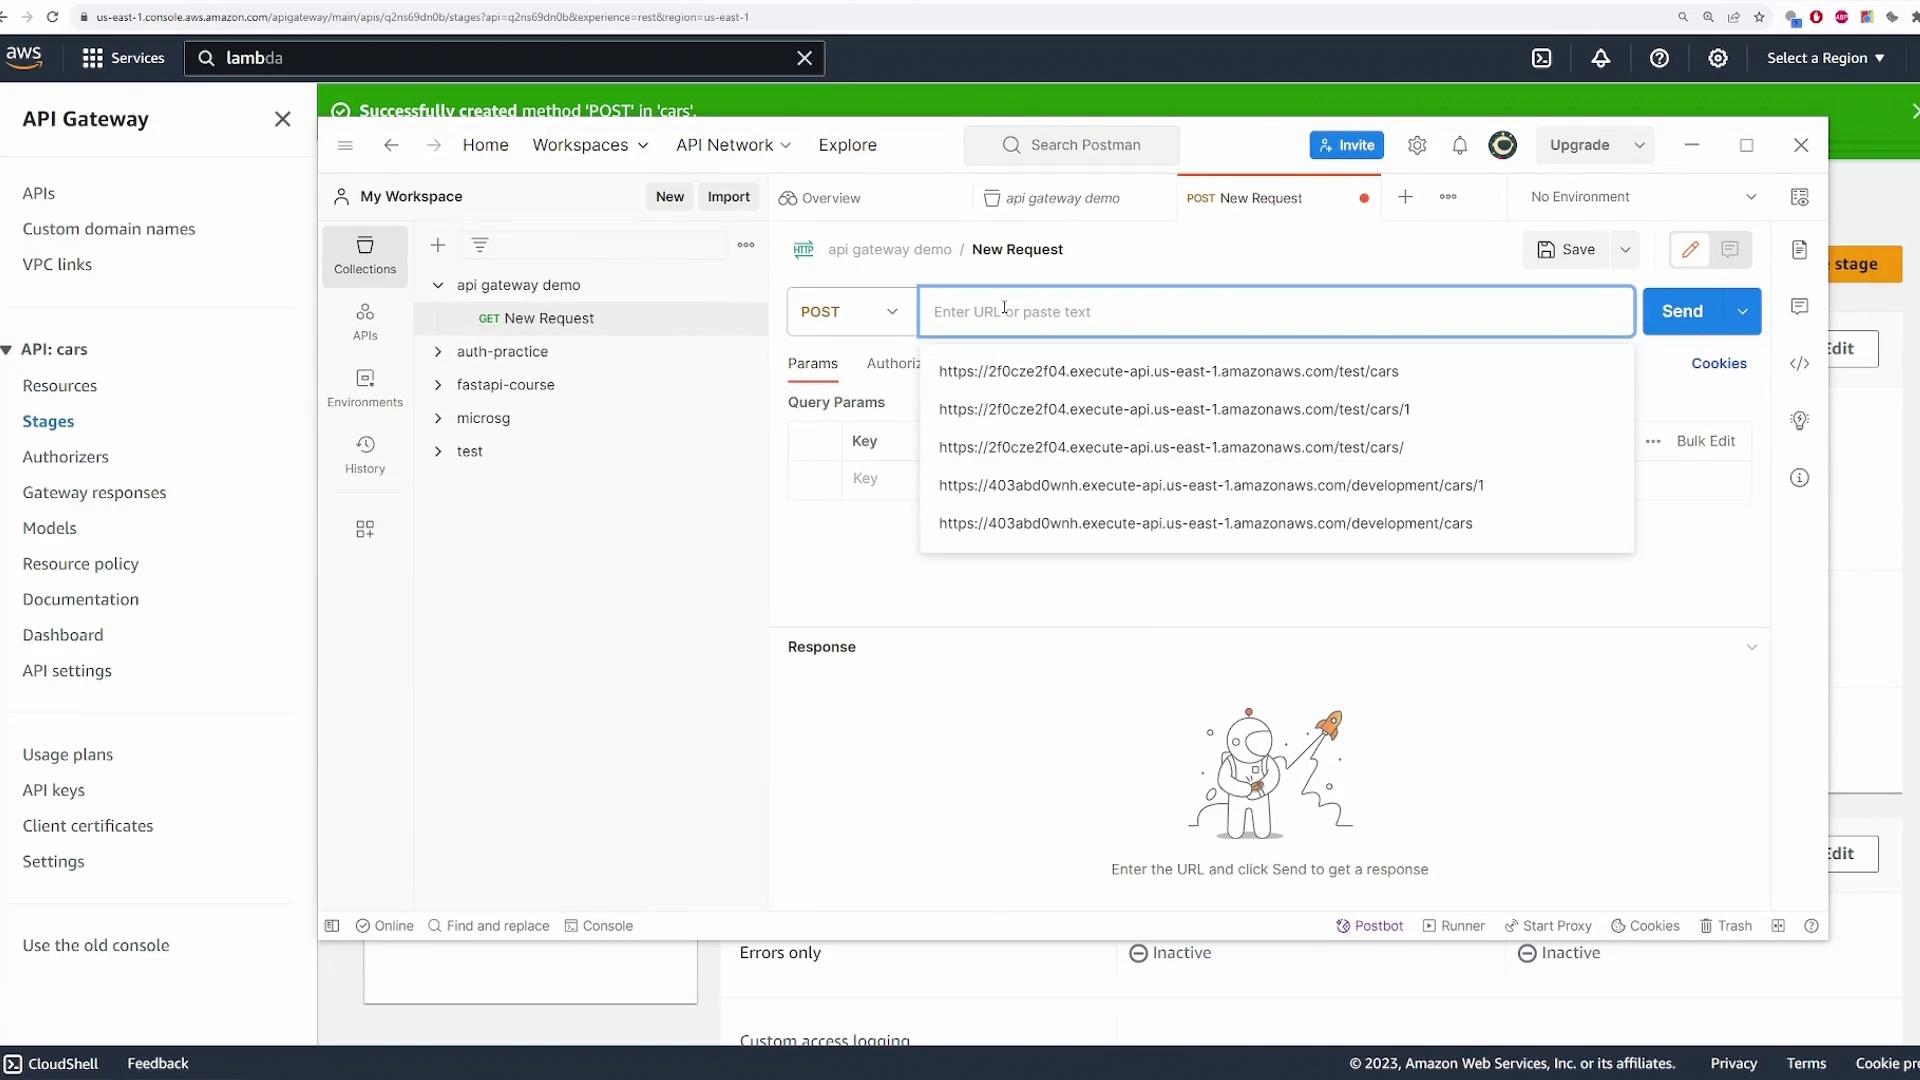
To add a new car entry, create a POST method under the /cars resource. Select the /cars resource (which currently has the GET method) and click Create Method, then choose POST. Configure it with Lambda proxy integration and select your “CreateCars” Lambda function.
Since POST requests cannot be tested directly in a browser, use tools such as cURL or Postman. Remember to deploy the API after configuring the POST method.To test, configure your tool to make a POST request using the deployment URL appended with /cars. Include a JSON payload in the body, for example:
double-check that you are sending the request to the correct endpoint (/cars).Your “CreateCars” Lambda function should parse and process the request body. Here’s a sample implementation:
In API Gateway, ensure that the complete event (including the request body) is passed to Lambda by checking the Integration Request settings, enabling proxy integration, and redeploying the API.After redeploying, send a POST request. You should receive a JSON response confirming the creation of the new car:Request payload:
To update a car entry, add a PATCH method under a resource that includes a path parameter. First, under the /cars resource, create a sub-resource with the path /{id} where {id} serves as a placeholder for the car’s unique identifier.
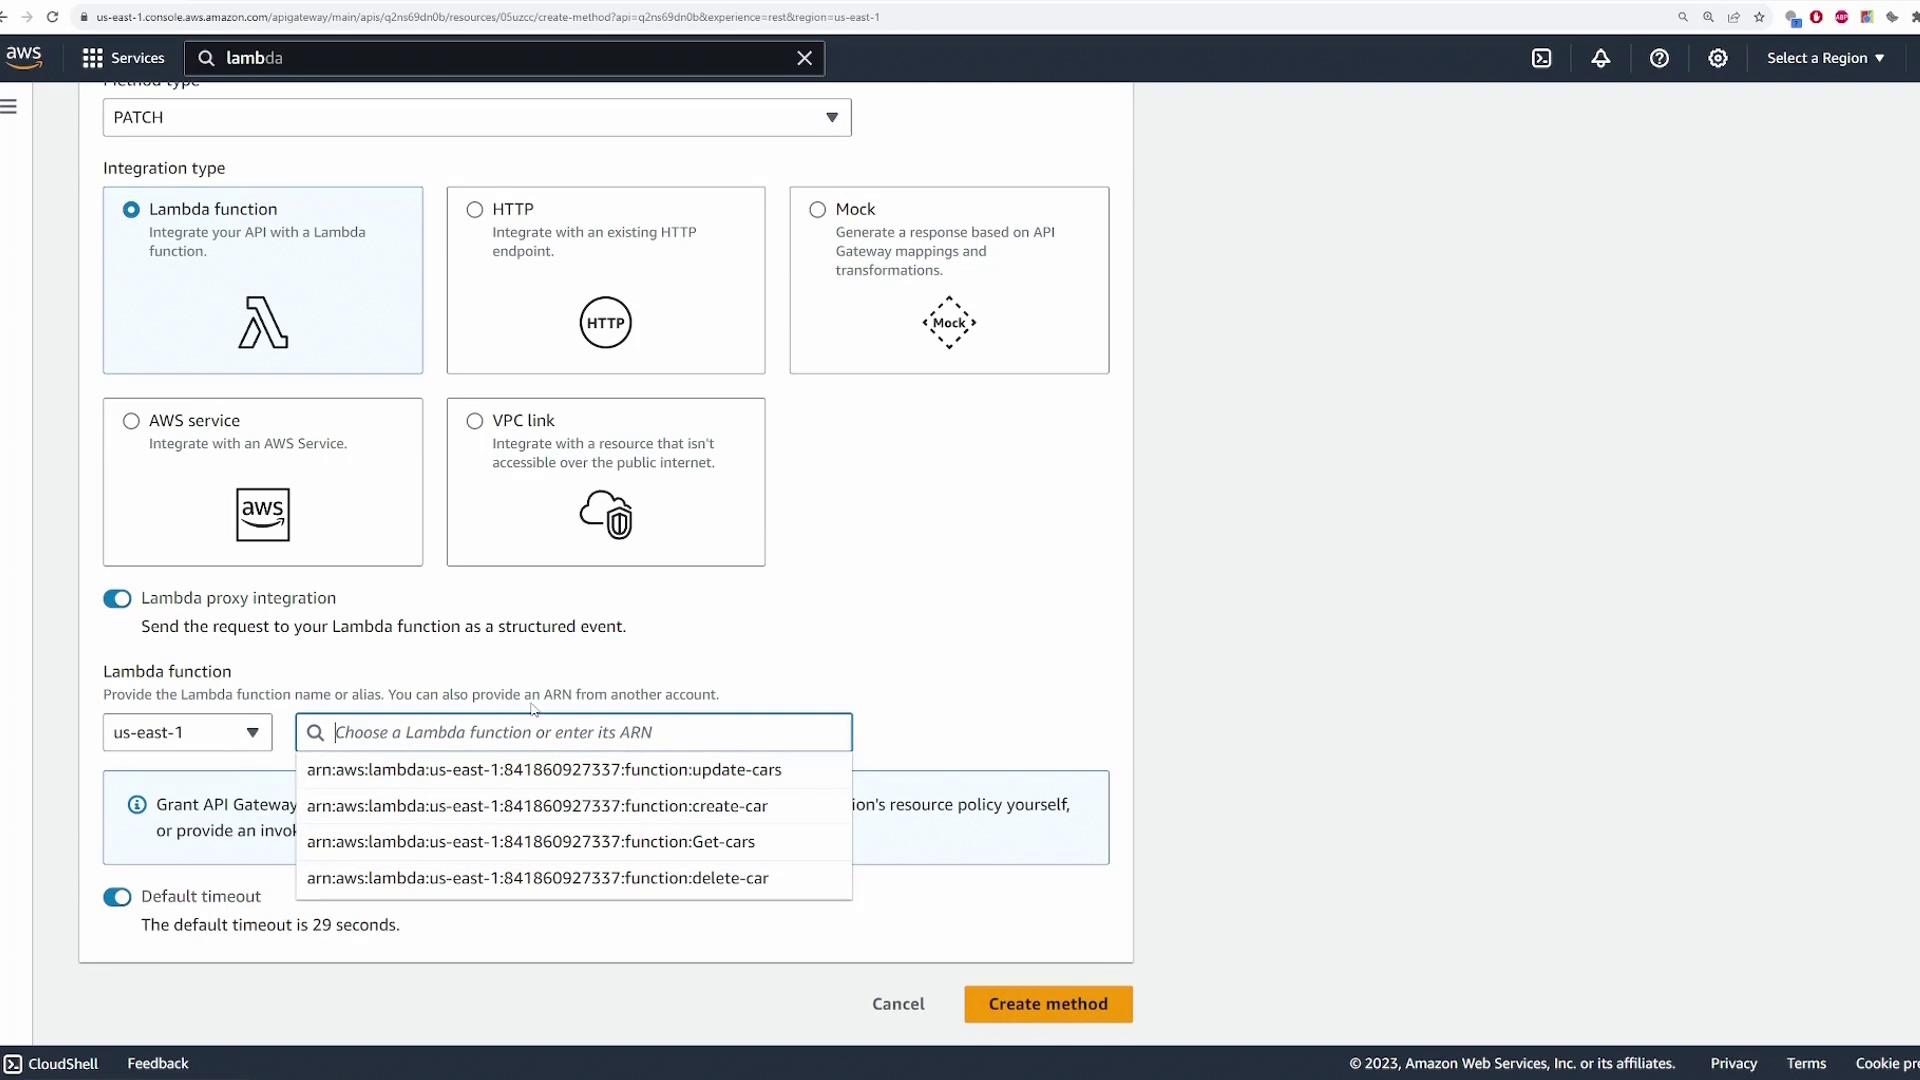
Under the newly created /{id} resource, create a PATCH method. Select PATCH as the HTTP method and integrate it with your “UpdateCars” Lambda function using Lambda proxy integration.
Your “UpdateCars” Lambda function should parse the request body and return a JSON response with the updated data. Below is an example implementation:
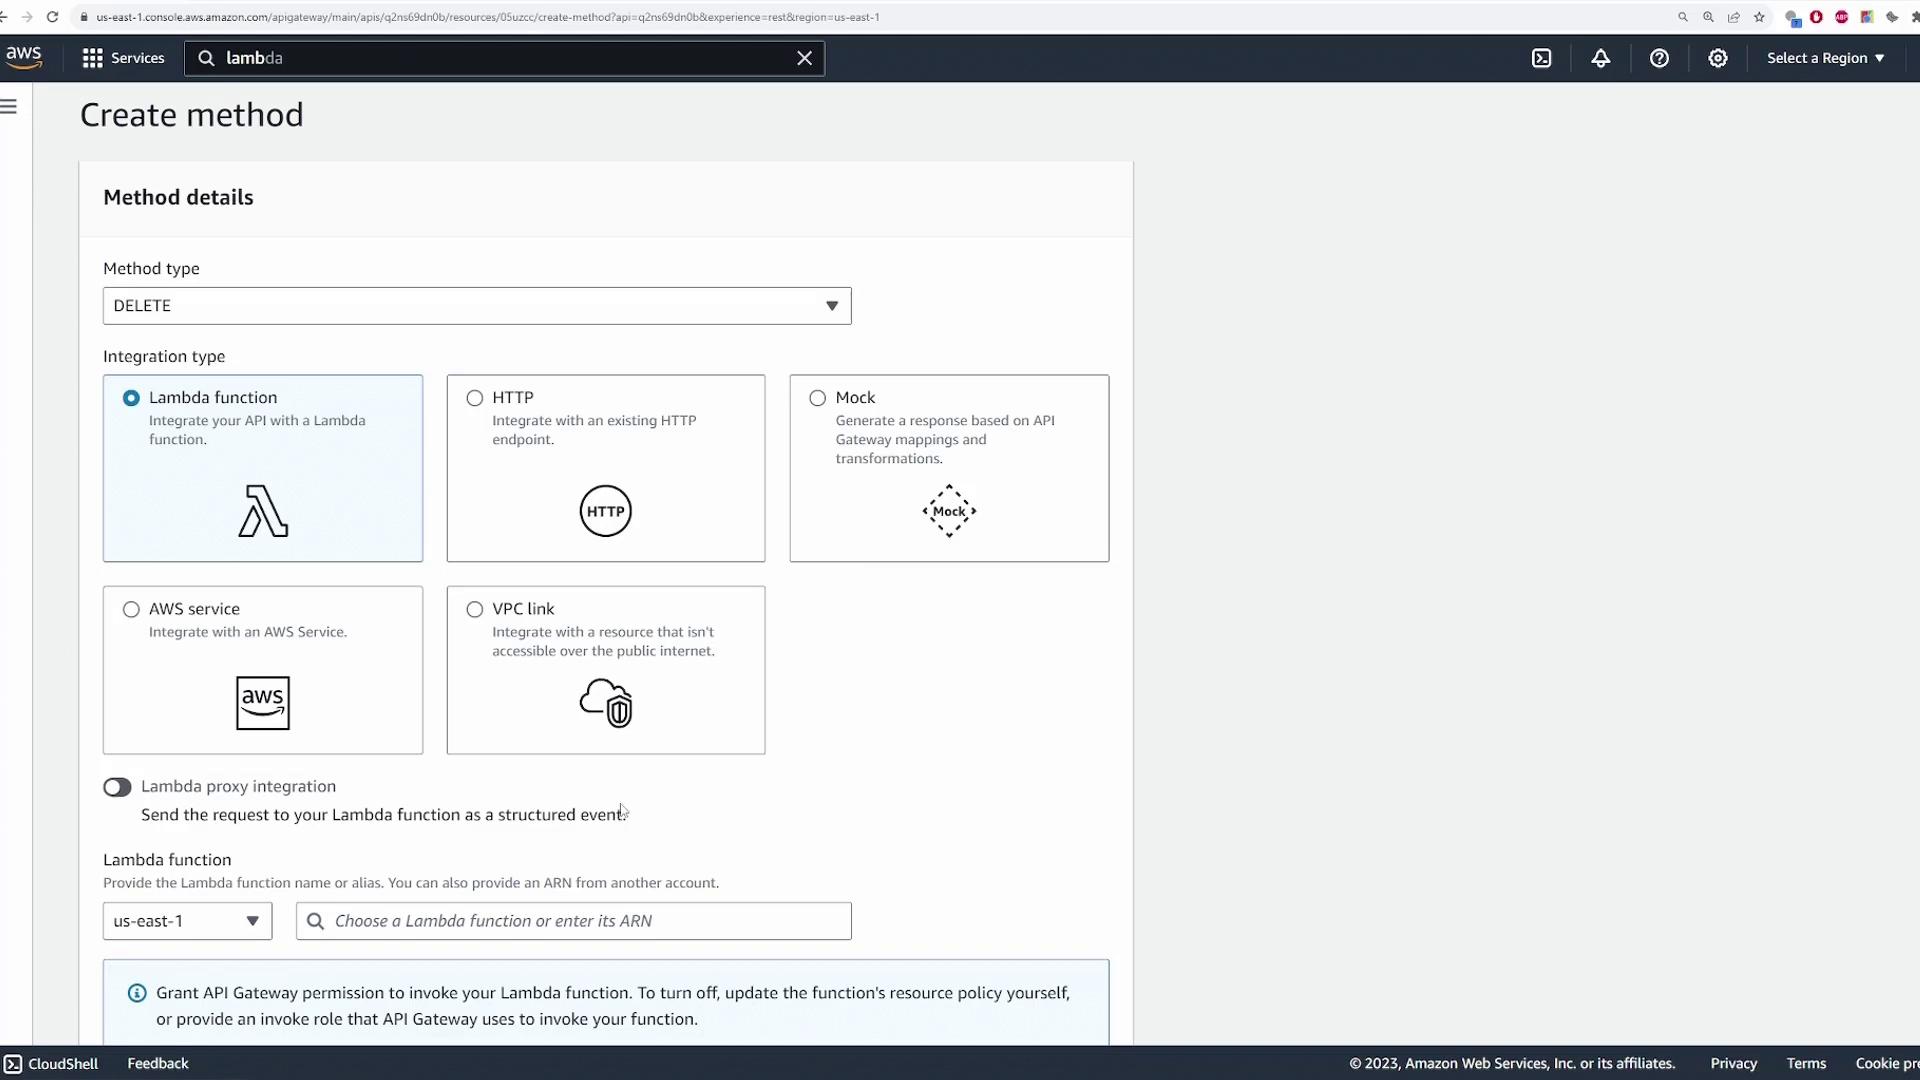
Following REST conventions, you can delete a car by specifying its ID. Under the /{id} resource (or directly under /cars if using query parameters), add a DELETE method and integrate it with the corresponding Lambda function responsible for deletion.After creating the DELETE method, you can test it by sending a DELETE request with the car’s ID. API Gateway will handle the routing and the Lambda function will execute the deletion logic.
If you later decide to remove the API, select the API (e.g., “cars”), click the DELETE button, confirm the action, and the API will be deleted.
This demo has illustrated how to configure AWS API Gateway to route GET, POST, PATCH, and DELETE requests to various AWS Lambda functions. Each endpoint demonstrates how Lambda functions can simulate back-end operations—such as retrieving car listings, creating a new car entry, updating car details, or deleting a car—without the need for an actual database integration.For further reading and additional details, consider checking out: