AWS Solutions Architect Associate Certification

Services Management and Governance

Demo Create an S3 bucket with Python and the CDK

In this guide, you'll learn how to use the AWS Cloud Development Kit (CDK) with Python to create and manage an S3 bucket. We'll cover the entire process—from installing dependencies to deploying and cleaning up your AWS resources.

─────────────────────────────

Installing Node.js and the AWS CDK CLI

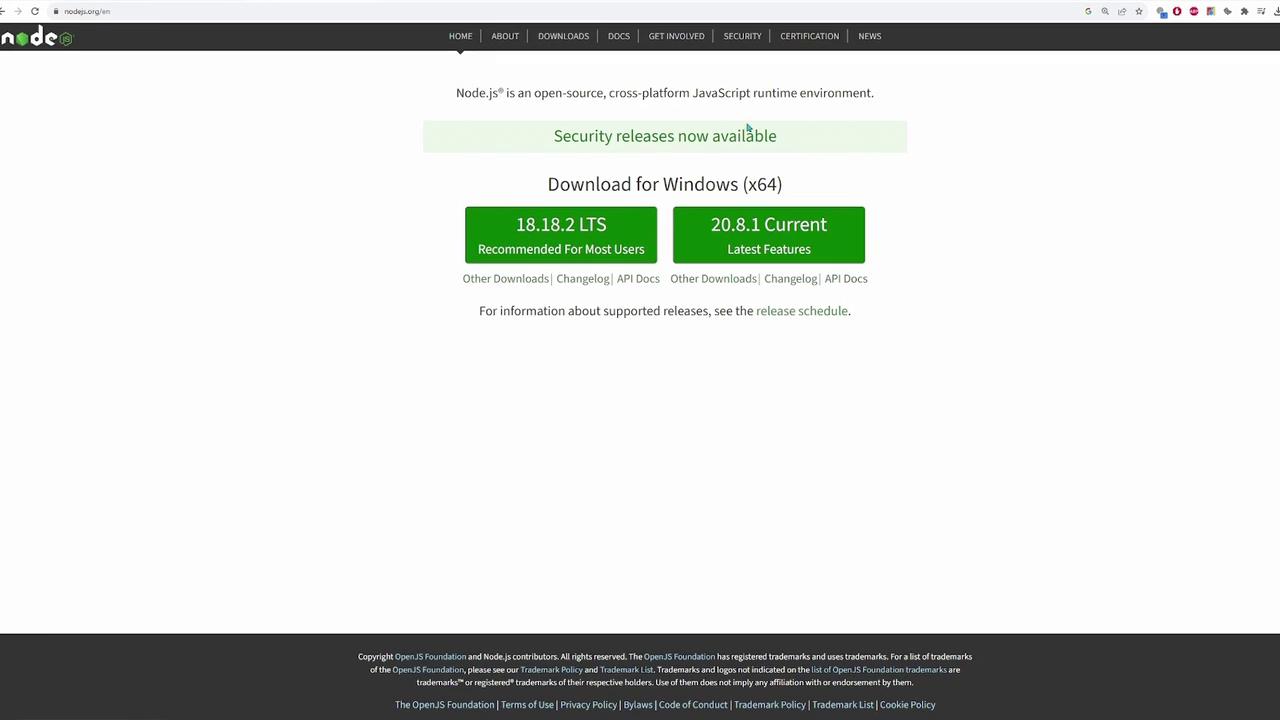
Before you begin, ensure that Node.js is installed on your machine. Node.js provides the JavaScript runtime required for the AWS CDK CLI, which is installed via npm. Download the appropriate installer for your operating system from the official Node.js website.

The image shows the Node.js download page, offering two versions for Windows (x64): version 18.18.2 LTS and version 20.8.1 Current. It also mentions security releases and provides links for additional downloads and documentation.

Once Node.js is installed, open your terminal or command prompt and run the following commands:

aws sts get-caller-identity
npm install -g aws-cdk
cdk --version

If the output from cdk --help shows a list of commands and options, the installation was successful.

─────────────────────────────

Overview of AWS CDK CLI Commands

The AWS CDK CLI offers several commands for managing your infrastructure as code:

  • cdk list: Lists all stacks in your CDK application.
  • cdk synth: Synthesizes the CloudFormation template from your CDK app.
  • cdk bootstrap: Sets up the CDK toolkit stack in your AWS account.
  • cdk deploy: Deploys one or more stacks to your AWS account.
  • cdk diff: Compares your local stack configuration with the deployed version.
  • cdk destroy: Deletes the specified stack(s).
  • cdk init: Initializes a new CDK project from a template.

To explore all available commands, run:

cdk --help

For instance, to generate your CloudFormation templates from the CDK application, execute:

cdk synth

─────────────────────────────

Initializing a New CDK Project

Kickstart your project using the CDK CLI by running:

cdk init sample-app --language python

This command generates a starter project that includes:

  • A Python virtual environment.
  • A requirements.txt file that lists dependencies like aws-cdk-lib and constructs.
  • A basic project structure with a README, configuration file (cdk.json), and source files.

Below is an excerpt from the generated app.py:

#!/usr/bin/env python3

import aws_cdk as cdk
from cdk.cdk_stack import CdkStack

app = cdk.App()
CdkStack(app, "CdkStack")

app.synth()

And here’s an example snippet from cdk_stack.py, which defines a sample stack:

from constructs import Construct
from aws_cdk import (
    Duration,
    Stack,
    aws_iam as iam,
    aws_sqs as sqs,
    aws_sns as sns,
    aws_sns_subscriptions as subs,
)

class CdkStack(Stack):

    def __init__(self, scope: Construct, construct_id: str, **kwargs) -> None:
        super().__init__(scope, construct_id, **kwargs)

        # Example: creating an SQS queue (currently commented out)
        # queue = sqs.Queue(
        #     self, "CdkQueue",
        #     visibility_timeout=Duration.seconds(300),
        # )

        # Example: creating an SNS topic and subscribing the above queue
        # topic = sns.Topic(self, "CdkTopic")
        # topic.add_subscription(subs.SqsSubscription(queue))

─────────────────────────────

Setting Up Your Python Environment

To ensure that your dependencies remain isolated, set up a Python virtual environment:

  1. Create the virtual environment:

    python -m venv .venv
    
  2. Activate the environment:

    • On macOS/Linux:
      source .venv/bin/activate
      
    • On Windows:
      .venv\Scripts\activate.bat
      
  3. Install required packages from requirements.txt:

    pip install -r requirements.txt
    

─────────────────────────────

Configuring an S3 Bucket in Your CDK Stack

Enhance your CDK stack by adding an S3 bucket. Start by importing the S3 module and update your stack configuration as follows:

from constructs import Construct
from aws_cdk import (
    Duration,
    Stack,
    aws_s3 as s3,
)

class CdkStack(Stack):

    def __init__(self, scope: Construct, construct_id: str, **kwargs) -> None:
        super().__init__(scope, construct_id, **kwargs)

        # Create an S3 bucket with KMS encryption enabled
        bucket = s3.Bucket(self, "My-kodekloud-cdk-bucket",
                           encryption=s3.BucketEncryption.KMS)

Note

Bucket names in AWS must be globally unique. If your chosen name is already in use, the AWS CDK may append extra characters to ensure uniqueness.

After updating your stack, verify the CloudFormation templates by running:

cdk synth

The generated output should include the CloudFormation template with your S3 bucket details.

─────────────────────────────

Configuring AWS Credentials

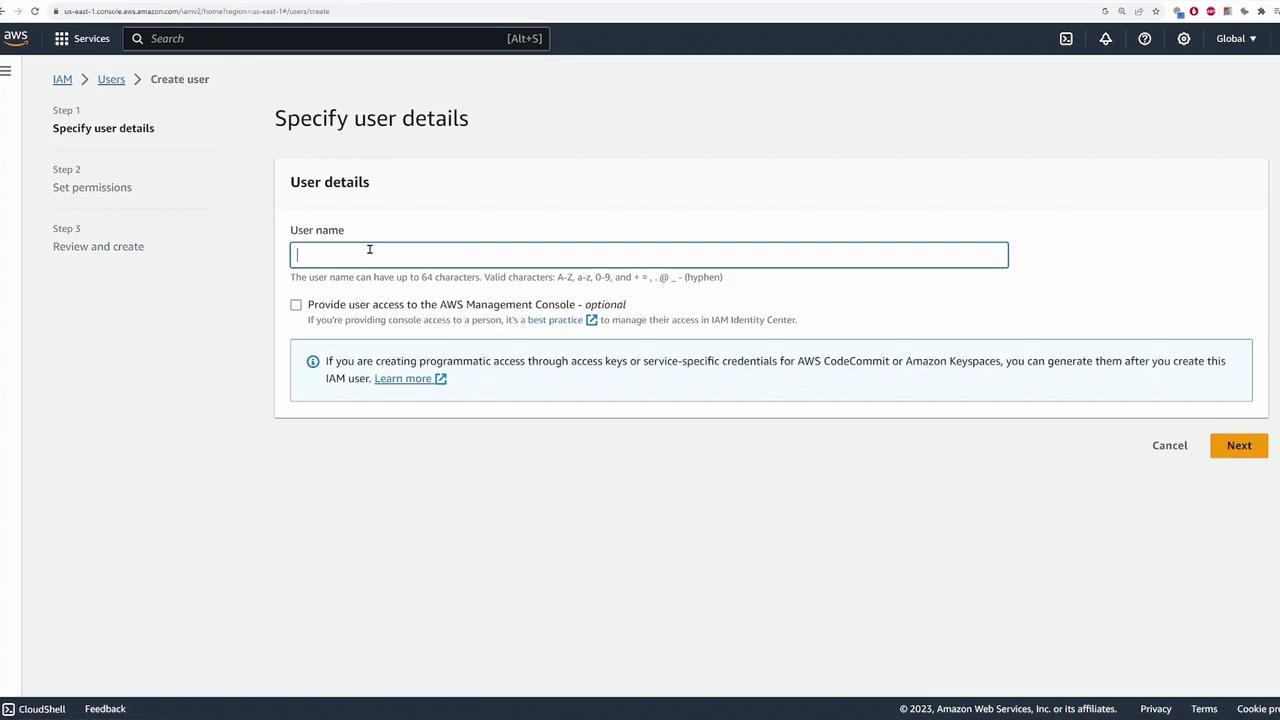
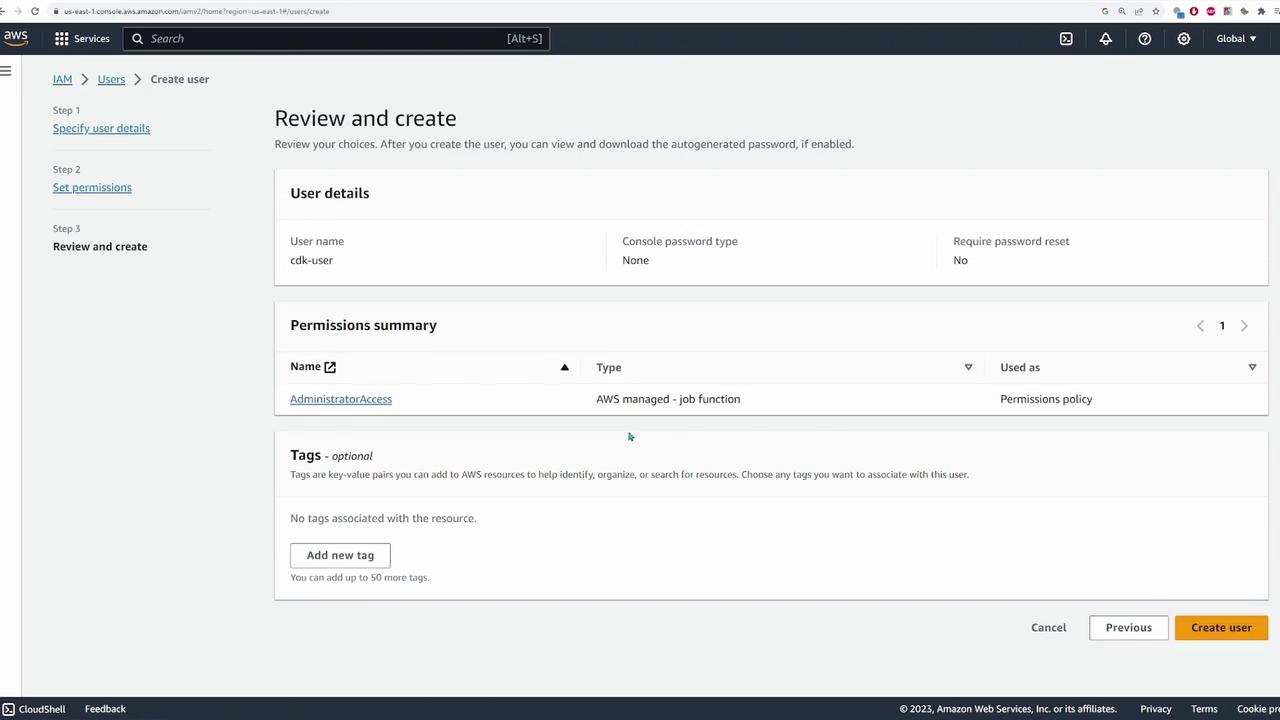
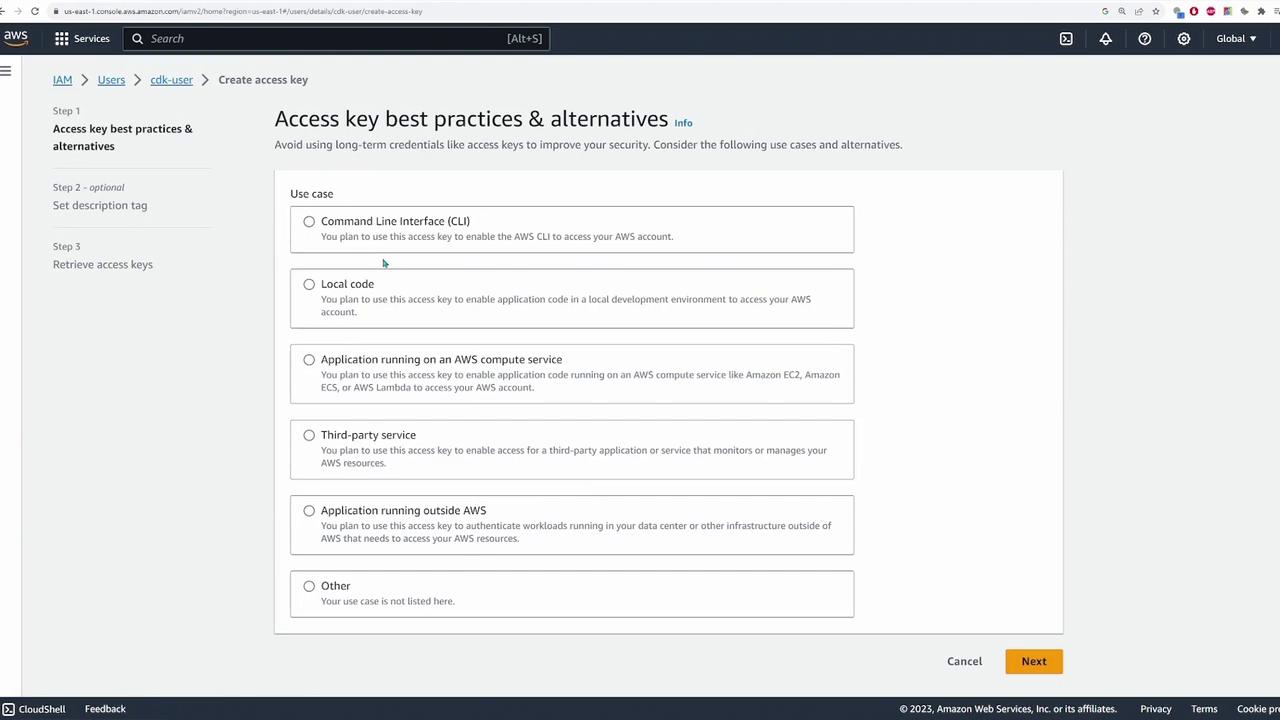
Before deploying your resources, configure your AWS CLI with the necessary credentials:

aws configure

Enter your AWS Access Key ID and Secret Access Key when prompted. Although using full administrator access may be acceptable for demos, remember to follow the principle of least privilege in production environments.

The image shows an AWS IAM console screen for creating a new user, where user details such as the username are specified. There are options for providing user access to the AWS Management Console and creating programmatic access.

The image shows an AWS IAM console screen for creating a user, displaying user details, permissions summary, and an option to add tags. The user has "AdministratorAccess" permissions.

The image shows an AWS IAM console screen for creating an access key, with options for different use cases like CLI, local code, and third-party services.

─────────────────────────────

Previewing Changes and Deploying the Stack

Before deploying your changes, use cdk diff to inspect the differences between your local setup and the deployed stack:

cdk diff

If changes are detected—and if a "bootstrap" error occurs due to missing SSM parameters—execute the bootstrap command:

cdk bootstrap

Once bootstrapping is complete, deploy the stack:

cdk deploy

During deployment, AWS CloudFormation creates or updates your resources. A typical log output might resemble:

CdKStack | 0/3 | CREATE_IN_PROGRESS | AWS::S3::Bucket | My-kodekloud-cdk-bucket
CdKStack | 1/3 | CREATE_COMPLETE    | AWS::CDK::Metadata  | CDKMetadata/Default
CdKStack | 2/3 | CREATE_COMPLETE    | AWS::S3::Bucket     | My-kodekloud-cdk-bucket
CdKStack | 3/3 | CREATE_COMPLETE    | AWS::CloudFormation::Stack | CdKStack

Confirm that your S3 bucket appears in the S3 console:

The image shows an AWS CloudFormation console with details of a stack named "CdkStack," displaying resources and their statuses as "CREATE_COMPLETE." A delete action is initiated for another stack.

─────────────────────────────

Verifying and Cleaning Up Resources

After deploying, run cdk diff again to validate that no discrepancies exist between your configuration and what has been deployed:

cdk diff

A message indicating "There were no differences" confirms that your stack is synchronized.

When your testing is complete, clean up your resources by executing:

cdk destroy

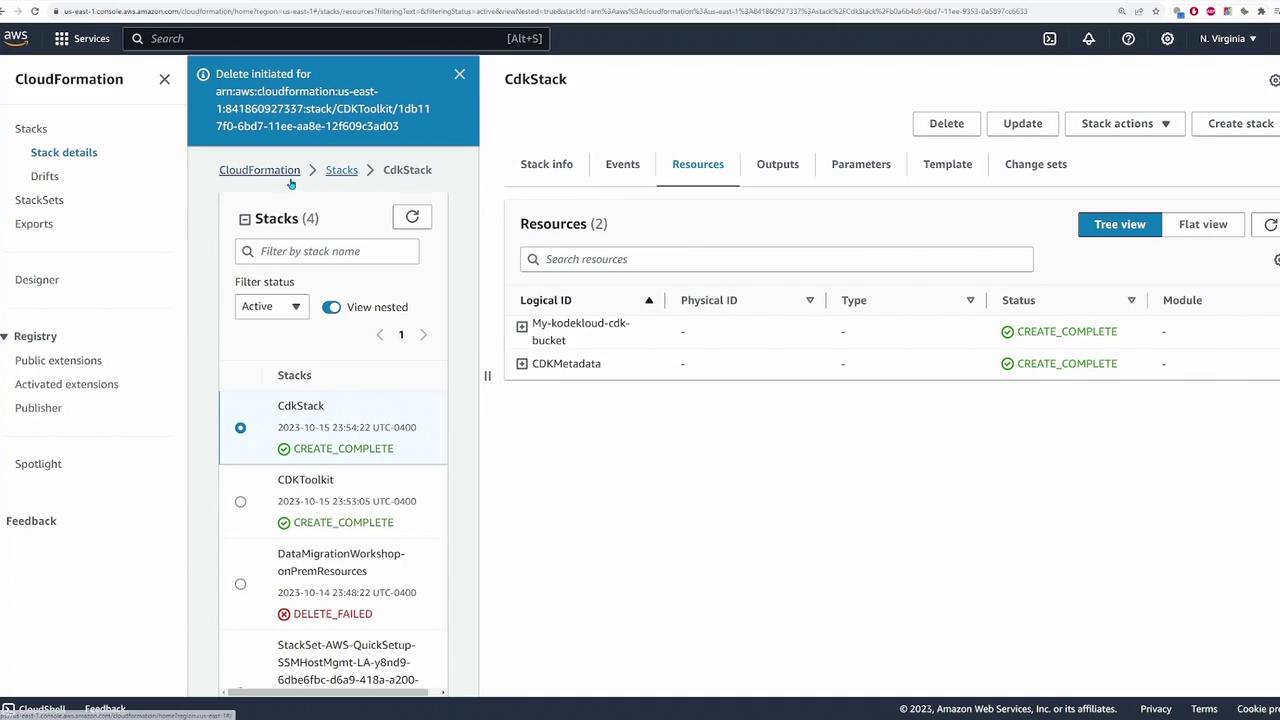
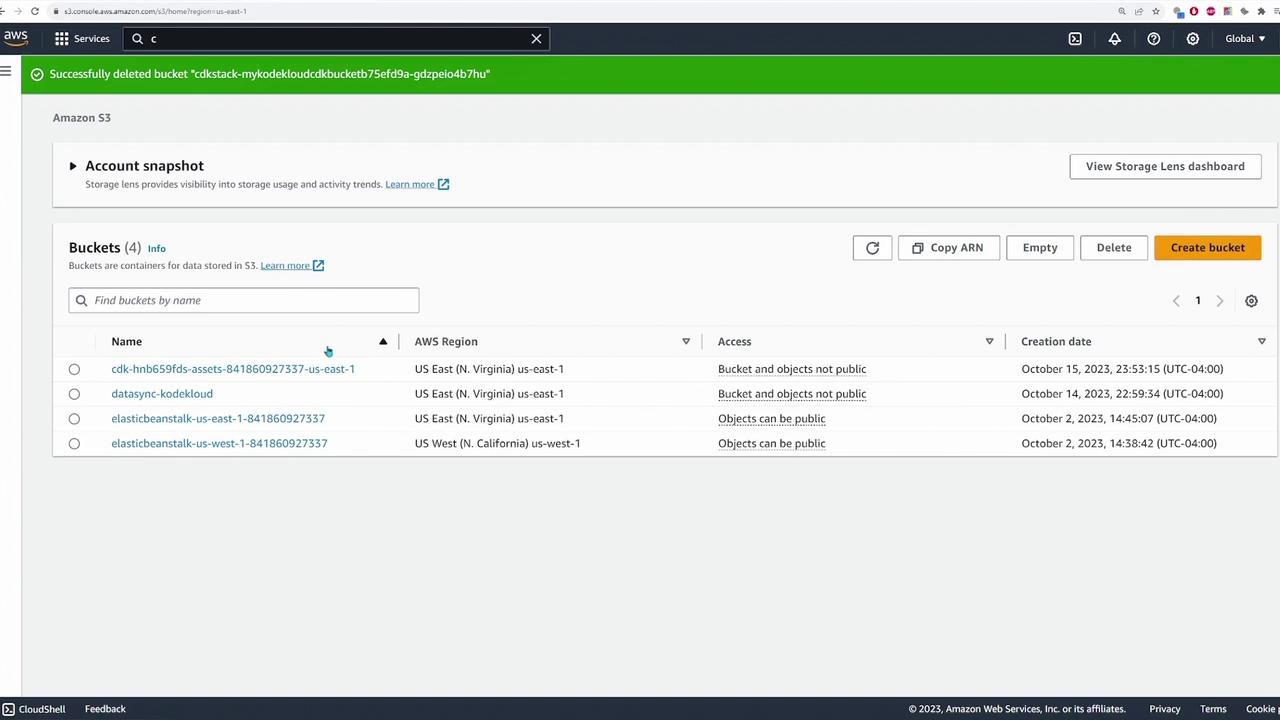
Confirm the deletion in the prompt. Finally, verify in the CloudFormation and S3 consoles that all resources have been removed.

The image shows an Amazon S3 console with a list of buckets, their regions, access settings, and creation dates. A notification at the top indicates a bucket was successfully deleted.

─────────────────────────────

Conclusion

In this tutorial, you've learned how to initialize an AWS CDK project with Python, set up an isolated virtual environment, configure an S3 bucket with KMS encryption, and deploy the stack using CloudFormation commands. The AWS CDK makes managing your infrastructure efficient by employing commands like synth, diff, deploy, and destroy.

Happy coding, and see you in the next lesson!

Watch Video

Watch video content

Previous
CDK