AWS Solutions Architect Associate Certification
Services Management and Governance
Demo SSO Audit and Security inside of a Control Tower account
In this guide, we demonstrate how AWS Control Tower simplifies multi-account management. You will learn how to set up your landing zone, configure organizational units, and provision new accounts using AWS Control Tower features.
Setting Up the Landing Zone
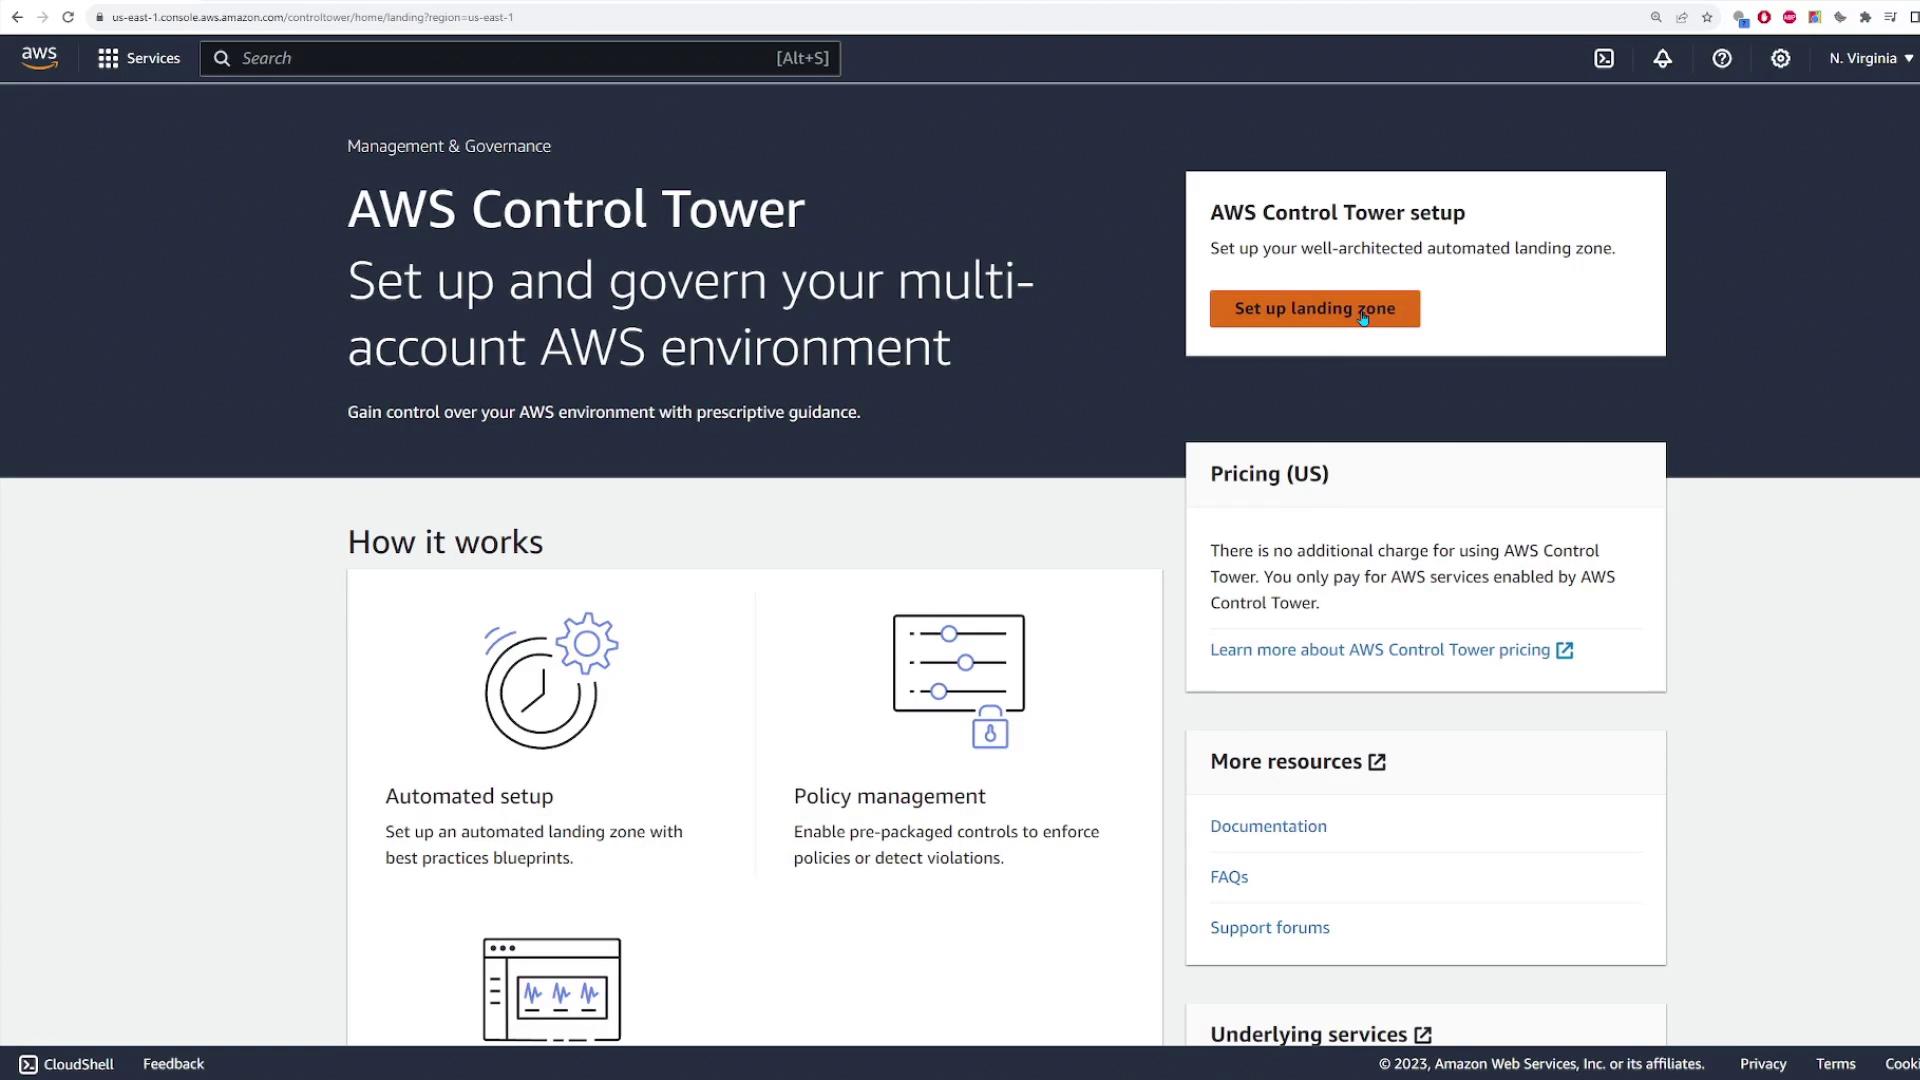
Begin by searching for the AWS Control Tower service in your AWS console. Click the designated button to start configuring your landing zone. During this process, you will see detailed information about the actions performed and associated pricing details. With AWS Control Tower, you only pay for the AWS resources that are created—Control Tower itself is provided at no extra charge.
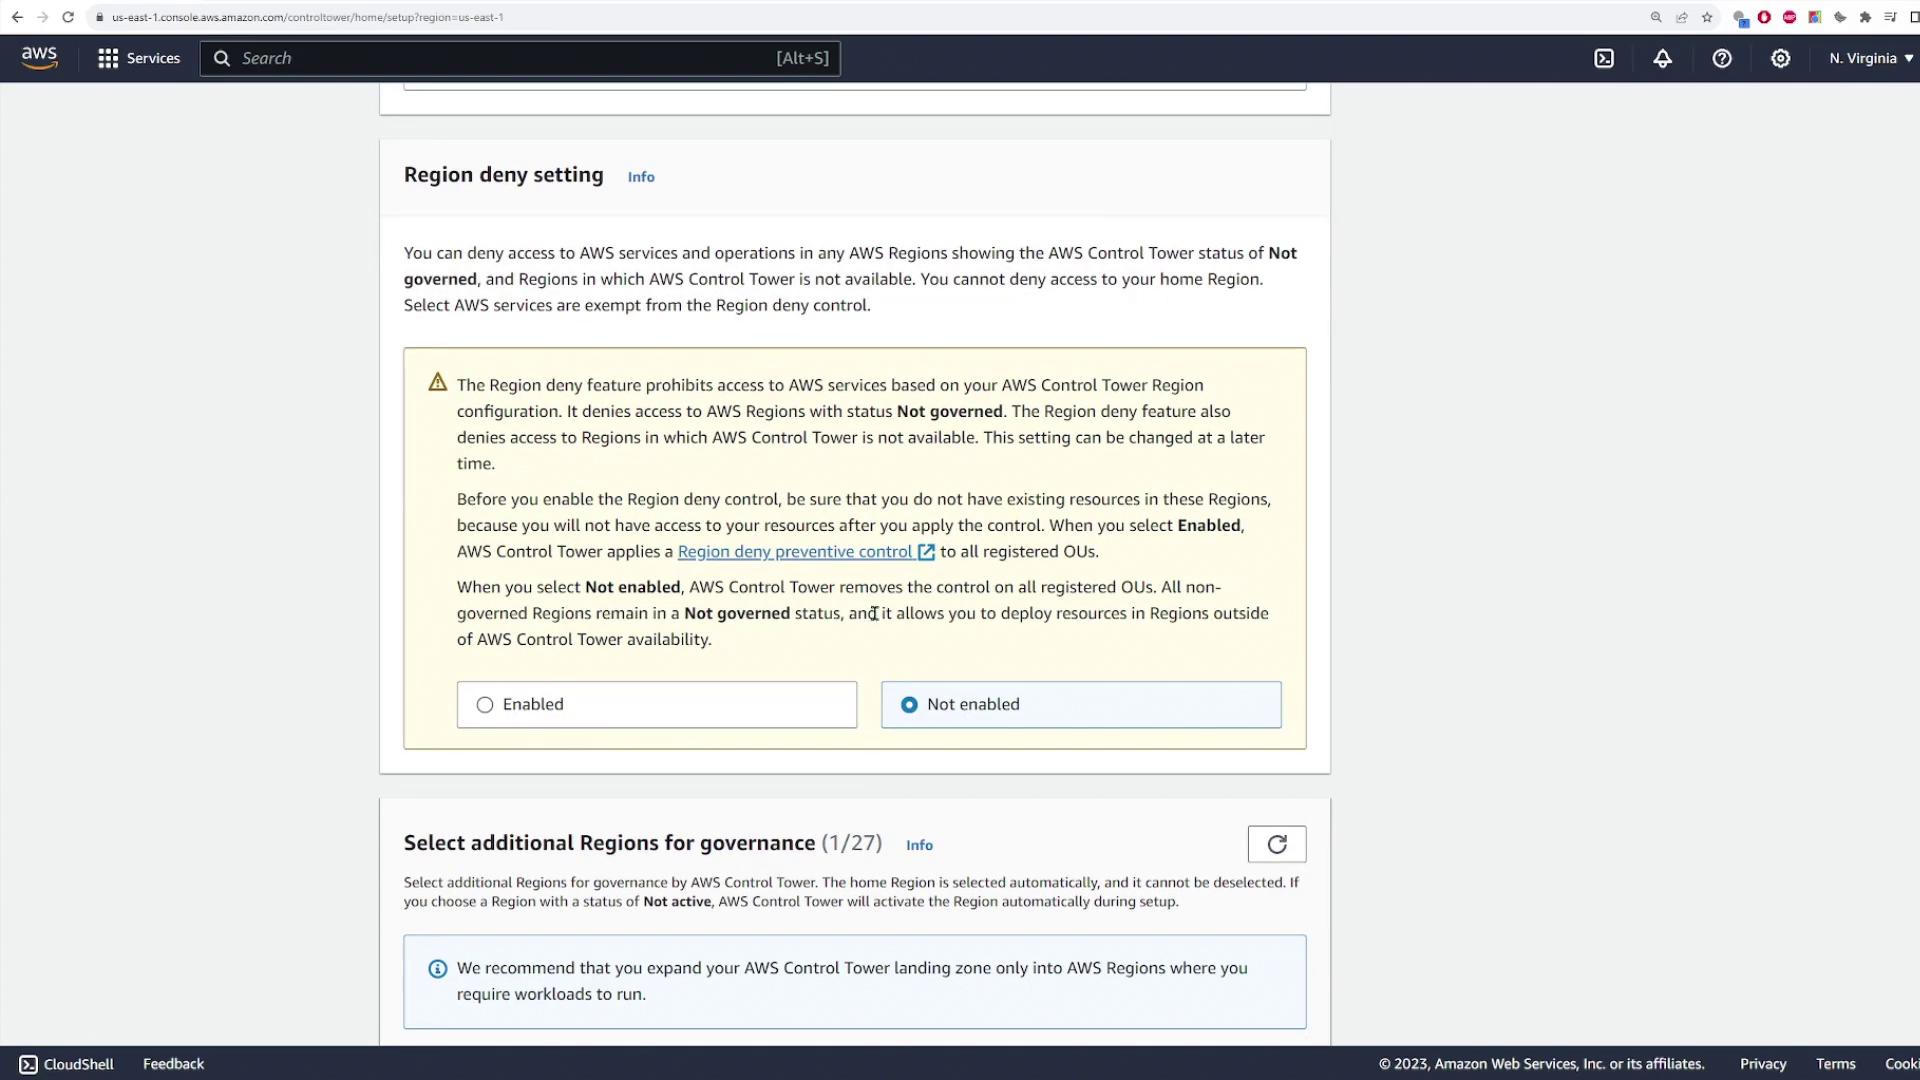
Under the "Home Region" section, select your preferred region (US East 1 is the default for this demo). You will also notice a "region deny" setting that restricts access to AWS services in regions not governed by Control Tower. For this demo, we leave the region deny setting disabled, but you can enable it if necessary. All these settings can be updated later.
Configuring Regions for Control Tower
Proceed by specifying which AWS regions will be managed by Control Tower. Although your home region is pre-selected, you have the option to add other regions (such as Europe and the Middle East) if required. For this demonstration, these additional regions remain unchecked. Click "Next" to move forward.
Control Tower then prompts you to define the organizational units (OUs) to create. Typically, a primary OU for log archives and security audits is pre-defined (here, labeled "Security"). You can also create an additional "sandbox" OU for development or testing accounts. In our demo, we create a sandbox OU and click "Next" to continue.
Creating Service Accounts
Set up your management and service accounts in the next step. Since you are already logged into the management account, you only need to create new accounts for the log archive and security audit functions. Provide a unique email address and account name for each account. If you already have an existing log archive account, you can opt to select it.
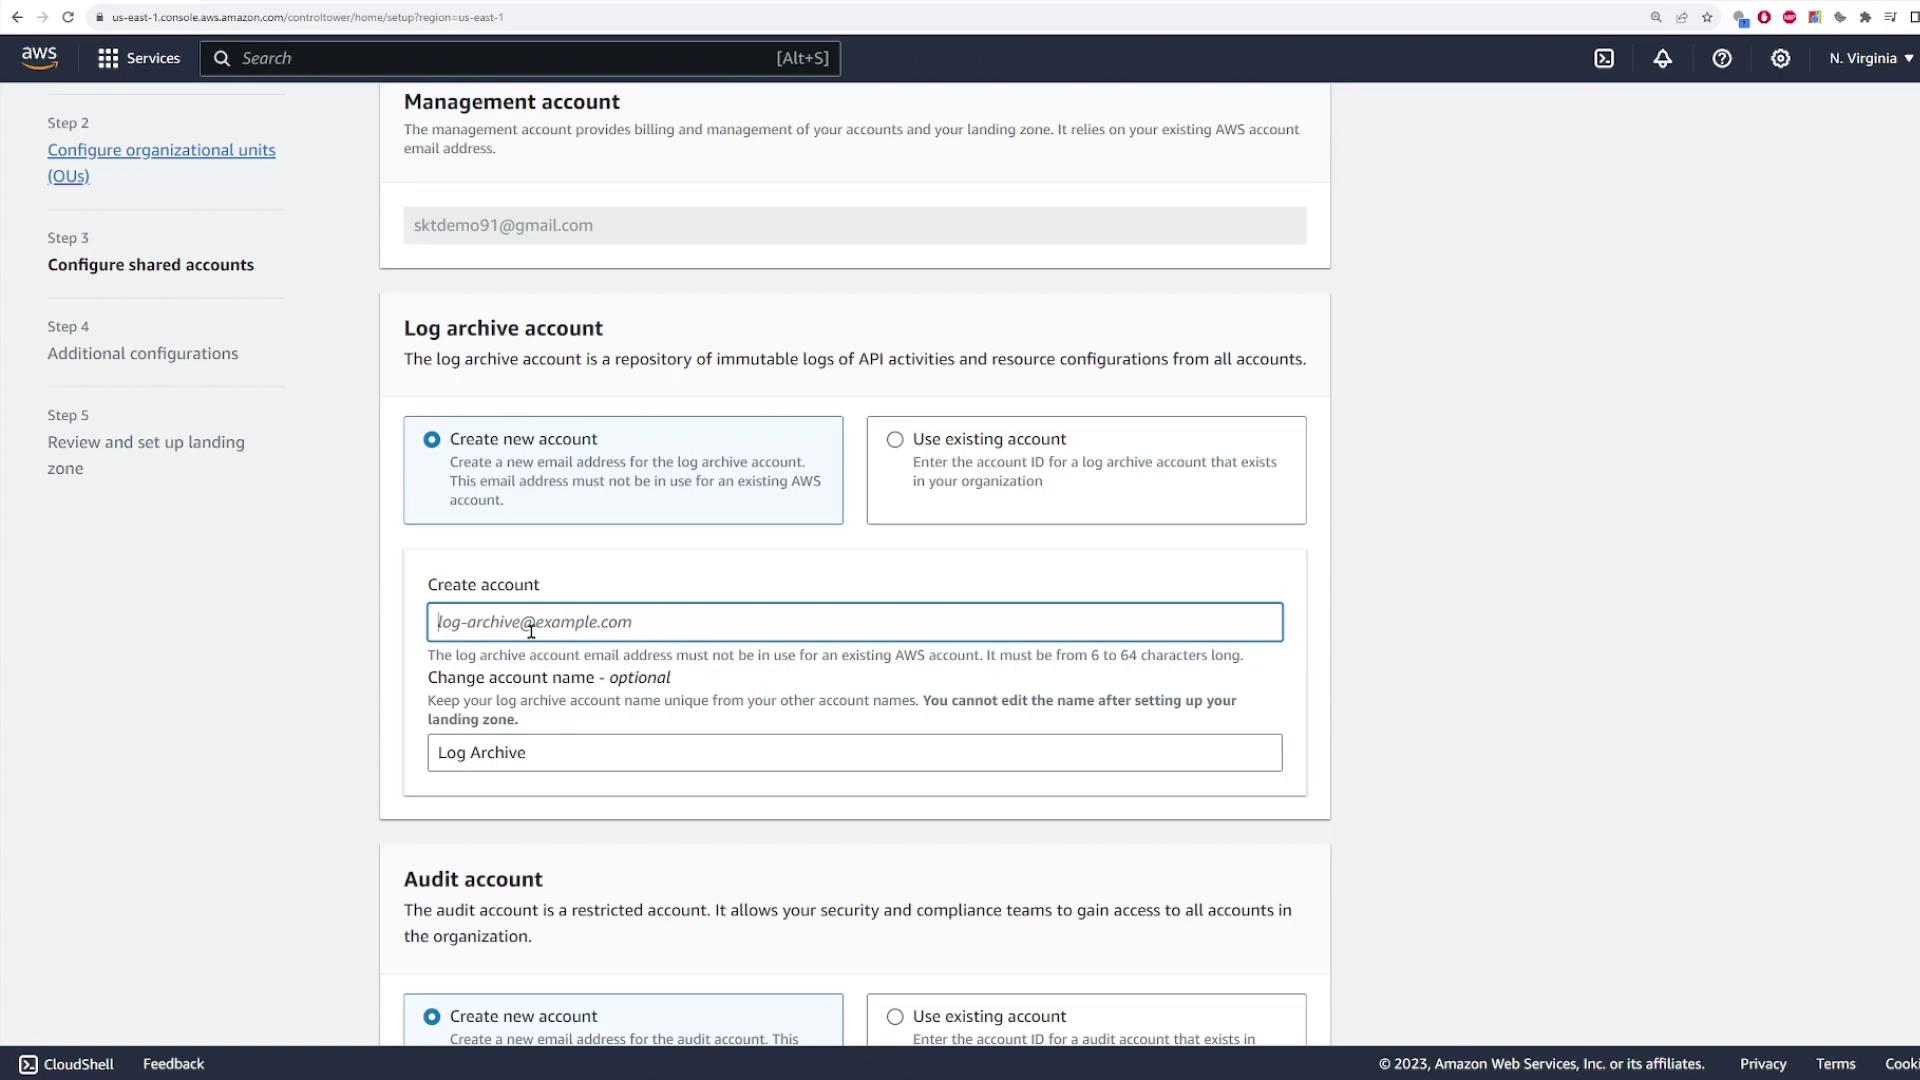
After entering the required details, click "Next" to proceed.
AWS Account Access and Logging Configuration
Configure the AWS account access settings by leaving the default option selected. Next, set up CloudTrail logging and Amazon S3 log configurations. These configurations are optional and can be modified later if needed. When you are ready, click "Next" to review your configuration. Accept the required permissions, then initiate the landing zone setup. Note that resource provisioning in the landing zone may take several minutes.
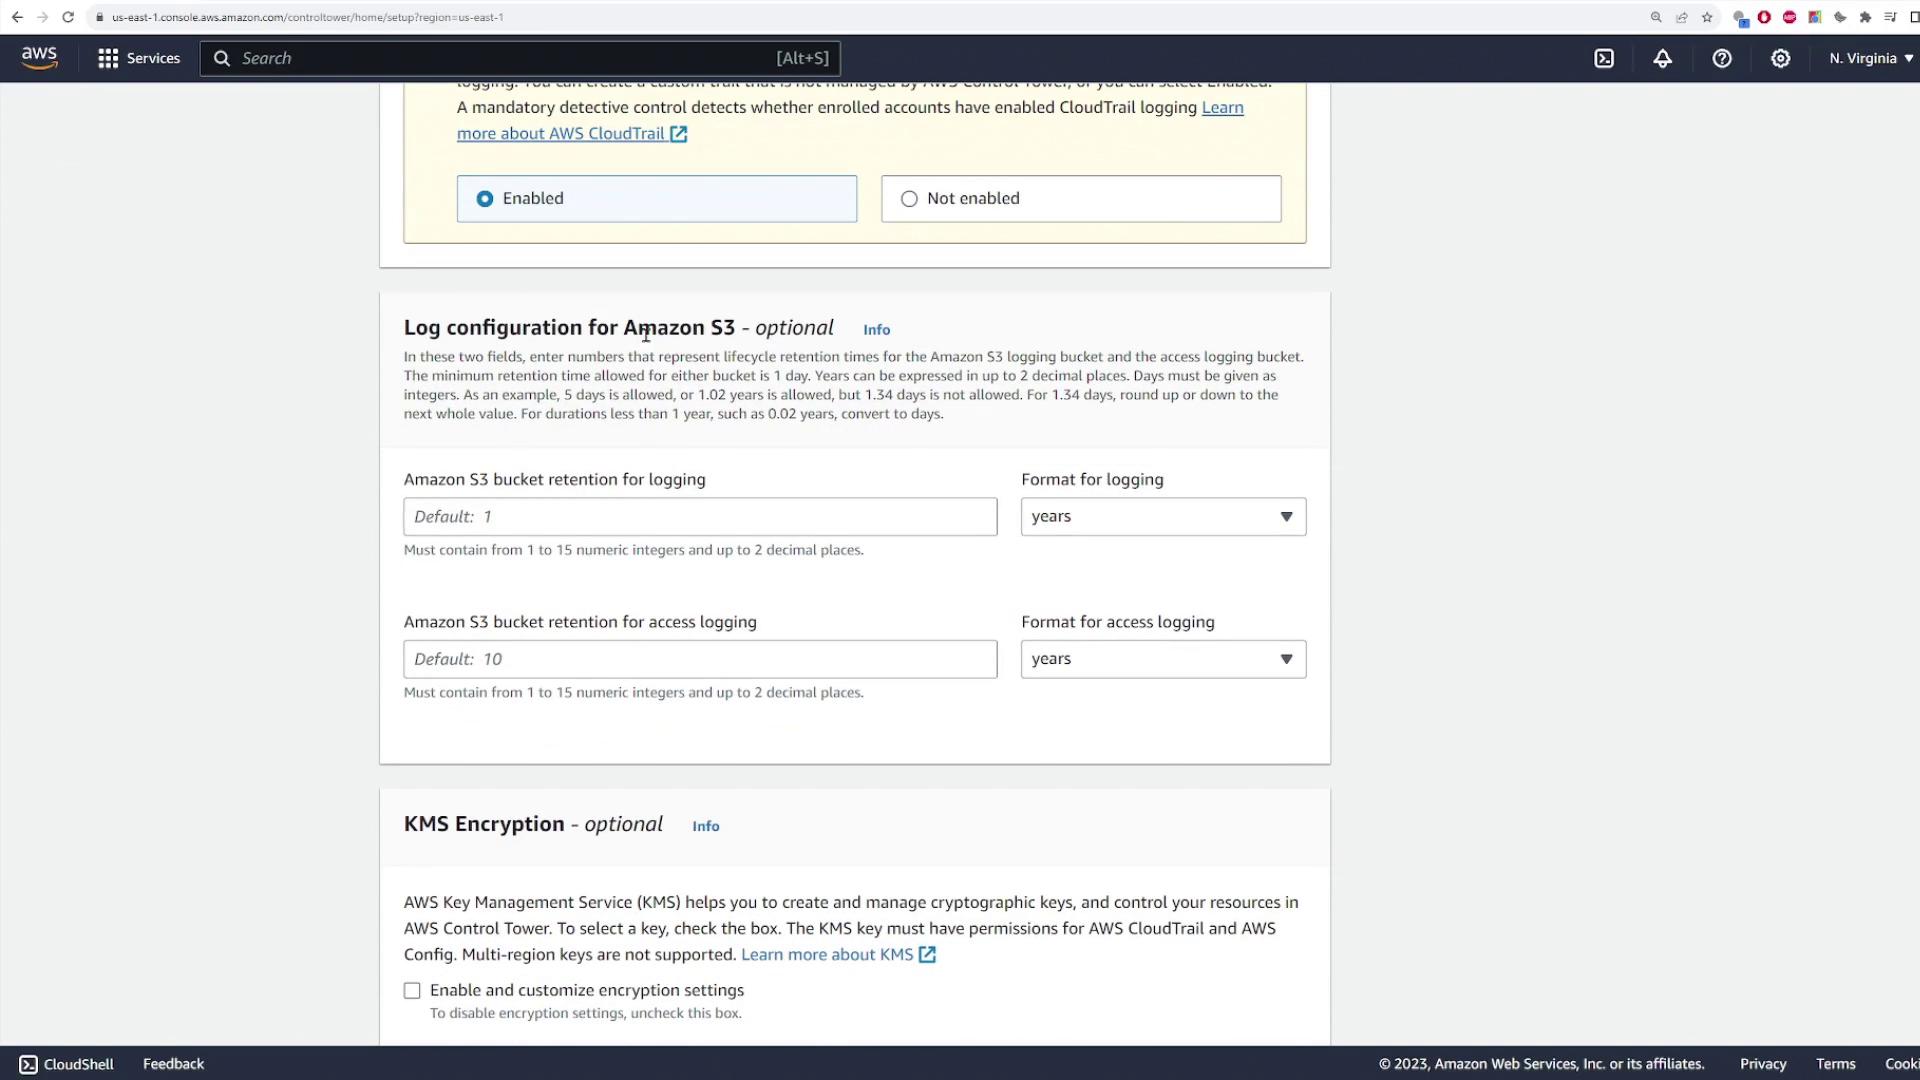
Review of the Landing Zone Configuration
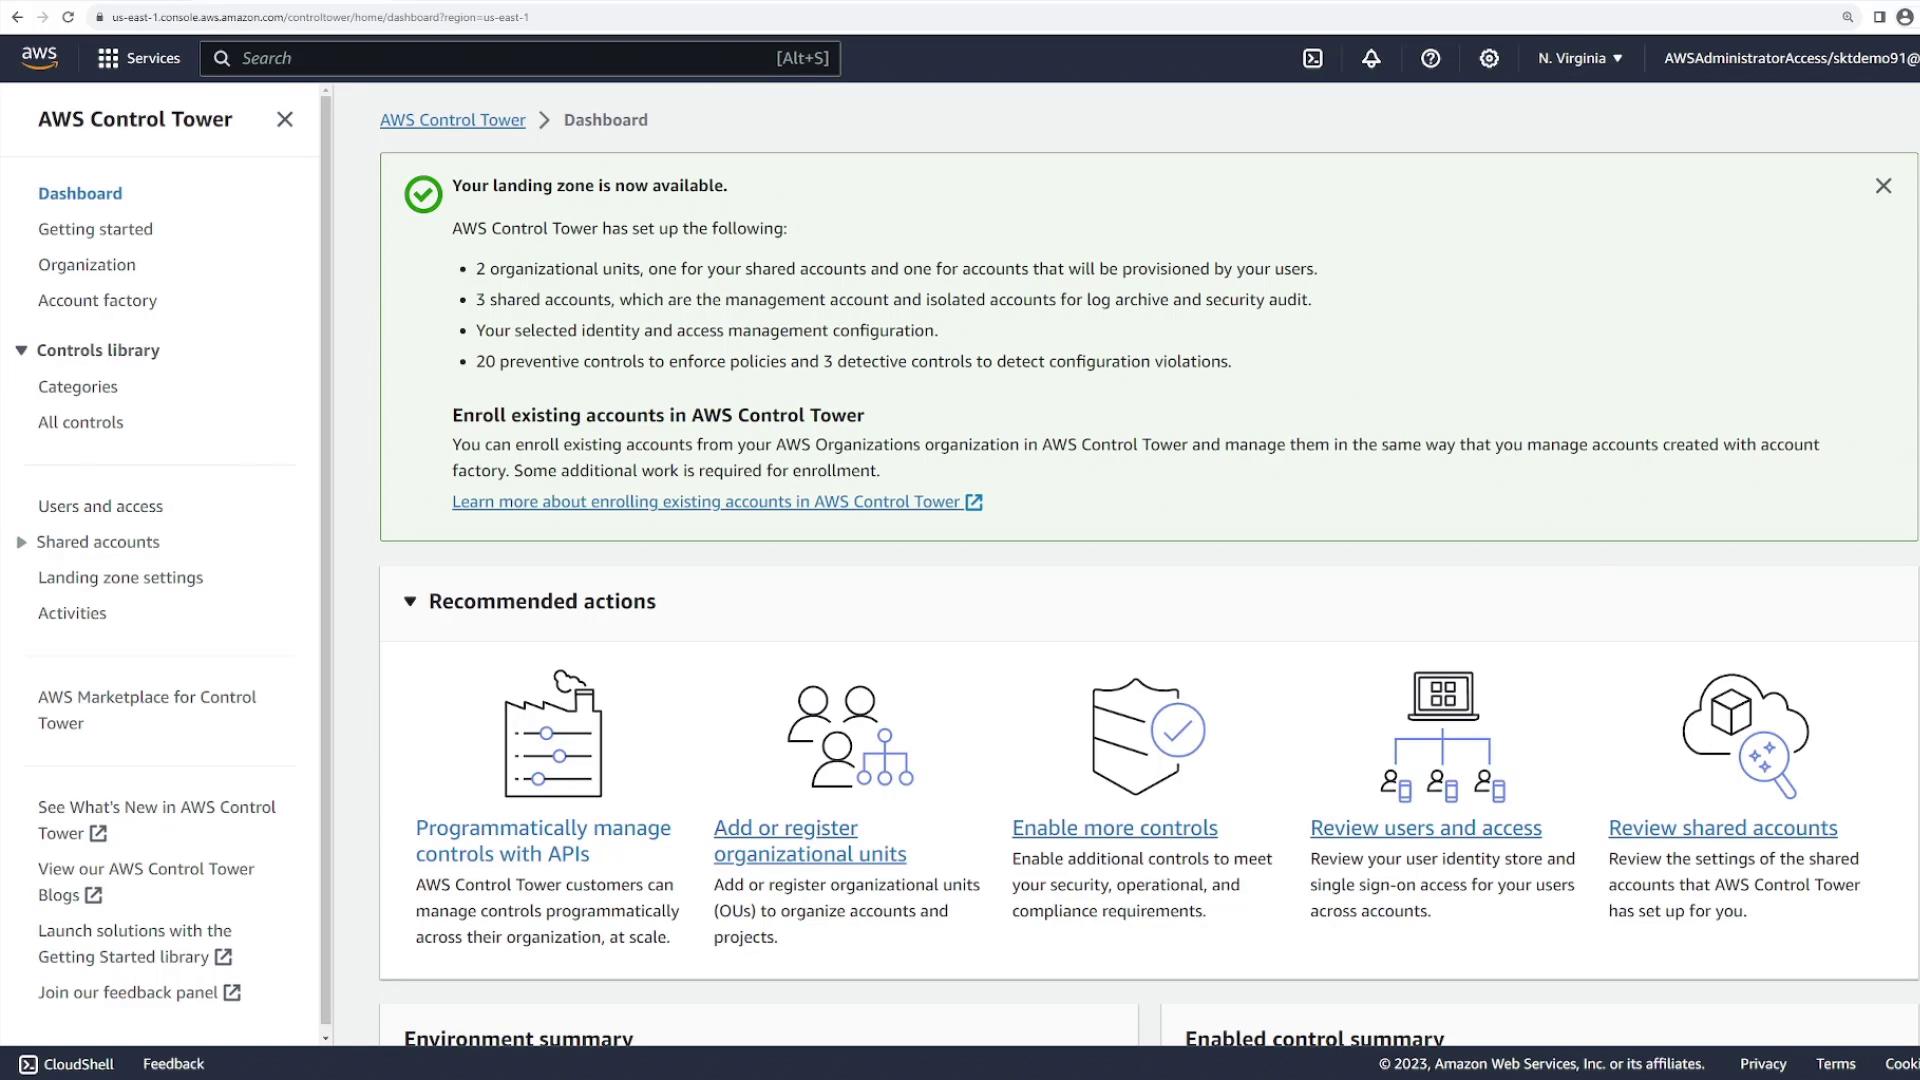
Once AWS Control Tower completes the landing zone setup, it configures organizational units, shared accounts, and provisions accounts for user requests. In this demonstration, AWS Control Tower sets up the following:
- Two custom organizational units (Security and Sandbox)
- Three shared accounts (management, log archive, and security audit)
- AWS IAM Identity Center for integrated identity management
- Preventative controls (20 in total) and detective controls (3 in total) to enforce best practices
Review the summary displayed on the dashboard to see the details of your organizational structure and accounts.
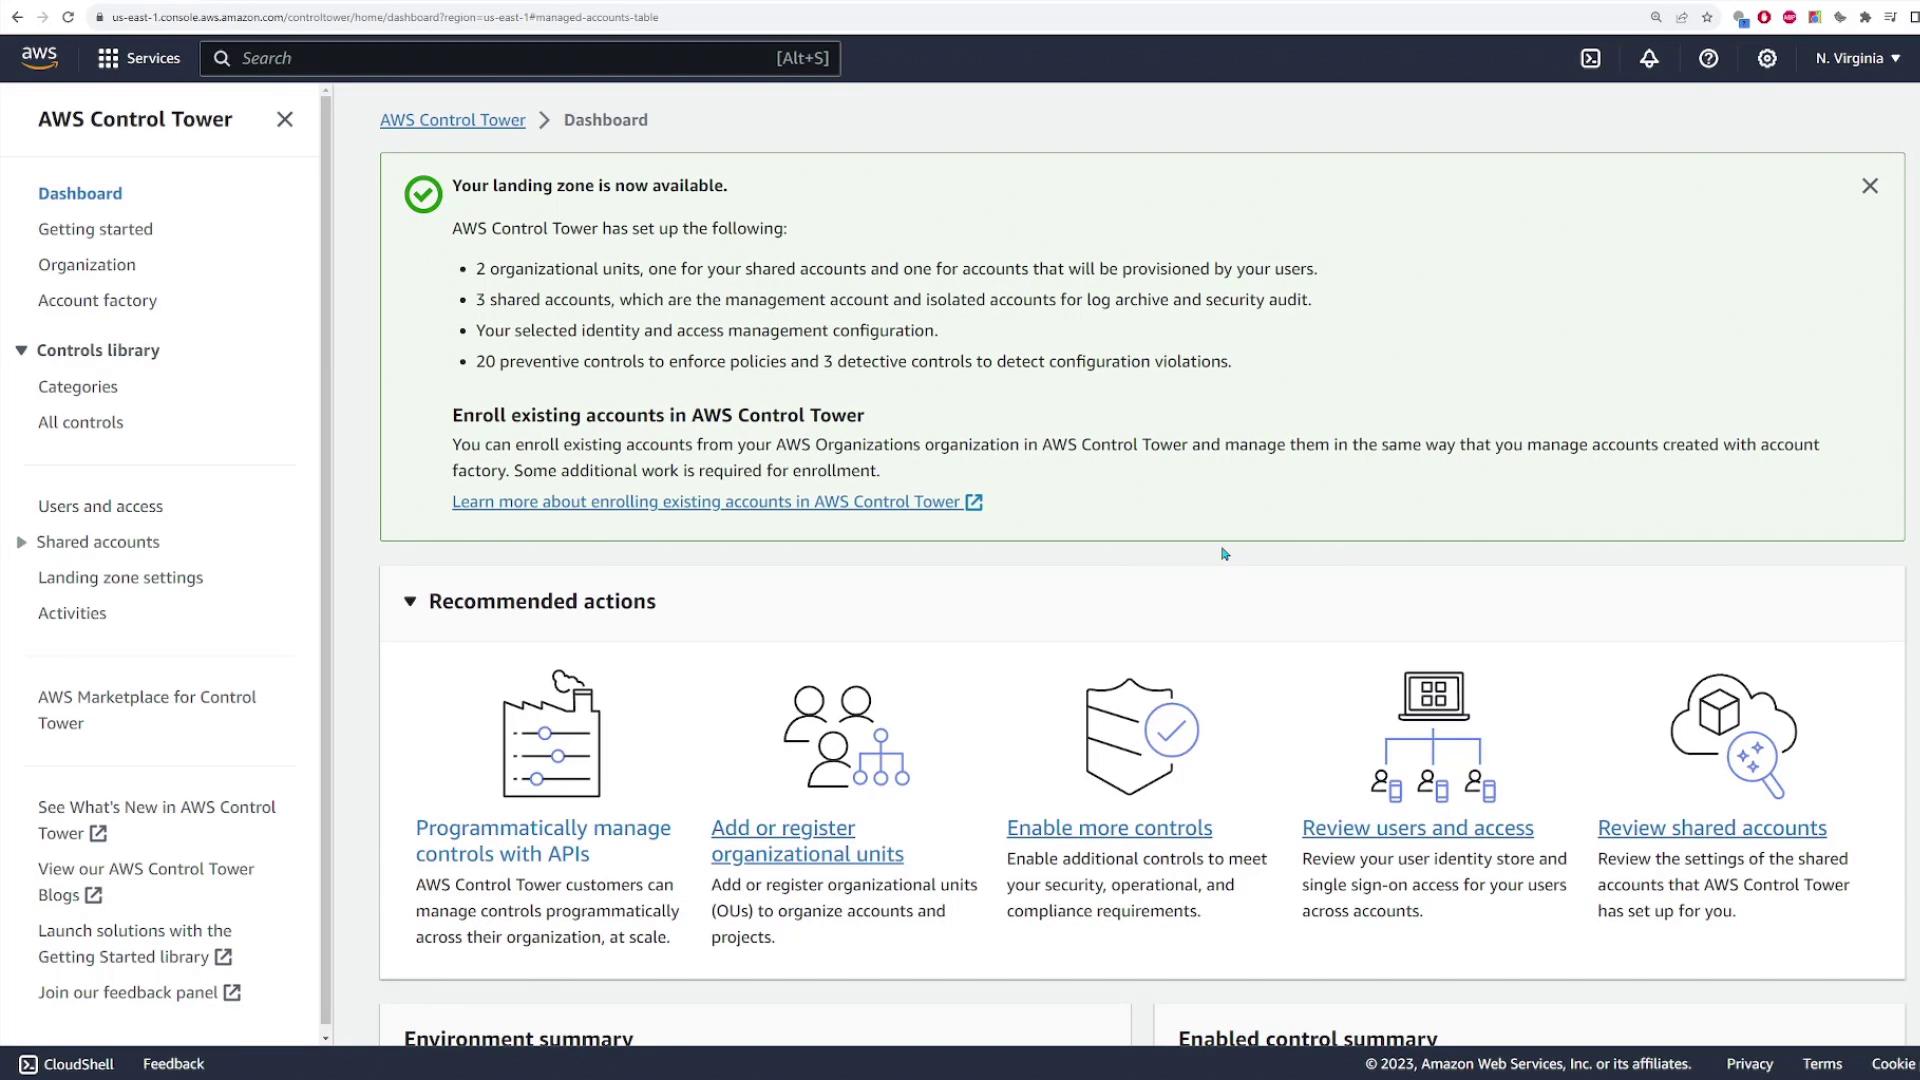
Scroll down to view the root organizational unit along with the two custom OUs (Sandbox and Security). The three AWS accounts—the management account, audit account, and log archive account—are clearly listed. You can also examine the 20 preventative and 3 detective controls that have been automatically applied.
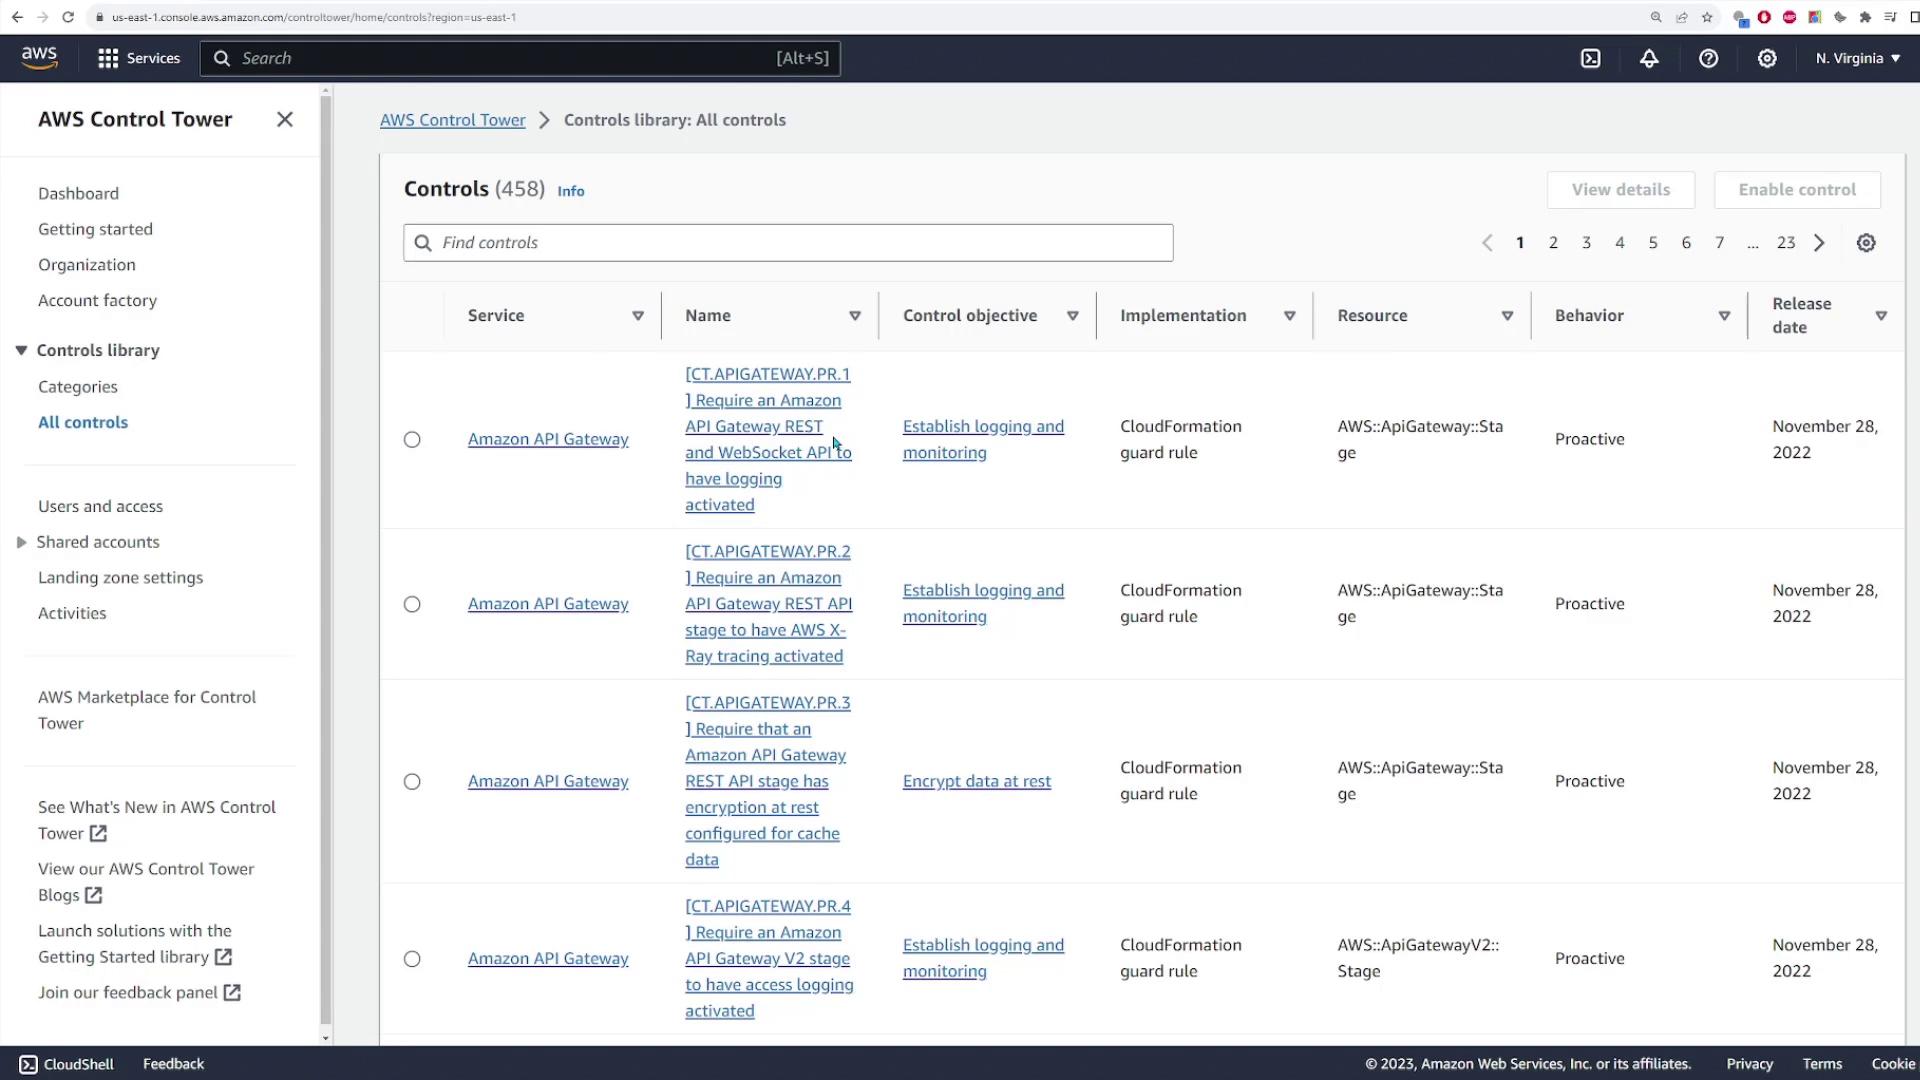
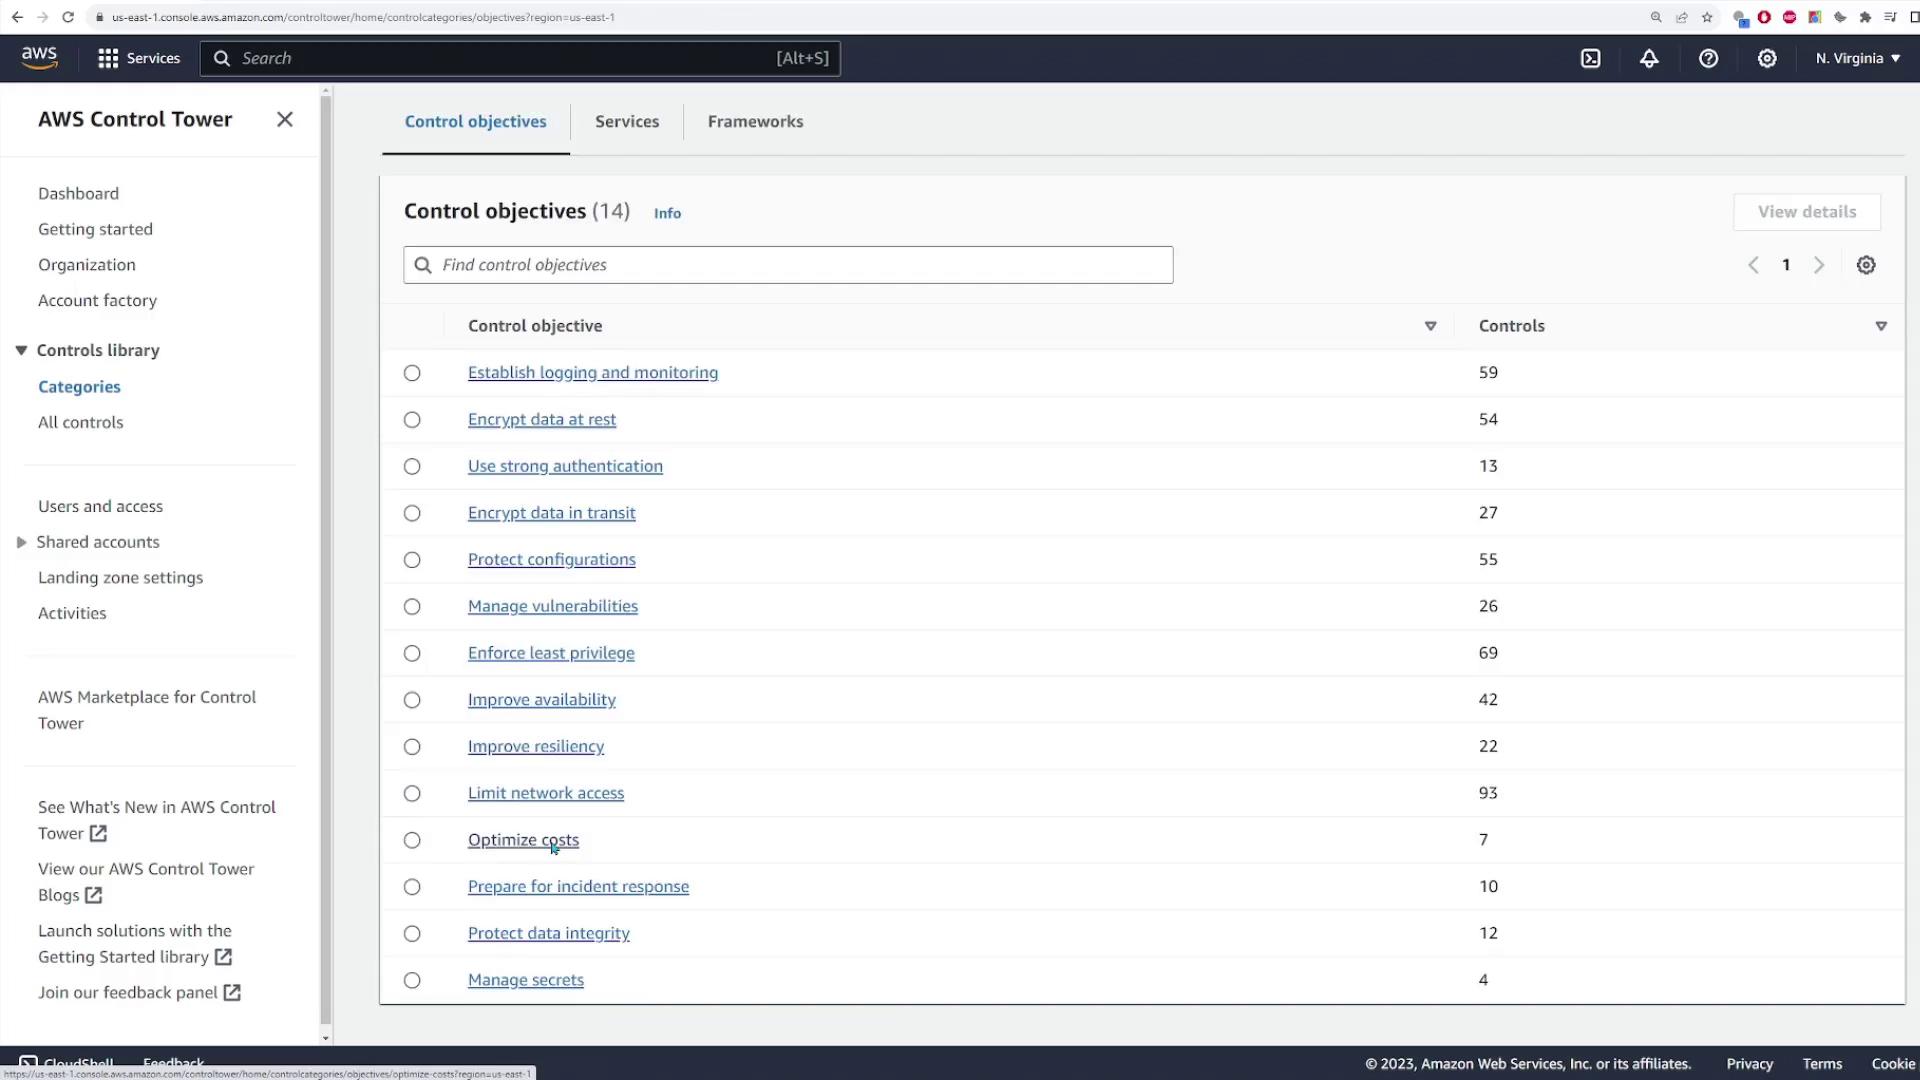
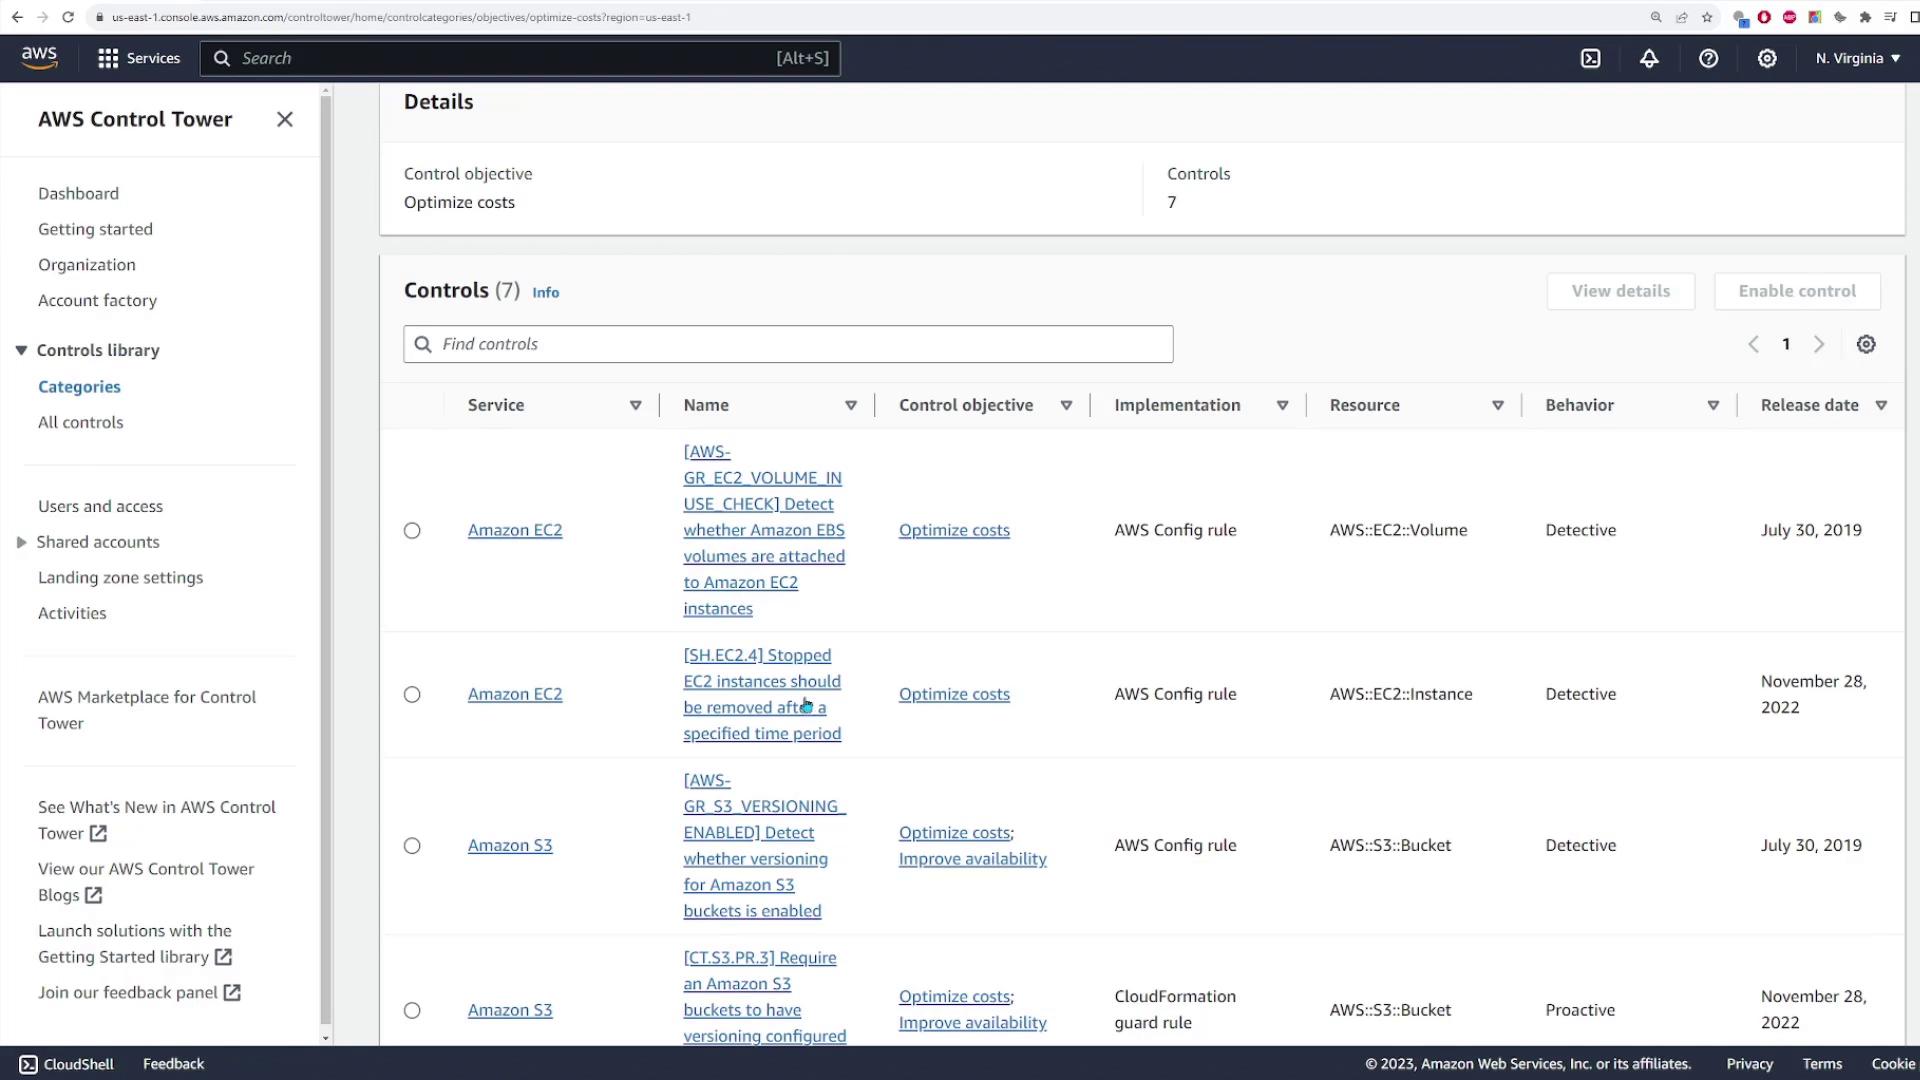
Selecting a preventative control displays further details from the controls library. For example, one control ensures that Amazon API Gateway (both REST and WebSocket APIs) has logging enabled, preventing API creation without proper logging. You can filter controls based on categories like cost optimization to verify, for instance, that EBS volumes are cost efficient or that stopped EC2 instances are terminated after a specified period.
Email Notifications and Identity Center Setup
After account registration, AWS sends email notifications for each newly created account. For example, you will receive confirmation emails for the log archive and audit accounts. Additionally, AWS IAM Identity Center issues an invitation email to activate your user account. Follow the instructions in the email to set your password and accept the invitation.
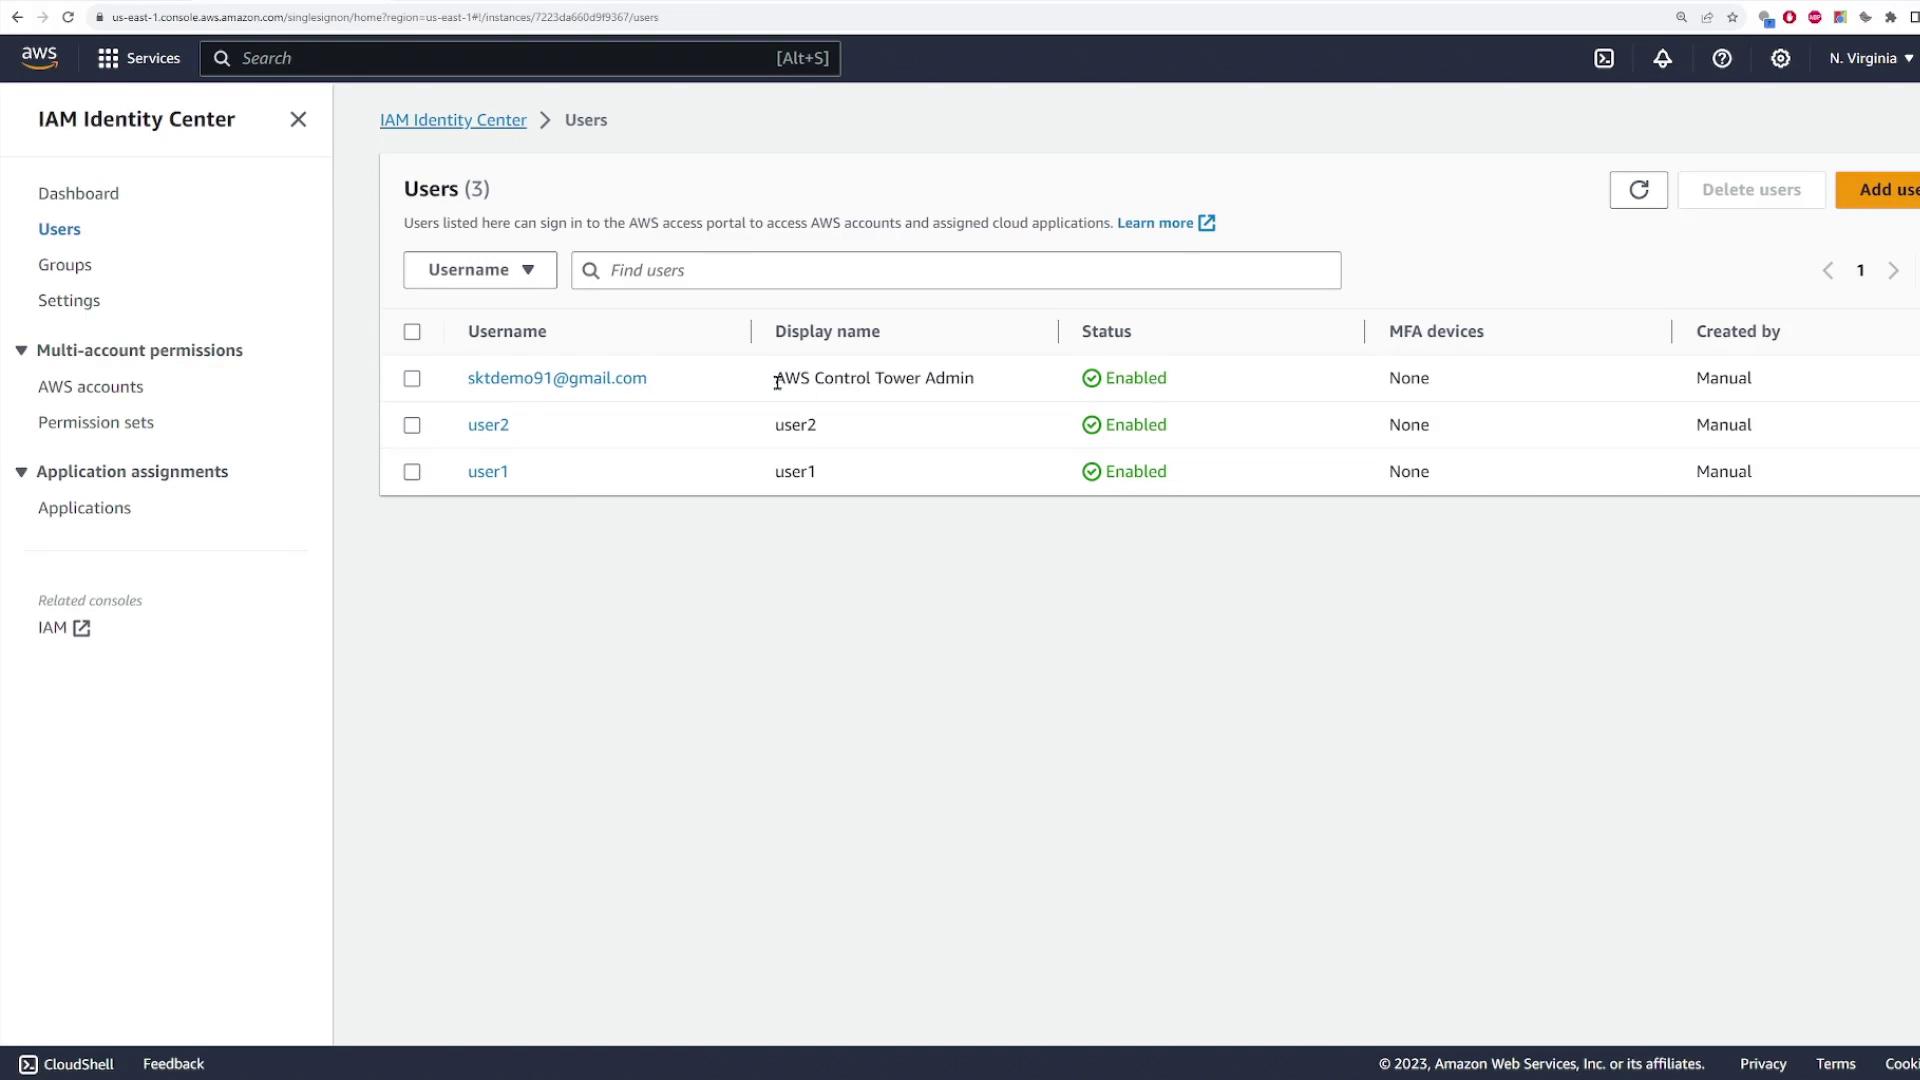
Once your account is activated, sign in through the provided portal URL. In this demonstration, you will have access to three accounts (audit, log archive, and main management accounts) along with two different policies for the main account: full administrator access and a policy tailored for service catalog management.
Creating a New AWS Account via Account Factory
Navigate to the Account Factory within the AWS Control Tower dashboard to provision a new AWS account. This feature automatically configures the account with the necessary settings and default security controls.
Within Account Factory, you can review and adjust network settings prior to account creation. For example, the default VPC setting prevents the creation of a public subnet when provisioning a new account. You can customize the number of private subnets and the CIDR block as needed—in this demo, we use the default settings.
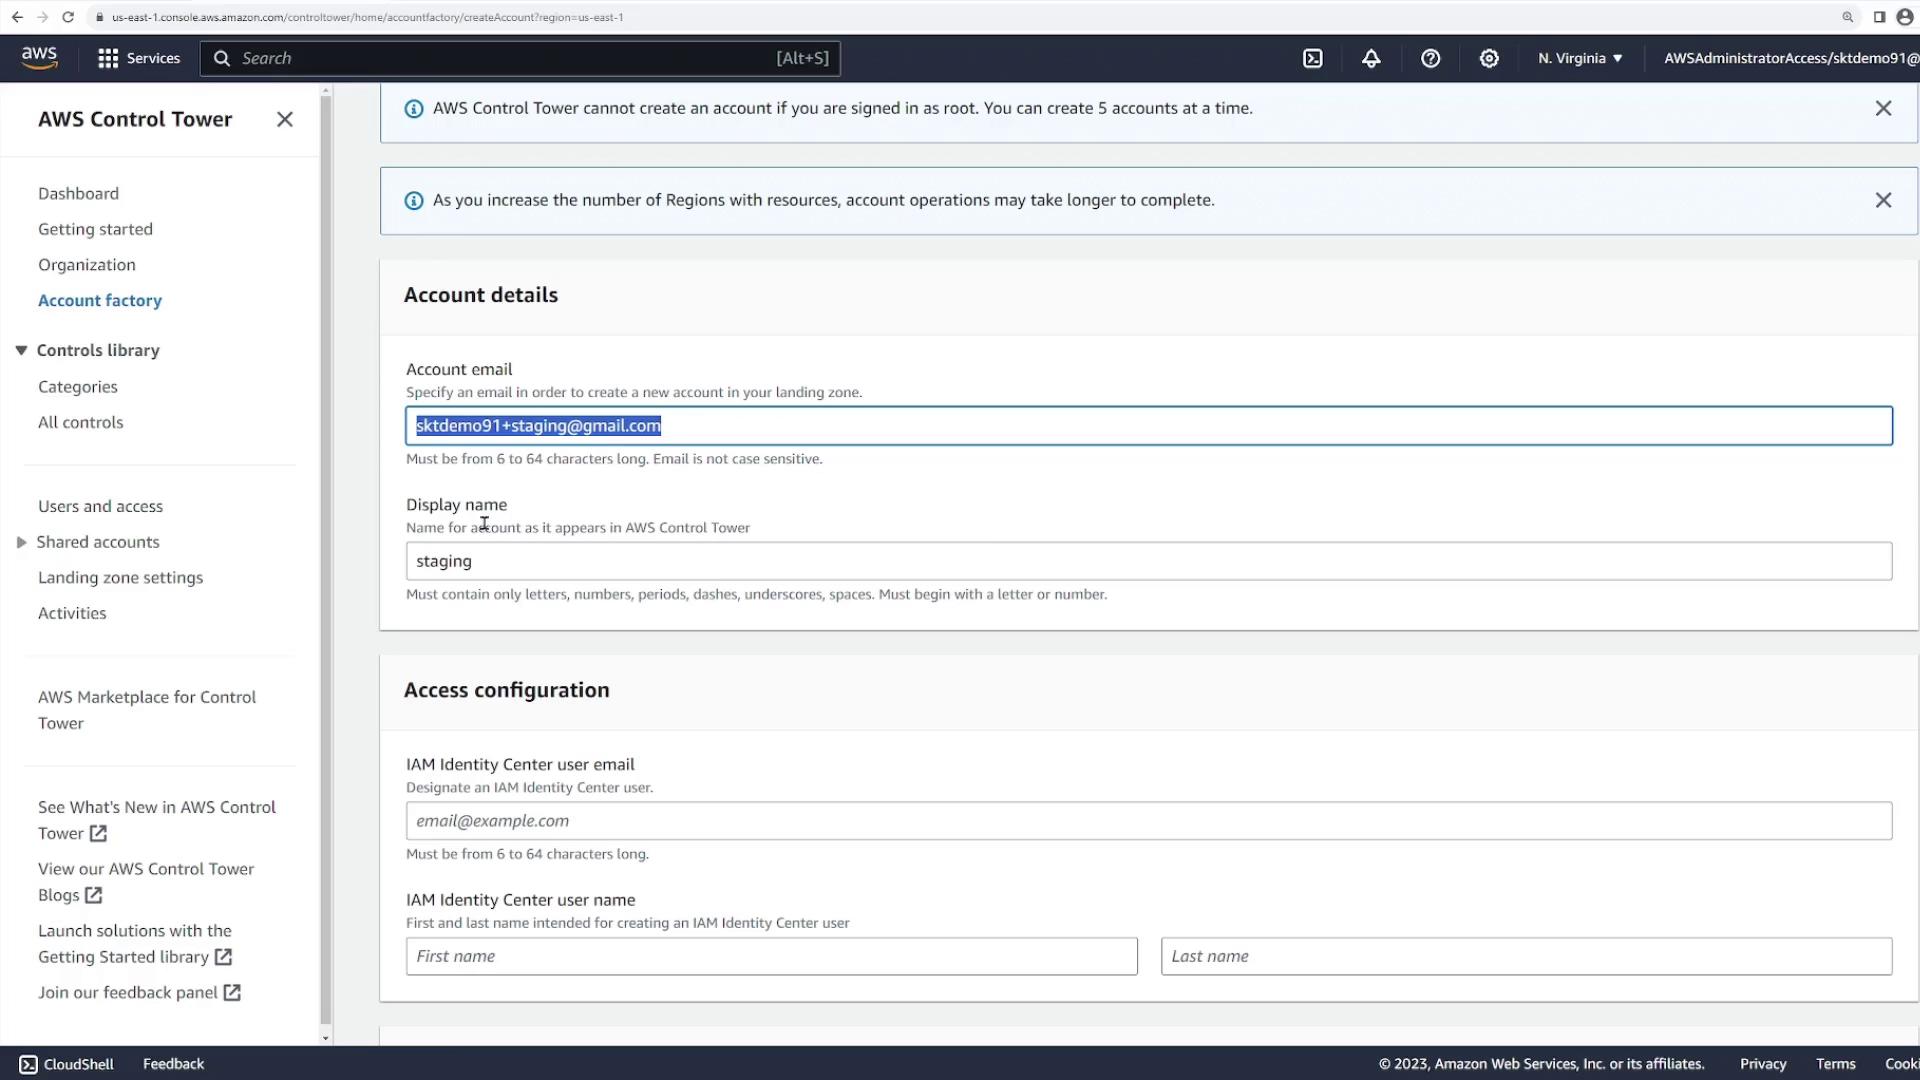
Click “Create New Account” and enter the following details:
- Account Email: Provide a unique email address for the new account.
- Display Name: For this demonstration, we name the account "staging."
- IAM Identity Center Username: Use "staging" for consistency.
- Organizational Unit: Assign the account to the "sandbox" OU.
After entering the details, select "Create Account." The provisioning process will begin, and you can track the request in the AWS Service Catalog under “Provisioned Products.”
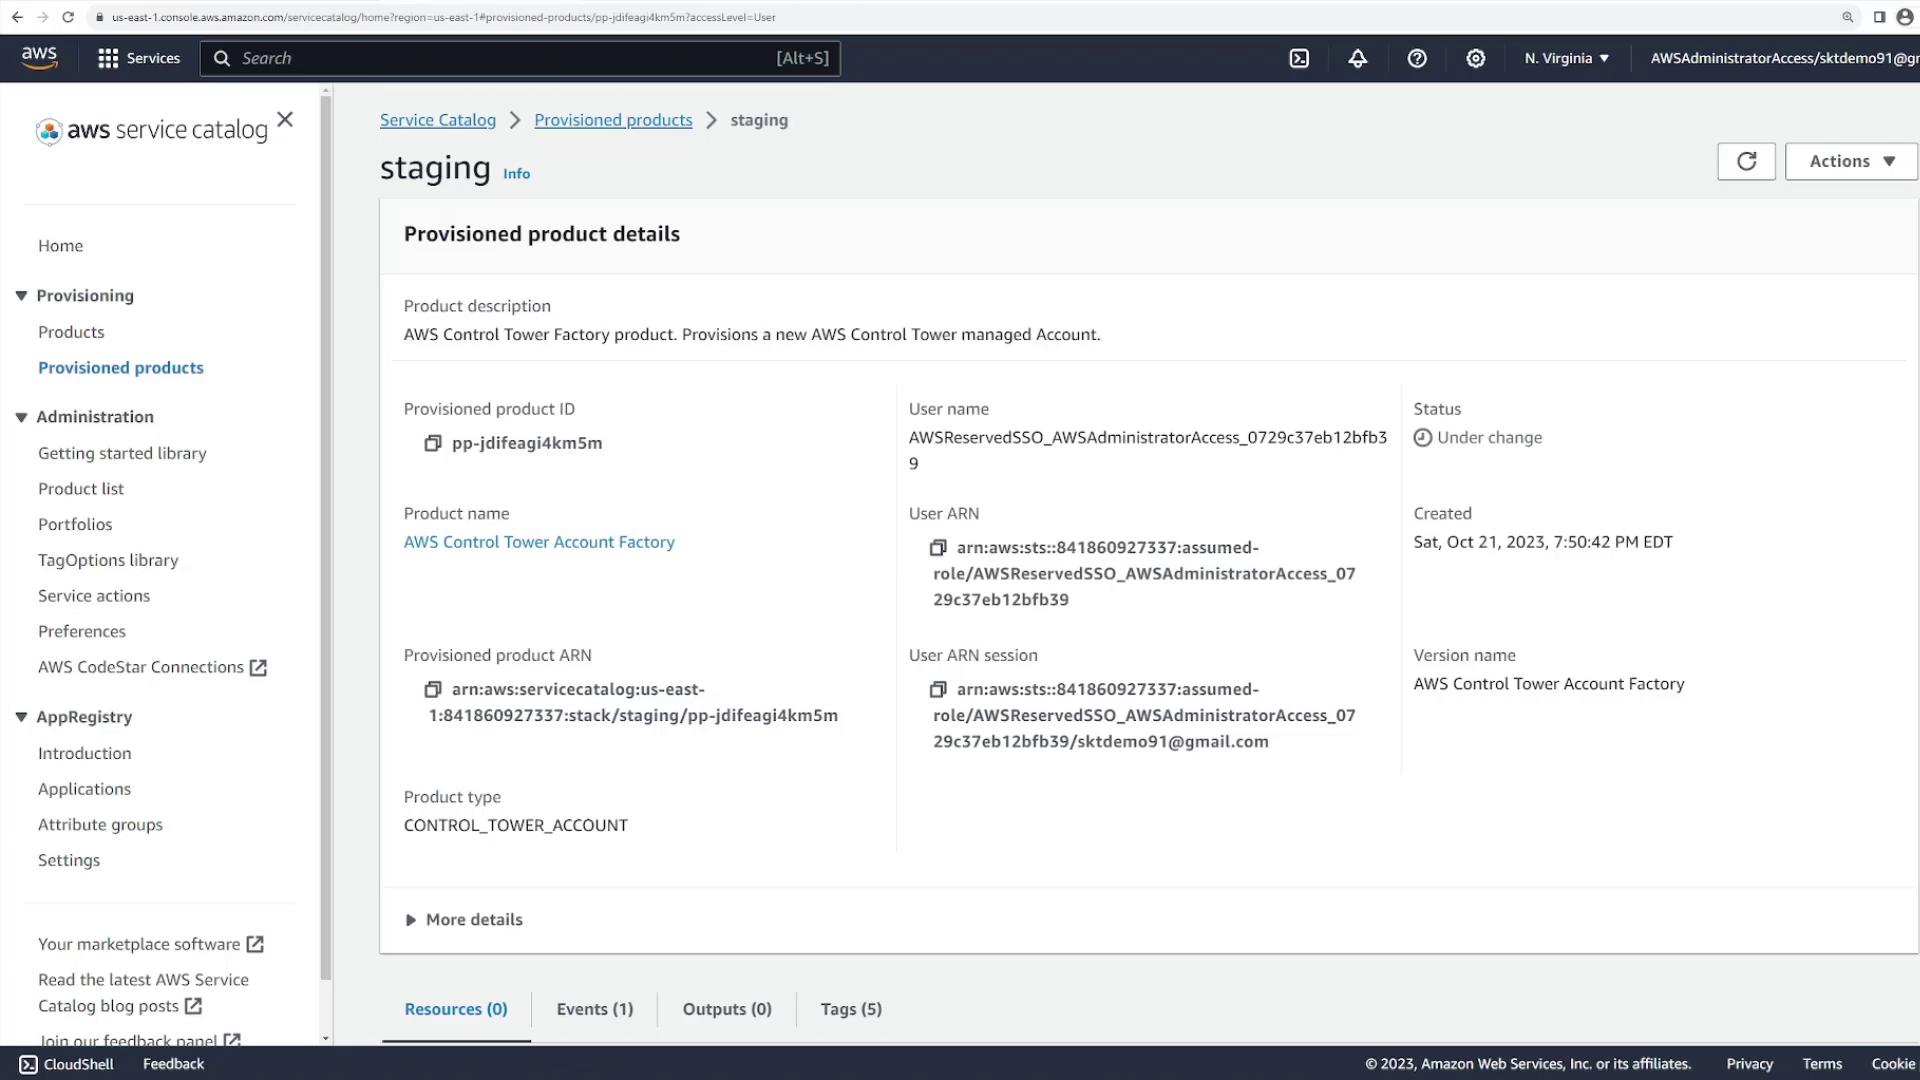
The account creation process may take 5 to 10 minutes. Once complete, return to the Control Tower dashboard to verify that the new "staging" account is successfully enrolled under the sandbox OU.
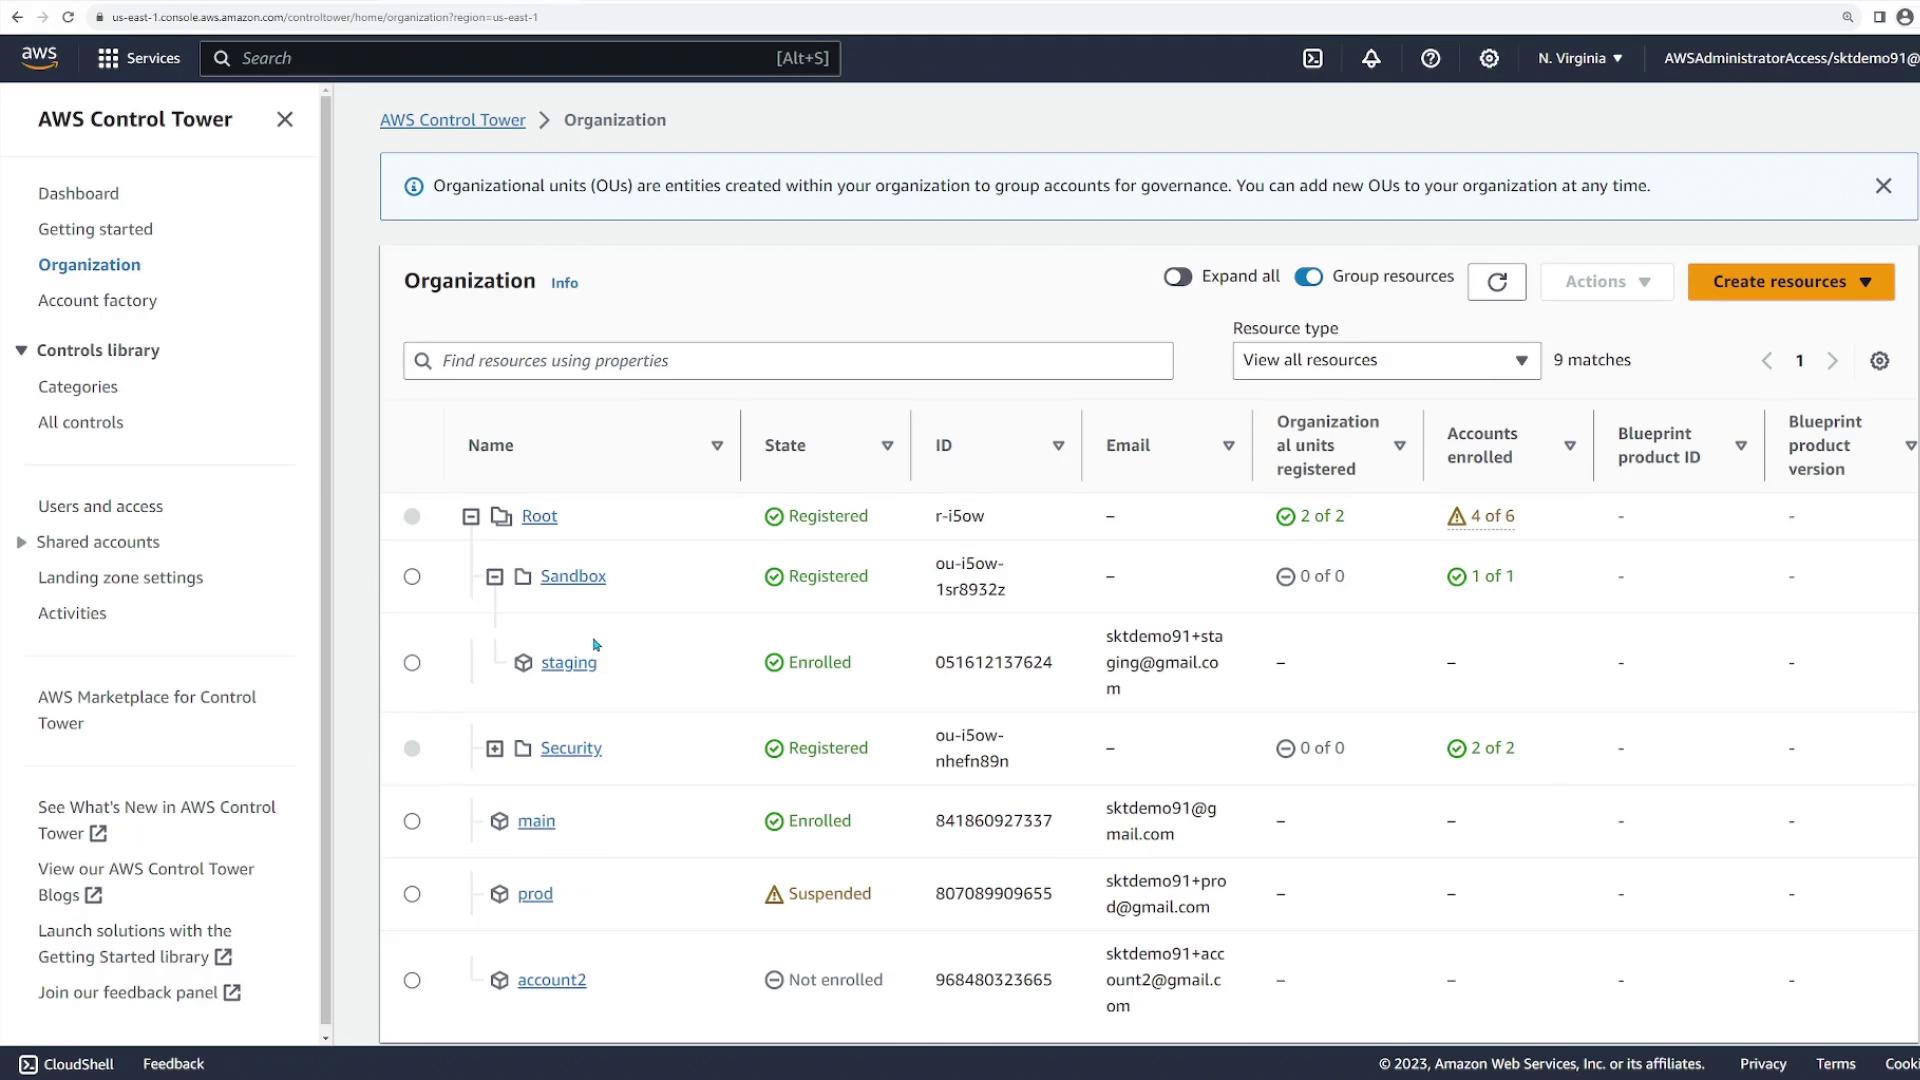
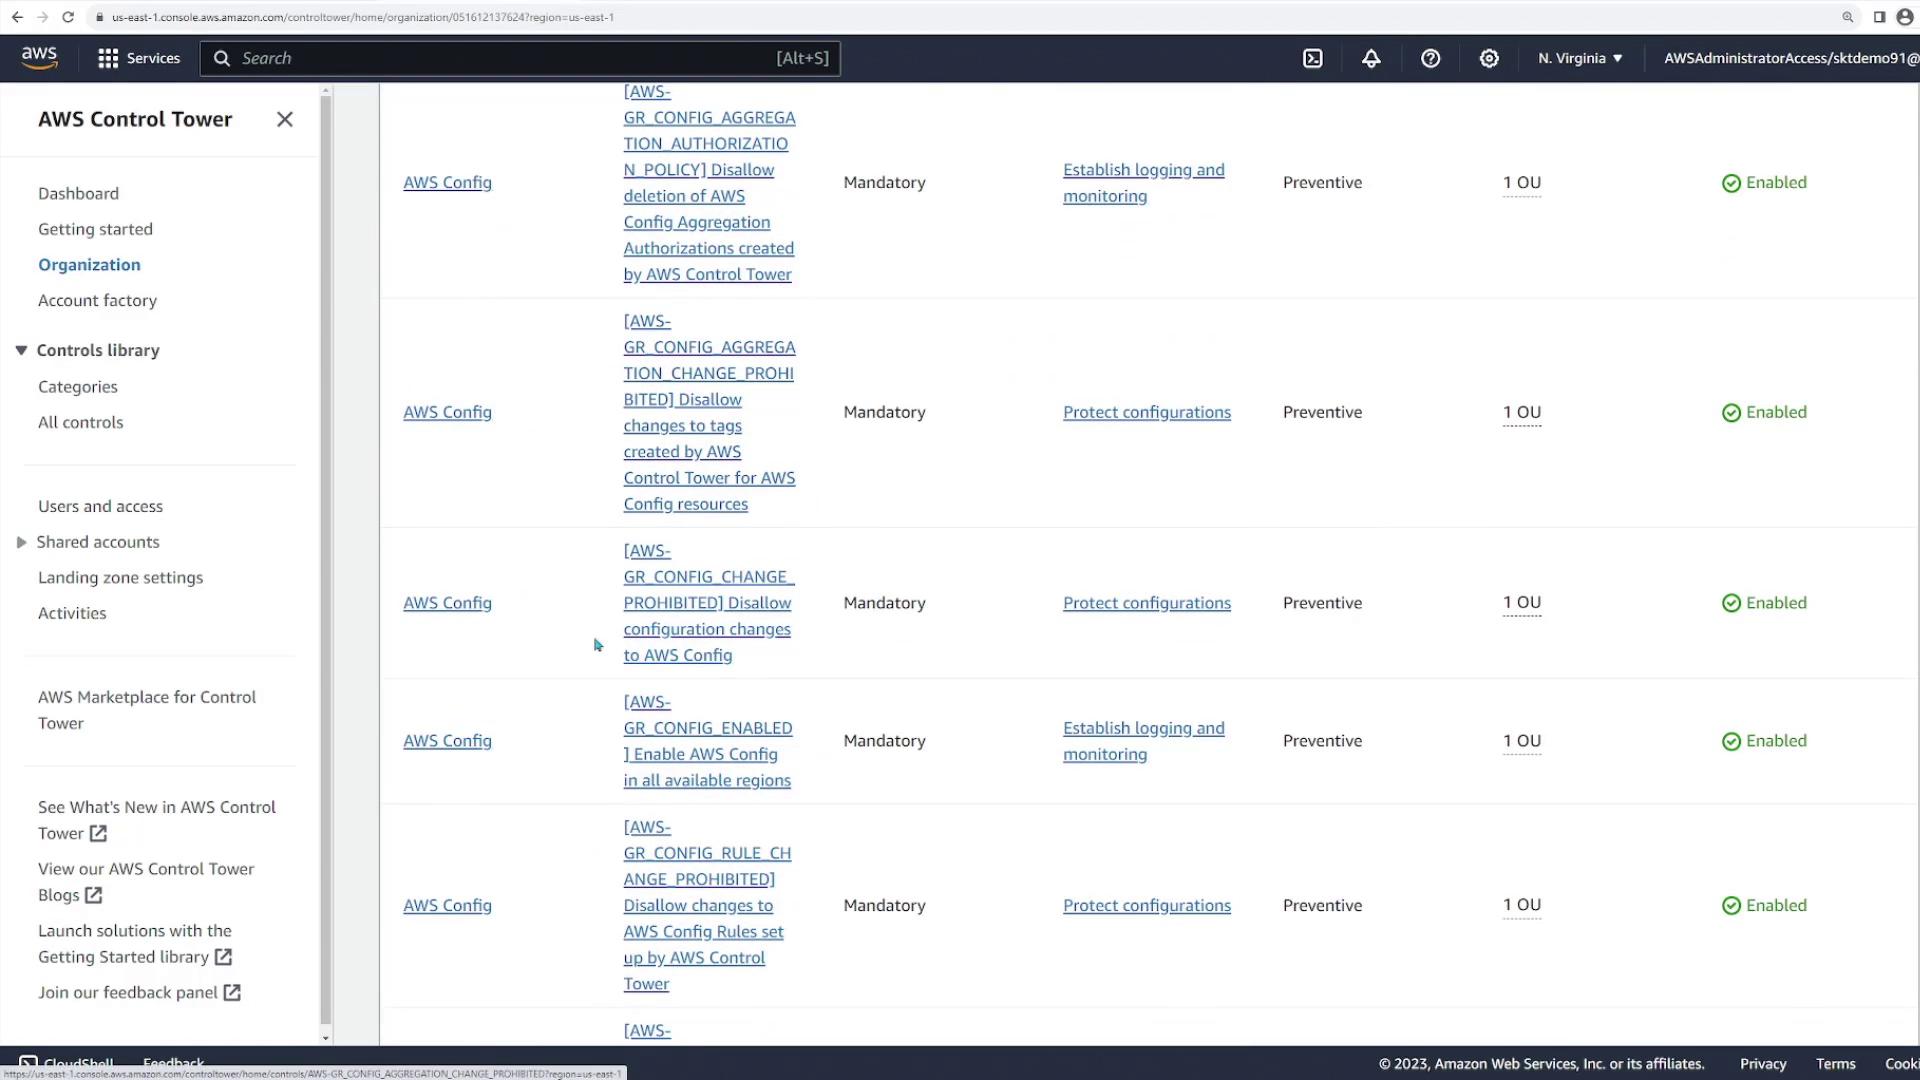
Inspect the enabled controls for the new account, and you will see that all best practice configurations and service control policies have been automatically applied.
Note
AWS Control Tower ensures that each new account complies with your organization's security and governance policies by automatically applying best practice controls.
Conclusion
AWS Control Tower significantly streamlines multi-account management by automating account creation, applying centralized security controls, and integrating AWS IAM Identity Center for effective user management. This automation keeps all your AWS accounts compliant with the latest best practices while minimizing the need for manual configuration.
We hope this guide has been informative and that you are now ready to manage your AWS accounts with enhanced security and efficiency. Happy managing!
Watch Video
Watch video content