Setting Up the Origin (S3 Bucket)
Before configuring CloudFront, we need an origin to store our files. Although any web server, load balancer, or API endpoint can be used as an origin, this demo uses an Amazon S3 bucket for simplicity.- Create a New S3 Bucket
Open the Amazon S3 console and create a new bucket. For this demonstration, name the bucketkodeklouddemo123and leave the default region settings. Ensure that the bucket is configured to allow internet access.
-
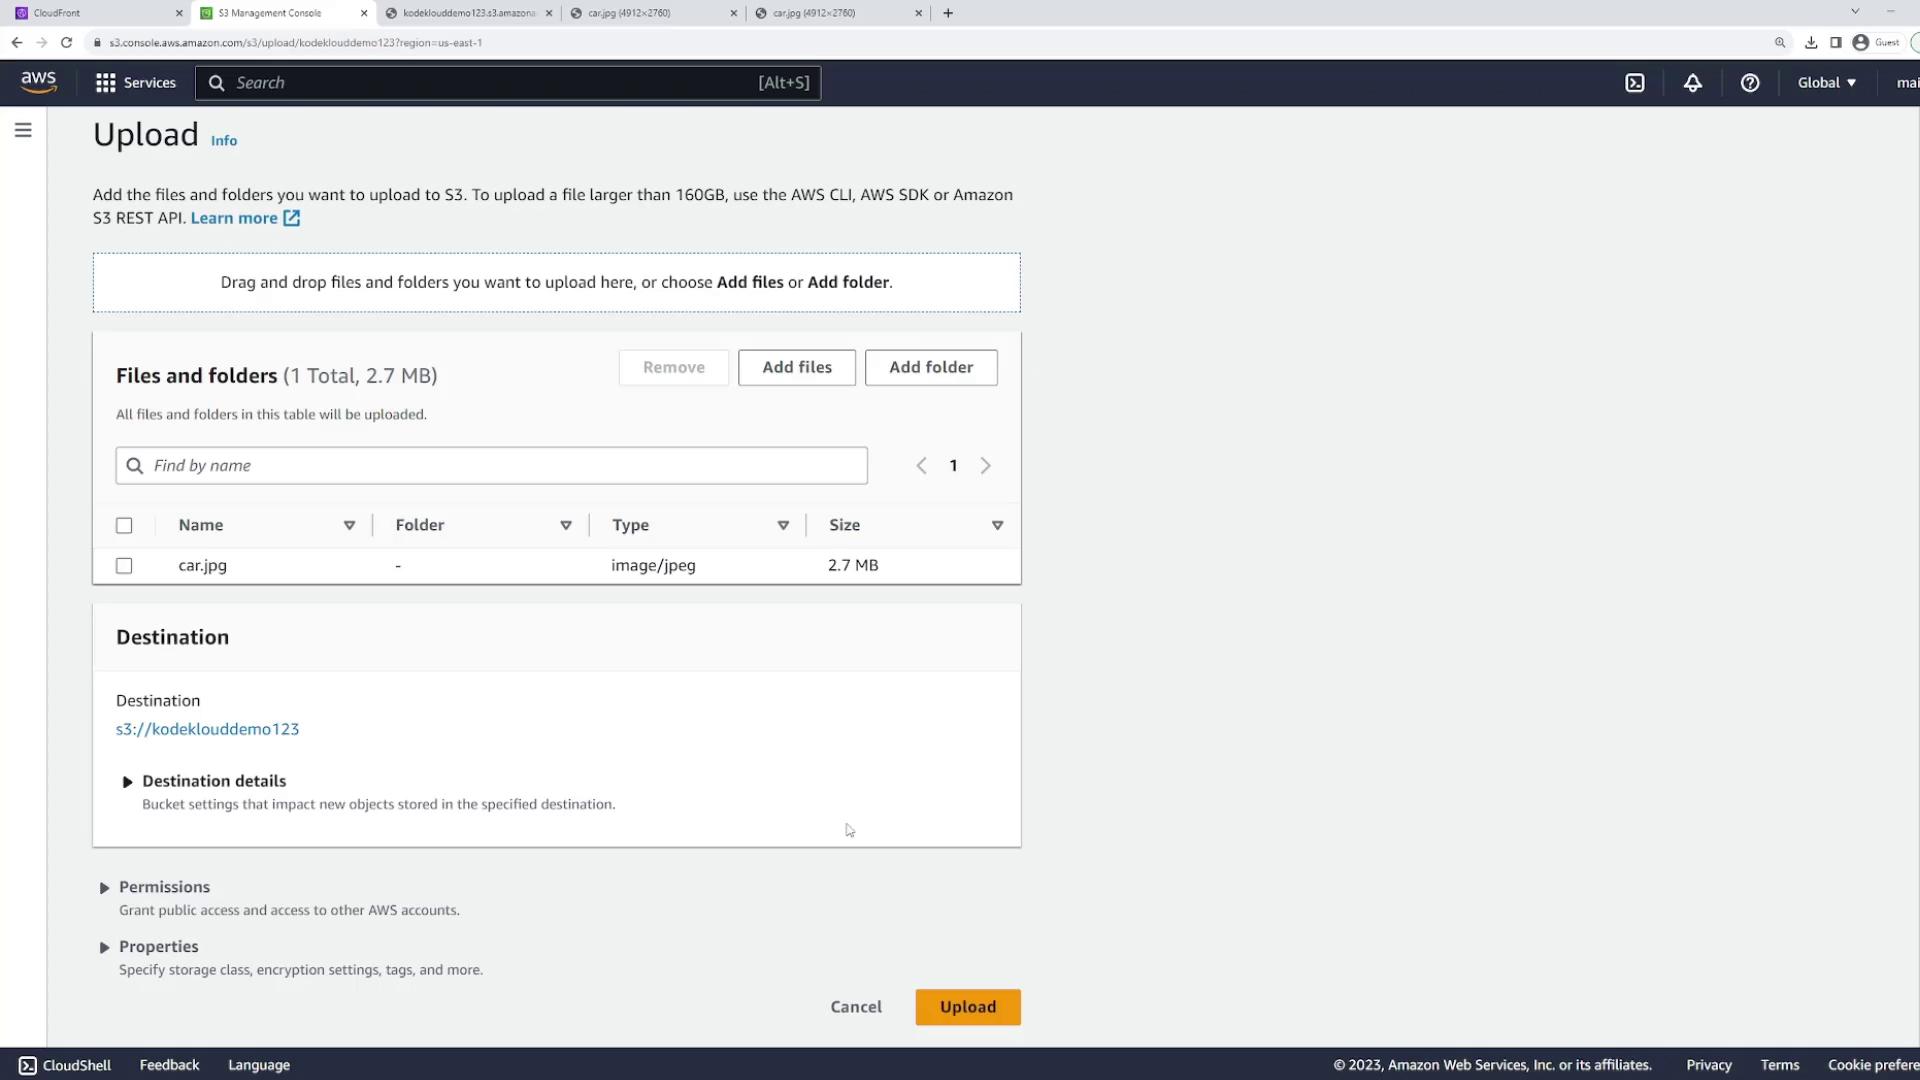
Upload an Image File
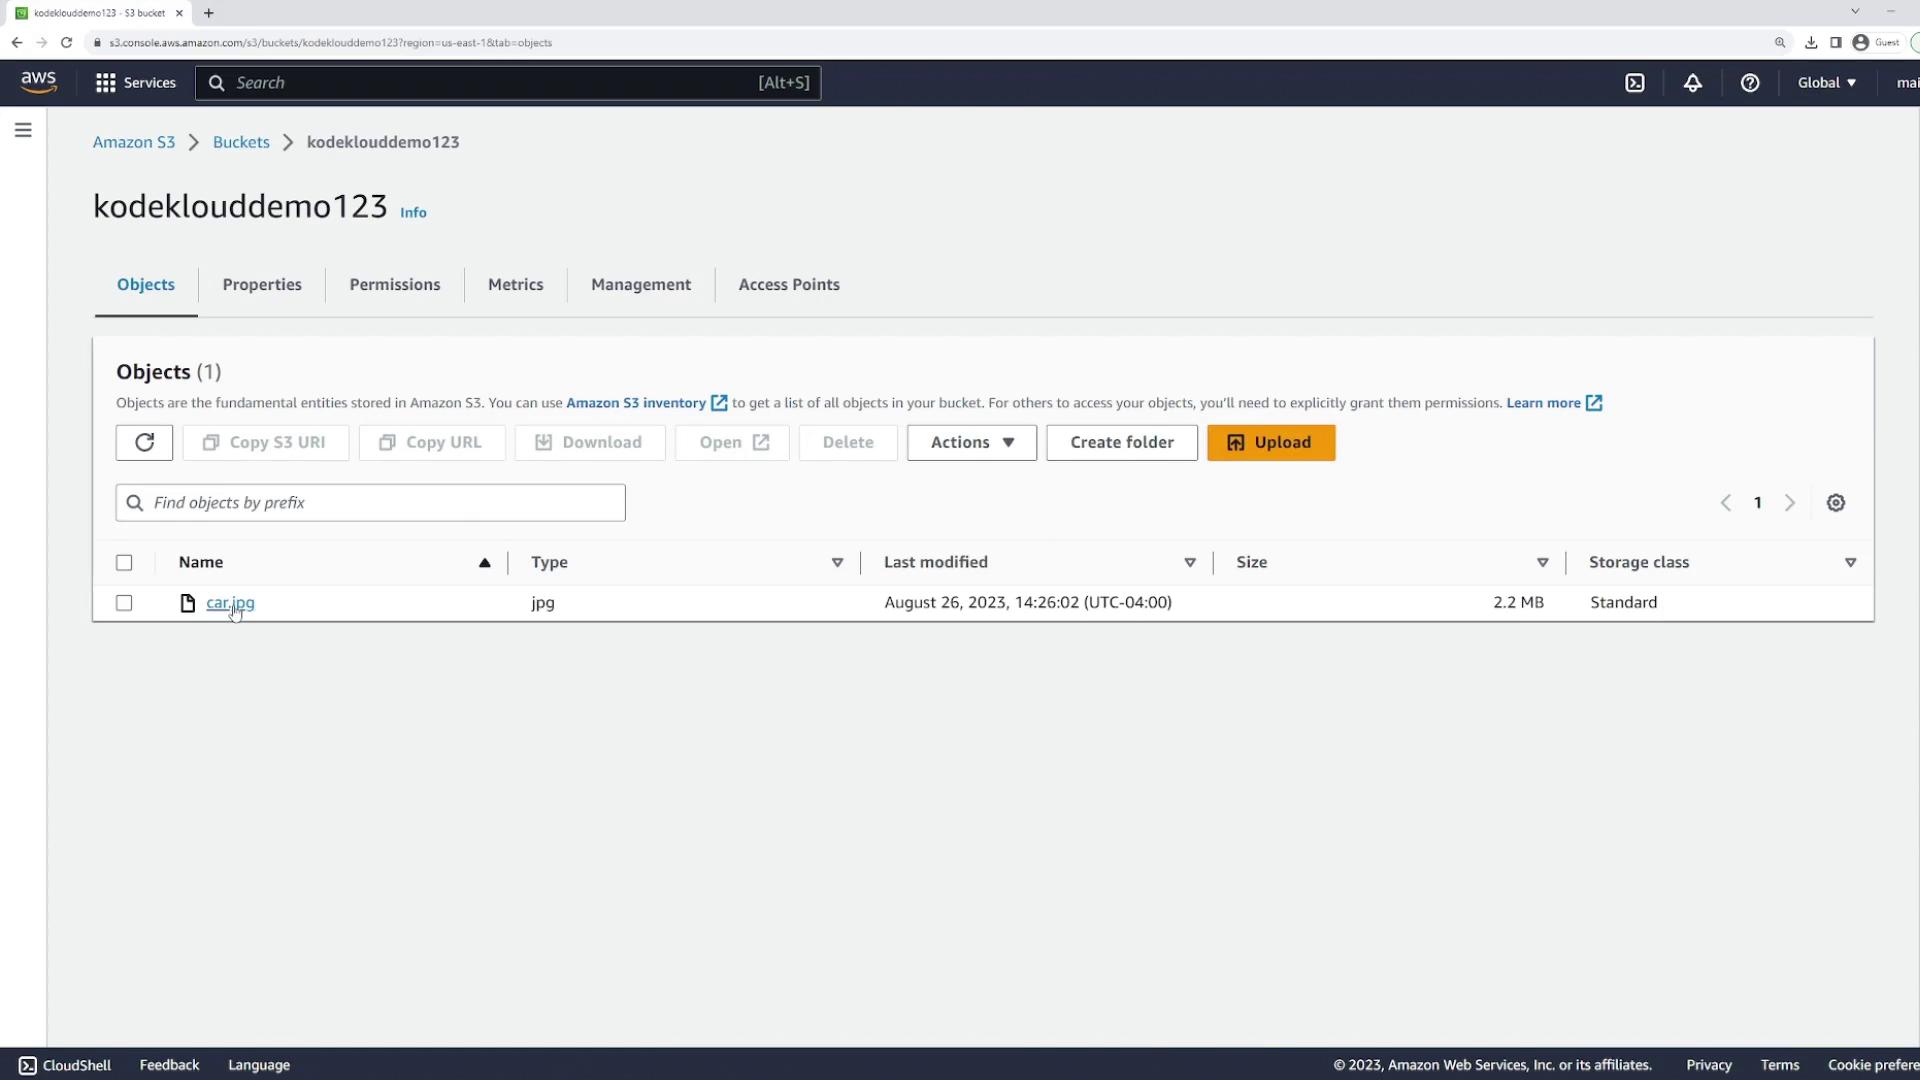
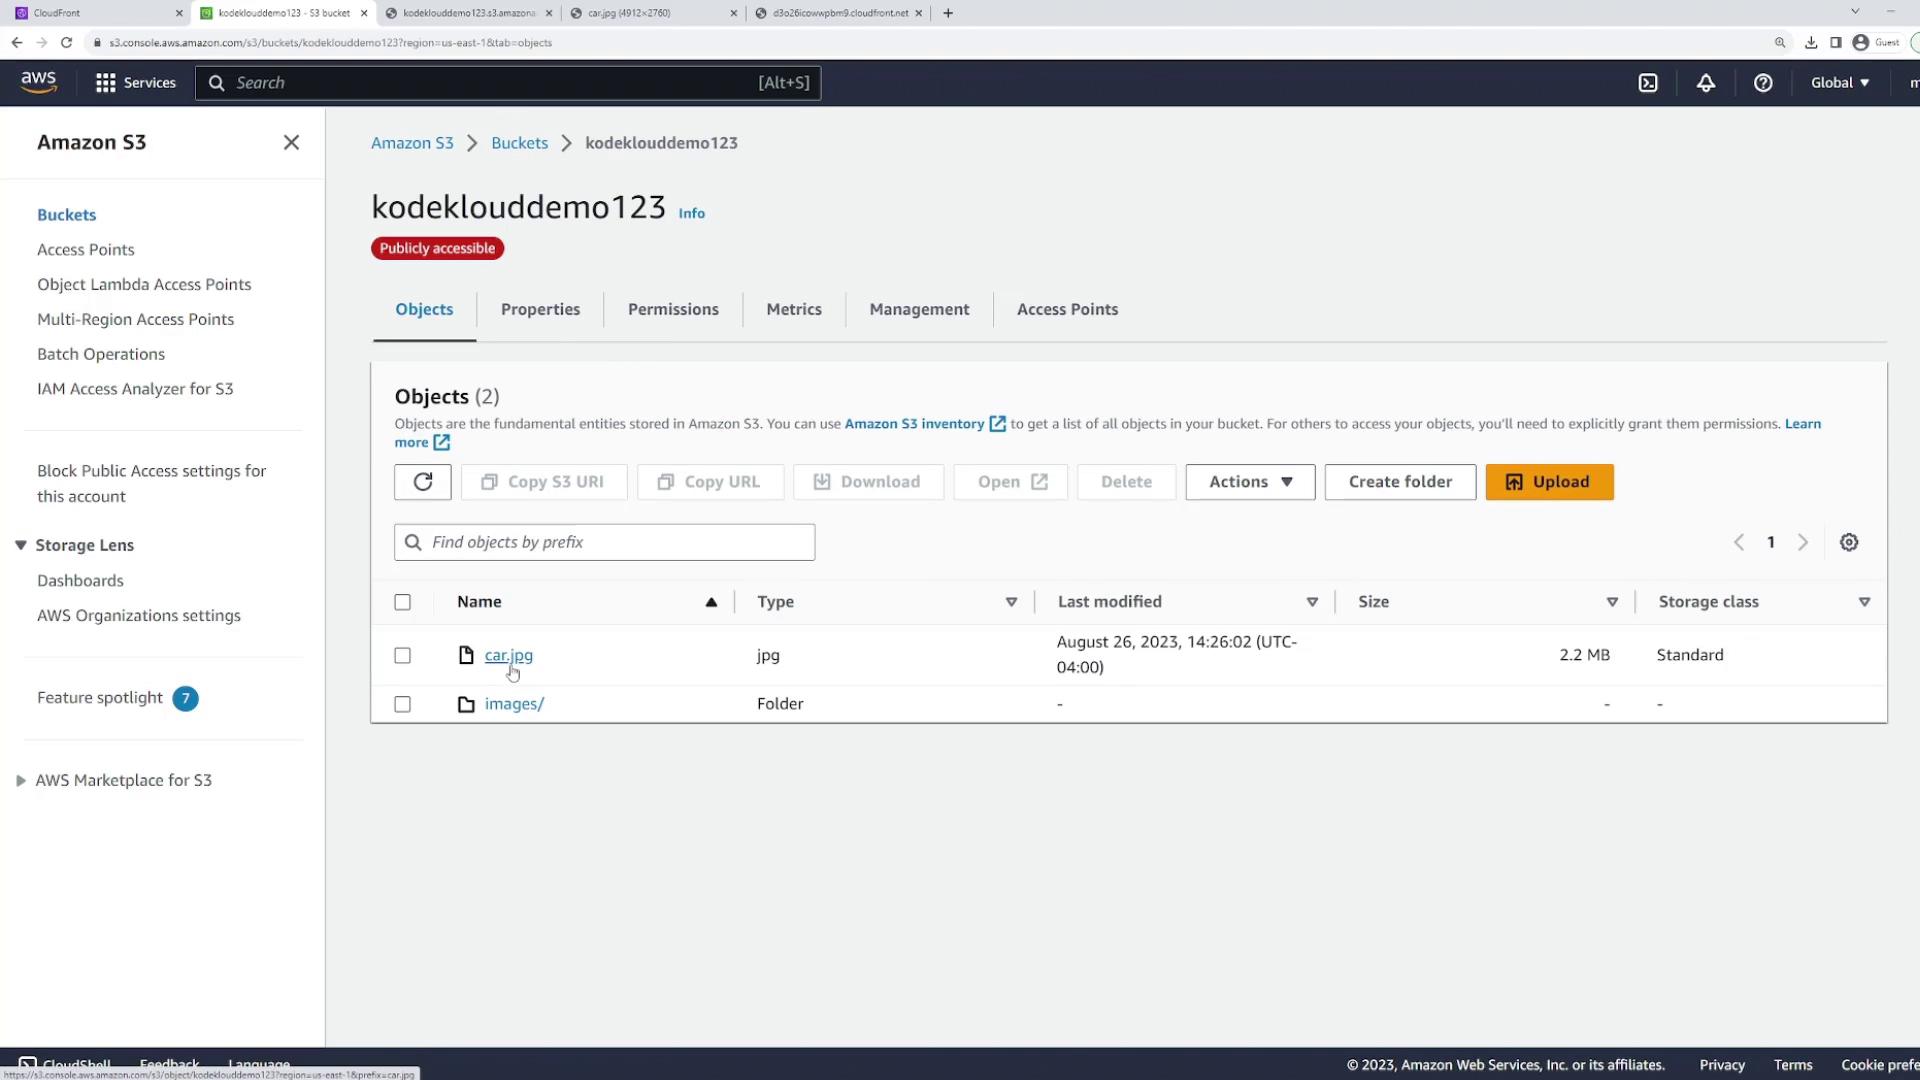
Open the created bucket and upload the filecar.jpg(a blue car image) by dragging and dropping it into the bucket. -
Verify Object Access
After uploading, click on the file to view the object URL. If you encounter an “Access Denied” error as shown below, it indicates that the bucket policy hasn’t been configured for public access.
The error occurs because the S3 bucket policy restricts public access by default.
-
Configure the Bucket Policy
To allow public access, navigate to the bucket’s permissions and add the following JSON policy. (Remember to update the bucket name if needed.) -
Confirm Public Accessibility
After applying the policy, clicking the object URL should display the image successfully.
Configuring CloudFront
With the origin set up, the next step is to configure CloudFront to cache the image at edge locations for enhanced performance.- Create a CloudFront Distribution
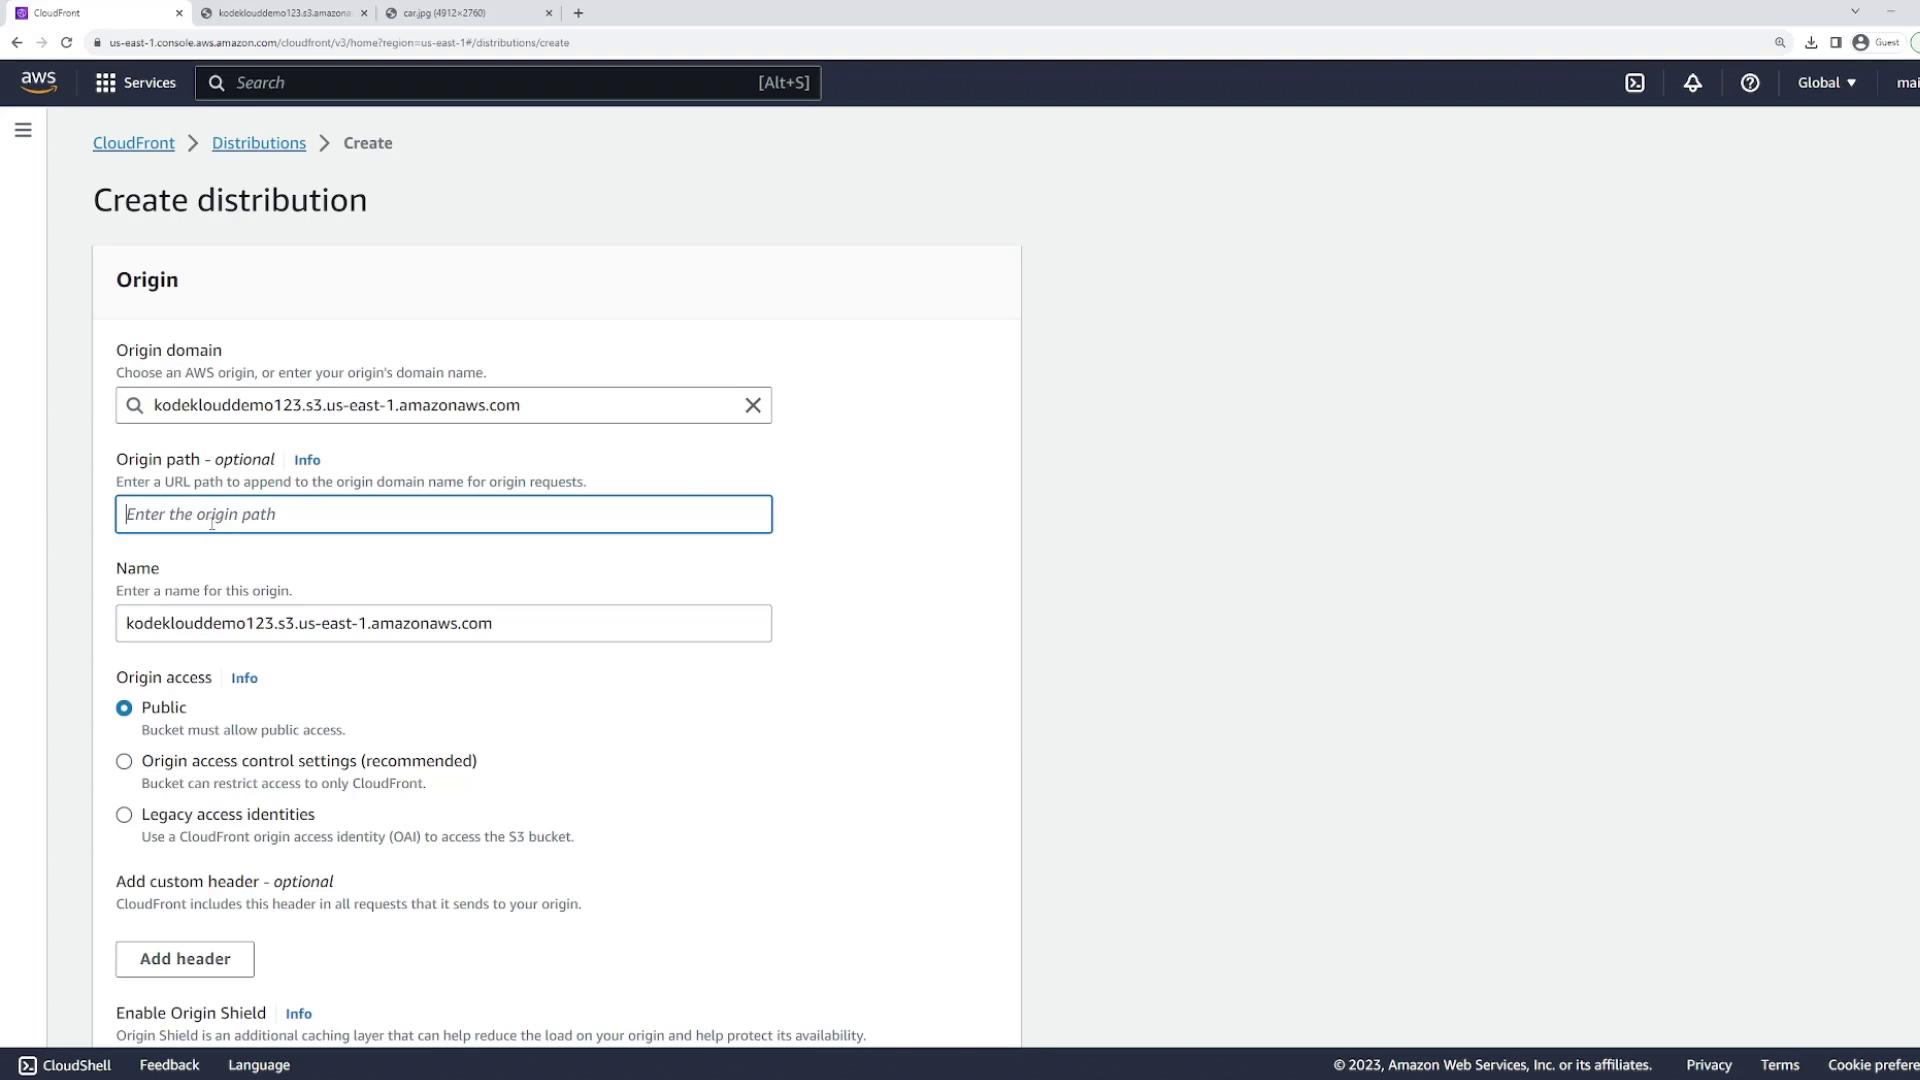
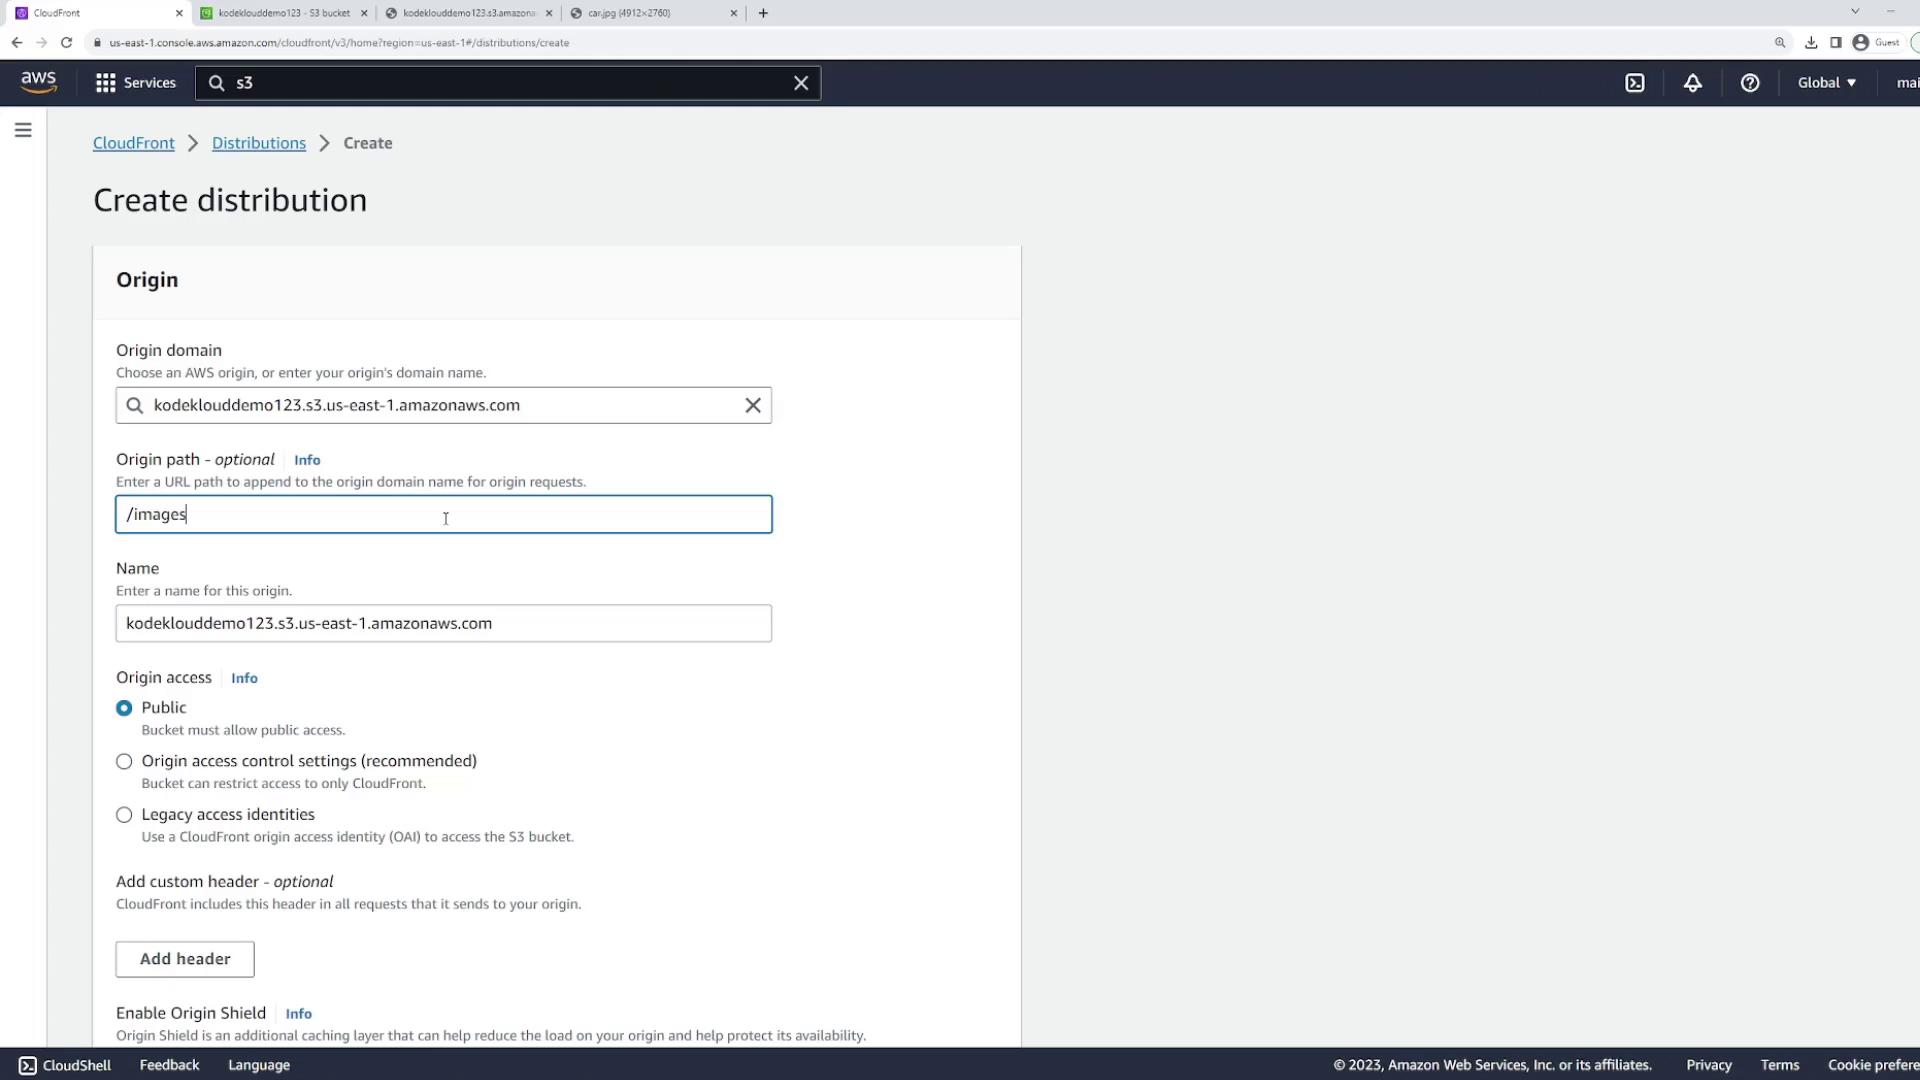
In the CloudFront console, create a new distribution. Under “Origin Domain,” select your S3 bucket (kodeklouddemo123). If you wanted to cache a specific folder (for example,/images), you could enter that in “Origin Path.” For this demo, leave the origin path blank to cache all objects.
-
Adjust Distribution Settings
Update the following settings as needed:-
Origin Access:
Set to public if you want users to access the S3 URL directly, or configure origin access control for enhanced security by limiting access exclusively through CloudFront. -
Compress Objects Automatically:
Set this option to Yes for performance improvements. -
Allowed Protocols:
Enable both HTTP and HTTPS. For a production environment, it’s recommended to enforce HTTPS only. -
Allowed HTTP Methods:
For static content, GET is sufficient. Additional methods (PUT, POST, PATCH) can be enabled if required. -
Edge Locations:
CloudFront uses all edge locations by default; you can modify this to restrict caching to specific regions if necessary.
-
Origin Access:
- Deploy the Distribution
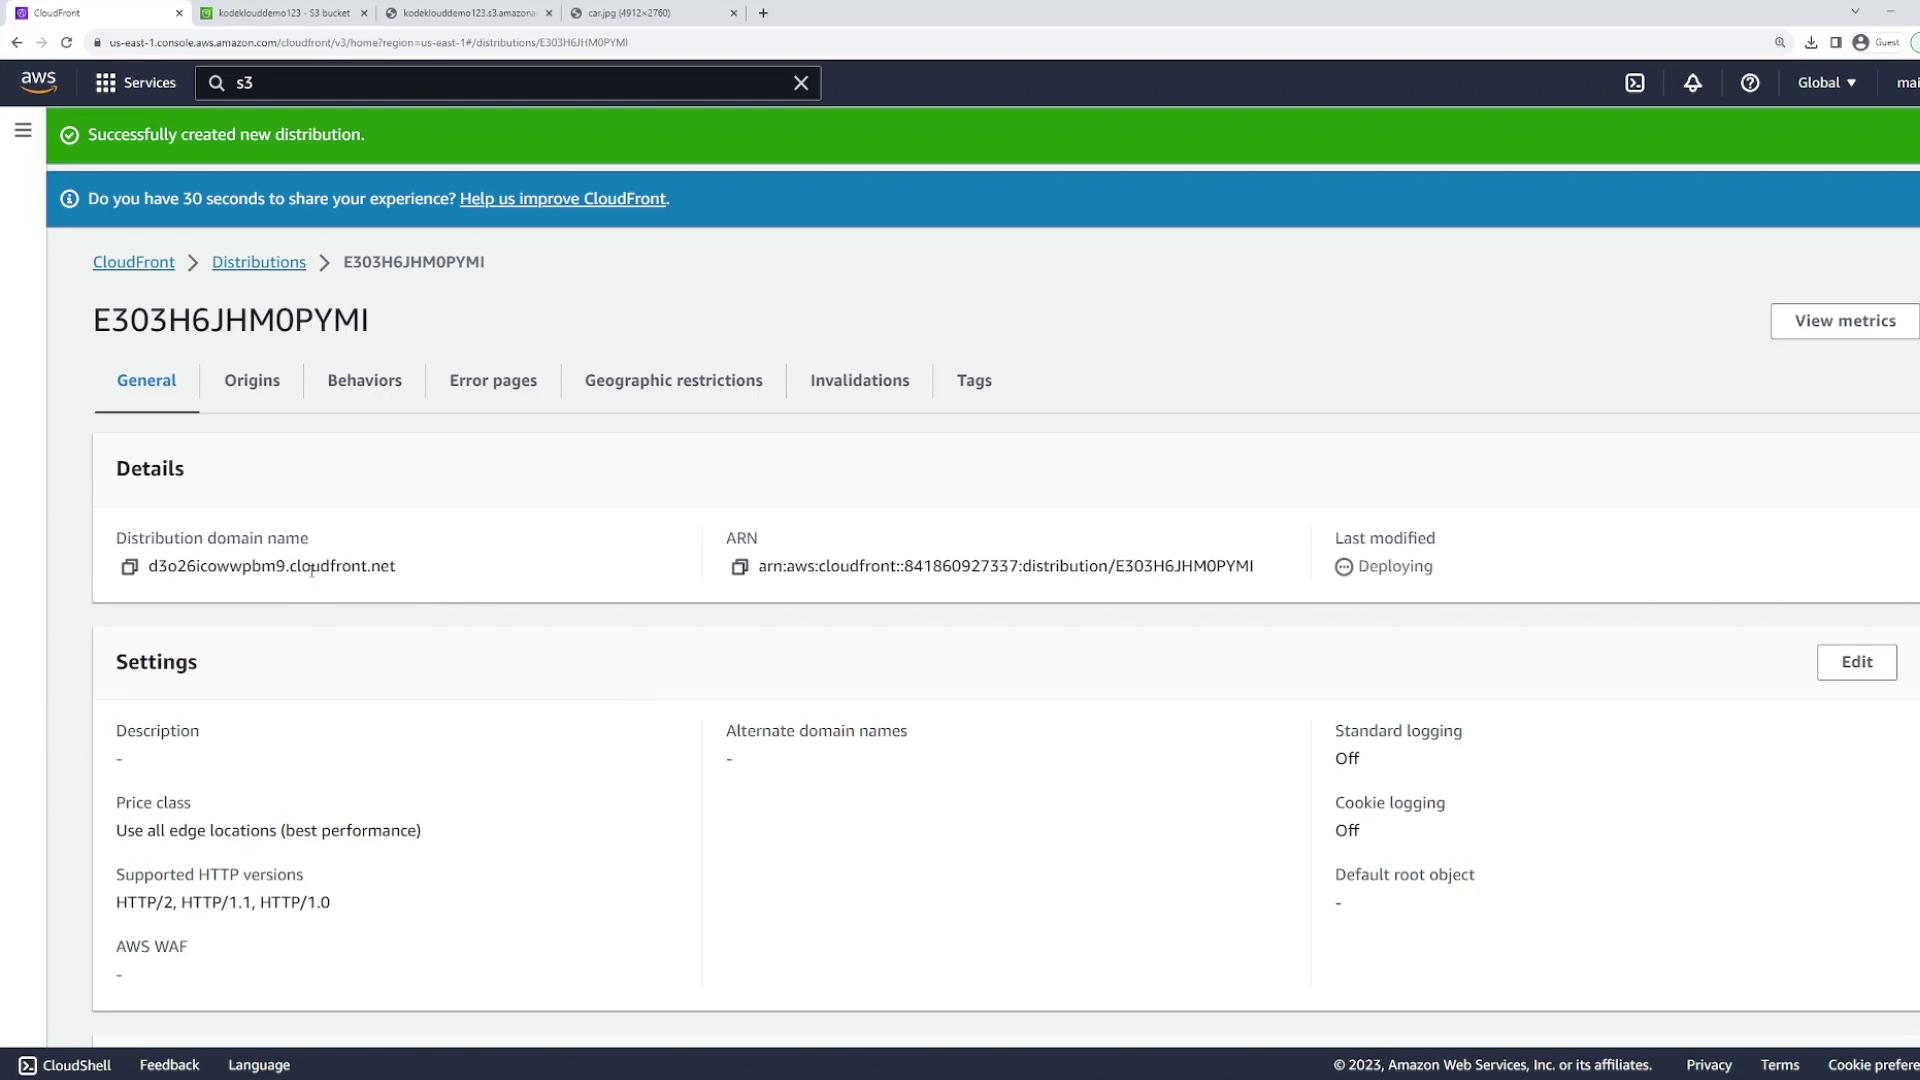
Once configured, create the distribution. Deployment may take a few minutes. When it’s complete, the distribution shows as enabled and displays a domain name you can use to access the cached files.
- Access the Cached Image
To test the configuration, enter your distribution’s domain name in the browser followed by/car.jpg. Note that accessing the domain root will not work since the S3 bucket is configured for static objects without an index.
Demonstrating Cache Behavior with Invalidation
After verifying that CloudFront is serving the cached blue car image, we will update the object in the S3 bucket to demonstrate CloudFront’s caching behavior and invalidation process.- Update the Image in S3
- Delete the existing
car.jpgfrom the S3 bucket. - Upload a new image (a red car) with the same file name (
car.jpg). When accessing the direct S3 URL, you should now see the red car image.
- Delete the existing
- Observe Cache Persistence
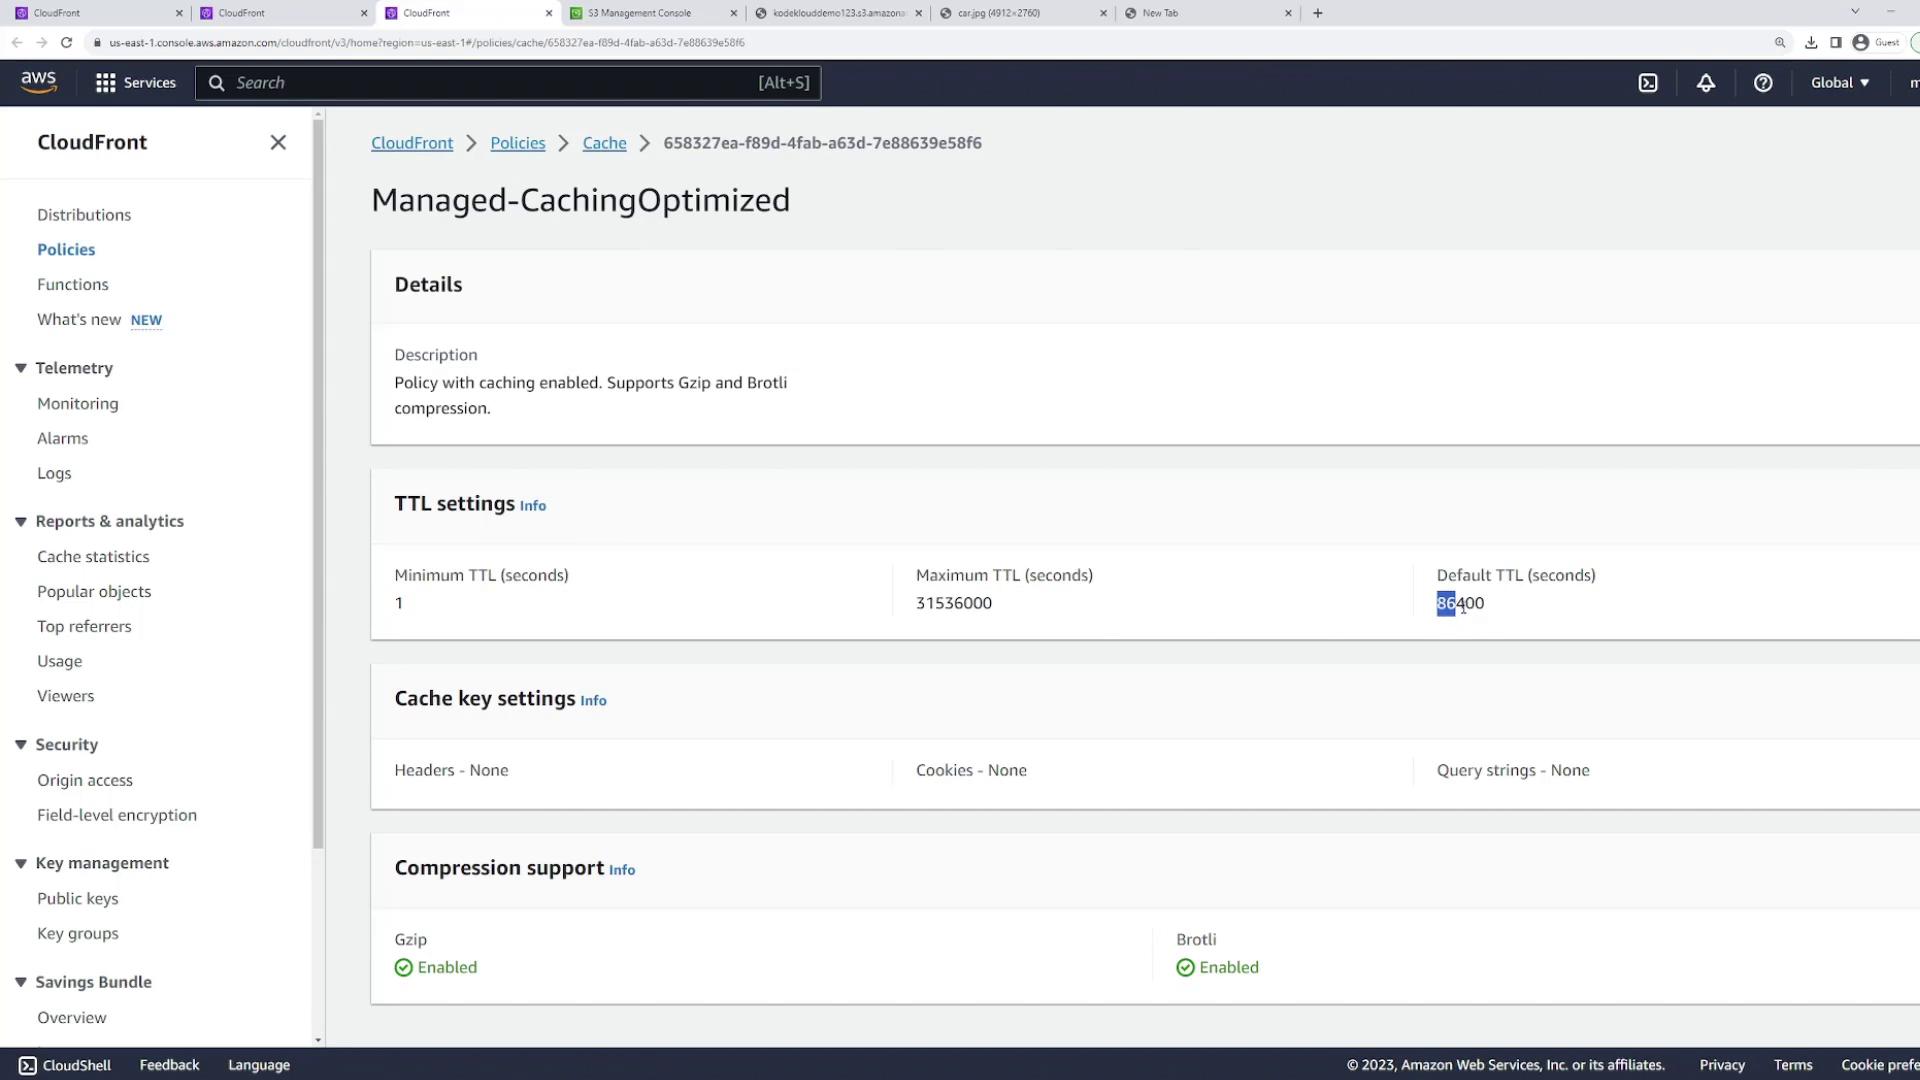
Refresh the CloudFront distribution URL for/car.jpg. You may still see the blue car image because it is cached with a default TTL (Time to Live) of 86,400 seconds (24 hours).
The cached content persists until the TTL expires. If immediate updates are required, you must invalidate the cache.
-
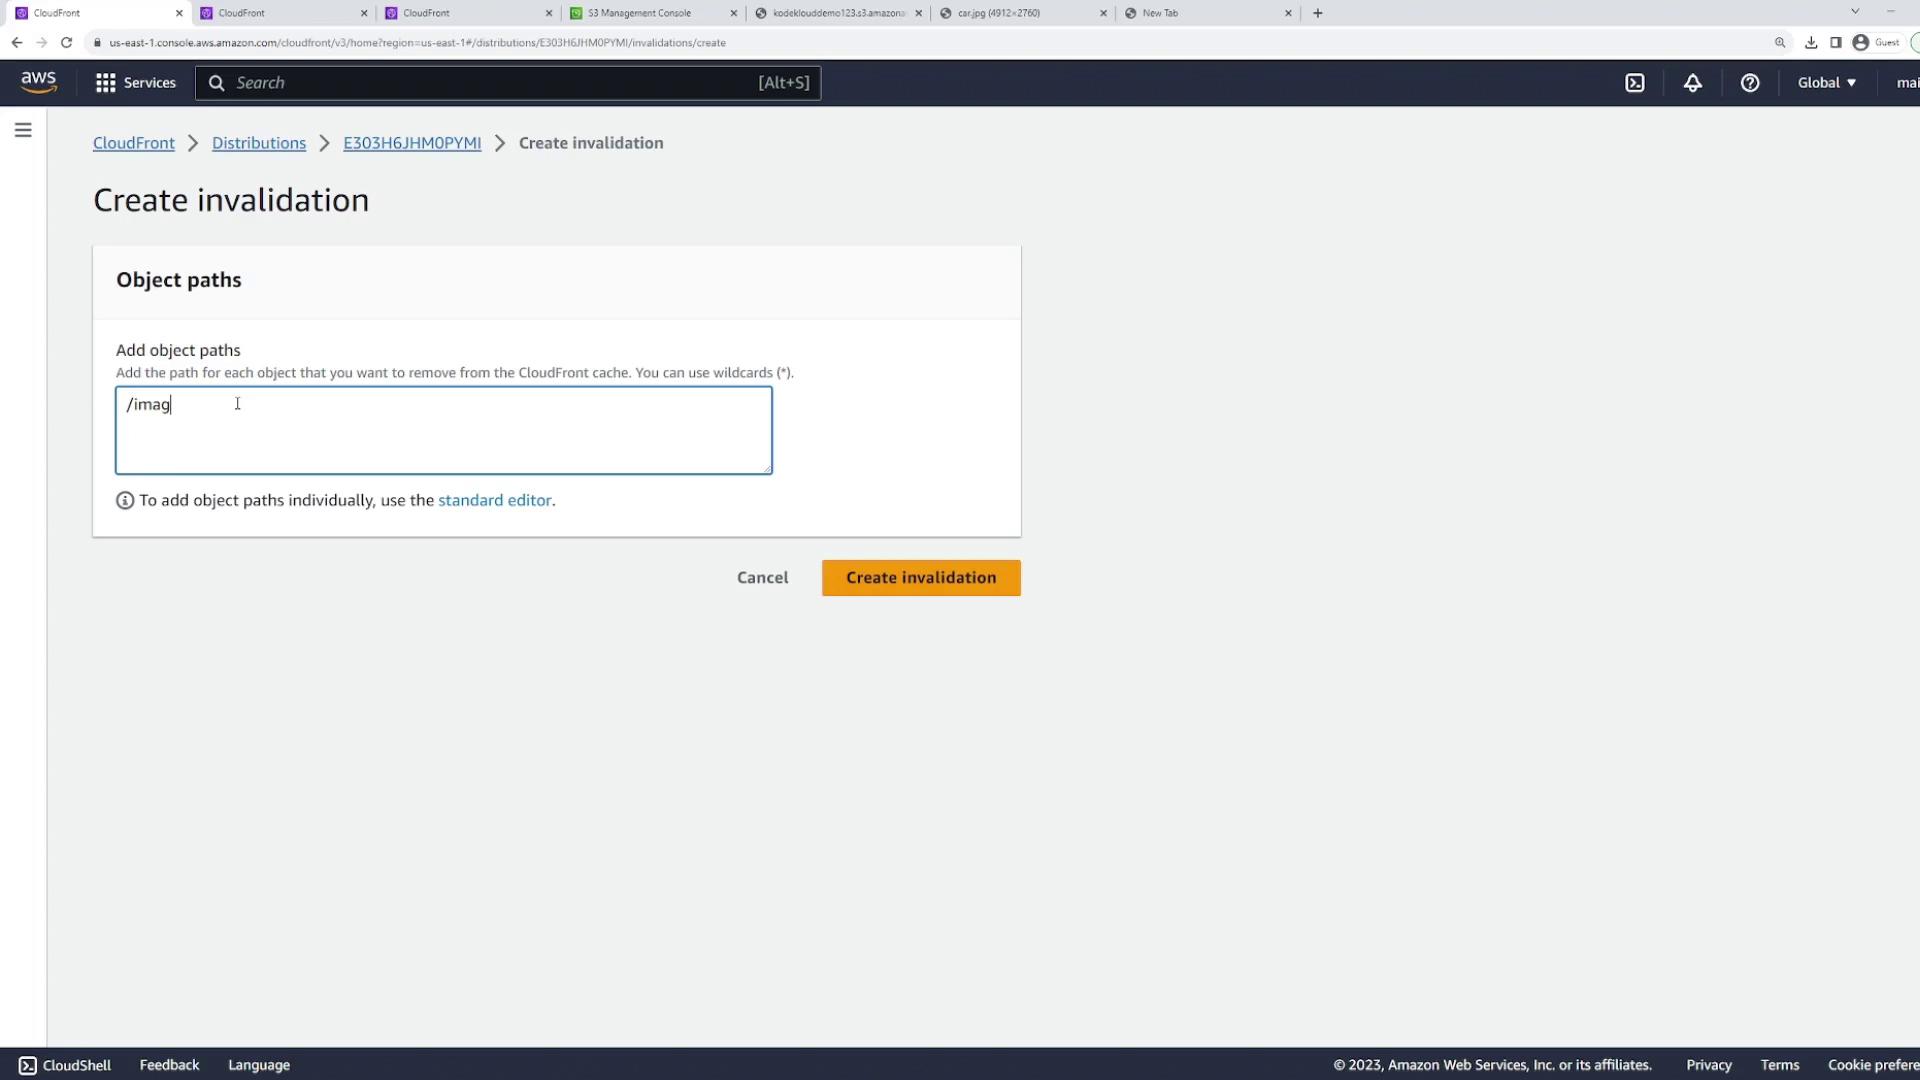
Invalidate the Cache
To force CloudFront to fetch the updated image before the TTL elapses, create an invalidation request:- In the CloudFront console, select your distribution and go to the “Invalidations” tab.
- Create a new invalidation. To invalidate a specific file, enter
/car.jpg. Alternatively, to invalidate all objects, use/*. You can also invalidate a folder using a pattern like/images/*.
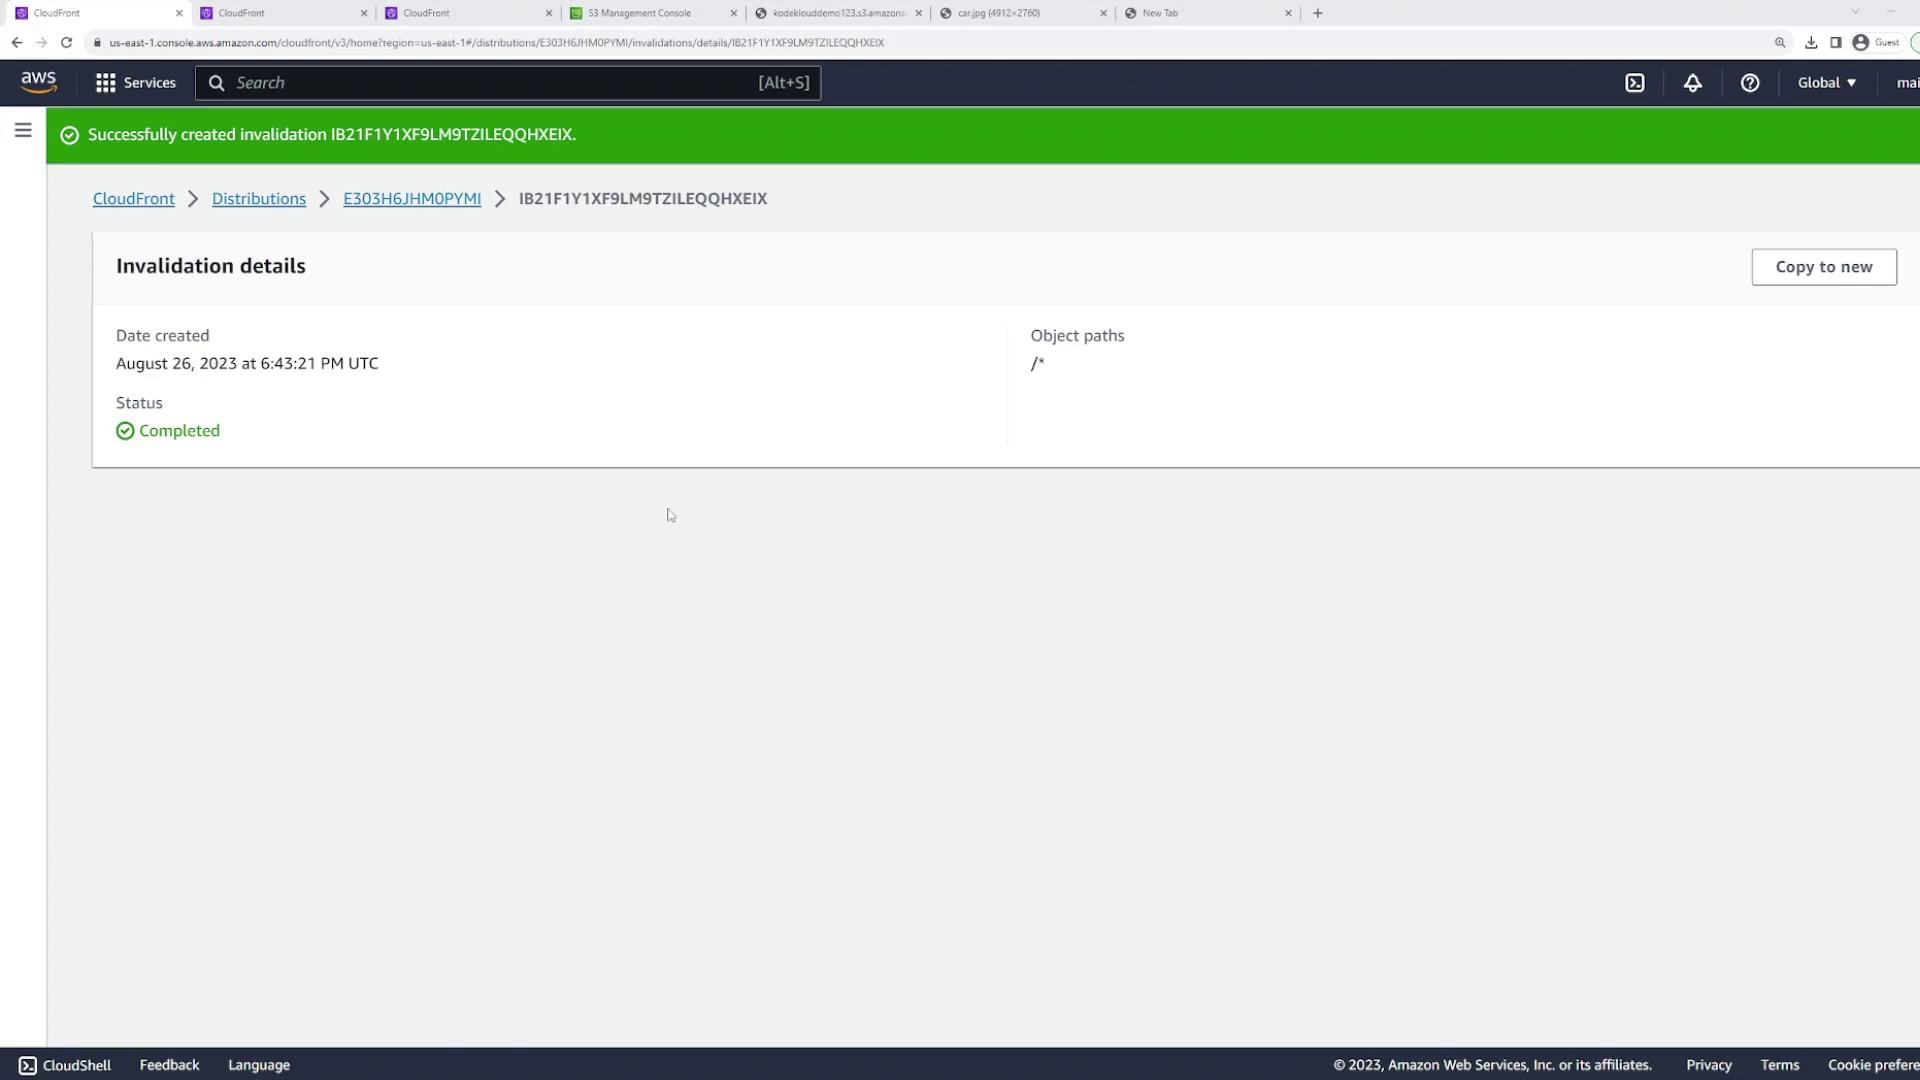
- Verify the Invalidation
Once the invalidation process is complete, refresh the CloudFront URL for/car.jpg. The red car image should now appear as CloudFront fetches the updated object from the S3 bucket.
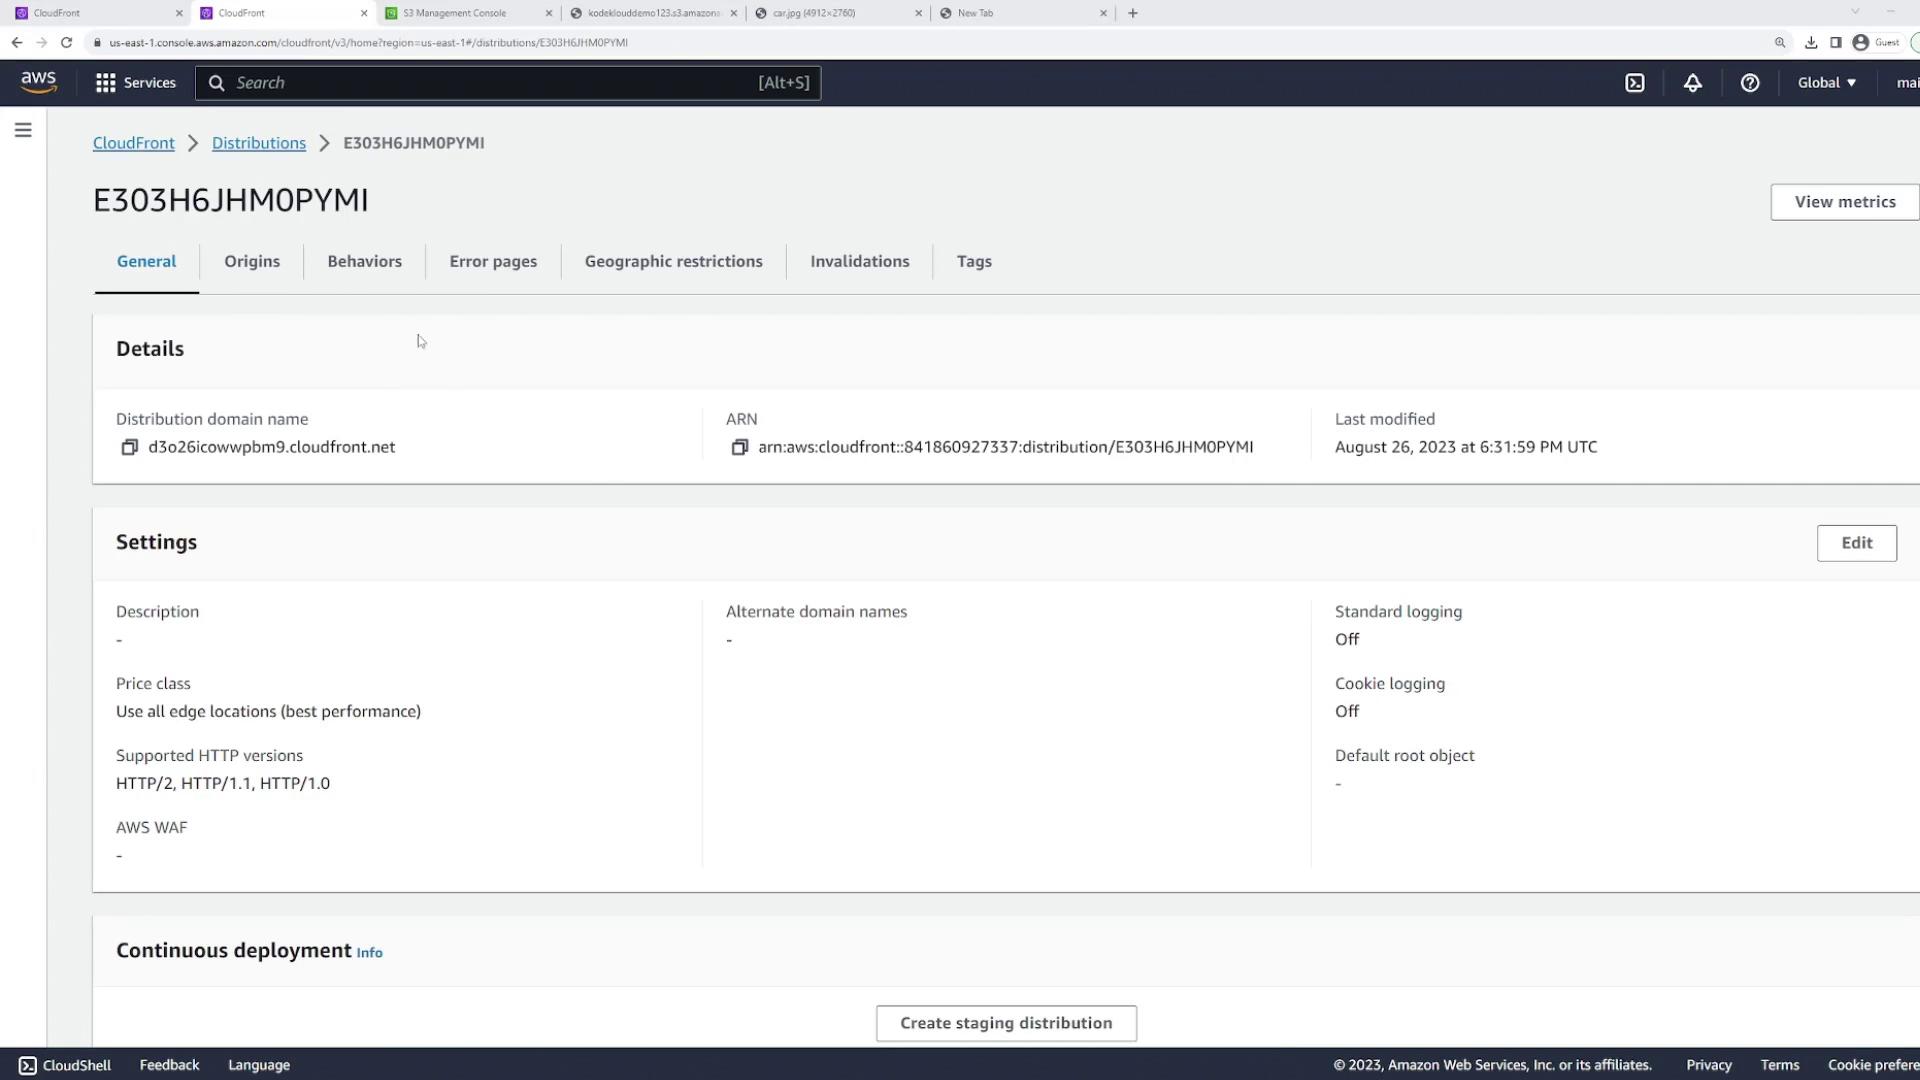
- Review TTL and Caching Policy
For further insights, check the TTL and caching policy by navigating to the “Behaviors” tab in your CloudFront distribution settings and clicking “Edit” on the appropriate behavior.