This article explains Network Access Control Lists, their configuration, and differences from security groups in managing subnet-level traffic.
Welcome to this technical lesson on Network Access Control Lists (NACLs). In this guide, we will explore the key differences between stateful security groups and stateless NACLs, as well as demonstrate how to configure NACLs to control traffic at the subnet level.Before you begin testing NACLs, ensure that your EC2 instances have security groups configured correctly to avoid interference. Security groups are stateful and typically control traffic for individual instances, whereas NACLs filter traffic for the entire subnet. In our scenario, we configure our security groups to allow all traffic so that NACLs become the primary filter.
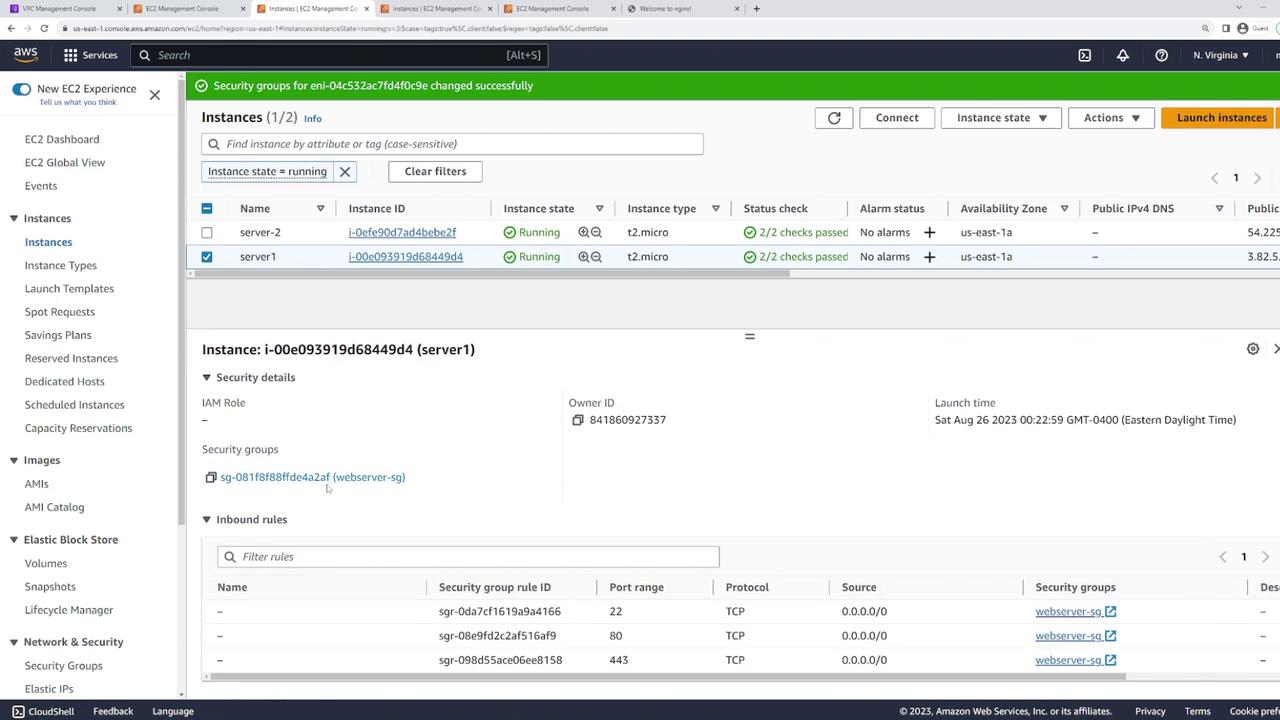
Begin by verifying the security groups associated with your servers. For example, one server might be using the “webserver-sg” security group:
If a server shows no security group initially, refresh the console to load the updated details:
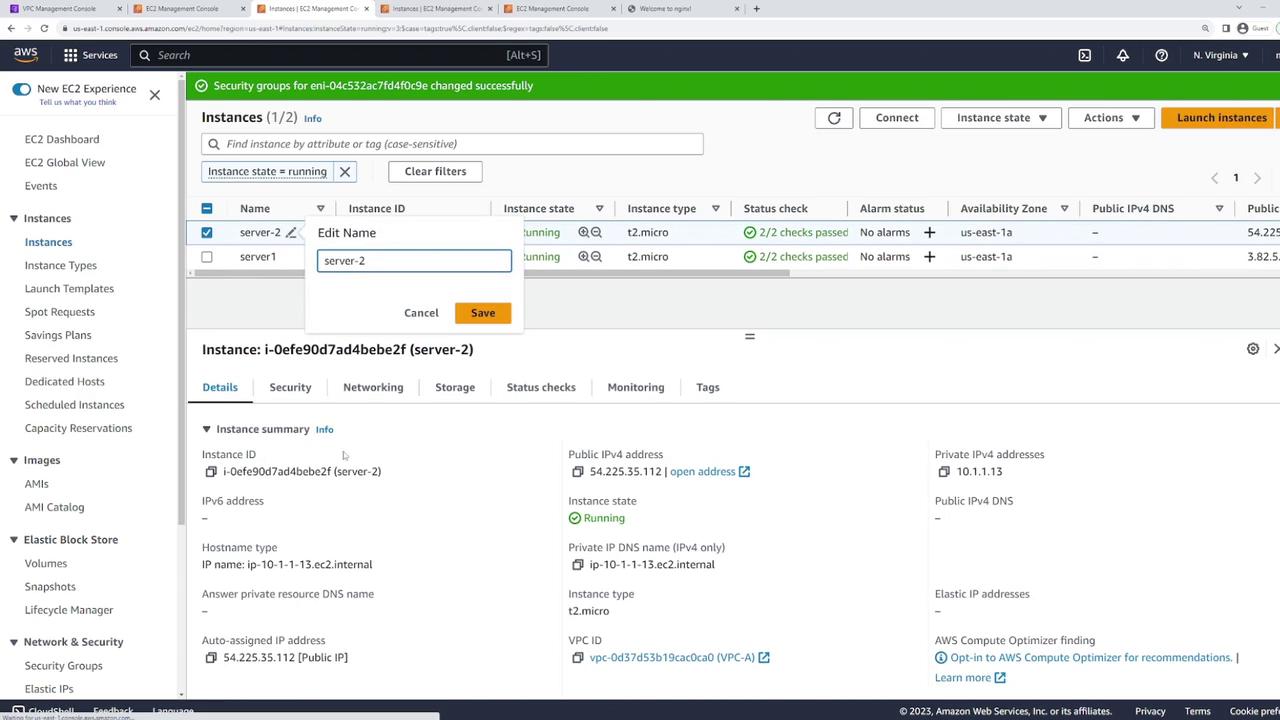
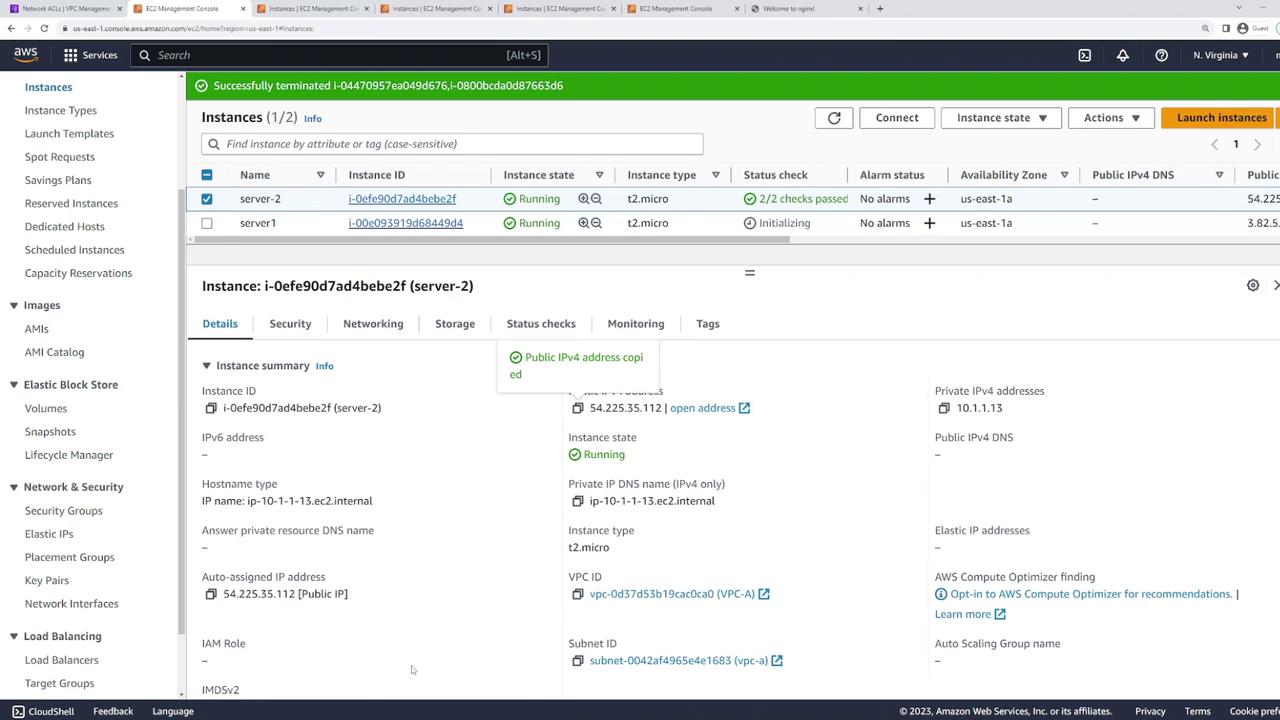
Update the security group on every instance to “webserver-sg.” This configuration ensures that security groups allow all traffic, so that subsequent tests focus on NACL behavior. For example, update server two as shown below:
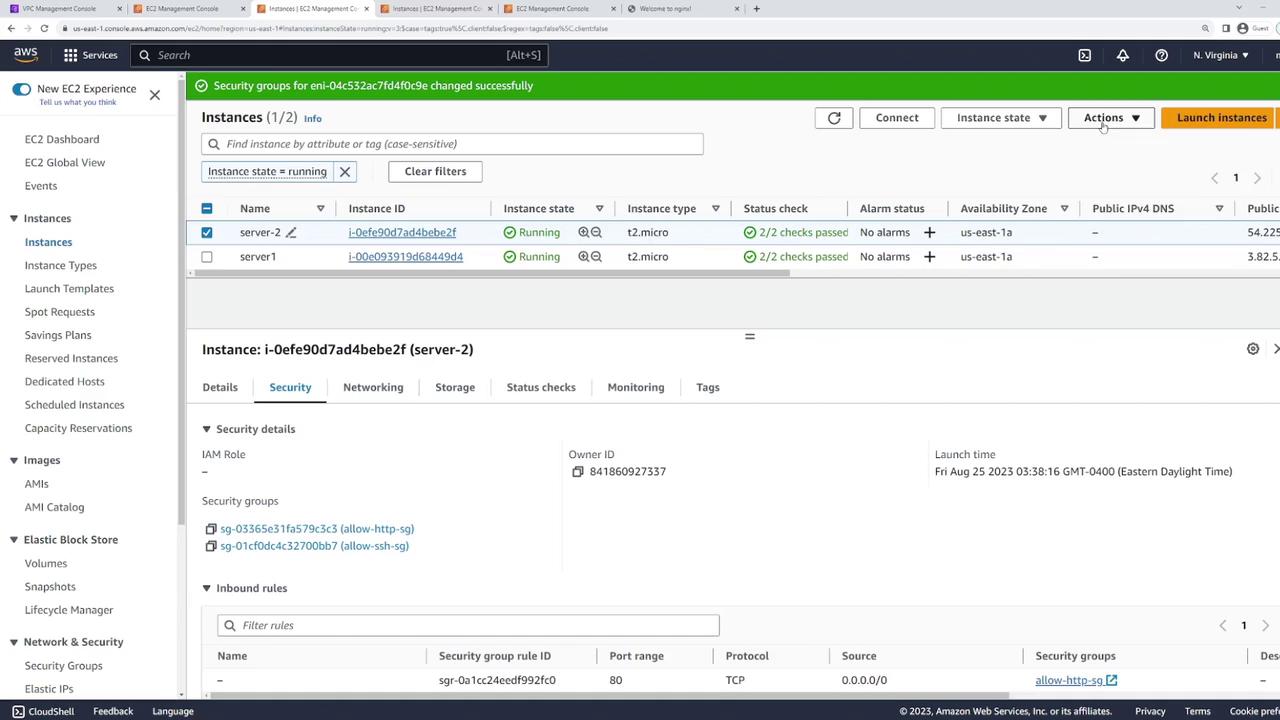
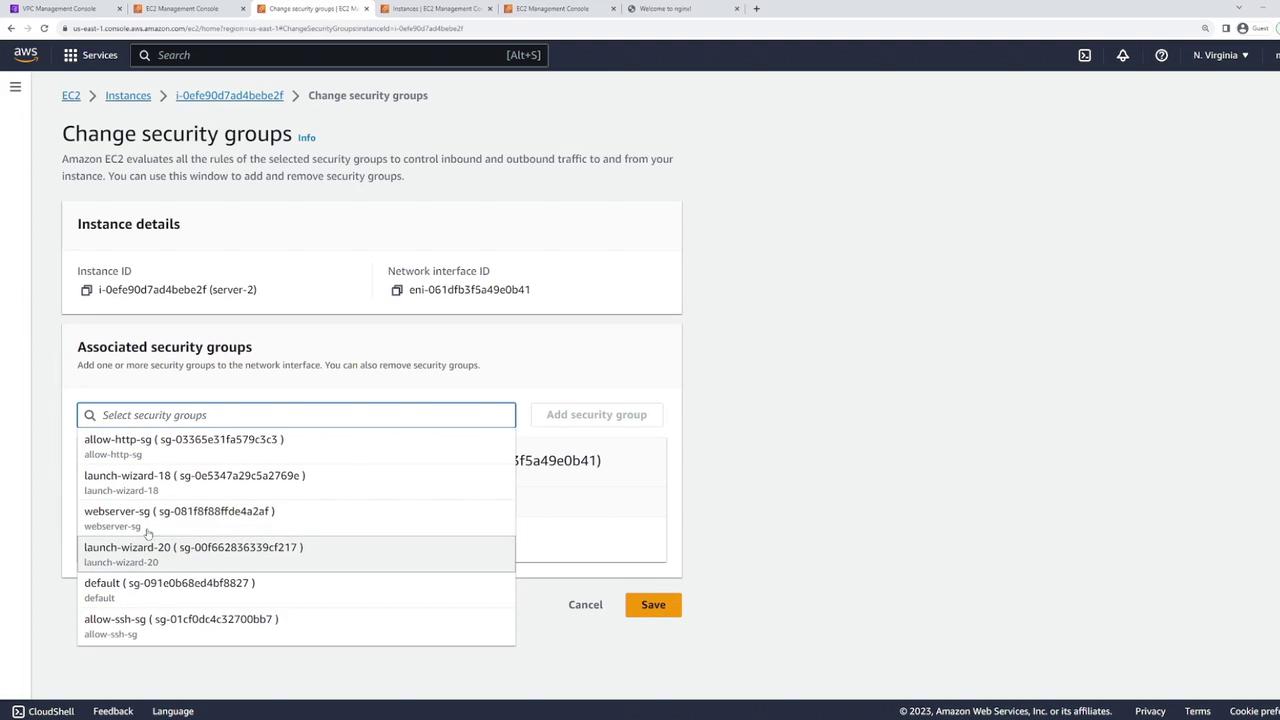
Next, change the security group settings for the instance:
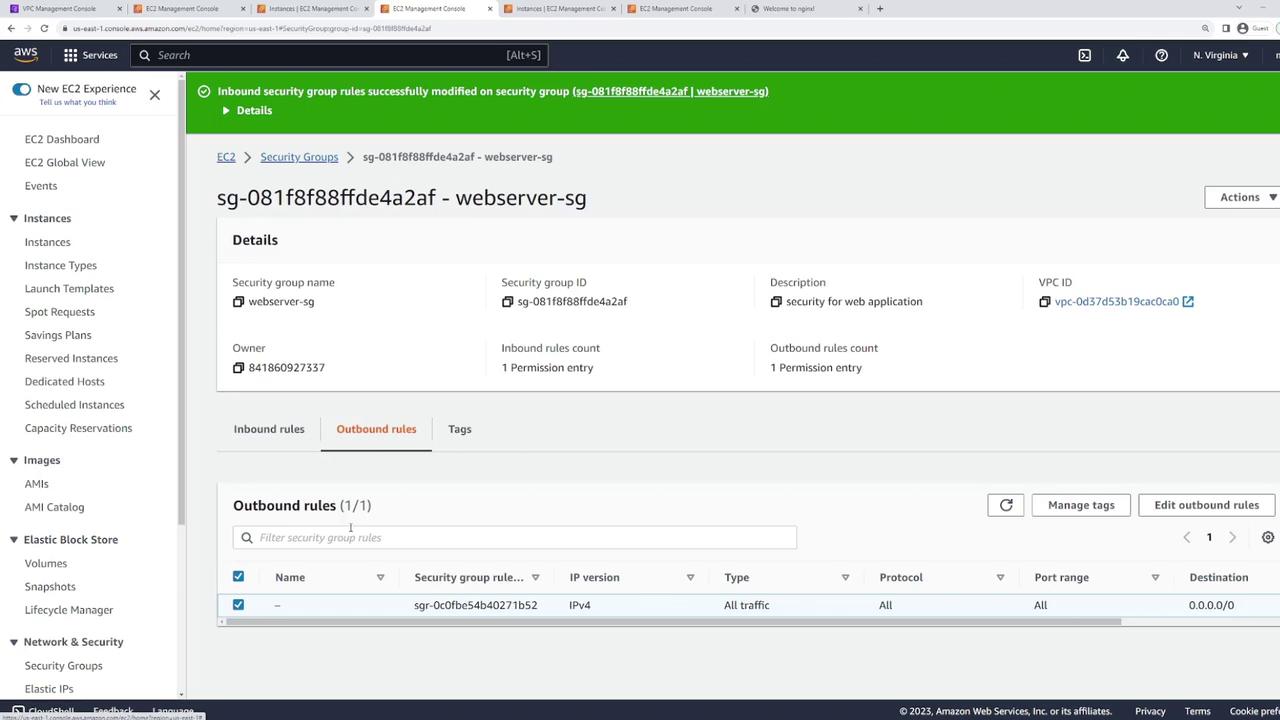
Then, open the “webserver-sg” settings and modify its rules to allow all inbound and outbound traffic:
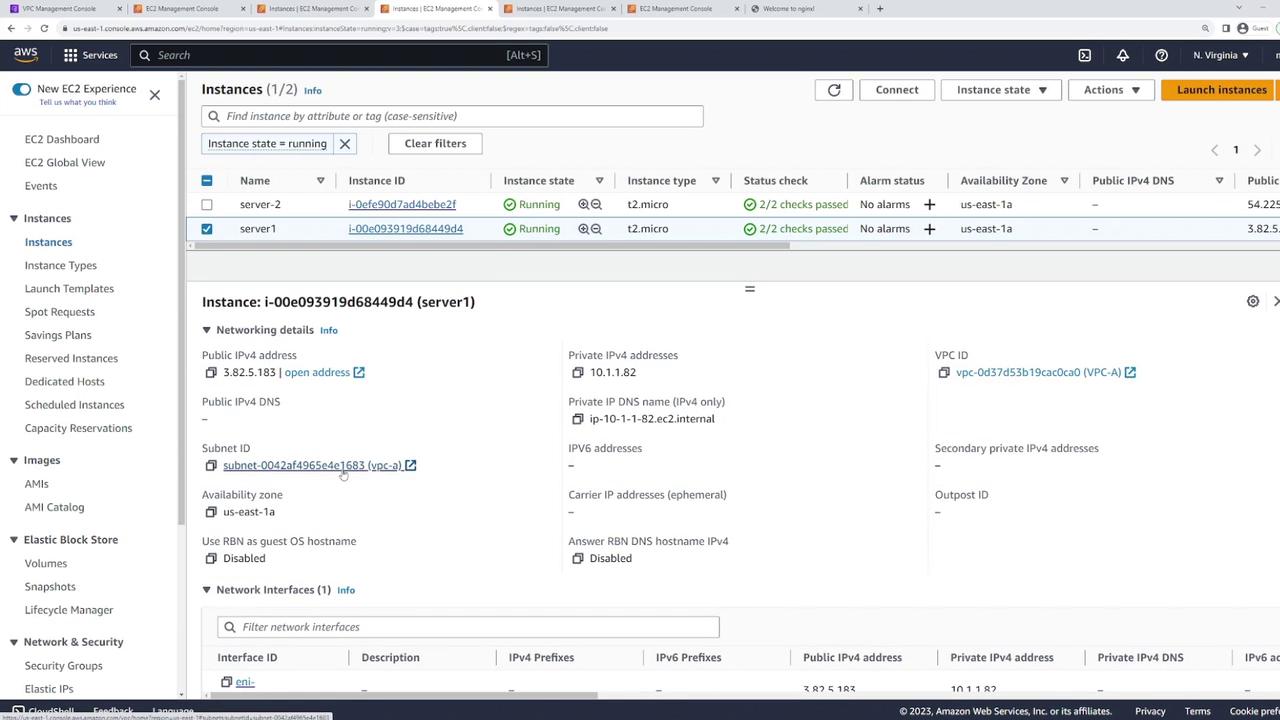
Ensure that both instances reside on the same subnet by checking the networking details from the EC2 console. For example, inspect server one to verify that it is in the correct subnet (e.g., subnet 168.3):
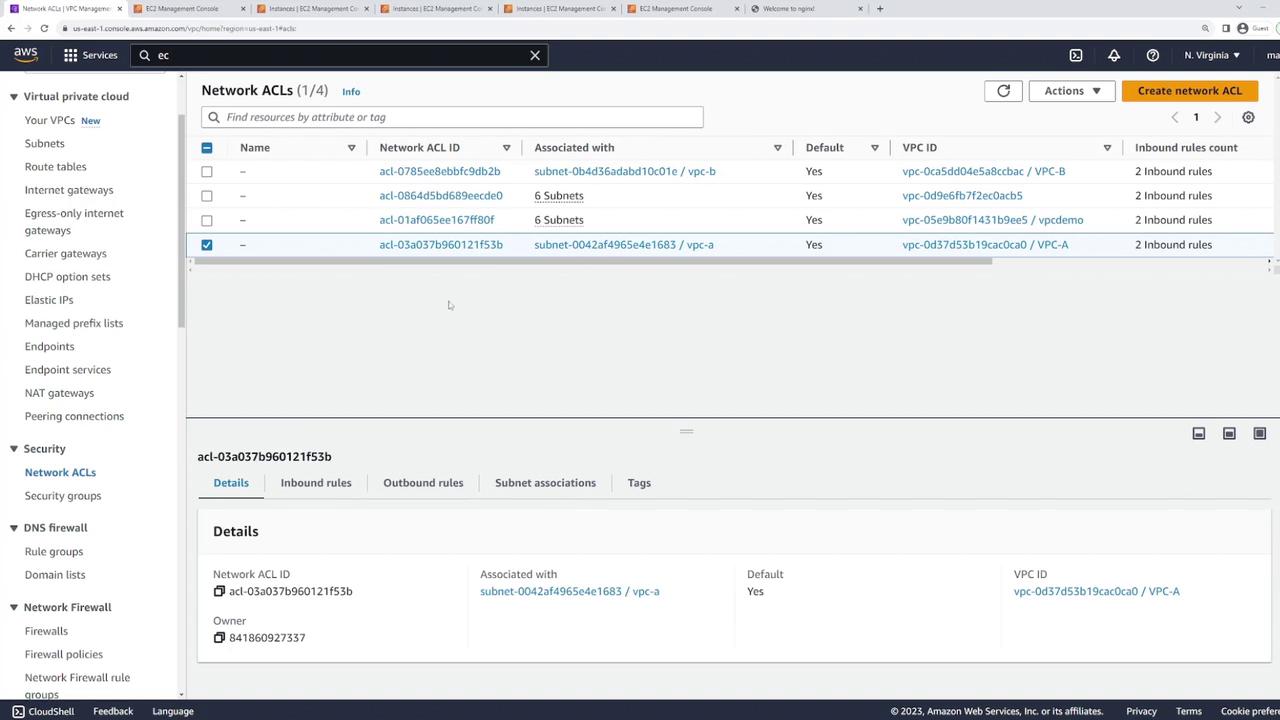
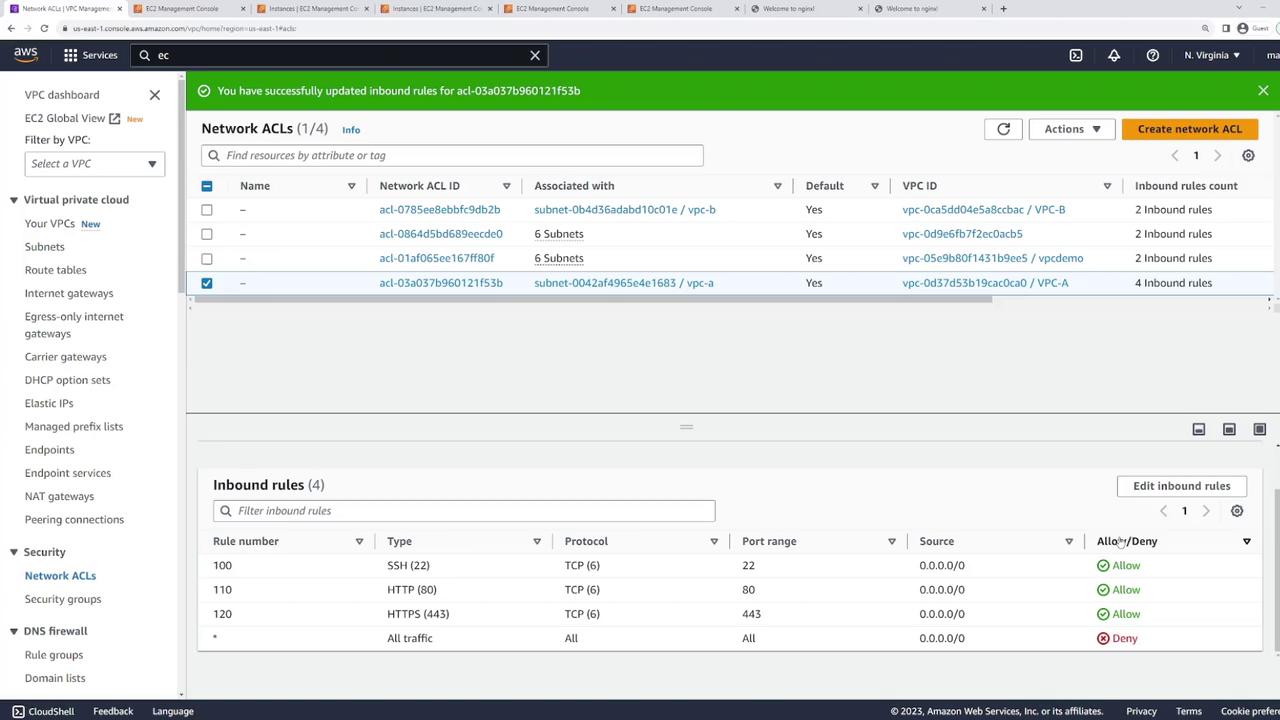
Then, navigate to the VPC dashboard. Under the “Security Network ACLs” section, select the default NACL for your VPC (VPC A):
Examine the inbound rules. You will notice a rule numbered 100 allowing all traffic. Since NACL rules are processed sequentially, any following rule (such as a deny rule) will not take effect if rule 100 already permits the traffic.
To confirm that your configuration is correct, attempt to SSH into an instance. You should be able to establish a connection because the security groups are not restricting any traffic. Below is an example output from a successful ping test and SSH session:
Copy
64 bytes from 8.8.8.8: icmp_seq=1 ttl=53 time=1.58 ms64 bytes from 8.8.8.8: icmp_seq=2 ttl=53 time=1.61 ms64 bytes from 8.8.8.8: icmp_seq=3 ttl=53 time=1.61 ms64 bytes from 8.8.8.8: icmp_seq=4 ttl=53 time=1.91 ms64 bytes from 8.8.8.8: icmp_seq=5 ttl=53 time=1.62 ms64 bytes from 8.8.8.8: icmp_seq=6 ttl=53 time=1.65 ms64 bytes from 8.8.8.8: icmp_seq=7 ttl=53 time=1.57 ms--- 8.8.8.8 ping statistics ---7 packets transmitted, 7 received, 0% packet loss, time 6011msrtt min/avg/max/mdev = 1.572/1.651/1.909/0.107 ms[ec2-user@ip-10-1-1-82 ~]$ exitlogoutConnection to 3.82.5.183 closed.C:\Users\sanje\Documents\scratch\aws-demo> ssh -i main.pem ec2-user@3.82.5.183 # ~ ##### ~ ###### #/ ___ ~W~ https://aws.amazon.com/linux/amazon-linux-2023 ~~~ _m/Last login: Sat Aug 26 04:37:31 2023 from 169.150.196.66[ec2-user@ip-10-1-1-82 ~]$
Additionally, refresh your web browser to confirm that the hosted website is accessible.
Now, modify the NACL rules to showcase their stateless behavior. Edit the inbound rules, and change rule 100 so that it allows only SSH access. Configure rule 100 to permit SSH (port 22) from any IP address, and then save the changes. Despite security groups still allowing all traffic, this modification will restrict inbound traffic to SSH only, and a subsequent deny rule will block other protocols.To test this configuration, SSH into the instance using server two:
Connect using a command similar to:
Copy
ssh -i main.pem ec2-user@54.225.35.112
After establishing the SSH connection, refresh the website in your browser. The page should hang due to the absence of HTTP access, confirming that the NACL is now enforcing SSH-only inbound traffic.
To enable web traffic, update the NACL by adding new inbound rules:
Add a rule (for example, rule 101 or 110) that allows HTTP (port 80).
Add another rule (for example, rule 120) to allow HTTPS (port 443).
After applying these changes, your inbound rules should now include entries permitting SSH, HTTP, and HTTPS traffic. Refreshing the website should now display properly on both EC2 instances since they share the same subnet.At this point, you may observe that server two does not have NGINX installed, causing the website to remain unresponsive. To remedy this:
If the package downloads hang, it is due to the stateless nature of NACLs. NACLs require explicit inbound rules for the response traffic (return packets) when an outbound HTTP request is made.
To temporarily allow the returning traffic needed to download NGINX, add a new inbound rule (for example, rule 130) permitting all traffic. Once NGINX is successfully installed, remove this broad rule.After installation, start NGINX:
One of the advantages of using NACLs over security groups is the ability to explicitly block traffic with deny rules. For instance, you can allow SSH by default but insert a high-priority deny rule for specific IP addresses.To demonstrate this, add a deny rule with a lower rule number (e.g., rule 90) that blocks SSH from a defined IP range. This rule will override the general SSH allow rule for that specific range, while SSH from all other addresses will still be permitted.
The differences between stateful security groups and stateless NACLs.
How NACLs operate at the subnet level and require both inbound and outbound rules.
Configuring NACL rules to allow or block specific types of traffic.
Demonstrating the practical application by restricting traffic to SSH only and then enabling HTTP/HTTPS traffic.
Using explicit deny rules to block traffic from specific IP ranges.
By following these steps, you now have a clear understanding of how to leverage NACLs to manage network traffic effectively.For more detailed information on AWS networking, consider visiting the AWS Documentation or exploring related topics such as Networking & Content Delivery.