In this guide, we explore how AWS route tables work within a Virtual Private Cloud (VPC). You will learn how packets are routed inside a VPC by inspecting the default route table, associating subnets, and modifying routing rules. Although AWS route tables support advanced customizations, this tutorial focuses on fundamental operations to help you get started.Documentation Index
Fetch the complete documentation index at: https://notes.kodekloud.com/llms.txt
Use this file to discover all available pages before exploring further.
Creating a Demo VPC and Subnets
Begin by creating a demo VPC using your preferred CIDR block. Ensure that IPv6 support is enabled. Then, create two subnets within this VPC with the following configurations:-
Subnet One:
- IPv4 CIDR: 10.0.1.0/24
- Provide an appropriate IPv6 CIDR block.
-
Subnet Two:
- IPv4 CIDR: 10.0.2.0/24
- Provide an appropriate IPv6 CIDR block.
- (You can let AWS automatically select the availability zone.)
Inspecting the Default Route Table
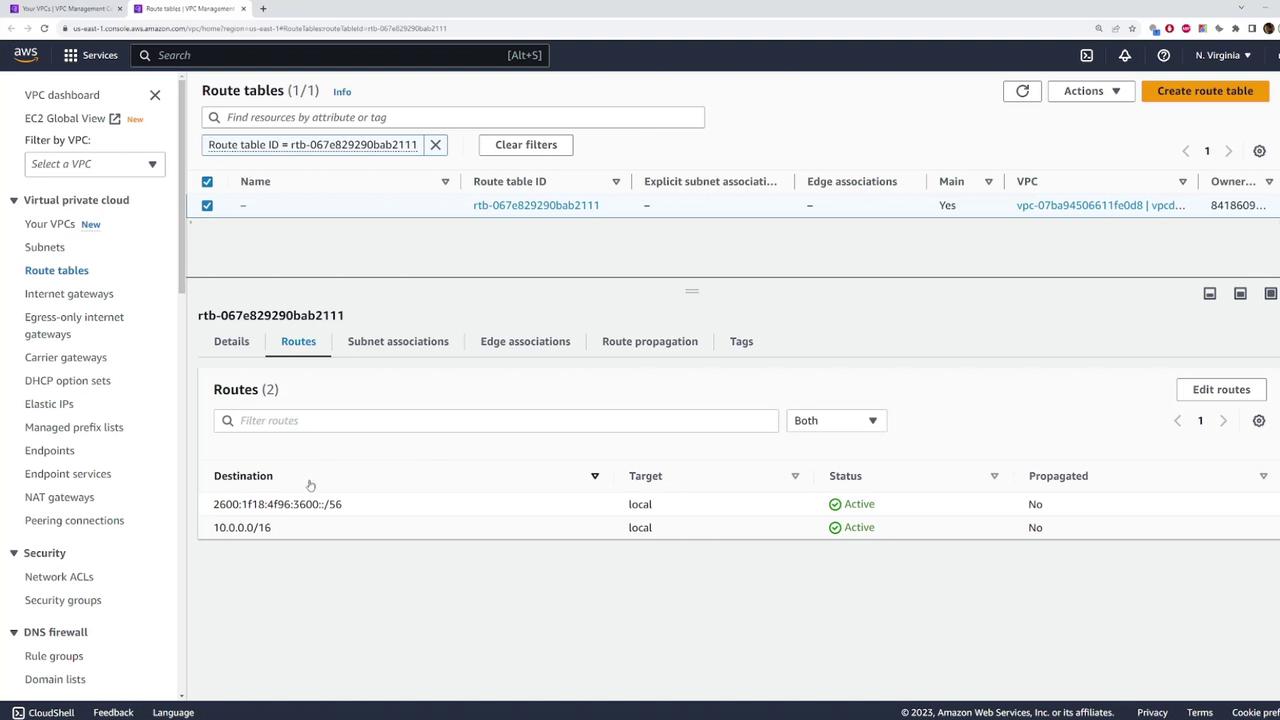
To review the AWS-generated main route table, navigate to the VPC console and click on your newly created VPC. Then, open the route table in a new tab to inspect its configuration. The default route table typically includes the following routes:-
Local IPv4 Route:
Any packet destined for an IP address within the VPC CIDR block is routed locally. -
Local IPv6 Route:
Similarly, traffic destined for any IP within the VPC’s IPv6 range is handled locally.
Creating and Associating a Custom Route Table
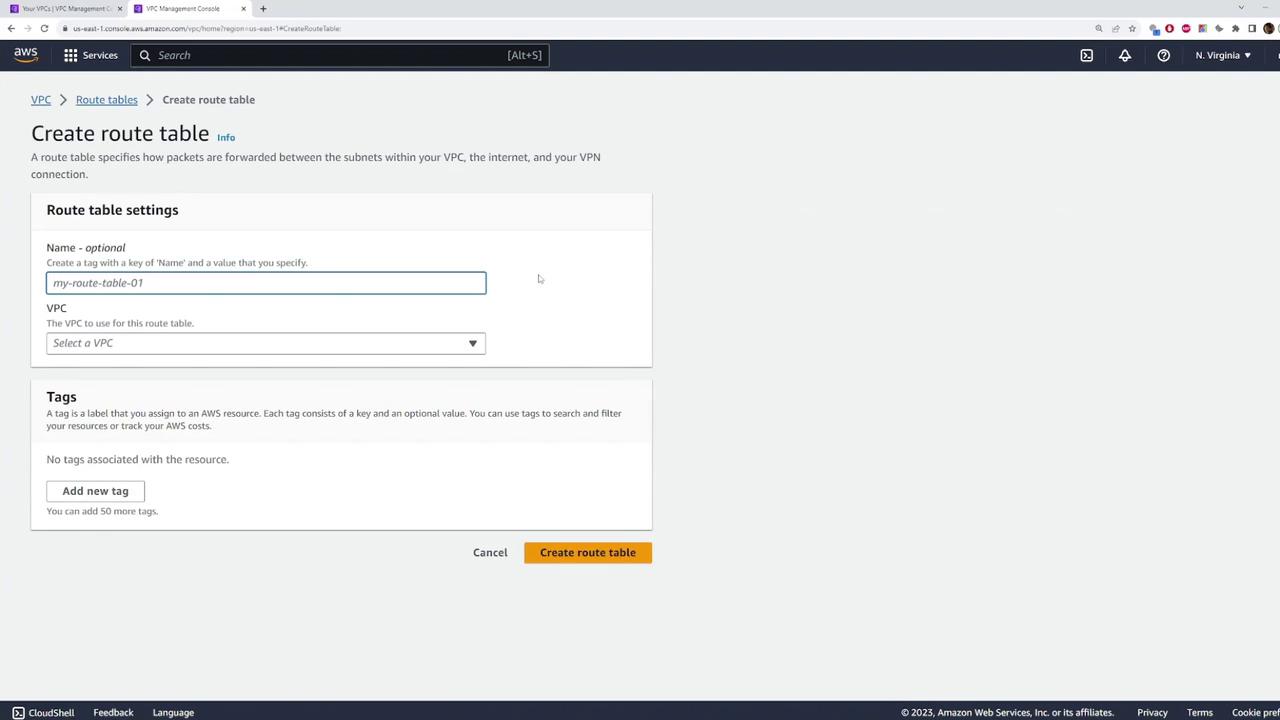
For greater control over your network, you can define custom route tables. Follow these steps to create and associate a custom route table:- Navigate to the “Route Tables” section in the VPC console.
- Click “Create Route Table”, provide a name such as “Route Table One”, and select your demo VPC.
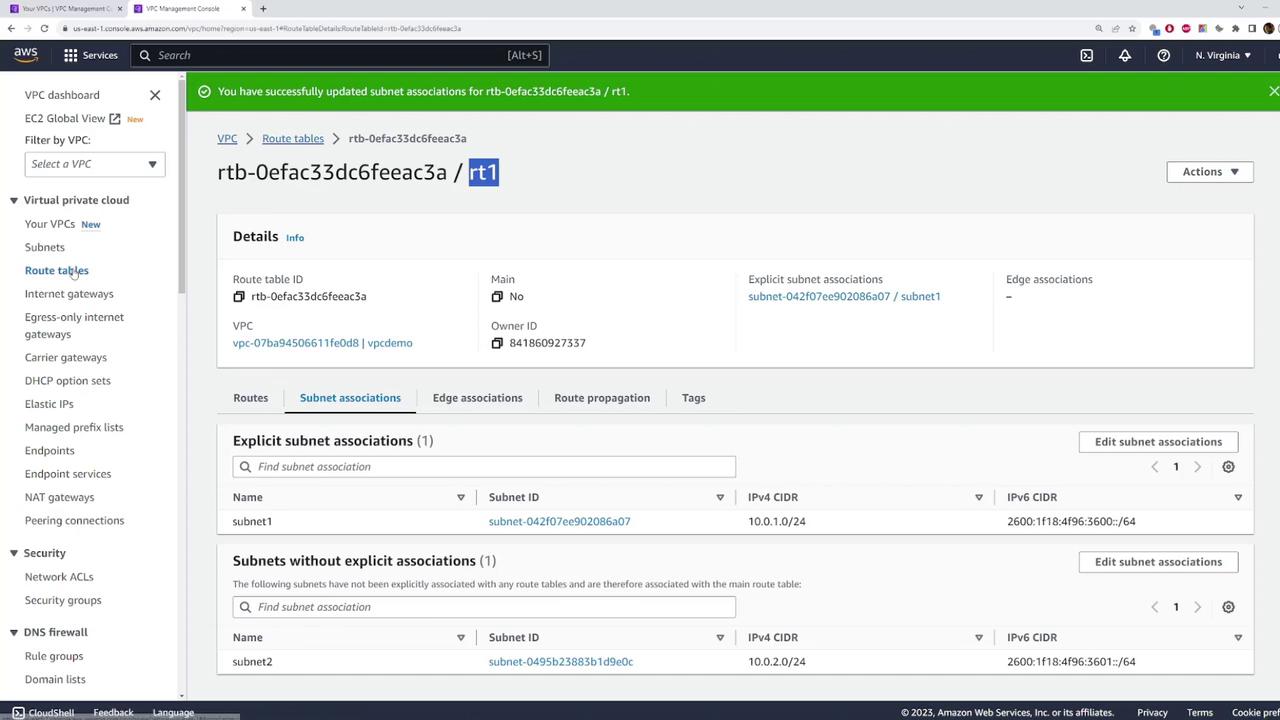
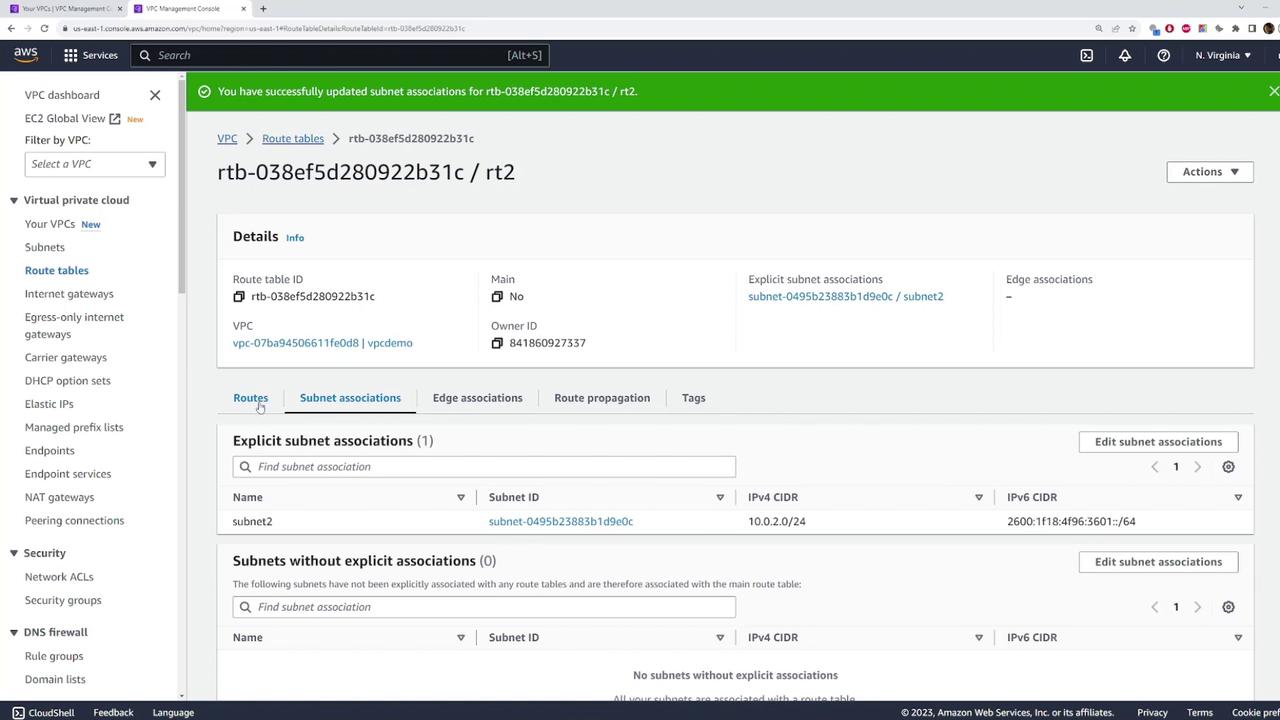
- After creation, view the “Subnet Associations” tab. By default, no subnets are explicitly linked.
- Click “Edit” and associate the route table with Subnet One. With this association in place, traffic from Subnet One follows the rules defined in “Route Table One”.
For more details on AWS VPCs and route tables, refer to the AWS VPC Documentation.
Modifying Routes in a Route Table
Customizing routes is essential for directing network traffic efficiently. To add or modify routes, follow these steps:- Open the desired route table from the VPC console.
- In the “Routes” section, click “Edit Routes”.
- To add a new route, input the destination CIDR. For example, configuring a destination CIDR of 0.0.0.0/0 establishes a default route that captures all unmatched traffic.
- Select an appropriate target for this route, such as an Internet Gateway, NAT Gateway, or another designated target.
- Click “Save Changes” to apply your modifications.
Cleaning Up Resources
After completing your demo, it is important to clean up your resources to avoid incurring unwanted charges. To do this:- Delete the VPC you created. AWS will automatically remove all associated subnets, route tables, and other related resources.
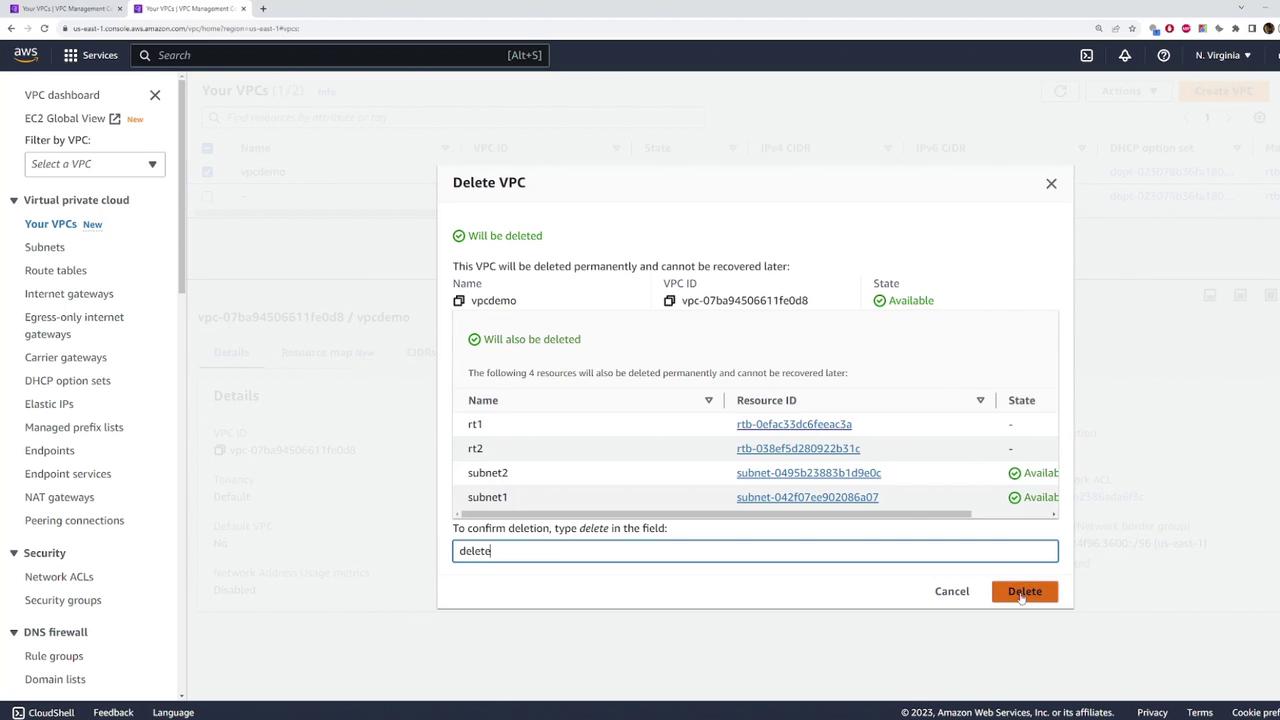
Always verify that you have terminated or deleted all temporary resources to prevent unexpected service charges.