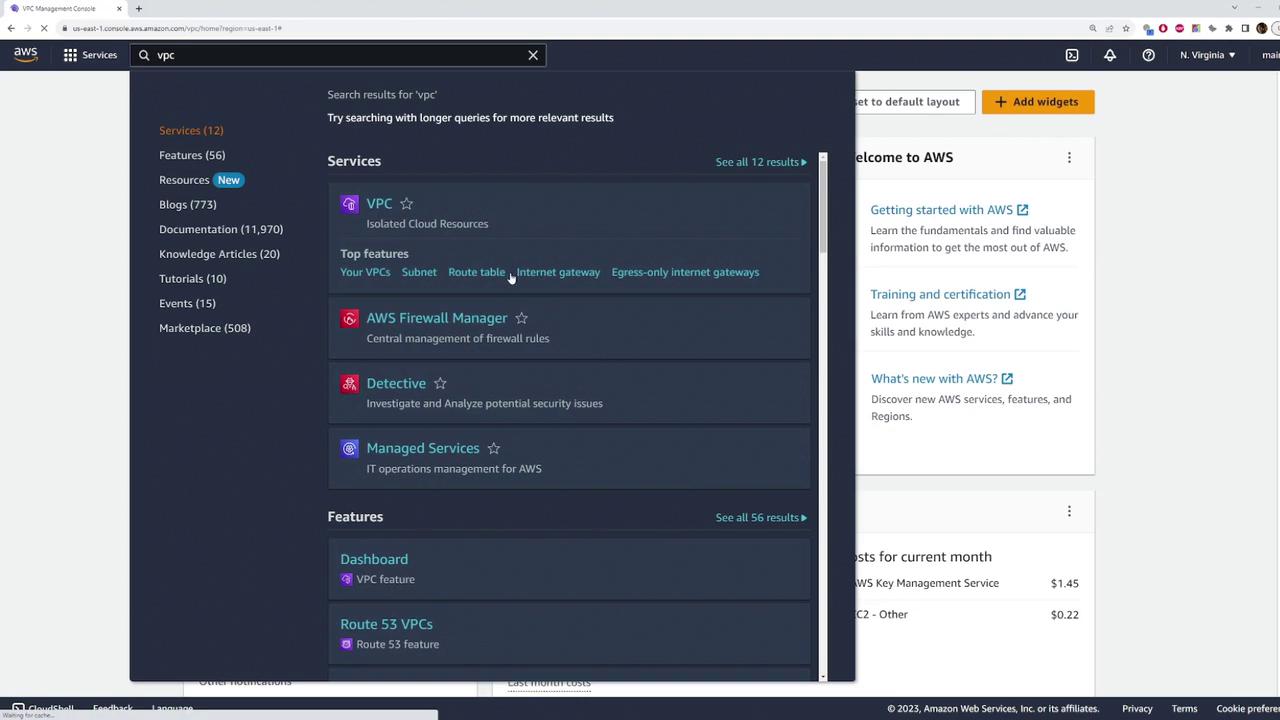
Step 1: Create a VPC
Begin by navigating to the VPC section in the AWS Management Console. Select the “VPC only” option and configure your VPC with the following details:- Name: demo VPC
- CIDR block: 10.0.0.0/16
- (Optional) Enable the Amazon provided IPv6 CIDR block.

Step 2: Create Subnets in the VPC
Create the First Subnet
- Navigate to the subnets section and click on Create Subnet.
- Select the custom VPC you just created.
- Name: subnet one
- Availability Zone: Choose one among the available zones from the Northern Virginia (US East) region. For this example, select US East 1D.
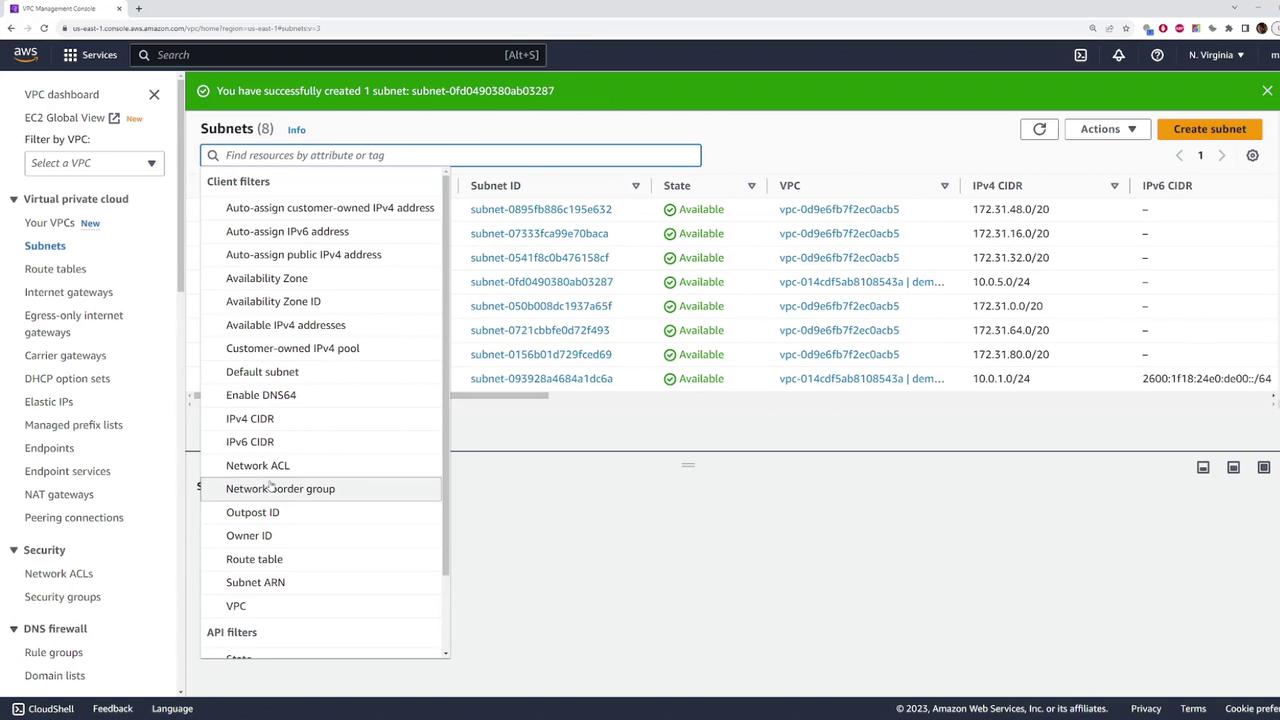
- CIDR Block: It is crucial that the subnet’s CIDR block falls within the VPC’s CIDR block. Therefore, set the CIDR block for “subnet one” to 10.0.1.0/24.
Using a CIDR block outside of the range 10.0.0.0/16 (like 192.168.1.0/24) will result in an error.
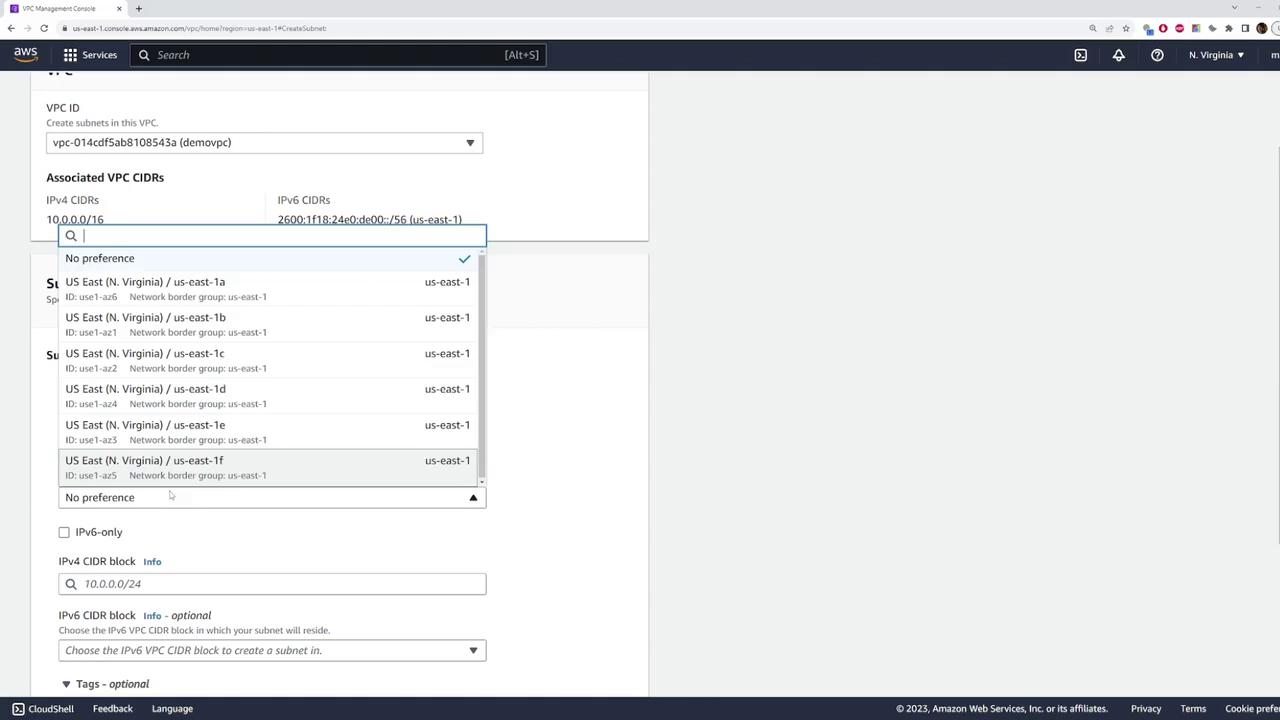
Create the Second Subnet
To create another subnet within the same VPC:- Click Create Subnet again.
- Select the custom VPC.
- Name: subnet two
- Availability Zone: Choose a different zone; for example, select US East 1A.
- CIDR Block: Set the CIDR block to a range within 10.0.0.0/16, such as 10.0.5.0/24.
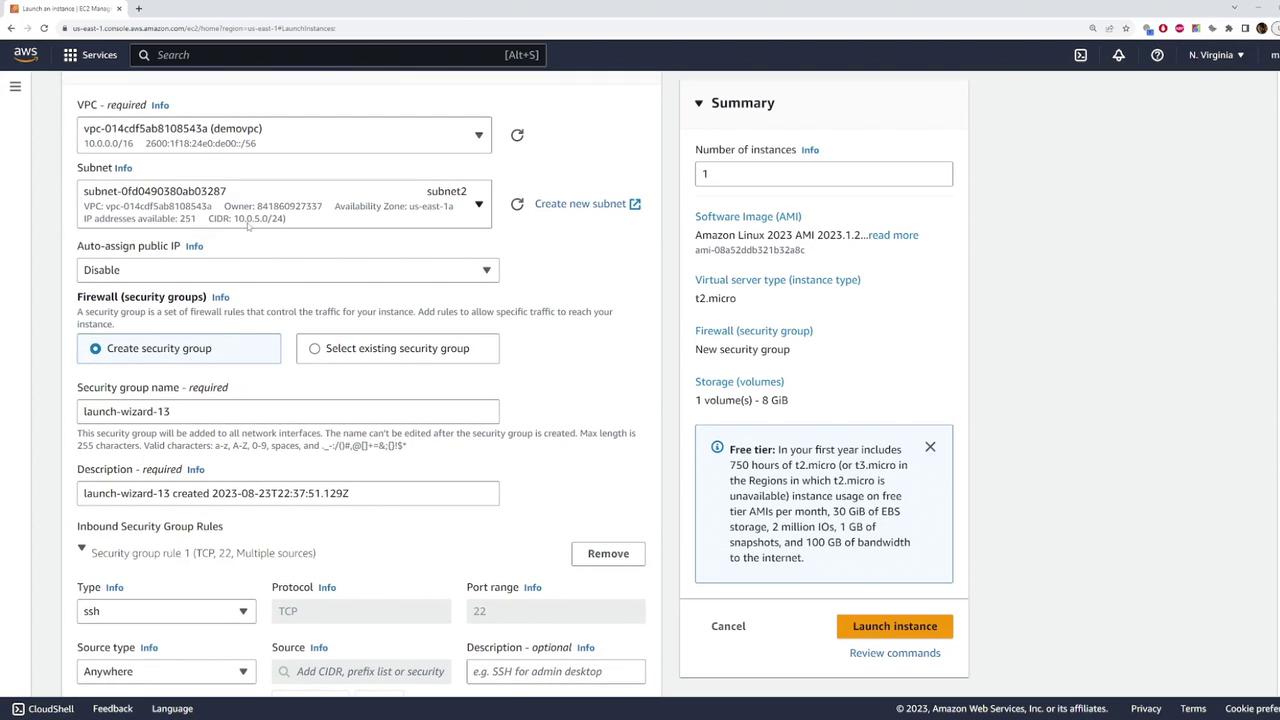
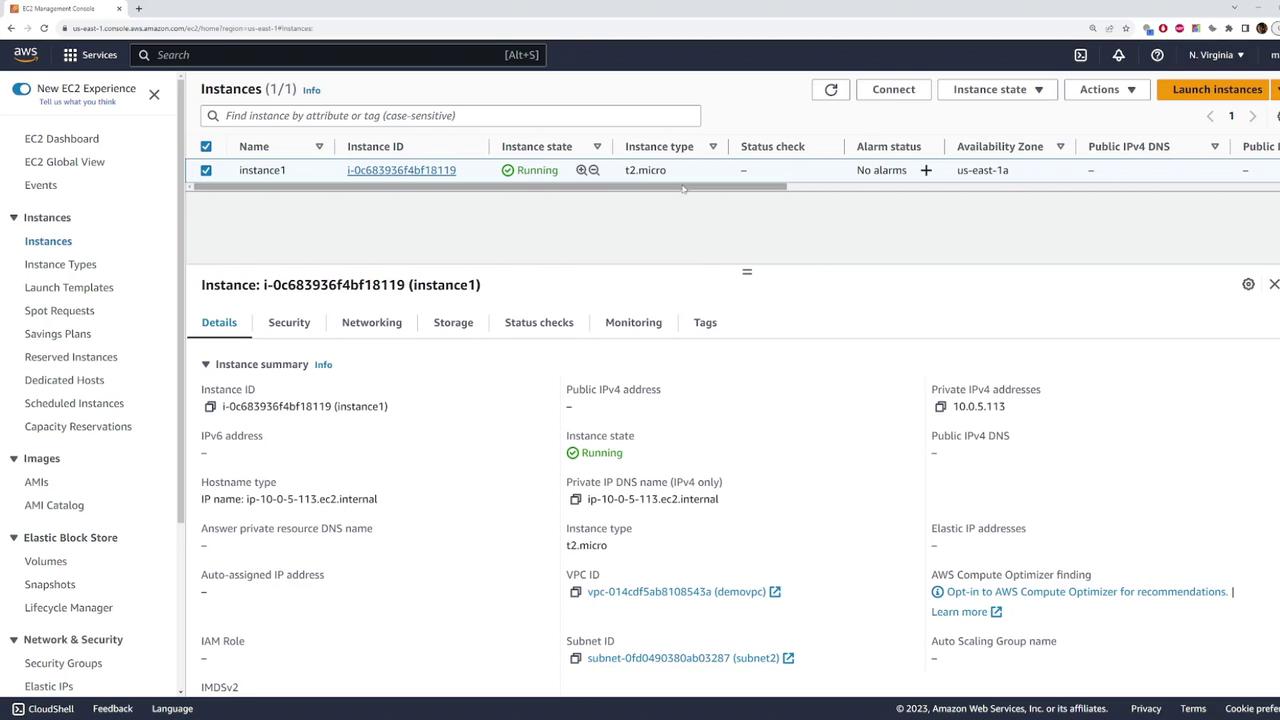
Step 3: Deploy an EC2 Instance in a Specific Subnet
To demonstrate subnet usage, you can launch an EC2 instance in one of your subnets:- Go to the EC2 launch interface and select the VPC you created.
- Under the networking section, you will see both subnets available. For this example, choose subnet two (US East 1A) so that the instance will be deployed with an IP address within the 10.0.5.0/24 range.
- Select your desired Amazon Machine Image (AMI), choose an existing key pair, and keep the default security group settings.
- Launch the instance. AWS will automatically assign a private IP address from subnet two.
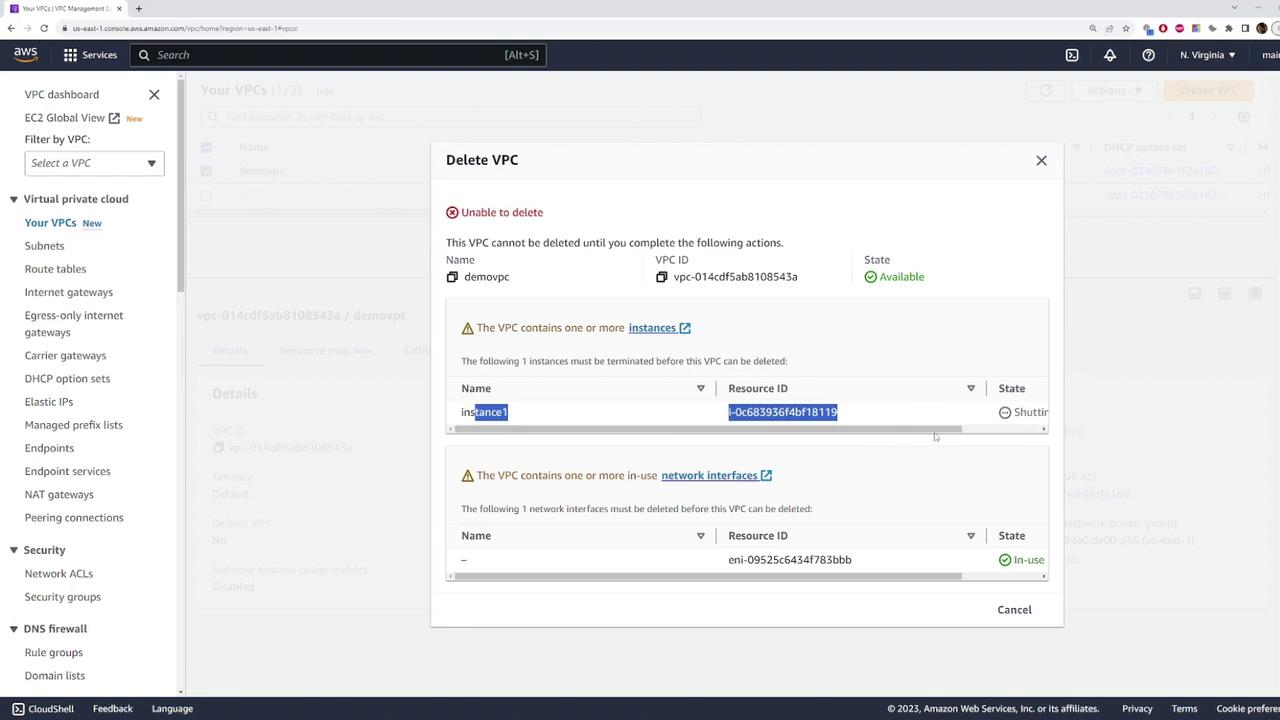
Step 4: Clean Up Resources
When you no longer need the instance or the VPC, it is important to terminate and delete them properly:- Delete the EC2 instance from the Instances section. Confirm that it has been terminated.
- Return to your demo VPC and delete it. Note that deleting the VPC will also remove all associated subnets.
If an error occurs during deletion because the instance is still shutting down, wait a few seconds and try again. Ensure that all instances and network interfaces have been terminated before deleting the VPC.
Summary of Steps
| Step Number | Action | Details |
|---|---|---|
| 1 | Create a VPC | Name: demo VPC, CIDR: 10.0.0.0/16 |
| 2 | Create Subnets | Subnet one: 10.0.1.0/24 (US East 1D); Subnet two: 10.0.5.0/24 (US East 1A) |
| 3 | Launch an EC2 Instance | Deploy in subnet two; assigned IP in 10.0.5.0/24 |
| 4 | Clean Up | Terminate the instance and delete the VPC |