Uploading Files with a Custom Storage Class
- Create a new S3 bucket (for example, “kk-sc-demo”) using the default settings.
- Once the bucket is created, click the Upload button and select a file from your computer.
- During the upload process, in the file properties section, notice that the default storage class is set to Standard.
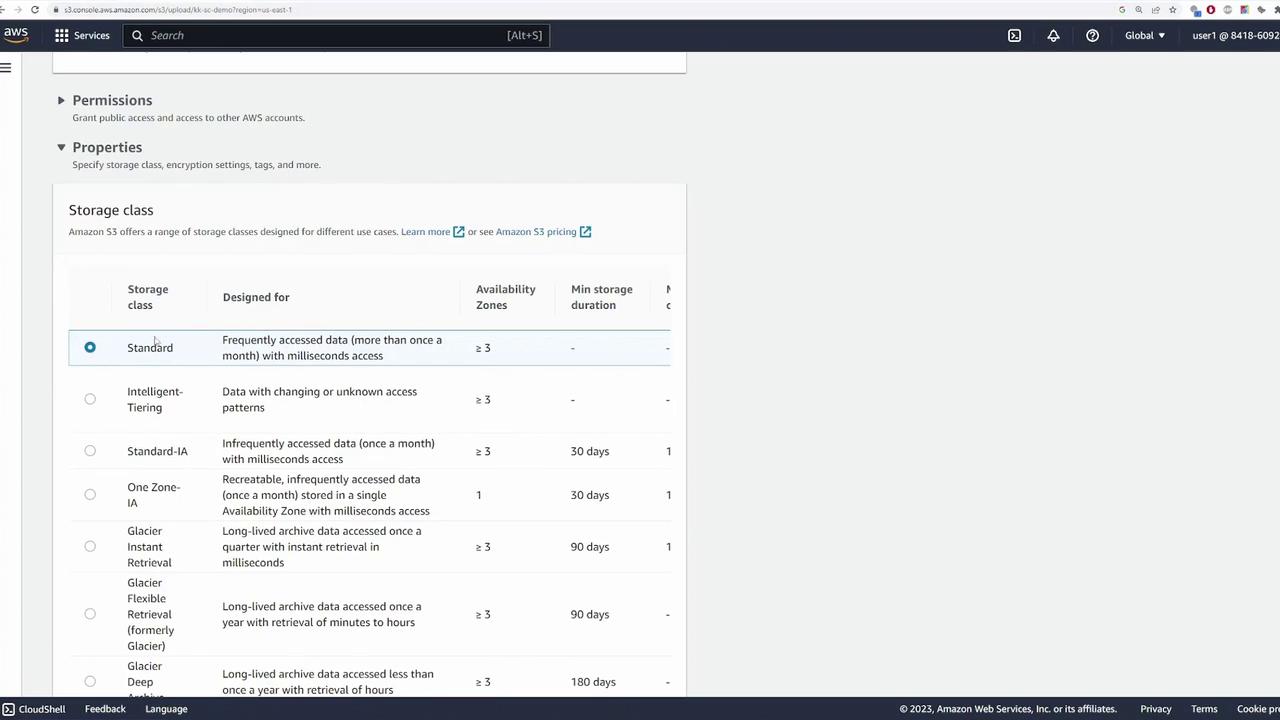
For optimal cost management, consider selecting the One Zone Infrequent Access storage class if your data is accessed less frequently but requires rapid retrieval.
- Change the storage class from Standard to One Zone Infrequent Access, then upload the file.
- Once the upload completes, verify that the file’s storage class is set to One Zone Infrequent Access.
Modifying the Storage Class of an Existing Object
If you need to change the storage class after the upload:- Navigate to the object’s properties in the S3 console.
- Edit the storage class setting and choose the desired option. For example, you can switch it back to Standard.
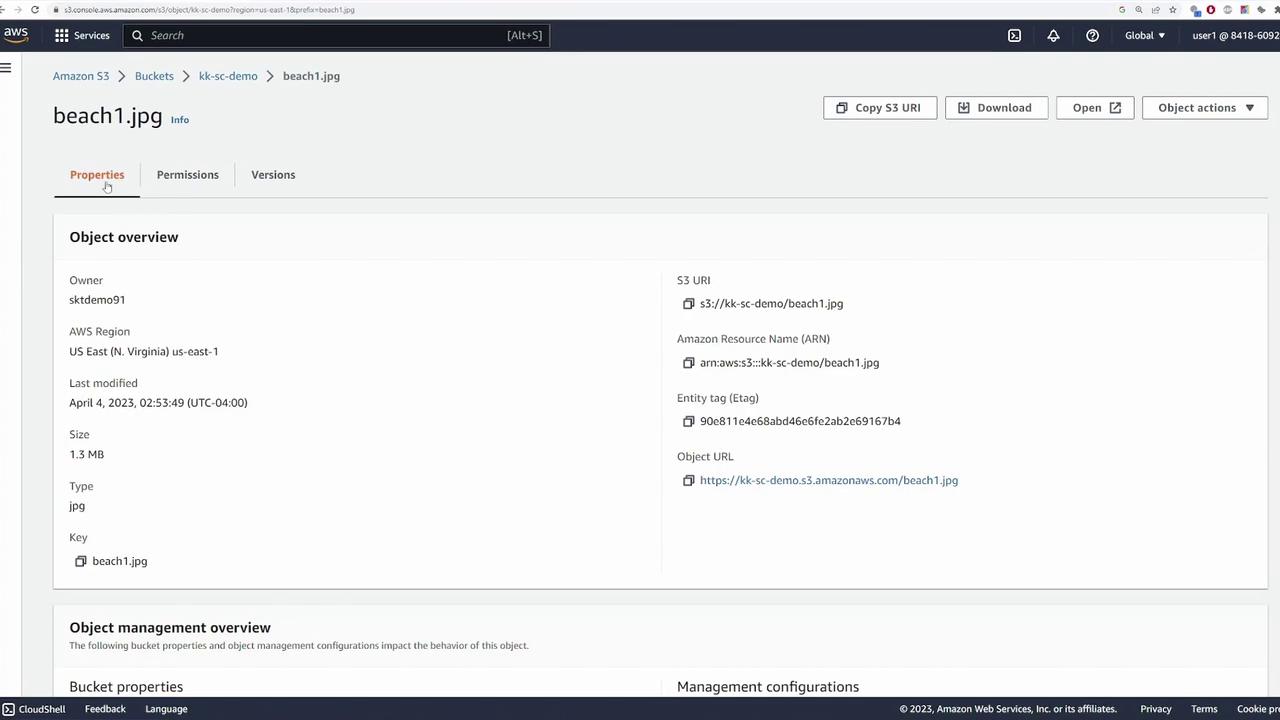
Changing storage classes can help optimize costs and performance. Review your storage needs and access patterns to select the most appropriate option.