This tutorial explores Amazon S3 versioning, demonstrating bucket creation, file uploads, version management, and deletion processes.
In this tutorial, we’ll explore how versioning works in Amazon S3. First, we’ll create an S3 bucket with versioning disabled to review the default behavior. Later, we’ll enable versioning and compare the differences.
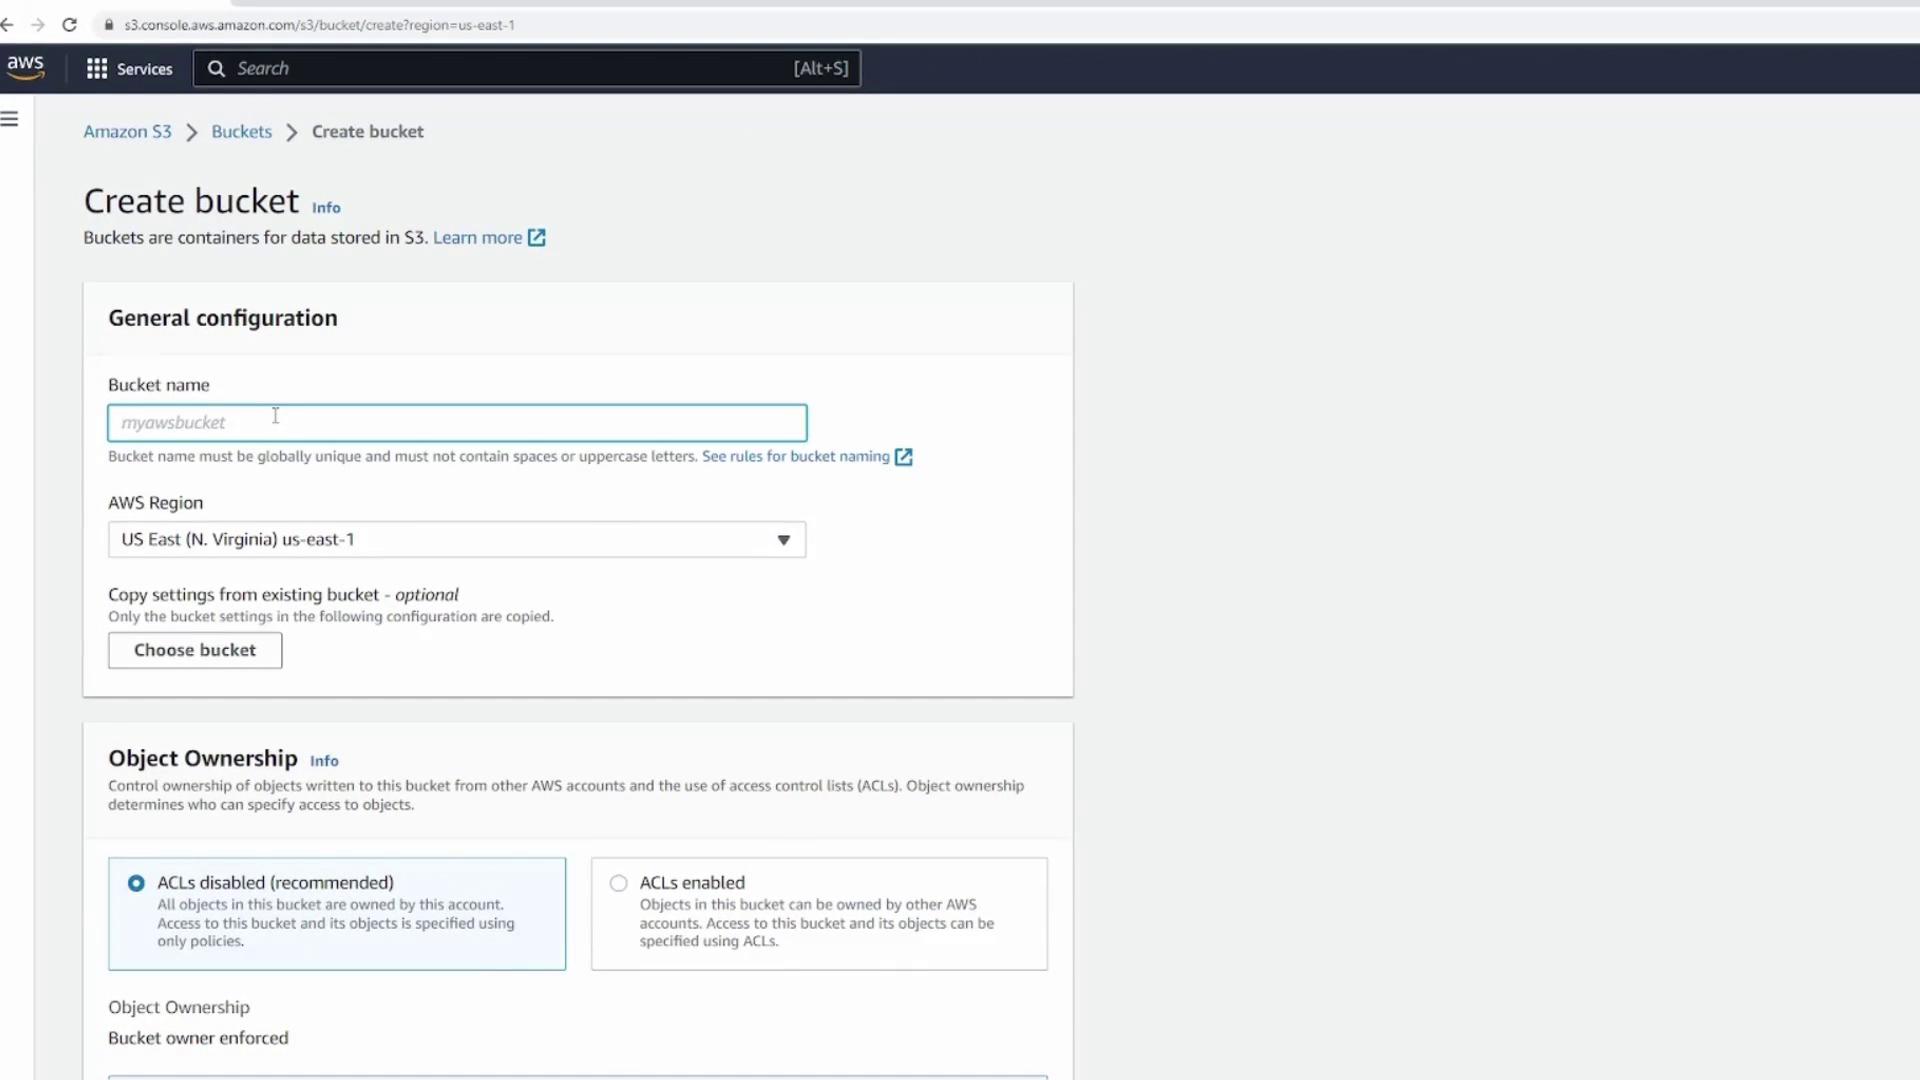
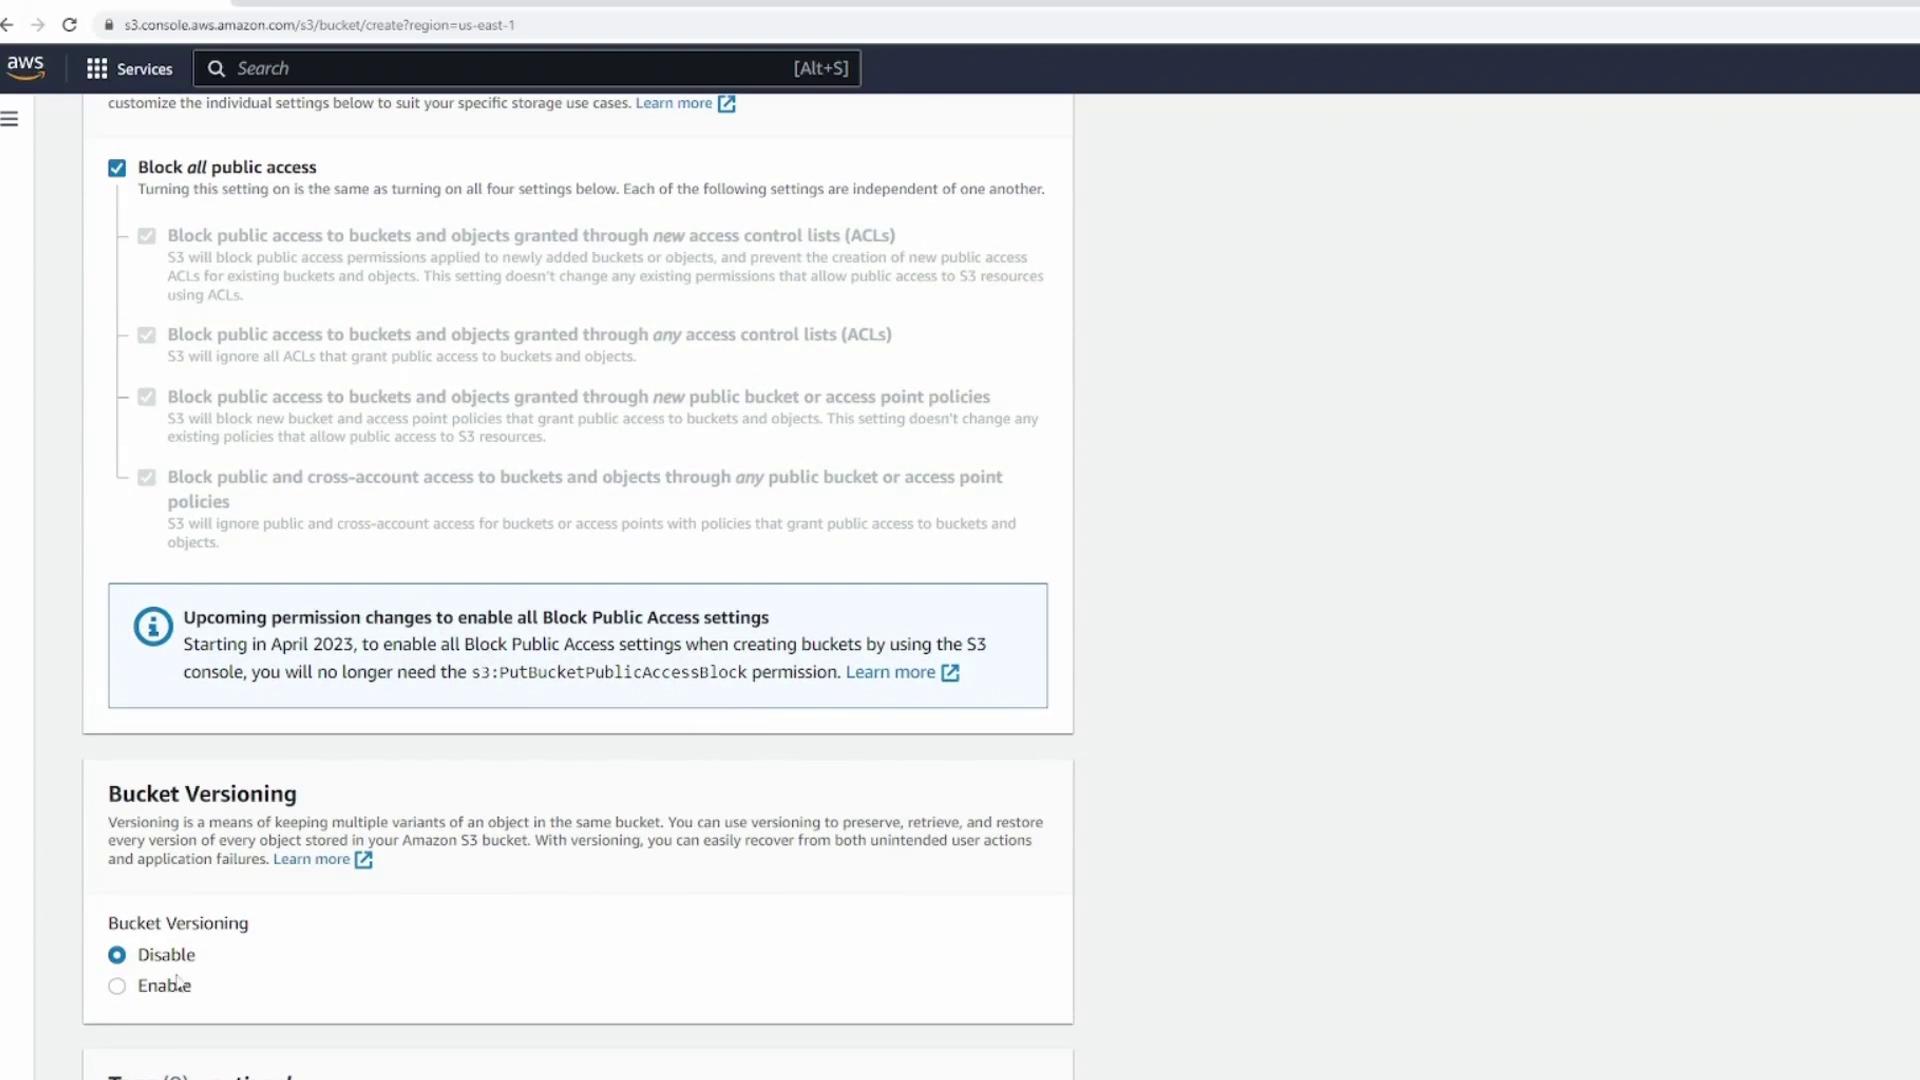
Begin by navigating to the AWS S3 console and create a new bucket. For this example, name the bucket “versioning demo” and retain all default settings. Ensure that bucket versioning is set to disabled.
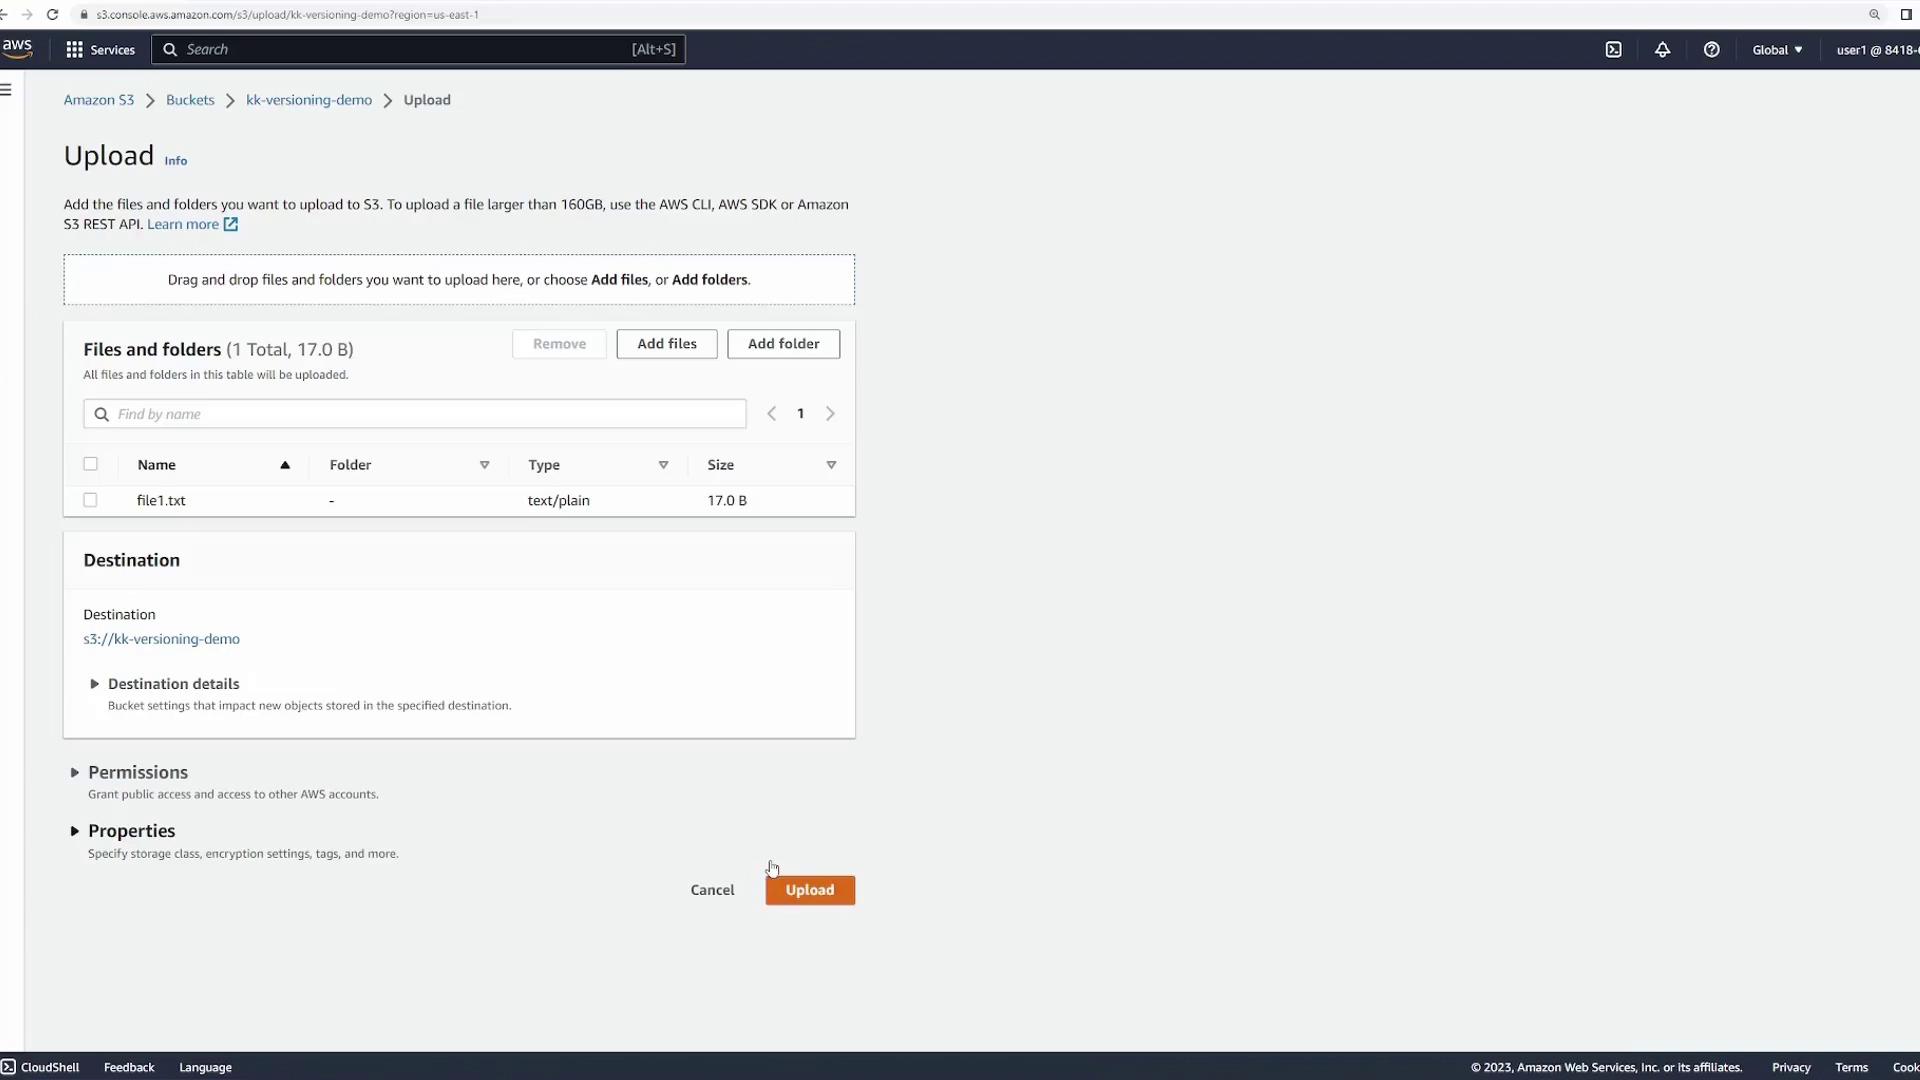
Open the newly created bucket and upload a dummy text file named “file1.txt” containing the following content:
Copy
this is version 1
This simple content makes it easy to track changes in later versions. After uploading the file, click “Close”.
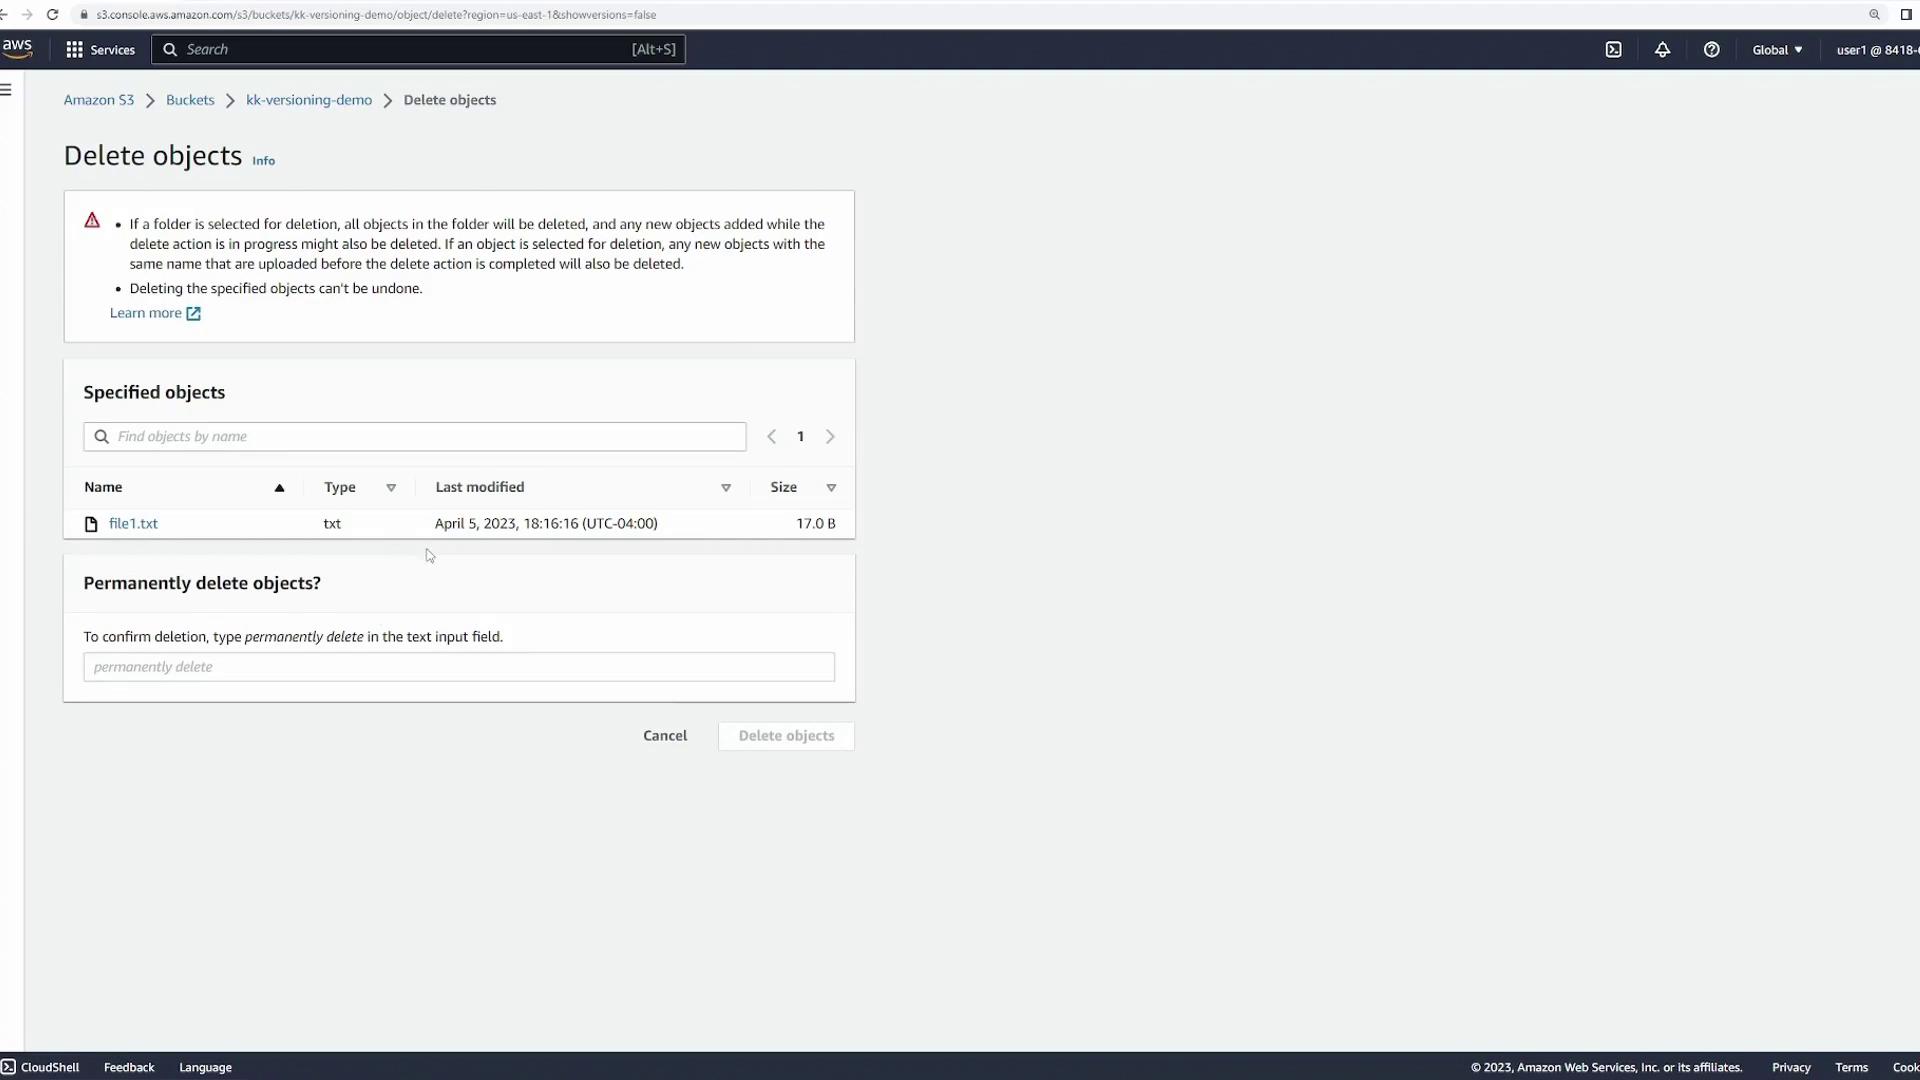
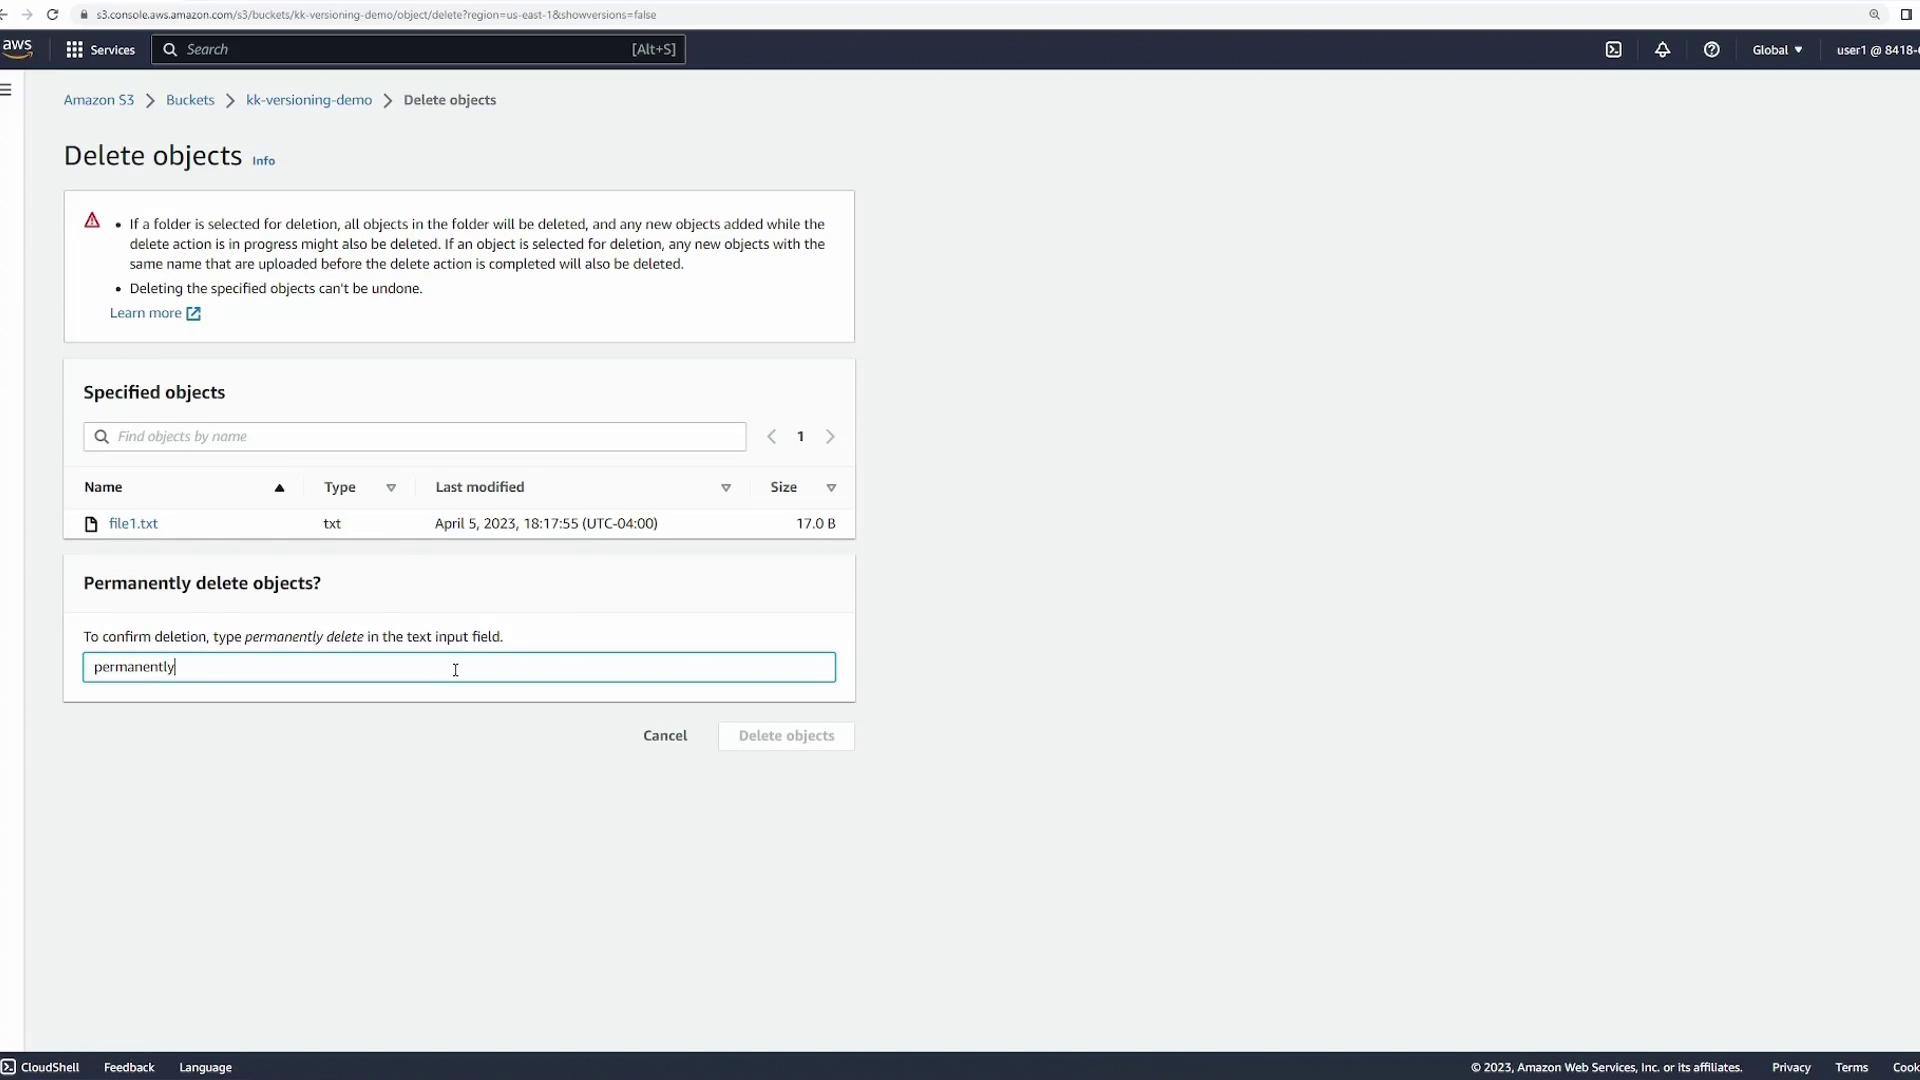
Once uploaded, open the file from the bucket to verify it displays “this is version 1”. Next, select the file and attempt to delete it. Since versioning is disabled, Amazon S3 will prompt you to permanently delete the file:
When versioning is disabled, deleting a file permanently removes it from your bucket with no recovery option.
3. Re-uploading and Overwriting the File without Versioning
To continue the demonstration, re-upload “file1.txt” ensuring it still contains “this is version 1”. Then, modify the file content to the following:
Copy
this is version 2
When you upload the updated file using the same key, Amazon S3 overwrites the existing file. Opening “file1.txt” will now display “this is version 2”. Note that the original version is lost because versioning is not enabled.
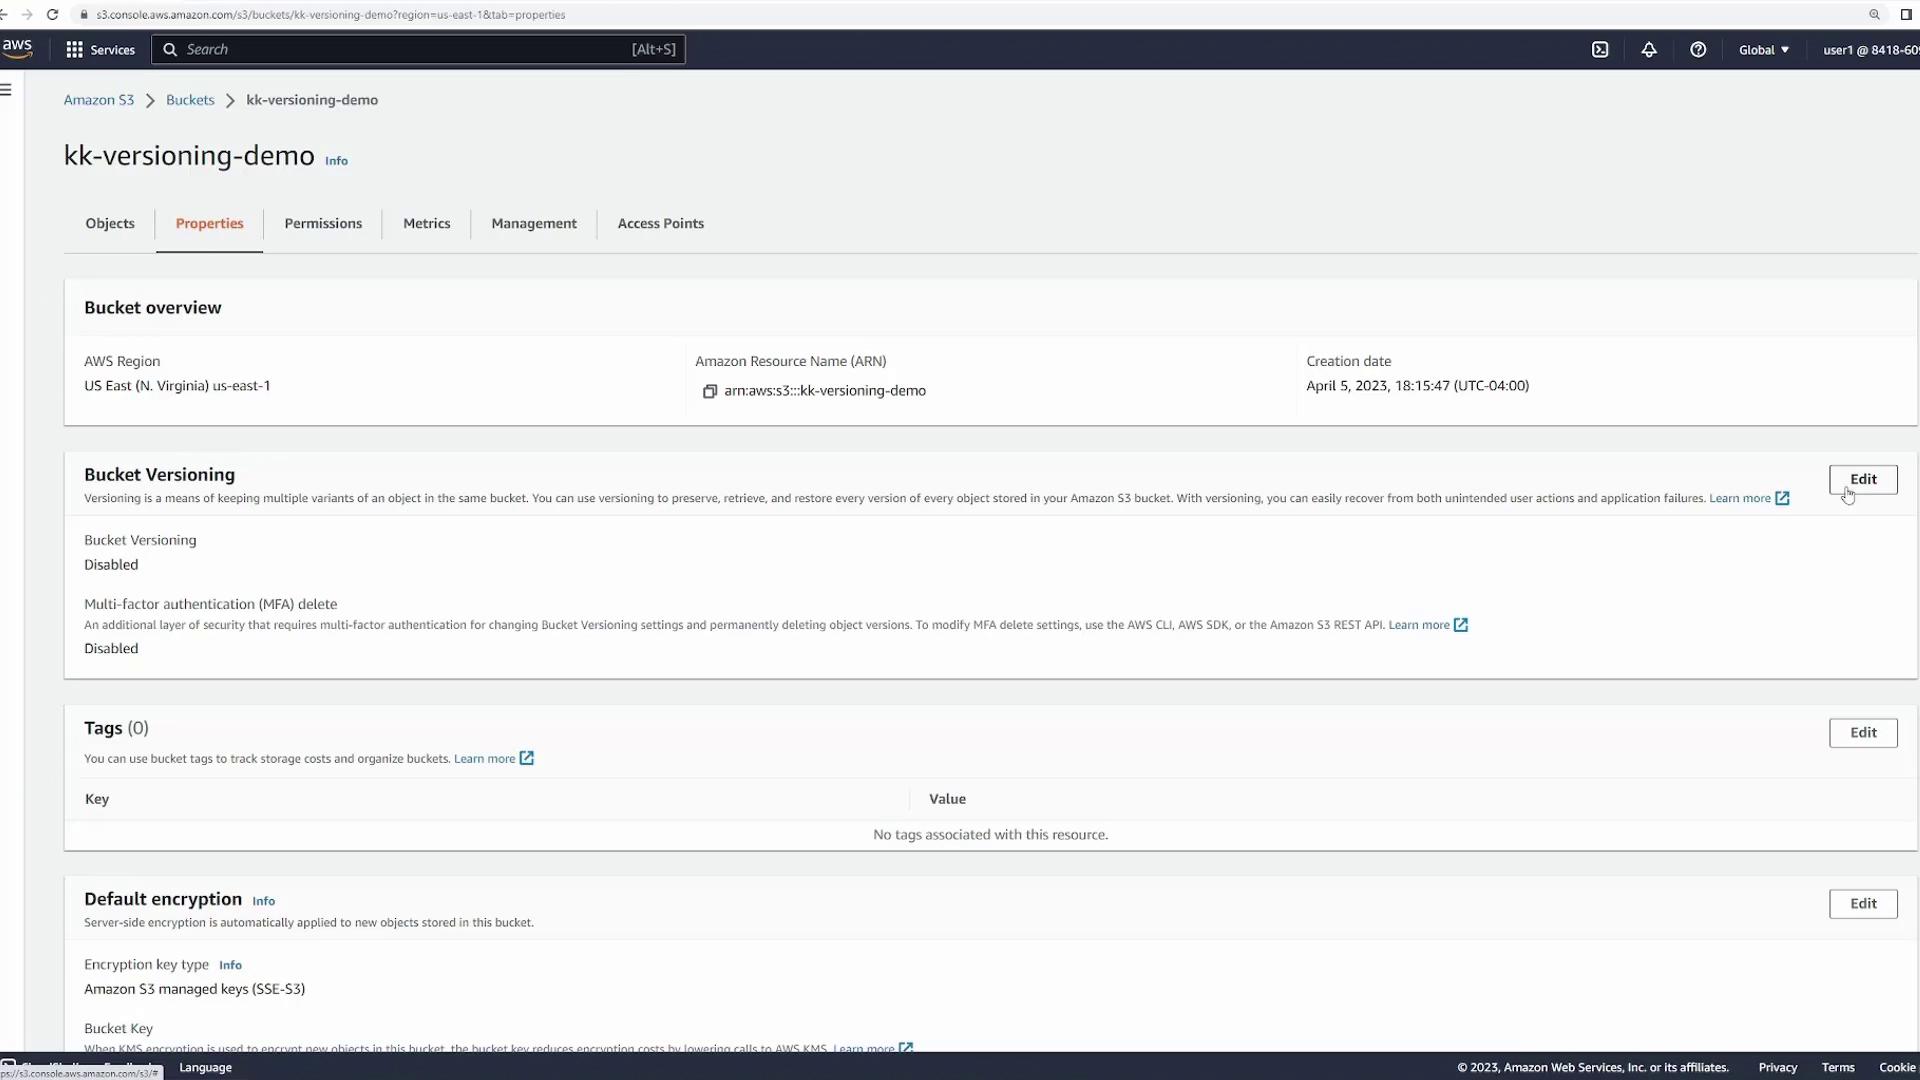
Now, let’s enable versioning for the bucket. Navigate to the bucket’s properties, select “Versioning”, and click “Edit”. Then, enable versioning and save your changes. The interface will now display a “show versions” option when you view your bucket’s contents.
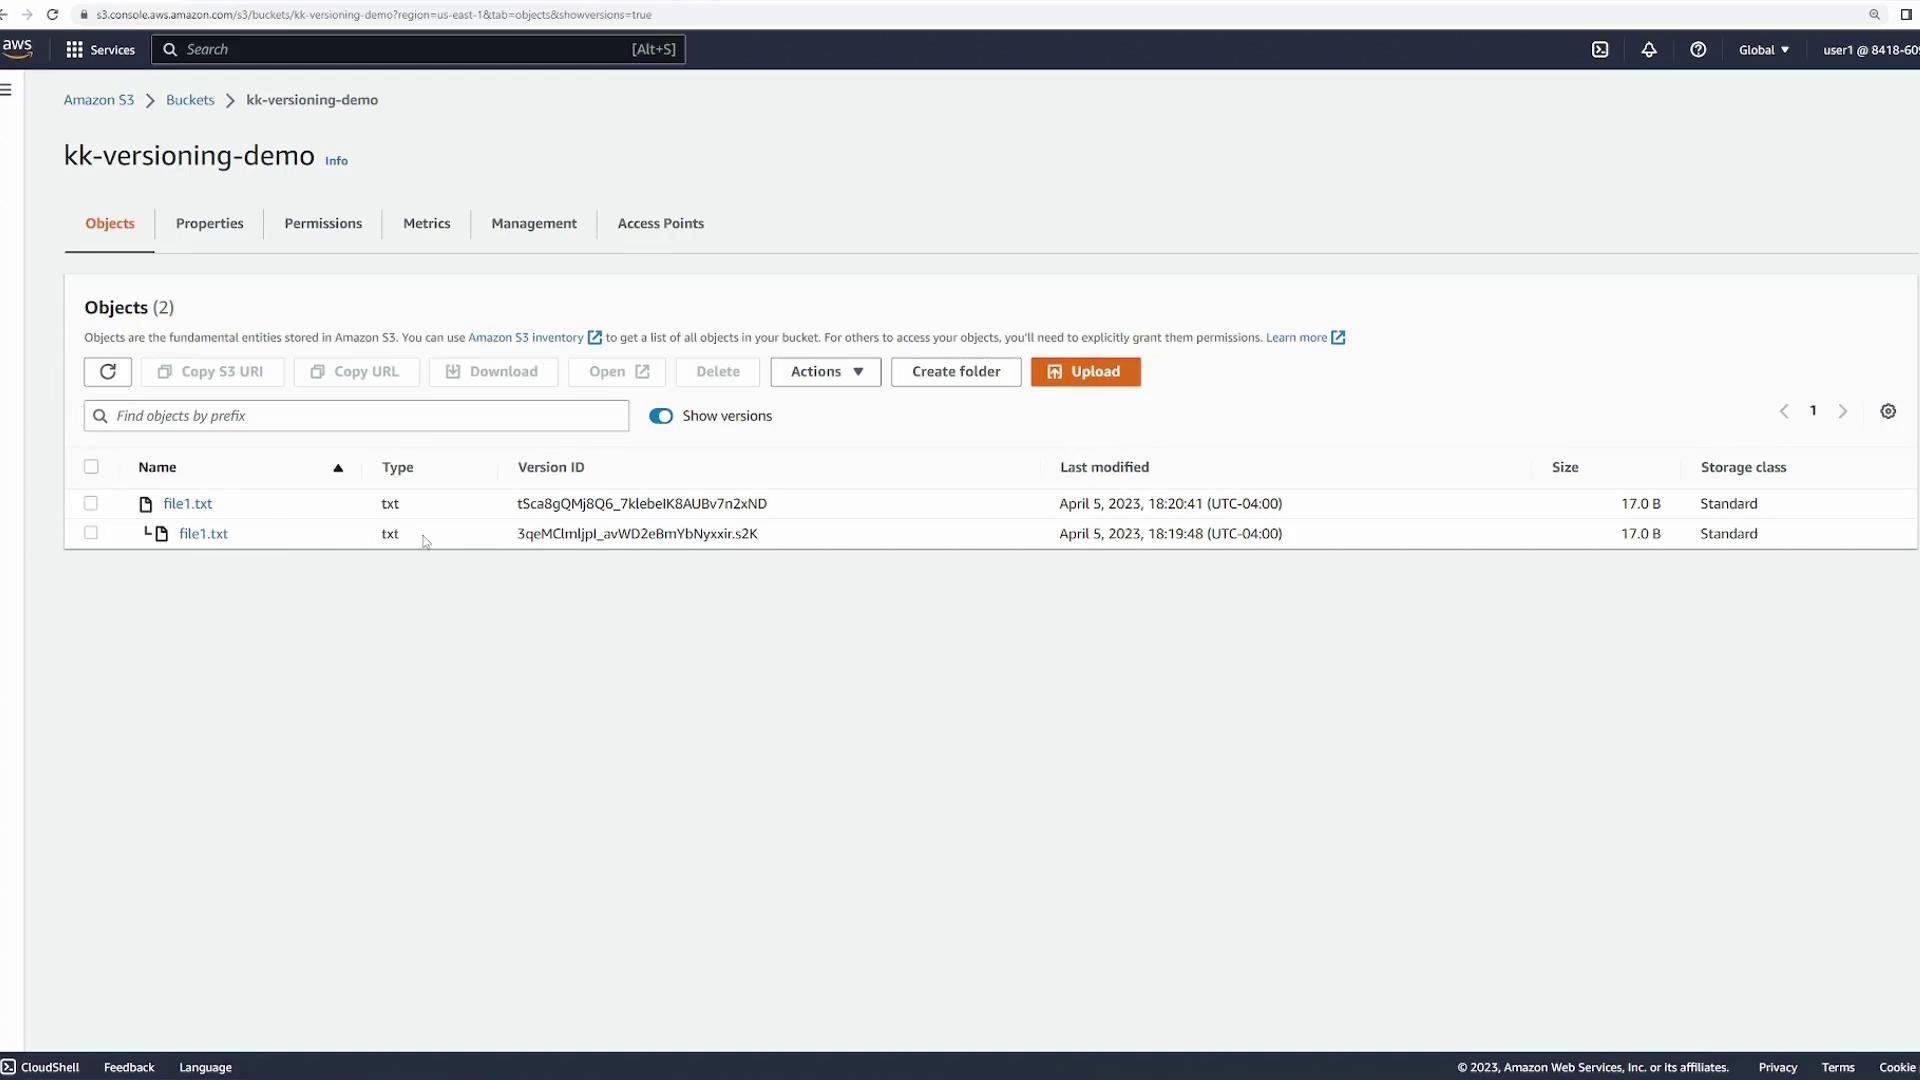
After enabling versioning, upload “file1.txt” again. Even though the UI looks similar, the file now receives a version ID. Open the file to confirm it contains “this is version 1”. Then, update the file content to:
Copy
this is version 2
Upload the file using the same key. Click on “show versions” to reveal both versions. The older version will have an earlier timestamp, while the current version shows the updated content.
Review both file versions by opening them, ensuring that each version retains its specific content.
Next, update “file1.txt” again by changing its content to:
Copy
this is version 3
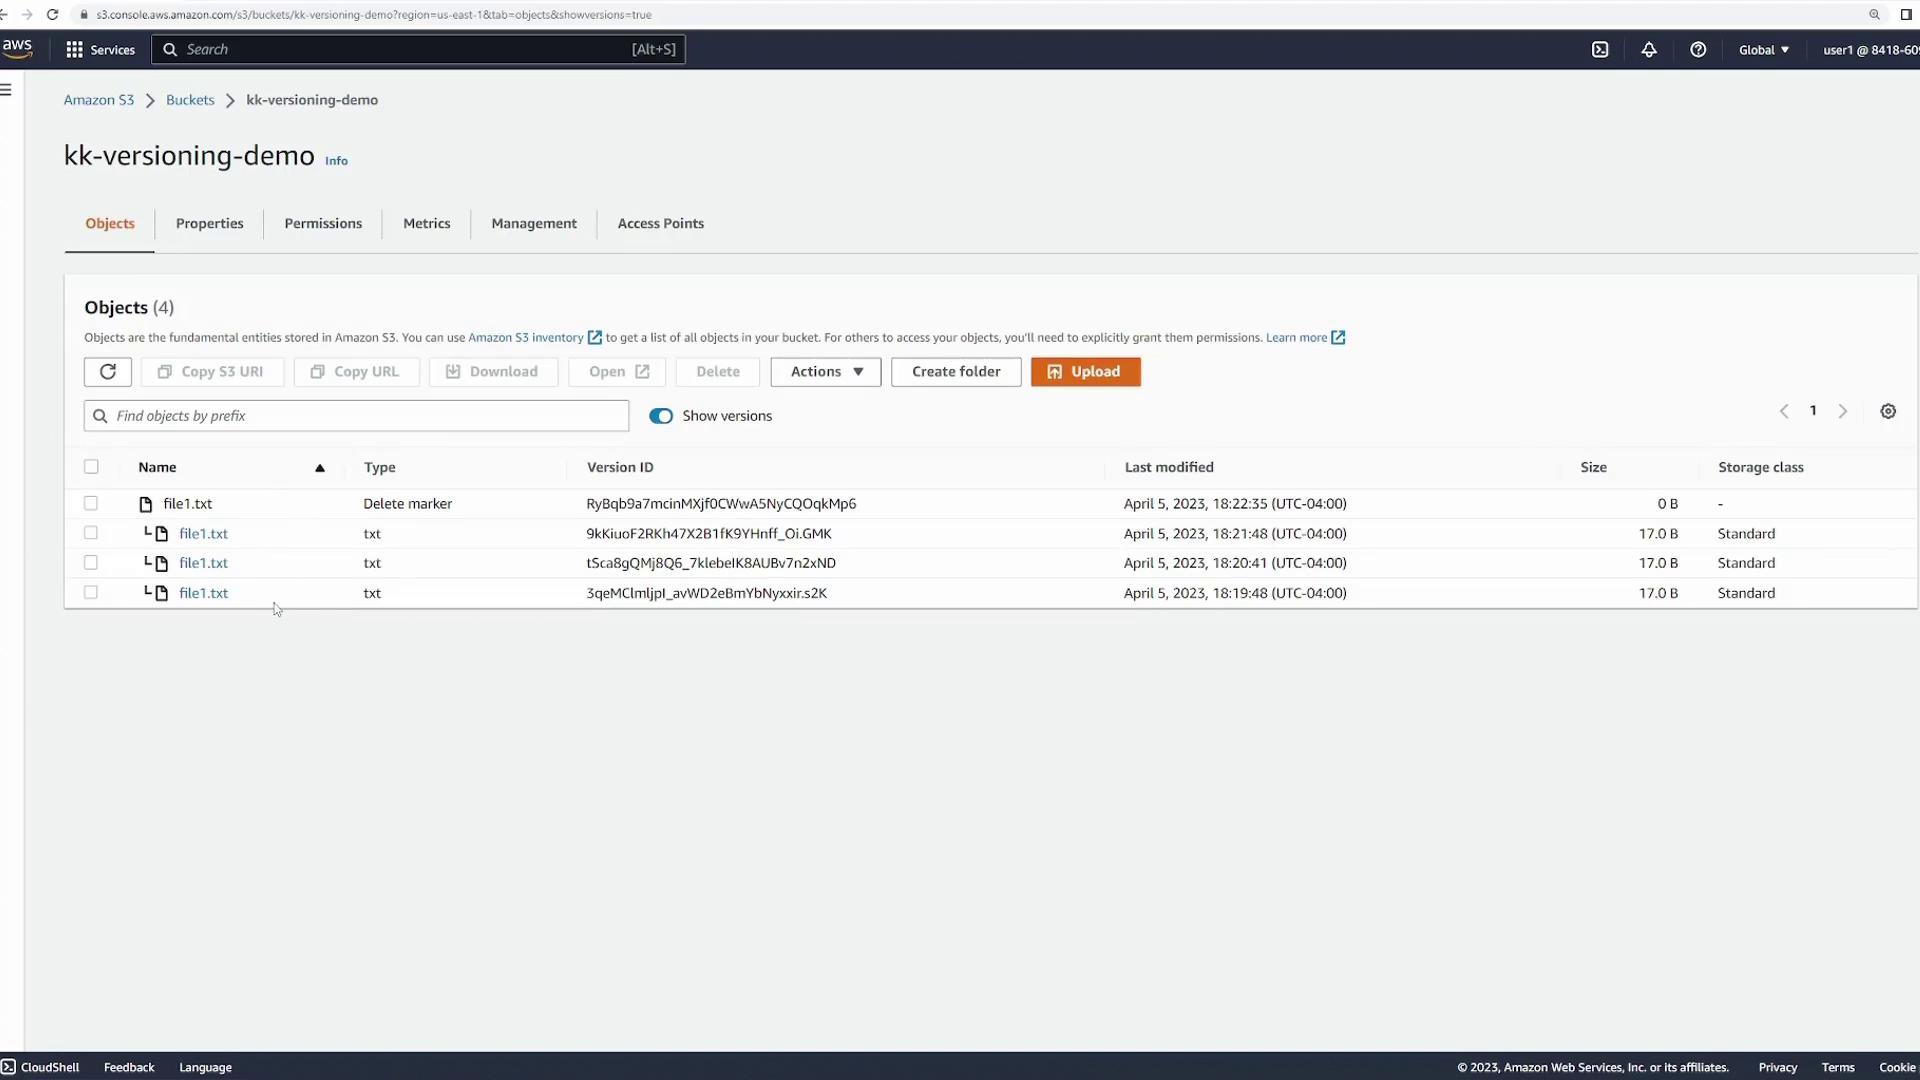
Upload the file, and the bucket will now contain three versions, with the most recent version reflecting the update.
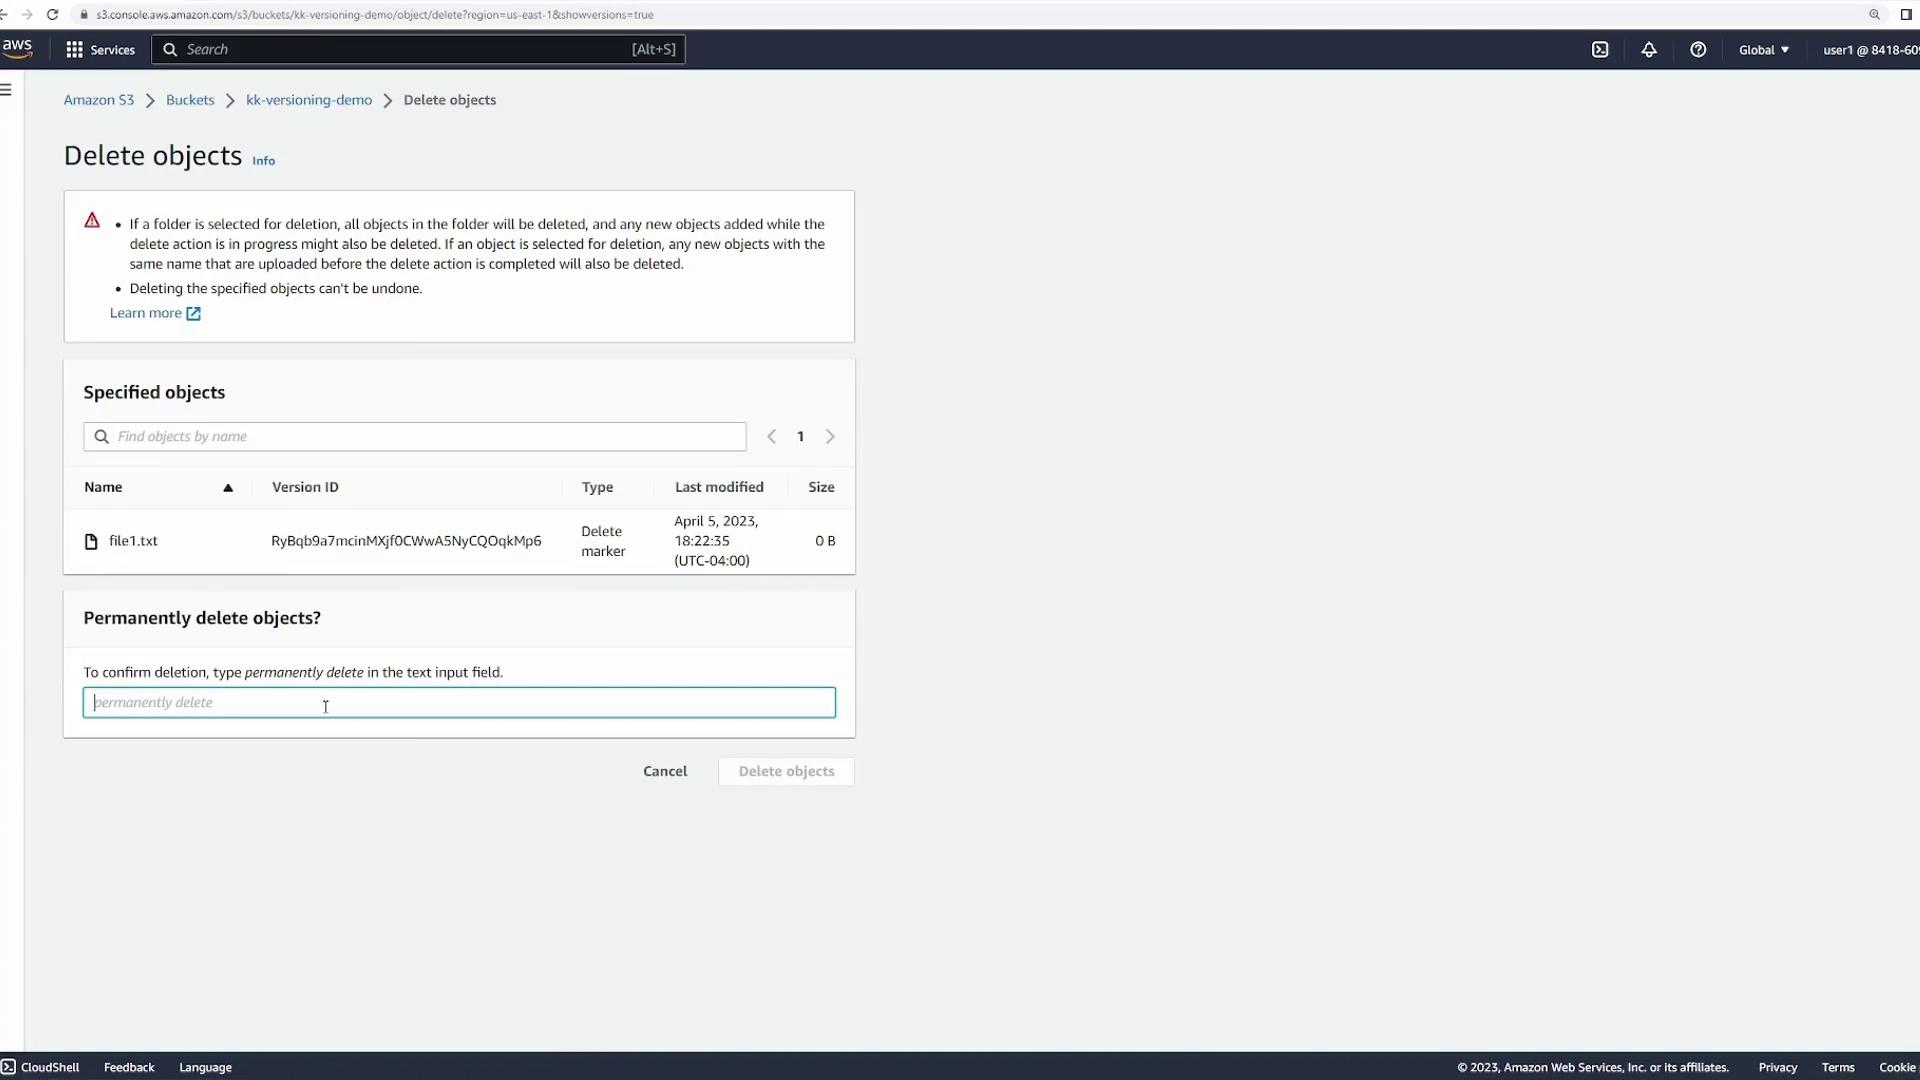
With versioning enabled, each distinct version is preserved using its unique version ID. When you delete a file now, Amazon S3 places a delete marker instead of permanently removing the object.Select the file and click “Delete”. Notice that the prompt simply asks for confirmation without requiring “permanently delete”:
After deletion, the file might not be visible until you enable “show versions”. Then all versions, including the delete marker, can be viewed.
To restore the file, simply delete the delete marker:
You can also permanently delete individual versions. For example, permanently removing version two will leave only versions one and three in your bucket.
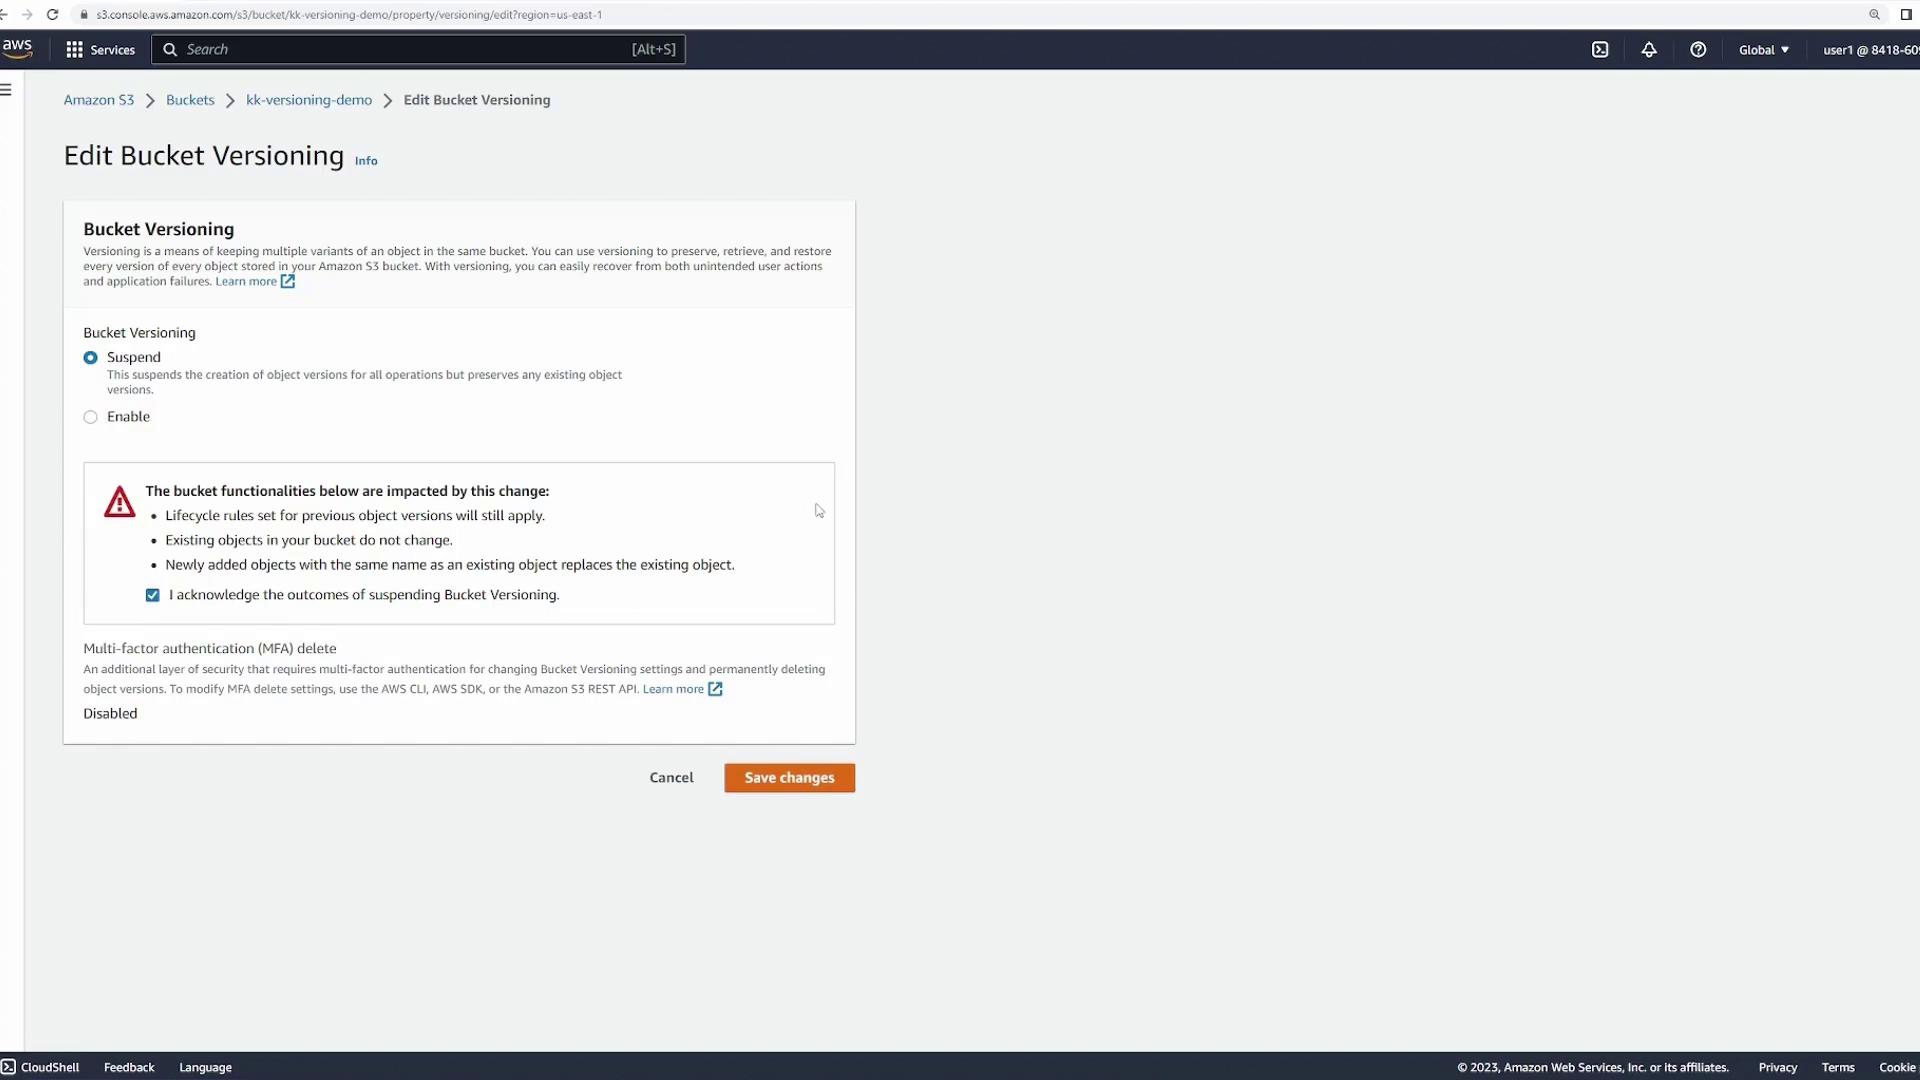
Once enabled, versioning cannot be fully disabled; it can only be suspended. To suspend versioning, go to the bucket properties and edit the versioning settings:
When versioning is suspended, existing versions remain intact. However, new uploads for an existing key will receive a version ID of “null”. Upload an updated “file1.txt” with the following content:
Copy
this is version 4
Even though versioning is suspended, you can still view all historical versions. The newly uploaded file will have a version ID of “null”. For further demonstration, upload another update with:
Copy
this is version 5
The bucket continues using “null” as the version ID for subsequent changes. This behavior indicates that only one live version is maintained for each key, although previous versions are still stored. If required, you can manually delete older versions.
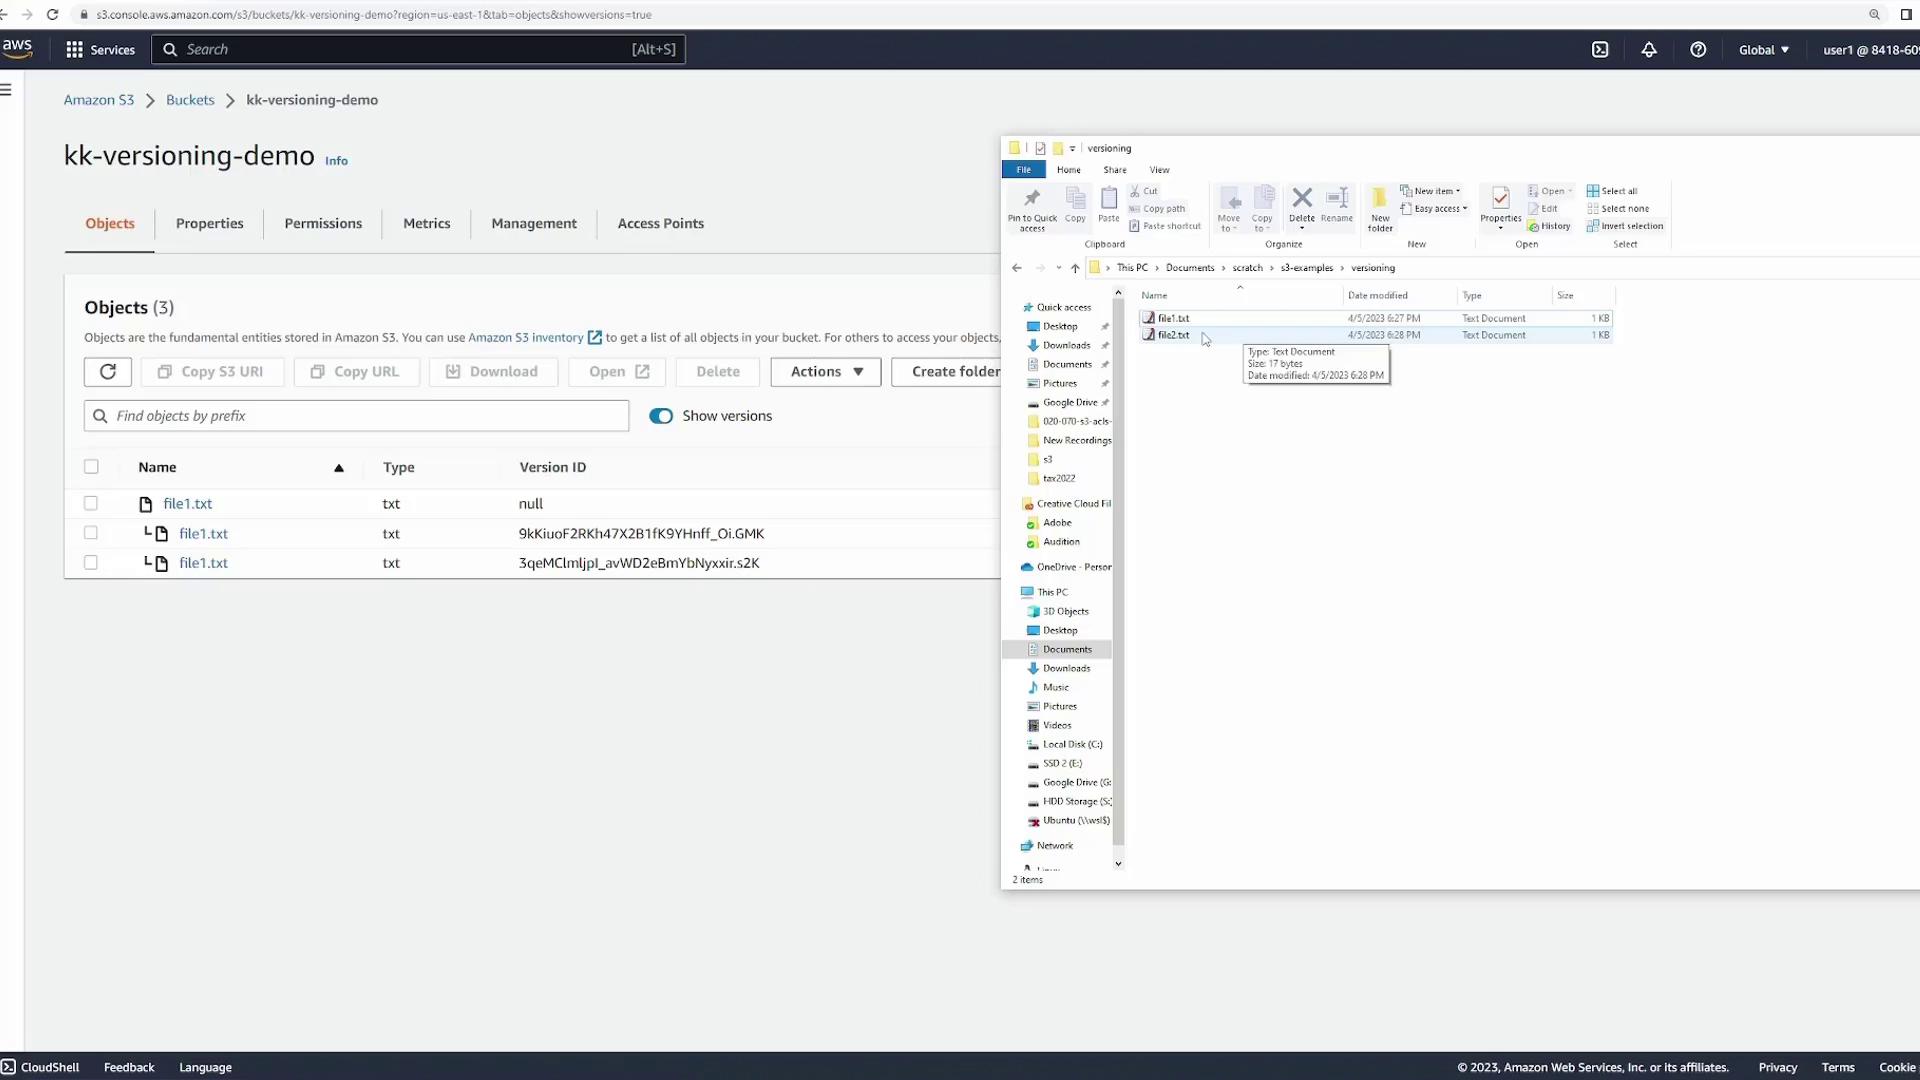
To illustrate versioning behavior for a new object key, create and upload a new file called “file2.txt” with the initial content:
Copy
this is version 5
After uploading “file2.txt”, enabling “show versions” will display that the file has a version ID of “null”. Updating the file (for example, changing the content to “this is version 2”) will overwrite the existing object, and the new upload will also have a version ID of “null” because versioning is suspended.
Another key feature is MFA delete. When enabled in the versioning configuration, MFA delete requires multi-factor authentication to make changes to the versioning status. Note that MFA delete can only be enabled via the AWS CLI or SDK, not through the console. For detailed setup instructions, please refer to the AWS Documentation.
MFA delete adds an additional layer of security by ensuring that changes to your versioning configuration require multi-factor authentication.
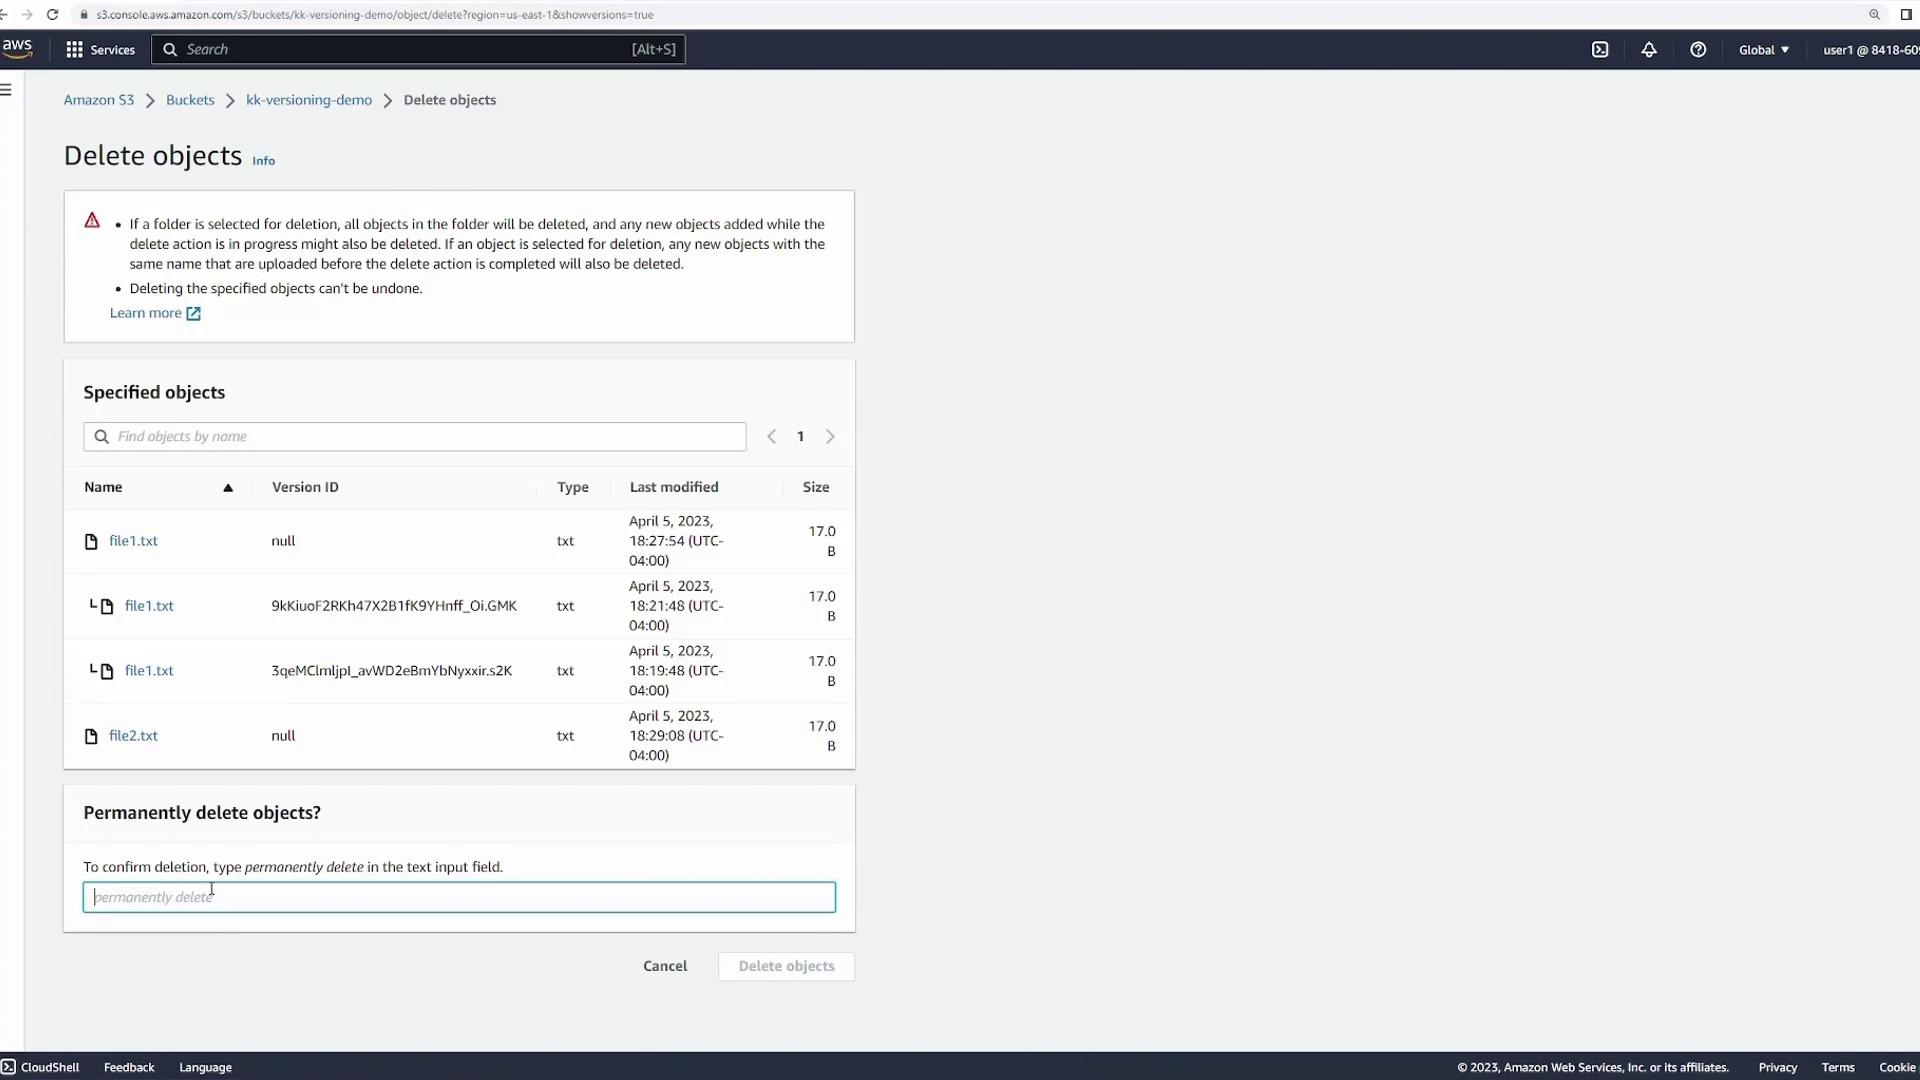
After completing the demonstration, it’s important to clean up. Delete the objects and then the bucket. When you delete objects with multiple versions, ensure that you review all versions and effectively remove them as needed.
Finally, delete the bucket to finish the cleanup process.This concludes our detailed demonstration of Amazon S3 versioning. Happy cloud computing!