Learn to automate changelog generation with Git and Azure Pipelines, and publish it directly to your Azure DevOps Wiki.
Maintaining a clear, up-to-date changelog is essential for tracking project history and communicating updates. In this guide, you’ll learn how to automate changelog generation with Git and Azure Pipelines, then publish it directly to your Azure DevOps Wiki.
Start by extracting commit history in chronological order:
git log --pretty=format:"%s" -s --reverse
Example output:
- Initial Commit- Adding Wiki- Set up CI with Azure Pipelines- Update azure-pipelines.yml for Azure Pipelines- adding push- trying git push- testing build- changing yml- changing a few things- will it work- Update release notes in wiki folder
To include author and relative date, adjust the format string:
git log --pretty=format:"%s - %an, %ar" --reverse
Sample entries:
Initial Commit - Alice, 2 years agoAdding Wiki - Bob, 2 years agoSet up CI with Azure Pipelines - Carol, 1 year ago...
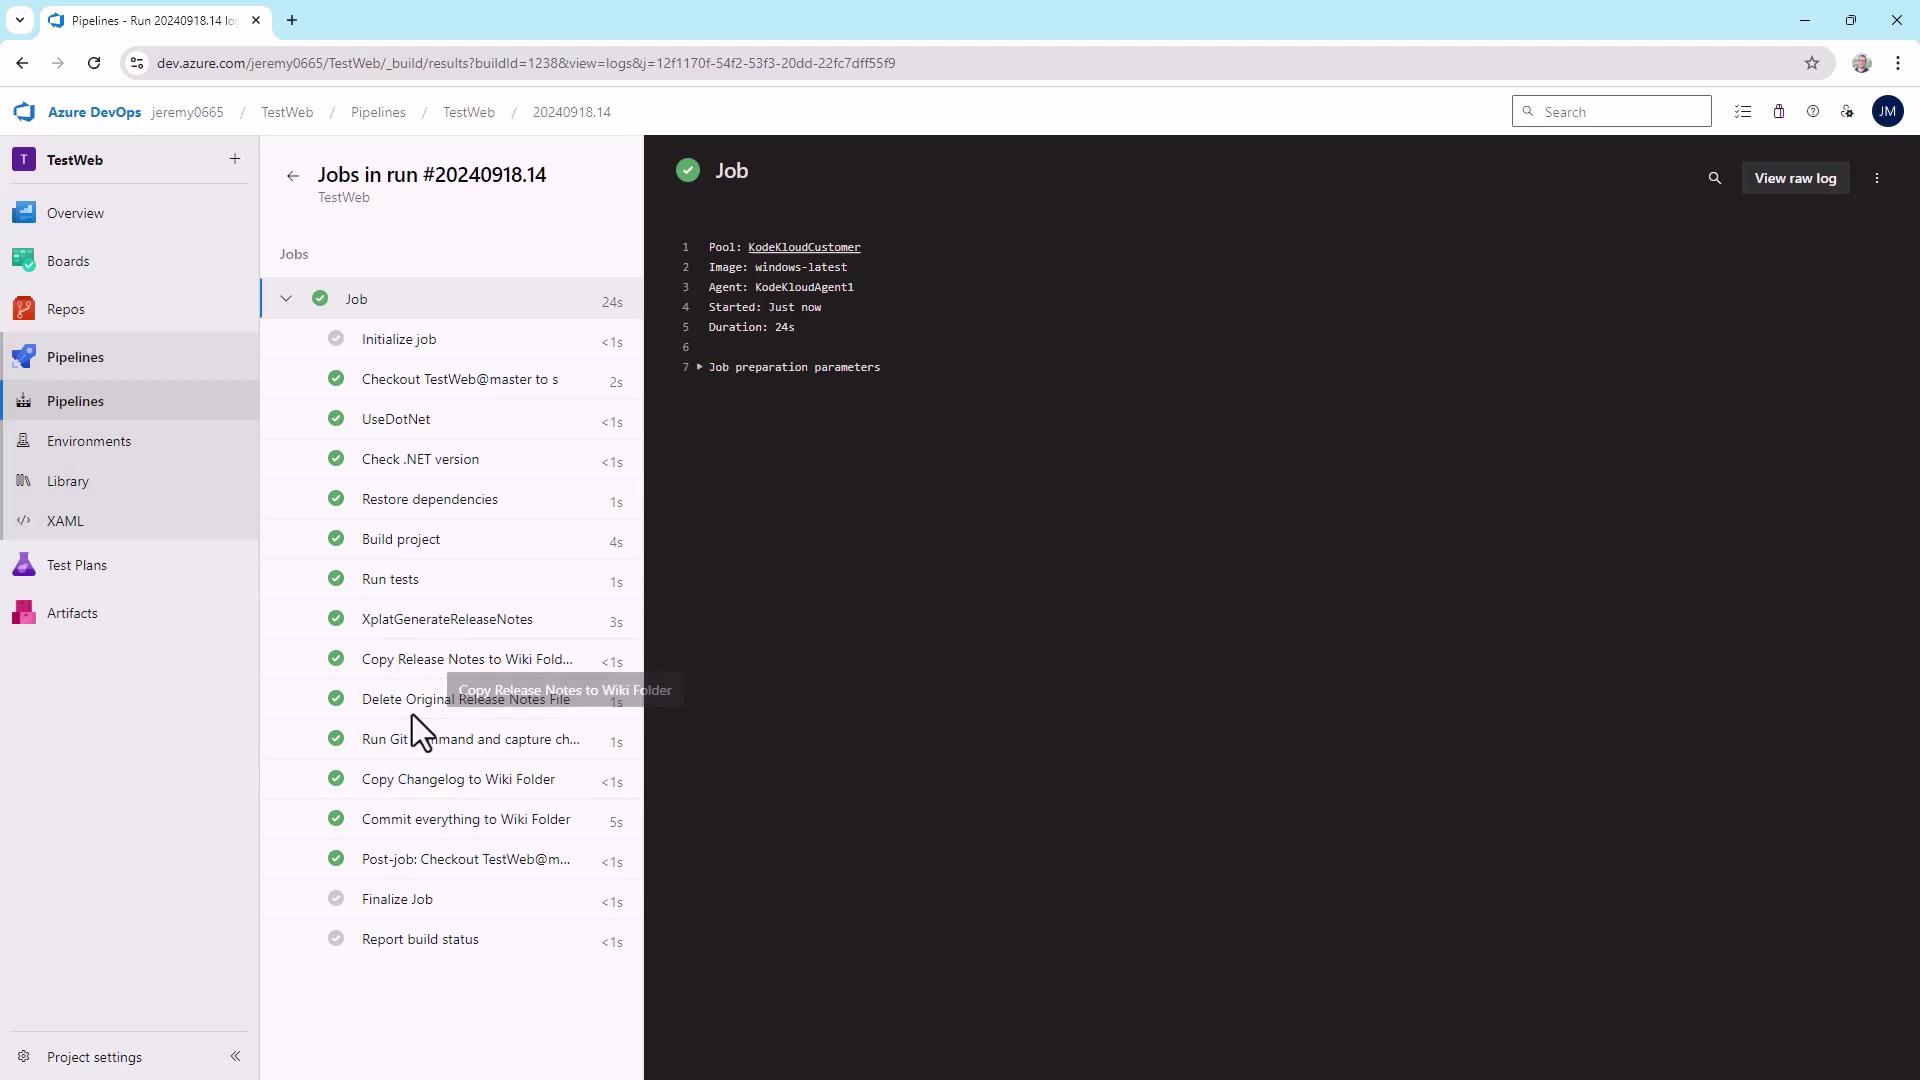
During execution, tasks run in sequence: job initialization, code checkout, dependency restore, build, release note generation, changelog creation, and file copying.
After the “Copy Changelog to Wiki Folder” step, the logs will confirm file operations:
Starting: Copy Changelog to Wiki Folder=====================================================Task : Copy filesDescription : Copy files from a source folder to a target folder using patterns matching file paths (not folder paths)Version : 2.238.0Author : Microsoft CorporationHelp : https://docs.microsoft.com/azure/devops/pipelines/tasks/utility/copy-files=====================================================found 1 filesCleaning target folder: C:\agent\_work\5\wikiCopying C:\agent\_work\5\CHANGELOG.md to C:\agent\_work\5\wiki\CHANGELOG.mdFinishing: Copy Changelog to Wiki Folder