AZ-400: Designing and Implementing Microsoft DevOps Solutions

Configure Activity Traceability and Flow of Work

Demo Integrate Azure Pipelines and GitHub Actions

In this guide, you’ll learn how to trigger an Azure Pipeline automatically from a GitHub Action whenever you push code to the main branch. By the end, you’ll have a seamless CI flow between GitHub and Azure DevOps.


1. Connect GitHub to Azure DevOps

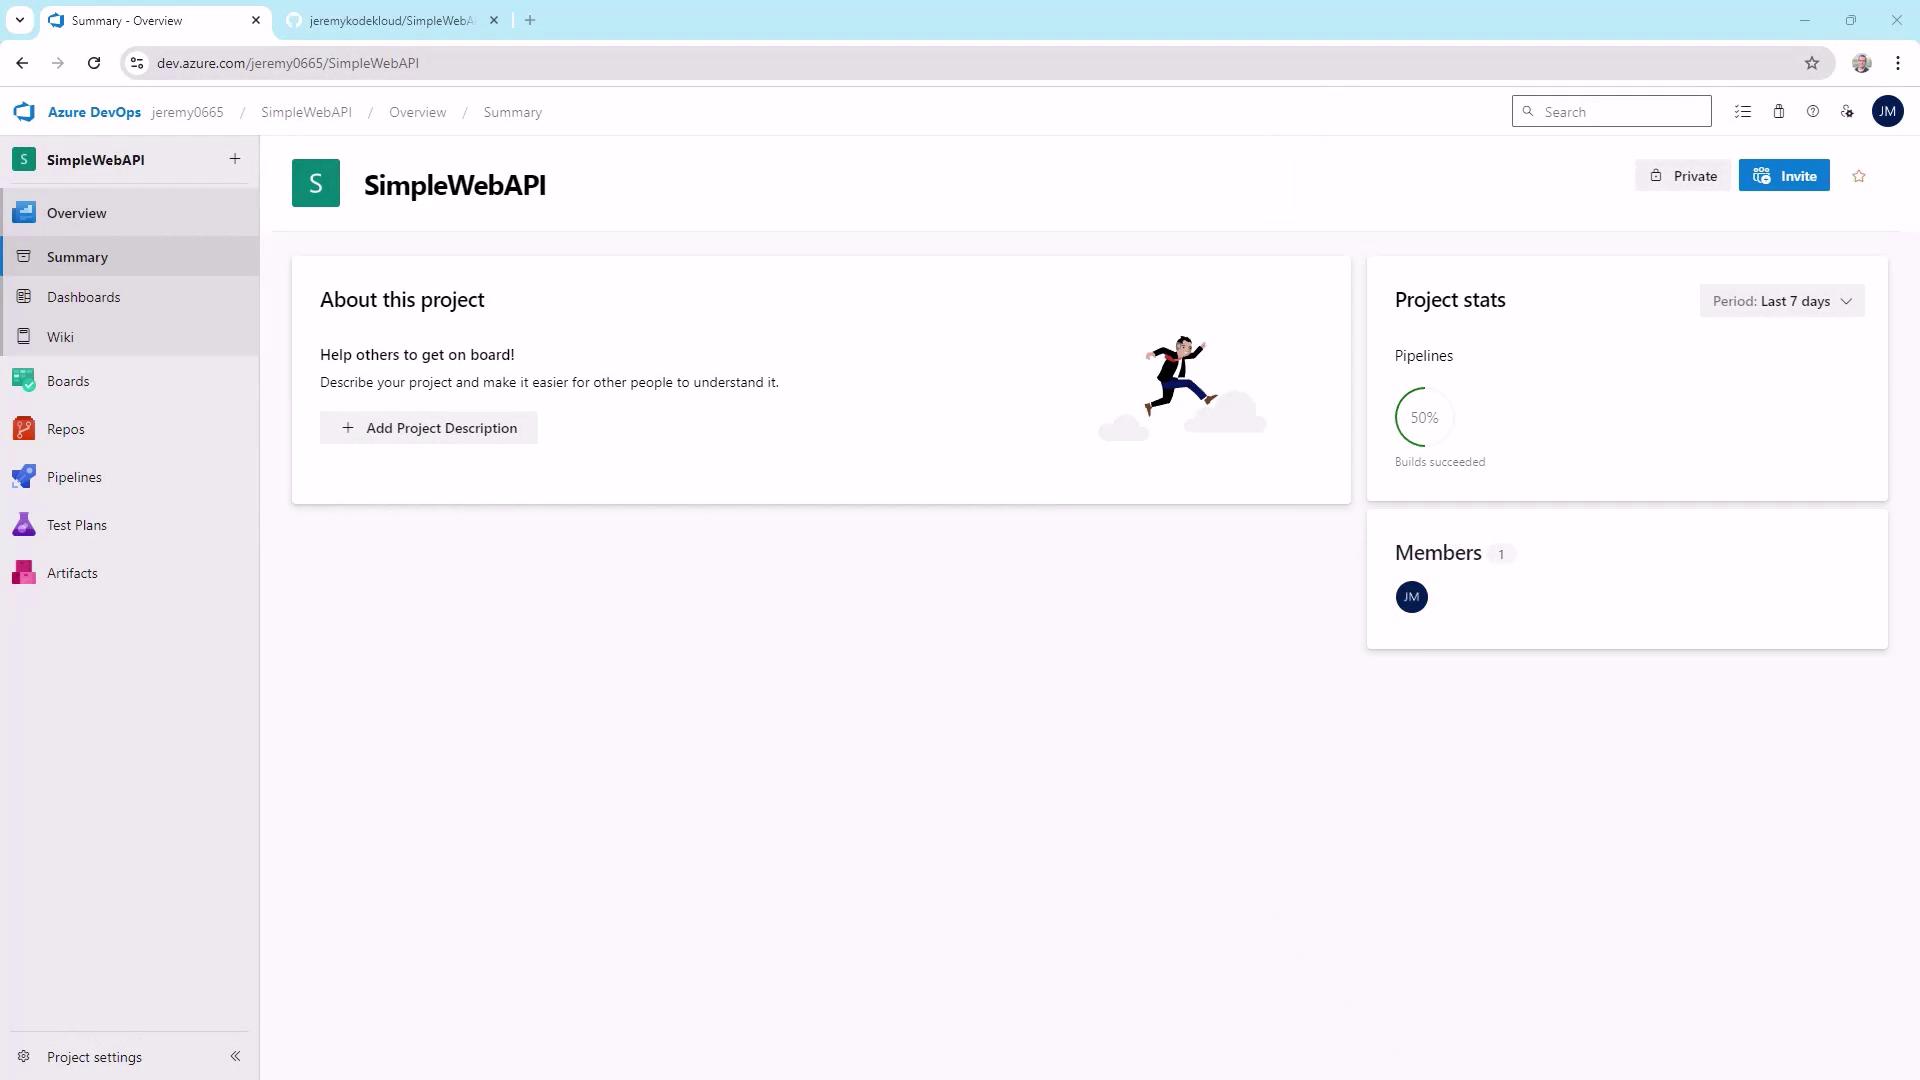
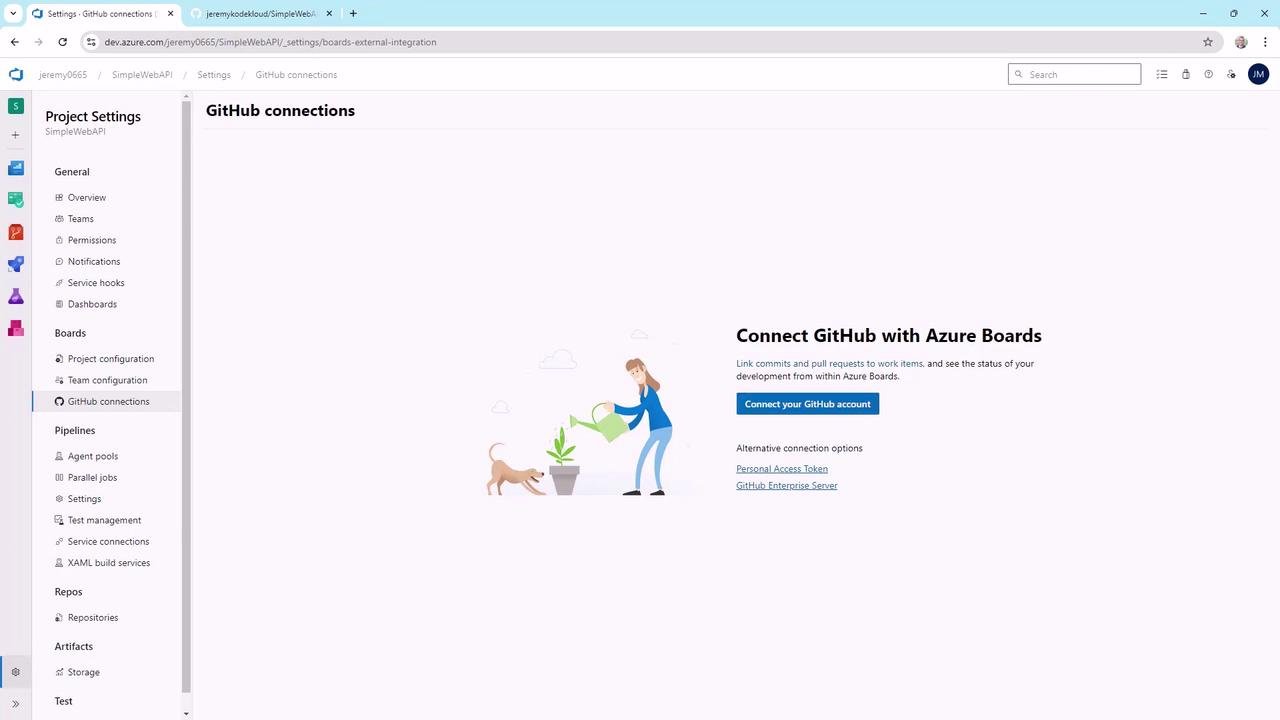
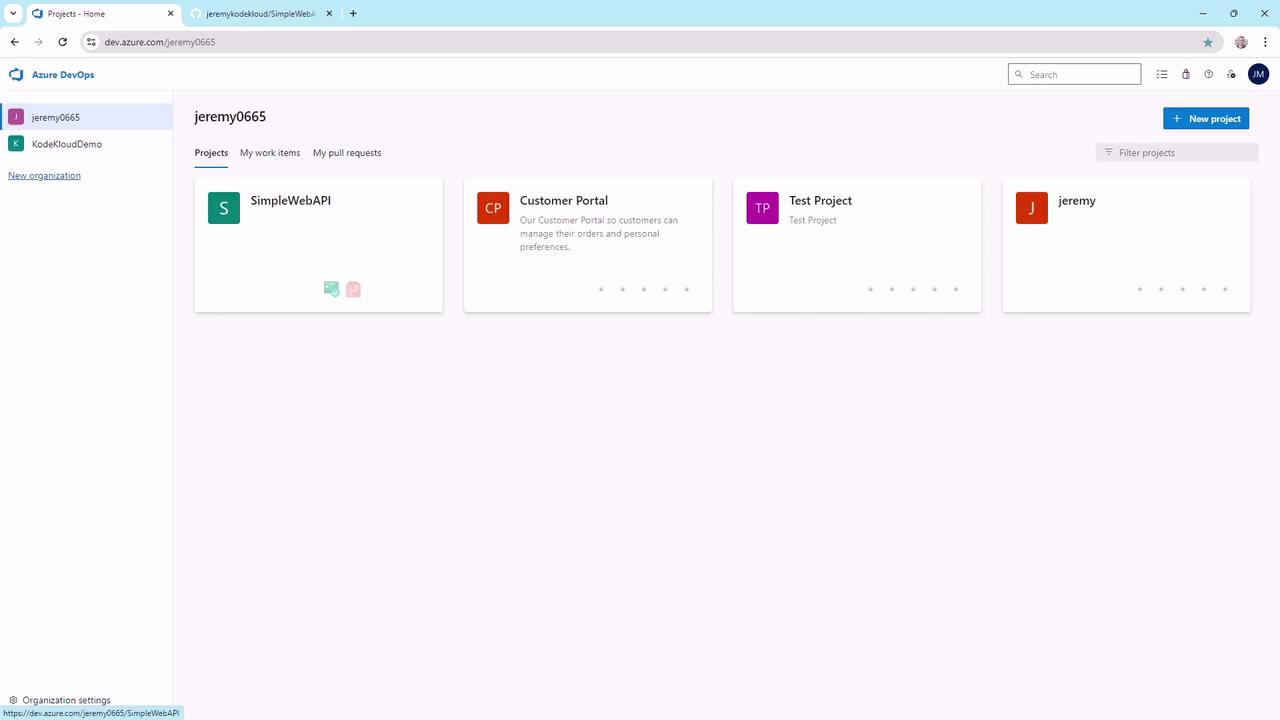
  1. In your Azure DevOps project (e.g., SimpleWebAPI), navigate to Project SettingsGitHub Connections.
  2. Click Connect Your GitHub Account and authorize Azure DevOps to access your repos.
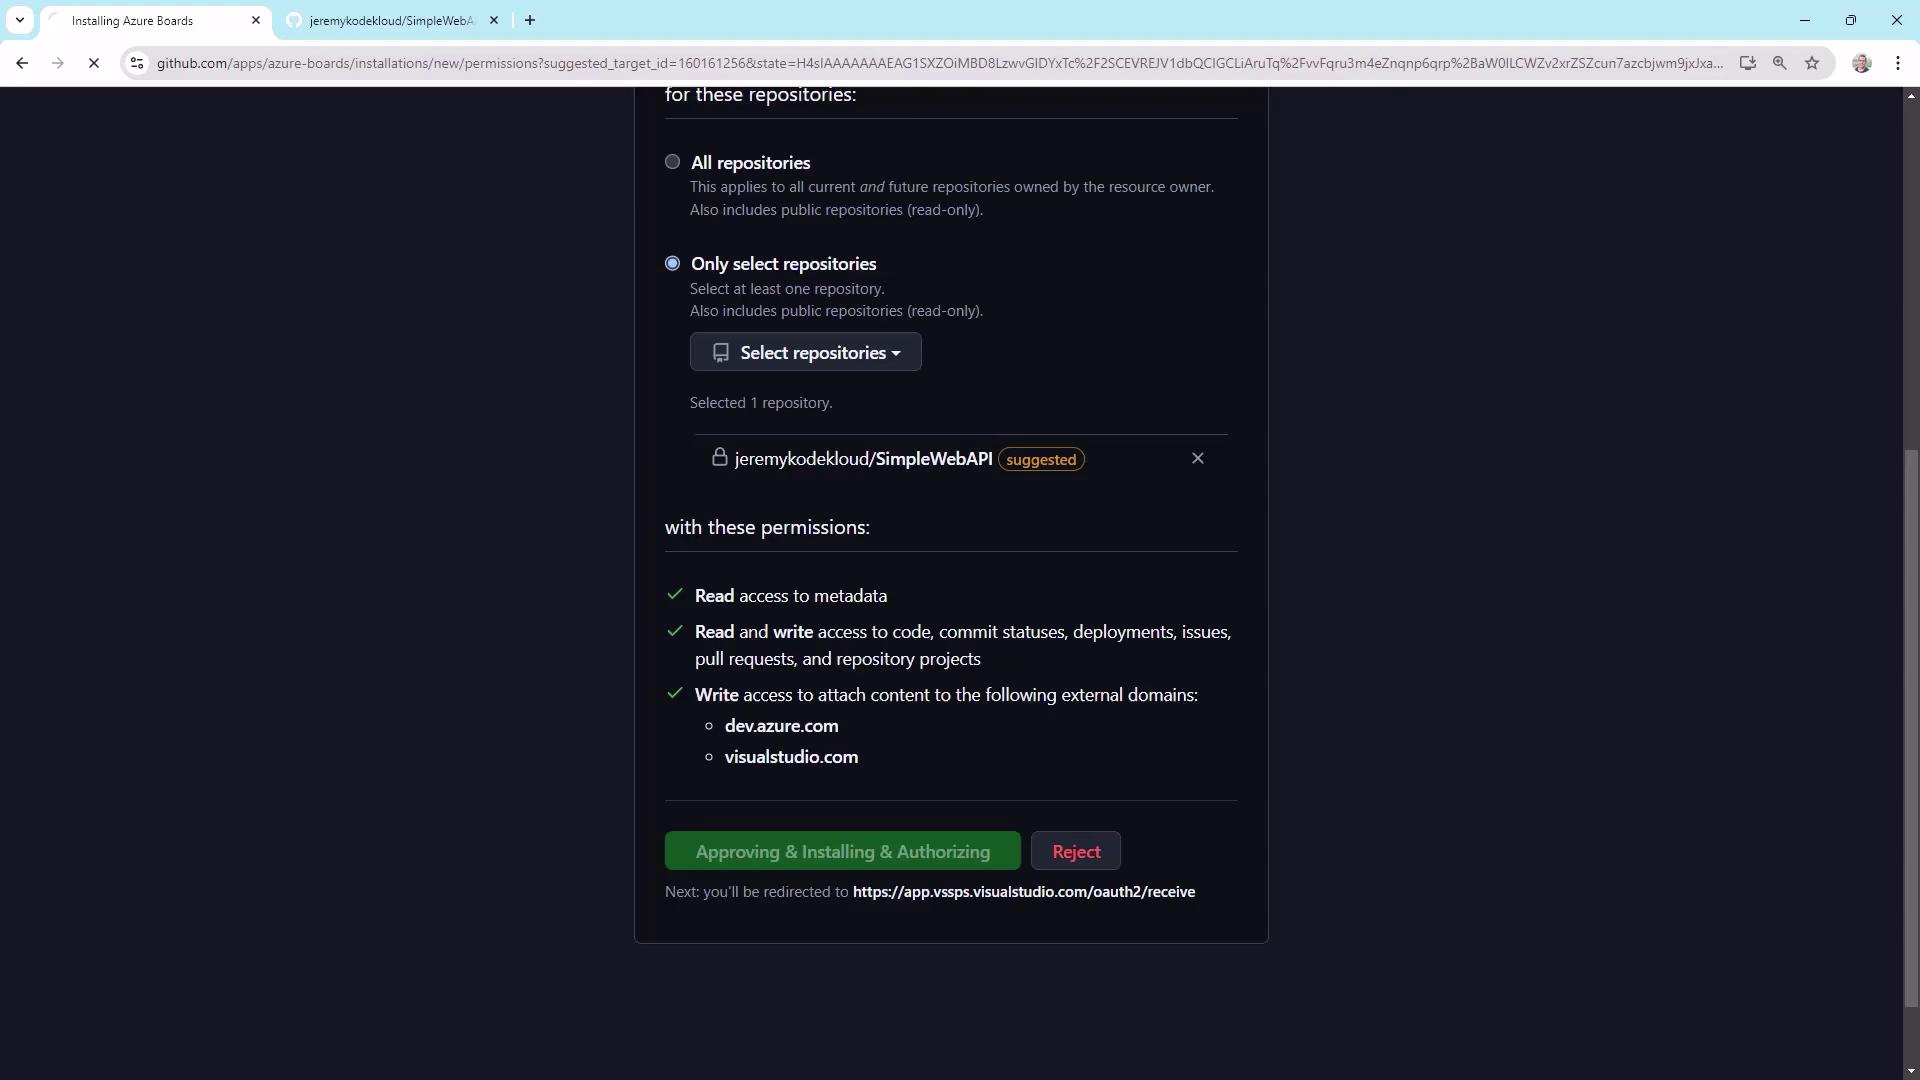
  3. Select the SimpleWebAPI repository and hit Save, then approve the installation in GitHub.

The image shows an Azure DevOps project dashboard for "SimpleWebAPI," displaying project details, statistics, and navigation options on the left sidebar.

The image shows a webpage for connecting GitHub with Azure Boards, featuring a sidebar with project settings and an illustration of a person watering a plant.

The image shows a GitHub permissions page for installing Azure Boards, with options to select repositories and permissions for accessing metadata, code, and external domains. There are buttons for approving or rejecting the installation.


2. Generate a Personal Access Token (PAT)

You’ll need a PAT with permissions to queue builds. In Azure DevOps:

  1. Click your user icon → Personal Access TokensNew Token.
  2. Give it a name, expiration date, and select scopes:
    • Build (read & execute)
    • Token administration (read & manage)
  3. Create the token and copy it immediately.

Warning

You will only see the PAT value once. Store it securely in your password manager.

The image shows a screenshot of the Azure DevOps user settings page, specifically the "Personal Access Tokens" section, listing various tokens with their status and expiration dates.


3. Create an Azure Pipeline
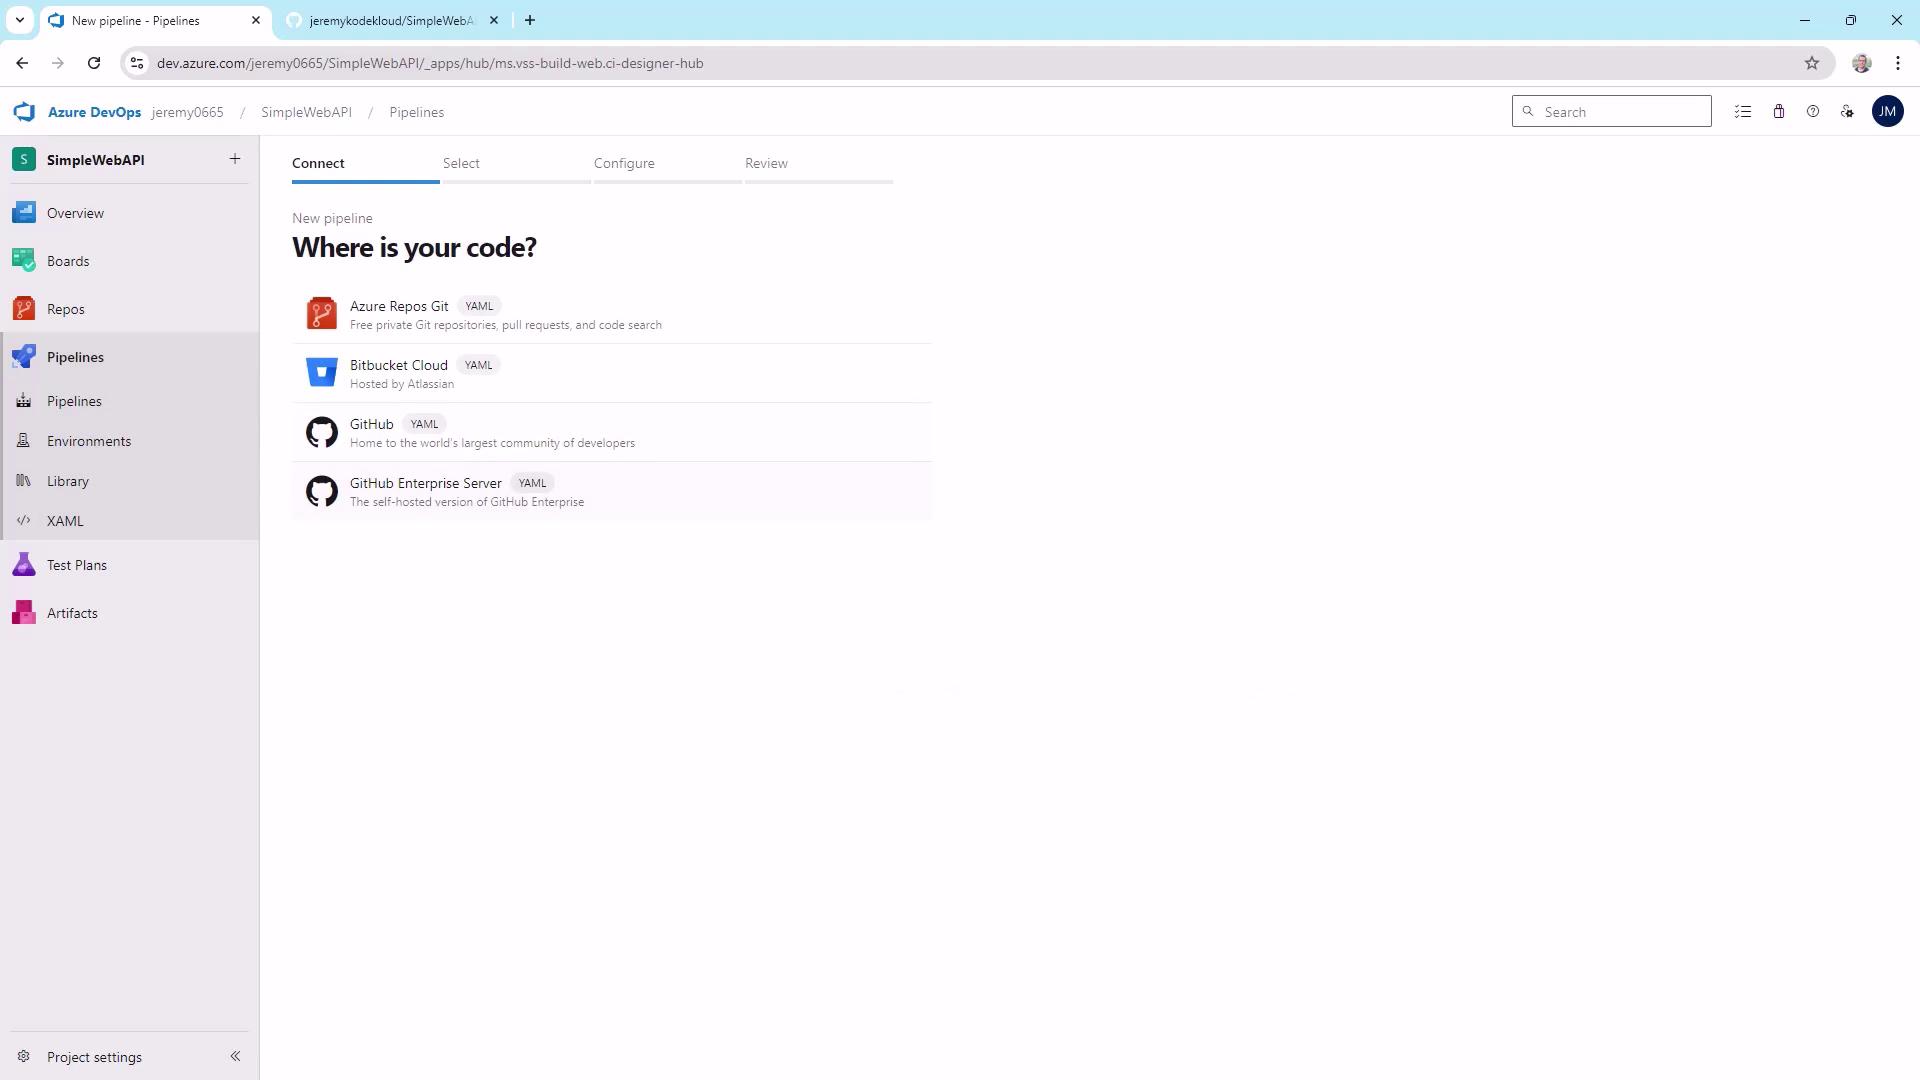
  1. In SimpleWebAPI, select PipelinesCreate Pipeline.
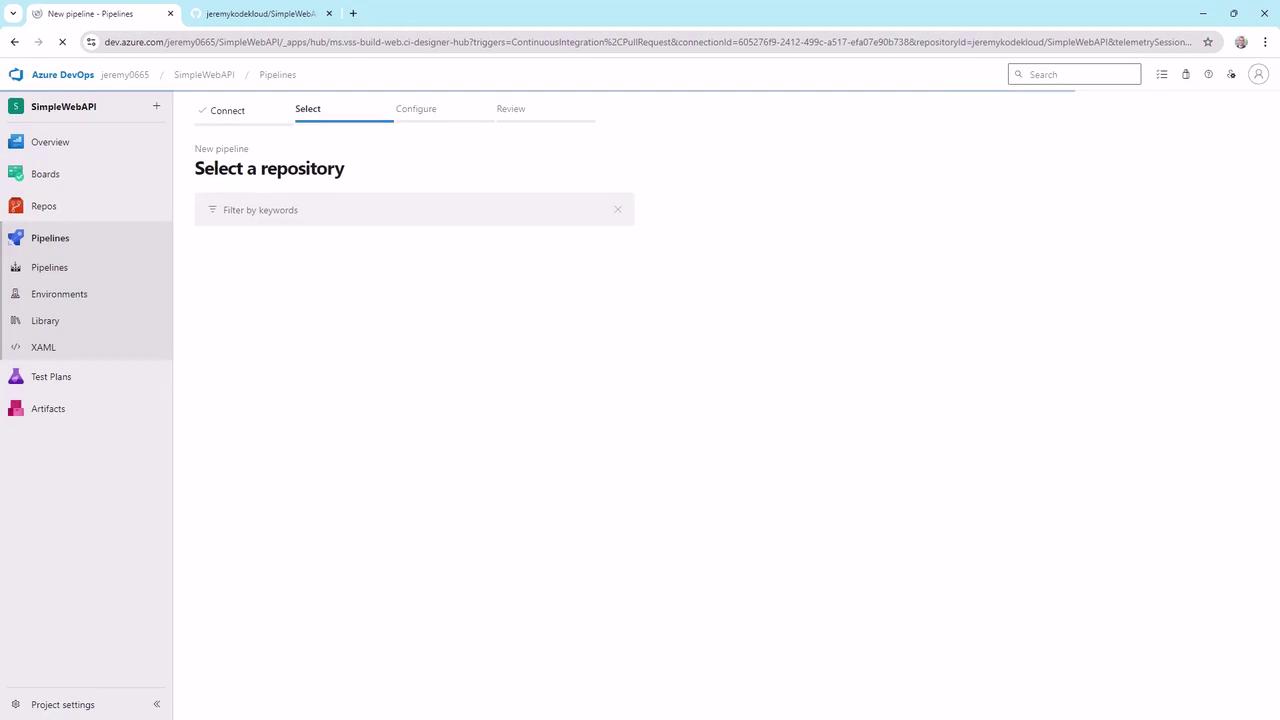
  2. Choose GitHub and pick SimpleWebAPI. Approve the Azure Pipelines app if prompted.
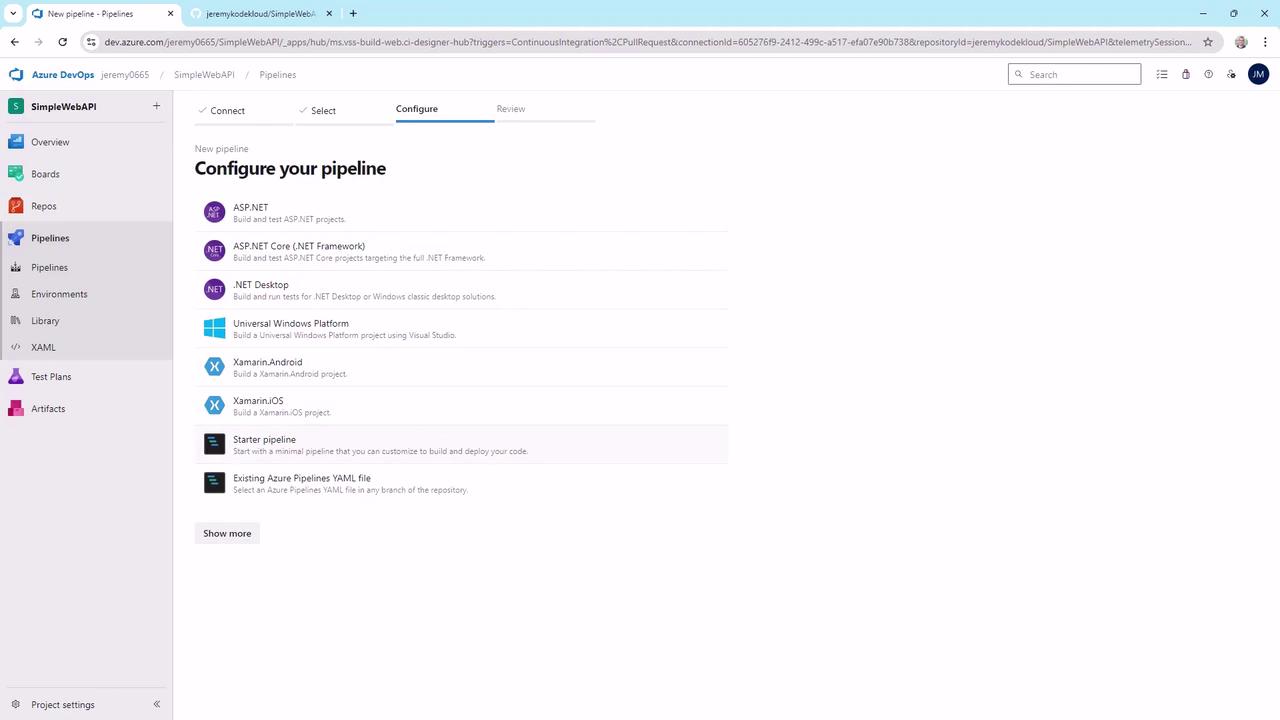
  3. Opt for Starter Pipeline to get a minimal YAML template.

The image shows an Azure DevOps dashboard with a list of projects, including "SimpleWebAPI," "Customer Portal," "Test Project," and "jeremy." The interface includes options for creating a new project and filtering existing ones.

The image shows an Azure DevOps interface for creating a new pipeline, asking "Where is your code?" with options for Azure Repos Git, Bitbucket Cloud, GitHub, and GitHub Enterprise Server. The left sidebar includes navigation options like Overview, Boards, Repos, and Pipelines.

The image shows an Azure DevOps interface for creating a new pipeline, with a section to select a repository. The left sidebar includes options like Overview, Boards, Repos, and Pipelines.

The image shows an Azure DevOps interface for configuring a new pipeline, with options for different project types like ASP.NET, .NET Core, and Xamarin.

# azure-pipelines.yml
# Starter pipeline: build and deploy your code.
trigger:
  - main

pool:
  vmImage: ubuntu-latest

steps:
  - script: echo Hello, world!
    displayName: 'Run a one-line script'

  - script: |
      echo Add other tasks to build, test, and deploy your project.
      echo See https://aka.ms/yaml
    displayName: 'Run a multi-line script'

For more customization, see the Azure Pipelines YAML schema.


4. Configure an Agent Pool

If you use self-hosted agents:

  1. Go to Project SettingsAgent pools and note your pool name (e.g., KodeKloudCustomer).
  2. Update the pool block in your YAML:
# azure-pipelines.yml
trigger:
  - main

pool:
  name: 'KodeKloudCustomer'

steps:
  - script: echo Hello, world!
    displayName: 'Run a one-line script'
    
  - script: |
      echo Add other tasks to build, test, and deploy your project.
      echo See https://aka.ms/yaml
    displayName: 'Run a multi-line script'

Note

When targeting a self-hosted pool, remove the vmImage setting. Jobs run on your specified agents.

The image shows a screenshot of the Azure DevOps interface, specifically the "Agent pools" section under "Project Settings," displaying details of an agent named "KodeKloudAgent1" which is online and idle.

Save and queue your pipeline. You should see a successful run:

The image shows an Azure DevOps pipeline interface with a build summary for a project called "SimpleWebAPI." It displays details such as the trigger, repository, branch, and job status.


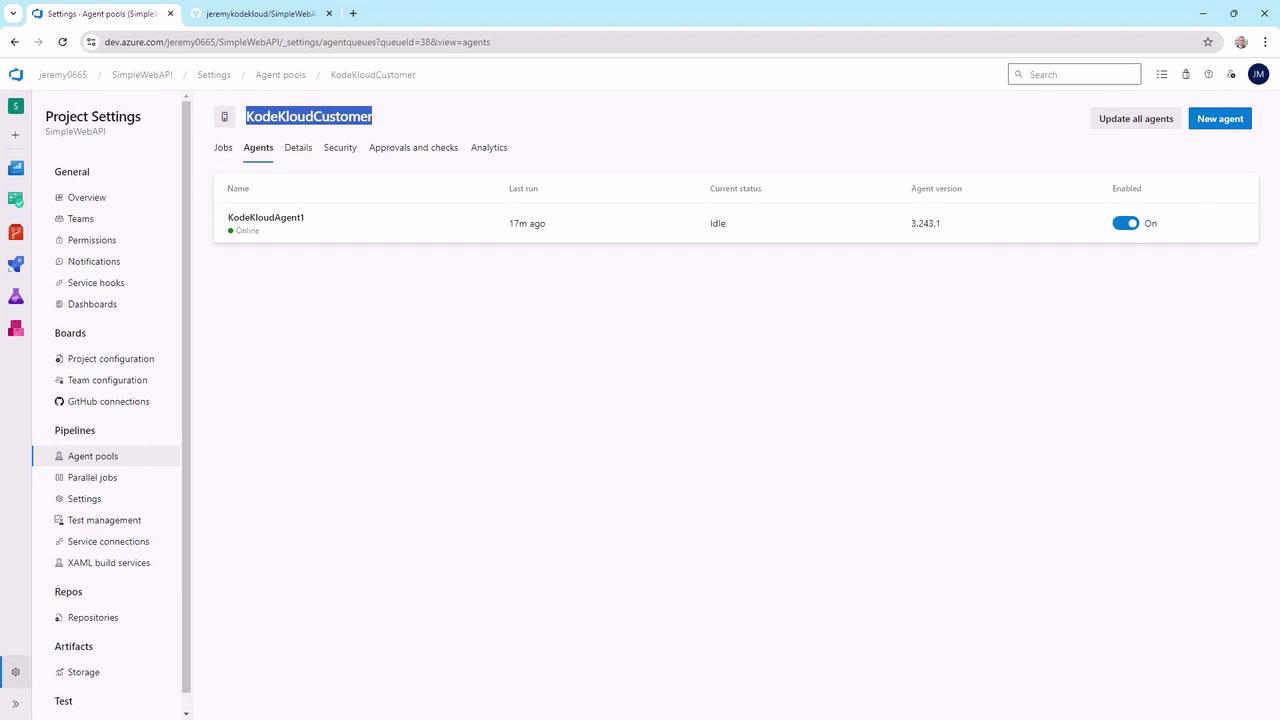
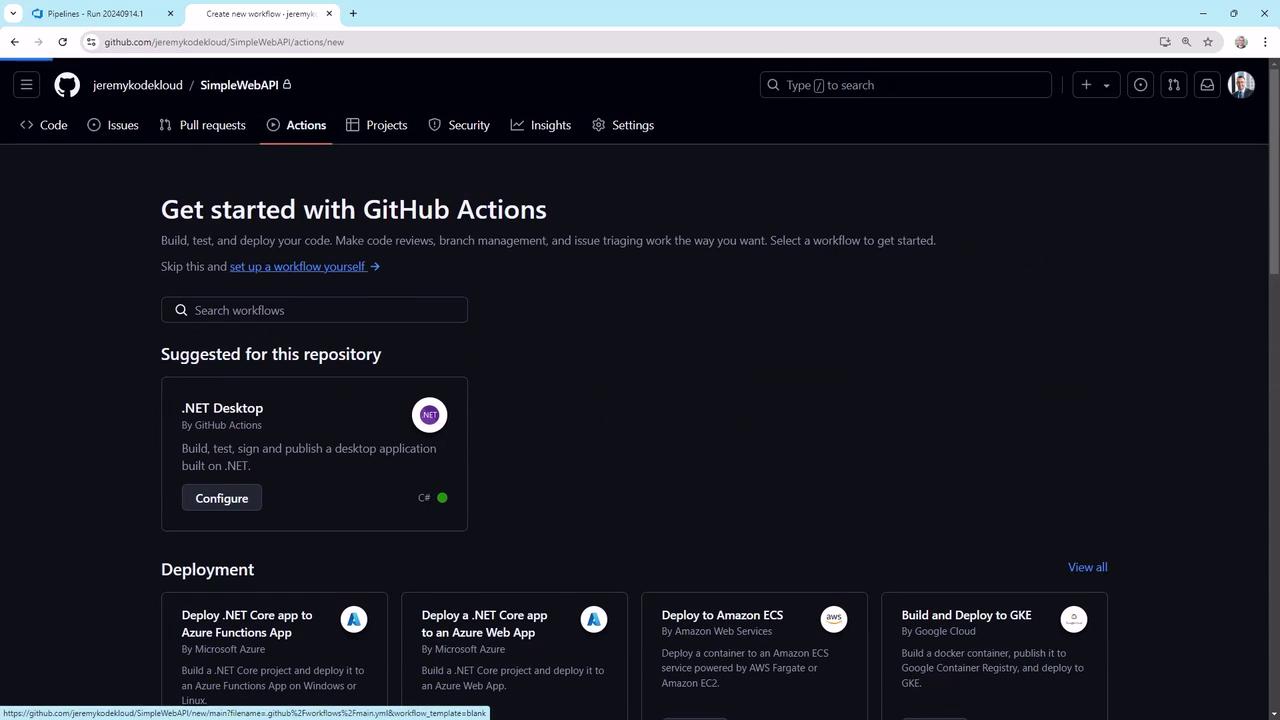
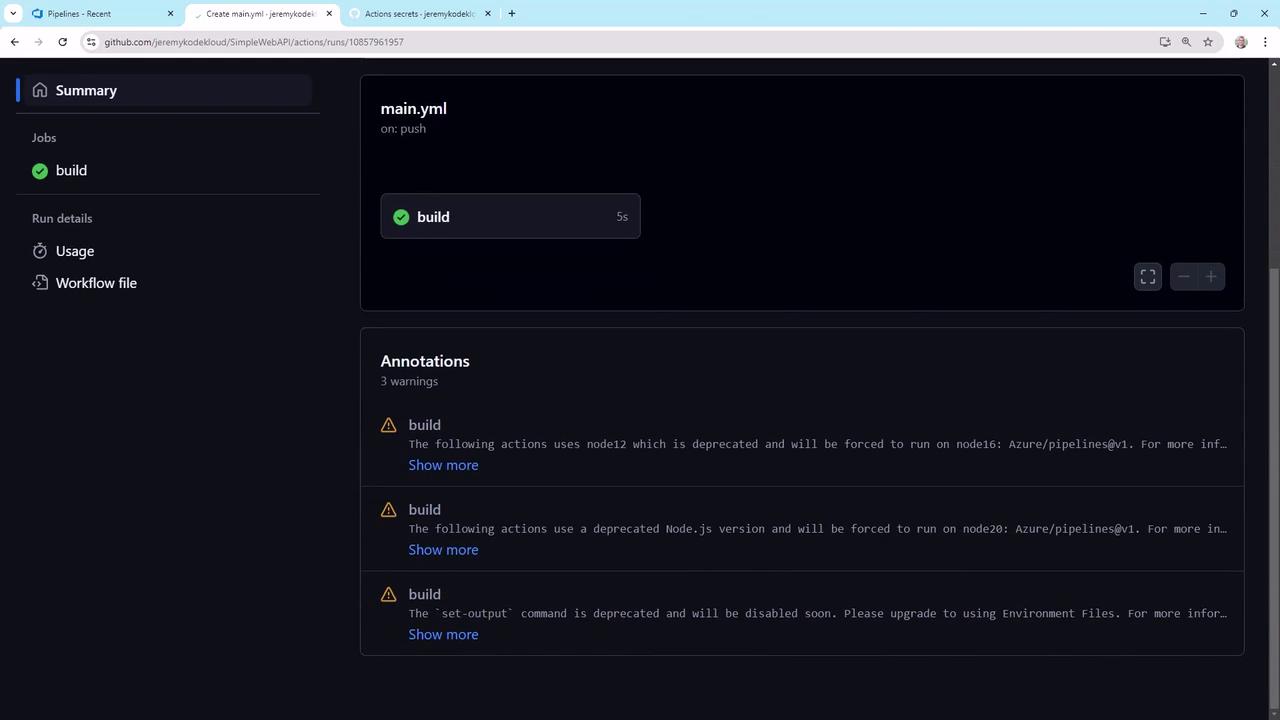
5. Set Up the GitHub Action

  1. In your SimpleWebAPI GitHub repo, go to ActionsSet up a workflow yourself.
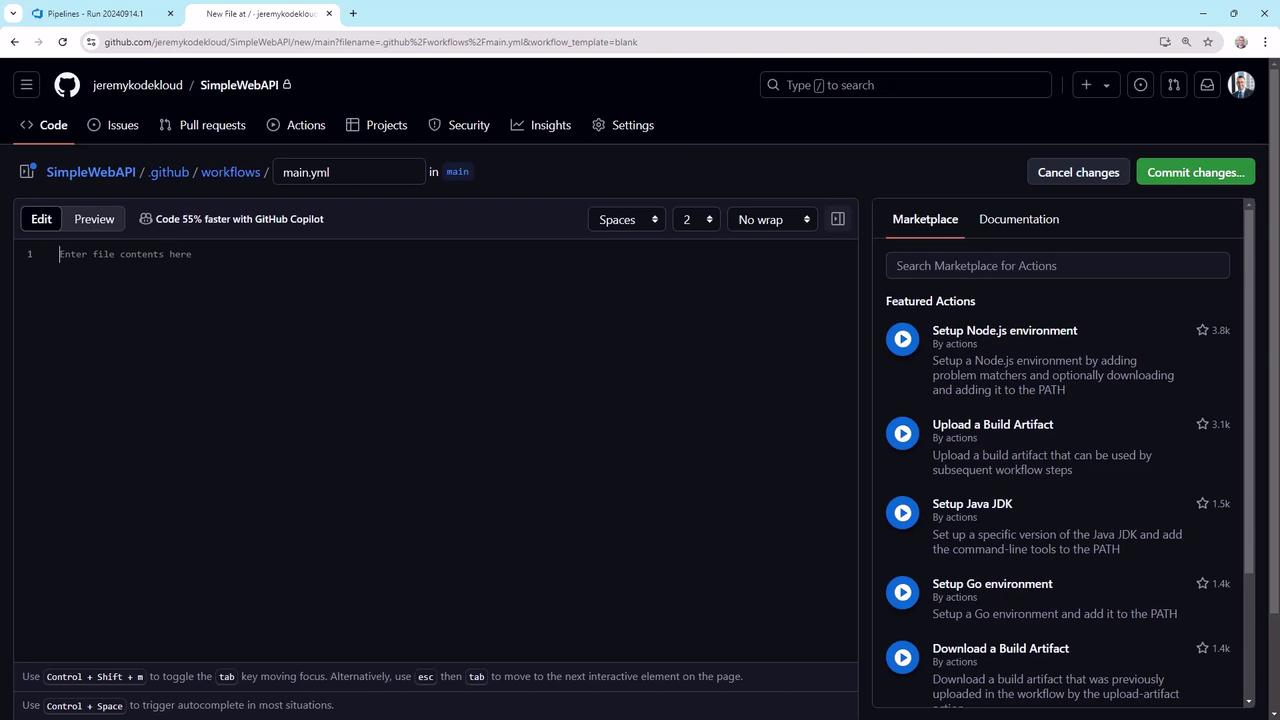
  2. This creates a blank file at .github/workflows/main.yml. Replace its contents with:
# .github/workflows/trigger-azure-pipeline.yml
name: Trigger Azure Pipeline

on:
  push:
    branches:
      - main

jobs:
  trigger-pipeline:
    runs-on: ubuntu-latest
    steps:
      - name: Trigger Azure DevOps Pipeline
        uses: azure/pipelines@v1
        with:
          azure-devops-project-url: ${{ secrets.AZURE_DEVOPS_PROJECT_URL }}
          azure-pipeline-name: 'jeremykodekloud.SimpleWebAPI'
          azure-devops-token: ${{ secrets.AZURE_DEVOPS_TOKEN }}

The image shows a GitHub Actions setup page for a repository, suggesting workflows for building and deploying applications, such as a .NET Desktop app.

The image shows a GitHub interface where a user is editing a YAML file for a workflow in a repository. The right side displays a marketplace with featured actions like setting up Node.js and Java JDK environments.


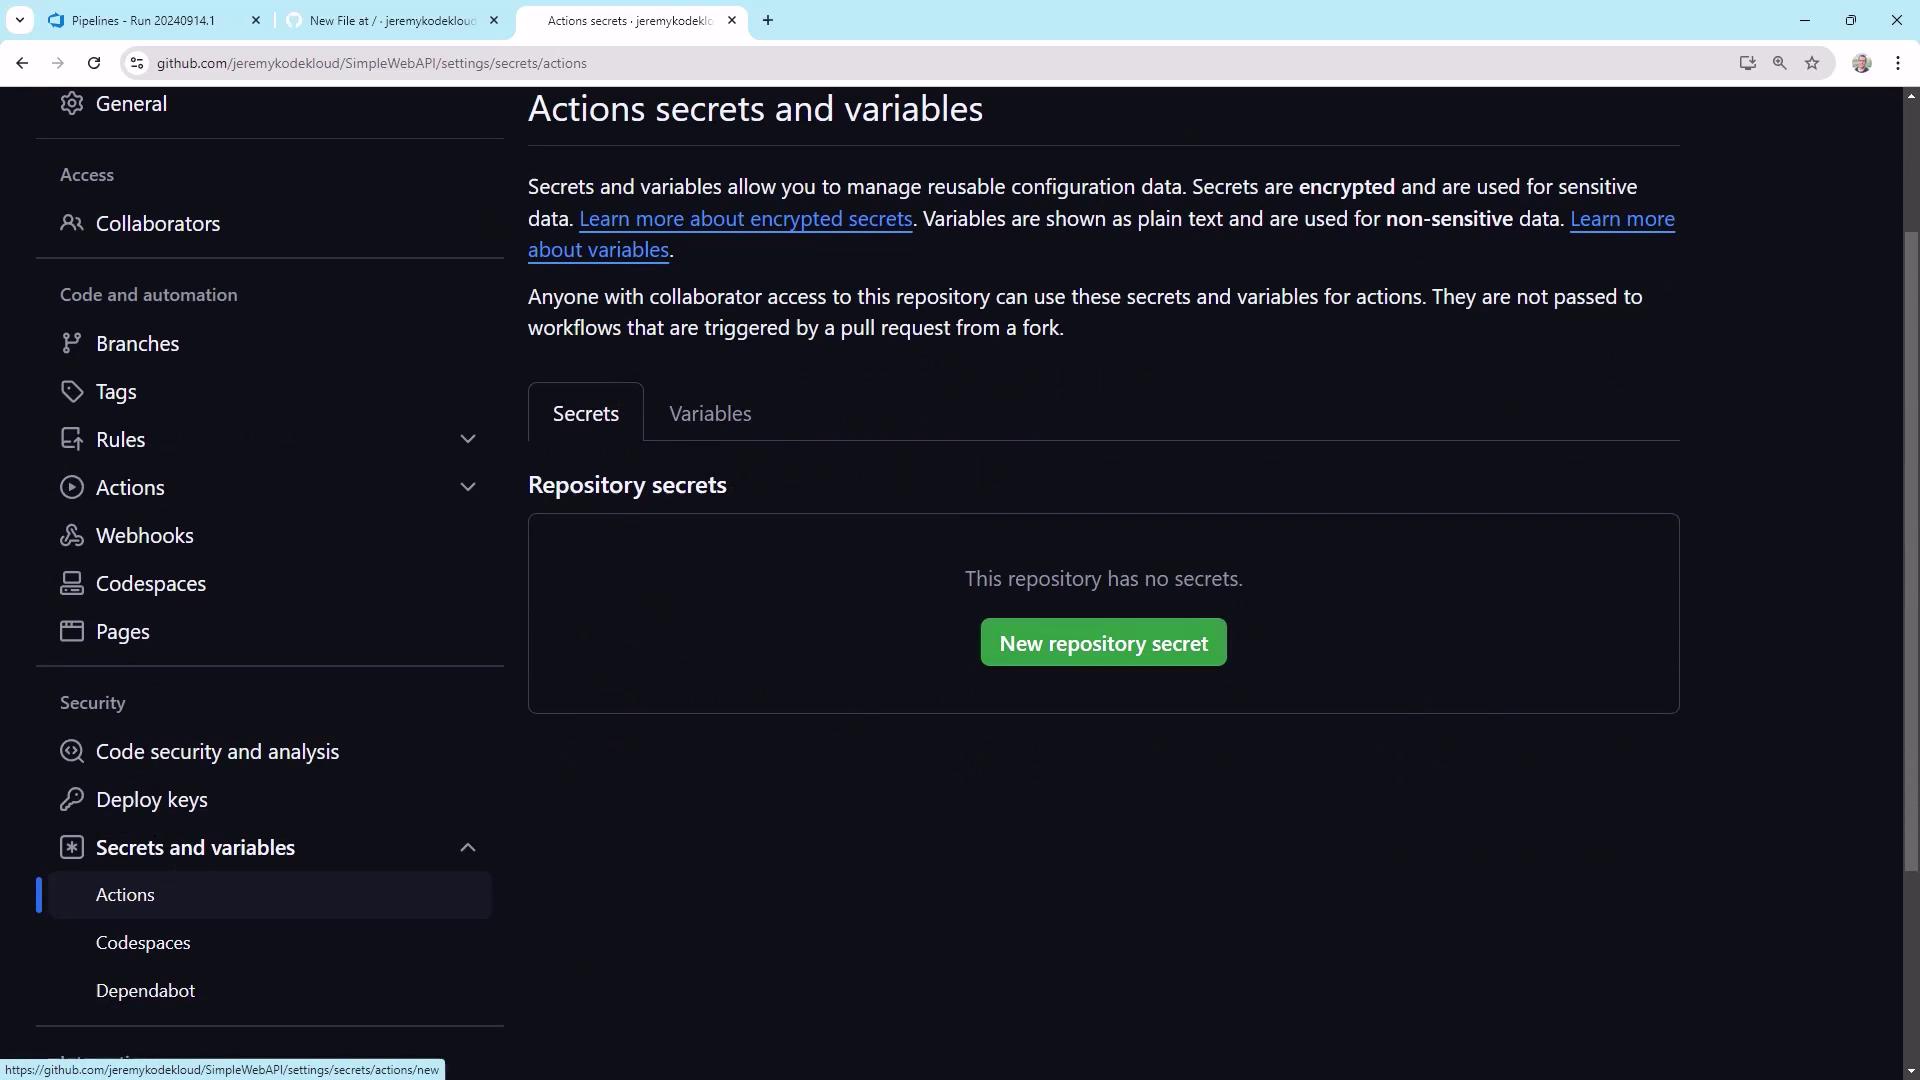
6. Configure Repository Secrets

In GitHub, go to SettingsSecrets and variablesActions and add:

Secret NameValue Example
AZURE_DEVOPS_PROJECT_URLhttps://dev.azure.com/yourOrg/yourProject
AZURE_DEVOPS_TOKEN(your Azure DevOps PAT)

The image shows a GitHub repository settings page where a new secret is being added under "Actions secrets." The secret is named "AZURE_DEVOPS_PROJECT_URL" with a URL provided in the secret field.

The image shows a GitHub repository settings page for managing "Actions secrets and variables," with options to add new repository secrets.

The image shows a GitHub repository settings page, specifically the "Secrets and variables" section, with two repository secrets listed: "AZURE_DEVOPS_PROJECT_URL" and "AZURE_DEVOPS_TOKEN".

Commit your workflow to 
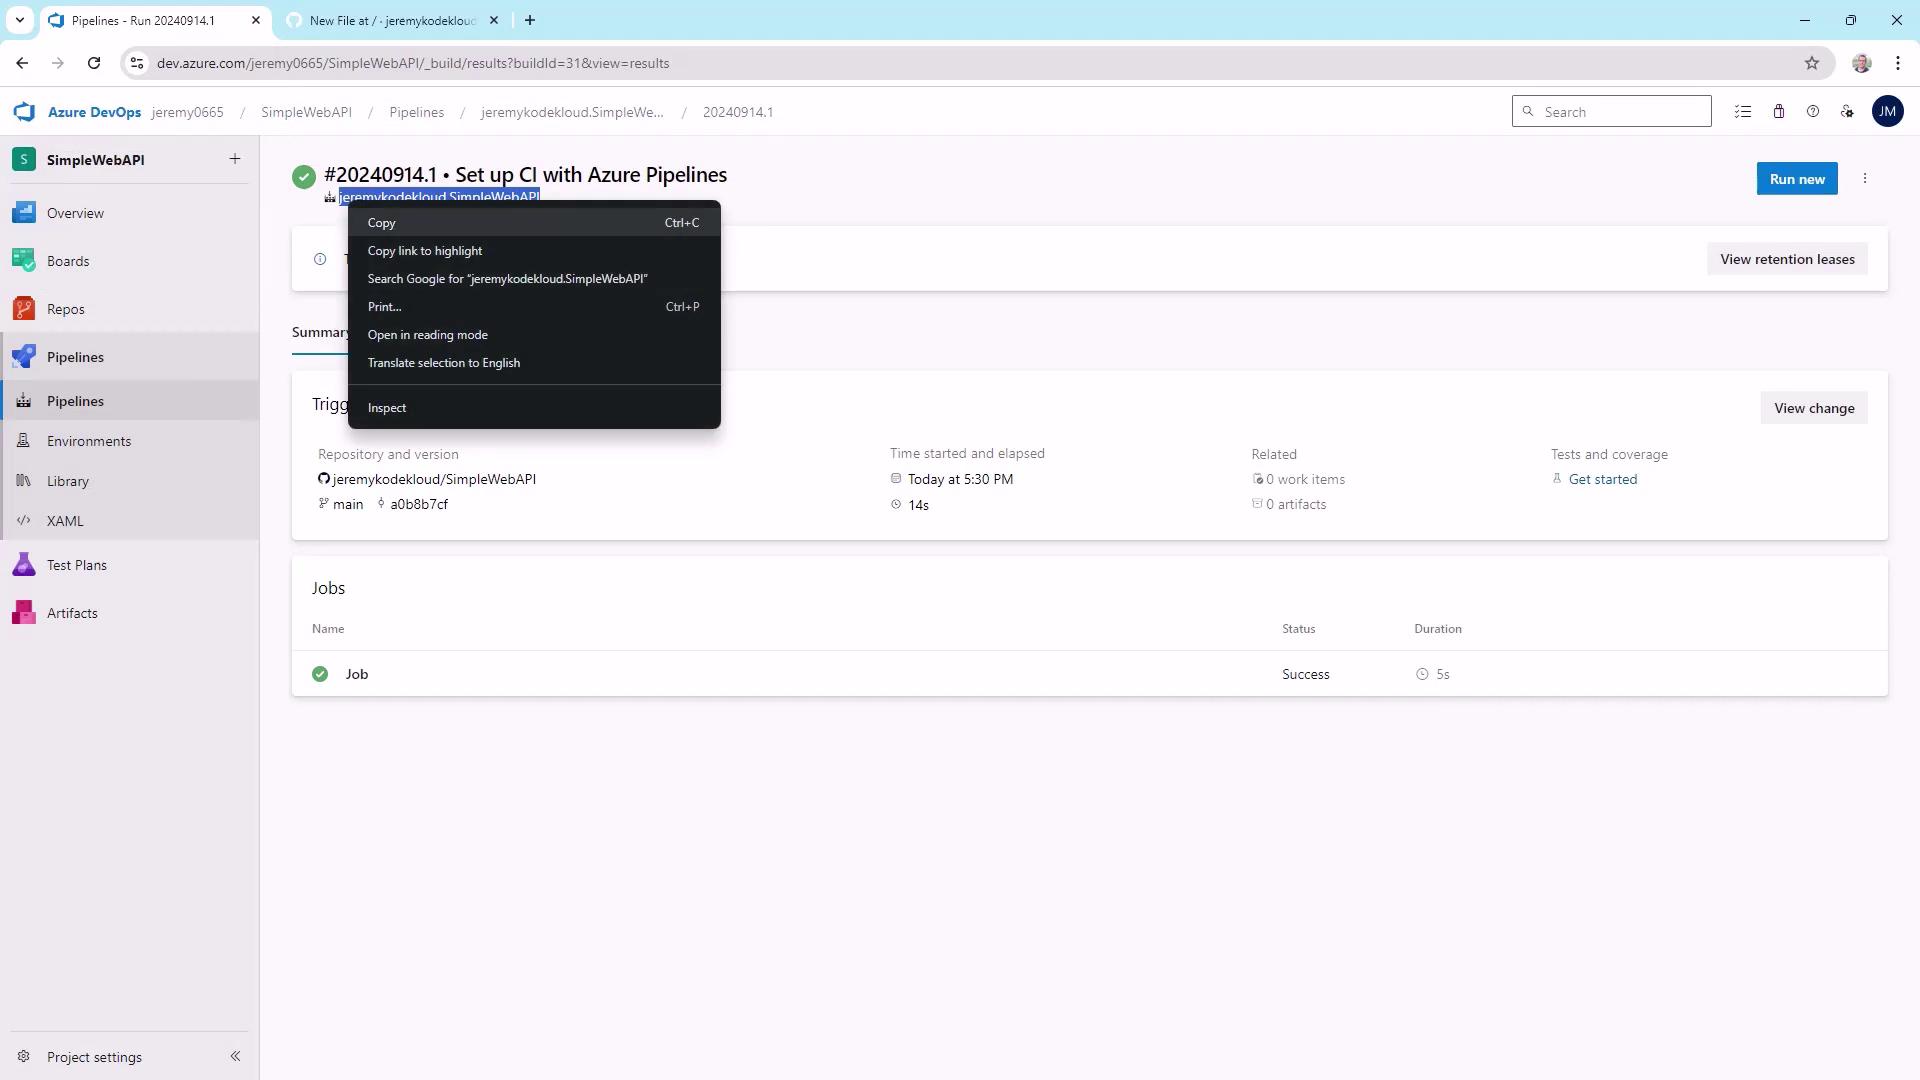
main. The GitHub Action triggers immediately, and you should see a corresponding run in Azure Pipelines.

The image shows an Azure DevOps pipeline run summary for a project named "SimpleWebAPI," indicating a successful job execution. The pipeline was triggered by a user and completed in 14 seconds.

The image shows a GitHub Actions workflow summary with a successful build job and annotations indicating warnings about deprecated Node.js versions and commands.

The image shows an Azure DevOps pipeline interface with a list of recent pipeline runs for a project named "SimpleWebAPI," all of which have successfully completed.


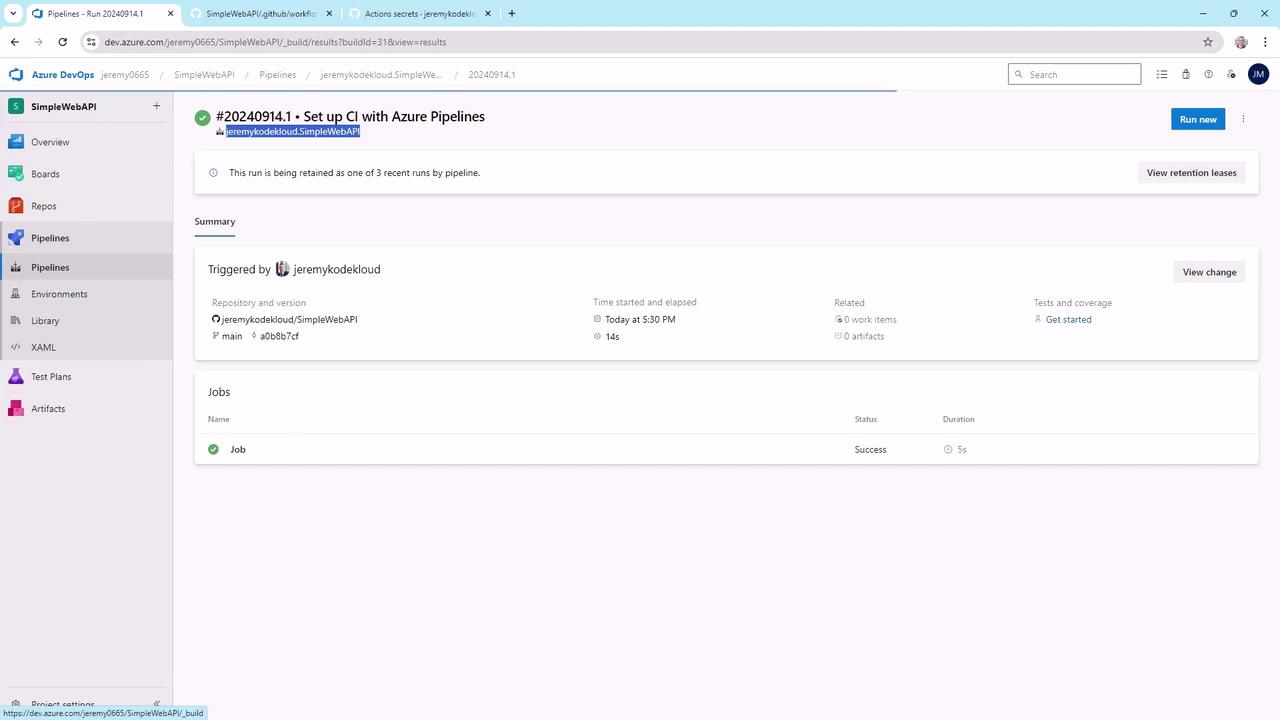
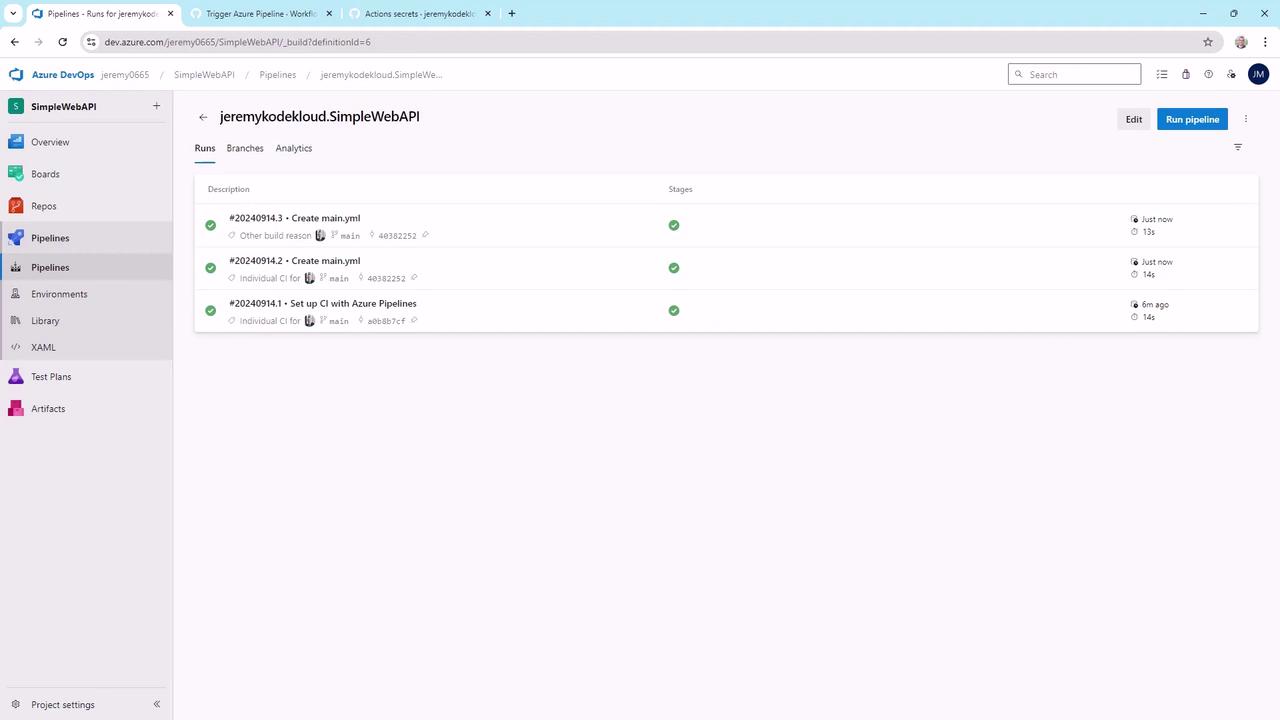
7. Verify Continuous Integration

Every push to main now triggers:

# Pull latest changes
git pull

# Make edits and commit
git add .
git commit -m "Fix typo in README"
git push

Watch the GitHub Action and Azure Pipeline execute in tandem—your CI process is fully automated!


References

Watch Video

Watch video content

Previous
Demo Repository Integration with Azure Boards