AZ-400: Designing and Implementing Microsoft DevOps Solutions
Configure Collaboration Communication
Demo Creating a Wiki
Overview
In this guide, you’ll learn how to set up and secure a project wiki in Azure DevOps for your .NET application, Turkey Time. We’ll cover both the built-in Project Wiki and the Publish Code as Wiki approaches, ensuring your documentation is versioned alongside your code.
1. Creating a Project Wiki in Azure DevOps
a. Accessing the Wiki Feature
- In your Azure DevOps project, go to Project Overview → Wiki.
- You’ll see two options:
- Create Project Wiki
- Publish Code as Wiki
Note
Creating a Project Wiki lets you quickly start documenting without touching your code repository. Ideal for high-level docs and team onboarding.
b. Creating the Wiki
- Click Create Project Wiki.
- Enter a title, for example: Turkey Time Wiki.
- Rename the default page to About This Project.
- Add your content using Markdown:
- Headings (
#,##,###) - Lists (
-,*) - Links (
[text](url))
- Headings (
- Click Save when you’re done.
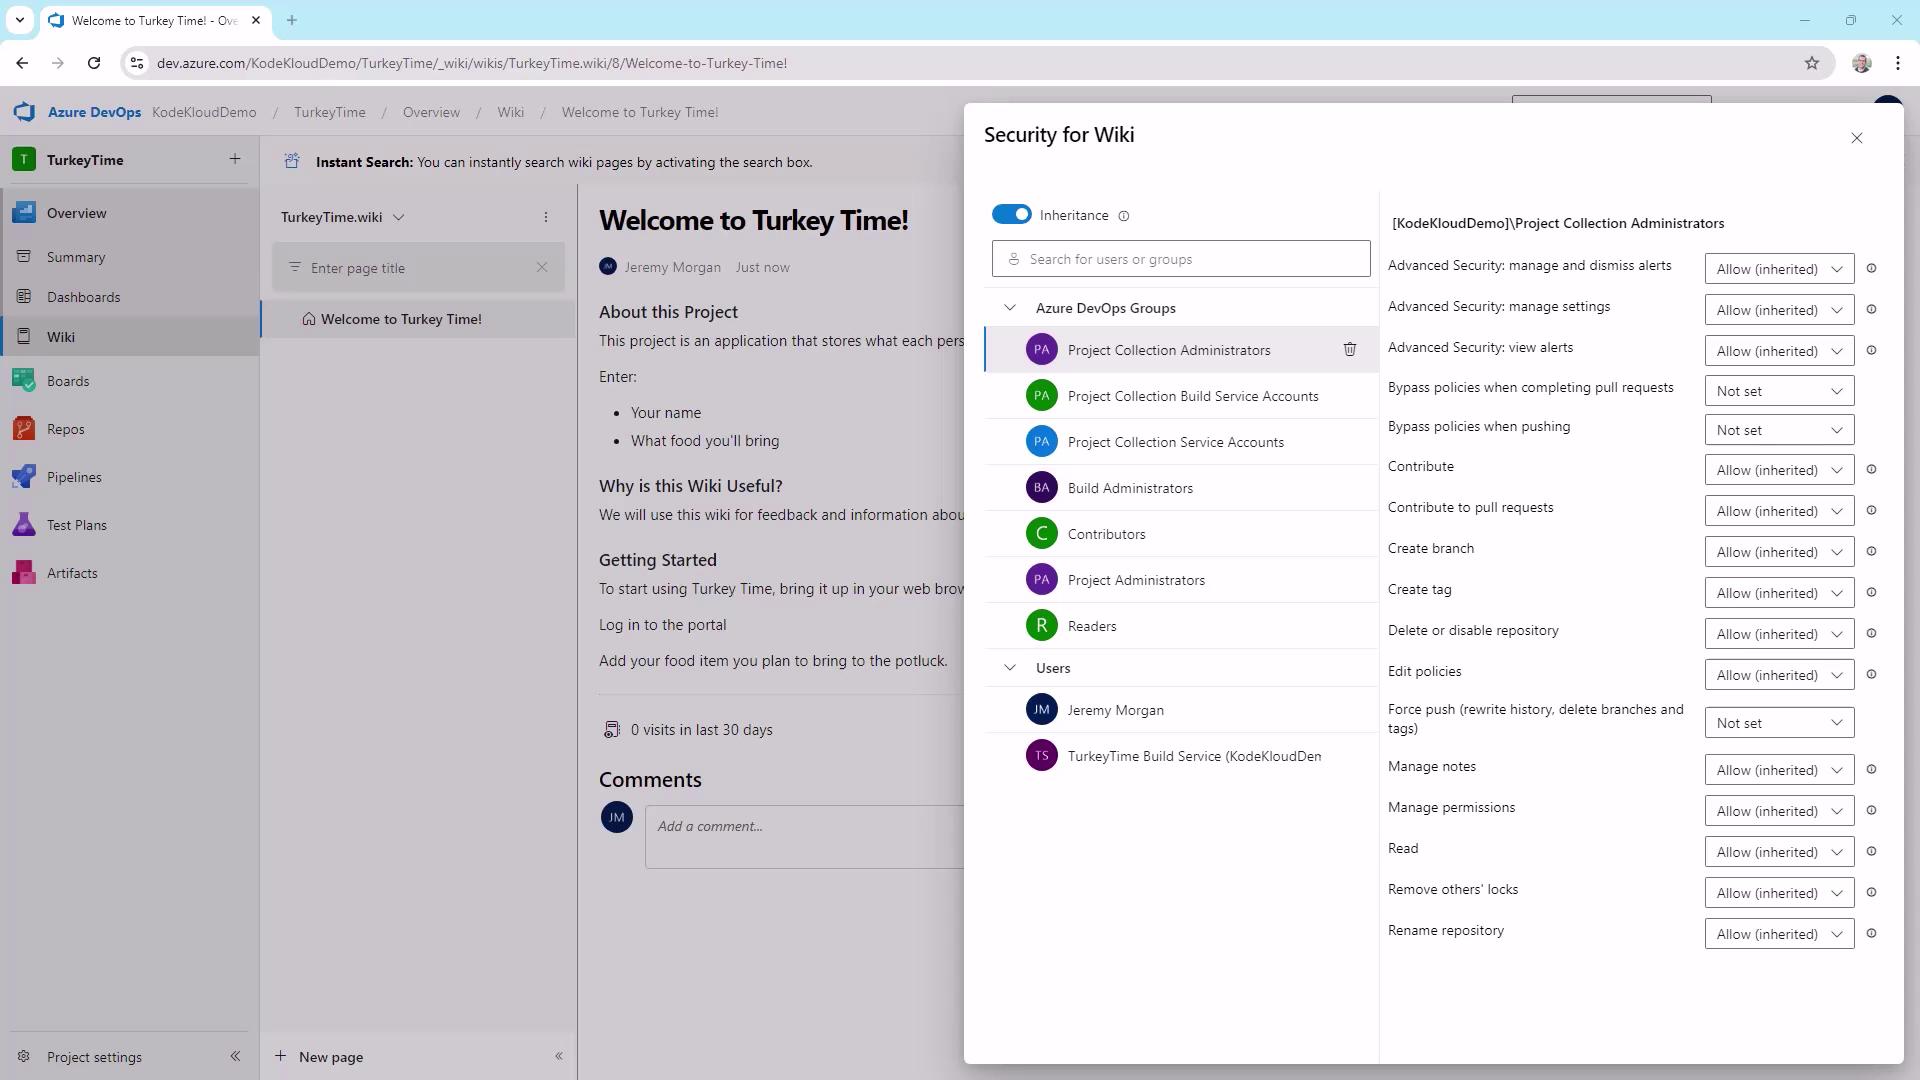
c. Managing Wiki Security
To control who can view or edit your wiki:
- Click the ... menu at the top right of the wiki page.
- Select Wiki security.
- Add users or groups and assign permissions.
| Permission | Description |
|---|---|
| Read | View all wiki pages |
| Contribute | Edit and create wiki content |
| Delete | Remove pages or sections |
| Administer | Modify wiki settings and security |
Warning
Follow the principle of least privilege—only grant the minimum permissions each user or group needs.

2. Publishing Code as a Wiki
Versioning your documentation alongside your source code ensures every change is tracked.
a. Prepare Your Repository
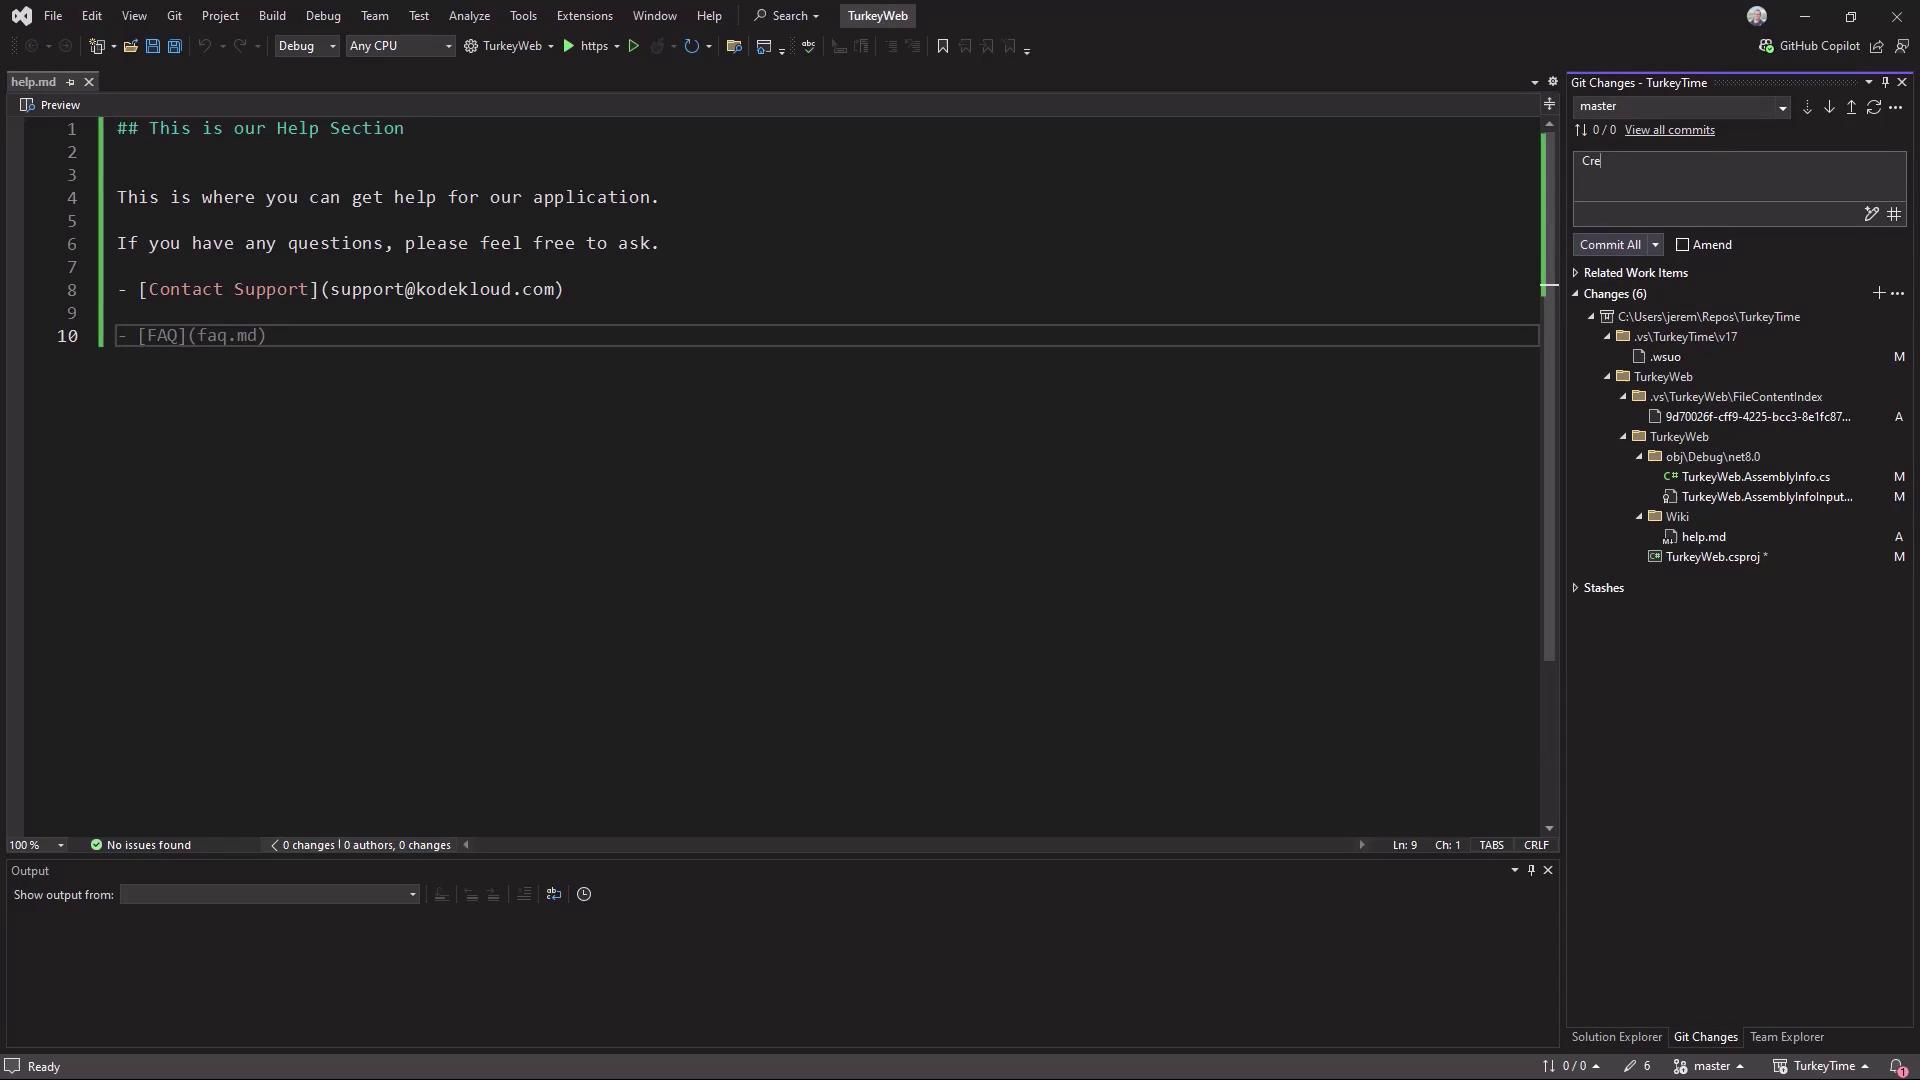
- In your local repo or IDE, create a
Wikifolder:mkdir Wiki - Inside
Wiki, create a Markdown file (e.g.,HelpPage.md) and write your documentation. - Stage and commit your changes:
git add Wiki/HelpPage.md
git commit -m "Add HelpPage documentation for Turkey Time"
git push origin main

b. Publish Code as Wiki
- In Azure DevOps, navigate back to Project Overview → Wiki.
- Select Publish Code as Wiki.
- Choose the
Wikifolder in your repository. - Enter a wiki name (e.g., Help Page).
- Click Publish.
Your Markdown files will now appear as versioned wiki pages in Azure DevOps.
What’s Next?
In our next article, we’ll explore Azure Boards and show you how to build a custom dashboard for tracking work items and sprints in Azure DevOps.
Links and References
Watch Video
Watch video content