1. Define your team structure
Start by mapping out which team members need access and the level of control they require. Common permission levels in GitHub include:| Role | Permission Level | Description |
|---|---|---|
| Read | read | View code, issues, and pull requests |
| Triage | triage | Manage issues and pull requests |
| Write | write | Push to non-protected branches |
| Maintain | maintain | Manage repository settings, branches, and keys |
| Admin | admin | Full control over the repository and settings |
2. Add collaborators
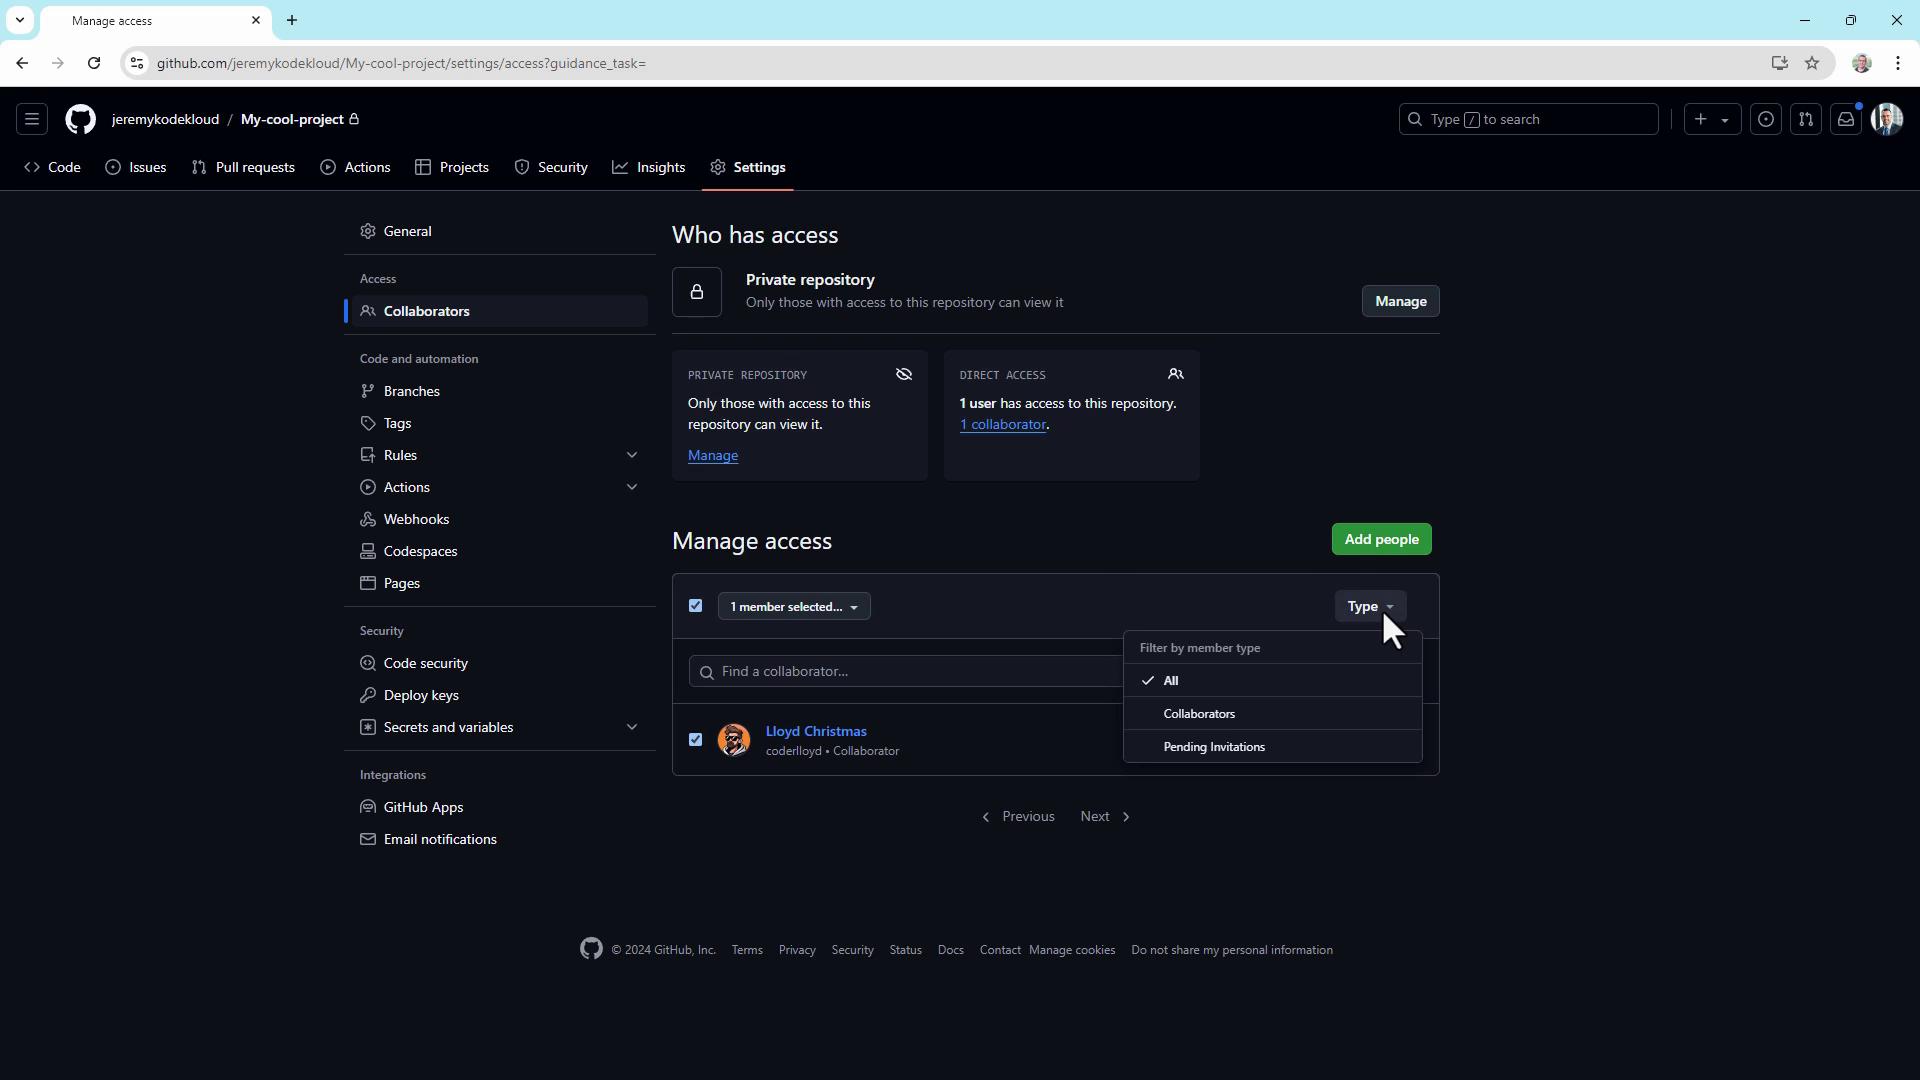
To grant someone access to your repository:- Go to Settings (click the gear icon).
- Select Collaborators under “Access”.
- Click Add people, enter the GitHub username, and send the invitation.

3. Configure repository settings
Under Settings > Options, customize repository behavior:- Require sign-off on web commits
Enforce contributor attestations for commits made via the web editor. - Wikis
Enable or disable wikis for collaborative documentation. - Merge options
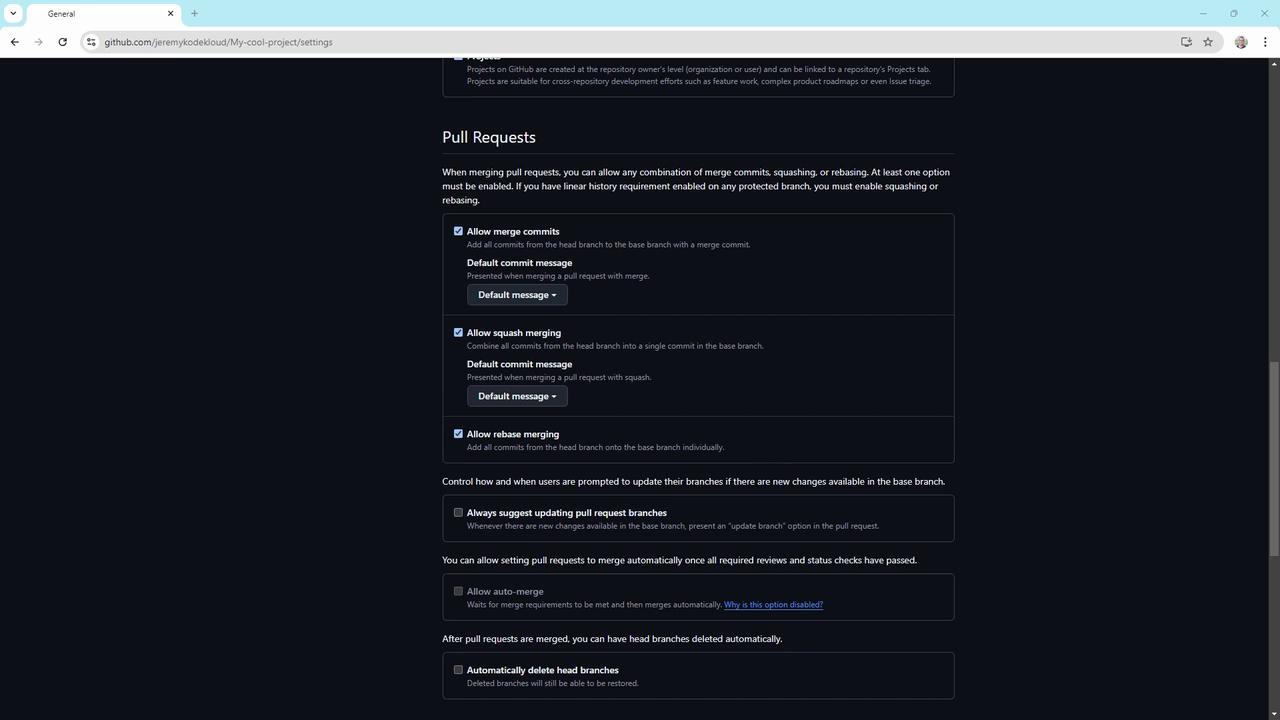
Under Settings > Pull requests, choose to allow or block:- Merge commits
- Squash merging
- Rebase merging
4. Create branch protection rules
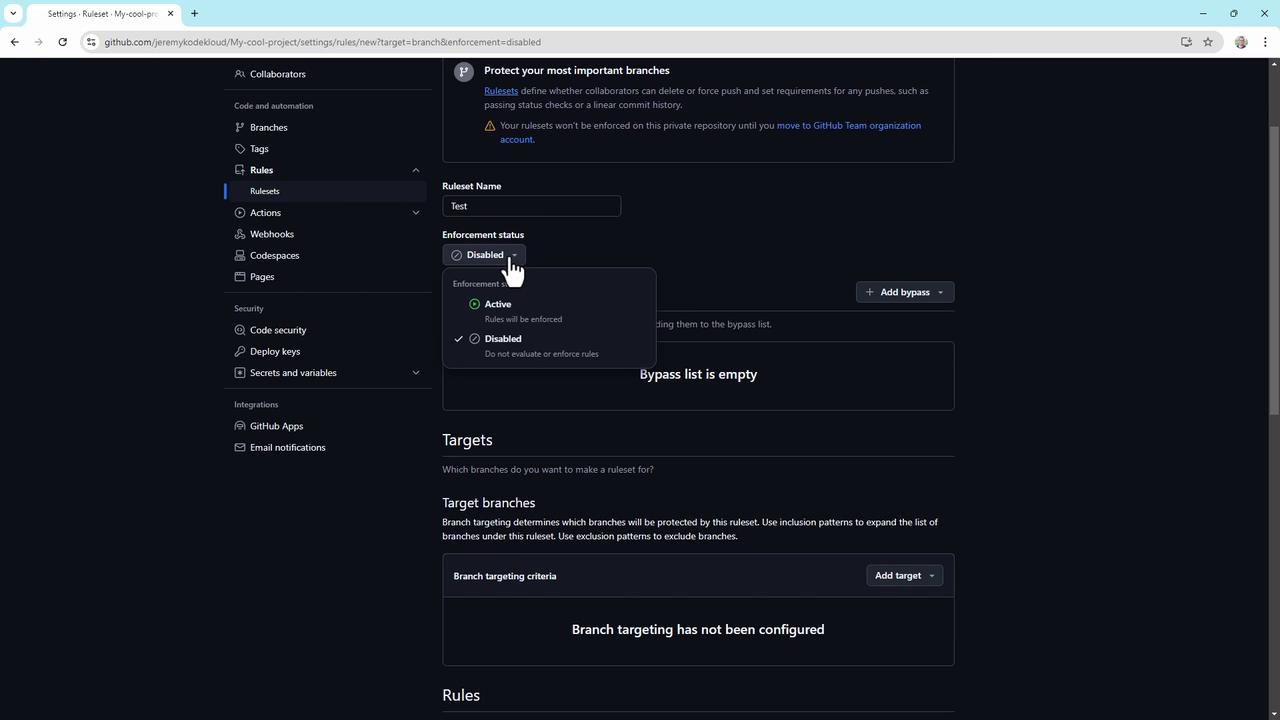
Branch protection rules help enforce workflow policies. To set up:- Navigate to Settings > Branch rulesets.
- Click New branch rule set, name it (e.g.,
ReleaseProtection). - Set Enforcement status to Enabled.
- Define a Bypass list for organization or repository admins, if needed.
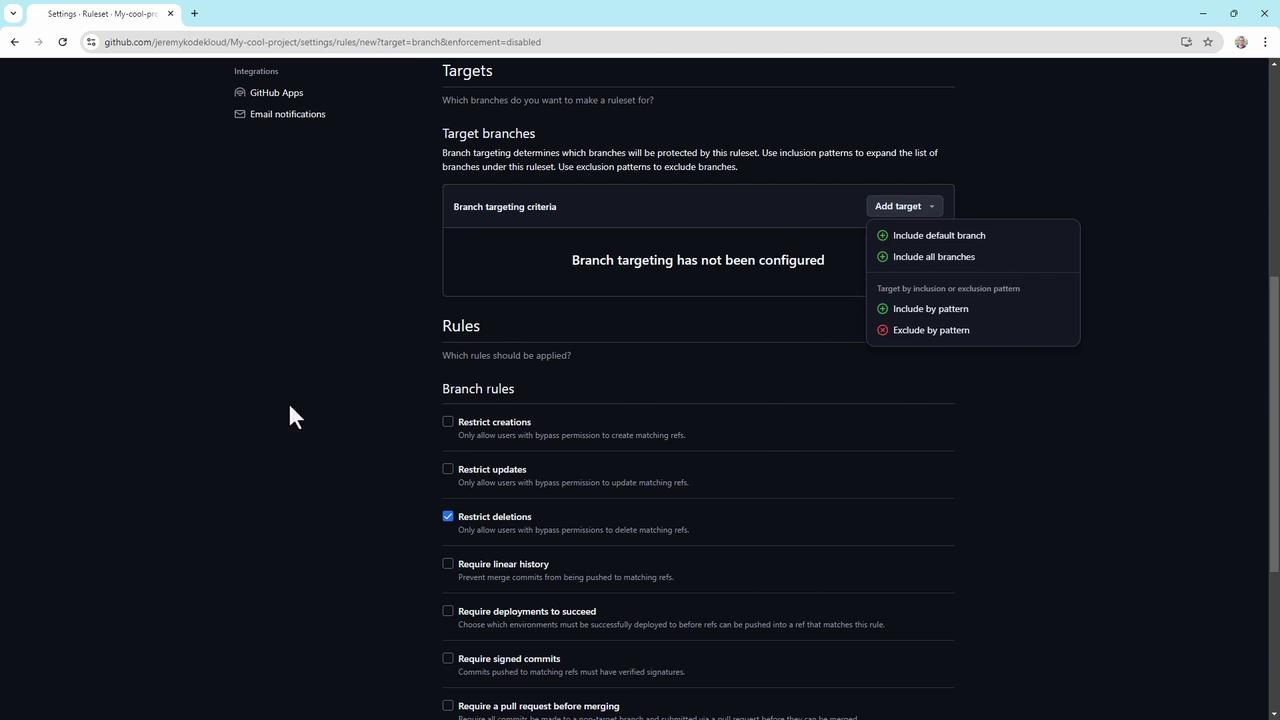
- Specify target branches by name or pattern (e.g.,
main,release/*).
- Restrict branch creation, updates, and deletions
- Require a linear commit history
- Enforce successful CI builds or staging deployments
- Require signed commits
- Enforce pull request reviews (up to 10 required approvals)
- Require conversation resolution before merging
- Block force pushes
- Require status checks (e.g., code scanning results)
Organization and repository administrators can always bypass branch protection rules unless explicitly restricted by policy.
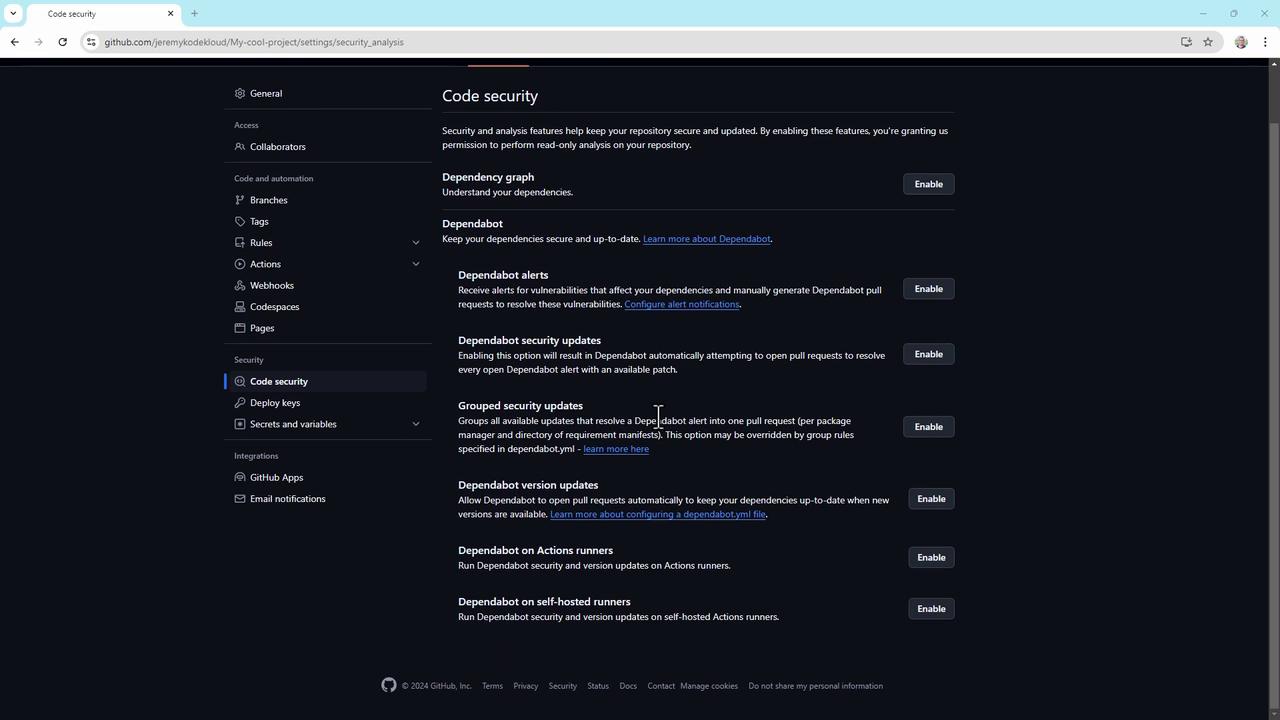
5. Enable code security features
GitHub’s built-in security tools let you detect and fix vulnerabilities early. In Settings > Code security, toggle on:- Dependabot alerts
- Dependabot security updates
- Group security updates
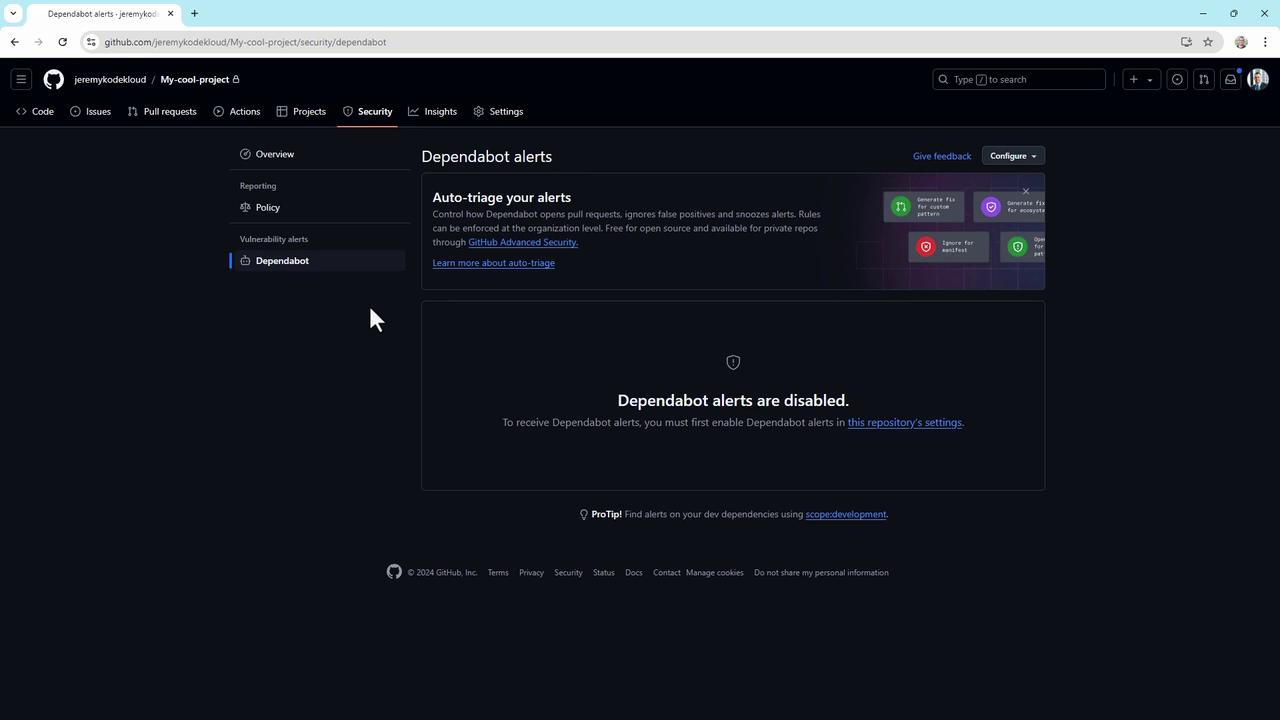
6. Set up a security policy and Dependabot alerts
- Under Security > Security policy, click Start setup to create a
SECURITY.mdfile.- Supported versions: List the versions you actively maintain.
- Reporting guidelines: Explain how to disclose vulnerabilities, expected response times, and required information.
- Go to Security > Dependabot alerts and enable alerts to get real-time notifications.
7. The Danger Zone
At the bottom of Settings > Collaborators, you’ll find critical operations under the Danger Zone:- Change repository visibility (private ↔ public)
- Disable branch protection rules
- Transfer repository ownership
- Archive or delete the repository
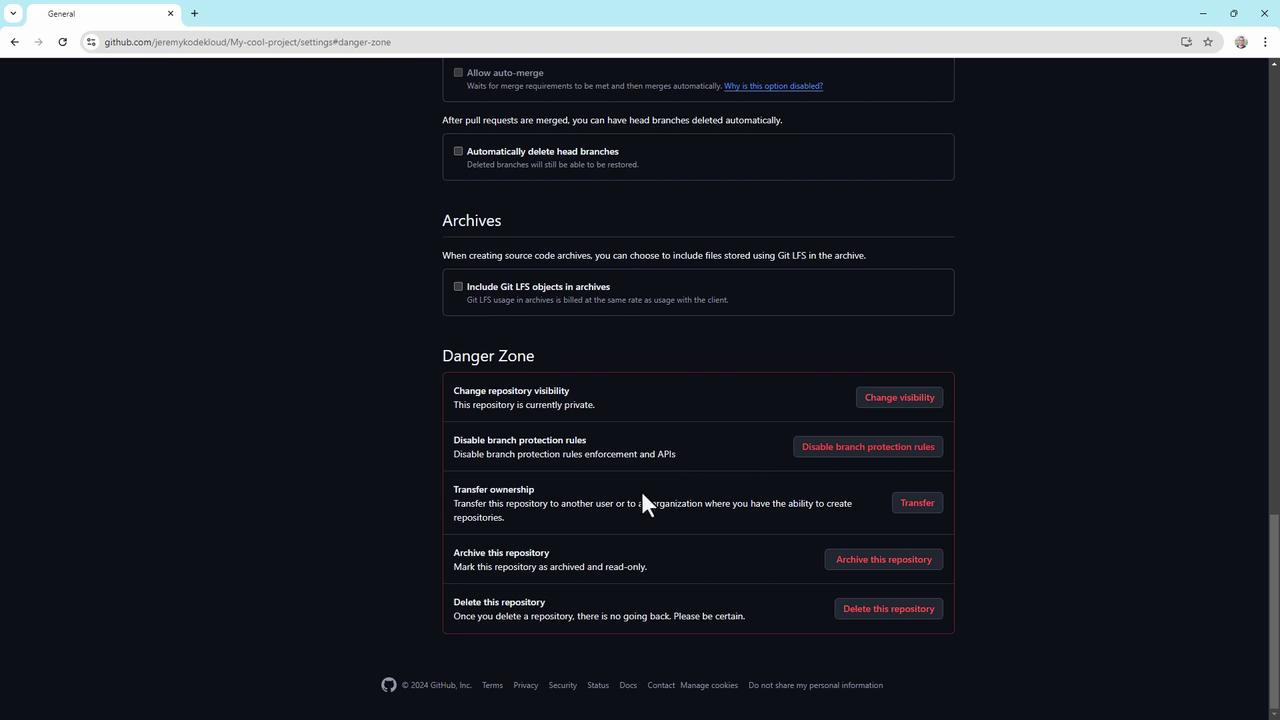
Actions in the Danger Zone are irreversible. Double-check permissions and backups before proceeding.
Conclusion
These best practices apply to standard GitHub repositories, though GitHub Enterprise Cloud offers advanced controls. For deeper dives, visit GitHub’s official documentation.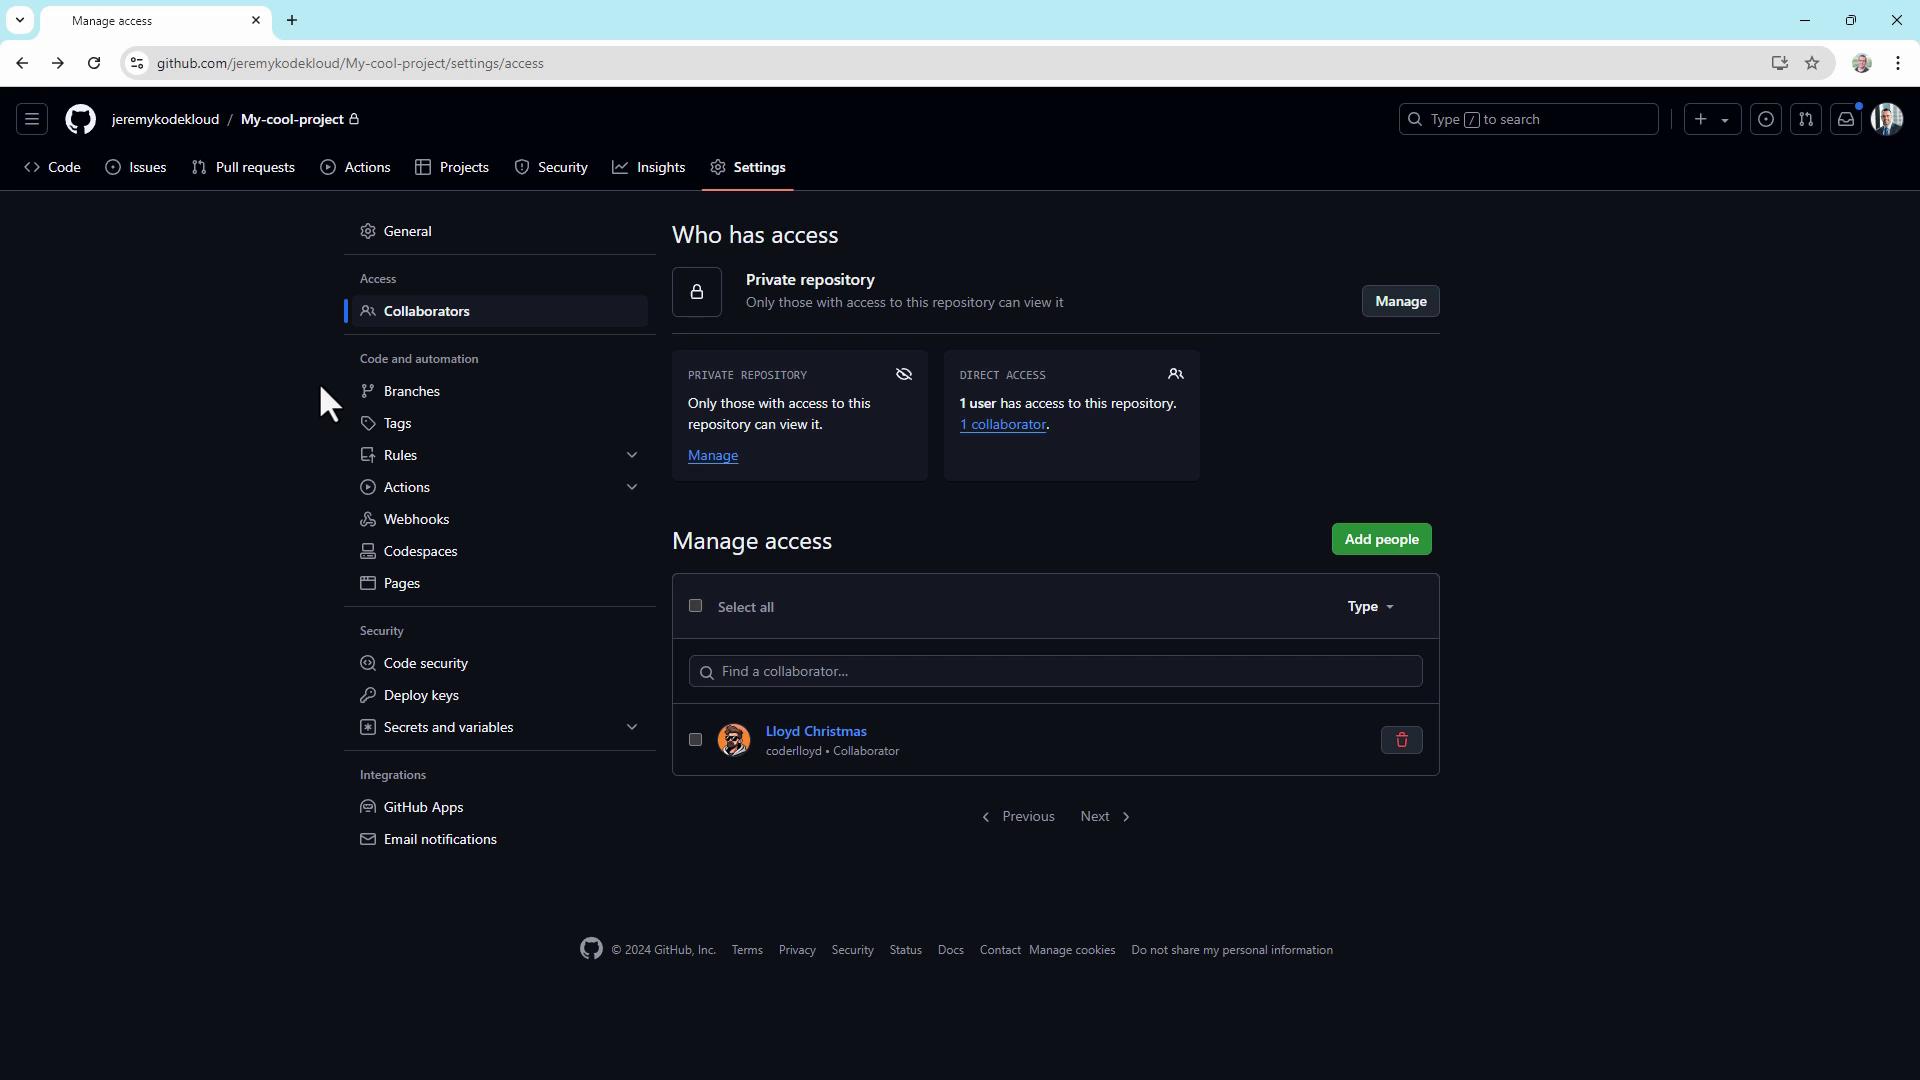
Links and References
- GitHub Permissions and Access
- Branch Protection Rules
- Dependabot Documentation
- Security Policy Guidance