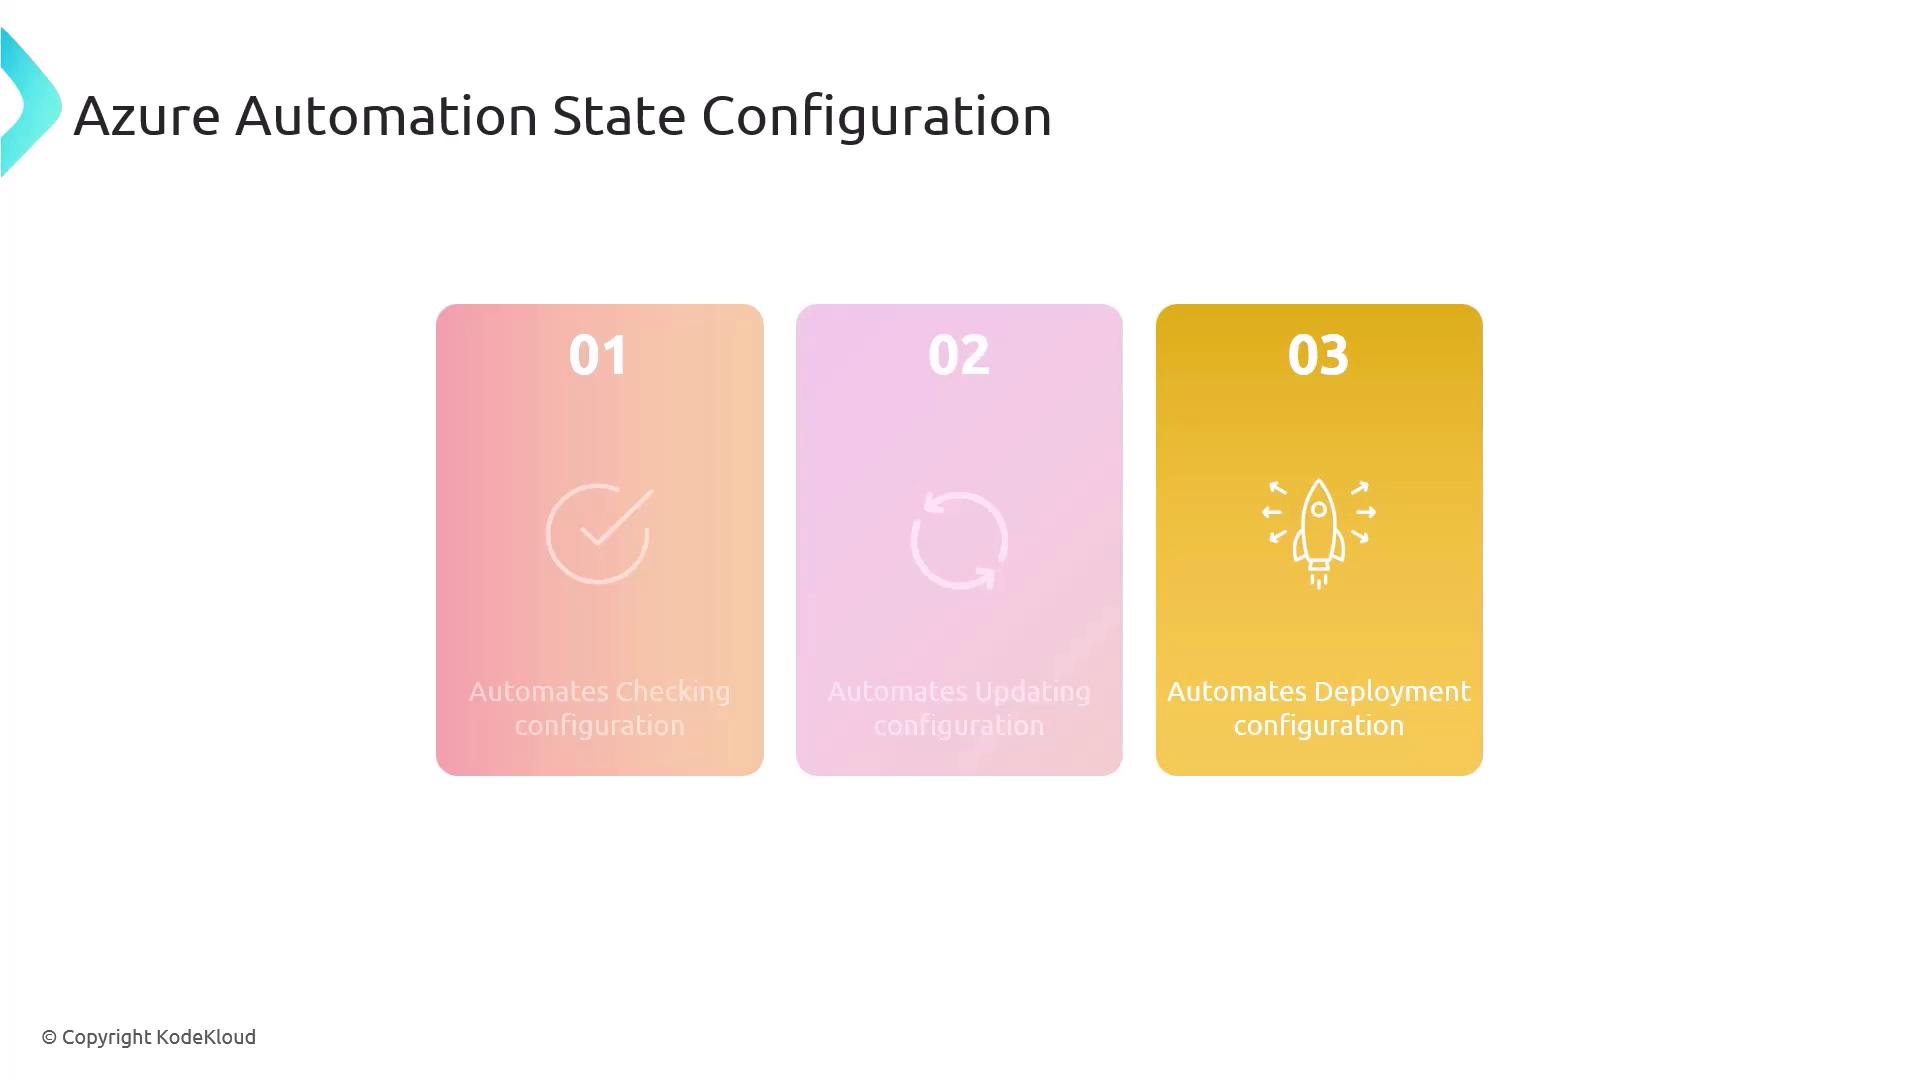
AZ-400: Designing and Implementing Microsoft DevOps Solutions

Design and Implement Infrastructure as Code IaC

Azure Automation State Configuration

Azure Automation Desired State Configuration (DSC) is a powerful service for defining, deploying, and enforcing system configurations at scale. By authoring PowerShell-based DSC scripts, you can automate consistency checks and drift correction across Azure and on-premises environments—eliminating manual errors and saving operational time.

The image is an infographic titled "Azure Automation State Configuration," showing three steps: automating checking, updating, and deployment configurations.

Key Benefits

BenefitDescription
Centralized ManagementSingle pane of glass to manage DSC configurations across subscriptions and regions.
Automatic Drift CorrectionContinuous monitoring with automatic remediation of configuration drift.
Detailed Compliance ReportingOut-of-the-box dashboards and logs to track node compliance over time.

Scenario: Enforce Software on Multiple Windows VMs

In this walkthrough, we'll ensure a scheduled PowerShell task is installed and maintained on several Azure Windows VMs using Azure Automation DSC.
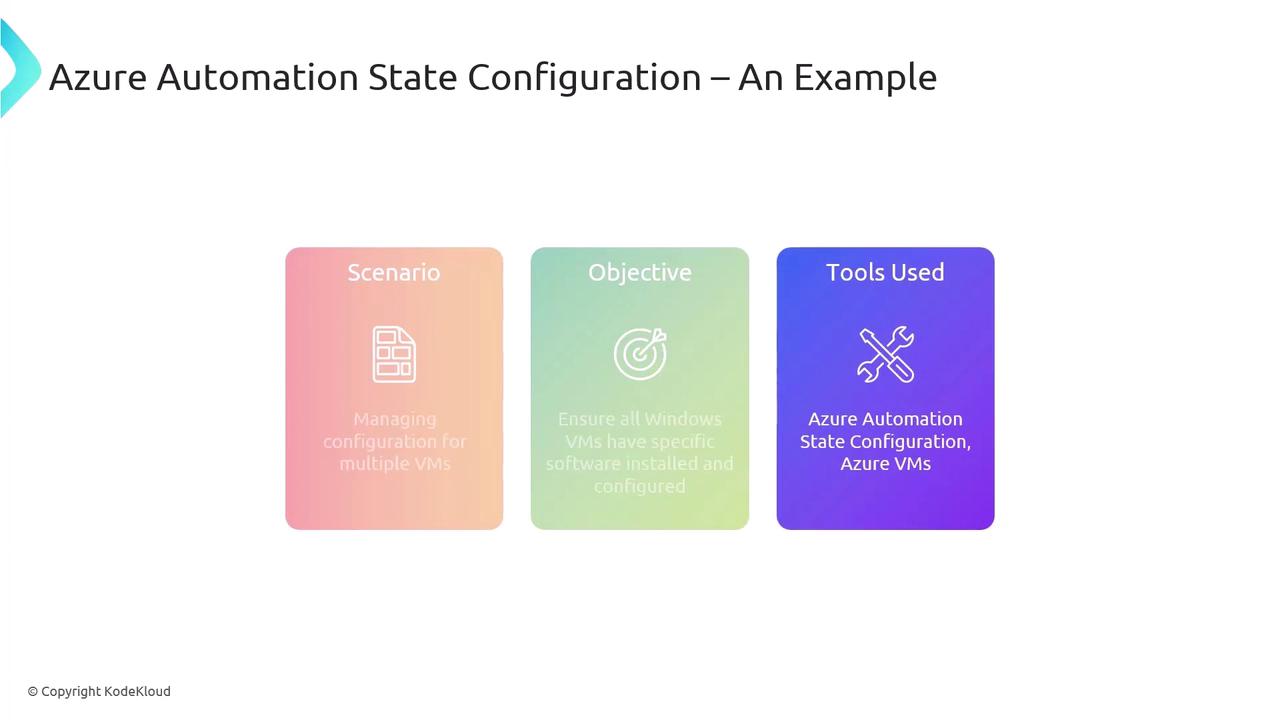
The image is an example of Azure Automation State Configuration, detailing a scenario of managing configurations for multiple VMs, with the objective of ensuring specific software installation on Windows VMs, using tools like Azure Automation State Configuration and Azure VMs.

Prerequisites

Warning

Before registering VMs for DSC, ensure the Azure VM Agent is up to date. Without it, DSC cannot communicate with the Automation account.


Step 1: Create an Automation Account

Your Automation Account is the central hub for DSC configurations, runbooks, and assets.

  1. In the Azure portal, search for Automation Accounts.
  2. Click + Create, fill in the name, resource group, and region.
  3. Review and Create.

The image shows a Microsoft Azure interface for creating an automation account, with a highlighted button to "Create automation account." It indicates that there are currently no automation accounts to display.


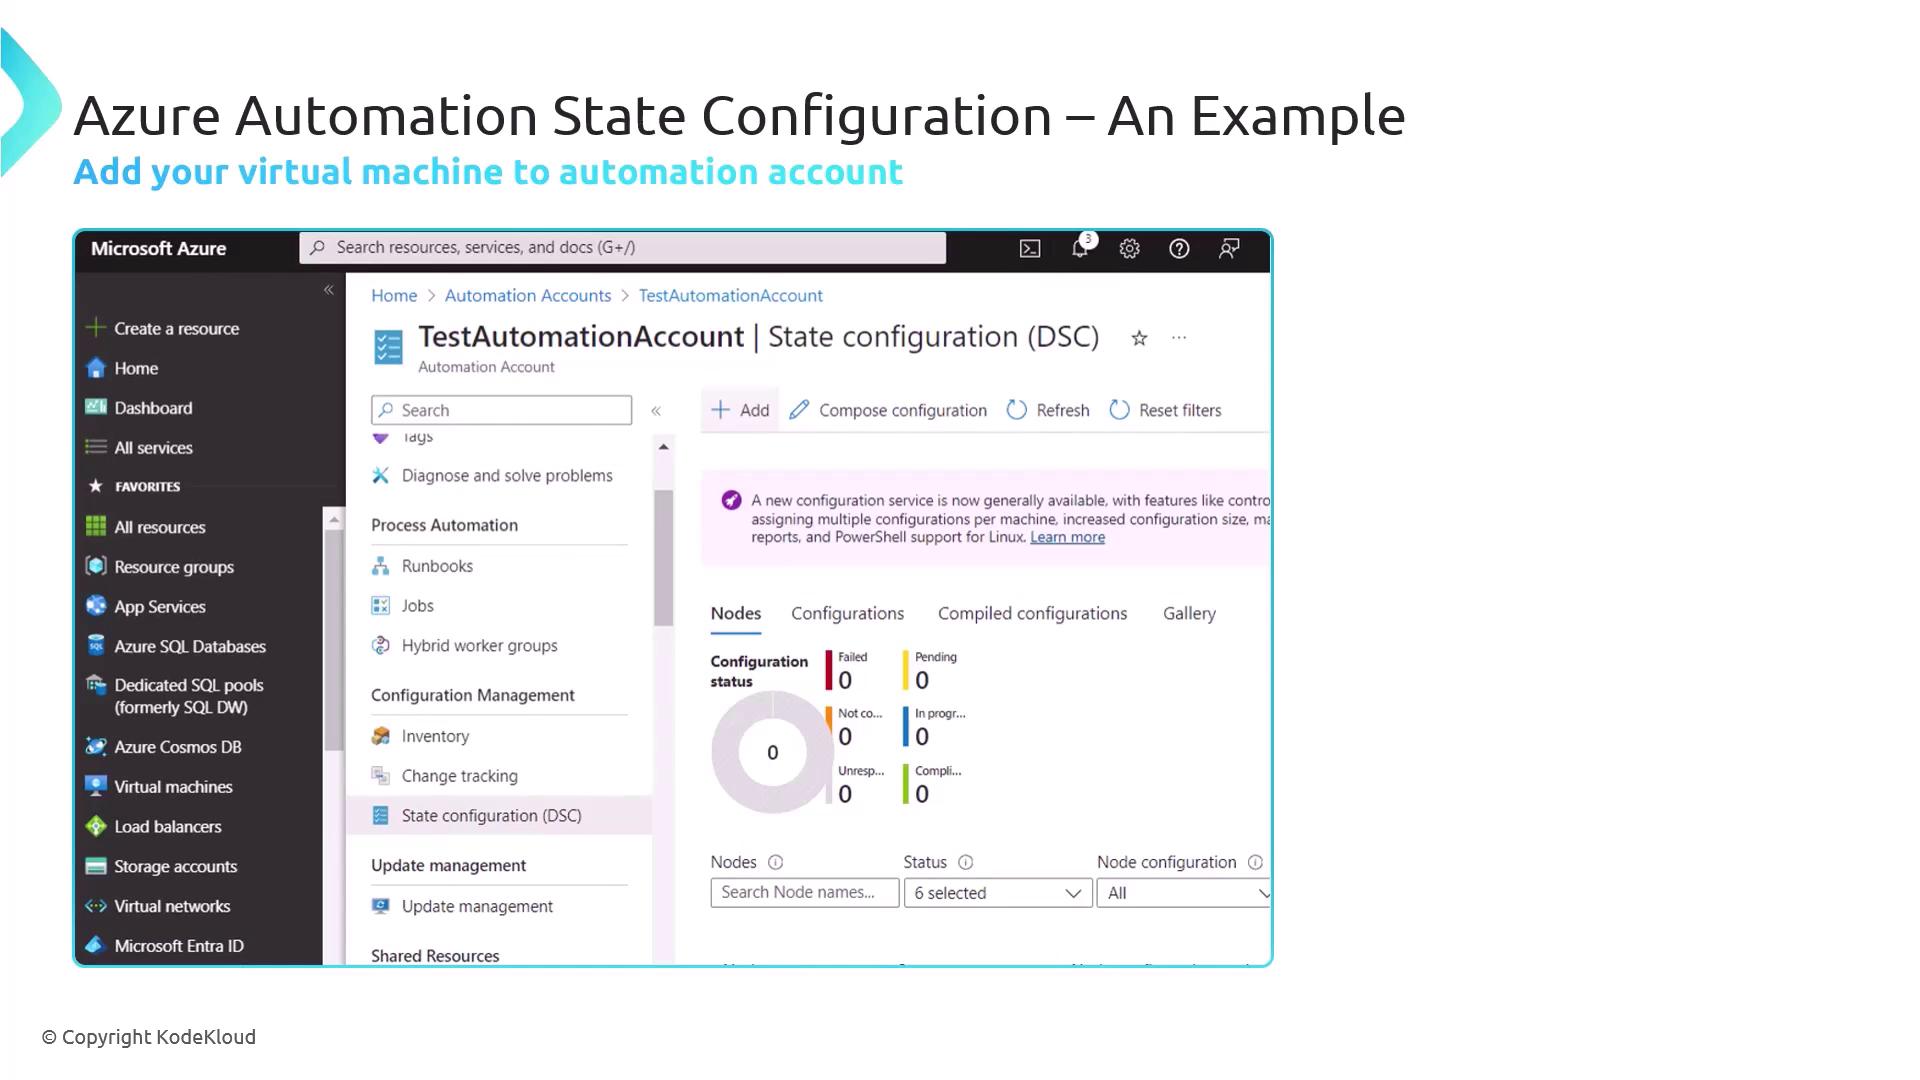
Step 2: Register Your VM as a DSC Node

Once the Automation Account is active, add your Windows VM as a DSC node.

  1. Navigate to State Configuration (DSC) > Nodes.
  2. Click Add > Azure VM.
  3. Select your subscription, resource group, and VM.
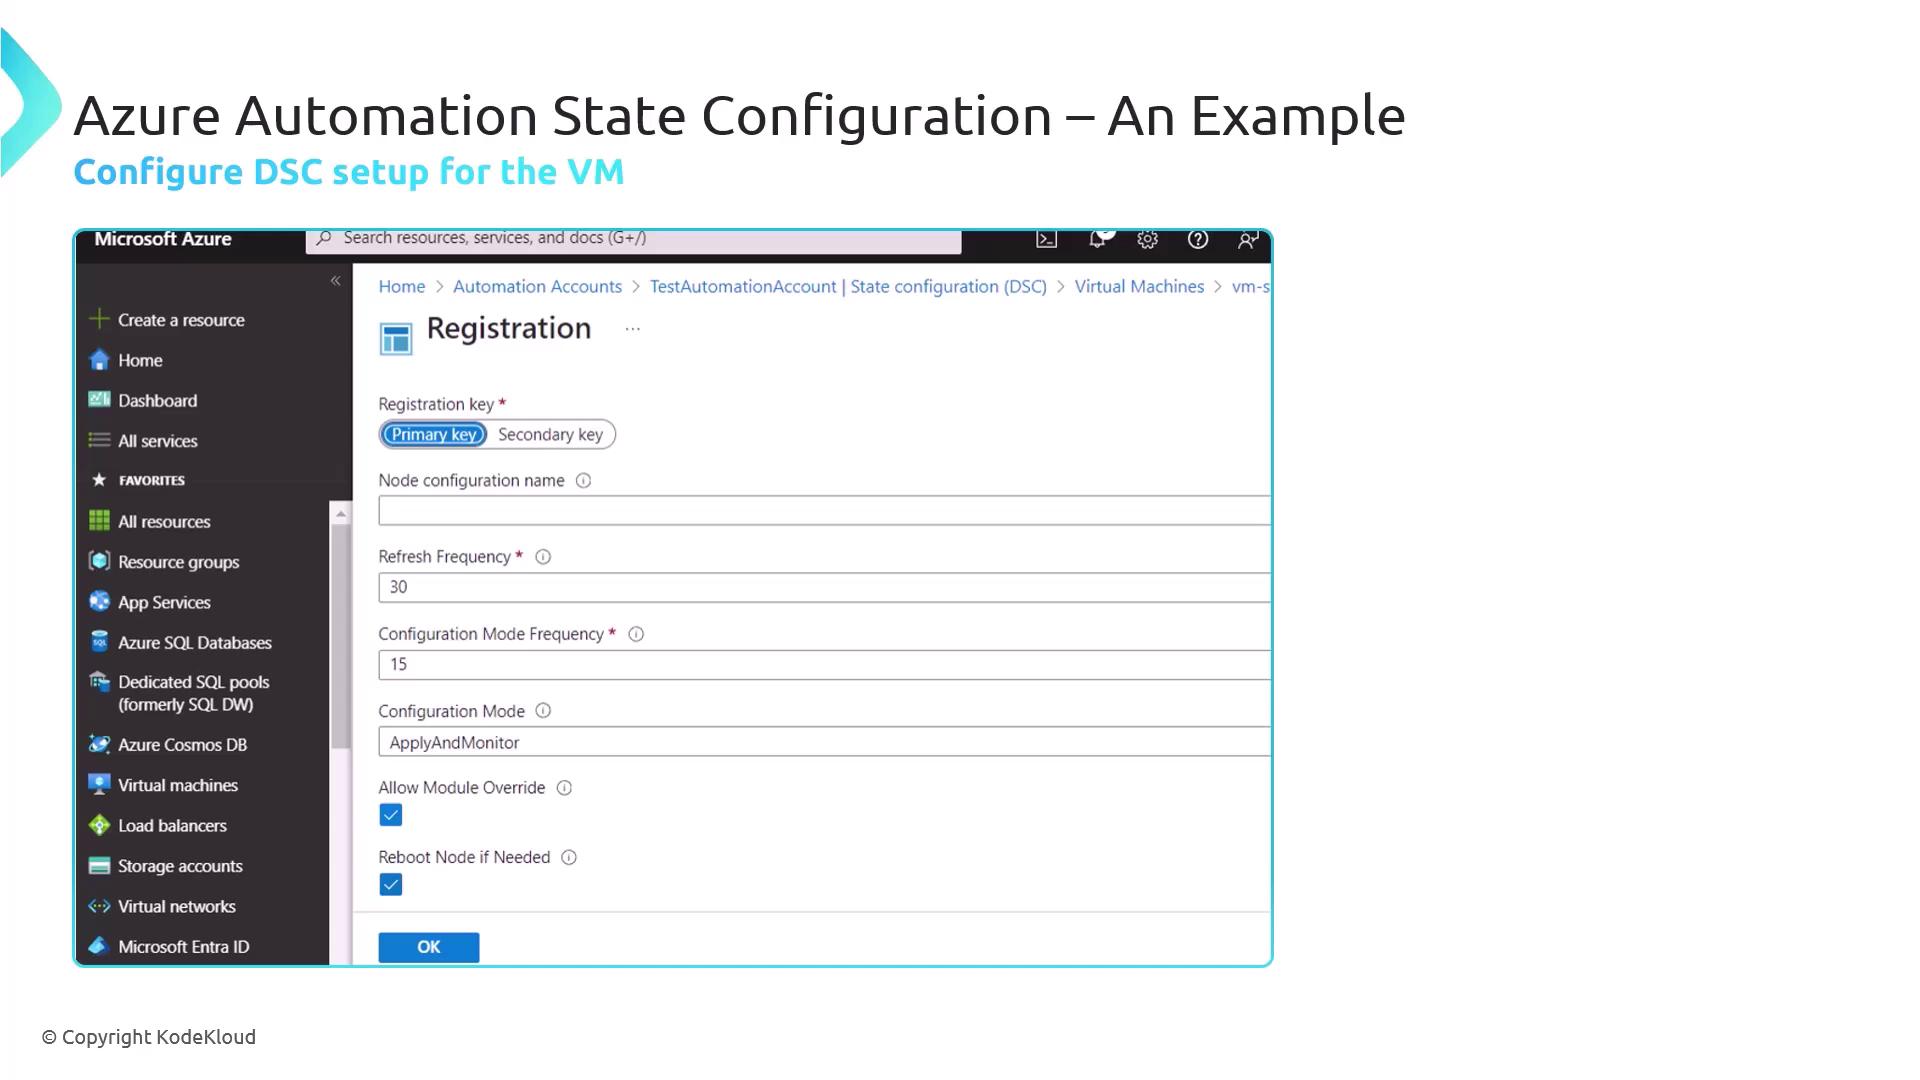
  4. Configure:
    • Refresh Frequency: Interval for DSC pull (e.g., 30 minutes)
    • Configuration Mode: ApplyAndAutoCorrect or ApplyAndMonitor

The image shows a screenshot of the Azure Automation State Configuration interface, highlighting the "TestAutomationAccount" with options for managing configurations and nodes. It includes a navigation menu on the left and a status dashboard on the right.

On the registration settings page, enter the Registration Key, Node Configuration Name, and Refresh Interval.

The image shows a screenshot of the Azure Automation State Configuration interface, specifically the registration settings for configuring DSC (Desired State Configuration) for a virtual machine. It includes fields for registration key, node configuration name, refresh frequency, and other options.

After registration, the VM appears in the DSC Nodes view marked Compliant (no custom configurations yet).


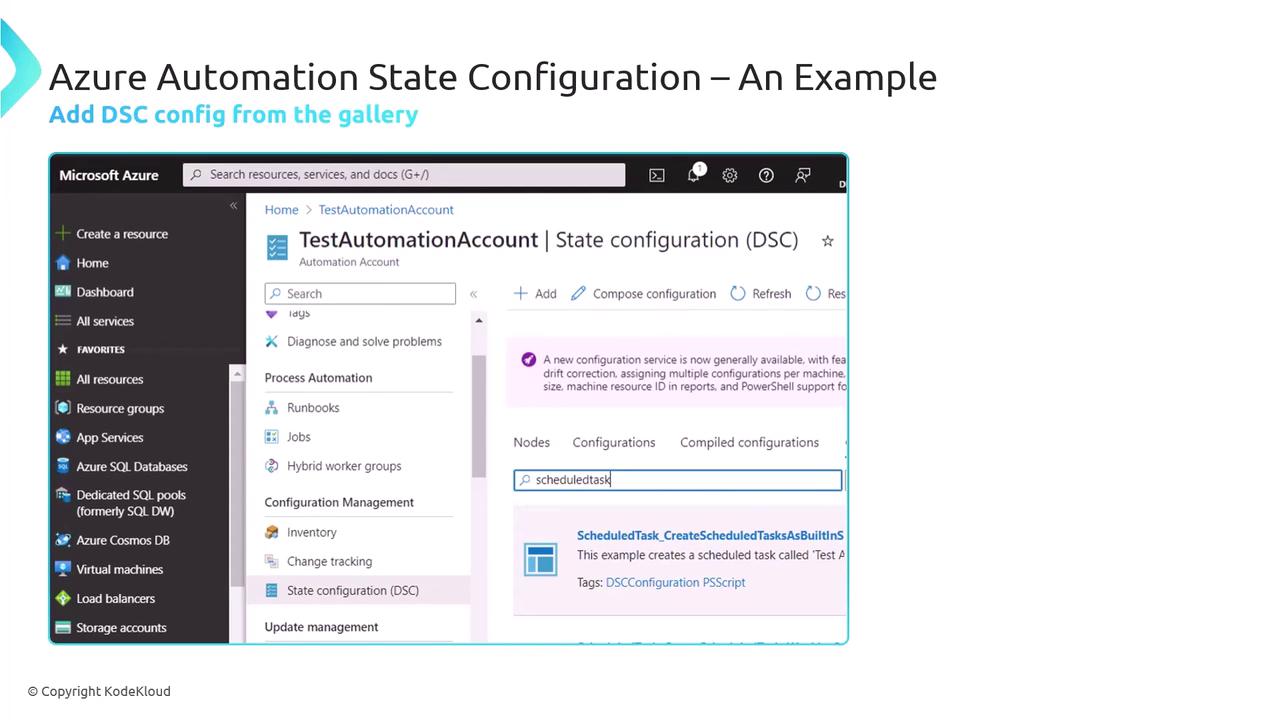
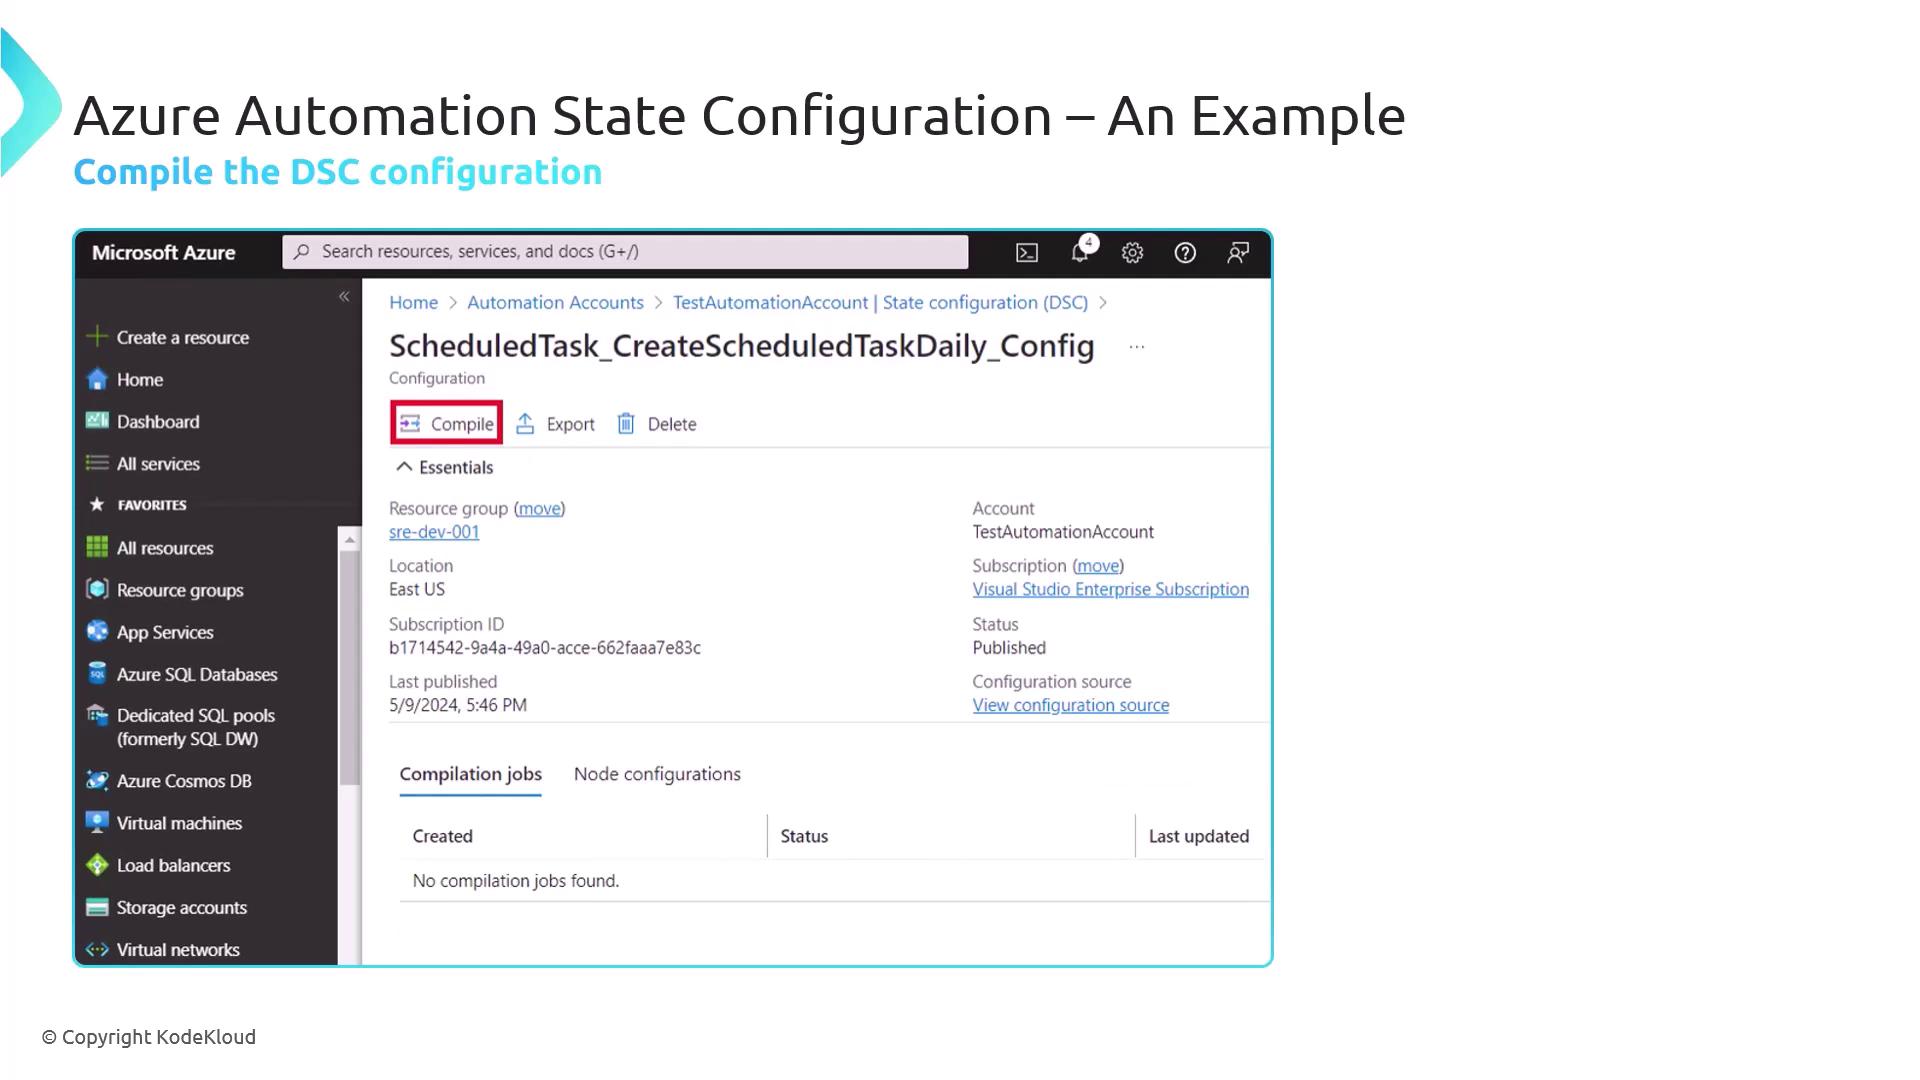
Step 3: Author and Import Your DSC Configuration

Define a DSC configuration that schedules a PowerShell task to run daily at midnight and repeat every 15 minutes for 8 hours.

Configuration ScheduledTaskDaily {
    Node 'localhost' {
        ScheduledTask ScheduledTaskDailyAdd {
            TaskName         = 'Test task Daily'
            TaskPath         = 'MyTasks'
            ActionExecutable = 'C:\Windows\System32\WindowsPowerShell\v1.0\powershell.exe'
            ScheduleType     = 'Daily'
            DaysInterval     = 1
            RepeatInterval   = '00:15:00'
            StartBoundary    = '2023-10-01T00:00:00'
            RepeatDuration   = '08:00:00'
        }
    }
}

# Compile the configuration to a local folder
ScheduledTaskDaily -OutputPath "$env:Temp\DSC"

Note

Ensure you include StartBoundary and RepeatDuration when you need the schedule to span a specific time window.

  1. In the portal, go to State Configuration (DSC) > Configurations.
  2. Click Add, upload the compiled .mof file from "$env:Temp\DSC".
  3. Confirm and Save.

The image shows a screenshot of the Azure portal, specifically the Azure Automation State Configuration (DSC) section, with options for managing configurations and a highlighted example of creating a scheduled task.

Compile status will appear in Configuration Versions.

The image shows a screenshot of the Azure Automation State Configuration interface, highlighting the "Compile" option for a specific configuration. It includes details like resource group, location, and subscription information.


Step 4: Assign the Configuration to the VM

Apply the new DSC configuration to your node:

  1. Under State Configuration (DSC) > Nodes, select your VM.
  2. Click Assign Node Configuration.
  3. Choose the ScheduledTaskDaily configuration version and OK.

The image shows a screenshot of the Azure Automation State Configuration interface, specifically the "Assign Node Configuration" section, with a list of resources and services on the left sidebar.

  • The node will show Noncompliant until DSC applies your settings.
  • After successful application, it returns to Compliant, indicating the scheduled task is in place.

Watch Video

Watch video content

Previous
Design and implement desired state configuration for environments