Migrating your Azure Pipelines definitions from the Classic Editor to YAML unlocks version control, peer reviews, and repeatable workflows. By storing the pipeline as code alongside your application, you gain granular change history, easier rollbacks, and seamless integration with GitHub or Azure Repos.
Why Use YAML Pipelines?
Version your pipeline in source control
Enable pull-request reviews for CI/CD changes
Reuse templates and parameters across projects
Support complex, multi-stage workflows
Align with DevSecOps best practices
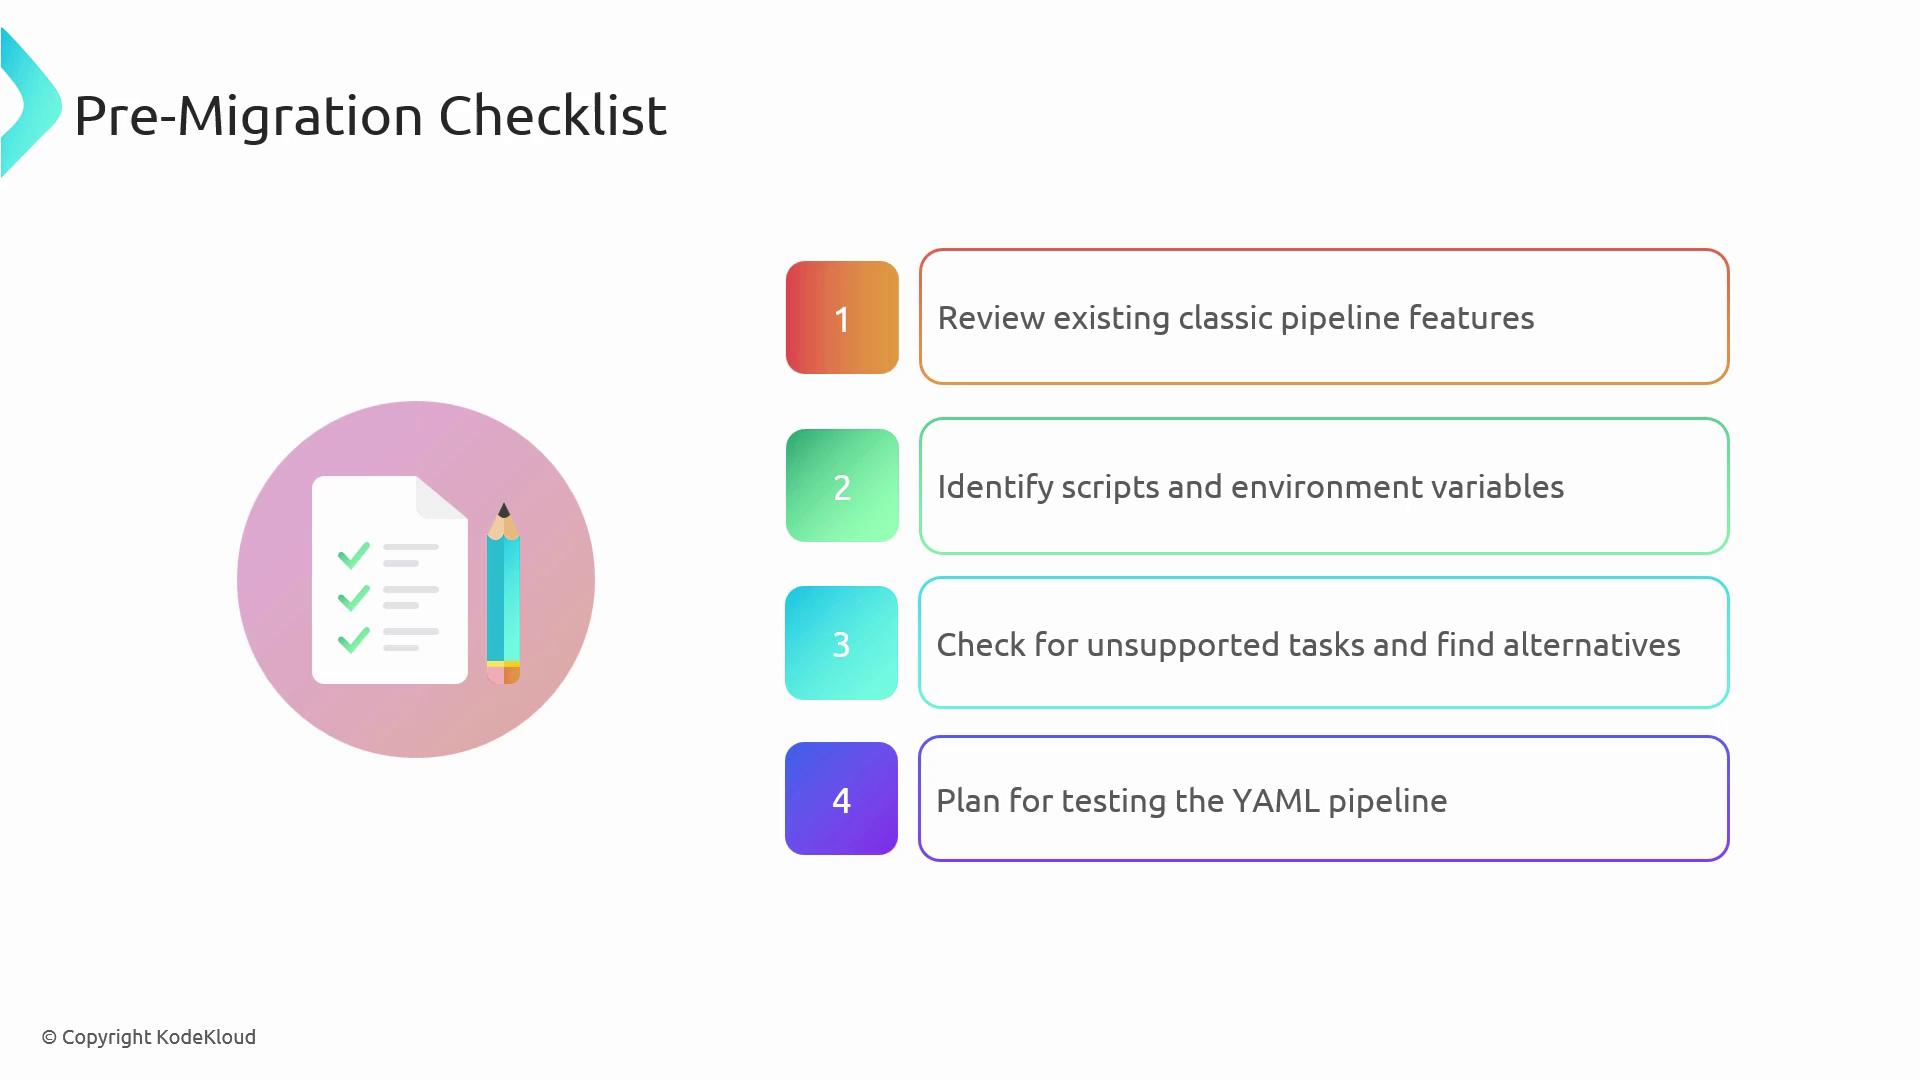
Pre-Migration Checklist Before you begin, review and document every aspect of your existing Classic Pipeline:
Task Description Review pipeline steps Inventory GUI tasks, environment variables, triggers, and deployment steps Identify inline scripts & variables Find PowerShell/Bash blocks and secret/environment variable usage Check for unsupported marketplace tasks Note any tasks not available in YAML and research alternatives or extensions Plan testing strategy Define a branch or isolated project to validate your new YAML pipeline before production
Migration Process Follow these steps to convert a Classic pipeline stage into YAML.
1. Export or View Generated YAML In the Classic pipeline, locate the Terraform deployment step and view its YAML equivalent. For example:
variables : terraformstoragegroup : 'terraform' terraformstorageaccount : 'terraform' steps : - task : AzureCLI@1 displayName : 'Azure CLI to deploy required Azure resources' inputs : azureSubscription : 'MCT' scriptLocation : 'inlineScript' inlineScript : | # Create Azure resource group az group create --location westus --name $(terraformstoragegroup) # Create Azure storage account az storage account create --name $(terraformstorageaccount) \ --resource-group $(terraformstoragegroup) \ --location westus \ --sku Standard_LRS
2. Create a New YAML Pipeline Copy the generated snippet into a new azure-pipelines.yml file. Customize triggers, variables, and steps to fit your environment:
trigger : branches : include : - main pool : vmImage : 'ubuntu-latest' variables : terraformstoragerg : 'terraformrg' terraformstorageaccount : 'terraformstorage09834d9' steps : - task : AzureCLI@1 displayName : 'Azure CLI to deploy required Azure resources' inputs : azureSubscription : 'MCT' scriptLocation : 'inlineScript' inlineScript : | # Create resource group az group create --location westus --name $(terraformstoragerg) # Create storage account az storage account create --name $(terraformstorageaccount) \ --resource-group $(terraformstoragerg) \ --location westus \ --sku Standard_LRS # Create storage container az storage container create --name terraform --account-name $(terraformstorageaccount) # Retrieve storage account keys az storage account keys list \ --resource-group $(terraformstoragerg) \ --account-name $(terraformstorageaccount)
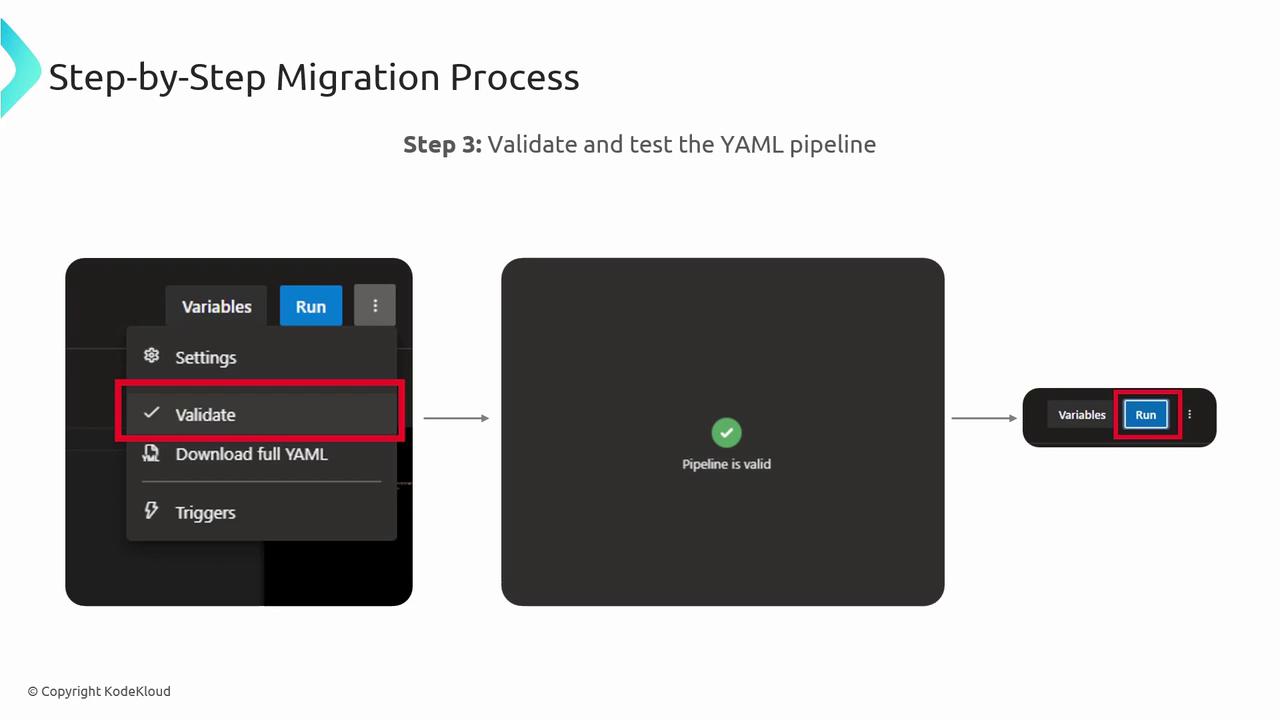
Use the Validate feature in the Azure Pipelines UI to catch syntax errors before running the pipeline.
Iterate on your YAML until it passes validation and your test runs succeed. Repeat for each Classic task to fully migrate your build or release pipeline.
Challenges and Solutions Migrating real-world pipelines often surfaces these challenges:
Challenge Solution Secure secret management Use Azure DevOps Library, Variable Groups, or Azure Key Vault Unsupported or custom tasks Explore the Azure DevOps Marketplace for community extensions Complex multi-stage flows Leverage YAML templates, parameters, and extends syntax for modular pipelines
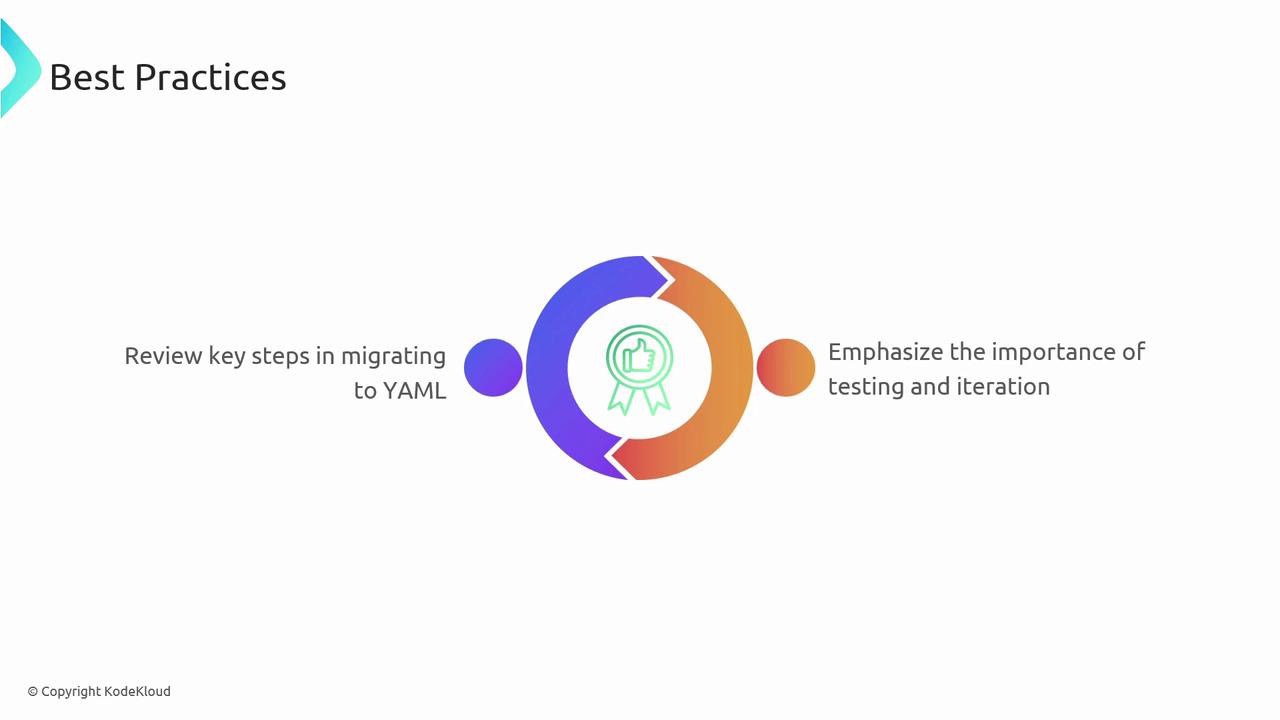
Best Practices
Review and replicate every Classic step in YAML
Validate and test in an isolated branch before merging
Use templates and reusable modules for consistency
Document pipeline changes via pull requests
References